Home>Furniture>Living Room Furniture>How To Paint A Coffee Table With Chalk Paint
Living Room Furniture
How To Paint A Coffee Table With Chalk Paint
Modified: March 16, 2024
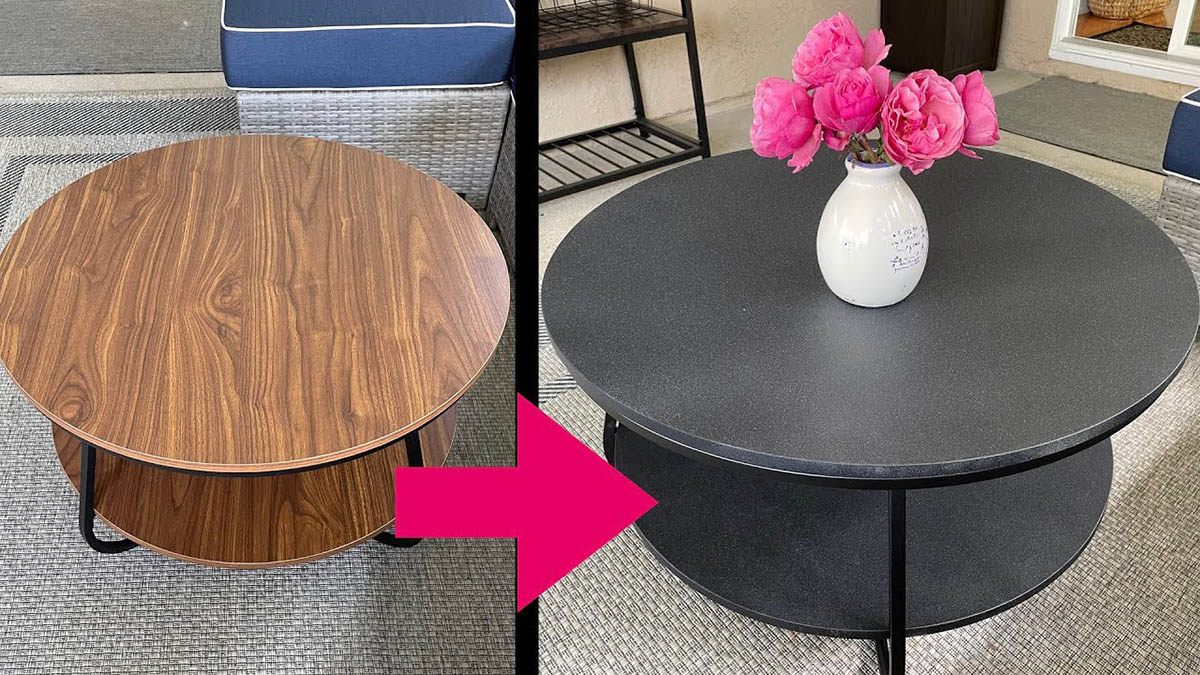
Discover how to transform your living room furniture with a coffee table makeover using chalk paint. Create a stylish focal point that brings new life to your space.
(Many of the links in this article redirect to a specific reviewed product. Your purchase of these products through affiliate links helps to generate commission for Storables.com, at no extra cost. Learn more)
Introduction
Welcome to the world of furniture transformation! If you have an old or worn coffee table that could use a fresh and stylish update, painting it with chalk paint is a fantastic option. Chalk paint has gained popularity in recent years for its ability to give furniture a vintage, distressed look. Whether you want to revitalize a tired piece or simply change its appearance to match your decor, chalk paint can work wonders.
In this article, we will guide you through the process of painting a coffee table with chalk paint. Not only will you learn how to achieve a beautiful finish, but you will also discover helpful tips and tricks along the way. So, let’s roll up our sleeves and give that coffee table a new lease on life!
Key Takeaways:
- Transform your old coffee table with chalk paint for a vintage, distressed look. Follow the steps for proper preparation, smooth application, distressing, sealing, and adding personalized finishing touches.
- Enjoy the satisfaction of a DIY project well-done by giving your coffee table a new lease on life with chalk paint. From preparation to finishing touches, unleash your creativity and make it truly yours.
Read more: How To Chalk Paint A Dining Table
Materials Needed
Before you get started, gather all the necessary materials to ensure a smooth painting process. Here’s a list of what you’ll need:
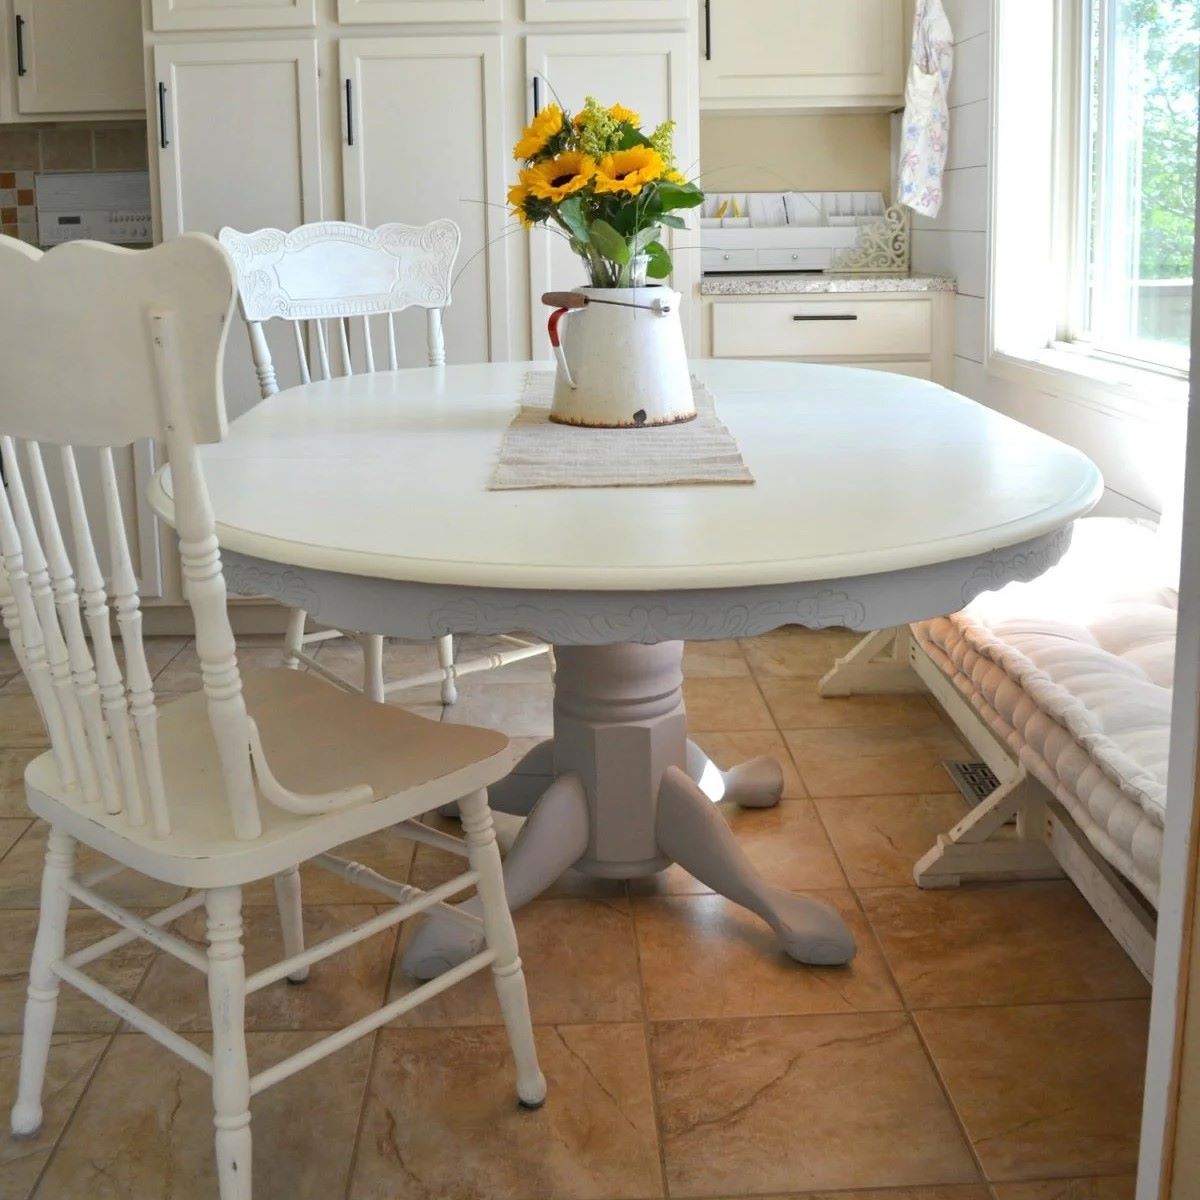
- Coffee table: Choose a table that is made of wood or has a smooth and paintable surface.
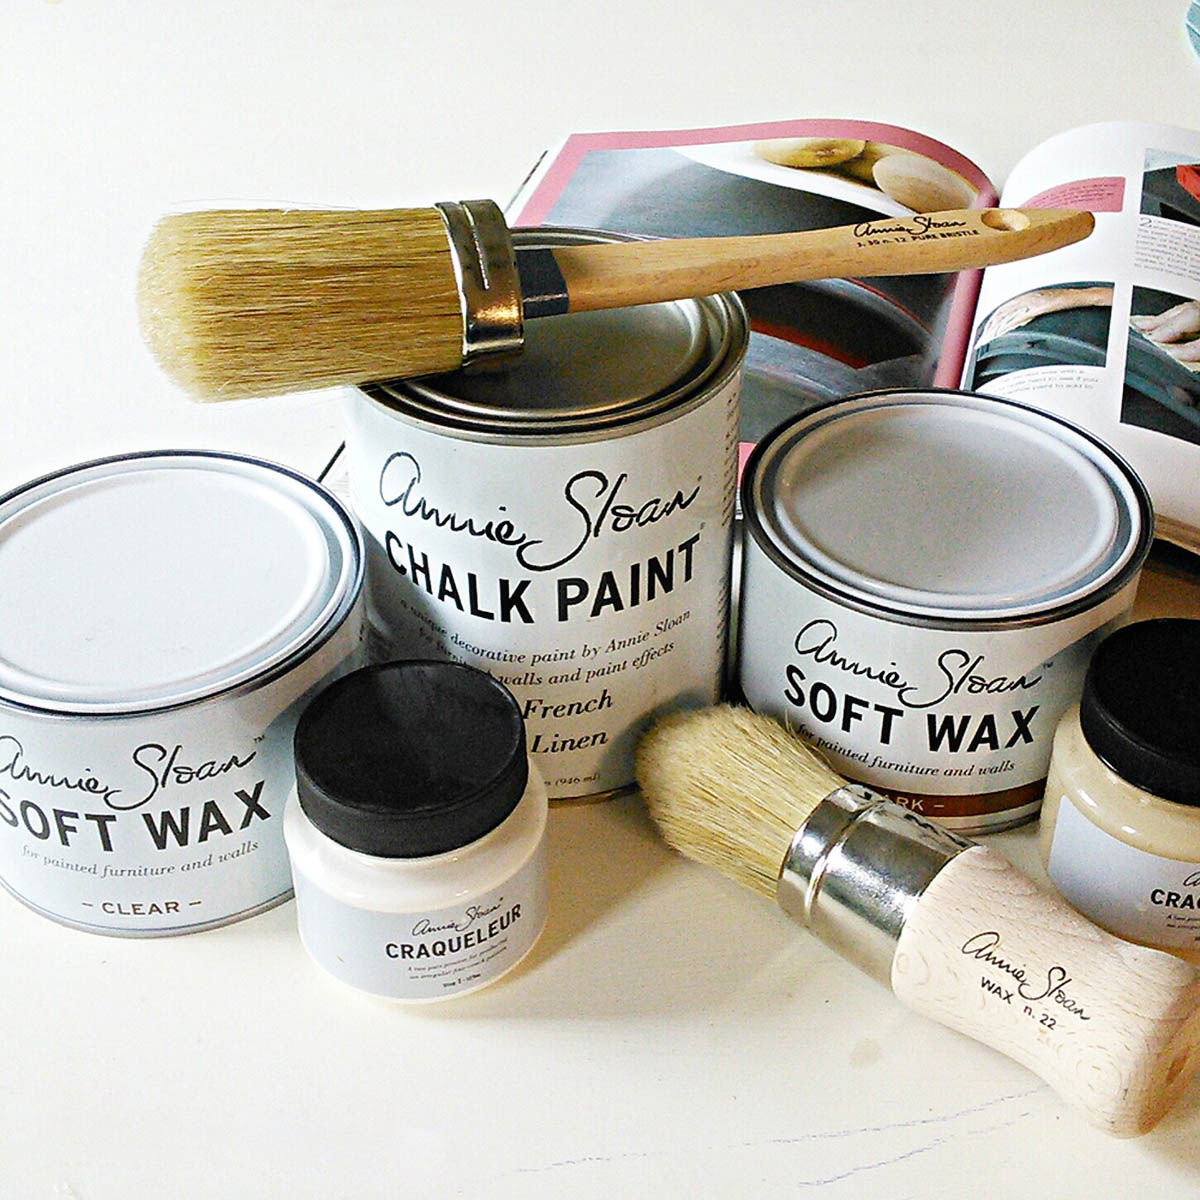
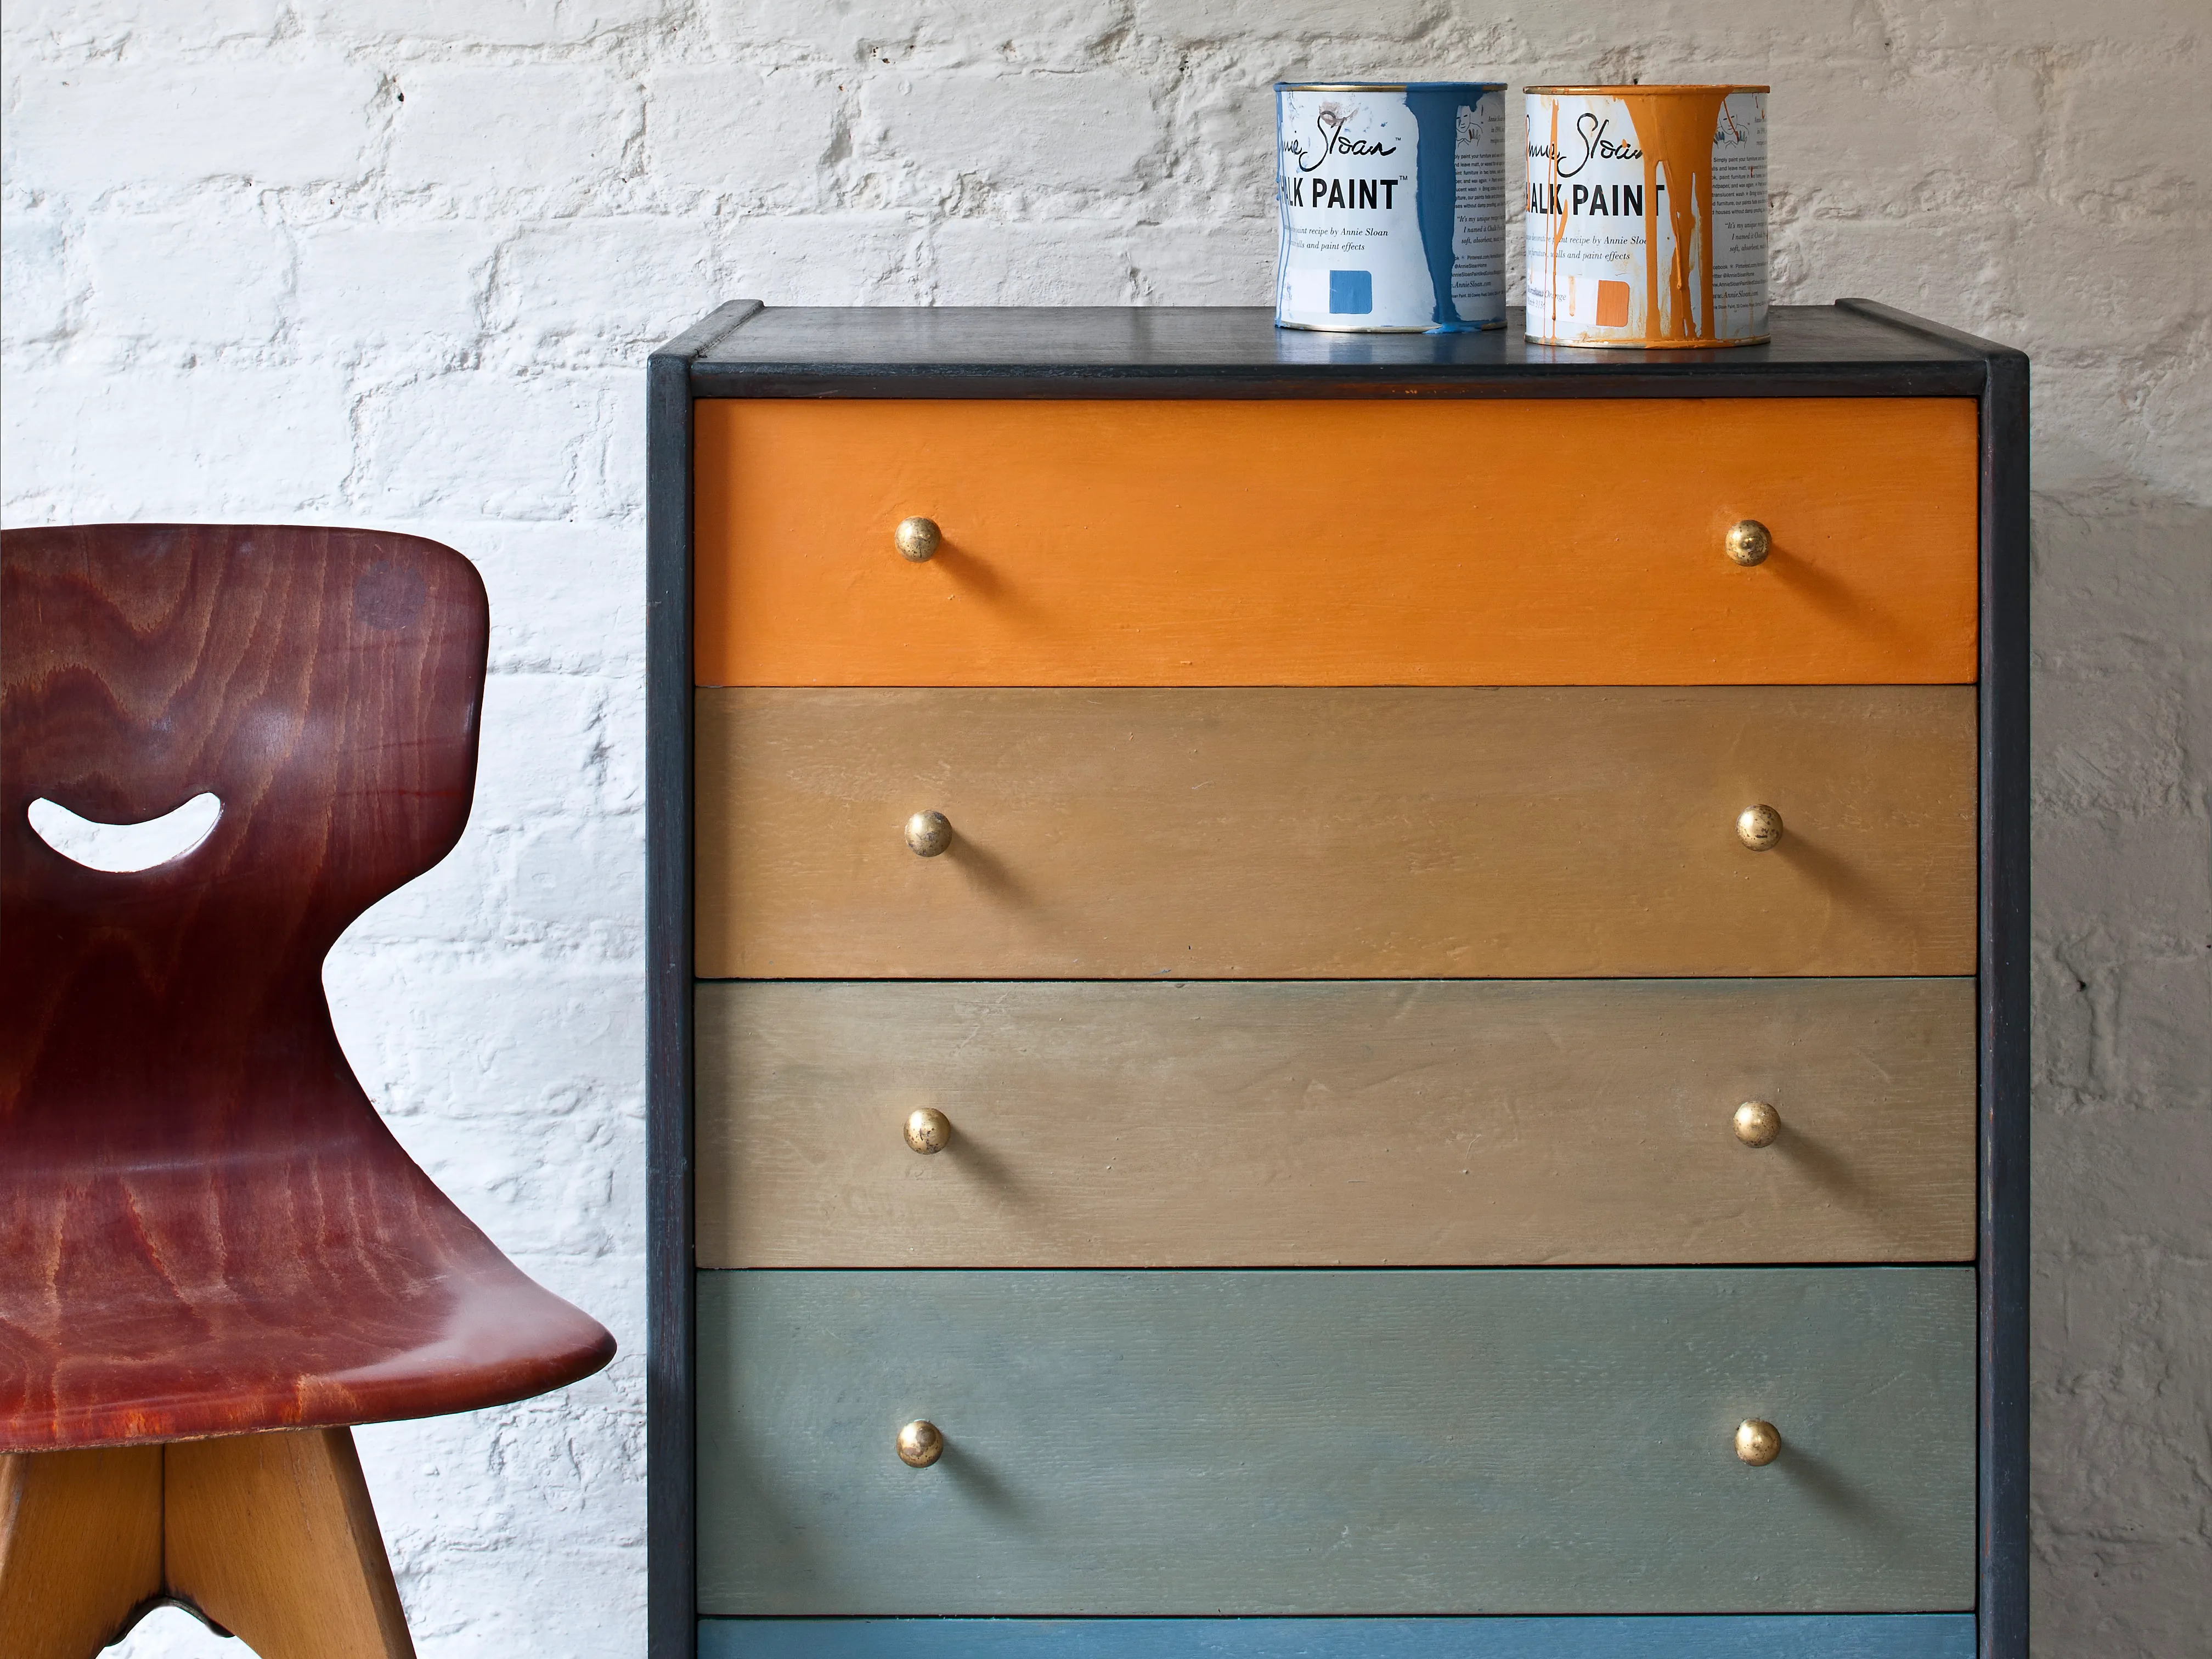
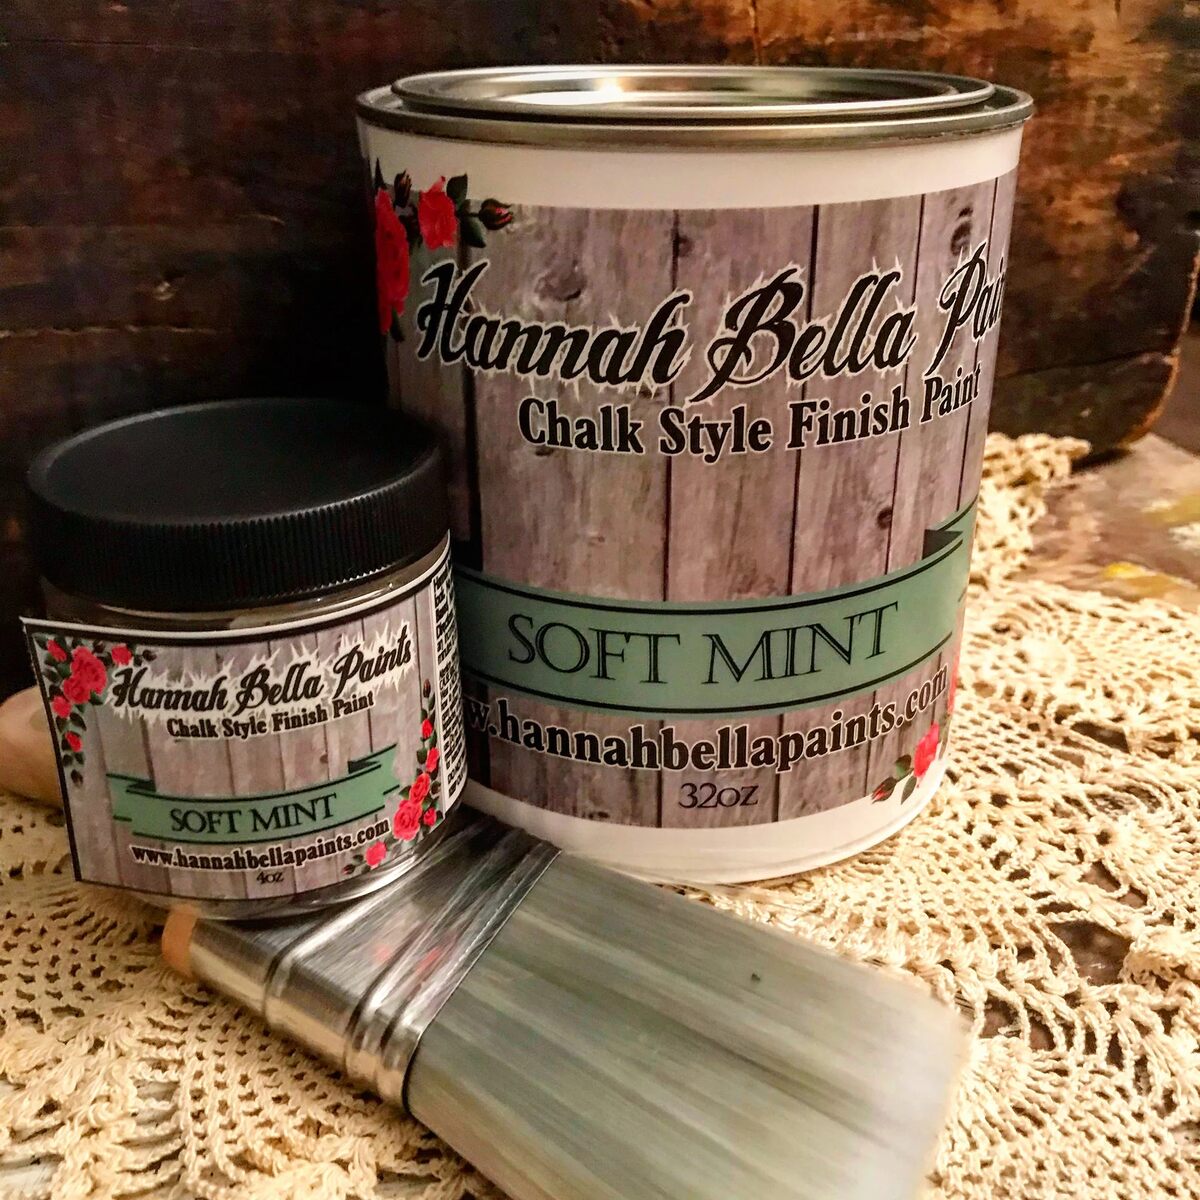
- Chalk paint: Opt for a high-quality chalk paint in your desired color. Consider the size of your coffee table to determine how much paint you will need.
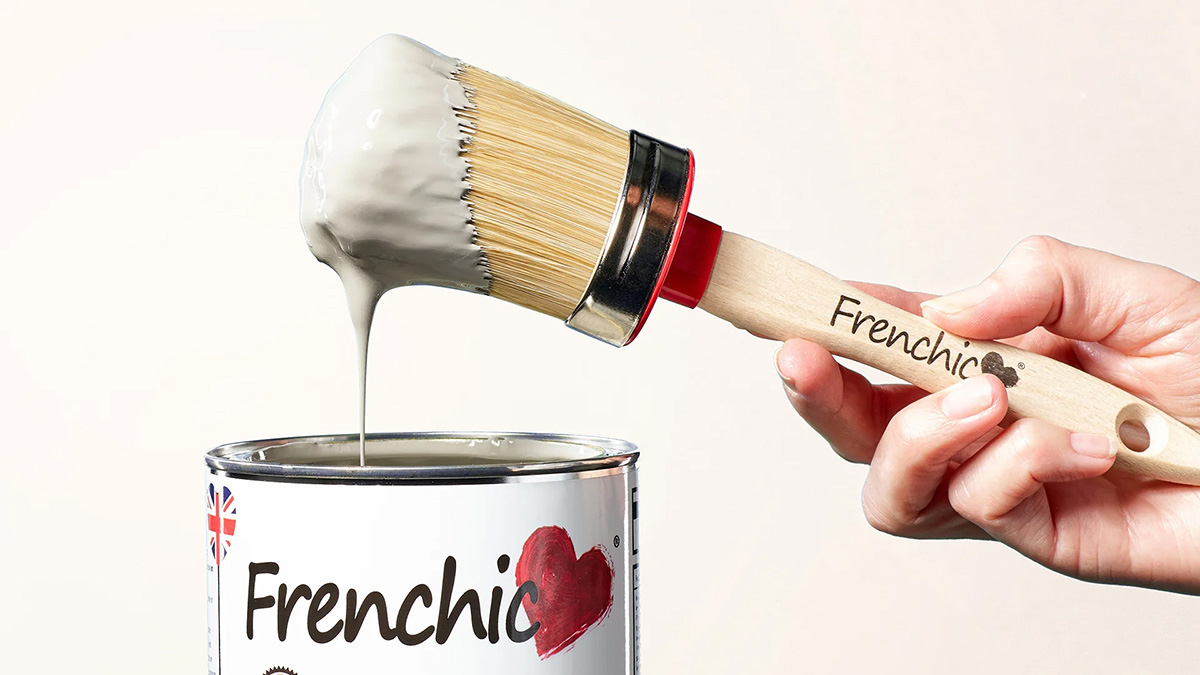
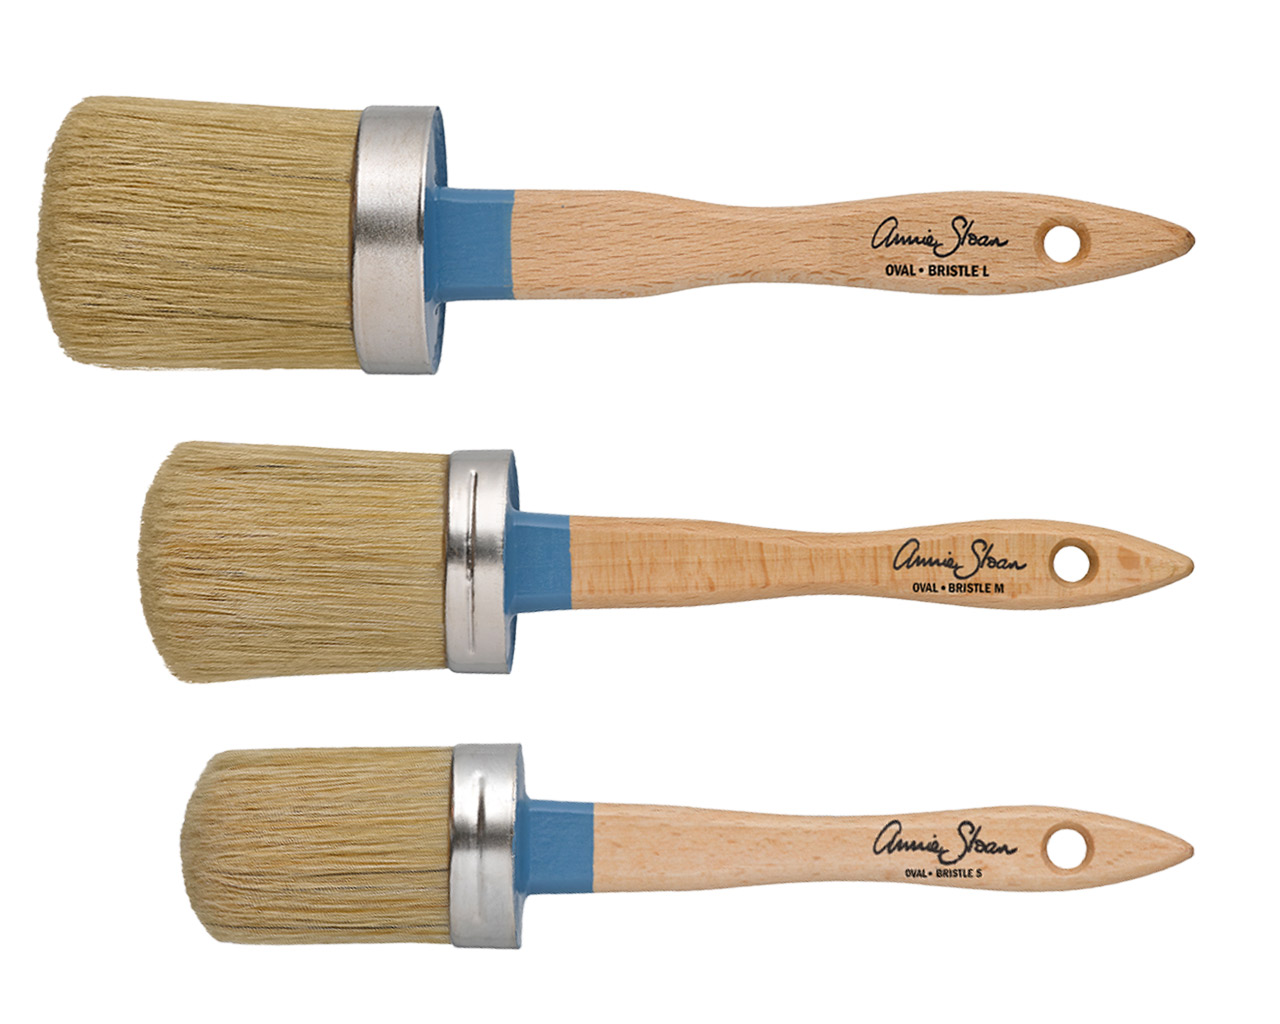
- Paintbrush: Select a good-quality brush with synthetic bristles that are suitable for chalk paint application.
- Sandpaper: Get sandpaper in various grits, such as 120 and 220, to smoothen the surface and remove any imperfections.
- Clean cloth: Use a lint-free cloth to wipe down the coffee table before painting and between coats.
- Painter’s tape: If you want to protect certain areas of the coffee table from paint, use painter’s tape to create clean lines.
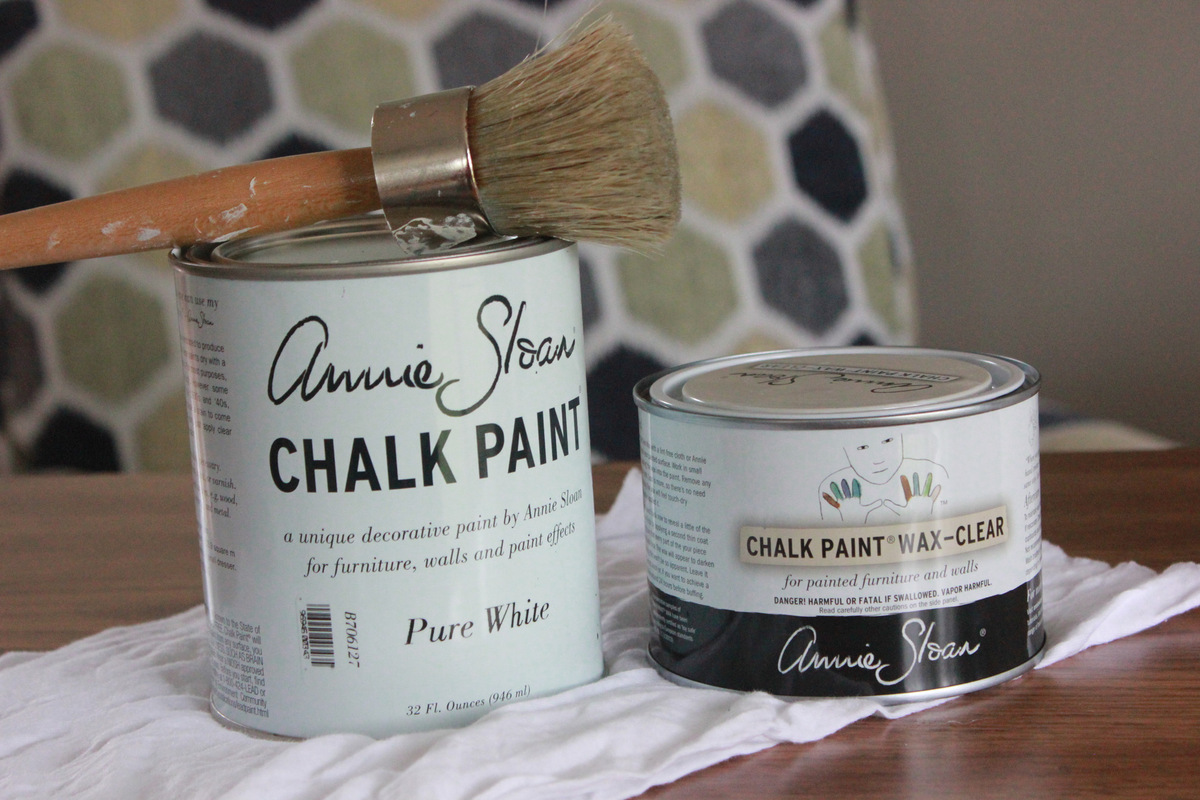
- Wax or sealant: To protect the finish and add durability, you’ll need a wax or sealant specifically designed for chalk paint.
- Protective gear: Wear gloves, goggles, and a dust mask to keep yourself safe during the preparation and painting processes.
- Drop cloth or newspapers: Lay down a drop cloth or newspapers to protect your work surface from any paint spills.
Make sure you have all these materials on hand before you start painting. This will save you time and allow you to focus on the creative process without any interruptions.
Preparation
Proper preparation is key to achieving a flawless finish when painting your coffee table with chalk paint. Follow these steps to ensure a smooth and successful application:
- Clean the coffee table: Start by thoroughly cleaning the coffee table to remove any dirt, dust, or grime. Use a mild soap or wood cleaner and a clean cloth to wipe down the surface. Allow it to dry completely before proceeding.
- Sand the surface: If the table has a glossy or rough finish, lightly sand it to create a slightly rough texture that will help the paint adhere better. Start with a medium-grit sandpaper, such as 120, and then switch to a finer-grit sandpaper, around 220, for a smoother surface. Be sure to wipe away any dust after sanding.
- Remove hardware: If your coffee table has any hardware, such as drawer pulls or hinges, consider removing them before painting. This will make the painting process easier and give you a more professional-looking result.
- Protect surrounding areas: Use painter’s tape to cover any areas of the coffee table that you don’t want to paint. This includes the edges, legs, or any decorative details that you want to keep in their original state.
- Set up your work area: Choose a well-ventilated area, preferably outdoors or in a well-ventilated room, and lay down a drop cloth or newspapers to protect your work surface from any paint splatters or spills.
By taking the time to properly prepare your coffee table, you’ll ensure that the chalk paint adheres well and provides a beautiful, long-lasting finish.
Applying the Chalk Paint
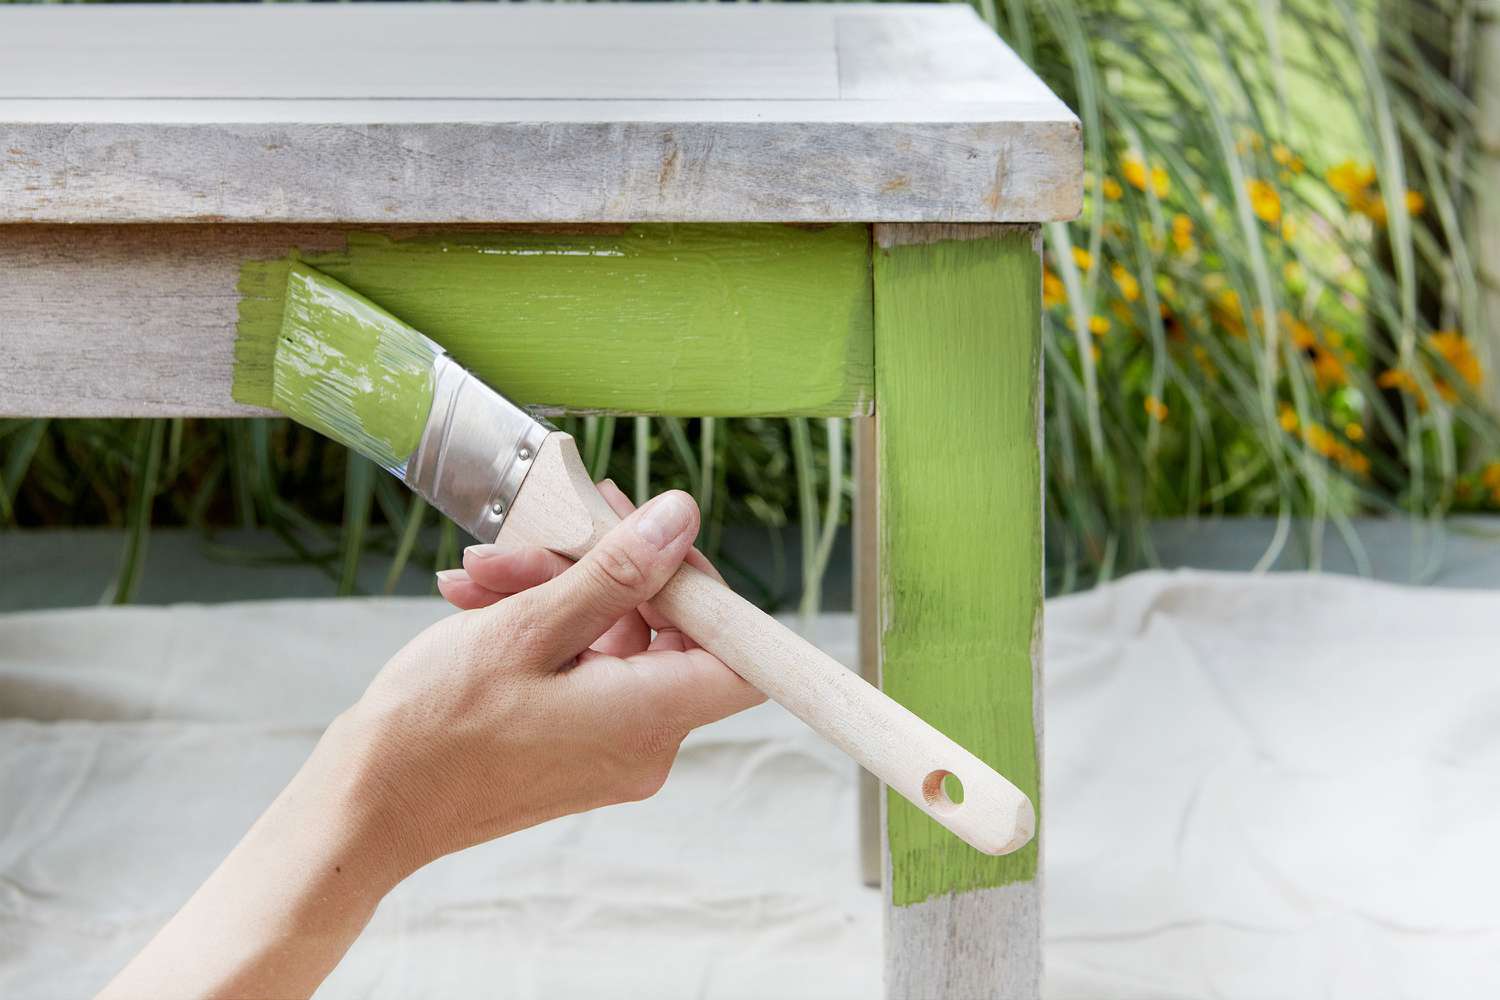
Now comes the fun part – applying the chalk paint to your coffee table. Follow these steps to achieve a smooth and even application:
- Stir the paint: Chalk paint tends to separate, so give it a good stir before using it. This will help ensure an even distribution of color.
- Start with a primer (optional): If your coffee table has a dark or heavily stained surface, you may want to apply a primer before the chalk paint. This will help provide a solid base for the paint and ensure better coverage. Follow the instructions on the primer for application.
- Apply the first coat: Dip your paintbrush into the chalk paint and start applying it to the coffee table. Work in smooth, even strokes, going with the grain of the wood. If the paint seems too thick, you can add a small amount of water to thin it out. Make sure to cover the entire surface evenly.
- Let it dry: Allow the first coat of paint to dry completely before moving on to the next coat. Follow the manufacturer’s instructions for drying times, but generally, it takes about 1-2 hours.
- Apply additional coats: Apply subsequent coats of chalk paint following the same technique. Depending on the desired coverage and color intensity, you may need to apply 2-3 coats. Allow each coat to dry fully before applying the next one.
- Smooth the surface (optional): After the final coat of paint has dried, you can lightly sand the surface with a fine-grit sandpaper to smooth out any brush strokes or imperfections. This step is optional but can give your coffee table a more polished appearance.
Remember to take your time when applying the chalk paint and ensure each coat is fully dry before moving on to the next one. This will help you achieve a professional-looking finish with no streaks or unevenness.
Before painting your coffee table with chalk paint, make sure to clean and sand the surface to ensure better adhesion. This will help the paint to adhere properly and give a smoother finish.
Distressing the Table
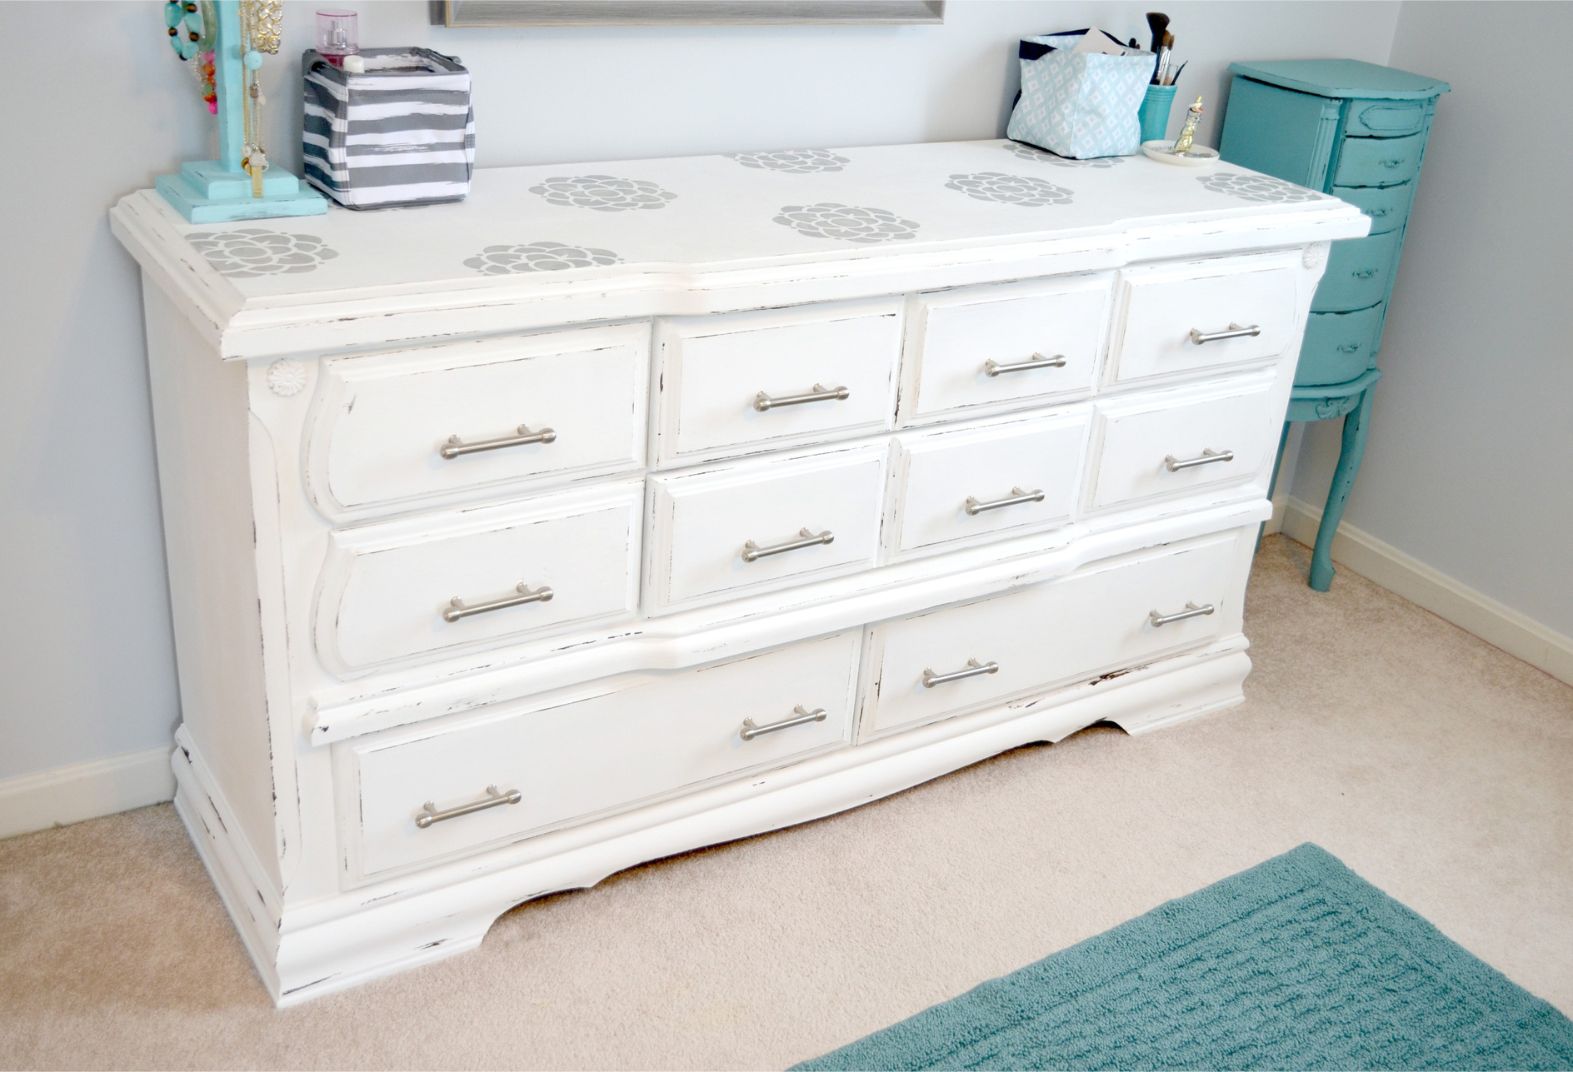
One of the unique features of chalk paint is its ability to create a distressed, aged look. If you desire a vintage or farmhouse-style vibe for your coffee table, distressing is the way to go. Follow these steps to achieve that charming, weathered appearance:
- Plan your distressing: Before you begin, think about the areas of the coffee table that would naturally experience wear and tear over time. These include edges, corners, and areas that would be touched frequently. You can also distress areas that would naturally accumulate dirt or get rubbed against objects.
- Use sandpaper for distressing: Take a piece of sandpaper (around 120 grit) and start rubbing it gently on the areas you want to distress. Focus on edges, corners, and any areas where natural wear would occur. Apply different pressures to create a varied distressed effect. Don’t overdo it; you can always distress more if needed, but it’s harder to undo the distressing.
- Consider additional distressing techniques: In addition to sandpaper, you can explore other distressing techniques, such as using a hammer to create small dents or using a screwdriver to make artificial scratches. Be creative and experiment with different techniques to achieve the desired effect.
- Wipe away the dust: After distressing, use a clean, dry cloth to wipe away any sanding residue or dust that may have accumulated on the coffee table.
Distressing not only adds character and personality to your coffee table but also helps to create a unique, time-worn appearance. Don’t be afraid to get creative and experiment with distressing techniques to achieve the desired look.
Sealing the Paint
Once you have finished painting and distressing your coffee table, it’s important to seal the chalk paint to protect the finish and make it more durable. Sealing the paint will also give your coffee table a smooth and polished look. Follow these steps to seal the paint:
- Choose a sealant: There are different options for sealing chalk paint, such as furniture wax or a clear polyurethane sealant. Choose the option that suits your preference and the level of durability you desire.
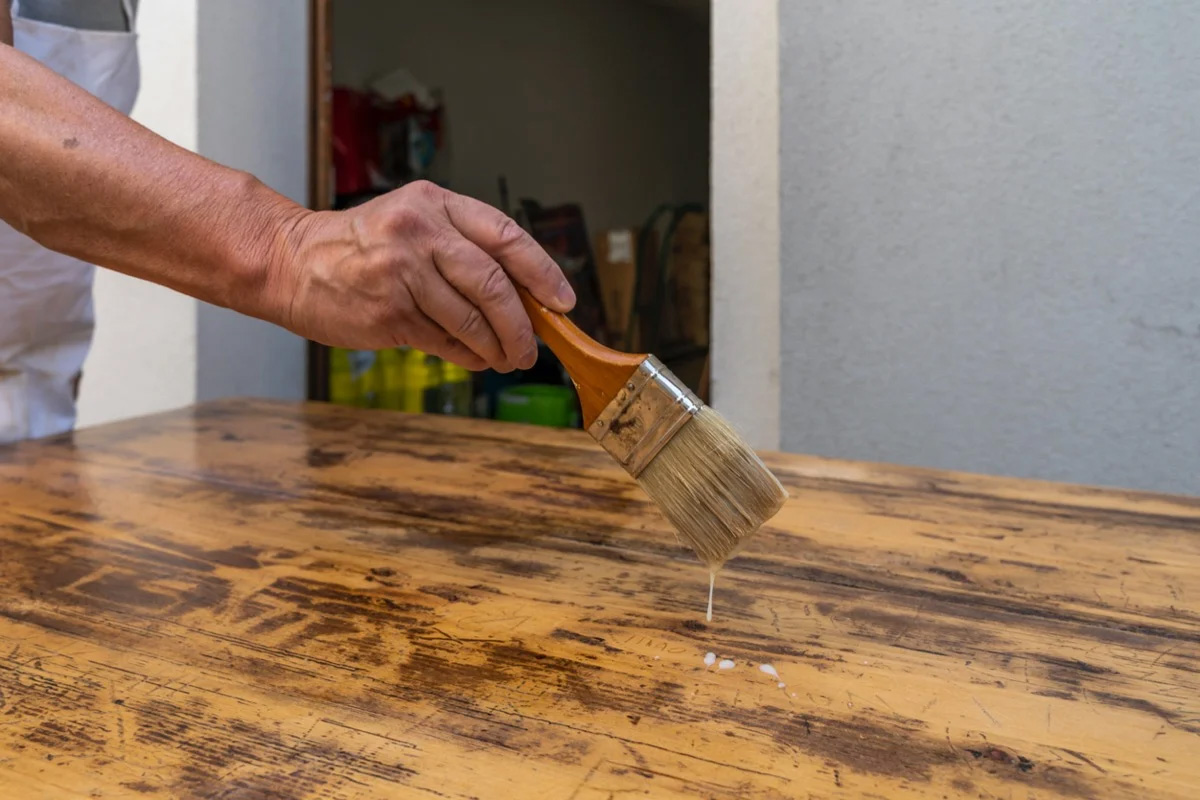
- Apply the sealant: If you are using furniture wax, use a clean cloth or a wax brush to apply a thin layer of wax onto the surface of the coffee table. Work in small sections and rub the wax in circular motions. If you are using a polyurethane sealant, use a synthetic bristle brush to apply an even coat onto the coffee table.
- Follow the drying time: Allow the sealant to dry according to the manufacturer’s instructions. Typically, this takes a few hours to overnight, depending on the type of sealant used.
- Buff the surface (for wax sealant): If you used furniture wax, once the sealant is dry, buff the surface with a clean cloth to create a smooth and polished sheen.
- Apply additional coats (optional): If you want extra protection or a higher sheen, you can apply an additional coat of sealant. Make sure to follow the drying time between coats.
Sealing the paint will not only protect your coffee table from everyday wear and tear but also make it easier to clean and maintain. The sealant will add a layer of protection and longevity to your painted surface, ensuring that your coffee table stays beautiful for years to come.
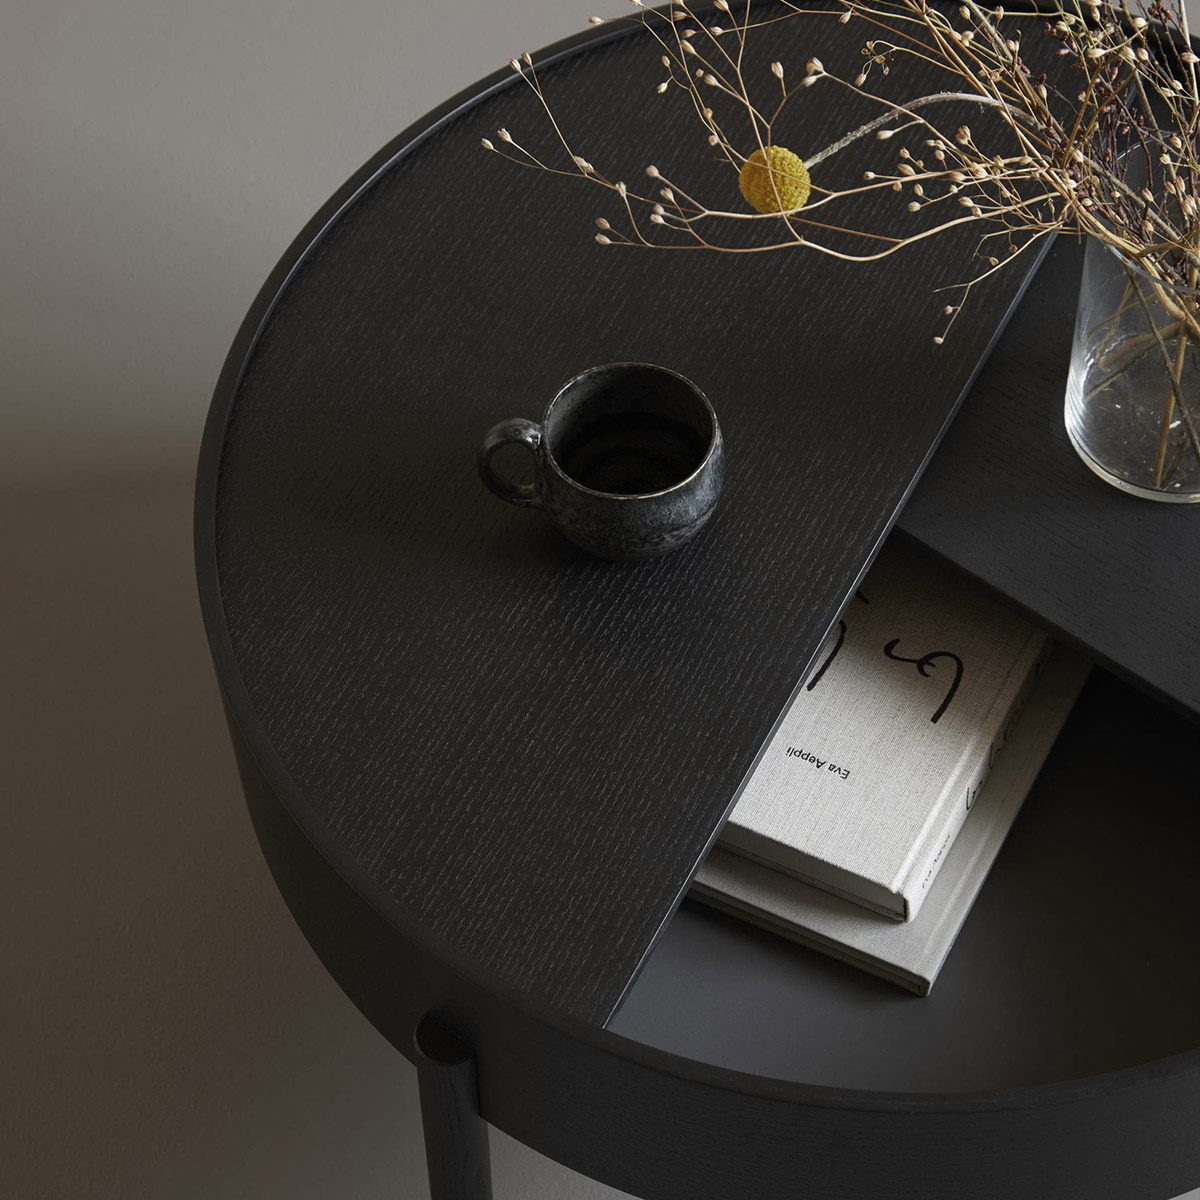
Finishing Touches
Now that you have painted, distressed, and sealed your coffee table, it’s time to add the finishing touches to complete the transformation. These final details will elevate the overall look and make your coffee table a standout piece in your living room. Here are some ideas:
- Hardware: If you removed any hardware before painting, now is the perfect time to reinstall them. Choose new knobs or pulls that complement the style and color of your coffee table.
- Decorative accessories: Add decorative accessories such as books, candles, or a small plant to the tabletop. These items will not only enhance the aesthetic but also make the coffee table functional.
- Tabletop styling: Arrange decorative objects and treasured items in a visually pleasing way on the table. Consider using a tray to corral smaller items and create a cohesive look.
- Coasters or placemats: To protect the newly painted surface, use coasters or placemats when placing drinks or other items on the coffee table.
- Accessories for added charm: Consider adding vintage-inspired items like a decorative tray, a stack of old books, or a small antique vase to enhance the character and charm of the coffee table.
Remember, the finishing touches are a reflection of your personal style and taste. Don’t be afraid to experiment and add your own unique flair to make the coffee table truly yours.
With these finishing touches, your coffee table transformation is complete. Sit back, admire your work, and enjoy the renewed beauty of your living room centerpiece.
Conclusion
Congratulations on successfully painting your coffee table with chalk paint! By following the steps outlined in this guide, you’ve managed to give your old or worn-out coffee table a whole new lease on life. Not only does it look refreshed and stylish, but it also reflects your personal taste and creativity.
Throughout this process, you have learned the importance of proper preparation, including cleaning and sanding the surface for optimal paint adhesion. You have also learned how to apply chalk paint in smooth, even coats, allowing each layer to dry before applying the next. Distressing the table added a touch of vintage charm, while sealing the paint with wax or a sealant offered protection and durability.
Lastly, you added the finishing touches that truly personalized your coffee table, whether it was choosing unique hardware, styling the tabletop, or incorporating decorative accessories. These final details have transformed your coffee table into a standout piece that enhances the ambiance of your living room.
Remember to enjoy your newly painted coffee table and make it a focal point in your living space. The possibilities for customization are endless, so feel free to let your creative spirit shine by experimenting with different paint colors, distressing techniques, and decorative elements.
Thank you for joining us on this journey of converting a coffee table with chalk paint. We hope you’ve found this guide informative and inspiring. Now, go ahead and show off your beautiful coffee table to friends and family, and enjoy the satisfaction of a DIY project well-done!
Frequently Asked Questions about How To Paint A Coffee Table With Chalk Paint
Was this page helpful?
At Storables.com, we guarantee accurate and reliable information. Our content, validated by Expert Board Contributors, is crafted following stringent Editorial Policies. We're committed to providing you with well-researched, expert-backed insights for all your informational needs.

0 thoughts on “How To Paint A Coffee Table With Chalk Paint”