Furniture
How To Paint A Dresser With Chalk Paint
Modified: December 7, 2023
Learn how to transform your old dresser into a stunning piece of furniture with chalk paint. Step-by-step guide to easily revamp your home decor.
(Many of the links in this article redirect to a specific reviewed product. Your purchase of these products through affiliate links helps to generate commission for Storables.com, at no extra cost. Learn more)
Introduction
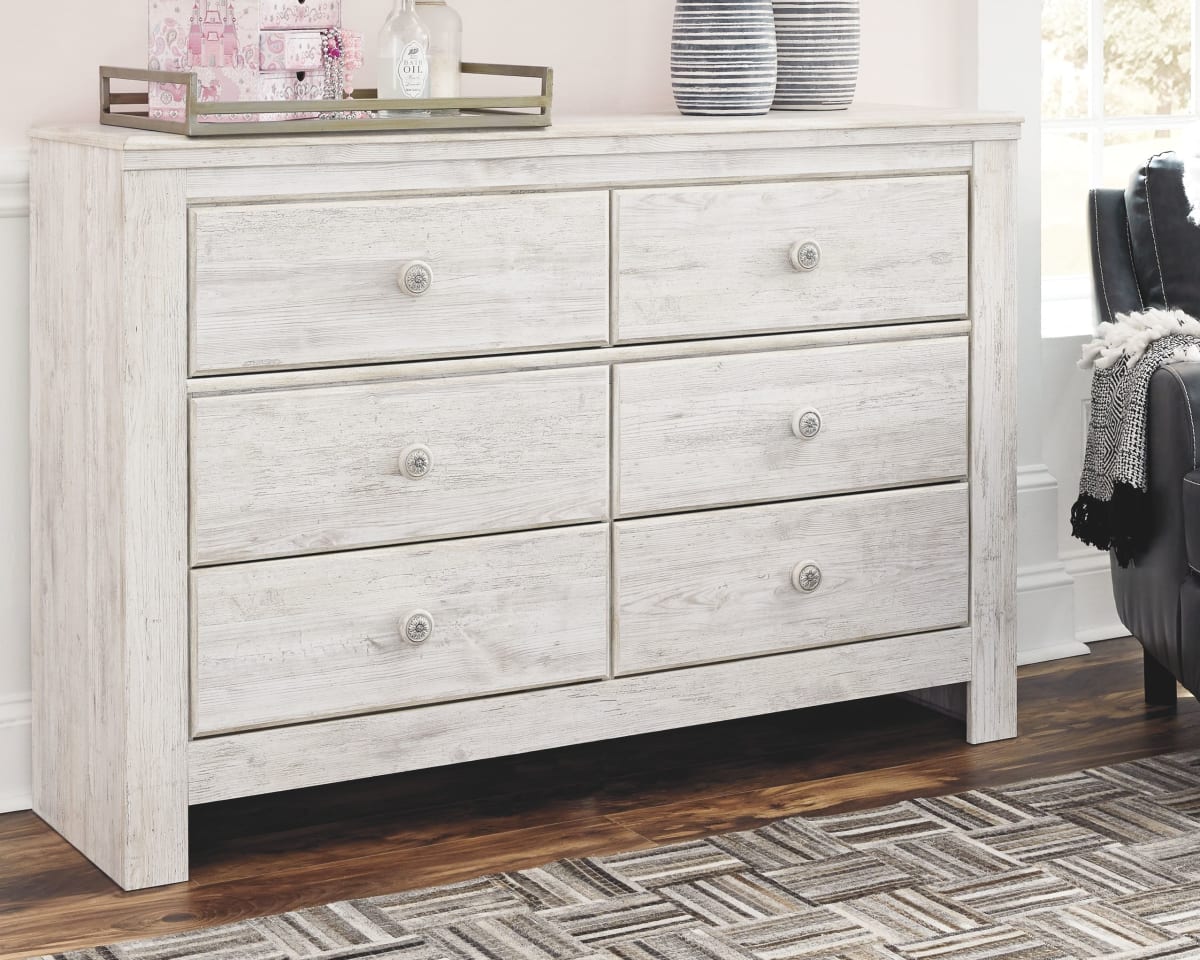
Welcome to the world of furniture transformation! If you’re looking to add a unique touch to your dresser and breathe new life into it, painting with chalk paint is a fantastic way to achieve stunning results. Chalk paint has gained popularity due to its versatility, ease of use, and ability to create a beautiful, matte finish. Whether you have an old dresser that needs a makeover or you want to personalize a new piece, this article will guide you through the process of painting a dresser with chalk paint.
Before we jump into the exciting world of furniture transformation, let’s first gather the materials we’ll need.
Key Takeaways:
- Transform your dresser into a stunning masterpiece with chalk paint. Follow the step-by-step guide to prep, paint, distress, and seal for a personalized and long-lasting finish.
- Unleash your creativity and breathe new life into your furniture with chalk paint. Achieve a professional finish, add character with distressing, and protect your masterpiece for years to come.
Read more: How To Paint Furniture With Chalk Paint
Materials Needed
Before you embark on your chalk painting adventure, it’s important to gather all the necessary materials. Here’s a list of items you’ll need:
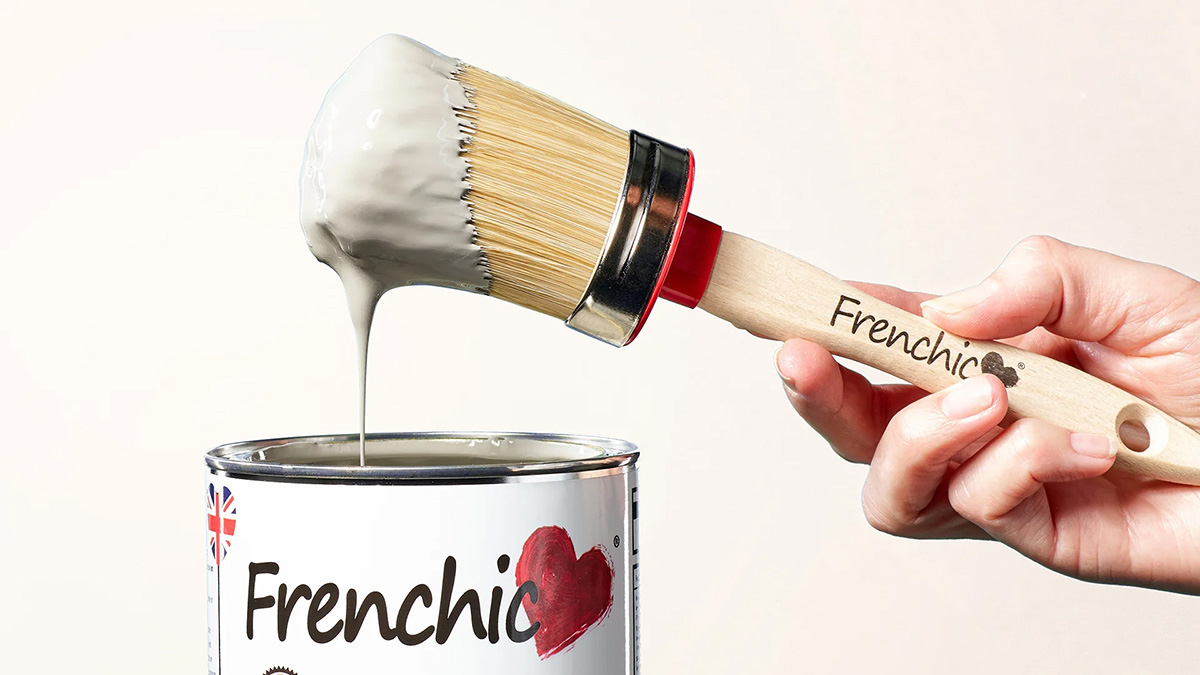
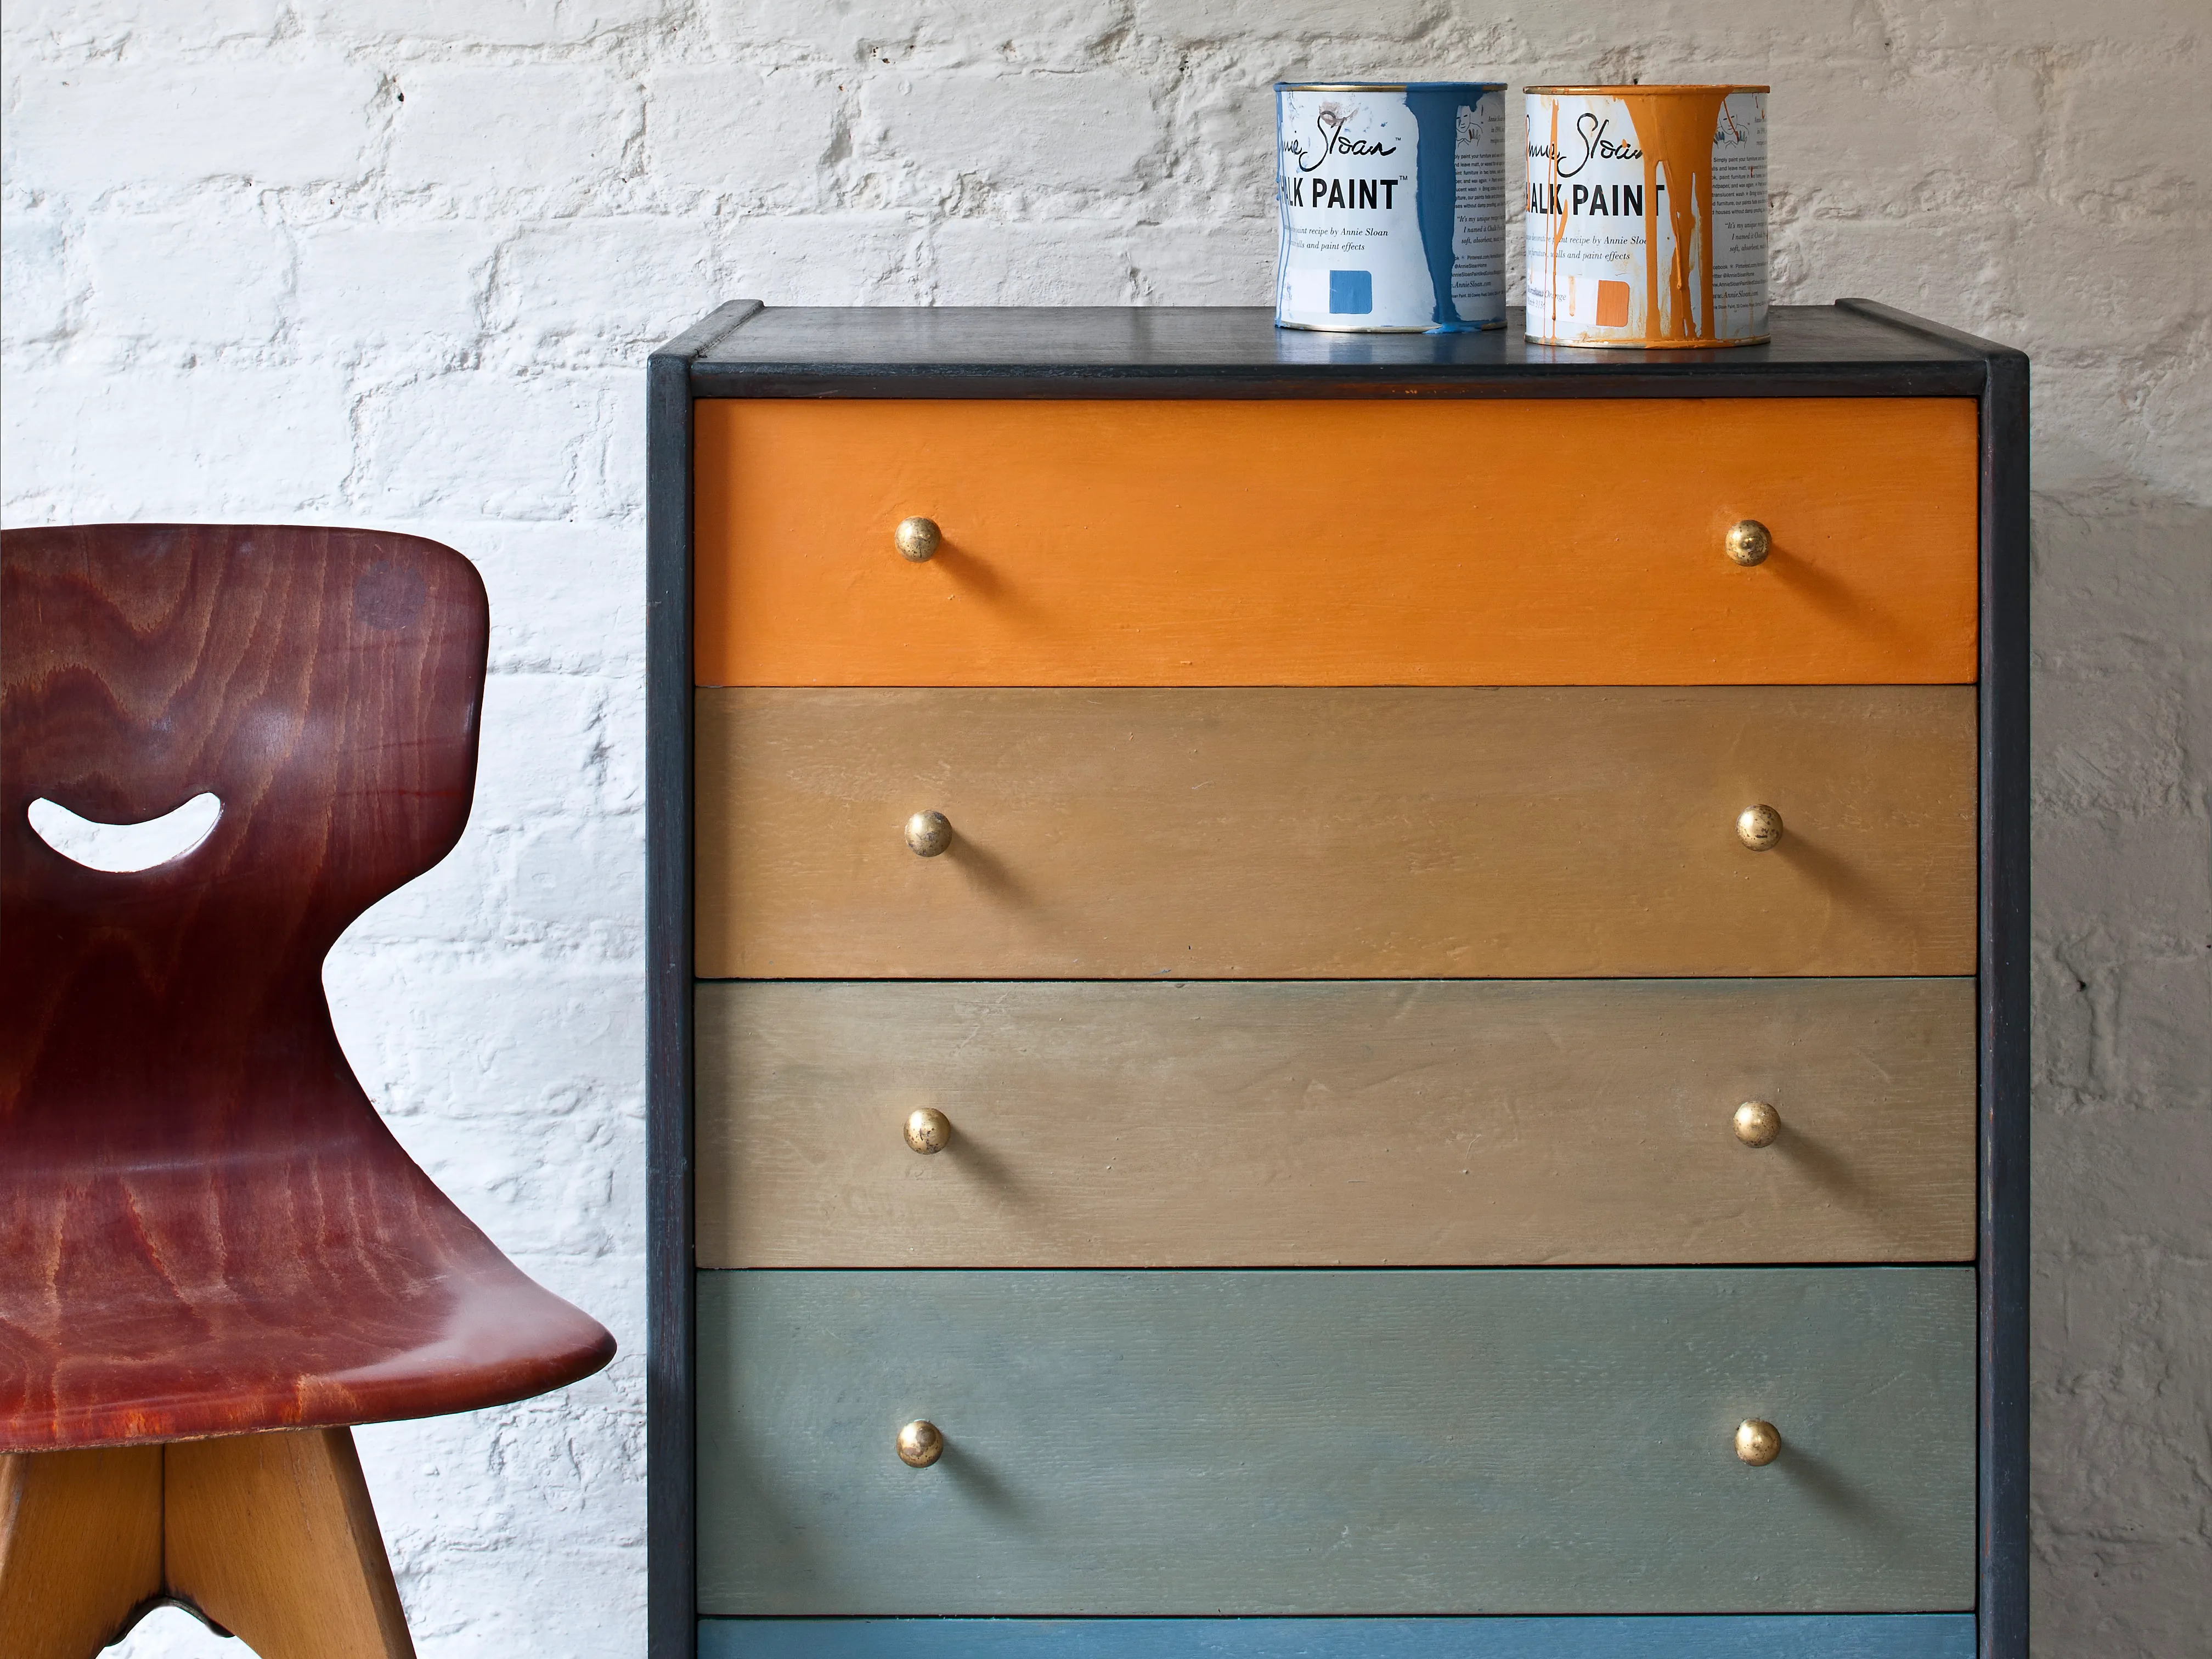
- Chalk paint: Choose a high-quality brand that offers a wide range of colors. Chalk paint is known for its excellent coverage and smooth finish.
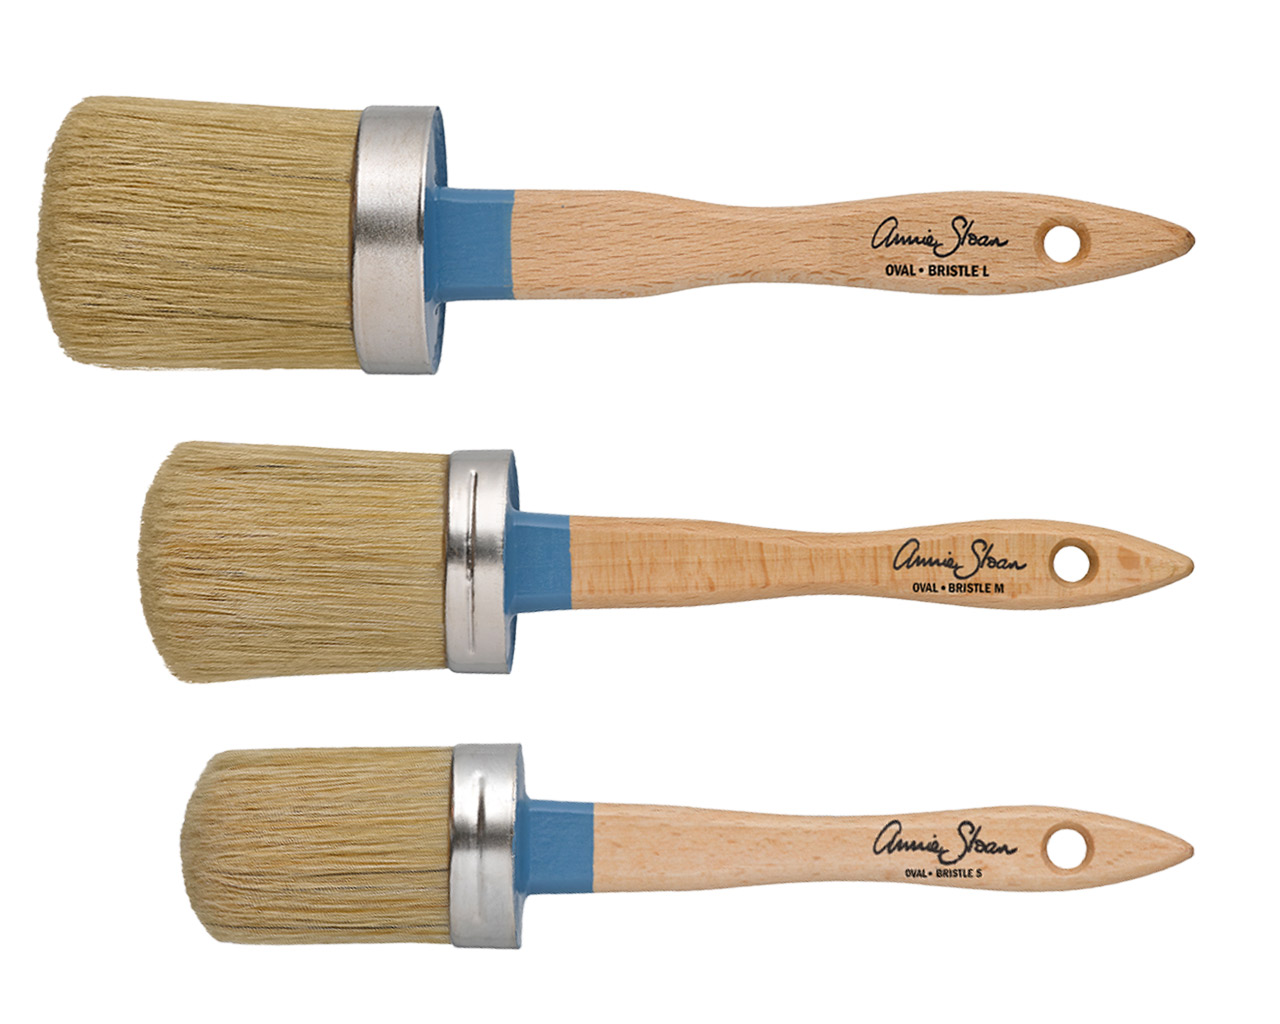
- Paintbrushes: Invest in a set of good-quality paintbrushes, including a larger brush for larger surfaces and a smaller brush for detailed work.
- Sandpaper: You’ll need sandpaper of various grits to prepare the surface and smooth out any imperfections.
- Clean cloth or sponge: These will come in handy for wiping down the dresser and removing any dust or dirt.
- Painter’s tape: Use painter’s tape to protect areas you don’t want to paint, such as handles or trim.
- Drop cloth or old newspapers: To protect your workspace from paint drips and spills.
- Wax or sealant: Depending on the desired finish, you may need to apply wax or a sealant to protect the painted surface.
- Optional: Decorative knobs or handles, if you want to update the hardware.
Now that you have all the necessary materials, let’s move on to the preparation stage.
Preparing the Dresser
Before you start painting, it’s essential to properly prepare the dresser surface to ensure the best results. Follow these steps for a successful prep:
- Clean the dresser: Remove any dust, dirt, or grease from the dresser using a clean cloth or sponge. This will help the paint adhere more smoothly.
- Remove hardware: If your dresser has knobs or handles, remove them using a screwdriver. This will make it easier to paint the dresser surface.
- Sand the surface: Lightly sand the surface to create a rough texture for better paint adhesion. Start with a medium-grit sandpaper and then move on to a finer grit for a smoother finish. Wipe away any dust with a clean cloth afterwards.
- Fill in imperfections: If there are any dents, scratches, or holes, use a wood filler to fill them in. Once dried, sand the patched areas to ensure a seamless surface.
- Protect nearby areas: Use painter’s tape to cover any areas you don’t want to paint, such as edges, trim, or the back of the dresser.
Once the dresser is clean and prepped, it’s time to dive into the exciting part – painting with chalk paint! Let’s get started!
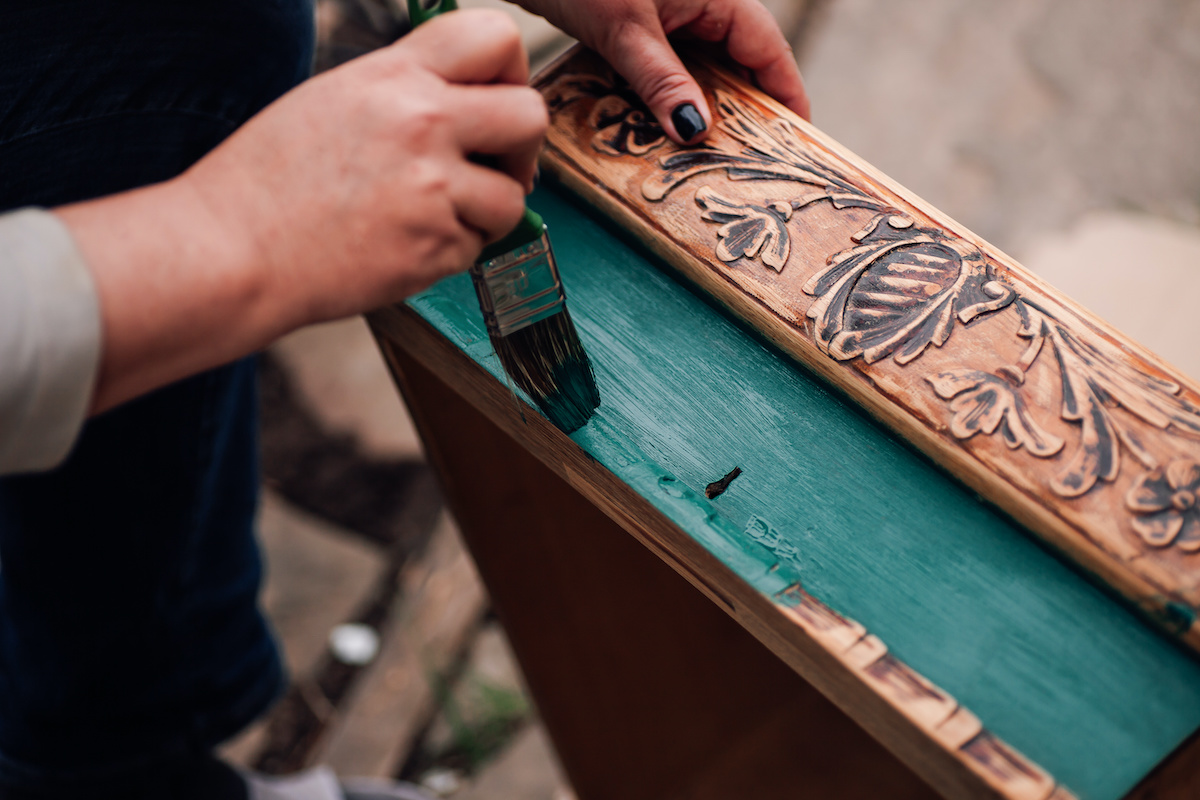
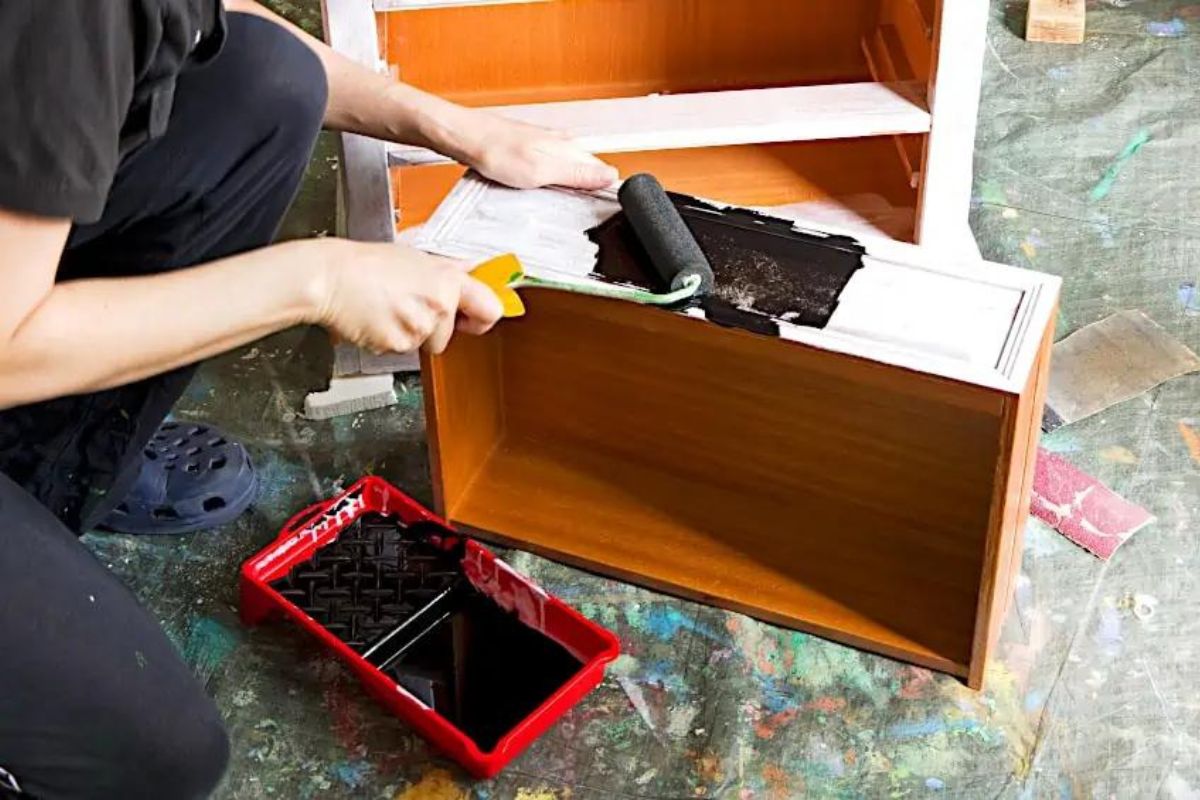
Applying the Chalk Paint
Now that your dresser is prepped and ready, it’s time to start applying the chalk paint. Follow these steps for a professional-looking finish:
- Stir the paint: Give the chalk paint a good stir to ensure it’s well-mixed. Chalk paint has a thicker consistency, so stirring will make it easier to work with.
- Start with a base coat: Begin by applying a thin, even coat of chalk paint to the dresser surface. Use long, smooth brush strokes in the direction of the wood grain for optimal coverage.
- Allow to dry: Let the first coat dry completely before applying a second coat. This usually takes about two hours, but it’s best to check the manufacturer’s instructions for the recommended drying time.
- Apply additional coats: Depending on the desired finish and color intensity, you may need to apply multiple coats of chalk paint. Allow each coat to dry before applying the next.
- Smooth out brush strokes: If you prefer a smoother finish, lightly sand the surface between coats using a fine-grit sandpaper. This will help to eliminate any visible brush strokes.
- Let the final coat dry completely: After applying all the desired coats of chalk paint and achieving the desired finish, allow the final coat to dry thoroughly. This may take anywhere from 24 to 48 hours.
Once the paint is dry, you can move on to distressing the finish to add character and texture to your painted dresser. Let’s learn how to do it in the next section.
Before painting a dresser with chalk paint, make sure to clean the surface thoroughly to remove any dirt or grease. This will help the paint adhere better and result in a smoother finish.
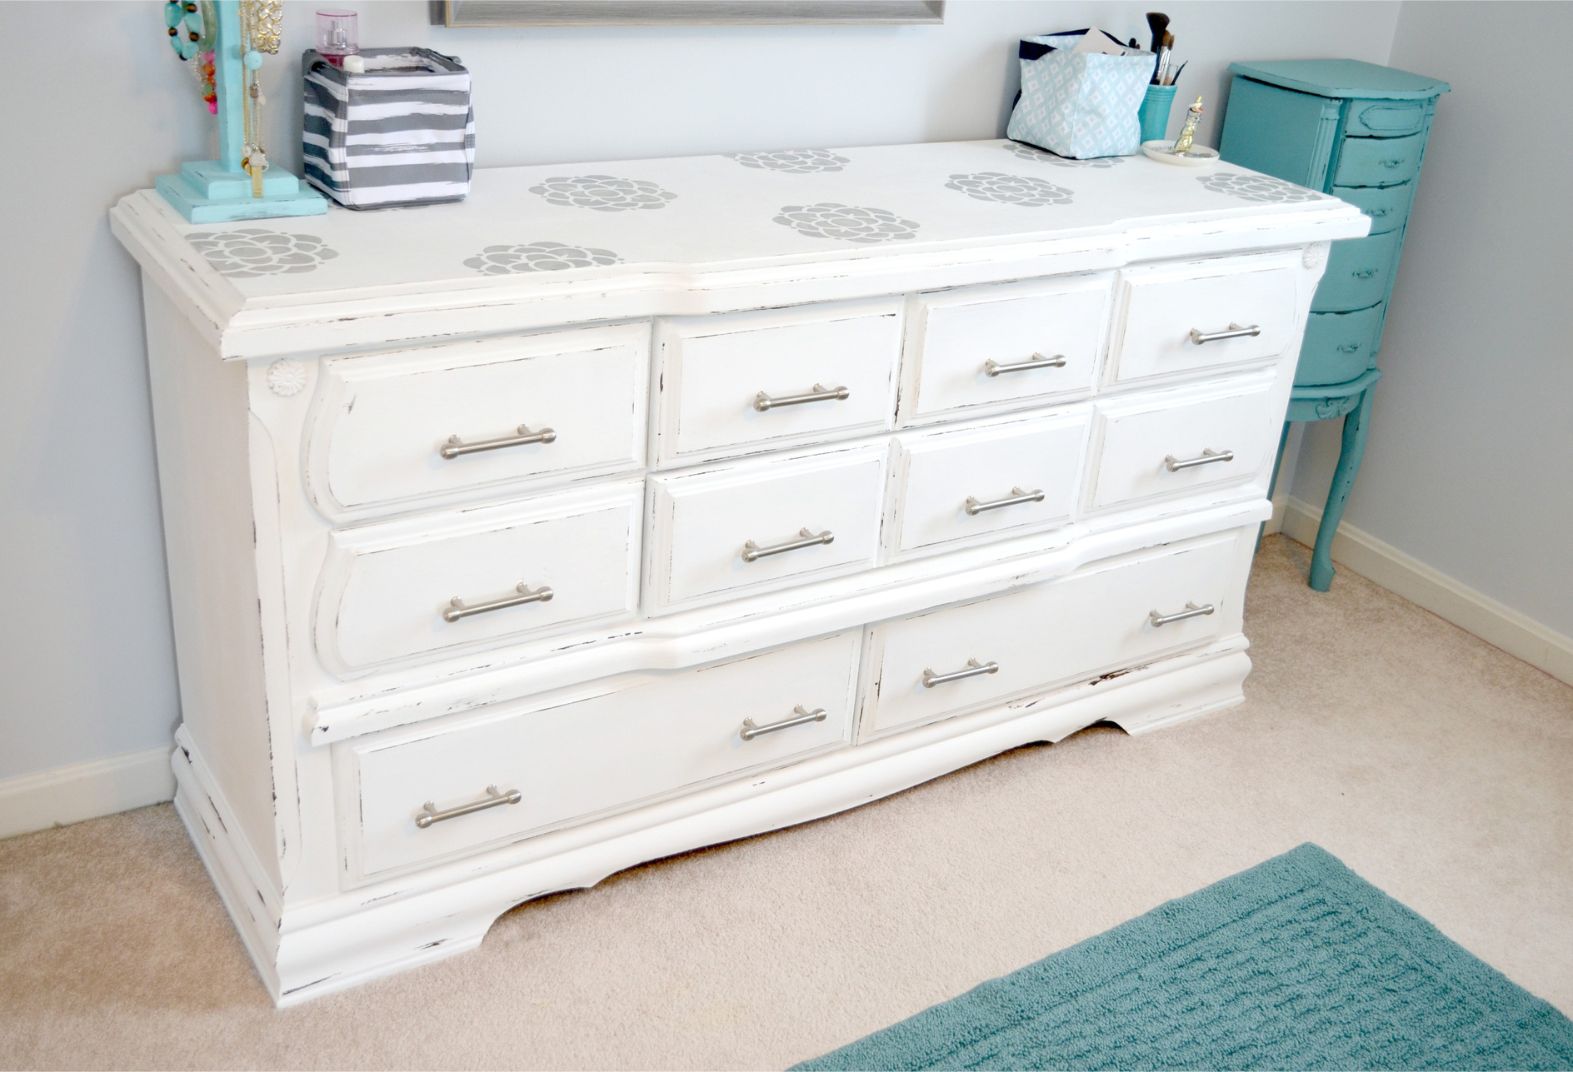
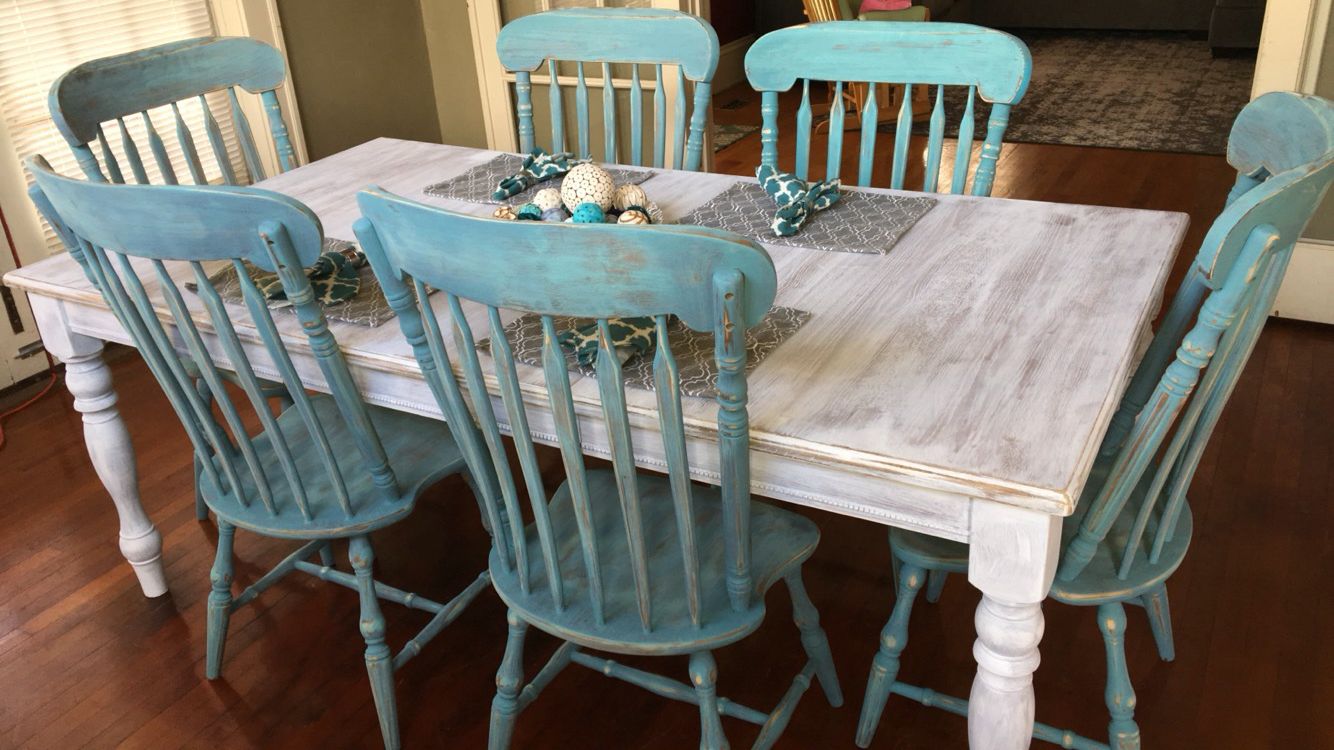
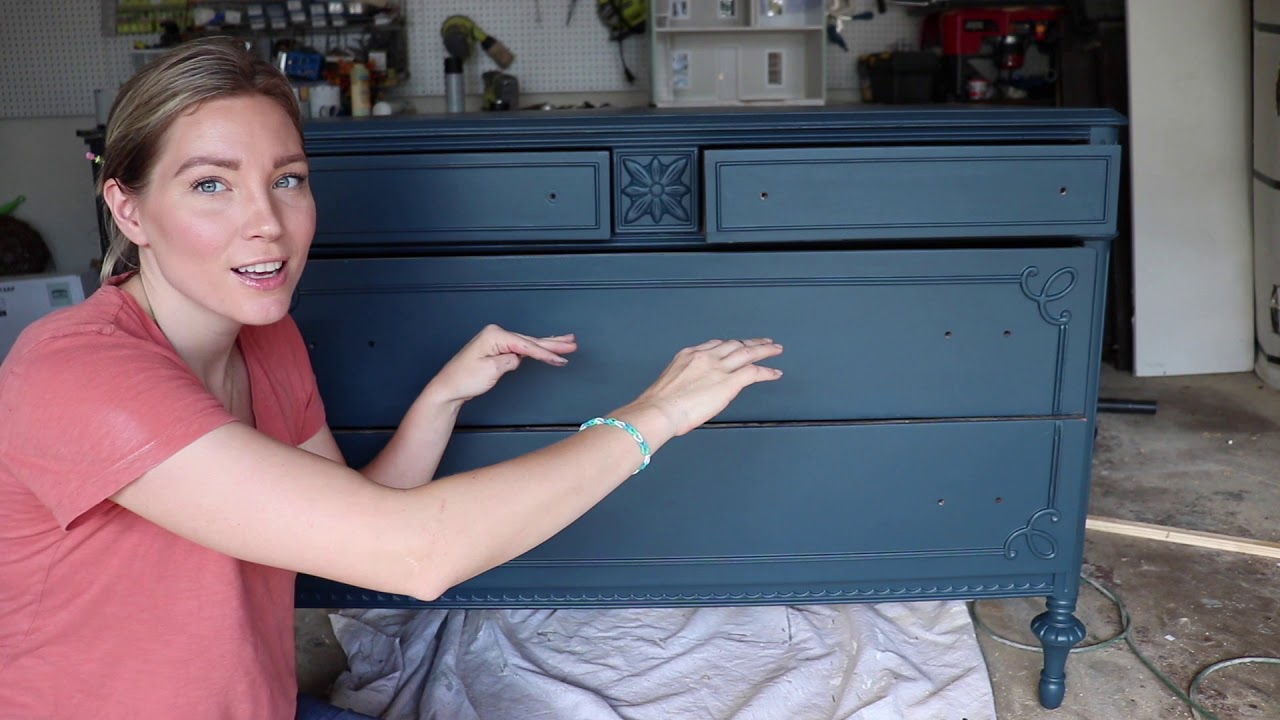
Distressing the Finish
Distressing the finish of your chalk-painted dresser is a popular technique that adds charm and character to the piece. It gives the illusion of age and wear, creating a vintage or rustic look. Follow these steps to distress the finish:
- Choose your distressing tools: There are several options for distressing, including sandpaper, a sanding block, or even a damp cloth. Experiment with different tools to achieve the desired effect.
- Select the areas to distress: Decide which areas of the dresser you want to distress. Common areas include edges, corners, and areas that would naturally experience wear over time.
- Start sanding or rubbing: Using your selected distressing tool, gently sand or rub the areas you want to distress. Apply light to moderate pressure and work in a circular or back-and-forth motion. Keep sanding until you achieve the desired level of distressing.
- Step back and assess: Periodically step back and assess the distressing to ensure you don’t go overboard. Remember, you can always distress more, but it’s challenging to reverse excessive distressing.
- Wipe away dust: After distressing, use a clean cloth or brush to wipe away any dust or debris from the surface.
Distressing the finish adds character and depth to your painted dresser, giving it a unique and timeless appeal. Once you’re satisfied with the distressing, it’s time to protect and seal the paint.
Read more: How To Paint A Coffee Table With Chalk Paint
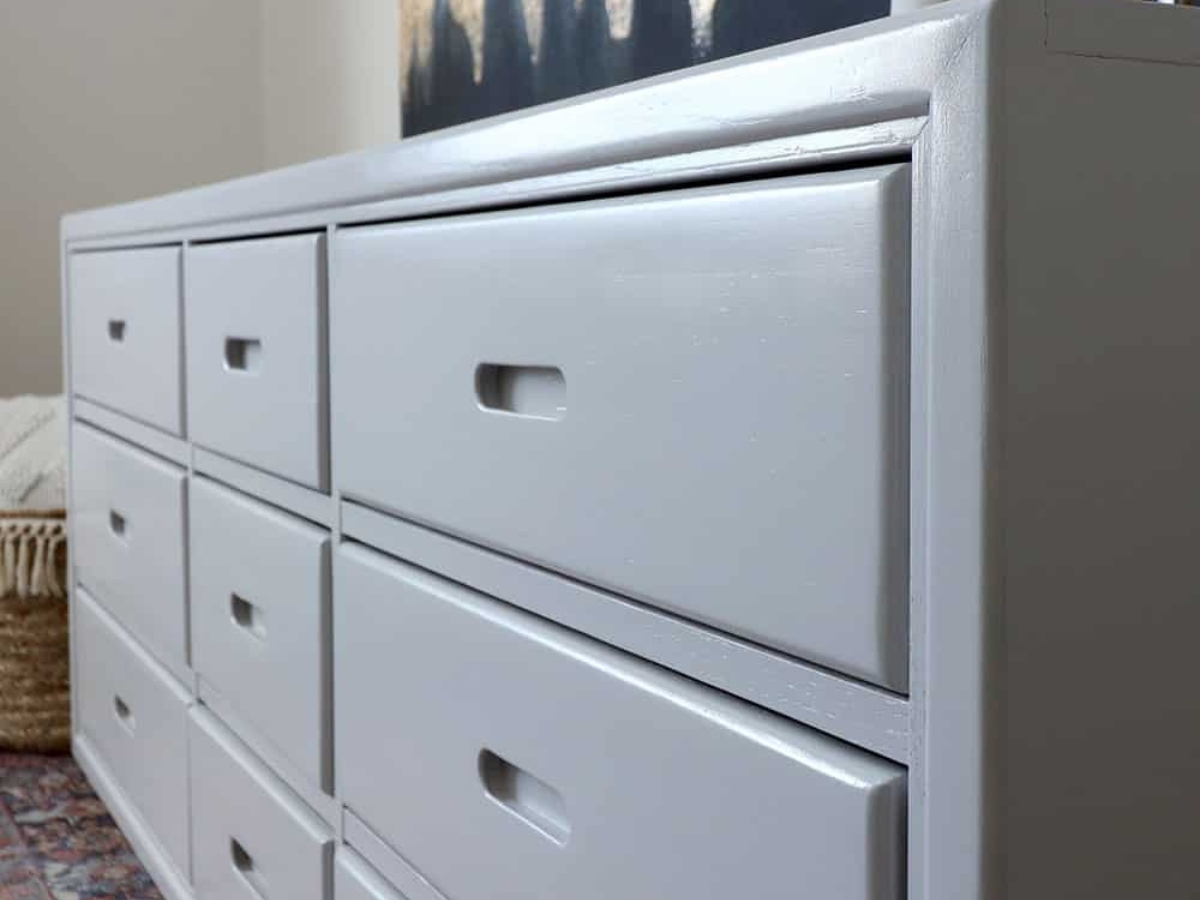
Sealing the Painted Dresser
To protect the beautiful finish you’ve achieved with your chalk-painted dresser, it’s crucial to seal it with a protective topcoat. Sealing the paint not only adds durability but also enhances the overall appearance. Follow these steps to seal your painted dresser:
- Choose your sealant: There are a few options for sealing chalk paint, including wax and polyurethane. Wax provides a soft, matte finish, while polyurethane offers a more durable, glossy finish. Consider the look you want to achieve and select the appropriate sealant.
- Apply the sealant: Using a brush or a lint-free cloth, apply a thin, even coat of the sealant to the entire painted surface. Make sure to follow the manufacturer’s instructions for application techniques and drying time.
- Allow to dry and cure: Let the first coat of sealant dry fully according to the manufacturer’s instructions. Depending on the type of sealant used, this may take anywhere from a few hours to overnight. Apply additional coats if necessary, allowing each coat to dry before applying the next.
- Buff the surface (for wax sealant): If you opted for a wax sealant, after it has cured, use a clean cloth to gently buff the dresser surface. This will give it a smooth and polished appearance.
- Reattach hardware: Once the sealant has completely dried and cured, reattach the knobs or handles to complete the transformation.
By sealing the painted dresser, you’ll ensure longevity and protect the surface from everyday wear and tear. Now, take a step back and admire your beautifully painted and sealed dresser!
Conclusion
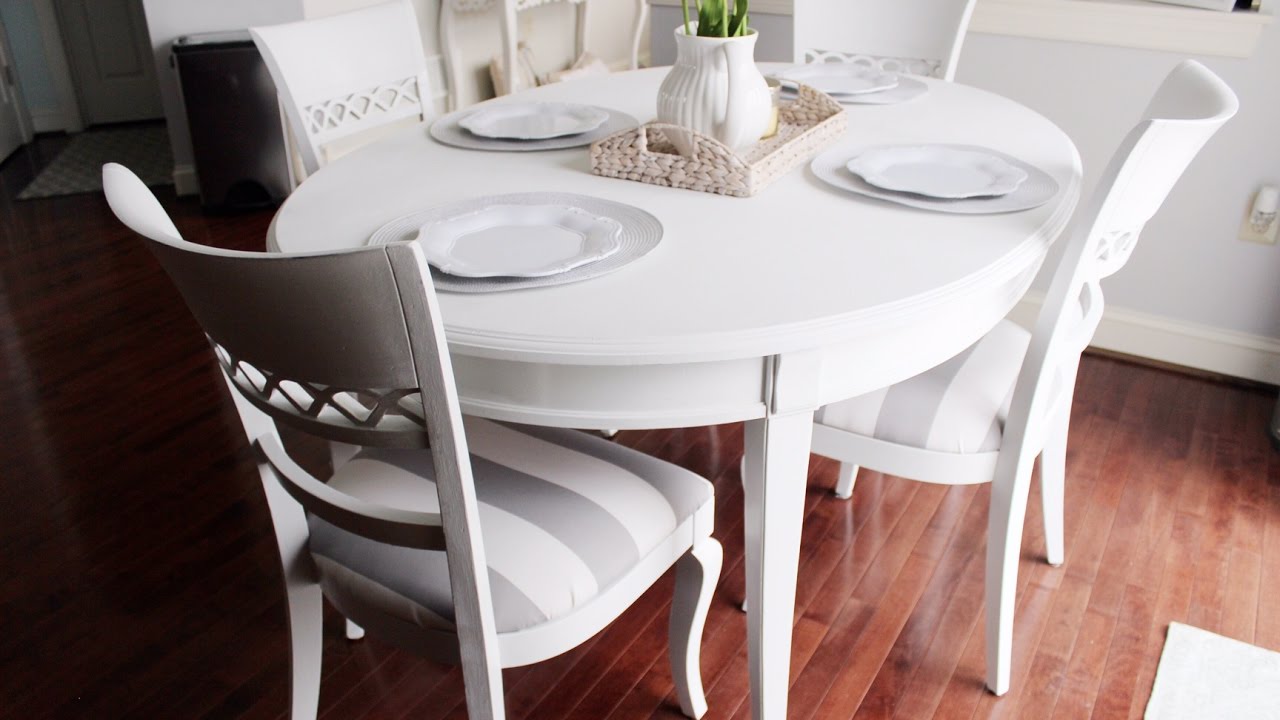
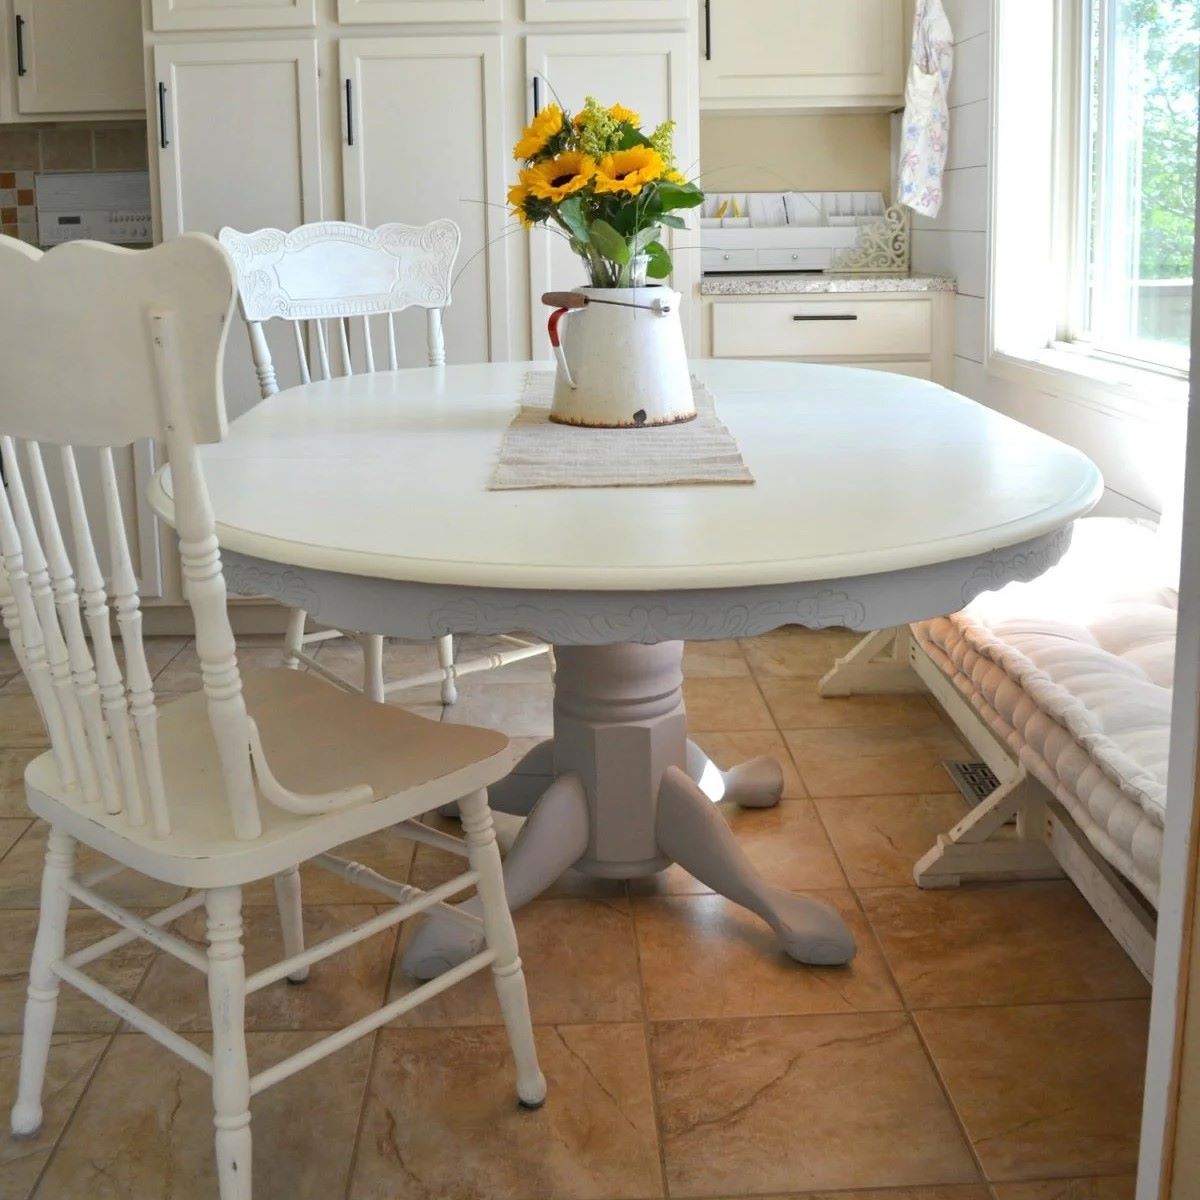
Congratulations! You have successfully transformed your dresser into a stunning piece of furniture with the magic of chalk paint. By following the steps outlined in this article, you’ve learned how to prep the dresser, apply the chalk paint, distress the finish, and seal it for long-lasting beauty.
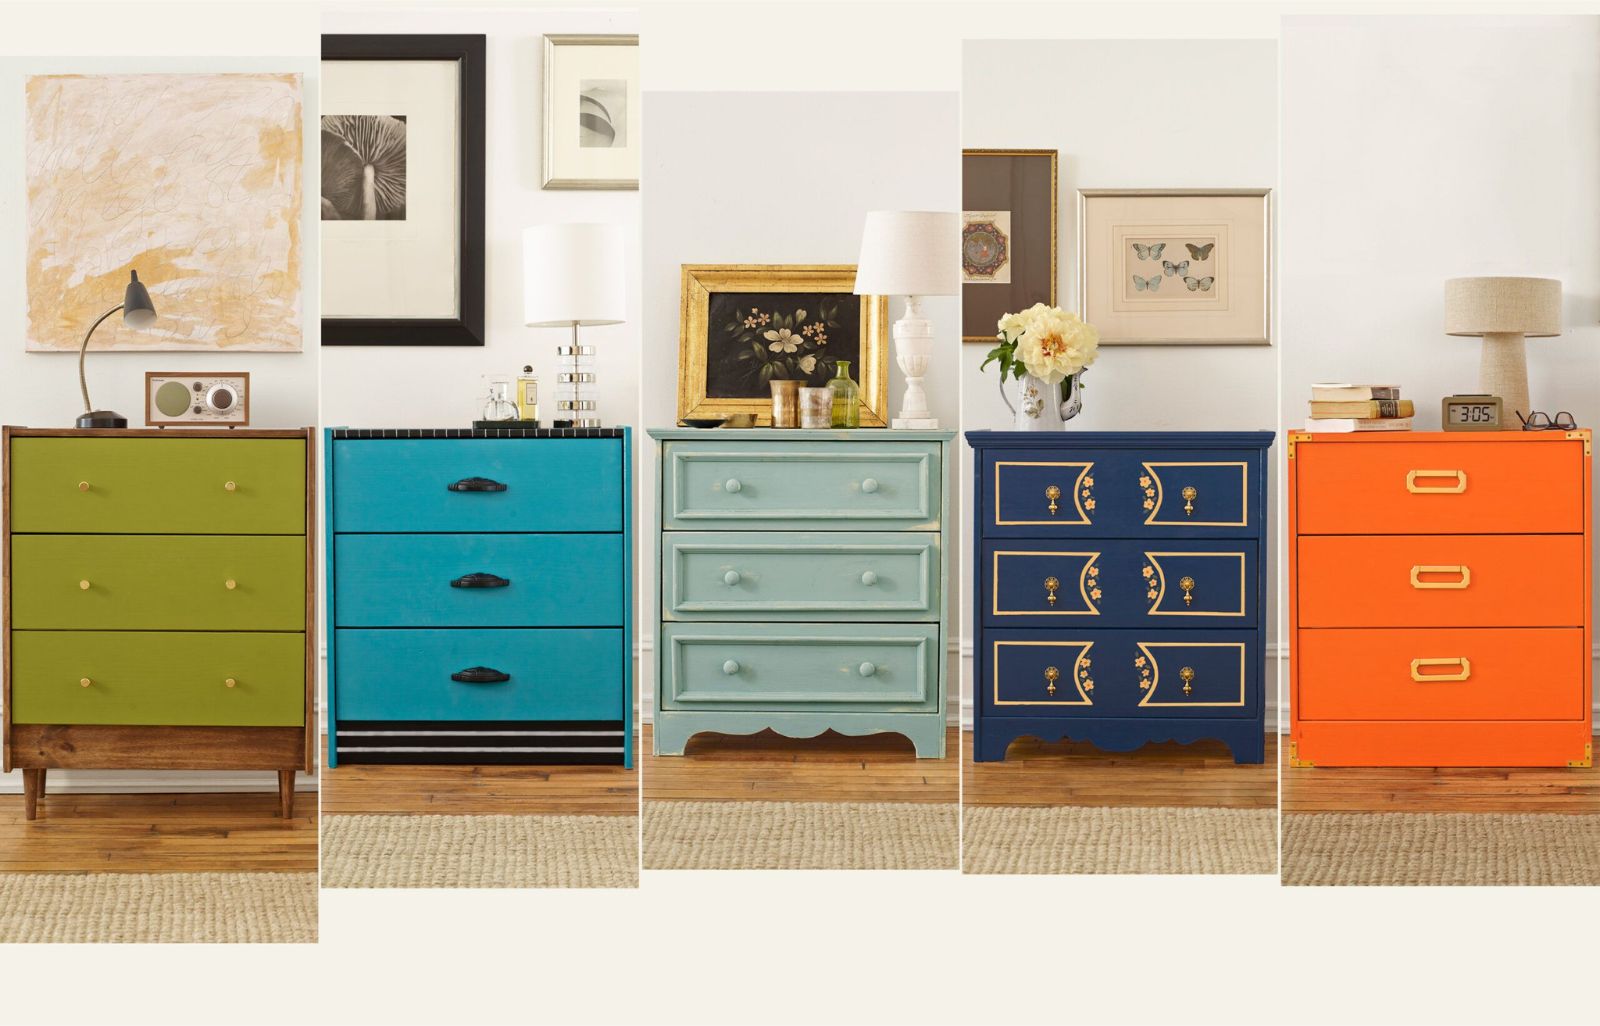
Painting with chalk paint opens up a world of possibilities for personalizing and rejuvenating your furniture. The matte finish and versatile nature of chalk paint allow you to experiment with different colors and techniques to achieve unique and customized looks.
Remember, when embarking on a furniture painting project, careful preparation and attention to detail are key. Take the time to clean and sand the dresser surface, and apply multiple coats of chalk paint for a professional finish. Don’t shy away from distressing the finish to add character, and seal the paint with a protective topcoat to ensure durability and longevity.
Whether you’re adding a pop of color to a tired piece or giving new life to a thrifted find, painting a dresser with chalk paint is a rewarding and creative endeavor. So gather your materials, unleash your creativity, and enjoy the transformation as your dresser becomes a beautiful, one-of-a-kind work of art.
Now, it’s time to sit back and enjoy the fruits of your labor. Admire your newly painted dresser and revel in the sense of accomplishment that comes from creating something unique and beautiful. Happy painting!
Frequently Asked Questions about How To Paint A Dresser With Chalk Paint
Was this page helpful?
At Storables.com, we guarantee accurate and reliable information. Our content, validated by Expert Board Contributors, is crafted following stringent Editorial Policies. We're committed to providing you with well-researched, expert-backed insights for all your informational needs.

0 thoughts on “How To Paint A Dresser With Chalk Paint”