Home>Furniture & Design>Living Room Furniture>How To Chalk Paint A Dining Table

Living Room Furniture
How To Chalk Paint A Dining Table
Modified: January 19, 2024
Learn how to chalk paint a dining table to give your living room furniture a fresh and stylish update. Discover furniture and design tips for a stunning transformation.
(Many of the links in this article redirect to a specific reviewed product. Your purchase of these products through affiliate links helps to generate commission for Storables.com, at no extra cost. Learn more)
Introduction
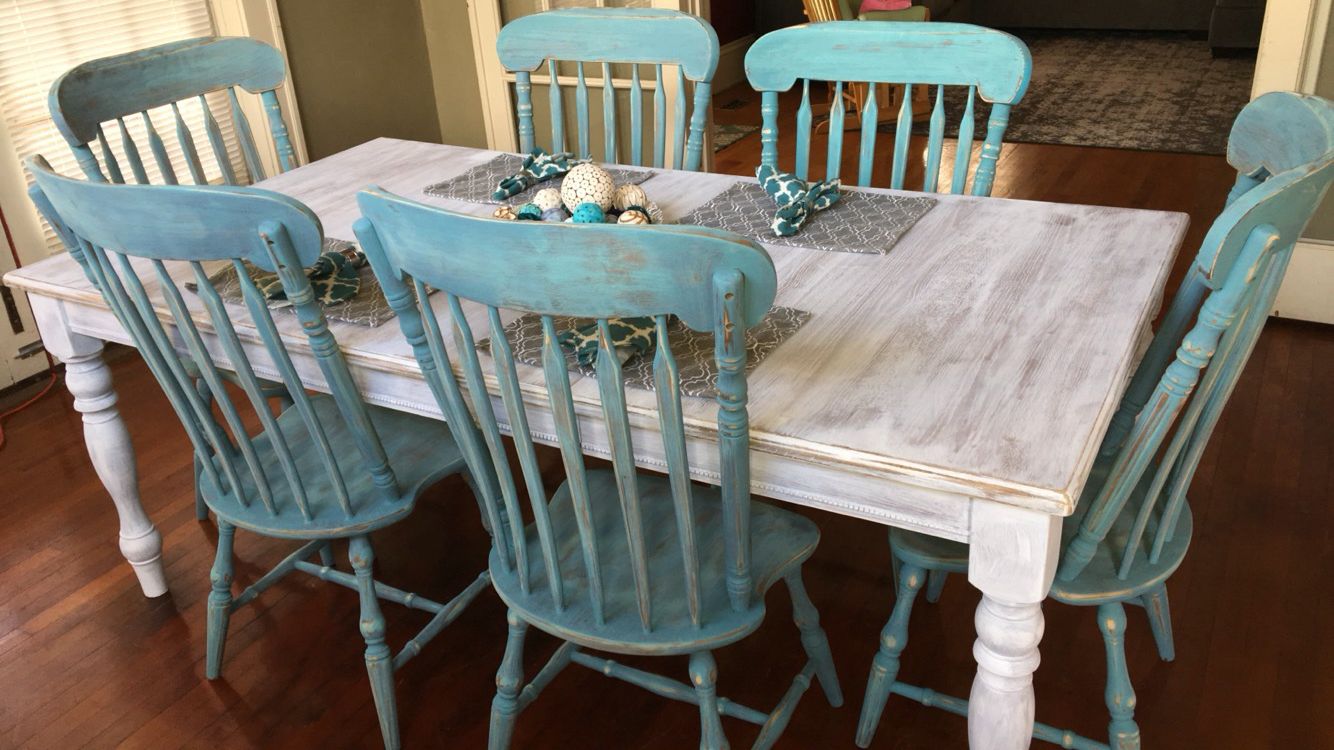
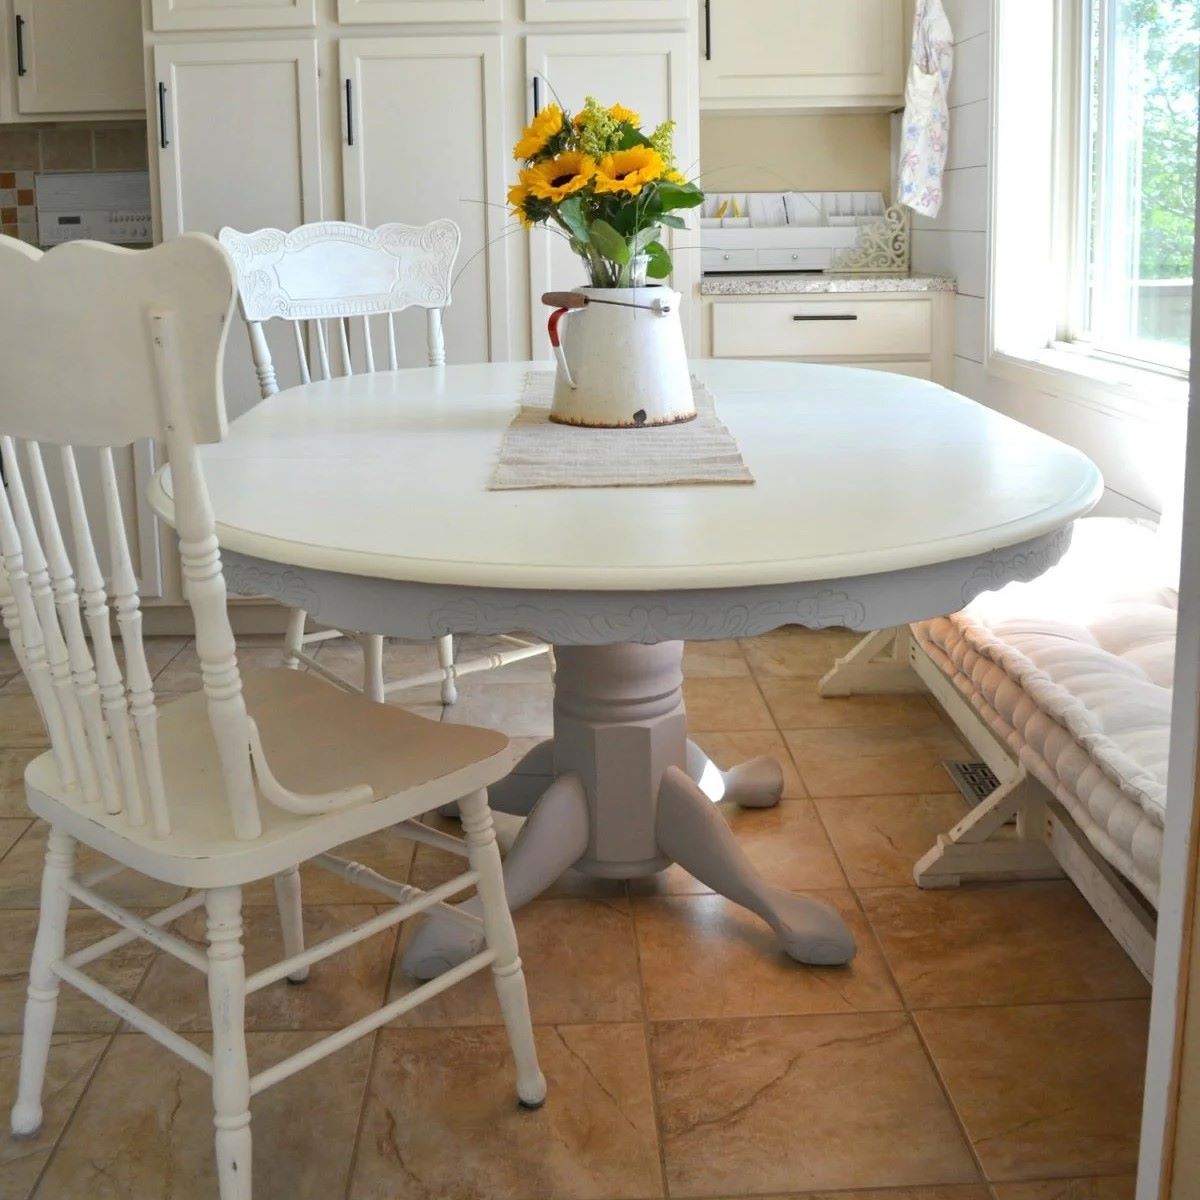
So, you've decided it's time to give your dining table a fresh new look. Whether it's to revamp your living space or simply to breathe new life into a beloved piece of furniture, painting your dining table with chalk paint can be a fantastic way to achieve a stunning transformation. Chalk paint offers a versatile and forgiving medium that allows you to unleash your creativity while achieving a beautifully distressed or vintage look.
In this comprehensive guide, we'll walk you through the process of chalk painting your dining table, from gathering the necessary materials to applying the paint and adding those finishing touches that will make your table truly stand out. With a little bit of time and effort, you can elevate your dining table from drab to fab, creating a focal point that will impress your family and guests alike.
So, roll up your sleeves, gather your supplies, and let's dive into the wonderful world of chalk painting!
Key Takeaways:
- Transform your dining table with chalk paint to create a stunning, personalized centerpiece for your home. Enjoy the creative process and admire the remarkable results of your DIY project!
- By revamping your dining table with chalk paint, you’re not only adding visual appeal but also infusing your living space with your unique style and creativity. Embrace the transformative power of DIY projects!
Materials Needed
Before embarking on your chalk painting journey, it’s essential to gather all the necessary materials. Here’s a list of items you’ll need to ensure a successful and enjoyable painting experience:
- Dining Table: The star of the show! Select a dining table that you envision transformed with a fresh coat of chalk paint. Whether it’s a vintage find or a beloved piece that needs a facelift, make sure the table is clean and free of any existing finishes or waxes.
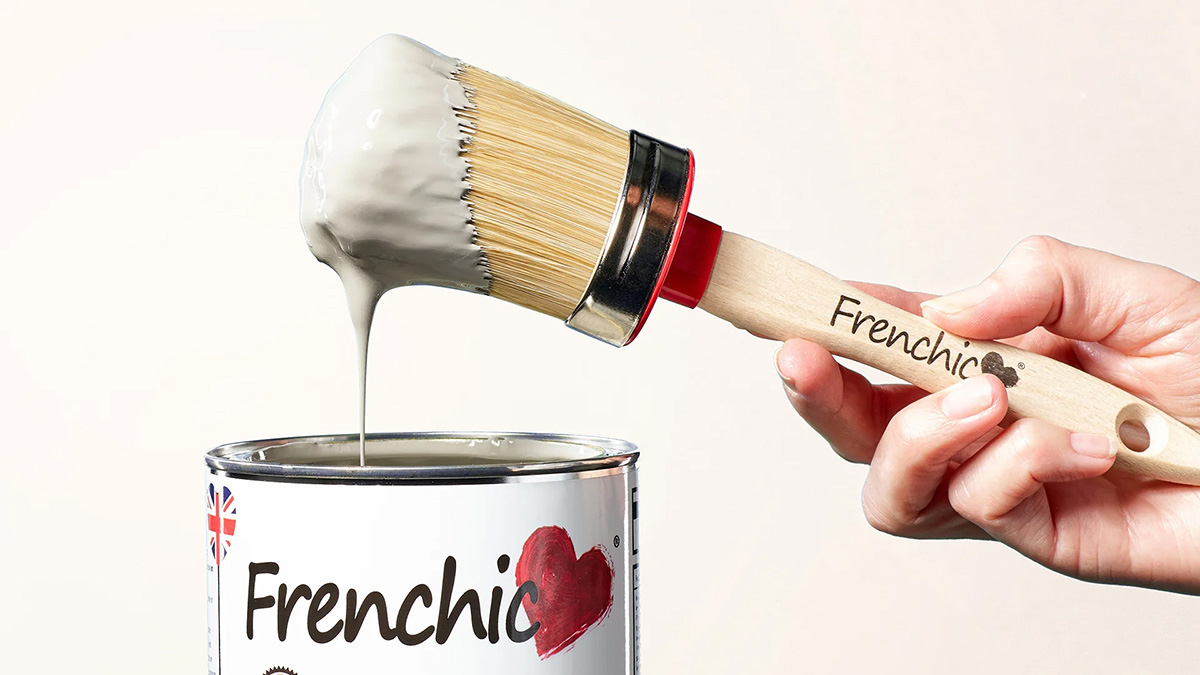
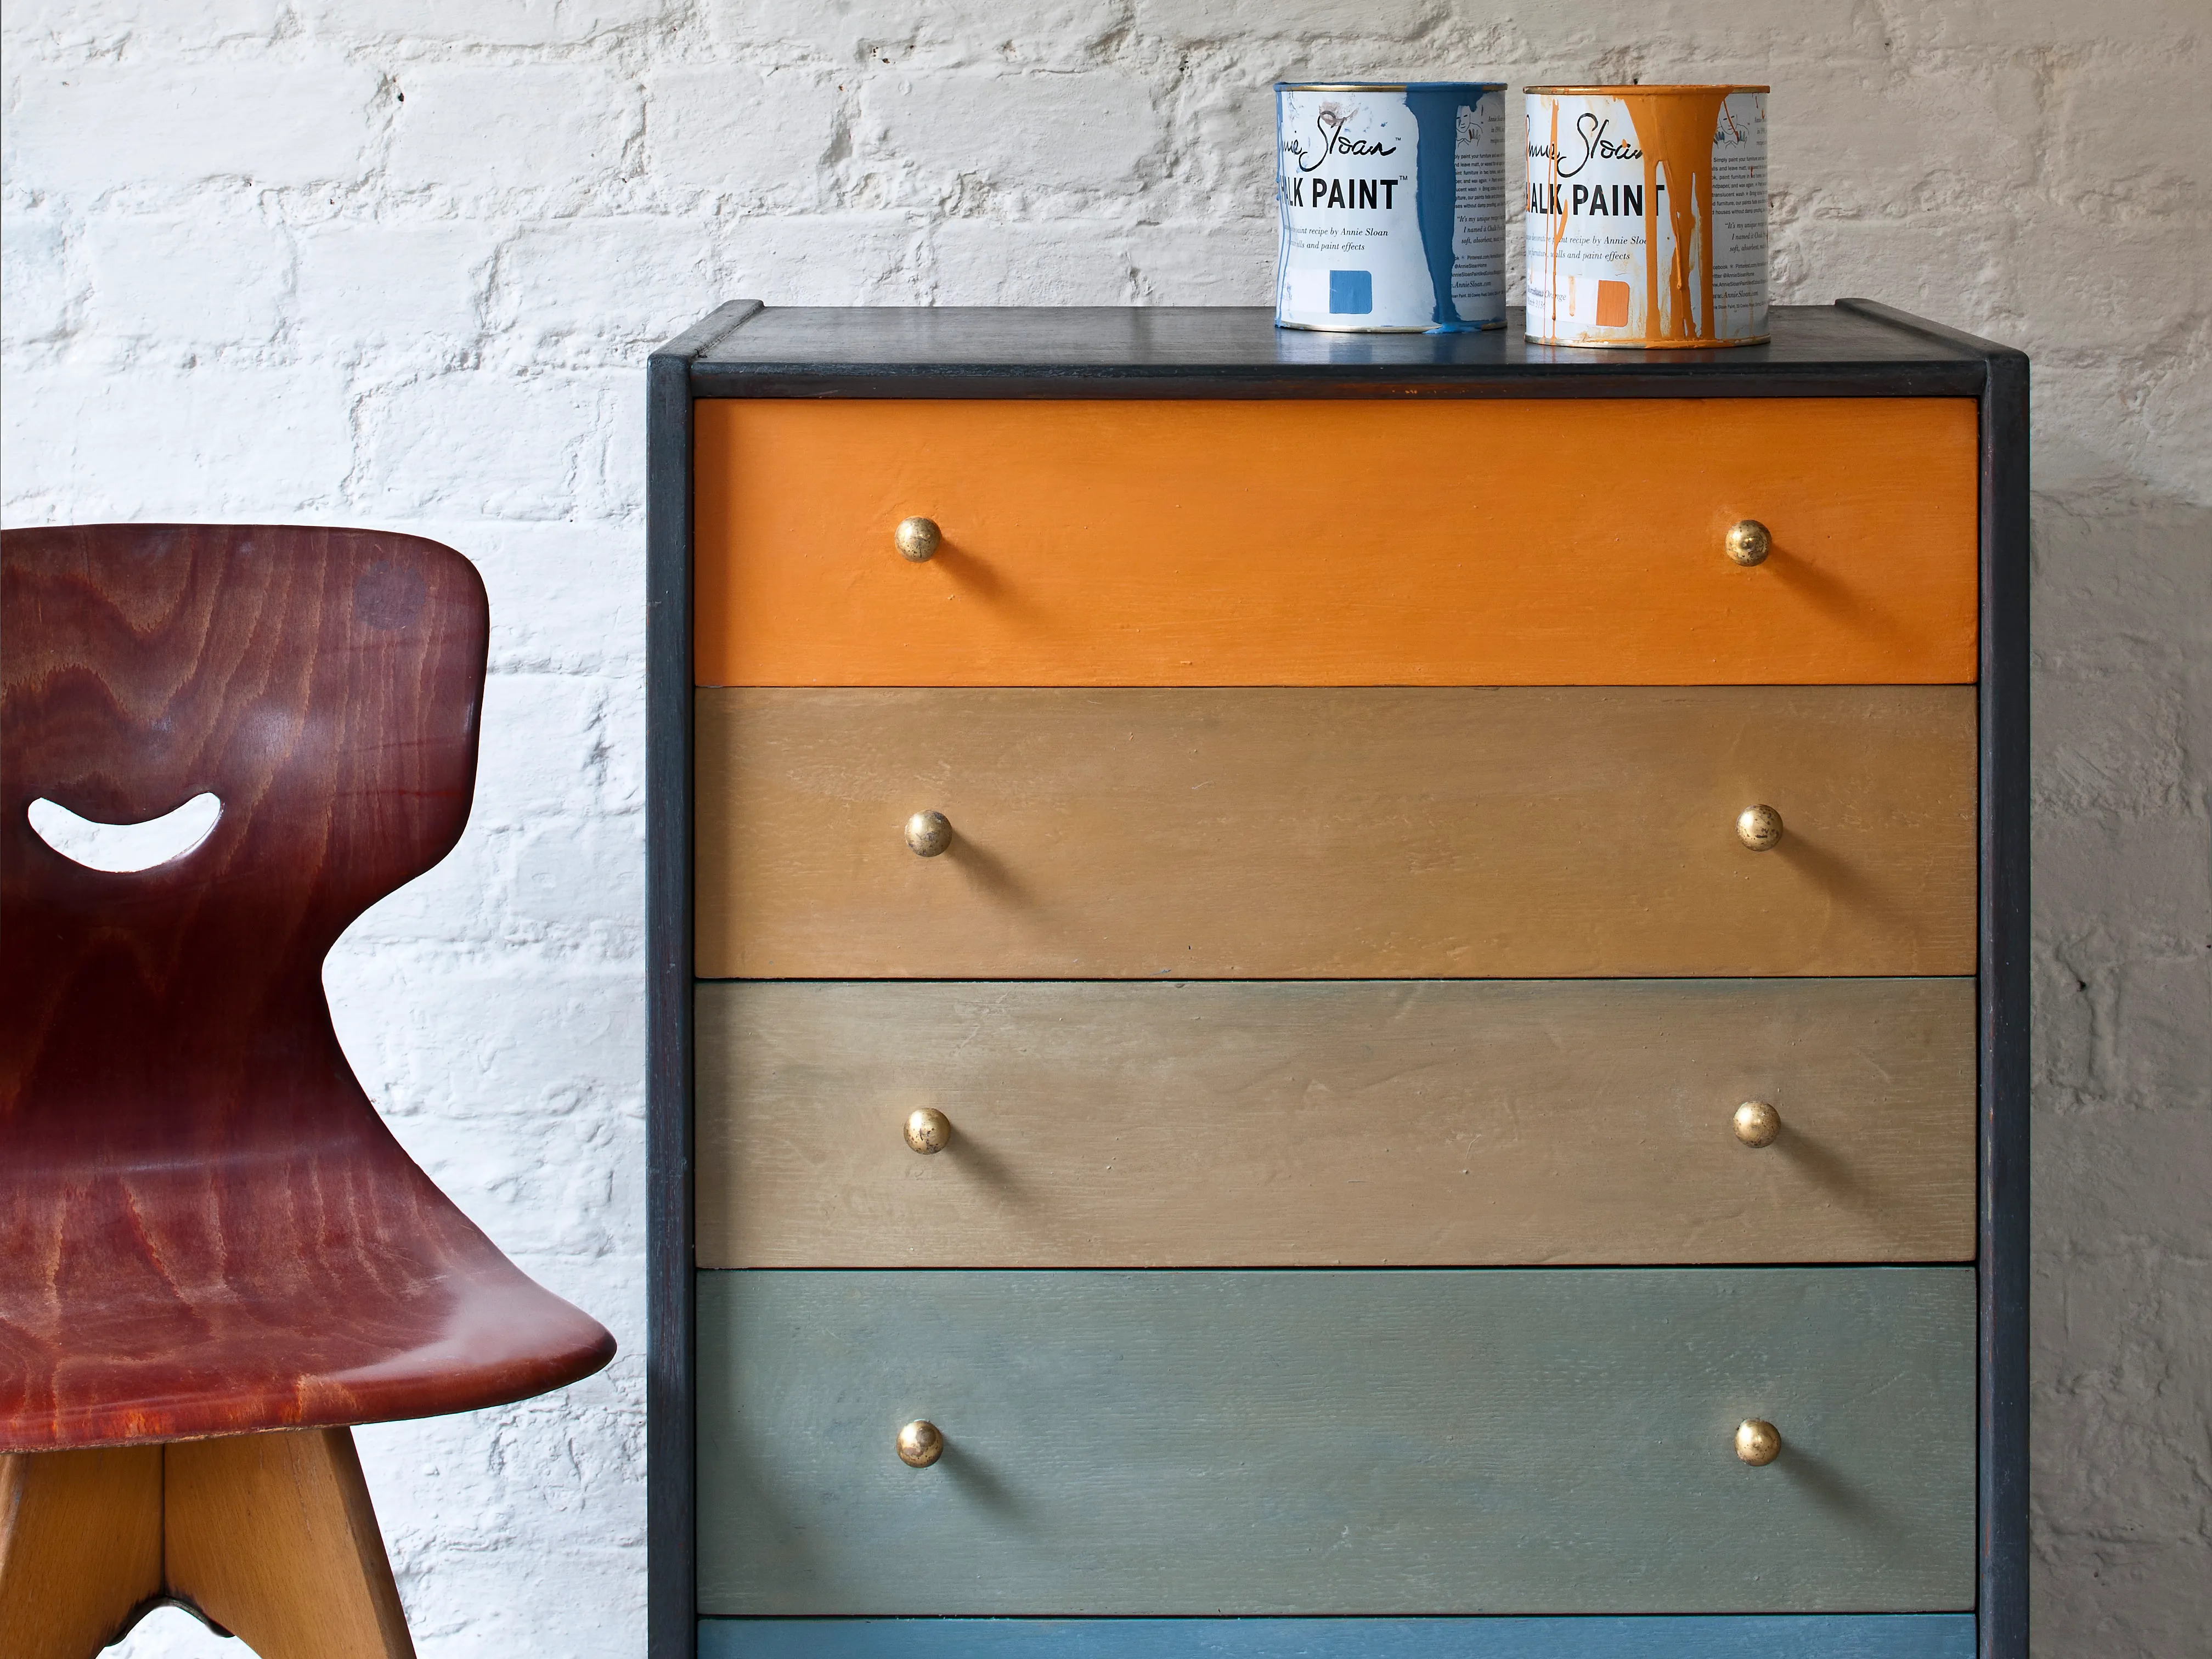
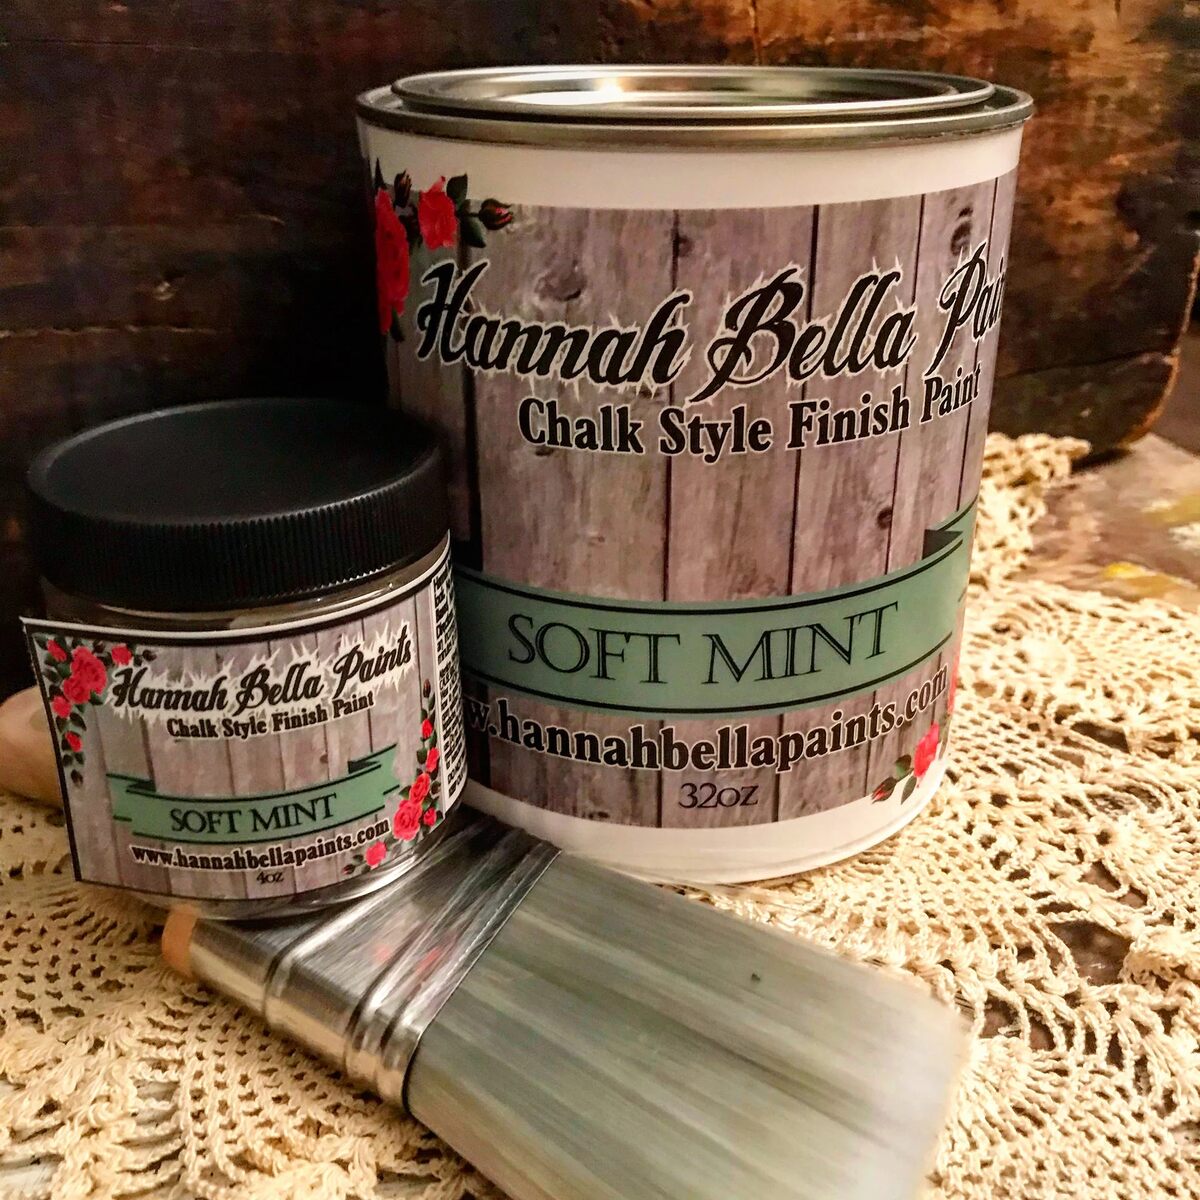
- Chalk Paint: Choose a high-quality chalk paint in your preferred color. Chalk paint is known for its matte finish and excellent coverage, making it ideal for furniture makeovers. You can opt for classic neutrals, bold hues, or even create a custom color by mixing different shades.
- Paintbrushes: Invest in a set of good-quality paintbrushes, including a medium-sized brush for larger surface areas and a smaller brush for detailed work, such as edges and intricate designs.
- Painter’s Tape: This will come in handy for protecting any areas of the table that you don’t want to paint, such as the table legs or decorative accents.
- Sandpaper or Sanding Block: Prepare the table surface by lightly sanding it to create a smooth and paint-receptive base. This step is crucial for ensuring proper adhesion and a professional finish.
- Drop Cloth or Newspaper: Cover your workspace with a drop cloth or layers of newspaper to protect the surrounding area from paint splatters and spills.
- Wax or Sealant (Optional): Depending on the desired finish, you may choose to apply a clear wax or sealant to protect the painted surface and enhance its durability. This step is particularly important for high-traffic furniture like dining tables.
- Clean Cloth: Keep a clean, lint-free cloth on hand for wiping away dust, excess paint, or any spills during the painting process.
- Protective Gear: While chalk paint is low in fumes and toxicity, it’s always a good idea to wear protective gear such as gloves and a mask, especially if you’re working in a less ventilated area.
By ensuring you have all these materials at your disposal, you’ll be well-prepared to embark on your chalk painting adventure and achieve stunning results.
Preparing the Dining Table
Before diving into the exciting world of chalk painting, it’s crucial to properly prepare the surface of your dining table. This important step sets the foundation for a flawless and long-lasting finish. Here’s a detailed guide on how to prepare your table for the chalk painting process:
- Clean the Surface: Start by thoroughly cleaning the table to remove any dust, dirt, or residue. Use a gentle cleanser and a clean cloth to ensure the surface is free of grime and grease. Allow the table to dry completely before proceeding to the next step.
- Remove Existing Finish: If your table has an existing finish, such as varnish or polyurethane, it’s essential to remove it to allow the chalk paint to adhere properly. You can achieve this by lightly sanding the entire surface of the table with medium-grit sandpaper or a sanding block. This process creates a slightly roughened texture that promotes paint adhesion.
- Fill Imperfections (If Necessary): Inspect the table for any dents, scratches, or imperfections. If needed, use a wood filler to patch these areas, following the product’s instructions. Once the filler is dry, lightly sand the patched areas to ensure they are smooth and level with the rest of the table.
- Protect Surrounding Areas: If there are parts of the table that you don’t intend to paint, such as metal hardware or decorative elements, use painter’s tape to carefully mask off these areas. This extra step ensures clean lines and prevents accidental paint smudges.
- Prime (Optional): While chalk paint is known for its excellent coverage, applying a primer can further enhance adhesion and provide a uniform base for the paint. If you opt to use a primer, choose one that is compatible with both the table material and the chalk paint.
By diligently following these preparation steps, you’ll create an ideal canvas for your chalk painting project. A well-prepared surface not only ensures a professional-looking finish but also contributes to the longevity of the painted table.
Before starting to chalk paint a dining table, make sure to clean and sand the surface to ensure the paint adheres well and lasts longer.
Applying the Chalk Paint
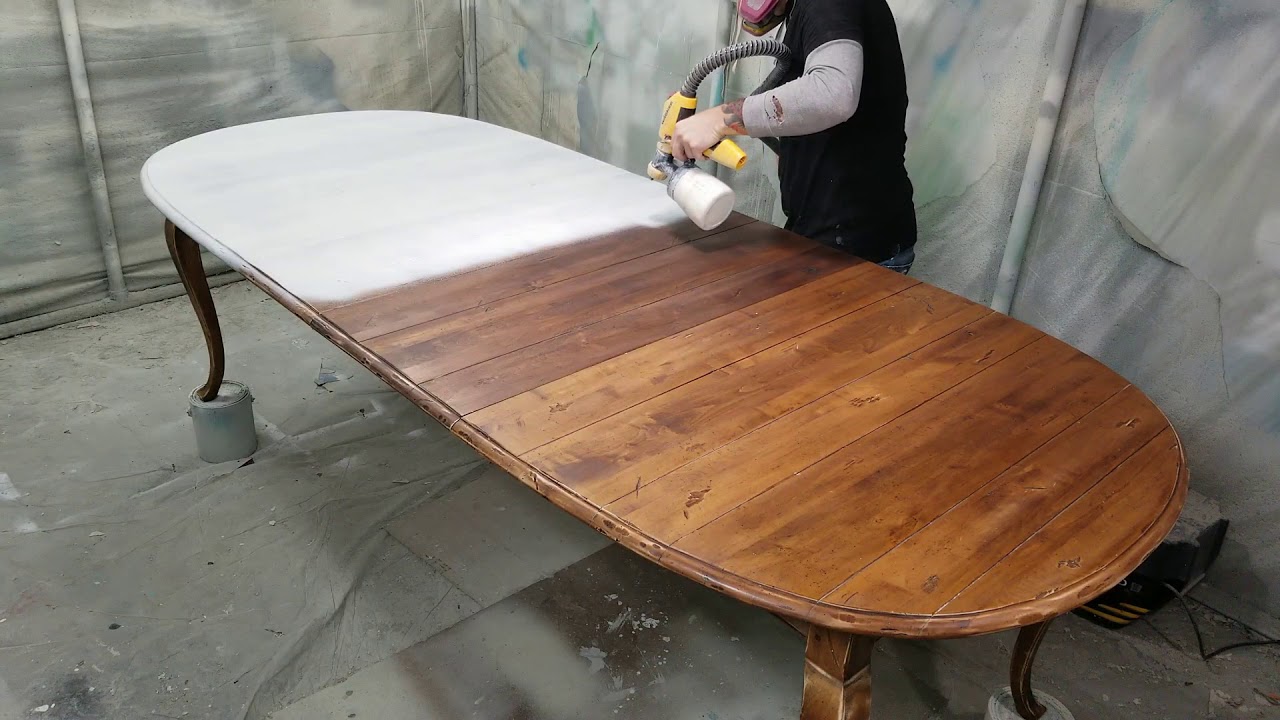
With your dining table meticulously prepared, it’s time to delve into the transformative process of applying chalk paint. This step allows you to unleash your creativity and bring your vision to life. Here’s a detailed guide on how to achieve a flawless chalk paint application:
- Stir the Paint: Before starting, thoroughly stir the chalk paint to ensure a consistent texture and color. Chalk paint can settle during storage, so mixing it well is essential for optimal results.
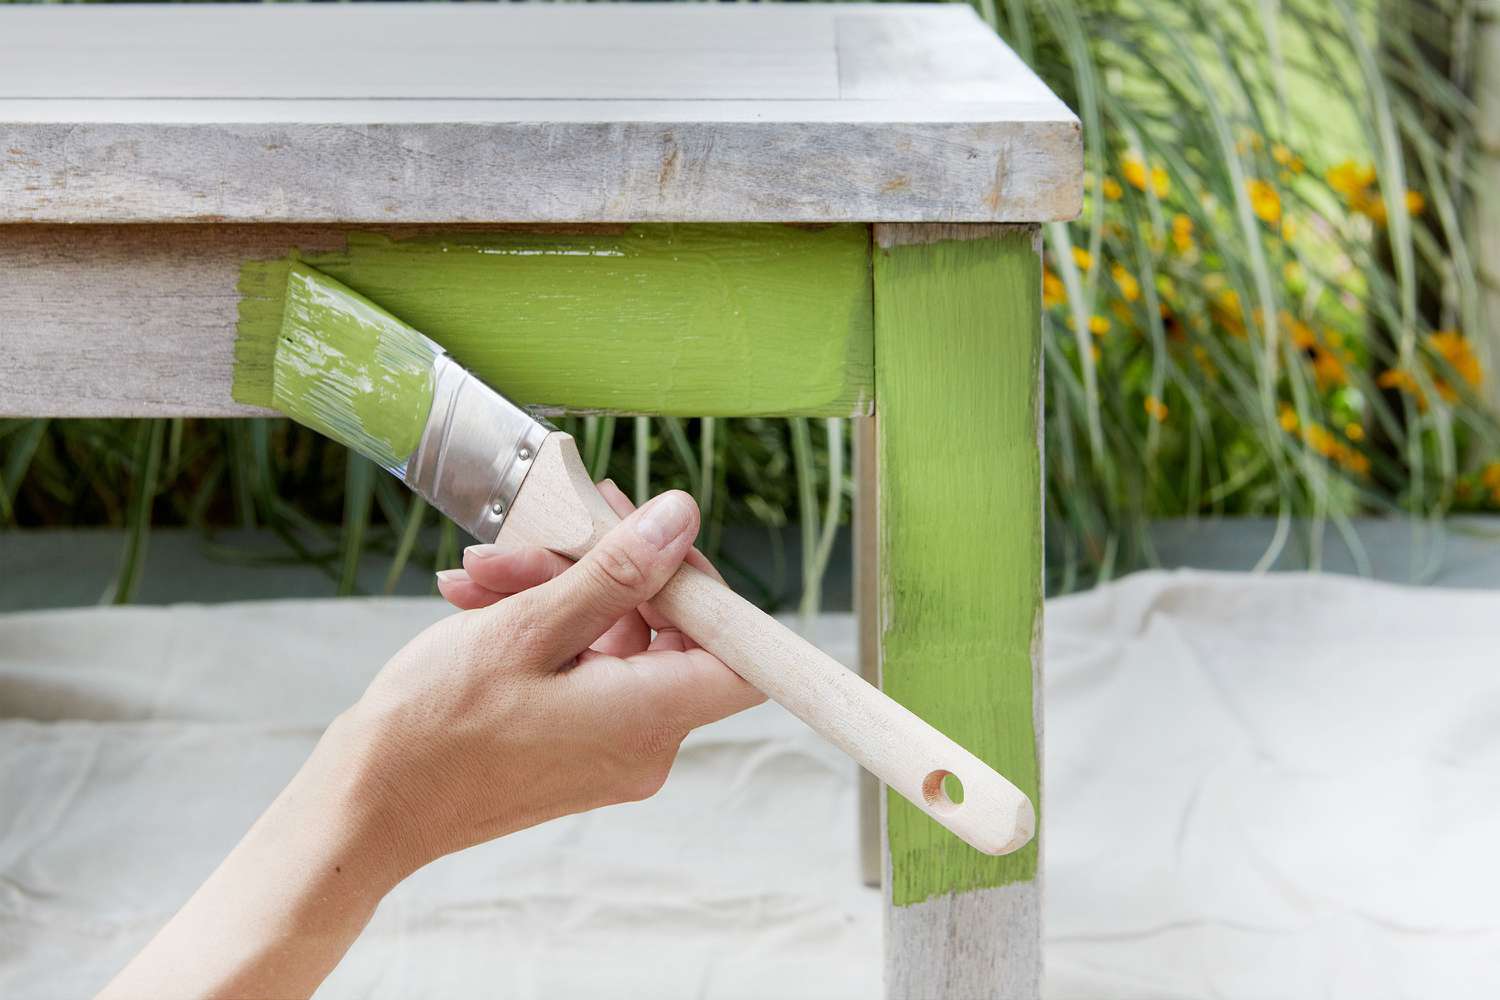
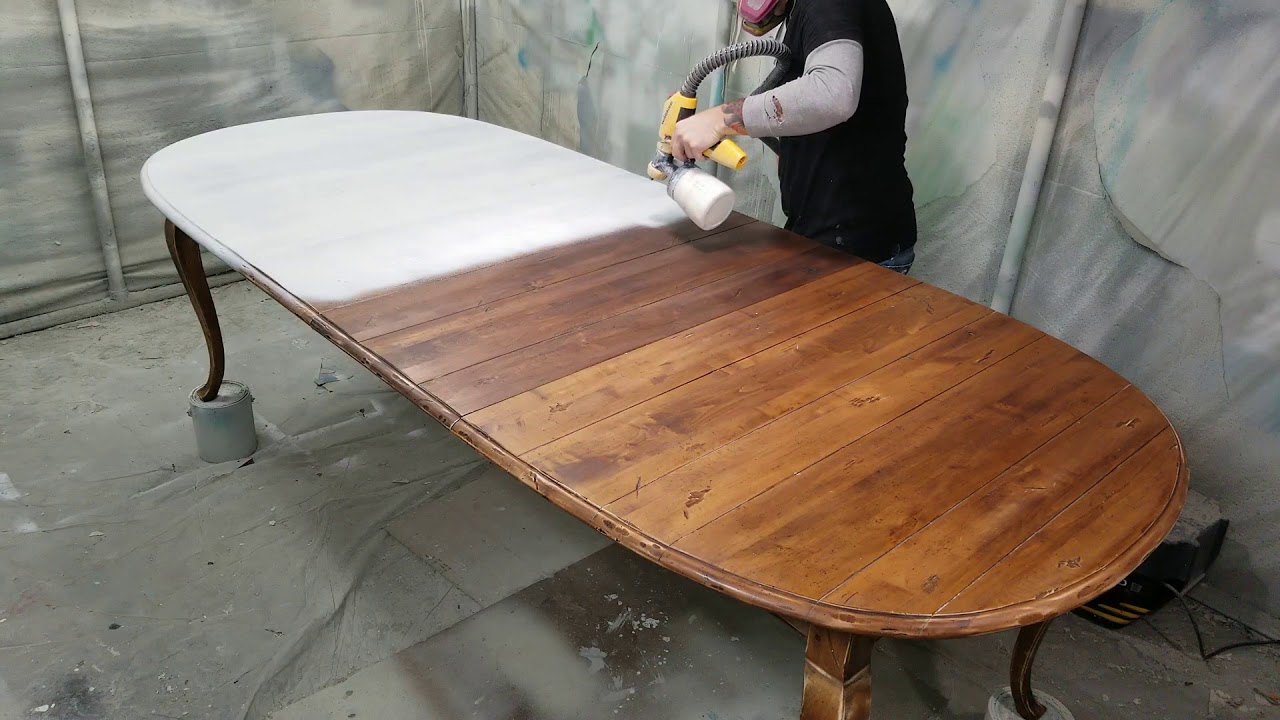
- Apply the First Coat: Using a medium-sized paintbrush, begin applying the chalk paint to the table surface. Work in smooth, even strokes, following the natural grain of the wood. Start from one end of the table and continue to the other, maintaining a consistent application. Don’t worry about achieving complete coverage with the first coat; the goal is to establish a base for subsequent layers.
- Allow for Drying Time: After the first coat is applied, allow the table to dry completely according to the paint manufacturer’s recommendations. This typically ranges from 1 to 2 hours, but it’s essential to verify the specific drying time for the brand of chalk paint you’re using.
- Apply Additional Coats: Once the first coat is dry, apply additional coats of chalk paint as needed to achieve the desired color intensity and coverage. Two to three coats are generally sufficient to achieve a rich and even finish. Ensure each layer is fully dry before adding the next one.
- Addressing Details: For intricate details, such as table edges or decorative carvings, switch to a smaller paintbrush to ensure precise coverage. Take your time to carefully paint these areas, as they contribute to the overall aesthetic of the finished table.
- Smooth Out Imperfections: If you notice any brush marks or uneven areas after the paint dries, lightly sand the surface with fine-grit sandpaper to smooth out imperfections. This step contributes to a professional-looking and velvety finish.
By following these steps and exercising patience and precision, you’ll achieve a beautifully painted dining table that reflects your personal style and enhances your living space. The application of chalk paint is both a creative and rewarding process, allowing you to witness the remarkable transformation of your table with each brushstroke.
Finishing Touches
As you near the completion of your chalk painting endeavor, it’s time to add those final touches that will elevate your dining table to a stunning masterpiece. These finishing steps not only enhance the visual appeal of the table but also contribute to its durability and longevity. Here’s a guide to the essential finishing touches for your newly painted dining table:
- Sealing the Paint: Depending on the type of chalk paint used and your desired finish, consider applying a clear wax or sealant to protect the painted surface. Using a clean, lint-free cloth, gently apply the wax or sealant in smooth, even strokes, ensuring comprehensive coverage. This step not only safeguards the paint but also imparts a subtle sheen and smooth texture to the table’s surface.
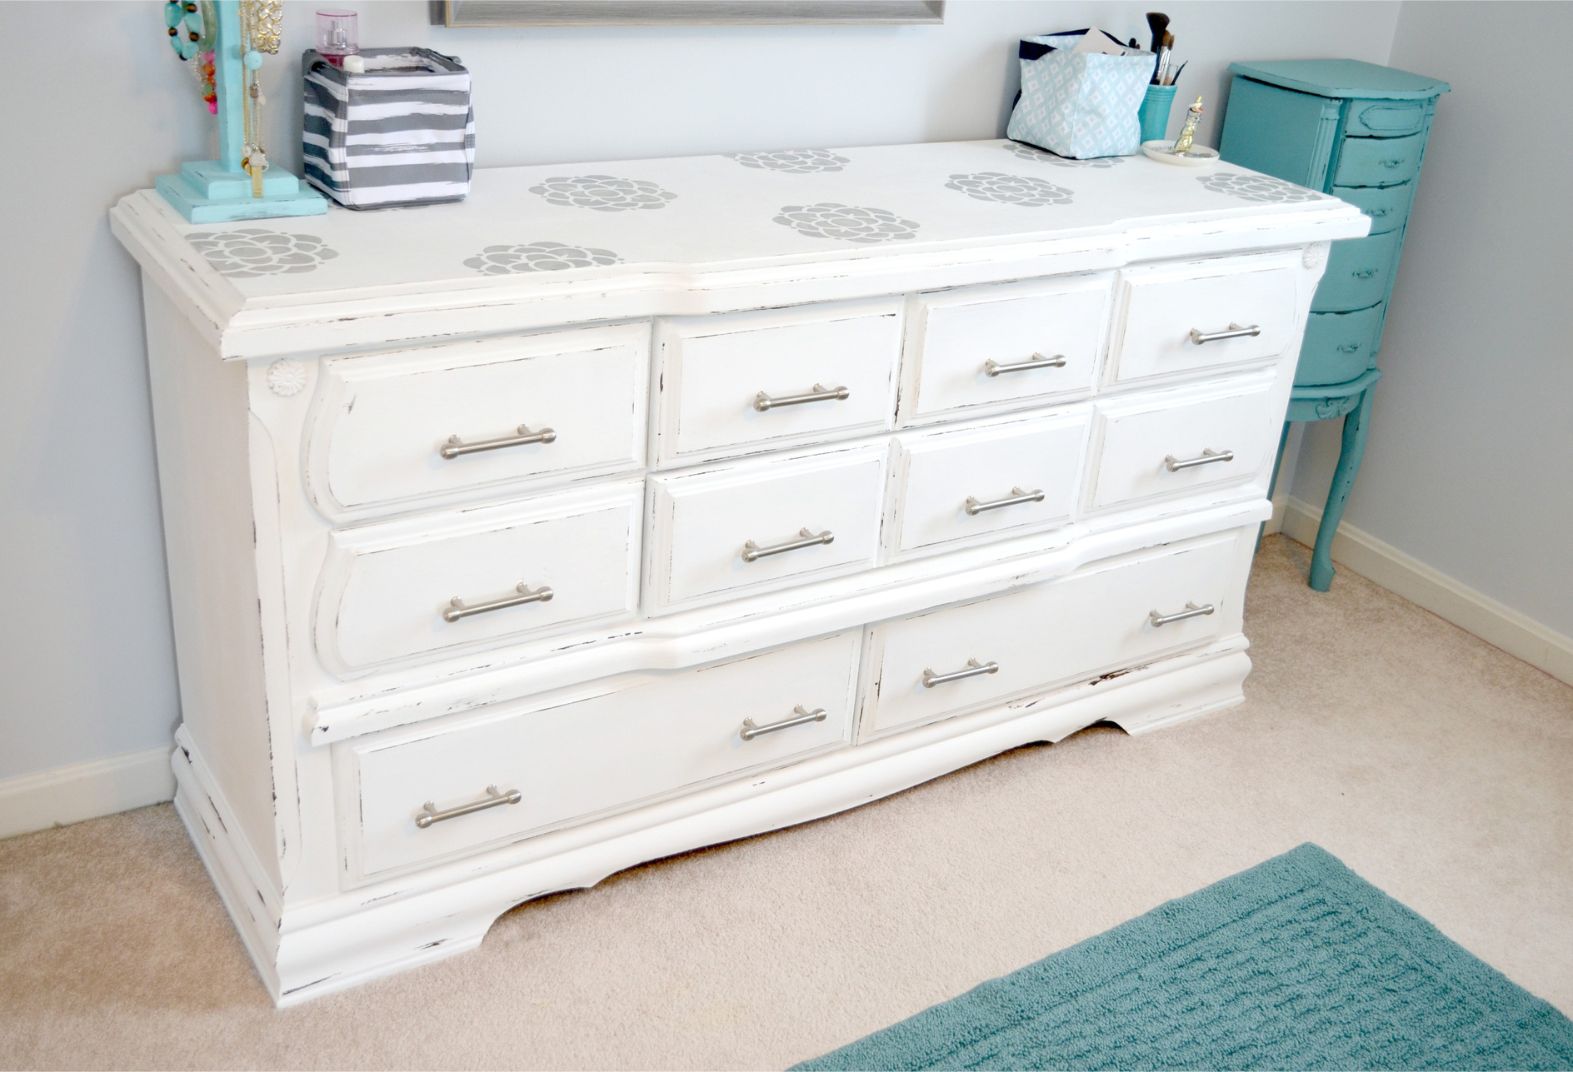
- Distressing (Optional): If you desire a vintage or distressed look for your dining table, consider distressing the painted surface. Using fine-grit sandpaper, lightly sand the edges, corners, and areas that would naturally experience wear over time. This technique imparts a charming, time-worn appearance to the table, adding character and depth to the overall finish.
- Reattaching Hardware: If your dining table features hardware, such as drawer pulls or decorative accents, reattach them once the paint and sealant are fully dry. Ensure the hardware is securely fastened, adding the perfect finishing touch to the revamped table.
- Buffing the Surface: After the sealant or wax has cured according to the product’s instructions, use a soft cloth to gently buff the surface of the table. This final step enhances the sheen of the finish and ensures a smooth, touchable surface.
- Admire Your Handiwork: Take a step back and admire the remarkable transformation of your dining table. Revel in the satisfaction of breathing new life into a beloved piece of furniture, and envision the joy it will bring to your home for years to come.
By attending to these finishing touches, you’ll not only enhance the aesthetic appeal of your dining table but also ensure its durability and resilience for everyday use. Each step contributes to the overall charm and allure of your newly chalk-painted table, creating a captivating centerpiece for your dining space.
Read more: How To Paint A Coffee Table With Chalk Paint
Conclusion
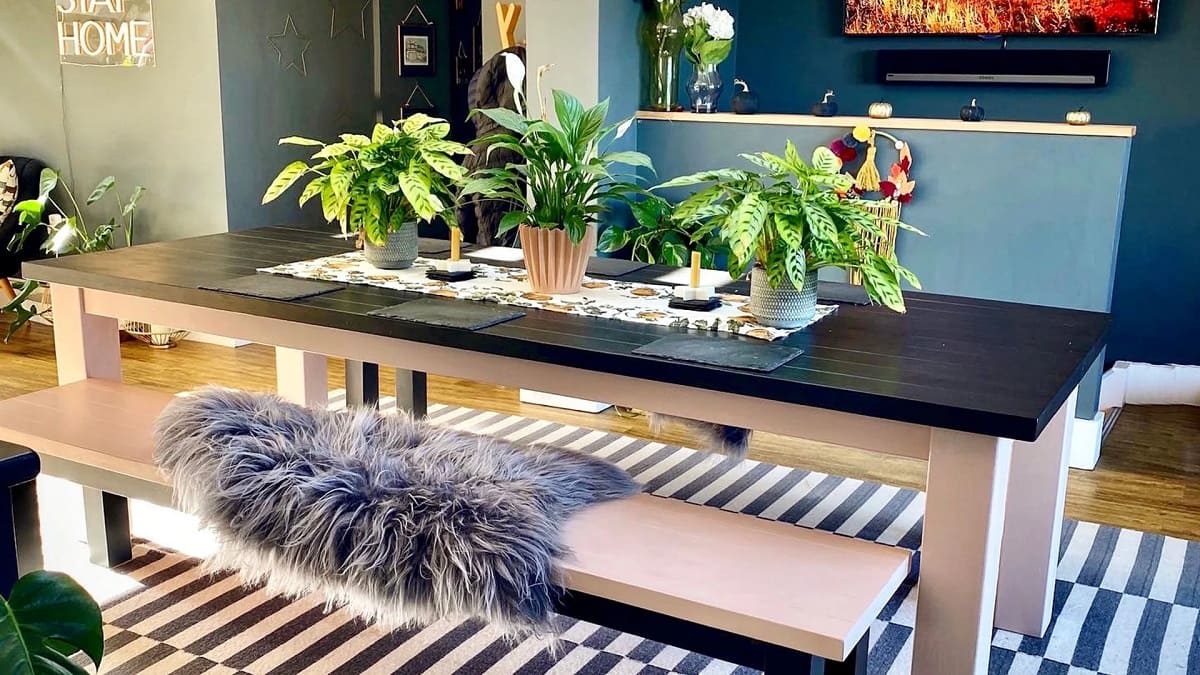
Congratulations on successfully completing the transformation of your dining table through the artful application of chalk paint! The journey from a tired, lackluster table to a stunning focal point in your living space is a testament to your creativity and dedication. As you stand back and admire the remarkable results, it’s evident that the process of chalk painting has not only revitalized the table but has also breathed new life into your home.
By embarking on this DIY project, you’ve not only achieved a visually captivating piece of furniture but have also infused your living space with a personal touch. The versatility of chalk paint has allowed you to express your unique style, whether through a chic, monochromatic finish or a distressed, shabby-chic aesthetic. Your dining table now stands as a reflection of your creativity and a conversation piece that will captivate family and guests alike.
Furthermore, the satisfaction derived from revamping your dining table extends beyond its aesthetic appeal. You’ve demonstrated resourcefulness and an appreciation for sustainable living by breathing new life into an existing piece of furniture. This not only reduces waste but also imbues the table with a rich history, adding depth and character to your home.
As you enjoy the fruits of your labor, relishing meals, conversations, and cherished moments around your newly transformed dining table, take pride in the achievement of creating a captivating centerpiece that exudes warmth and personality. Your dedication to this project has not only enhanced your living space but has also sparked inspiration for future creative endeavors.
So, as you bask in the glow of your beautifully chalk-painted dining table, remember that the transformative power of DIY projects extends far beyond the tangible results. It’s a testament to your ingenuity, creativity, and the joy of infusing your living space with a touch of artistry and individuality.
Cheers to your newfound masterpiece and the countless memories it will host in the years to come!
Frequently Asked Questions about How To Chalk Paint A Dining Table
Was this page helpful?
At Storables.com, we guarantee accurate and reliable information. Our content, validated by Expert Board Contributors, is crafted following stringent Editorial Policies. We're committed to providing you with well-researched, expert-backed insights for all your informational needs.

0 thoughts on “How To Chalk Paint A Dining Table”