Tableware
How To Quilt Placemats
Modified: January 4, 2024
Learn how to quilt beautiful placemats to enhance your tableware collection. Discover tips, techniques, and patterns for creating unique and stylish table settings.
(Many of the links in this article redirect to a specific reviewed product. Your purchase of these products through affiliate links helps to generate commission for Storables.com, at no extra cost. Learn more)
Introduction
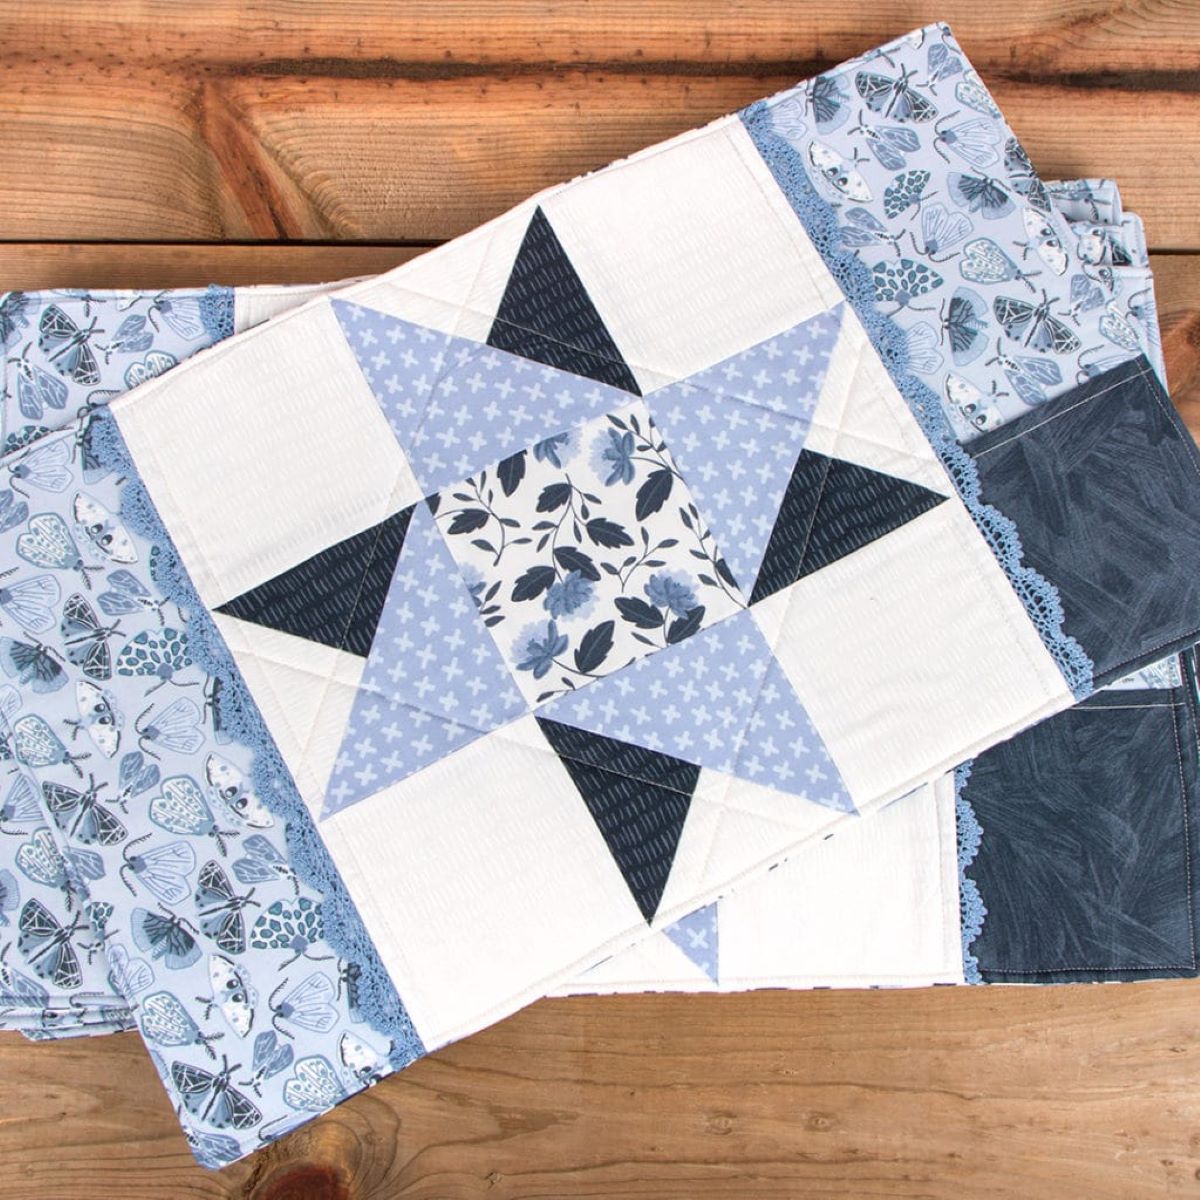
Welcome to the world of quilting! If you’re looking to add a touch of creativity and charm to your table setting, quilting placemats is a wonderful way to do so. Not only will you have a unique and personalized piece of tableware, but you’ll also have the satisfaction of creating something by hand.
In this article, I will guide you through the step-by-step process of quilting placemats, from choosing the perfect fabric to adding the finishing touches. Whether you’re a beginner or an experienced quilter, this tutorial will provide you with all the information you need to create beautiful and functional placemats.
Quilting placemats is not only a practical endeavor, but it’s also a creative one. You have the freedom to experiment with colors, patterns, and designs to match your personal style and home decor. Plus, quilting allows you to express your individuality while adding a touch of warmth and texture to your table.
Before we begin, let’s gather all the materials you’ll need for this project.
Key Takeaways:
- Quilting placemats is a delightful way to add a personal touch to your table setting. From fabric selection to finishing touches, this step-by-step guide empowers you to create beautiful and functional pieces that reflect your style and creativity.
- With the right materials and techniques, quilting placemats becomes a rewarding and enjoyable endeavor. Experiment with different designs, fabrics, and embellishments to craft unique tableware that adds charm and warmth to any dining experience.
Read more: How To Quilt Placemats
Materials Needed
To create your own quilted placemats, here are the essential materials you’ll need:
- Fabric: Choose a selection of coordinating fabrics for the front, back, and binding of your placemats. Opt for cotton fabrics, as they are easy to work with and washable.
- Batting: Select a low-loft batting that will provide some cushioning to your placemats. This will give them a nice drape and help protect your table from heat and spills.
- Thread: Use a high-quality thread that matches or complements your fabric choice. It’s important to have strong and durable thread for quilting.
- Sharp fabric shears: Invest in a good pair of fabric shears to ensure clean and precise cuts throughout the project.
- Pins: Use straight pins to hold your fabric layers together before sewing. Opt for quilting pins with a flat head to prevent snagging.
- Quilting ruler: A transparent ruler with measuring markings will help you accurately cut your fabric pieces to the desired size.
- Iron and ironing board: Pressing your fabric is crucial for achieving crisp and professional-looking seams.
- Sewing machine: While you can hand-quilt if you prefer, having a sewing machine will make the process faster and more efficient.
- Walking foot: If you’re using a sewing machine, a walking foot is highly recommended for even and smooth quilting stitches.
- Rotary cutter and mat: These tools are optional but highly useful for cutting fabric strips and squares with precision.
- Quilter’s spray adhesive: This adhesive is helpful for temporarily securing your layers before quilting.
Make sure to gather these materials before you begin to ensure a smooth and enjoyable quilting experience.
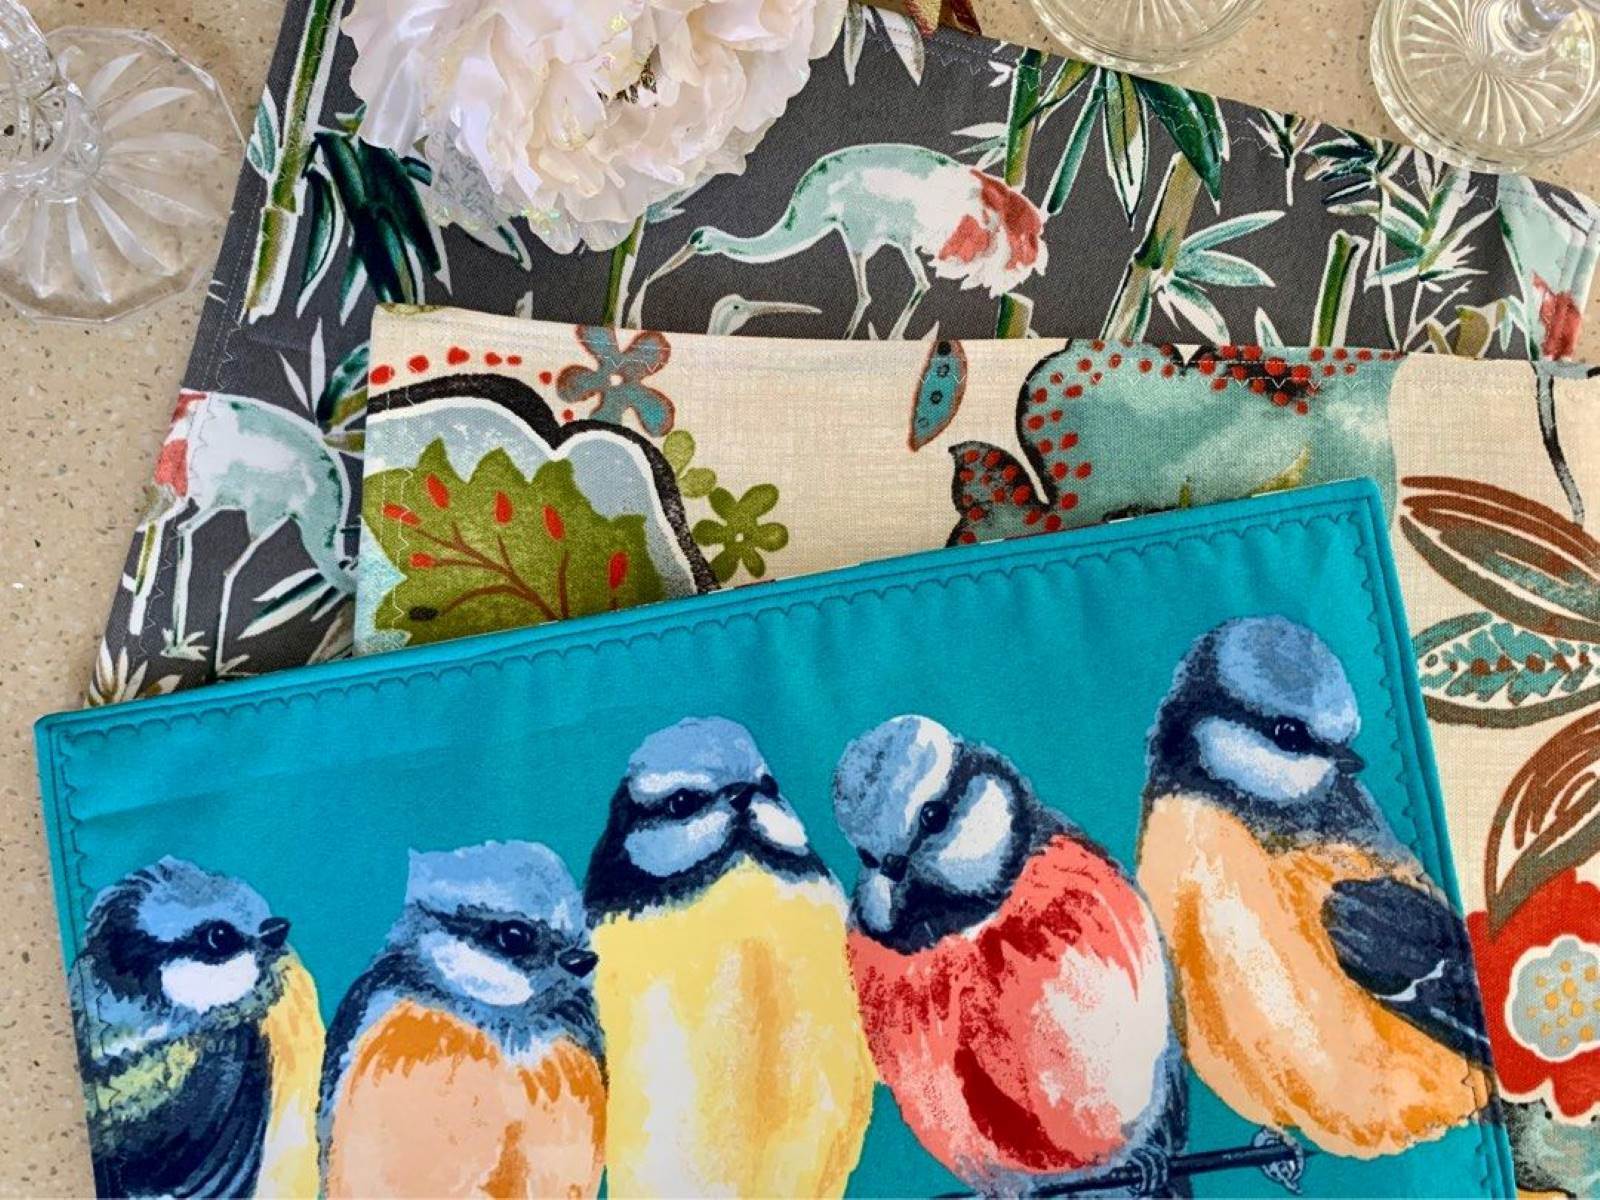
Step 1: Choosing Fabric
The first step in quilting placemats is selecting the fabric for your project. This is your chance to showcase your personal style and creativity. Here are some tips to help you choose the perfect fabric:
- Consider the occasion: Think about the purpose of your placemats. Are you making them for everyday use or for special occasions? For everyday placemats, you might opt for more durable and stain-resistant fabrics. For special occasions, you can choose more festive or elegant fabrics.
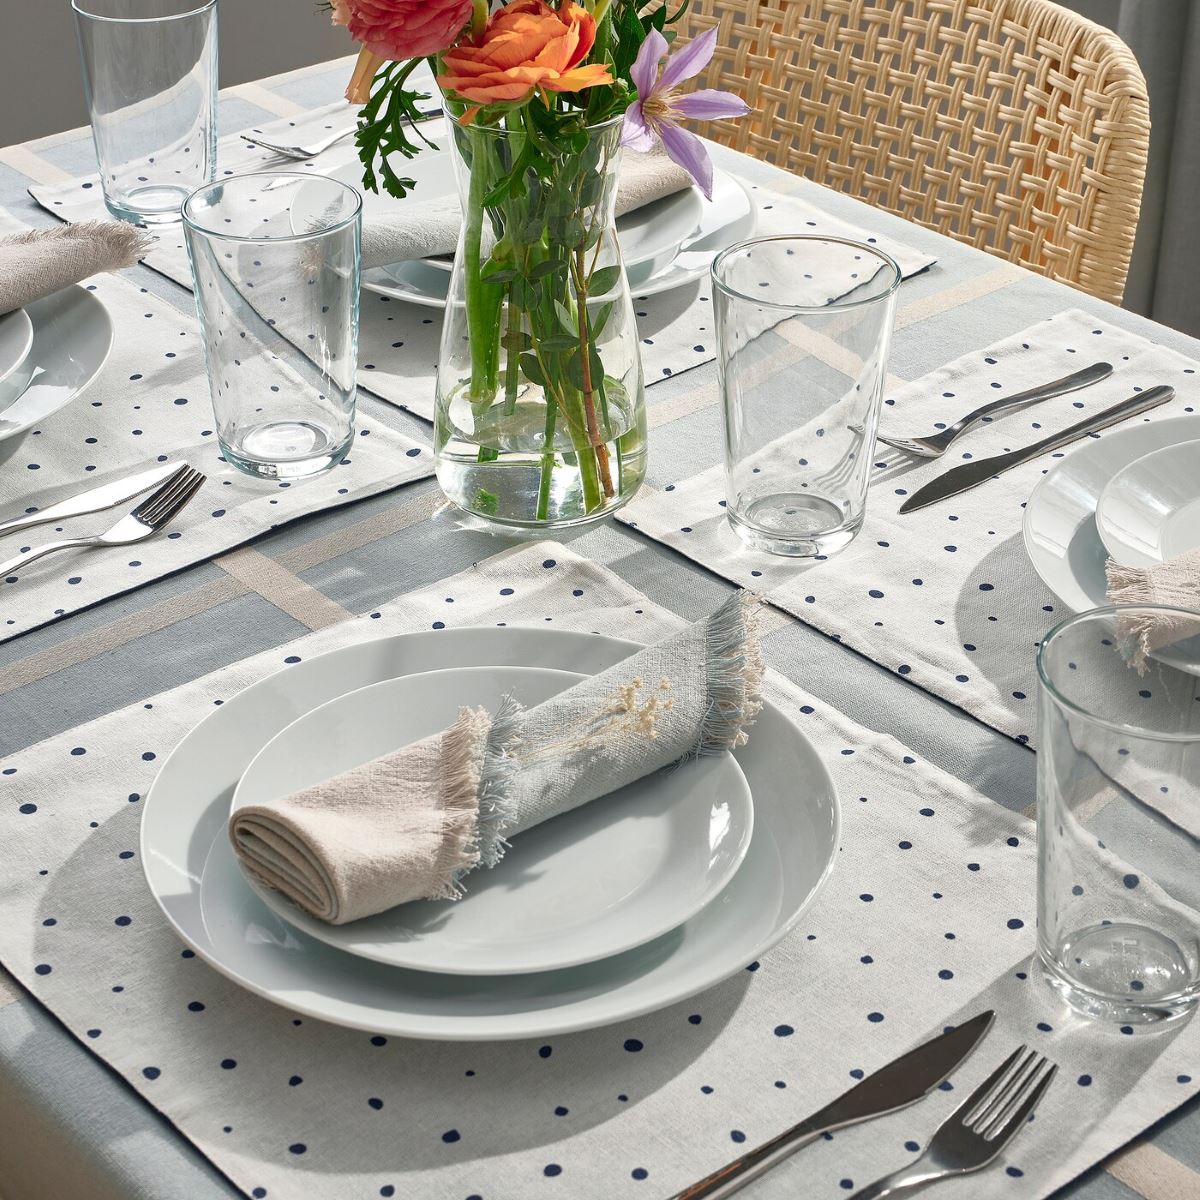
- Coordinate colors: Take into account the color scheme of your dining area or the overall theme of your home decor. Coordinating the colors of your placemats with the surroundings will create a cohesive and pleasing visual effect.
- Mix patterns and textures: Don’t be afraid to mix and match different patterns and textures. Combining solids, florals, stripes, and geometric prints can add visual interest and depth to your placemats.
- Consider the season: If you want to capture the essence of a particular season, choose fabrics that reflect its colors and motifs. For example, use crisp and cool colors for spring and summer, or warm and earthy tones for autumn and winter.
- Think about maintenance: Keep in mind that placemats can get dirty easily, so choose fabrics that are easy to clean and care for. Machine-washable fabrics such as cotton and cotton blends are ideal for this purpose.
Once you have an idea of the type of fabric you want, head to your local fabric store or browse online to find the perfect options. Be sure to buy enough fabric to cover the desired number of placemats, allowing extra for any mistakes or pattern matching.
With the fabric chosen, it’s time to move on to the next step: cutting and preparing the fabric.
Step 2: Cutting and Preparing Fabric
Now that you have selected your fabric, it’s time to cut and prepare it for quilting. Follow these steps to ensure accurate and neat fabric pieces:
- Wash and press the fabric: Before cutting your fabric, it’s advisable to prewash it to remove any sizing or shrinkage. Follow the fabric’s washing instructions and press it with an iron to remove any wrinkles.
- Measure and mark: Using a quilting ruler and fabric marker or chalk, measure and mark the desired dimensions for your placemats. Standard placemat sizes are usually around 12 inches by 18 inches, but you can adjust the measurements to your preference.
- Cut the fabric pieces: Using sharp fabric shears, carefully cut along the marked lines to create the main fabric pieces for the front and back of each placemat. You should have two identical pieces for each placemat.
- Cut the batting: Next, cut the batting pieces to match the size of your fabric pieces. The batting will go between the front and back fabric layers to provide insulation and softness to the placemats.
- Cut the binding (optional): If you prefer a bound edge for your placemats, cut fabric strips for the binding. These strips should be approximately 2.5 inches wide and long enough to cover the perimeter of each placemat.
Once all the fabric pieces are cut, organize them accordingly for each placemat. It’s a good idea to label and stack them together to keep track of which pieces go together.
With your fabric pieces ready, you can now move on to the next step: creating the quilt top.
Step 3: Creating the Quilt Top
Now that you have your fabric pieces cut and prepared, it’s time to create the quilt top. The quilt top is the decorative layer of your placemat that will showcase your chosen fabrics. Follow these steps to assemble the quilt top:
- Layout the fabric pieces: Lay out your fabric pieces for each placemat in the desired arrangement. You can experiment with different layouts until you find a design that you’re happy with.
- Pin the fabric pieces together: Once you’re satisfied with the layout, pin the fabric pieces together using quilting pins or clips. Make sure to align the edges and corners neatly.
- Sew the fabric pieces: Using a ¼-inch seam allowance, stitch the fabric pieces together along the edges. Start with the center pieces and work your way outwards. Press the seams open or to one side as desired.
- Trim excess fabric:
Once you have assembled the quilt top for each placemat, it’s time to move on to the next step: assembling the placemat itself.
When quilting placemats, use a walking foot to prevent shifting of the layers. This will help ensure even stitching and a professional finish.
Read more: How To Make A Quilted Placemat
Step 4: Assembling the Placemat
With the quilt top completed, it’s time to assemble the placemat by layering the quilt top, batting, and backing fabric. Follow these steps to successfully assemble your placemat:
- Place the backing fabric right side down: Start by laying down the backing fabric with the right side facing down on a flat surface. Smooth out any wrinkles or creases.
- Center the batting on the backing fabric: Place the batting piece on top of the backing fabric, aligning it in the center. Smooth out any wrinkles and ensure that it covers the entire surface of the backing fabric.
- Position the quilt top on the batting: Carefully place the quilt top on top of the batting, aligning it in the center. Smooth out any wrinkles and ensure that all the edges match up neatly with the backing fabric.
- Pin the layers together: Use quilting pins to secure the layers together. Place the pins at regular intervals, ensuring that all the layers are held in place.
Once the layers are securely pinned, you’re ready to move on to the next step: quilting the placemat.
Step 5: Quilting the Placemat
Quilting is the process of stitching through the layers of fabric and batting to secure them together. It not only adds decorative elements to your placemat but also ensures that the layers stay in place during use and washing. Follow these steps to quilt your placemat:
- Prepare your sewing machine: Set up your sewing machine with a walking foot, which helps feed the layers evenly during stitching. Thread your machine with a coordinating thread color.
- Select a quilting design: Decide on a quilting design for your placemat. You can choose from simple straight lines, free-motion quilting, or a pattern that complements your fabric choices.
- Start quilting: Begin quilting from the center of the placemat and work your way towards the edges. Use the quilting design of your choice and stitch along the marked lines or create your own pattern.
- Continue quilting: As you quilt, take care to maintain an even stitch length and tension. Pivot the placemat or lift the needle and adjust the fabric to follow the desired quilting design.
- Backstitch at the end: When you reach the end of your quilting lines, backstitch a few stitches to secure the threads. Trim the excess thread.
Once you have completed quilting the placemat, trim any excess batting or fabric around the edges. It’s now time for the final step: adding the finishing touches.
Step 6: Finishing Touches
Now that your placemat is quilted, it’s time to add the finishing touches to give it a polished and professional look. Follow these steps to complete your quilted placemat:
- Remove the quilting pins: Carefully remove all the quilting pins that are holding the layers together. Take your time to ensure that no pins are left behind.
- Trim the edges: Use a rotary cutter or fabric shears to trim the edges of the placemat, making sure all the layers are even and the corners are squared.
- Add binding (optional): If you prefer a bound edge, cut fabric strips for the binding. Fold the strips in half lengthwise and press. Attach the binding to the raw edges of the placemat, mitering the corners for a clean finish.
- Secure the binding: Fold the binding over to the back of the placemat and hand stitch it in place using a slip stitch or blind stitch. Make sure the stitches are invisible on the front of the placemat.
- Press the placemat: Use an iron to press the finished placemat, ensuring that all the layers lay flat and the binding is neatly pressed.
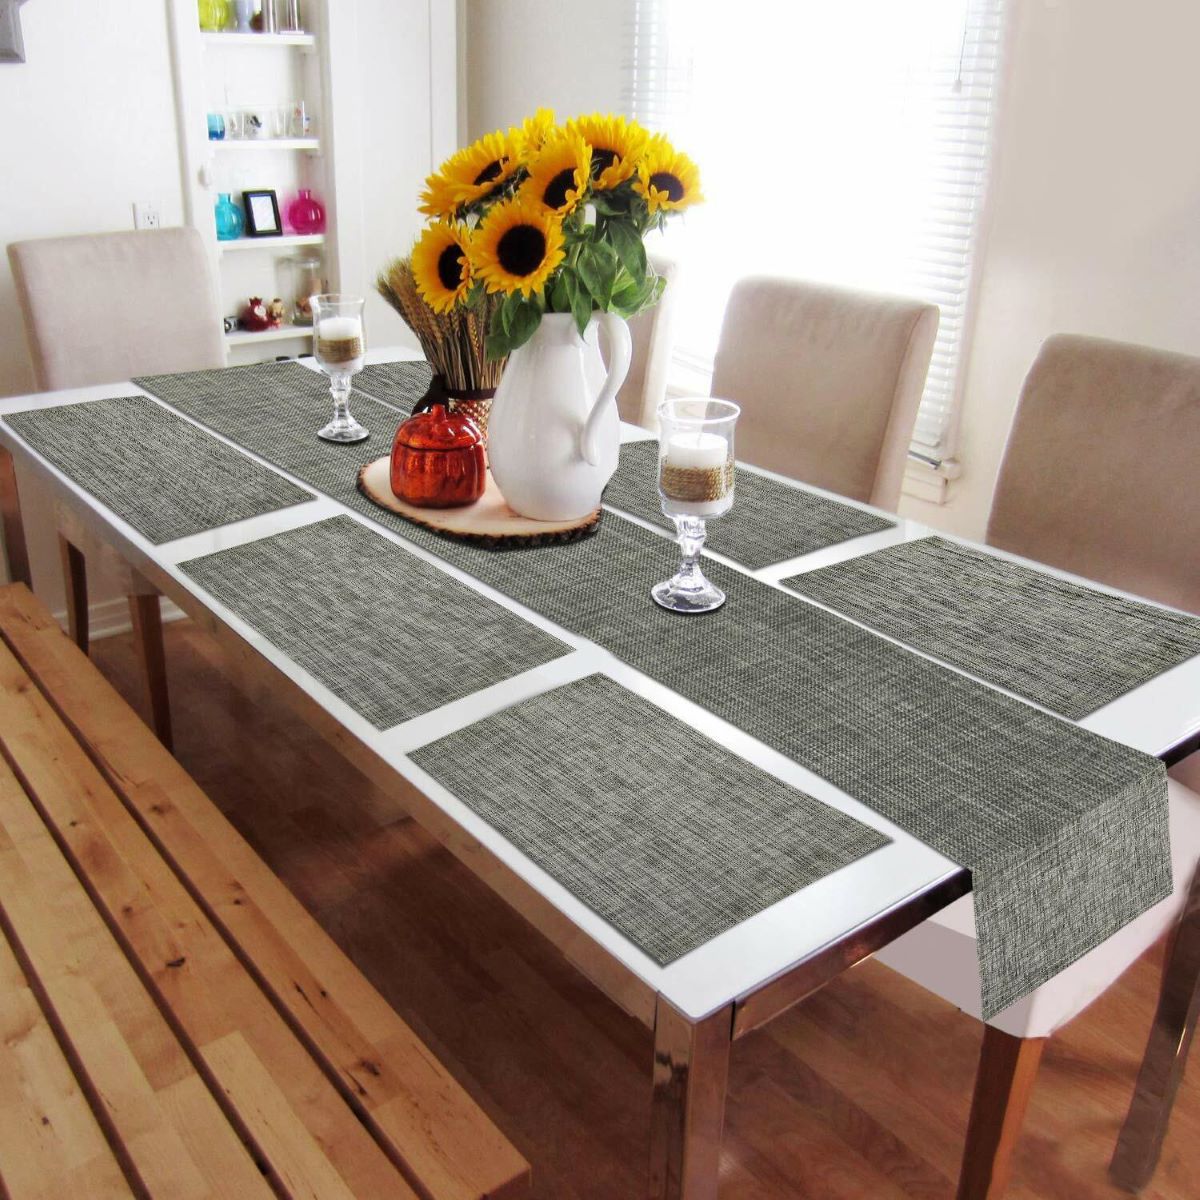
Once you have completed these steps, your quilted placemat is ready to be used or displayed. Repeat the process for each placemat to create a matching set.
Congratulations! You’ve successfully completed quilting your own unique placemats. Not only have you created functional tableware, but you’ve also expressed your creativity and added a personal touch to your dining experience.
Remember, quilting is a skill that improves with practice. Don’t be afraid to experiment with different techniques, designs, and fabric combinations to create truly one-of-a-kind placemats that reflect your style and personality.
Enjoy using your handmade placemats and share them with family and friends. They make wonderful gifts for special occasions, housewarmings, or just to brighten someone’s day.
Happy quilting!
Conclusion
Quilting placemats is a rewarding and creative endeavor that allows you to showcase your skills and add a personal touch to your table setting. Through careful fabric selection, precise cutting, and meticulous stitching, you can create beautiful and functional pieces of tableware.
By following the step-by-step guide in this article, you’ve learned how to choose the perfect fabric, cut and prepare the materials, create a quilt top, assemble the placemat, quilt the layers together, and add the finishing touches. Each step contributes to the overall success and quality of your quilted placemat.
Remember, quilting is a skill that improves over time with practice. Don’t be discouraged if your first attempt doesn’t turn out exactly as planned. Enjoy the process of learning, experimenting, and refining your technique. With each project, you’ll gain more confidence and expertise.
Quilted placemats not only add a touch of charm and warmth to your dining space but also make thoughtful and personalized gifts for loved ones. Whether you’re hosting a dinner party or enjoying a quiet meal at home, your handmade placemats will surely make the occasion more special.
So, gather your materials, unleash your creativity, and embark on your quilting journey. With dedication and practice, you’ll master the art of quilting placemats and create beautiful heirloom pieces to be cherished for years to come.
Read more: How To Set A Placemat
Additional Tips and Ideas
As you explore the world of quilting placemats, here are some additional tips and ideas to enhance your experience and creativity:
- Experiment with different quilting designs: Don’t be afraid to try different quilting patterns and designs to add visual interest to your placemats. From straight lines and grid patterns to swirls and flowers, the choice is endless.
- Use contrasting thread: Consider using a contrasting thread color for quilting to make the stitches stand out and add an extra pop to your placemats.
- Personalize with embroidery: Add a personal touch to your placemats by incorporating embroidery. You can stitch initials, names, or even small motifs to make each placemat unique.
- Mix and match fabrics: Play with fabric combinations by mixing different patterns, textures, and colors. This will create a visually interesting and dynamic set of placemats.
- Add embellishments: Consider adding decorative elements like buttons, beads, or ribbon to further enhance the design of your placemats. Just make sure they are securely attached and won’t interfere with everyday use.
- Create themed placemats: Use themed fabrics to create placemats for special occasions or holidays. This adds a festive touch to your table and creates a cohesive look.
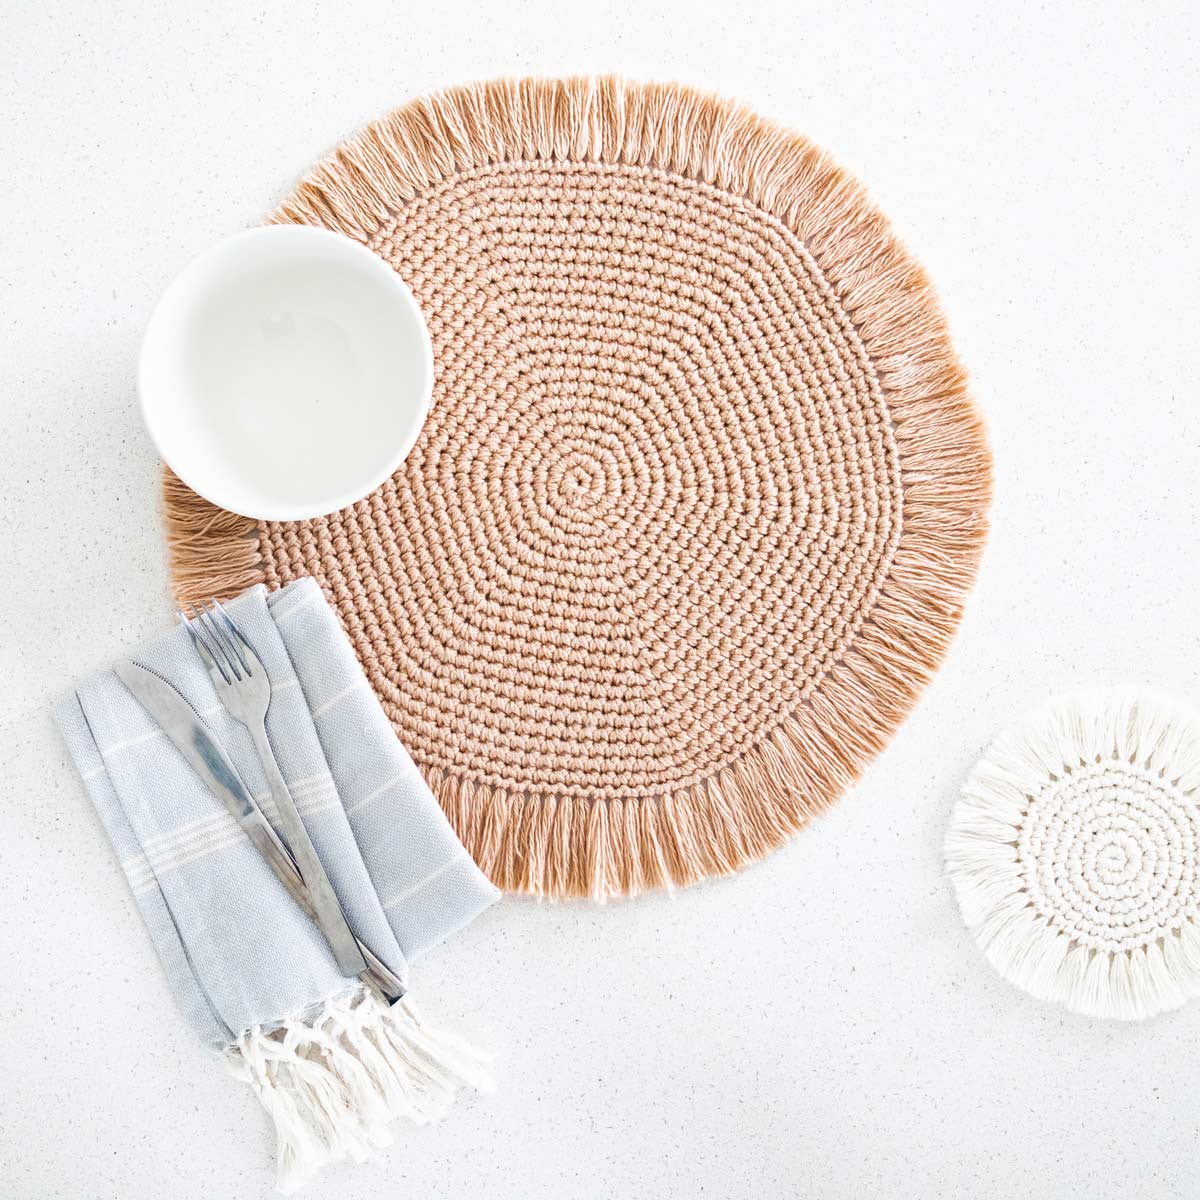
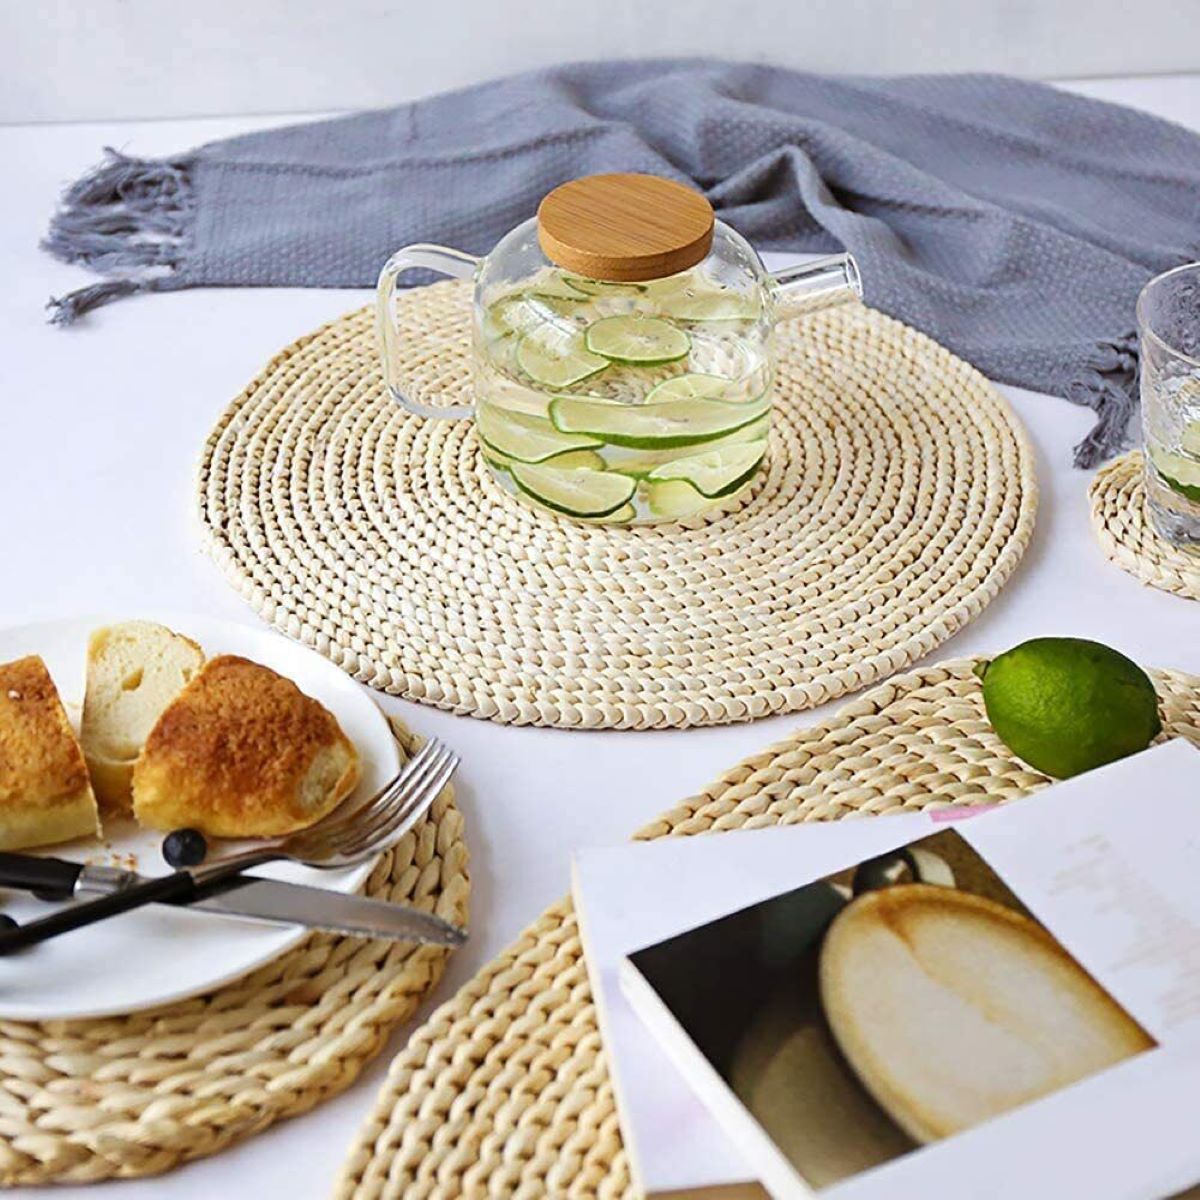
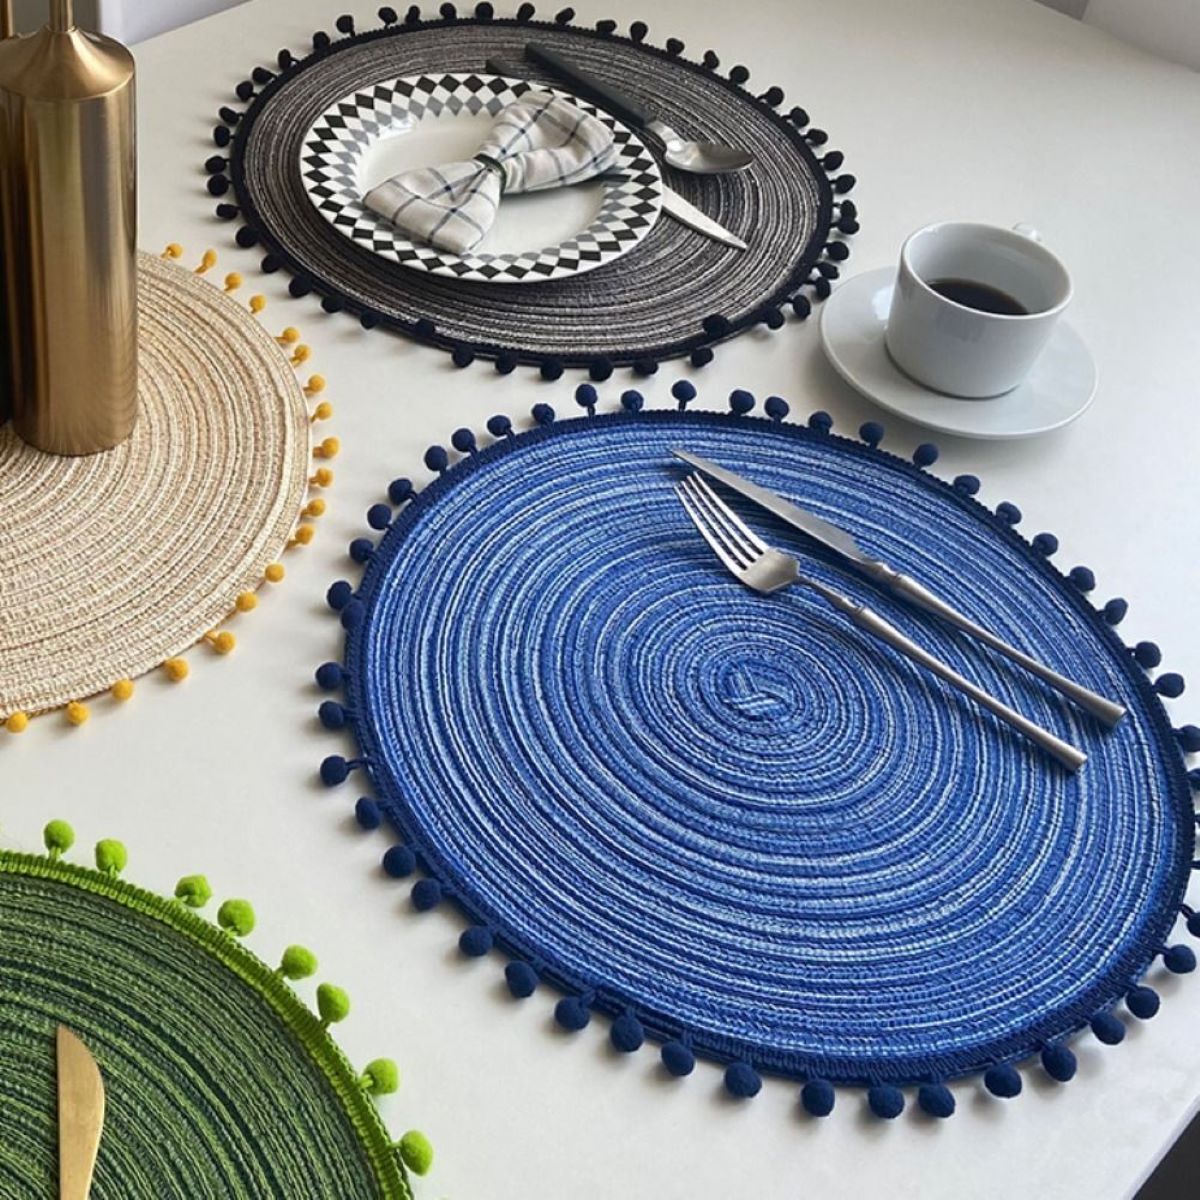
- Experiment with shapes: While rectangles are traditional for placemats, don’t be afraid to explore different shapes, such as squares, circles, or even hexagons. This can add a unique and modern twist to your table setting.
- Consider reversible placemats: Create double-sided placemats by quilting two separate pieces and then sewing them together along the edges. This gives you the flexibility to change the look of your table with a simple flip.
- Add a layer of heat-resistant fabric: If you plan to use your placemats for hot dishes, consider adding a layer of heat-resistant fabric, such as cotton or batting with a heat-resistant coating, to protect the surface of the placemats.
These additional tips and ideas are meant to inspire your creativity and help you explore new possibilities in quilting placemats. Remember to enjoy the process and have fun as you create functional and beautiful pieces of tableware.
Happy quilting!
Frequently Asked Questions about How To Quilt Placemats
Was this page helpful?
At Storables.com, we guarantee accurate and reliable information. Our content, validated by Expert Board Contributors, is crafted following stringent Editorial Policies. We're committed to providing you with well-researched, expert-backed insights for all your informational needs.

0 thoughts on “How To Quilt Placemats”