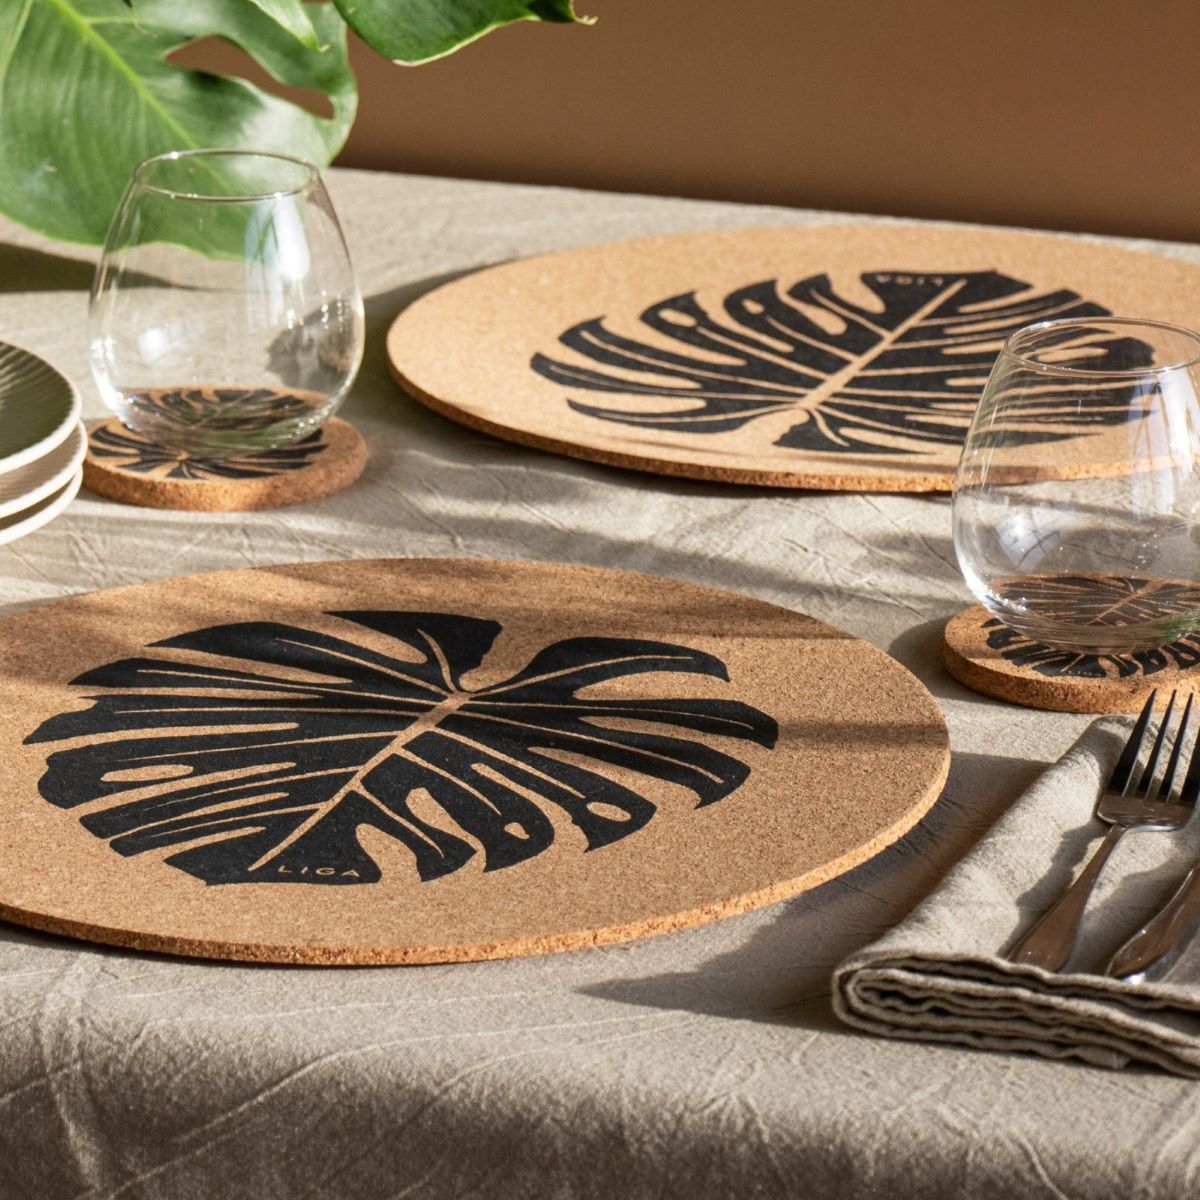
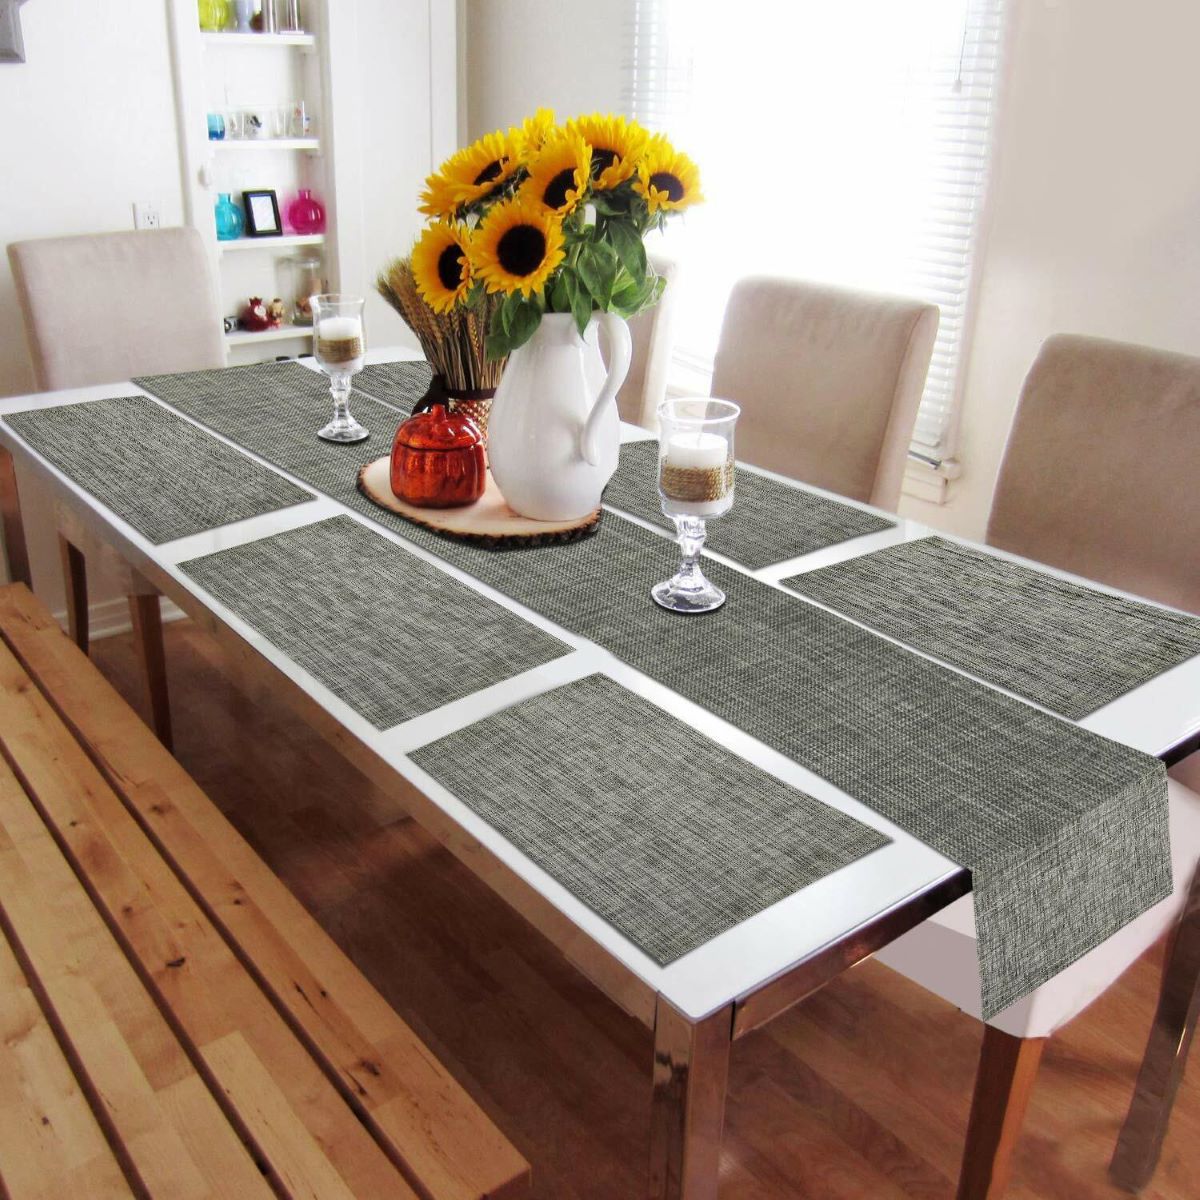
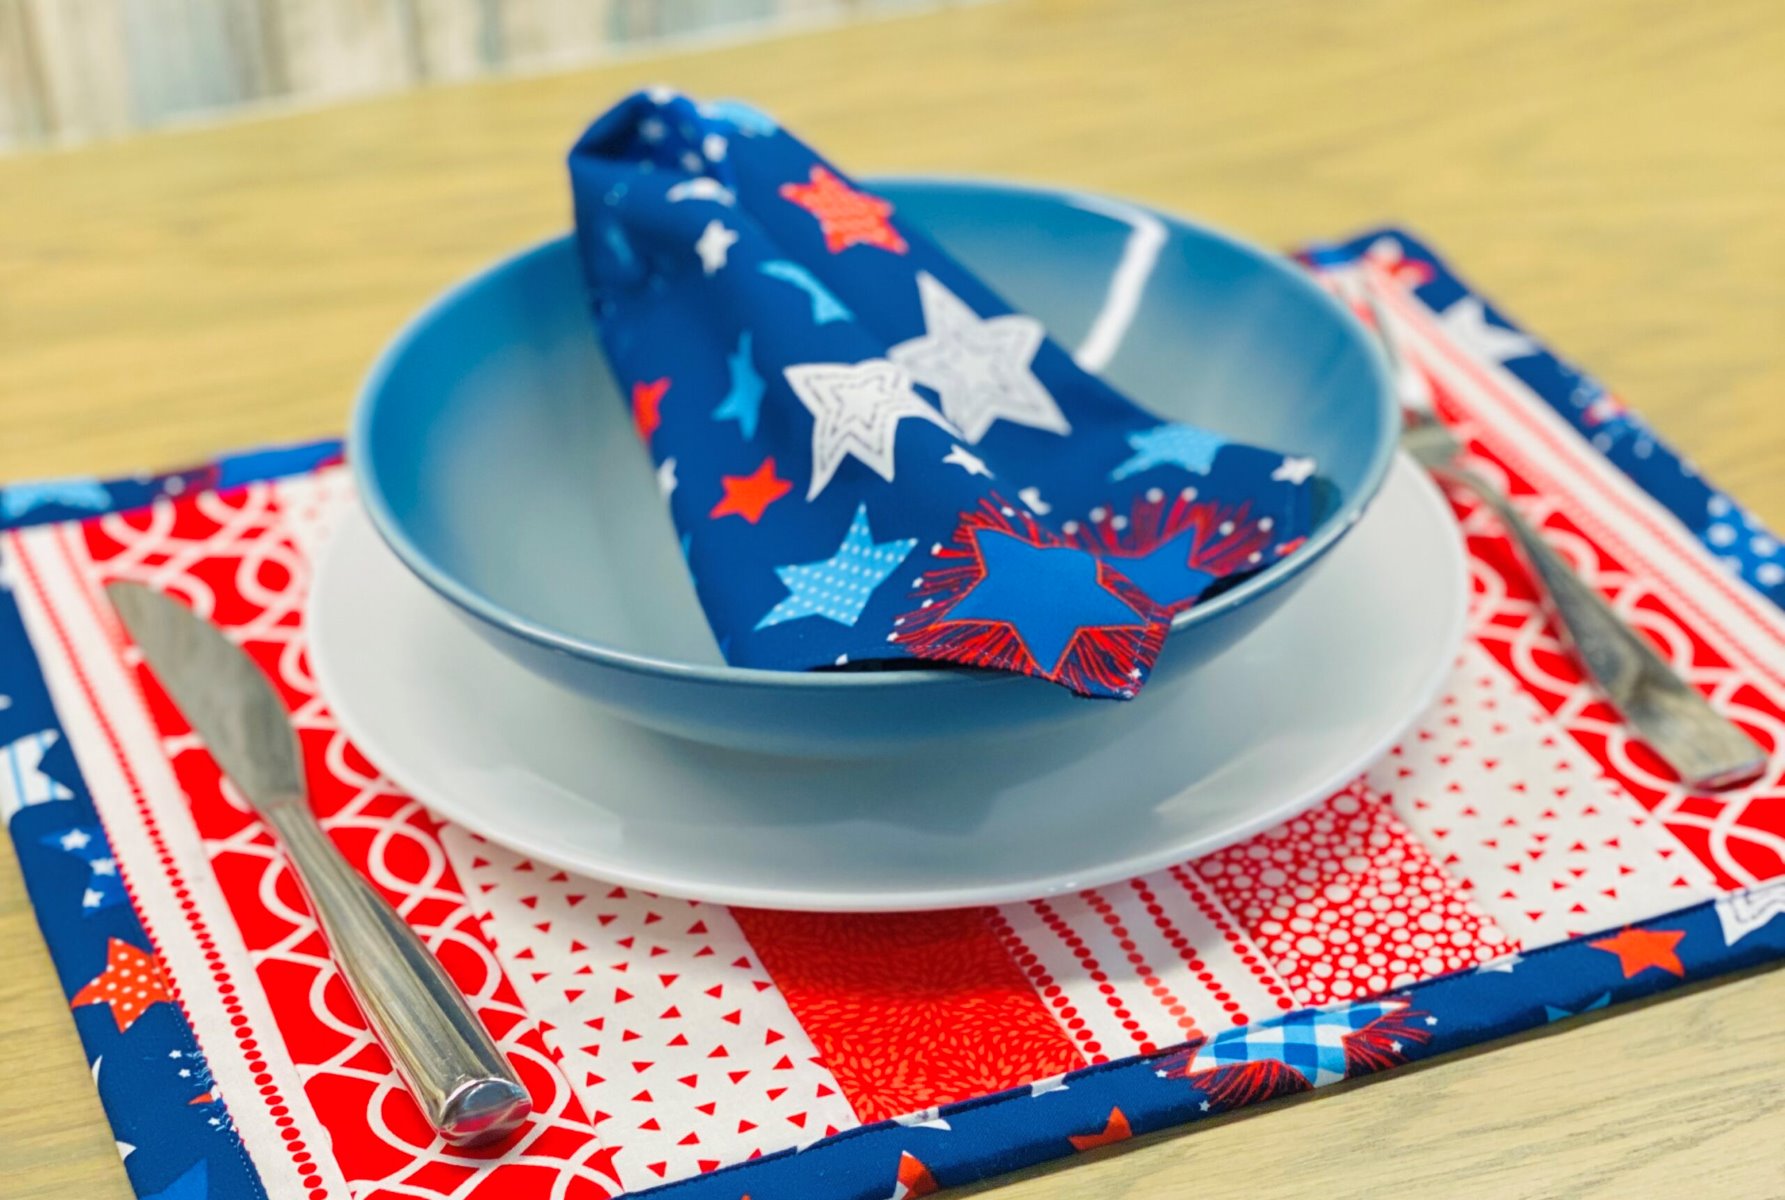
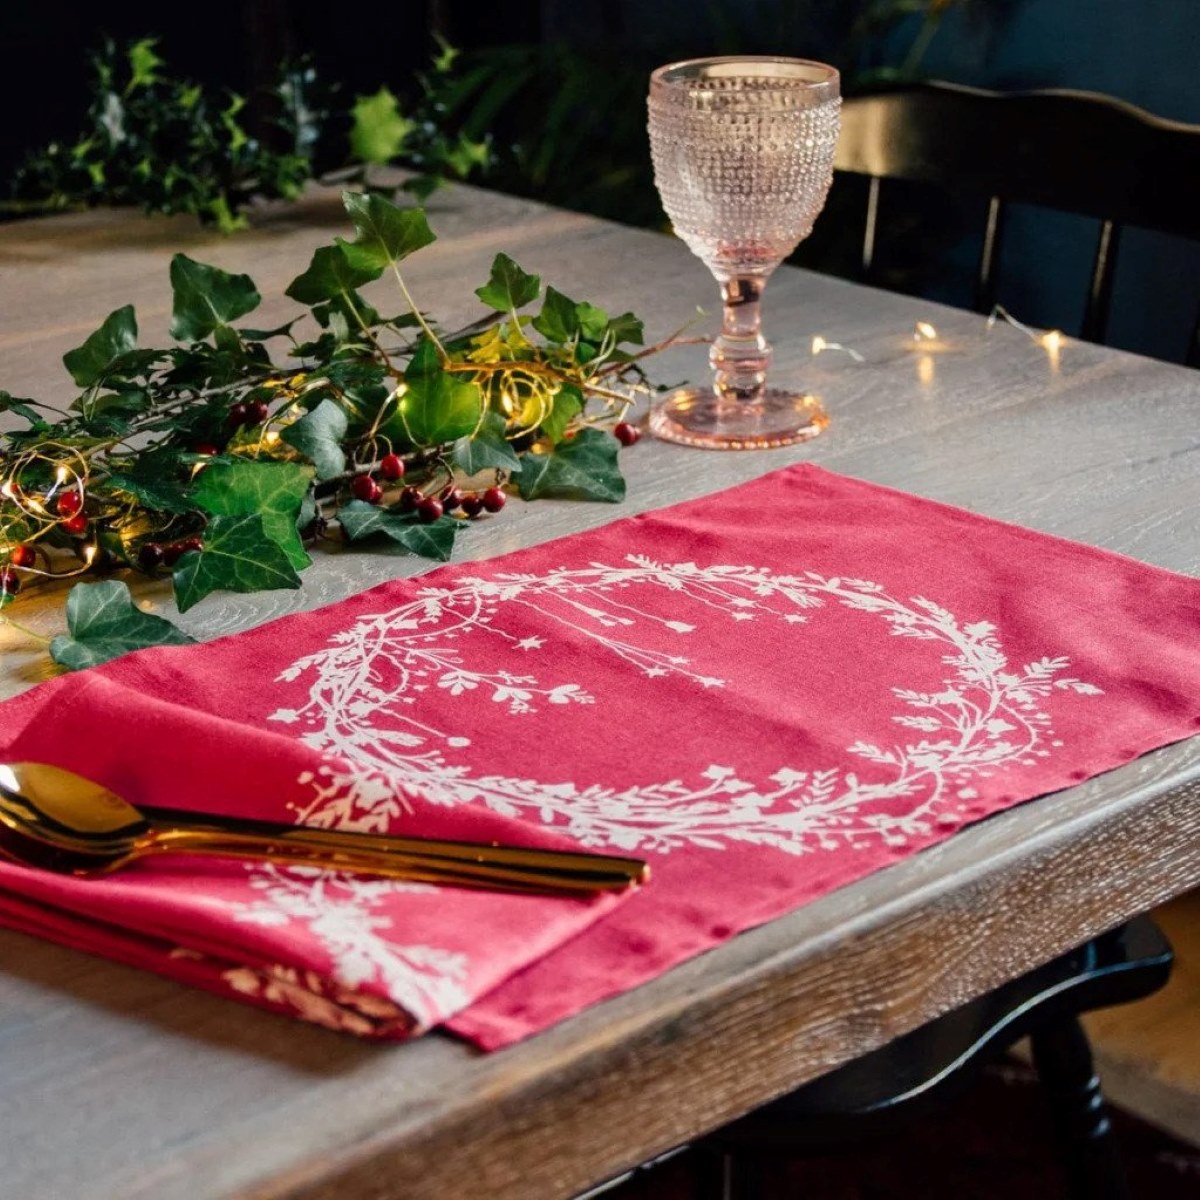
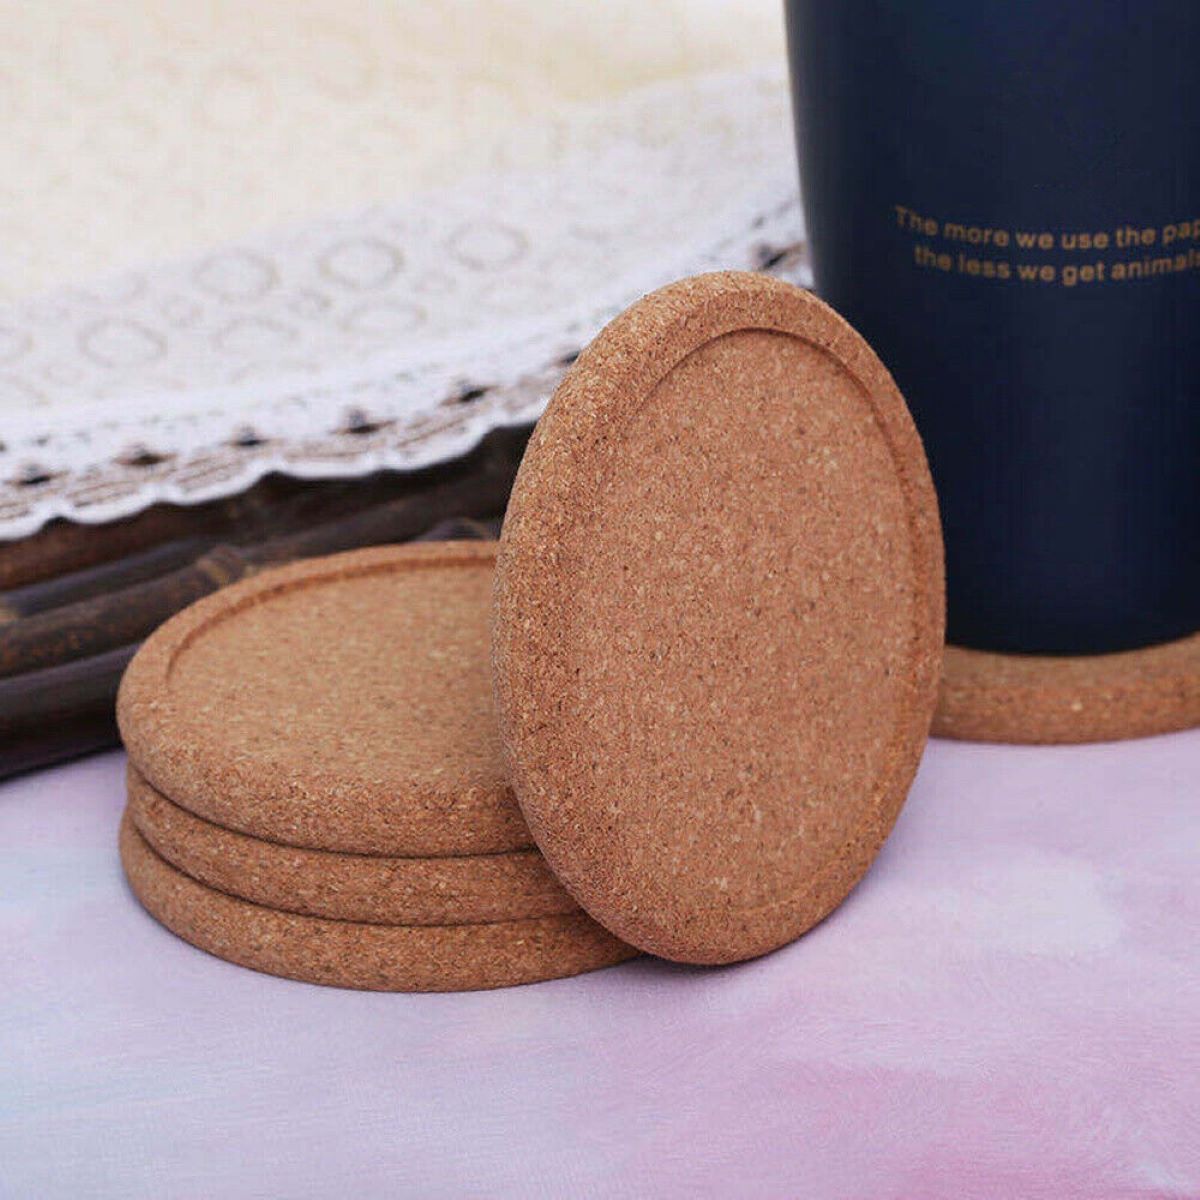
Tableware
How To Make Cork Placemats
Modified: January 4, 2024
Discover the step-by-step guide on creating stylish cork placemats for your dining table. Elevate your tableware with this DIY project.
(Many of the links in this article redirect to a specific reviewed product. Your purchase of these products through affiliate links helps to generate commission for Storables.com, at no extra cost. Learn more)
Introduction
Welcome to the world of tableware, where every detail matters to create a perfect dining experience. When it comes to adding a touch of elegance and style to your table, placemats are an underrated yet essential accessory. If you’re looking for a unique and eco-friendly option, why not try making your own cork placemats? Not only will you unleash your creativity, but you’ll also contribute to sustainability by repurposing corks from wine bottles.
In this article, we’ll guide you through the step-by-step process of making your own cork placemats. Whether you’re a crafting enthusiast or a DIY beginner, this project is both fun and rewarding. So, let’s gather our materials and get started on this exciting journey!
Before we dive into the process, let’s explore the benefits of cork as a material for placemats. Cork is not only eco-friendly but also highly durable and easy to clean. It has natural properties that make it resistant to water and stains, making it an ideal choice for tableware. Additionally, cork is a lightweight and flexible material, which means your placemats will be easy to fold and store. With its unique texture and visual appeal, cork placemats can add a touch of sophistication to any dining setting.
Now that we’re familiar with the benefits of cork placemats, let’s gather the materials we’ll need.
Key Takeaways:
- Unleash your creativity and contribute to sustainability by repurposing wine corks to craft unique and eco-friendly cork placemats, adding elegance and style to your dining experience.
- Enjoy the fun and rewarding DIY project of making cork placemats, with practical benefits such as durability, easy cleaning, and lightweight flexibility, creating a long-lasting and visually appealing addition to your table settings.
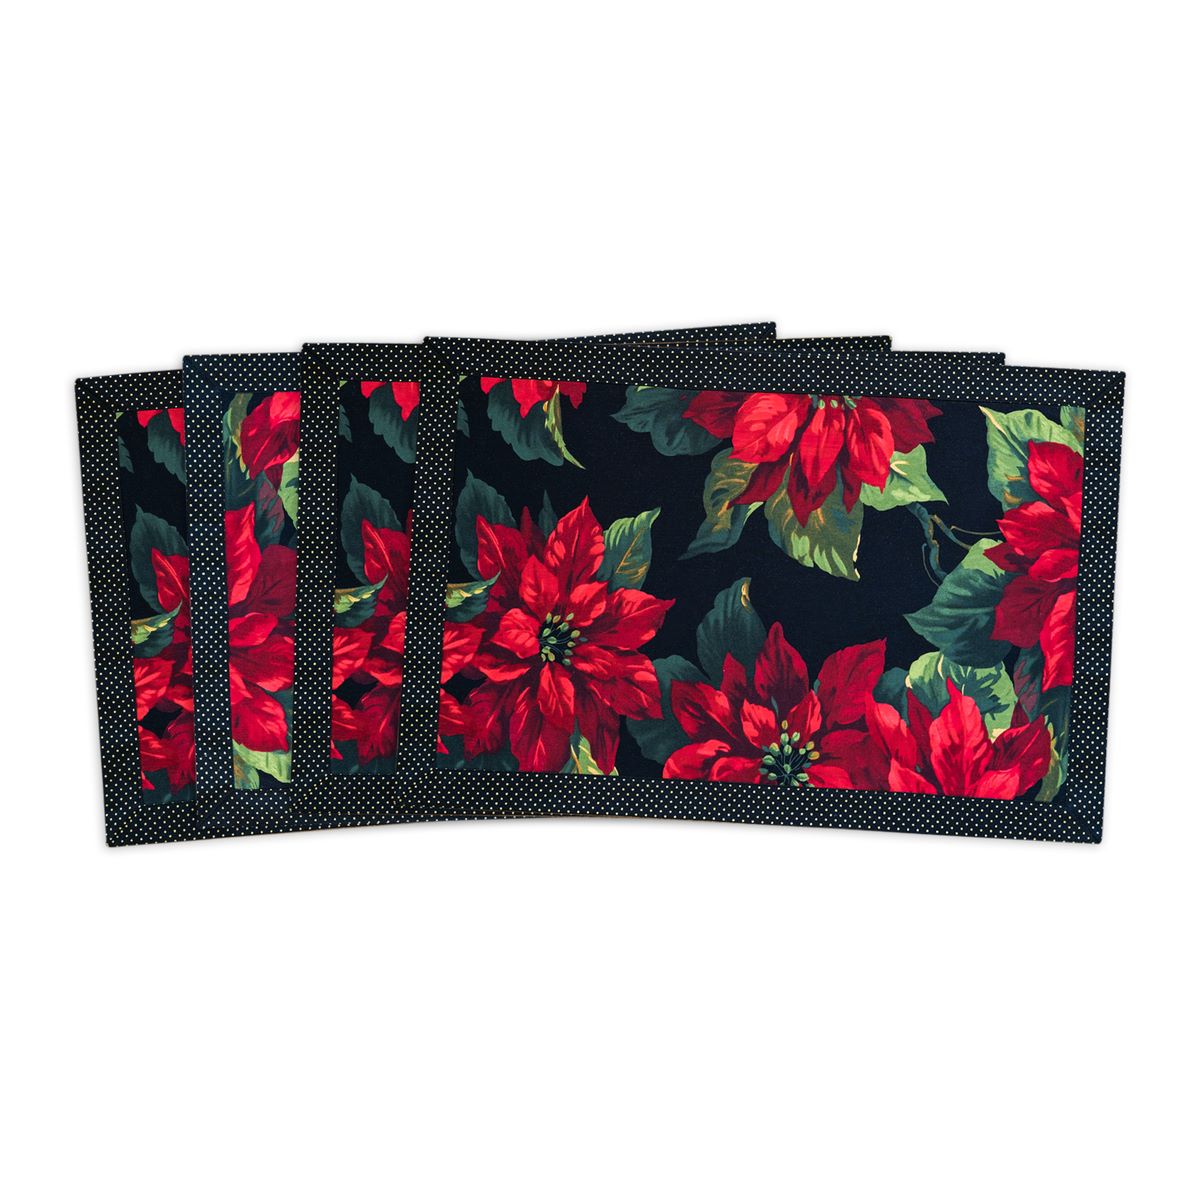
Read more: How To Make A Quilted Placemat
Materials Needed
Before starting your cork placemat project, it’s essential to gather all the necessary materials. Luckily, you won’t need many items, and most of them can be easily found in your home or local craft store. Here’s a list of what you’ll need:
- Corks: The star of the show! Collect enough corks to cover the desired size of your placemats. You can save corks from wine bottles or purchase them from a craft store. Aim for uniformity in terms of size and shape for a polished look.
- Hot Glue Gun: This will be your trusty tool for attaching the corks together. Make sure you have enough glue sticks on hand to complete the project.
- Scissors: You’ll need these to trim the edges of the placemats for a clean finish.
- Ruler or Measuring Tape: To ensure your placemats are of the desired size, it’s helpful to have a ruler or measuring tape handy.
- Cardboard or a Corkboard: You’ll need a sturdy base to attach the corks. Use a piece of cardboard or a corkboard as the foundation for your placemats.
- Acrylic Sealer (optional): If you want to give your placemats an extra layer of protection, you can use an acrylic sealer to prevent any damage or discoloration over time.
These are the basic materials you’ll need to create your cork placemats. Feel free to get creative and add your own personal touch by incorporating other decorative elements like ribbons, beads, or paint.
Now that we’re all set with the materials, let’s move on to the step-by-step process of making your own cork placemats.
Step 1: Gather Corks
The first step in creating your cork placemats is to gather enough corks to cover the desired size of your placemats. You can collect corks from wine bottles over time or purchase them from a craft store. The number of corks you’ll need will depend on the size of your placemats and the arrangement you have in mind.
When selecting corks, aim for uniformity in terms of size and shape. This will ensure a neat and polished finished product. Additionally, you may choose to mix and match different types of corks to create an eclectic and visually interesting design.
If you’re using corks that have been collected over time, make sure to clean them thoroughly before proceeding with the project. This will help remove any dirt, stains, or residual wine that may be on the corks.
Now that you have your corks ready, it’s time to move on to the next step: cleaning them.
Step 2: Clean the Corks
Before you begin crafting your cork placemats, it’s important to ensure that the corks are clean and free from any dirt, stains, or residue. Cleaning the corks will not only improve their appearance but also ensure a hygienic surface for your placemats. Follow these steps to clean your corks:
- Prepare a bowl of warm water and add a few drops of mild dish soap.
- Place the corks in the soapy water and let them soak for about 15-20 minutes. This will help loosen any debris or dirt stuck on the corks.
- Gently scrub the corks using a soft-bristled brush or a clean cloth. Pay attention to the crevices and surfaces to ensure thorough cleaning.
- Rinse the corks under running water to remove any soap residue.
- Pat the corks dry using a clean towel or let them air dry completely.
Once your corks are clean and dry, you’re ready to move on to the next step: arranging the corks to create your placemats.
Step 3: Arrange the Corks
Now that your corks are clean and ready to go, it’s time to get creative and arrange them to create your unique cork placemats. Follow these steps to arrange the corks:
- Decide on the size and shape of your placemats. You can create square, rectangular, or even round placemats, depending on your preference.
- Layout your cardboard or corkboard as the base for your placemat. This will provide stability and support.
- Start by arranging the corks on the base in the desired pattern or design. You can choose to align them or create a more random and eclectic arrangement.
- Play around with different configurations until you find the one that you like the most. This is your chance to let your creativity shine!
- Once you’re satisfied with the arrangement, take a picture or make a note of the pattern to ensure you maintain it while gluing the corks together.
- Before moving on to the gluing process, it’s a good idea to double-check the size of your placemat to ensure it fits your table perfectly.
Remember, the beauty of making your own cork placemats lies in the endless possibilities for customization. Don’t be afraid to experiment with different patterns, shapes, and sizes to find the perfect arrangement.
With the corks arranged, it’s time to move on to the next step: gluing the corks together.
When making cork placemats, be sure to seal the cork with a food-safe sealant to protect it from stains and spills. This will also make it easier to clean and maintain.
Read more: How To Make Woven Placemats
Step 4: Glue the Corks
Now that you have your corks arranged in the desired pattern, it’s time to glue them together to create a sturdy and durable cork placemat. Follow these steps to glue the corks:
- Heat up your hot glue gun and wait for it to reach the desired temperature.
- Starting from one corner of the placemat, apply a small amount of hot glue to the bottom of one cork.
- Quickly press the cork onto the base, making sure it aligns with the desired pattern. Hold it firmly in place for a few seconds to allow the glue to dry and secure the cork.
- Move on to the next cork and repeat the process. Apply a small amount of glue to the bottom of the cork, press it onto the base, and hold it in place until the glue sets.
- Continue gluing the corks one by one, following the arrangement you designed earlier. Take your time to ensure that each cork is securely glued to the base.
- If you’re using different sizes or shapes of corks, pay attention to the alignment and positioning to maintain a cohesive and visually pleasing look.
- Once all the corks are glued in place, let the placemat sit for a few minutes to ensure the glue fully dries and sets.
Remember to work in a well-ventilated area and be careful while handling the hot glue gun to avoid any burns or accidents. Your cork placemat is really starting to come together now!
With the corks fully glued, it’s time to trim the edges for a clean and polished finish in the next step.
Step 5: Trim the Edges
Now that your cork placemat is securely glued together, it’s time to trim the edges for a clean and polished finish. Follow these steps to trim the edges of your placemat:
- Using a ruler or measuring tape, measure the desired size of your placemat and mark it on the edges.
- Take a pair of sharp scissors and carefully trim the excess cork along the marked edges. Make sure to cut in a straight line to achieve a neat and even finish.
- Work slowly and steadily, adjusting the angle of the scissors as needed to maintain a consistent edge.
- After you’ve trimmed all the edges, check for any uneven areas or rough spots. Use the scissors to make any necessary adjustments to ensure a smooth and uniform edge.
- Once you’re satisfied with the trimmed edges, gently brush away any cork debris or dust that may have accumulated during the trimming process.
Your cork placemat is now taking shape and looking more refined with its trimmed edges. The careful attention to detail and precision in trimming will elevate the overall appearance of your placemat.
Now that the edges are trimmed, it’s time for the final step: adding the finishing touches to your cork placemat.
Step 6: Finishing Touches
Congratulations on reaching the final step of creating your cork placemat! In this step, you will add the finishing touches to enhance the overall look and durability of your placemat. Follow these steps to complete your project:
- Inspect your cork placemat for any loose or unsecured corks. If you find any, apply a small amount of hot glue to the bottom of the cork and press it firmly onto the base to secure it in place.
- Optional: If you want to give your placemat an extra layer of protection against spills and stains, you can apply an acrylic sealer. Follow the instructions on the sealer to properly coat the entire surface of the placemat. This will help maintain the integrity of the cork and make it easier to clean.
- Allow the acrylic sealer to dry completely before using your placemat.
- Finally, place your cork placemat on your table or any surface you desire. Admire your handiwork and feel proud of the beautiful, eco-friendly addition to your tableware collection.
With the finishing touches complete, your cork placemat is ready to bring style and functionality to your dining experience. Whether you’re hosting a dinner party or enjoying a cozy meal at home, this unique creation will surely impress your guests and elevate the ambiance of your dining space.
Remember to clean your cork placemats gently by wiping them with a damp cloth. Avoid soaking them in water or using abrasive cleaning tools that may damage the cork surface.
Now that you’ve mastered the art of making cork placemats, feel free to explore different designs, patterns, and sizes to create a stunning set that reflects your personal style and creativity. Get ready to impress your guests and add a touch of eco-friendly elegance to your table!
Enjoy your beautiful, handmade cork placemats and happy crafting!
Conclusion
Creating your own cork placemats is a fun and rewarding DIY project that allows you to unleash your creativity while contributing to sustainability. By repurposing wine corks, you can craft unique and eco-friendly tableware accessories that add a touch of elegance to your dining experience.
Throughout this article, we’ve covered the step-by-step process of making cork placemats. From gathering the materials and cleaning the corks to arranging them in a pattern, gluing them together, and trimming the edges, each step has brought you closer to the final result.
By following these instructions, you’ve learned how to turn a collection of corks into a beautiful and functional placemat. Remember to personalize your design by exploring different arrangements and adding your own finishing touches.
Not only are cork placemats visually appealing, but they also offer practical benefits. Cork is a durable and easy-to-clean material that is resistant to water and stains, making it ideal for tableware. Its natural properties make the placemats lightweight and flexible, ensuring easy storage and transport. With proper care, your cork placemats will be a long-lasting addition to your table settings.
So, gather your corks, heat up your glue gun, and let your creativity run wild! Make a statement with your handmade cork placemats and impress your guests with your crafting skills.
We hope this article has inspired you to embark on your cork placemat-making journey. Enjoy the process, embrace your creativity, and create stunning and sustainable tableware that will make every meal a special occasion.
Happy crafting and happy dining!
Frequently Asked Questions about How To Make Cork Placemats
Was this page helpful?
At Storables.com, we guarantee accurate and reliable information. Our content, validated by Expert Board Contributors, is crafted following stringent Editorial Policies. We're committed to providing you with well-researched, expert-backed insights for all your informational needs.


0 thoughts on “How To Make Cork Placemats”