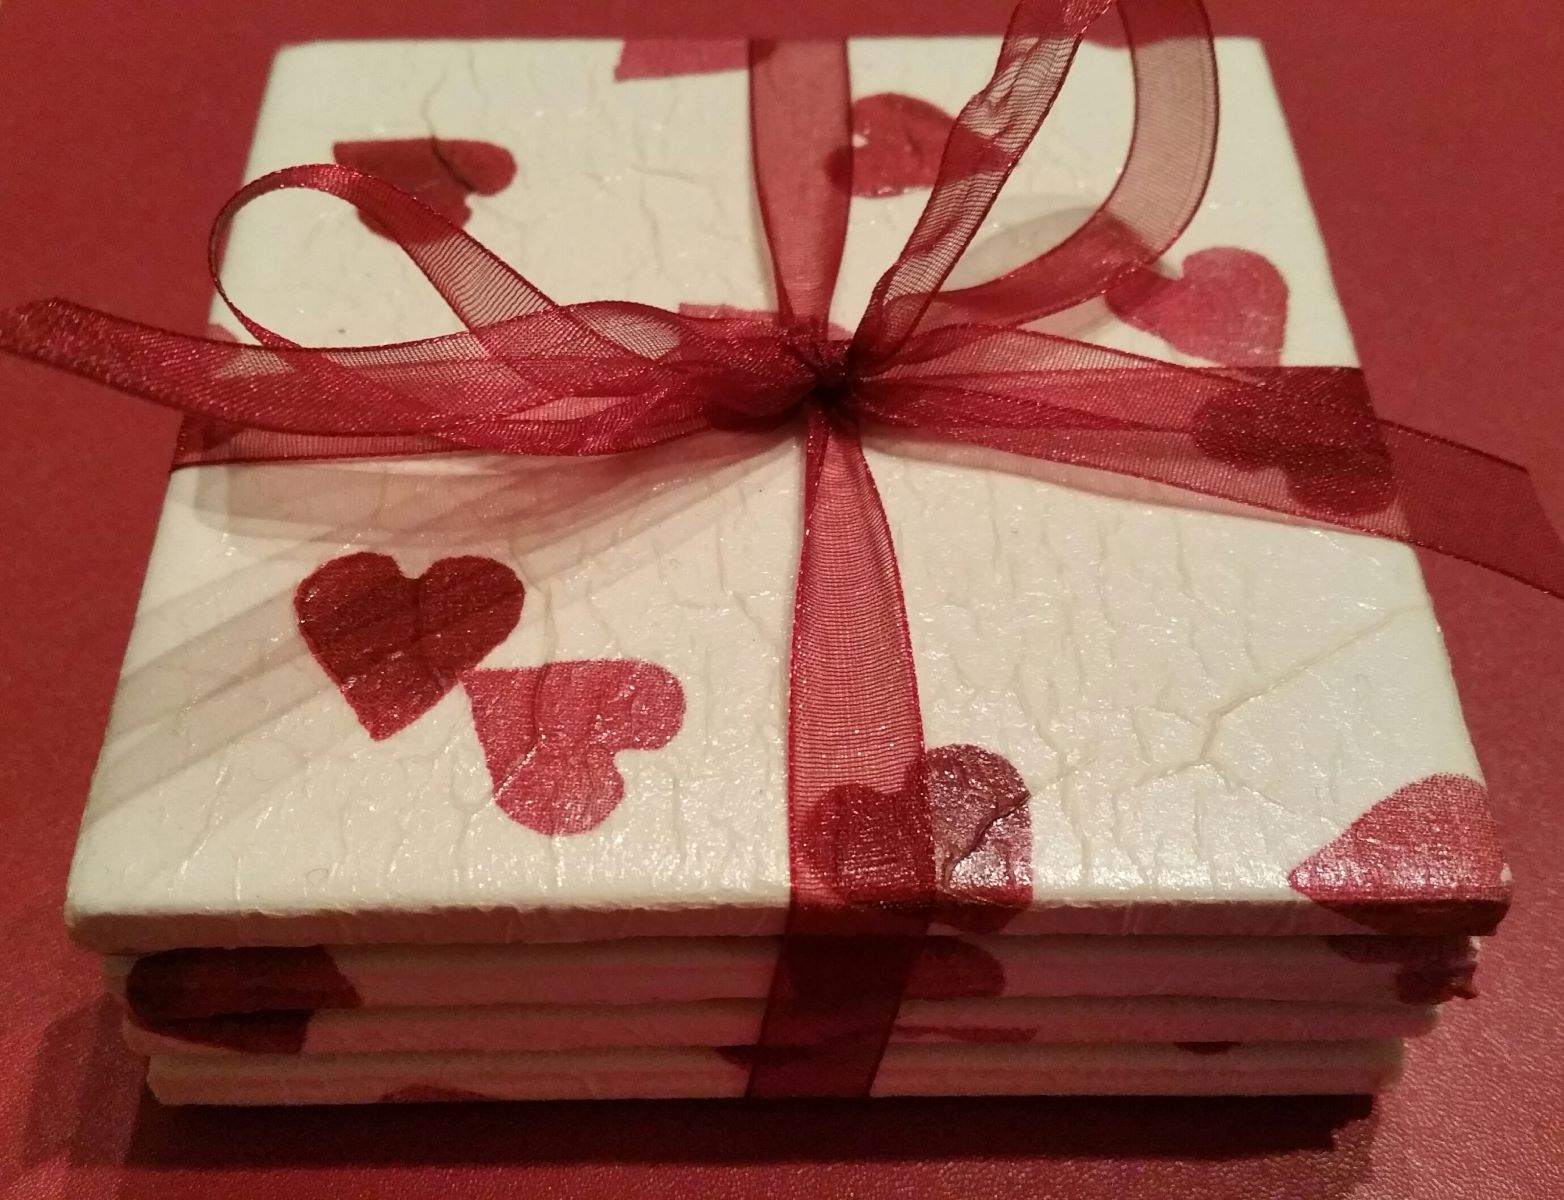
Tableware
How To Paint Ceramic Coasters
Modified: October 20, 2024
Learn how to paint ceramic coasters and transform your tableware into personalized pieces with our step-by-step guide. Enhance your dining experience today!
(Many of the links in this article redirect to a specific reviewed product. Your purchase of these products through affiliate links helps to generate commission for Storables.com, at no extra cost. Learn more)
Introduction
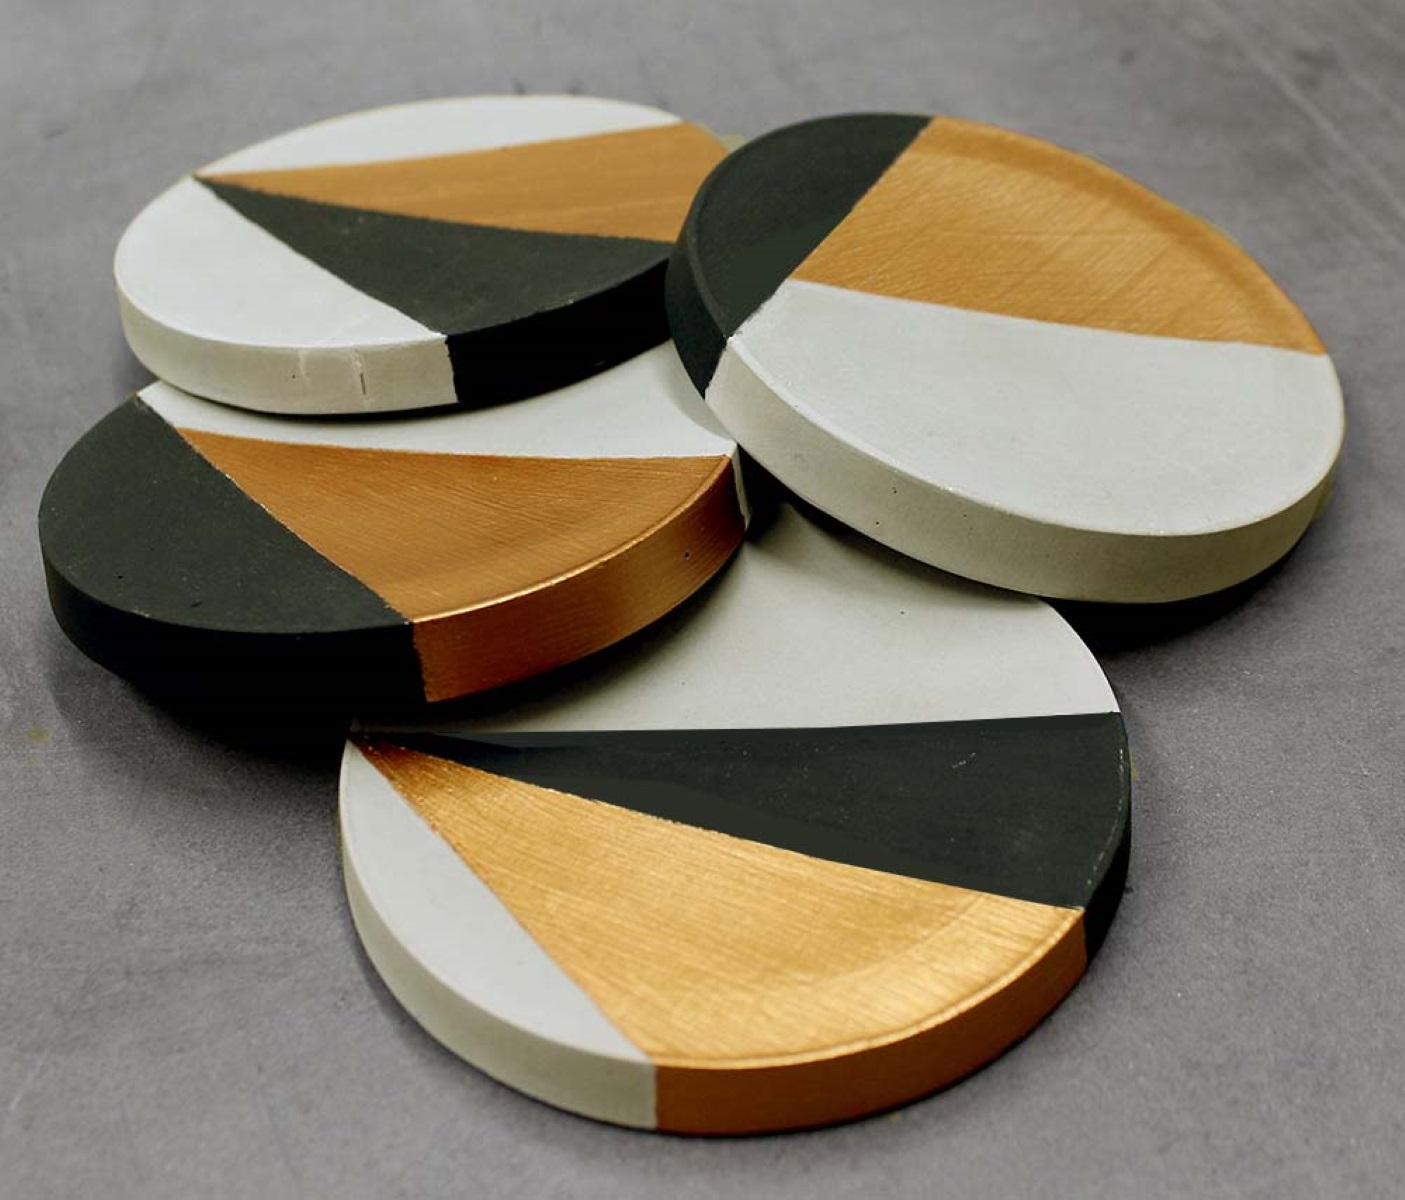
Welcome to the world of ceramic coasters! Whether you’re a seasoned DIY enthusiast or just looking to personalize your tableware, painting ceramic coasters is a fun and creative project that allows you to showcase your personal style. Not only can you create unique designs to match your home decor, but you can also make thoughtful handmade gifts for your loved ones.
Painting ceramic coasters is not only a great way to express your creativity, but it also adds a touch of elegance and functionality to your table settings. With the right materials, techniques, and a little bit of practice, you can transform plain ceramic coasters into beautiful pieces of functional art.
In this guide, we will walk you through the step-by-step process of painting ceramic coasters. From preparing the coasters to adding intricate details and sealing the finished product, you’ll learn everything you need to know to create stunning coasters that will impress your guests.
So grab your paintbrushes and let’s get started on this exciting and rewarding journey of painting ceramic coasters!
Key Takeaways:
- Unleash your creativity and personalize your tableware by painting ceramic coasters. With the right materials and techniques, you can transform plain coasters into stunning functional art pieces that impress guests and make thoughtful handmade gifts.
- From preparing the coasters to adding intricate designs and sealing them for protection, this guide equips you with the knowledge and skills to create unique and long-lasting ceramic coasters. Embrace the joy of expressing your artistic side and cherish the memories associated with your creations.
Read more: How To Paint A Ceramic Lamp Base
Materials Required
Before diving into the painting process, let’s gather all the necessary materials. Here’s a list of items you’ll need to complete your ceramic coaster painting project:
- Ceramic Coasters: Choose plain ceramic coasters that are smooth and even. You can find them at your local craft store or online.
- Acrylic Paints: Acrylic paints are versatile and available in a wide range of colors. Make sure to choose paints that are suitable for use on ceramics.
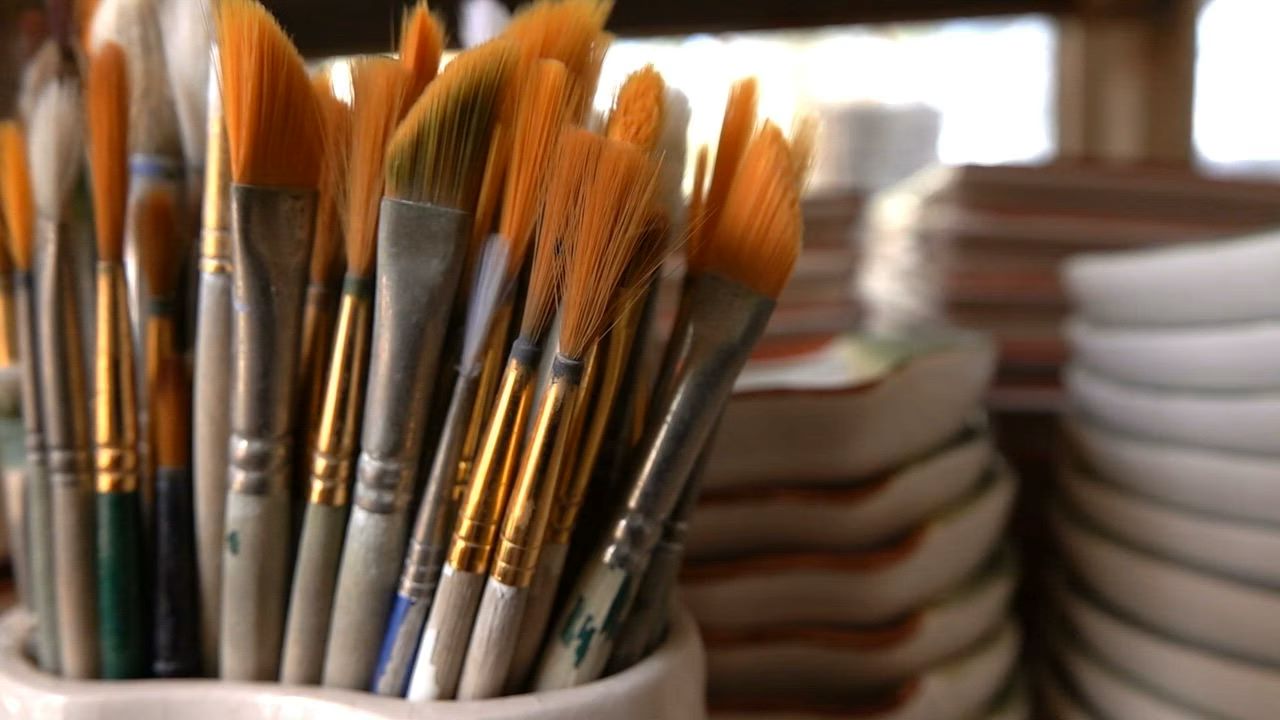
- Paintbrushes: Invest in a set of high-quality paintbrushes with various sizes. Flat brushes are ideal for covering larger areas, while finer brushes are perfect for adding intricate details.
- Palette: Use a palette or a disposable plate as a mixing surface for your paints.
- Water Container: Keep a container filled with water nearby to rinse your brushes as you switch between colors.
- Paint Palette Knife: This tool is helpful for mixing paints and creating different shades and tones.
- Masking Tape: Use masking tape to create clean edges and borders for your designs.
- Pencil and Eraser: A pencil and eraser will come in handy for sketching and correcting any mistakes.
- Sealant: Once your coasters are painted and dried, you’ll need a sealant to protect the designs and make the coasters waterproof.
- Protective Covering: Lay down newspaper or a plastic sheet to protect your workspace from any paint spills or splatters.
- Optional: Stencils, stamps, or markers can be used to add additional design elements to your coasters.
With these materials in hand, you’re well-equipped to begin your ceramic coaster painting adventure. Now, let’s move on to the step-by-step process of creating stunning designs on your coasters!
Step 1: Preparing the Coasters
Before you start painting, it’s essential to prepare the ceramic coasters properly. This ensures that the paint adheres well and provides a smooth and even surface for your designs. Follow these steps to prepare your coasters:
- Clean the Coasters: Begin by cleaning the coasters with mild dish soap and warm water. This will remove any dirt, dust, or oils that might be present on the surface. Rinse them thoroughly and allow them to dry completely.
- Sand the Coasters (Optional): If your coasters have a glossy or glazed finish, you can lightly sand them to create a rougher surface that the paint can grip onto. Use fine-grit sandpaper and gently sand the surface in circular motions. Wipe away any dust with a damp cloth.
- Mask off the Edges (Optional): If you want to keep the edges of your coasters free from paint, use masking tape to create a clean border. Apply the tape along the outer edges, pressing it firmly to ensure it adheres well.
- Prepare your Workspace: Lay down a protective covering on your work surface to prevent any paint spills or stains. It’s best to work on a flat and stable table or desk.
By following these steps, you’ll ensure that your ceramic coasters are clean and ready for the painting process. Next, we’ll move on to applying the base coat to the coasters to create a solid foundation for your design.
Step 2: Applying the Base Coat
Now that your coasters are prepped and ready, it’s time to apply the base coat. The base coat will serve as the foundation for your design and will help the paint colors appear more vibrant. Follow these steps to apply the base coat to your ceramic coasters:
- Select your Base Color: Choose a color for the base coat that complements your overall design. It’s best to opt for lighter shades that will make your designs stand out.
- Squeeze a small amount of the base color onto your palette. Use a palette knife to mix the paint and achieve a smooth consistency.
- Dip your paintbrush into the paint and start applying the base coat to the coasters. Use even strokes and try to cover the entire surface with a thin and even layer of paint. If necessary, apply a second coat for more opacity. Allow each coat to dry completely before proceeding.
- Once the base coat is dry, carefully remove any masking tape that was used to protect the edges. This will reveal clean borders and ensure a professional finish.
- Allow the coasters to dry completely before moving on to the next step. This will prevent smudging or smearing of the base coat when adding your designs.
By applying a base coat, you create a solid canvas for your designs and ensure that the colors of your artwork pop. Next, let’s move on to adding unique designs or patterns to your ceramic coasters in Step 3.
When painting ceramic coasters, make sure to clean the surface thoroughly with rubbing alcohol before applying any paint. This will help the paint adhere better and create a more durable finish.
Step 3: Adding Designs or Patterns
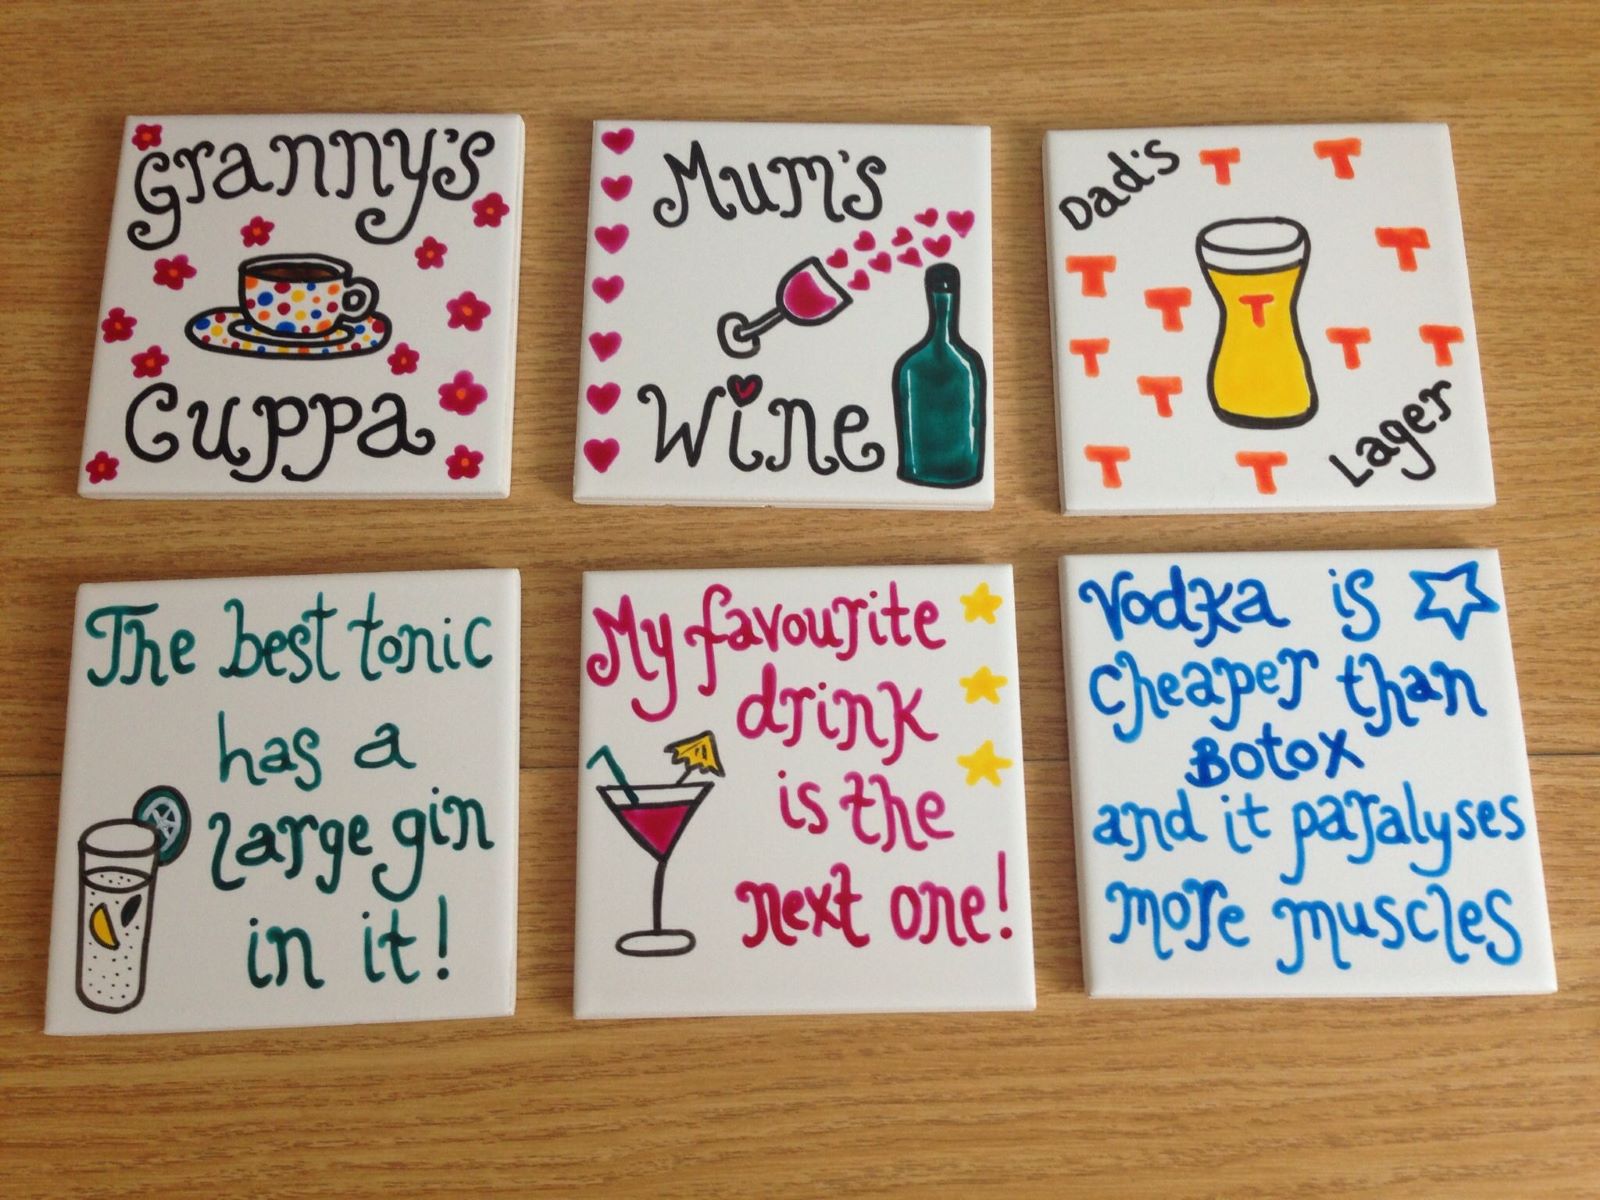
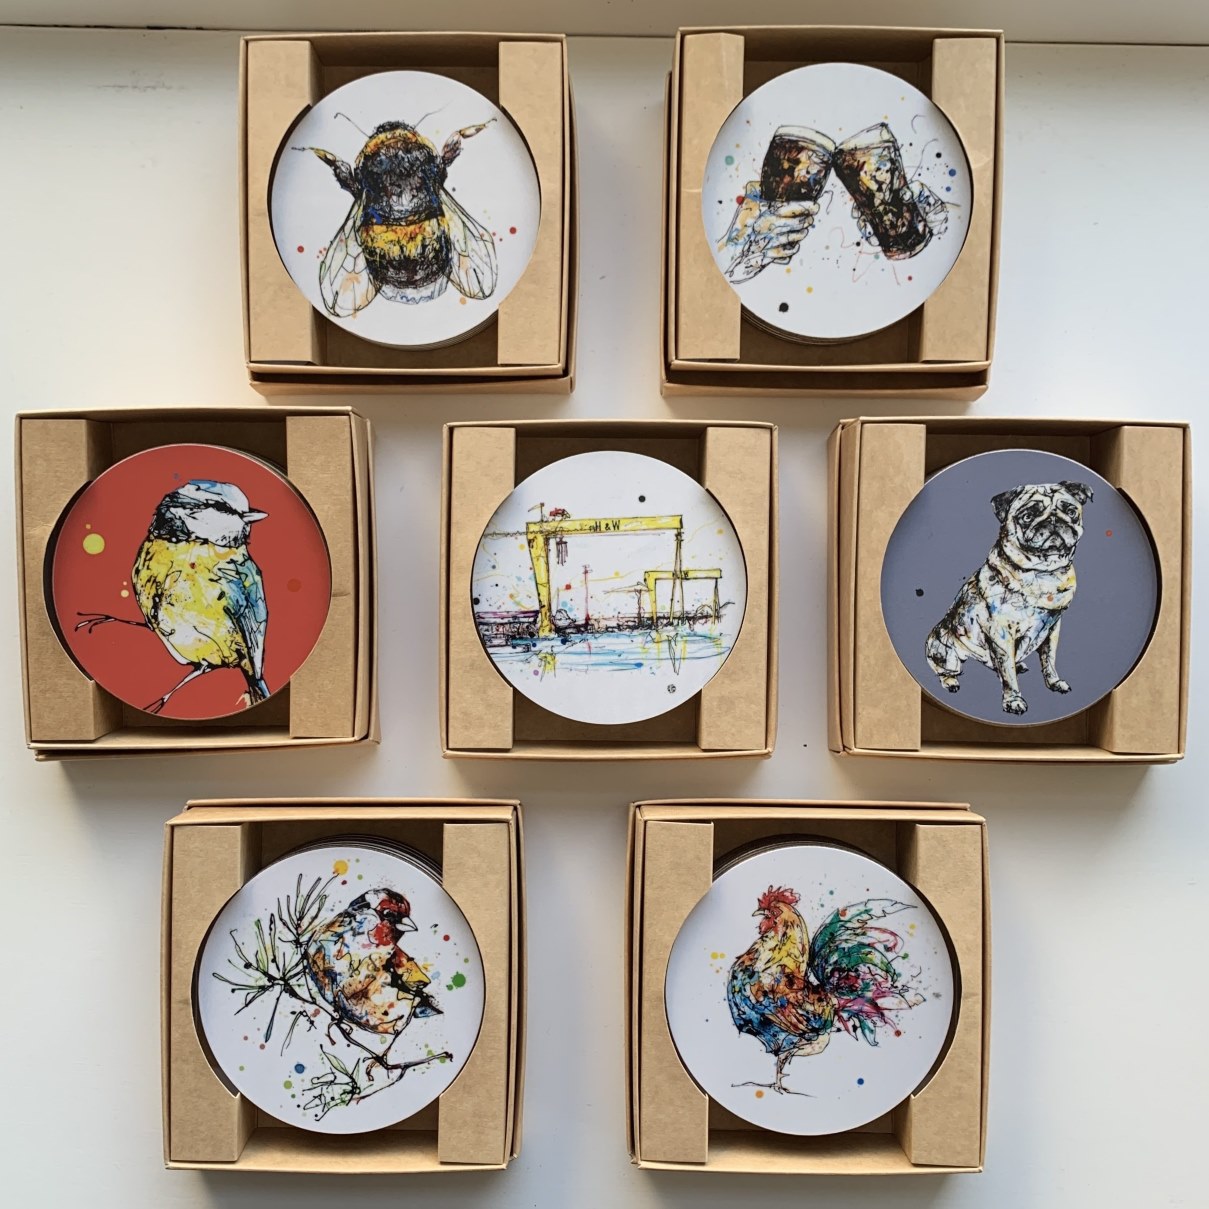
Now comes the fun part – adding your own unique designs or patterns to the ceramic coasters! This is where you can let your creativity flow and showcase your personal style. Follow these steps to create stunning designs on your coasters:
- Plan your Design: Before you start painting, it’s helpful to have a rough idea of the design or pattern you want to create. You can sketch it out on a piece of paper or use stencil templates as a guide.
- Choose your Colors: Select the acrylic paint colors that you want to use for your design. Consider color schemes, contrasts, and complementary shades that will enhance your design’s visual impact.
- Start Painting: Begin painting your designs using a fine brush. Take your time and use thin, precise strokes to create your desired shapes and patterns. If you make any mistakes, don’t worry – acrylic paints are forgiving and can be easily corrected or layered over.
- Experiment with Techniques: Feel free to explore different techniques like stippling, blending, or dry brushing to add texture and depth to your designs. You can also use additional tools like stamps or markers for extra detail and creativity.
- Allow the Paint to Dry: Once you’ve finished painting your designs, allow the coasters to dry completely. This is important before moving on to the next steps, as it prevents smudging and ensures the colors stay vibrant.
Remember, this is your chance to unleash your creativity and make your ceramic coasters truly unique. Don’t be afraid to experiment and try different techniques to achieve the desired effect. Once your designs are complete and the paint has dried, it’s time to add additional layers and details, which we’ll cover in Step 4.
Step 4: Adding Additional Layers and Details
Now that you’ve created your initial designs on the ceramic coasters, it’s time to take your artwork to the next level by adding additional layers and details. This step will help enhance the complexity and visual appeal of your coasters. Follow these steps to add depth and intricate details to your designs:
- Assess your Design: Take a step back and evaluate your painted designs. Identify areas where you can add more depth, shading, or highlights to make the designs more visually interesting.
- Select your Colors: Choose additional colors that complement your existing design. Consider using lighter and darker shades of the same color to create contrast and dimension.
- Blend and Layer: Using a smaller brush, gently blend and layer the additional colors onto your existing designs. This technique adds depth and creates a three-dimensional effect.
- Add Highlights and Shadows: Use lighter colors to highlight specific areas of your designs and darker colors to create shadows. This will give your artwork more depth and bring it to life.
- Precision and Detailing: Pay attention to the finer details of your designs. Use a thin brush to add intricate lines, patterns, or texture, enhancing the overall aesthetics of the coasters.
Adding additional layers and details will make your ceramic coasters visually captivating and truly unique. Take your time and enjoy the process of refining your designs. Once you’re satisfied with the results, it’s time to move on to the final step of sealing the coasters to protect your artwork, which we’ll cover in Step 5.
Step 5: Sealing the Coasters
After putting in the effort to create beautiful designs on your ceramic coasters, it’s important to protect them with a sealant. Sealing the coasters will ensure the longevity of your artwork and make them resistant to water, heat, and general wear and tear. Here’s how to seal your ceramic coasters:
- Choose the Right Sealant: Look for a sealant that is specifically formulated for ceramics or acrylic paints. It should provide a waterproof and protective coat without altering the colors of your designs. Polyurethane or clear acrylic sealants are commonly used for this purpose.
- Prepare your Work Area: Place your coasters on a flat surface, ensuring they won’t be disturbed during the sealing process. Work in a well-ventilated area to ensure proper air circulation.
- Apply the Sealant: Using a clean brush or a foam brush, apply a thin and even layer of sealant over the entire surface of each coaster. Make sure to cover all painted areas. Be mindful of any drips or excess sealant and smooth them out if necessary.
- Allow to Dry and Cure: Follow the manufacturer’s instructions for the drying time and curing process of the sealant. Typically, it takes a few hours for the sealant to dry, and several days for it to fully cure and provide long-lasting protection.
- Add Additional Coats (Optional): If desired, you can apply multiple coats of sealant to further enhance the protection. Allow each coat to dry before applying the next one. Remember to follow the manufacturer’s instructions for the recommended number of coats.
- Let the Coasters Cure: Once the final coat of sealant is applied, allow the coasters to cure for the specified time mentioned by the sealant manufacturer. This ensures the sealant fully sets and provides optimal protection for your artwork.
Sealing your ceramic coasters adds a protective layer and ensures their longevity. It also makes them easy to clean and maintain in the long run. Once the sealant is fully cured, your coasters are ready to be used, gifted, or displayed!
Congratulations! You have successfully completed the steps to paint and seal your ceramic coasters. Now you can enjoy your personalized and beautifully designed coasters, adding a touch of style and creativity to your home decor or giving them as thoughtful handmade gifts.
Remember to clean your coasters gently with a damp cloth and avoid immersing them in water to maintain their quality and longevity. With proper care, your painted ceramic coasters will last for years to come.
We hope you enjoyed this guide and found it helpful in your ceramic coaster painting journey. Happy painting!
Conclusion
Painting ceramic coasters is a fantastic way to unleash your creativity and add a personal touch to your tableware. With the right materials, techniques, and a little bit of practice, you can transform plain ceramic coasters into beautiful pieces of functional art.
In this guide, we have walked you through the step-by-step process of painting ceramic coasters. From preparing the coasters to adding intricate designs, and finally sealing them for protection, you now have the knowledge and skills to create stunning coasters that will impress your guests.
Remember to choose high-quality materials, such as acrylic paints that are suitable for ceramics, and invest in a variety of paintbrushes for different techniques and details. Planning your design, experimenting with colors and techniques, and adding depth with additional layers will make your coasters truly unique.
Sealing the coasters with a suitable sealant will protect your artwork and ensure its longevity. This step is crucial to make your coasters resistant to water, heat, and general wear and tear, preserving the beauty of your designs for years to come.
So, let your creativity flow and have fun painting your ceramic coasters. Whether you choose to create intricate patterns, abstract designs, or even personalized coasters with names or initials, the possibilities are endless.
Once again, congratulations on completing this ceramic coaster painting journey. Enjoy using, displaying, or gifting your beautifully handcrafted coasters. Embrace the joy of expressing your artistic side and remember to cherish the memories associated with your creations.
Now, grab your paintbrushes and let the artistic adventure begin!
Frequently Asked Questions about How To Paint Ceramic Coasters
Was this page helpful?
At Storables.com, we guarantee accurate and reliable information. Our content, validated by Expert Board Contributors, is crafted following stringent Editorial Policies. We're committed to providing you with well-researched, expert-backed insights for all your informational needs.
0 thoughts on “How To Paint Ceramic Coasters”