Home>Renovation & DIY>Tools & Equipment>How To Sharpen Nail Clippers With Sandpaper
Tools & Equipment
How To Sharpen Nail Clippers With Sandpaper
Published: December 20, 2023
Learn how to sharpen your nail clippers using sandpaper with our step-by-step guide. Keep your tools and equipment in top condition for a perfect manicure every time!
(Many of the links in this article redirect to a specific reviewed product. Your purchase of these products through affiliate links helps to generate commission for Storables.com, at no extra cost. Learn more)
Introduction
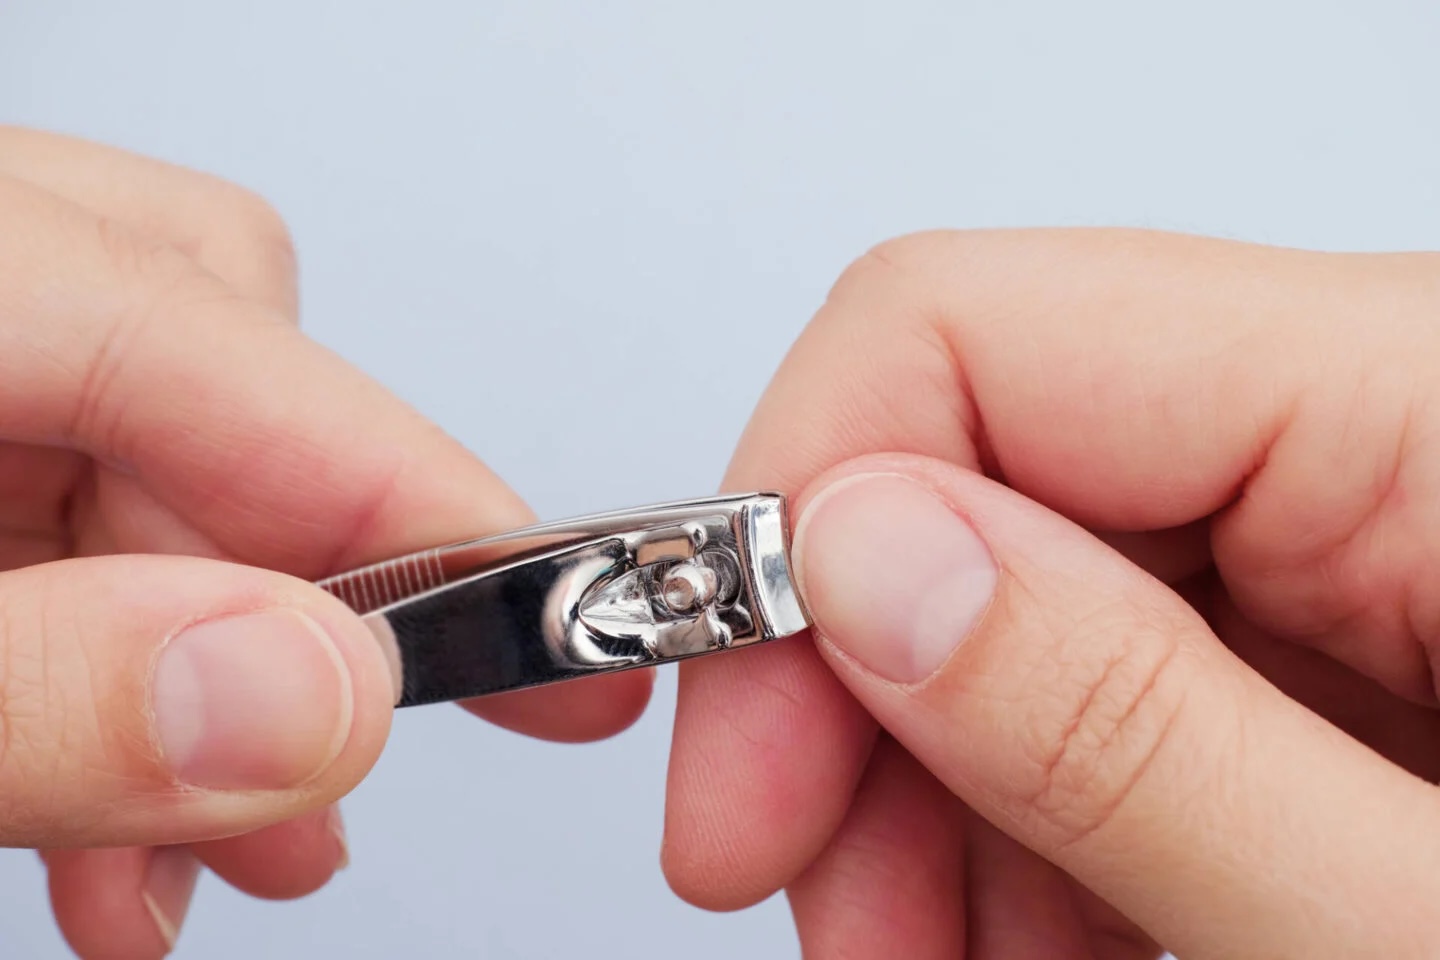
Welcome to the ultimate guide on how to sharpen nail clippers with sandpaper. Over time, nail clippers can become dull, making it difficult to achieve a clean and precise cut. Rather than replacing them, you can restore their sharpness using a simple and cost-effective method. By following the steps outlined in this article, you can breathe new life into your nail clippers and ensure they remain effective for years to come.
Sharpening your nail clippers with sandpaper is a practical and eco-friendly solution that not only saves you money but also reduces waste. With just a few materials and a little effort, you can maintain the quality of your nail clippers without having to invest in a new pair. Whether you’re a DIY enthusiast or simply looking to extend the lifespan of your grooming tools, this step-by-step guide will equip you with the knowledge and skills to sharpen your nail clippers effectively.
Key Takeaways:
- Save money and reduce waste by sharpening nail clippers with sandpaper. It’s an easy, eco-friendly DIY task that keeps your grooming tools sharp and effective for years to come.
- With just a few materials and simple steps, you can restore the sharpness of your nail clippers. Regular maintenance and sharpening ensure clean and precise cuts whenever you need them.
Read more: How To Sharpen Clipper Blades With Sandpaper
Materials Needed
Before embarking on the nail clipper sharpening process, it’s essential to gather the necessary materials. Fortunately, these items are readily available and easy to acquire. Here’s what you’ll need:
- Nail Clippers: The nail clippers that require sharpening
- Sandpaper: Choose a fine-grit sandpaper, such as 400 or 600 grit, for optimal results
- Cloth: A soft cloth for cleaning the nail clippers and removing any debris
- Cotton Swabs: Useful for reaching small, intricate areas of the nail clippers
- Lubricant: Optional, but recommended for ensuring smooth functionality after sharpening
With these materials on hand, you’ll be well-prepared to restore your nail clippers to their former sharpness. Now that you have everything you need, let’s delve into the step-by-step process of sharpening your nail clippers with sandpaper.
Step 1: Disassemble the Nail Clippers
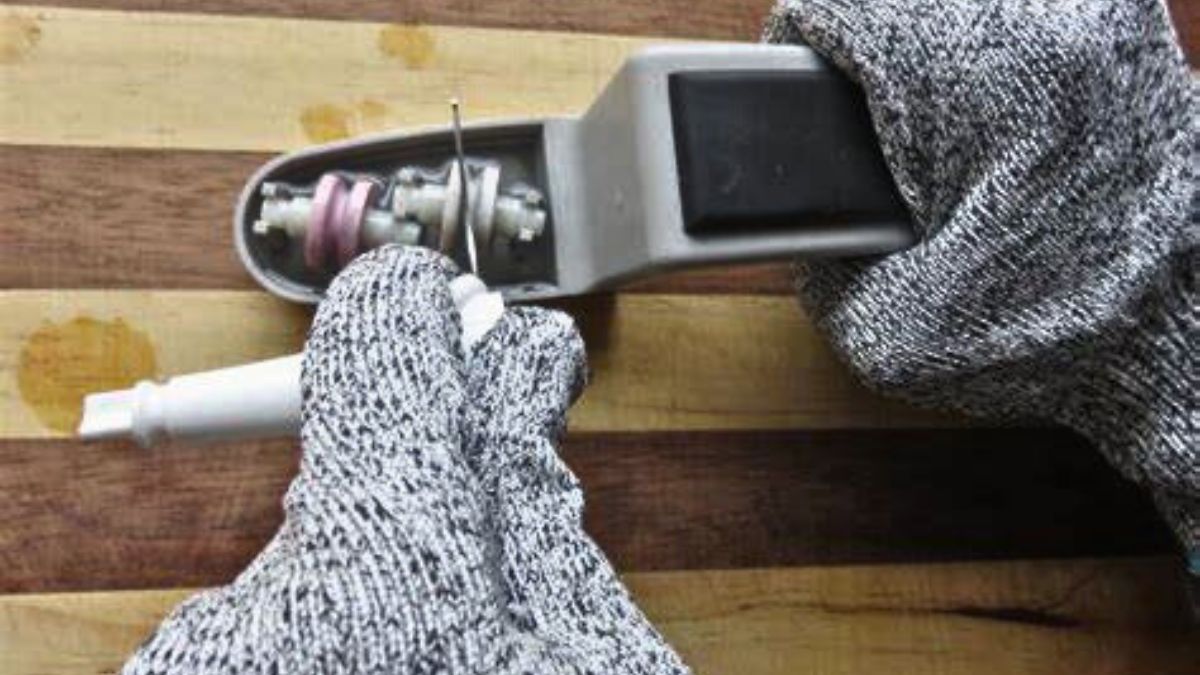
Before you begin the sharpening process, it’s important to disassemble the nail clippers to access the cutting edges effectively. Follow these simple steps to disassemble the nail clippers:
- Inspect the Nail Clippers: Examine the nail clippers to identify any screws or pins holding them together. Most nail clippers have a central pin that can be easily removed to separate the cutting blades.
- Use the Right Tools: Depending on the design of your nail clippers, you may need a small screwdriver or pliers to loosen the pin or screws. Ensure that you use the appropriate tools to avoid damaging the nail clippers.
- Disassemble Carefully: Gently remove the pin or screws to detach the cutting blades from the main body of the nail clippers. Take note of the arrangement of the components to facilitate reassembly later.
- Clean the Components: Once disassembled, use a soft cloth and cotton swabs to clean any debris or buildup from the cutting edges and other parts of the nail clippers. This step ensures that you have a clear view of the areas that require sharpening.
By carefully disassembling the nail clippers, you’ll be ready to move on to the next step of preparing the sandpaper for sharpening. Taking the time to disassemble and clean the components sets the stage for a successful sharpening process and helps maintain the functionality of your nail clippers.
Step 2: Prepare the Sandpaper
Proper preparation of the sandpaper is crucial for achieving optimal results when sharpening your nail clippers. Here’s how to prepare the sandpaper effectively:
- Select the Right Grit: Choose a fine-grit sandpaper, such as 400 or 600 grit, for sharpening your nail clippers. The fine grit ensures that you can hone the cutting edges without causing damage or excessive wear.
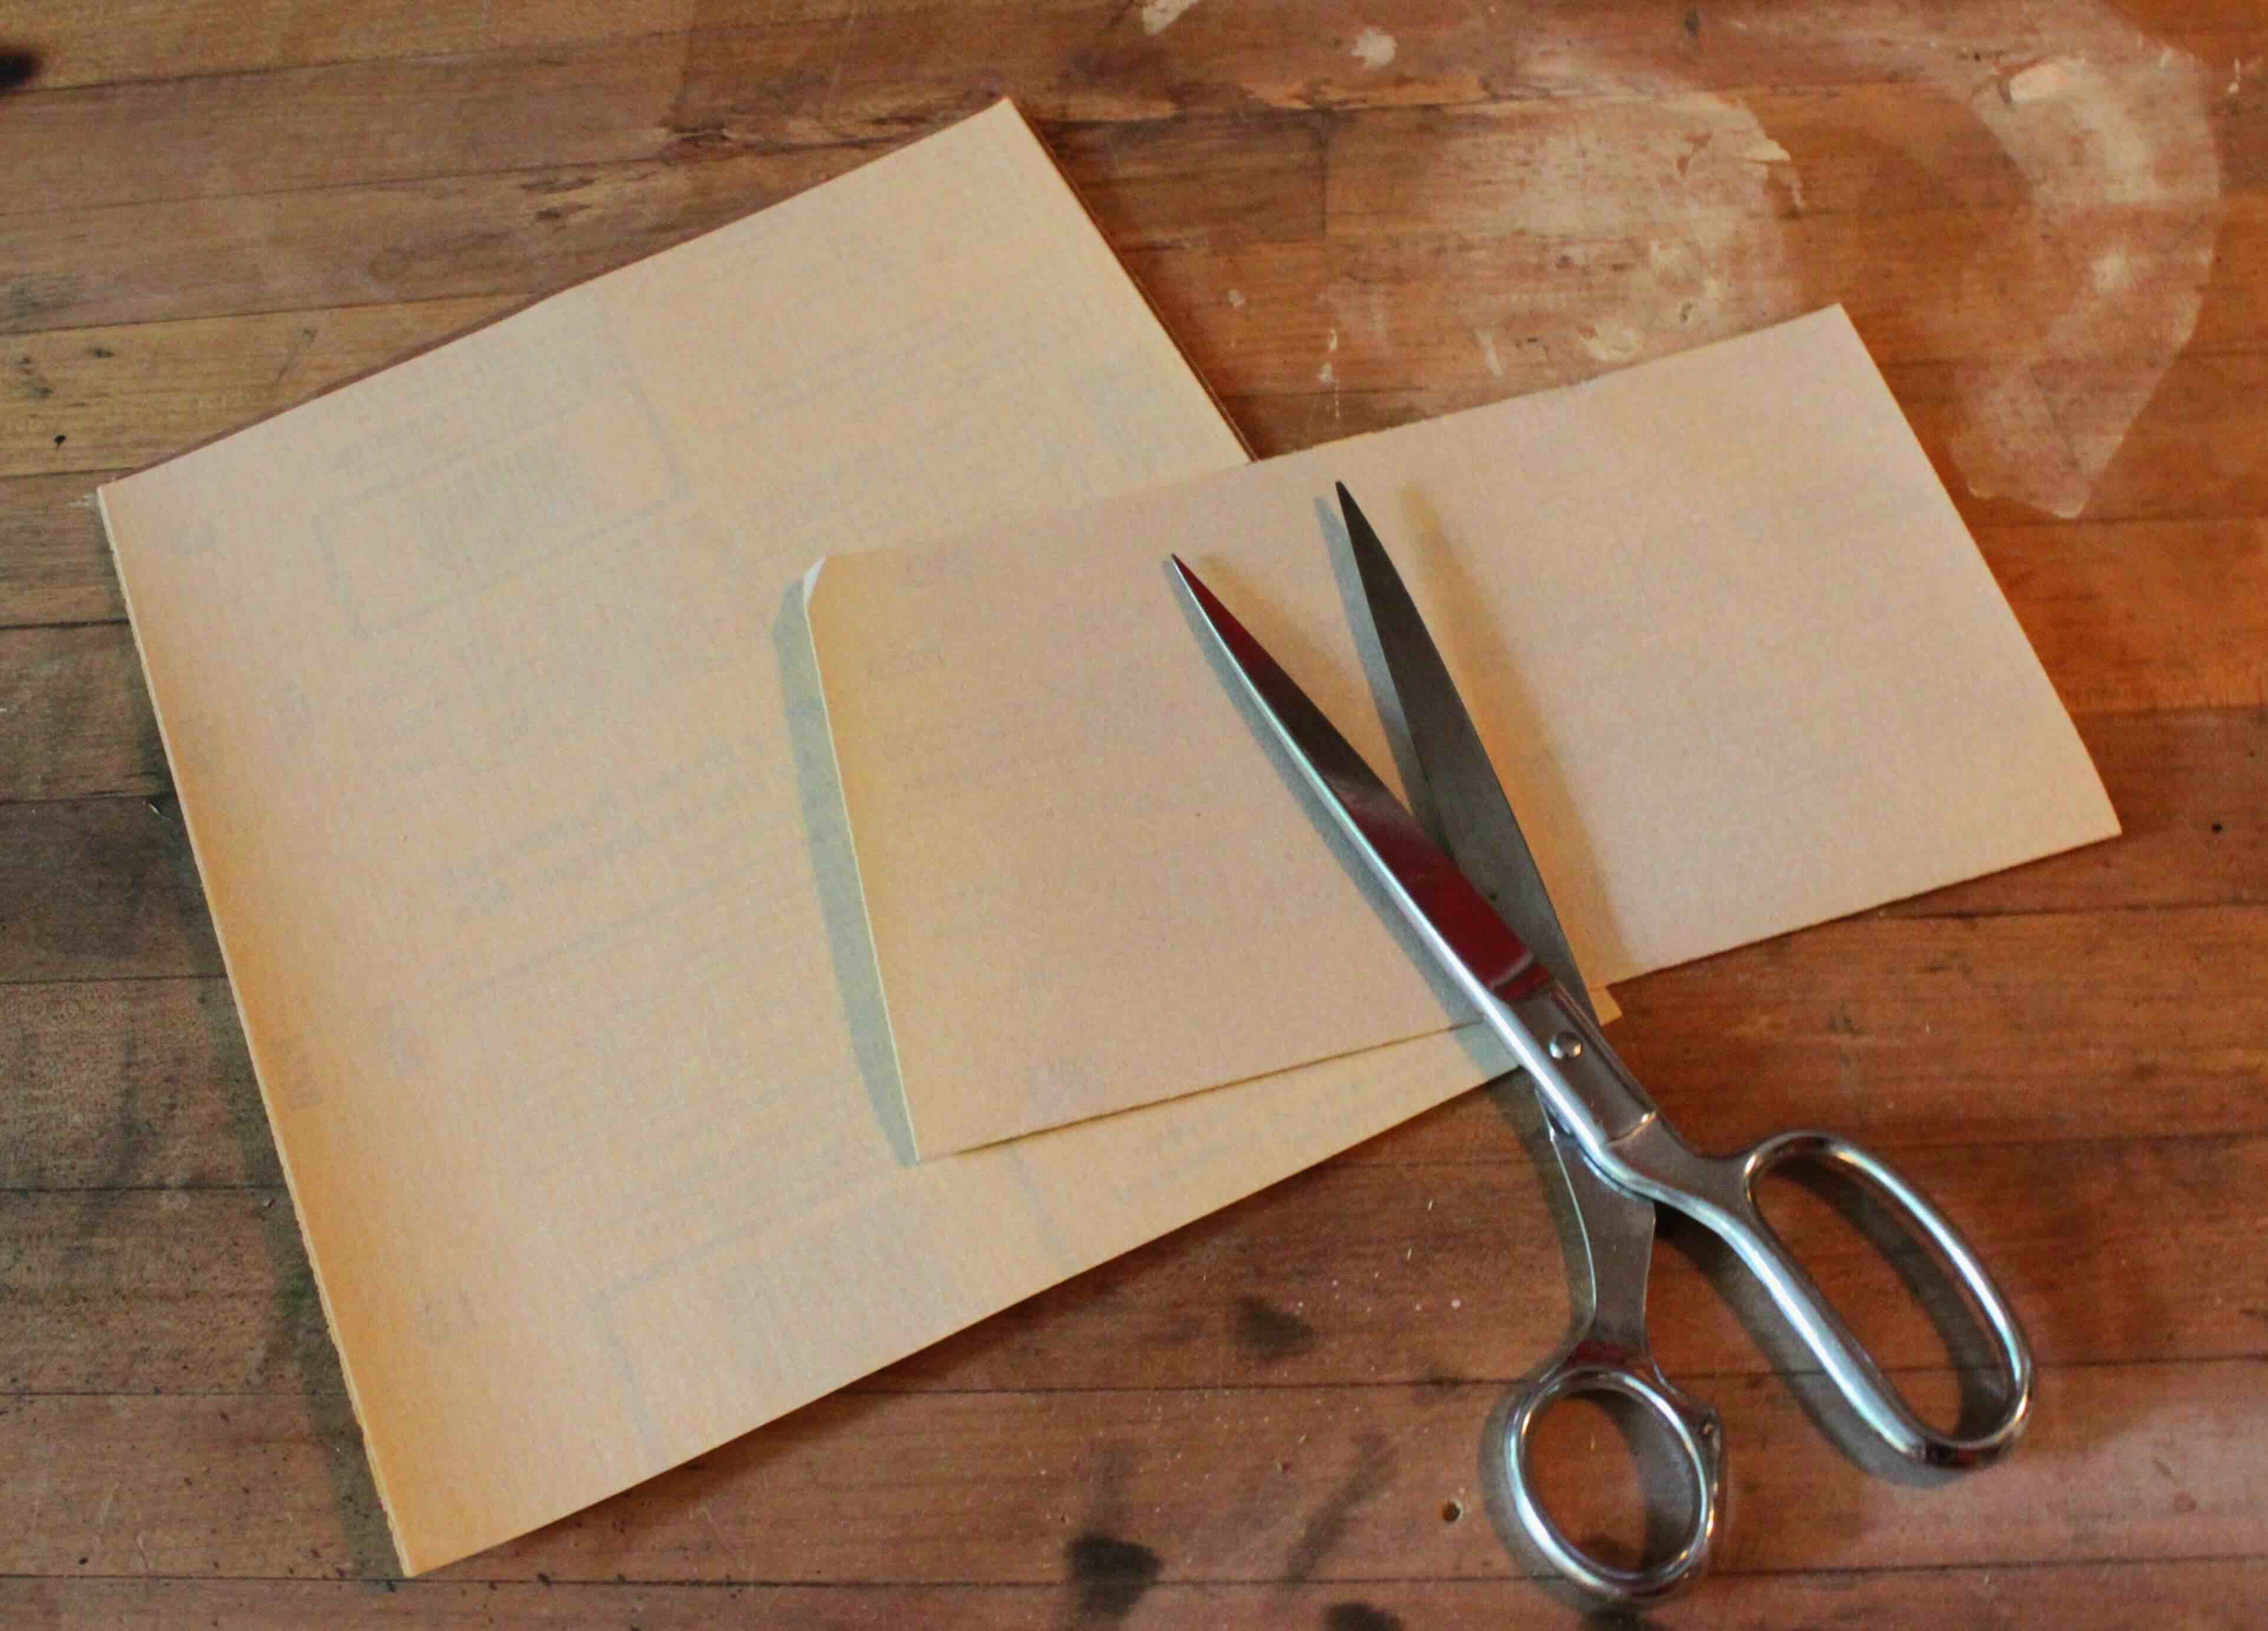
- Cut the Sandpaper: Cut a small piece of sandpaper that is large enough to comfortably hold and maneuver but not too bulky to handle. A piece measuring approximately 2 inches by 2 inches should suffice for this task.
- Secure the Sandpaper: Once you have the appropriately sized piece of sandpaper, secure it to a flat surface or a piece of wood using double-sided tape or a similar adhesive. This ensures that the sandpaper remains stable and taut during the sharpening process, allowing for precise and controlled movements.
- Inspect the Sandpaper: Before proceeding, inspect the sandpaper for any imperfections or debris that could affect the sharpening process. Ensure that the sandpaper is smooth and free of any foreign particles that could compromise the quality of the sharpening.
By carefully preparing the sandpaper, you set the stage for a successful sharpening process, ensuring that the nail clippers regain their sharpness effectively. With the sandpaper ready for use, you’re now prepared to move on to the next step of sharpening the nail clippers with precision and care.
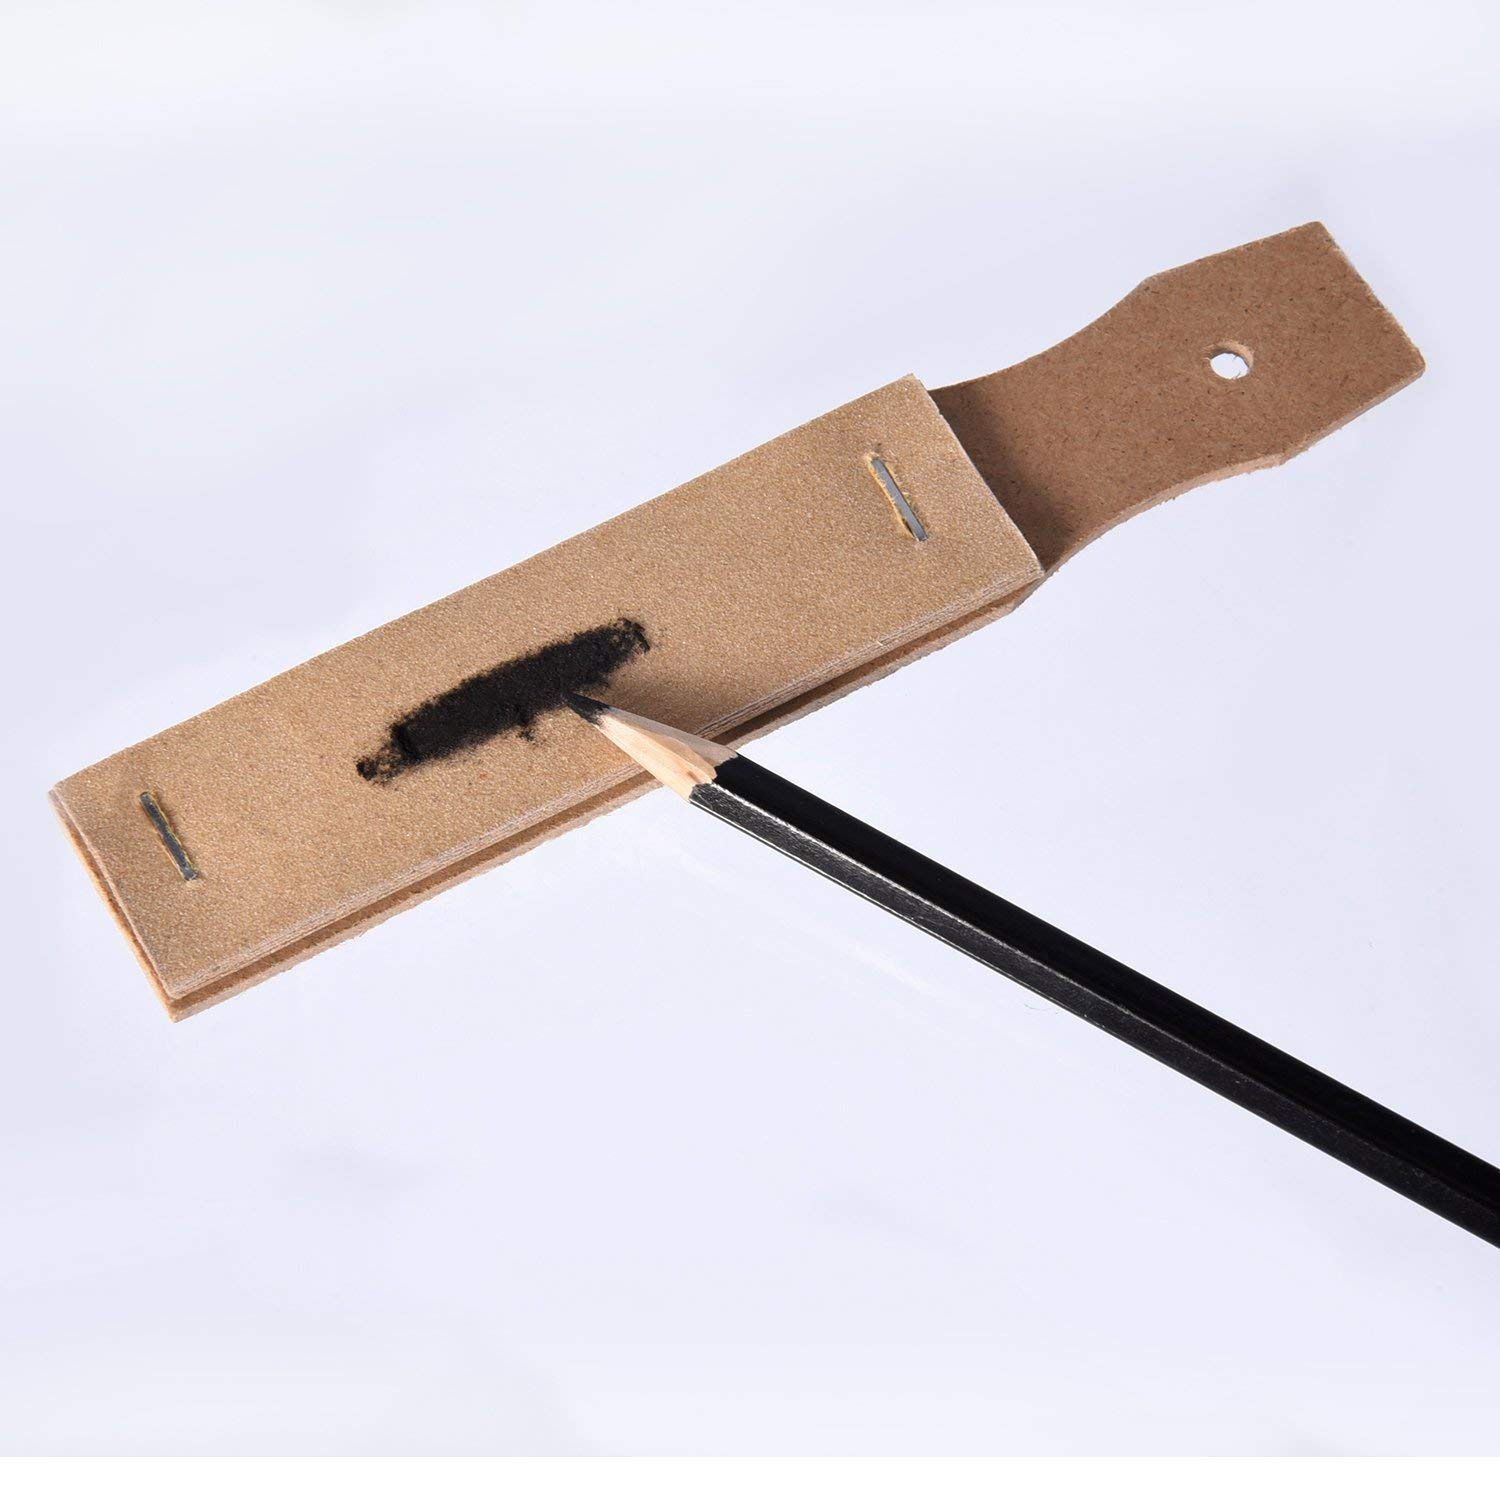
To sharpen nail clippers with sandpaper, fold a piece of fine-grit sandpaper in half and use it to gently file the edges of the clippers. Be sure to only file in one direction to avoid damaging the clippers.
Step 3: Sharpening the Nail Clippers
Now that you’ve disassembled the nail clippers and prepared the sandpaper, it’s time to proceed with the sharpening process. Follow these steps to sharpen the nail clippers effectively:
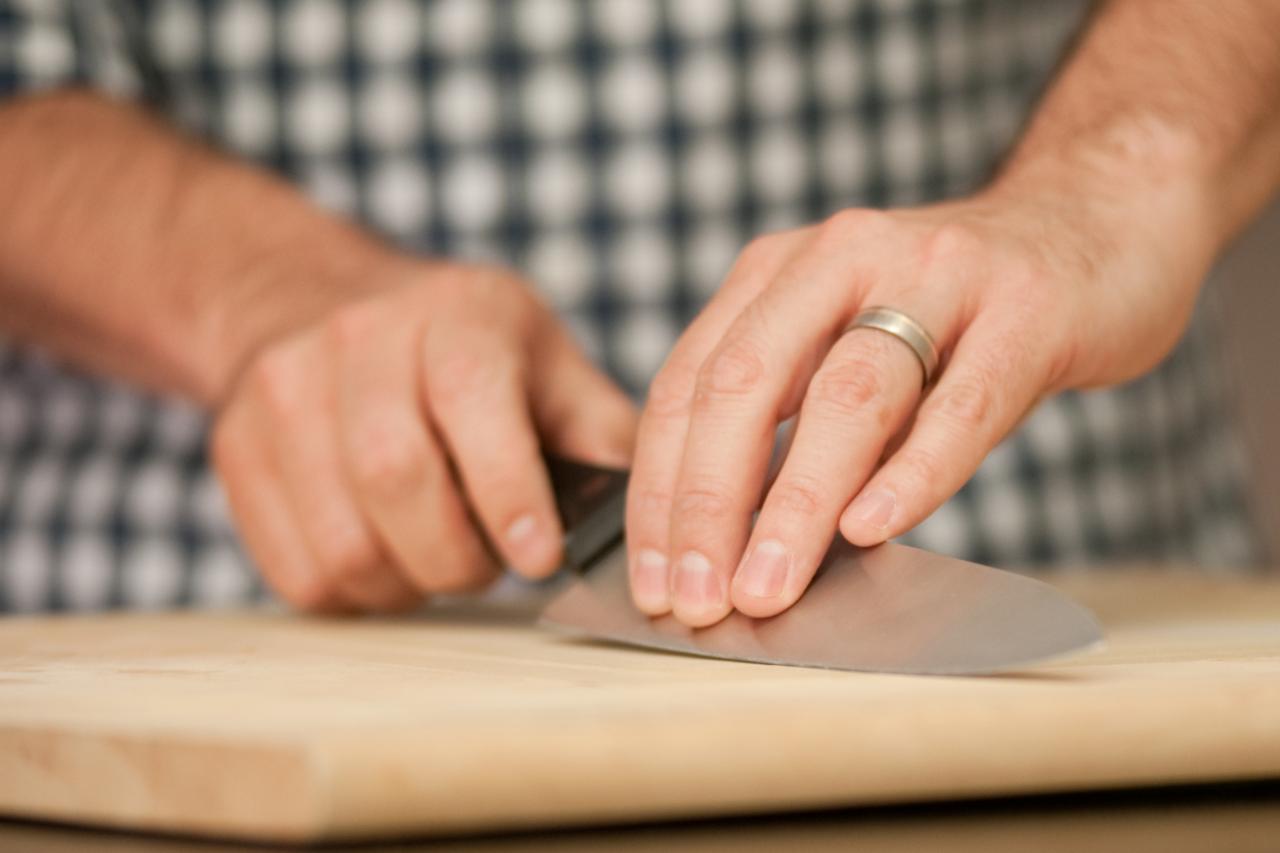
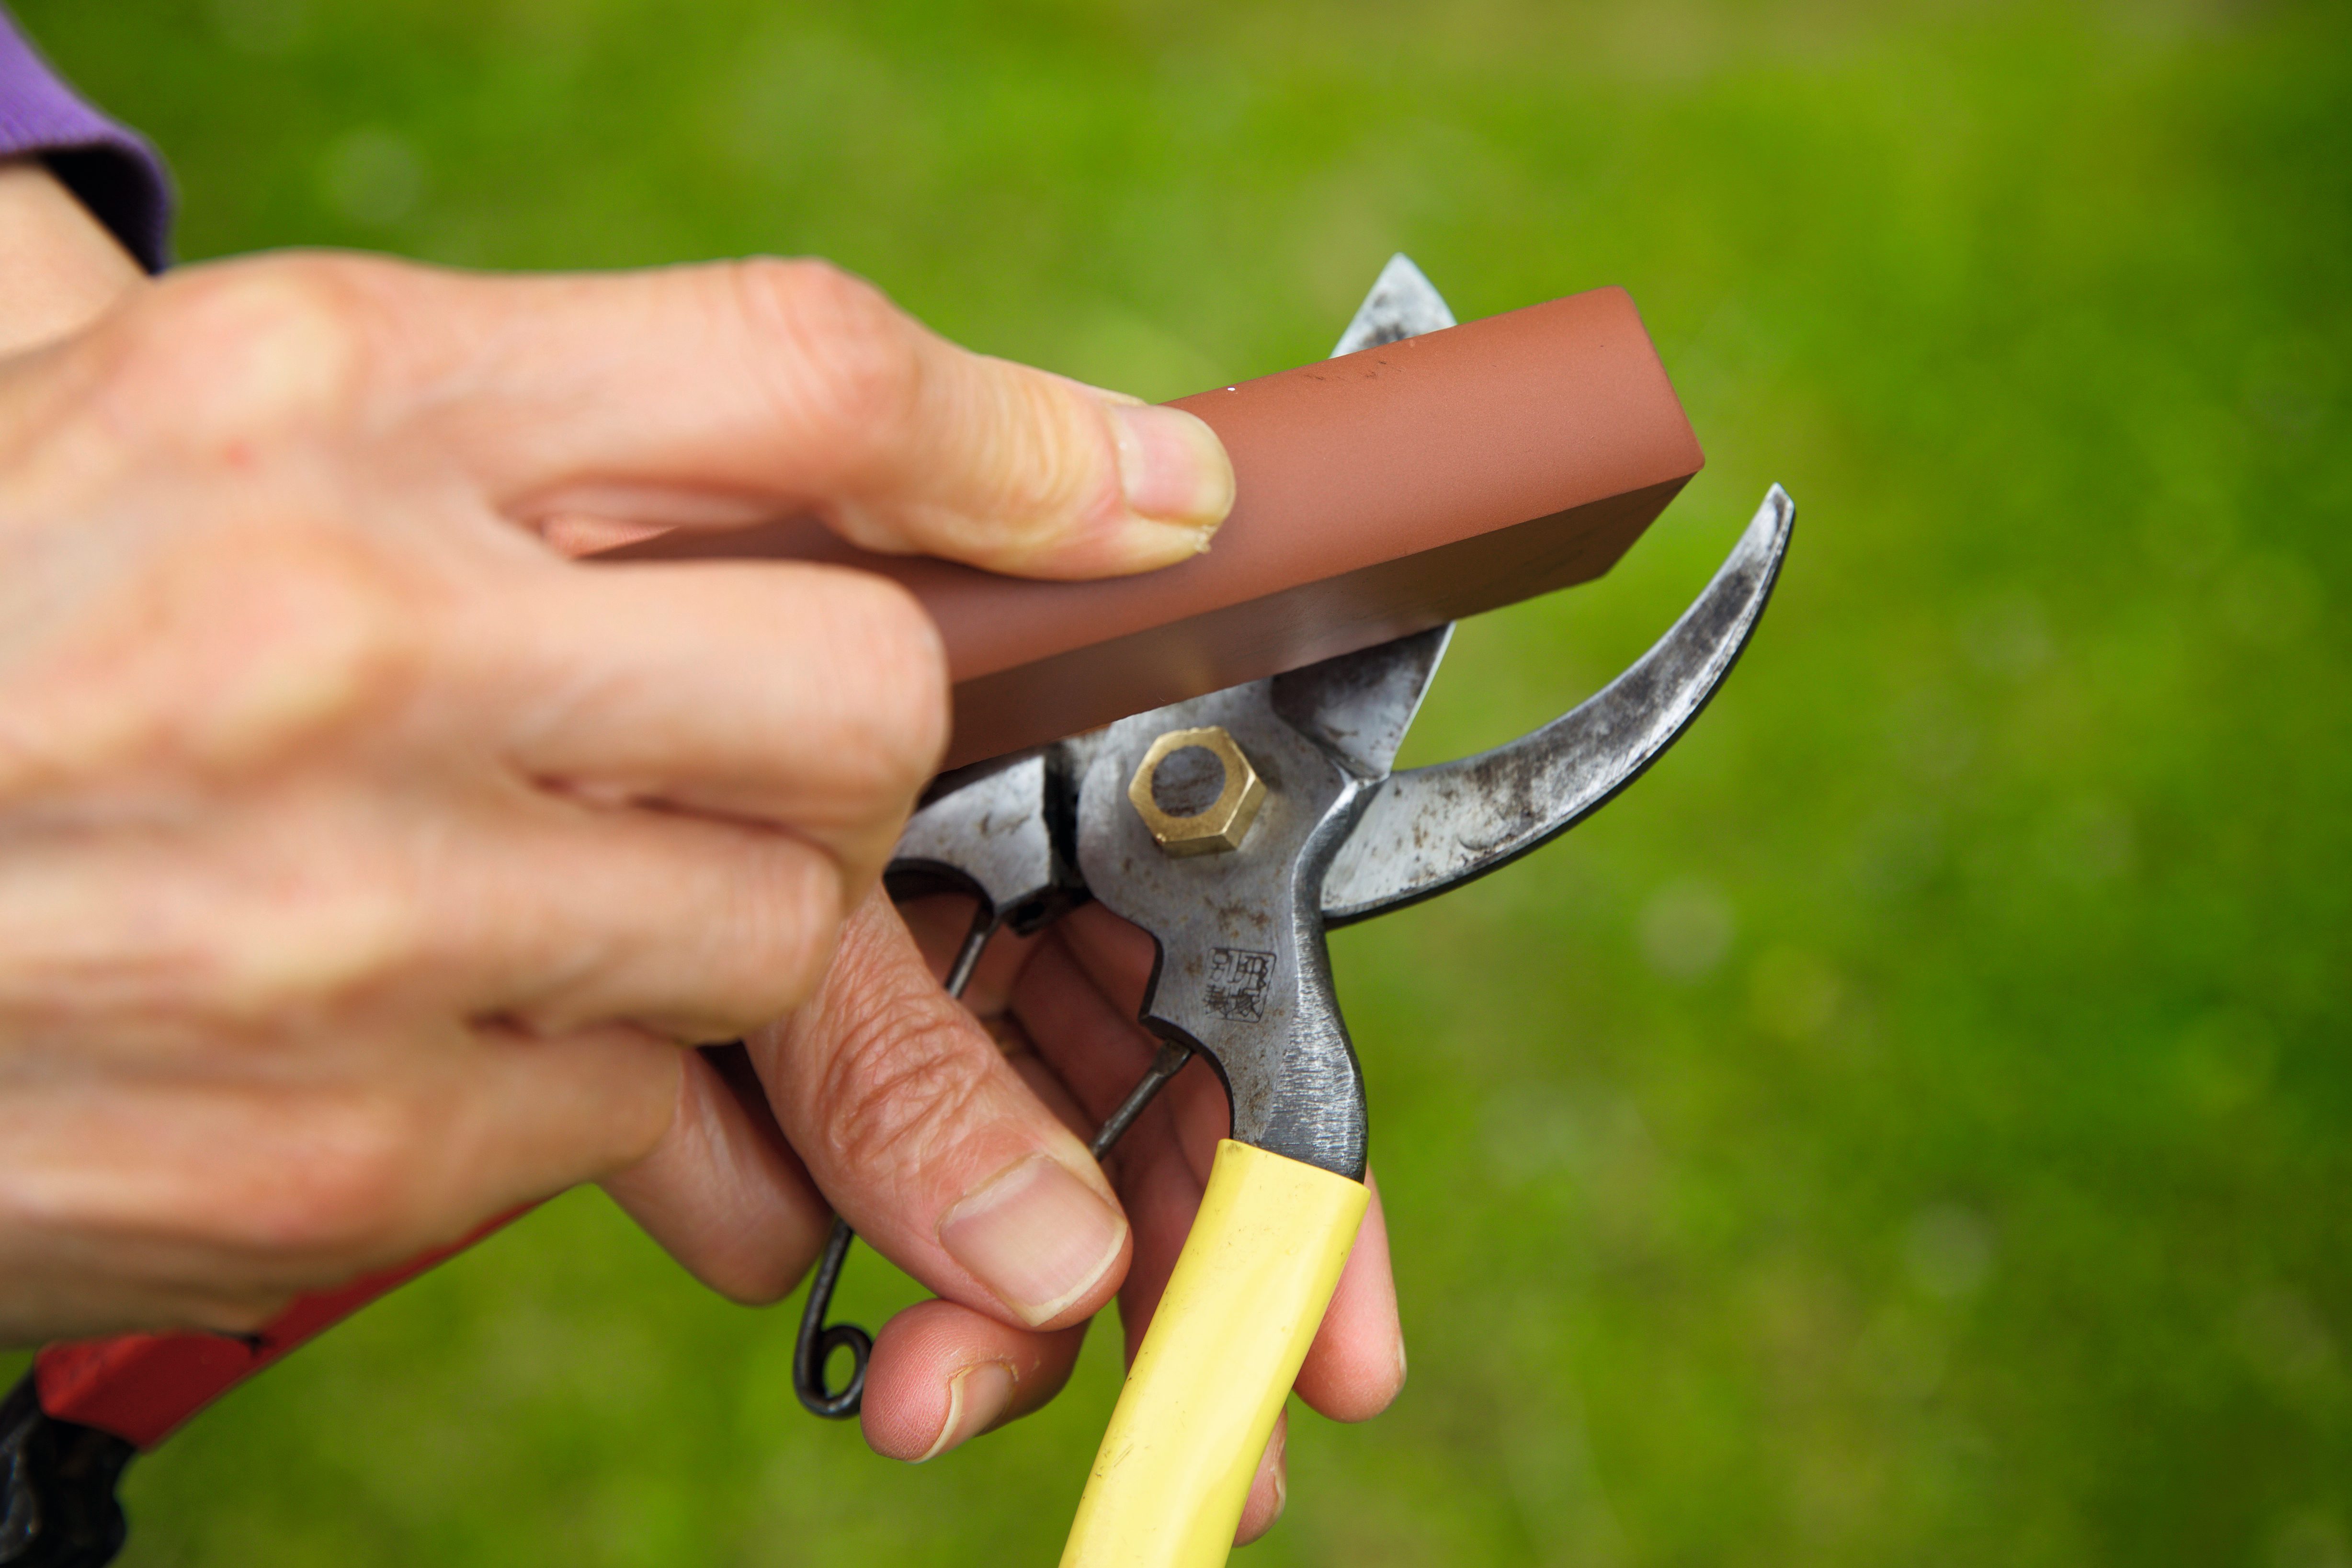
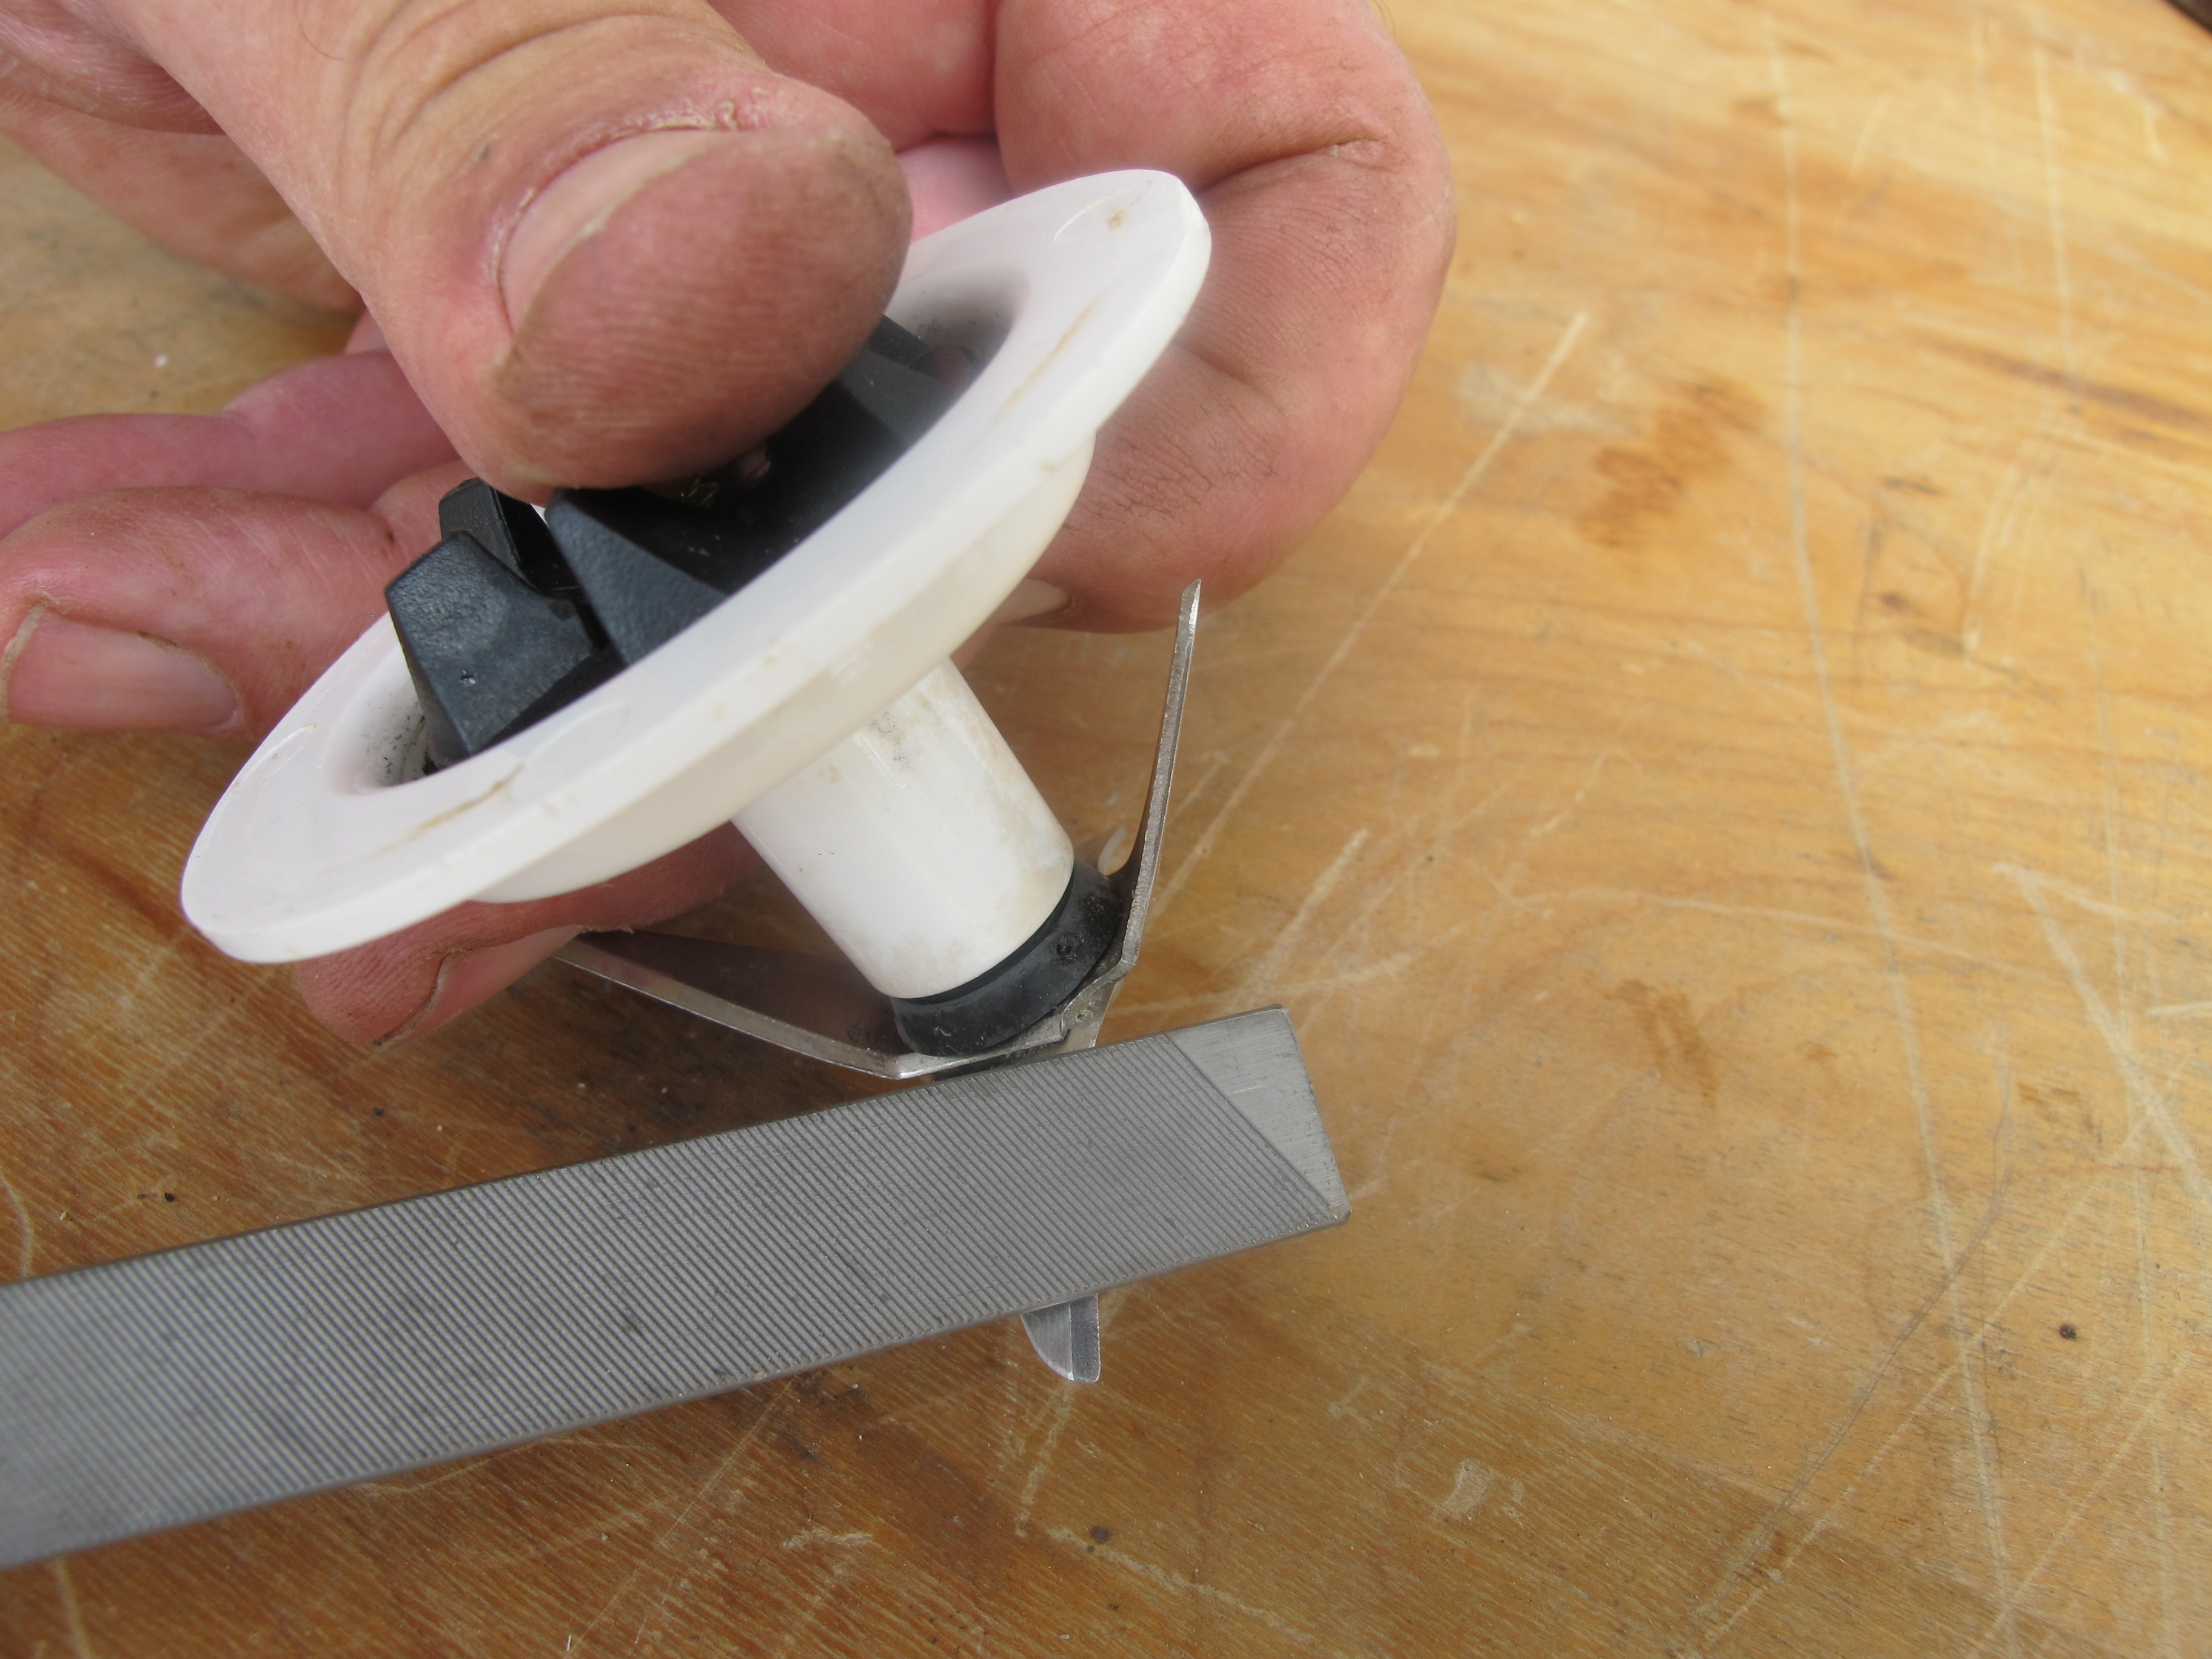
- Hold the Cutting Edge: Take one of the disassembled cutting blades and hold it securely between your thumb and forefinger. Ensure a firm grip to maintain control during the sharpening process.
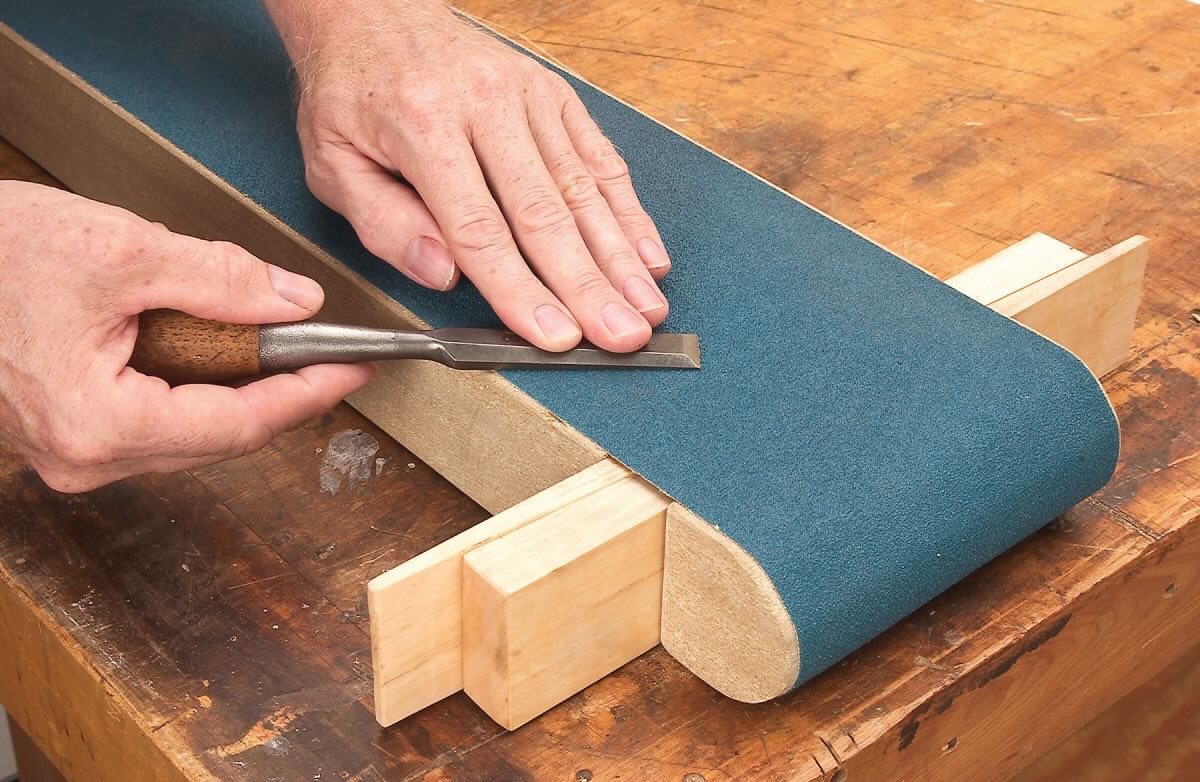
- Angle the Sandpaper: Position the prepared sandpaper at a slight angle against the cutting edge of the nail clipper. The angle should match the existing bevel of the cutting edge to maintain its original shape and sharpness.
- Apply Light Pressure: With gentle and consistent pressure, move the sandpaper back and forth along the cutting edge. Focus on maintaining a steady motion and even pressure to gradually hone the edge to a sharp finish.
- Check the Progress: Periodically pause to inspect the cutting edge for any signs of improvement. Look for a consistent and even edge as you continue to sharpen the nail clipper. This step ensures that you achieve the desired sharpness without overdoing it.
- Switch Sides: Once you’re satisfied with the sharpness of one side, repeat the process on the other side of the cutting blade. This ensures that both sides are equally sharp and ready for reassembly.
By following these steps, you can effectively sharpen the cutting edges of the nail clippers, restoring their ability to provide clean and precise cuts. With patience and attention to detail, you’ll soon have sharp and reliable nail clippers once again.
Step 4: Reassemble the Nail Clippers
After successfully sharpening the cutting edges of the nail clippers, it’s time to reassemble the components to restore them to full functionality. Follow these steps to reassemble the nail clippers with precision:
- Clean the Components: Before reassembly, ensure that all components, including the cutting blades and any screws or pins, are clean and free of debris. This step ensures that the nail clippers function optimally once reassembled.
- Align the Cutting Blades: Position the sharpened cutting blades back into their original placement within the main body of the nail clippers. Take care to align them correctly to maintain proper functionality.
- Secure the Components: If your nail clippers feature a central pin or screws, carefully reinsert and tighten them to secure the cutting blades in place. Use the appropriate tools to ensure a snug and secure fit without over-tightening.
- Test the Functionality: Once reassembled, test the nail clippers to ensure that they open and close smoothly and that the cutting edges meet precisely. If necessary, apply a small amount of lubricant to ensure smooth functionality.
- Final Inspection: Before putting the nail clippers back into regular use, inspect the cutting edges and overall functionality to confirm that they have been restored to their optimal condition.
By carefully reassembling the nail clippers, you complete the sharpening process and ensure that they are ready for use. With the cutting edges restored to their sharpness, you can once again rely on your nail clippers to deliver precise and clean cuts with ease.
Conclusion
Congratulations! You’ve successfully learned how to sharpen nail clippers with sandpaper, a practical and cost-effective method for restoring the sharpness of your grooming tools. By following the step-by-step process outlined in this guide, you’ve not only saved money but also contributed to reducing waste by extending the lifespan of your nail clippers.
Sharpening your nail clippers with sandpaper is a rewarding DIY task that empowers you to maintain the quality and functionality of your grooming tools. With just a few materials and a little effort, you can ensure that your nail clippers remain effective for years to come, providing clean and precise cuts whenever needed.
Remember, regular maintenance and sharpening can prolong the life of your nail clippers, ensuring that they continue to meet your grooming needs with ease. By incorporating this simple yet effective sharpening method into your grooming routine, you can enjoy the benefits of sharp and reliable nail clippers for the long term.
Thank you for taking the time to explore this guide. We hope that the knowledge and skills you’ve gained will empower you to keep your nail clippers in top condition, allowing you to maintain well-groomed nails effortlessly. Happy sharpening!
Frequently Asked Questions about How To Sharpen Nail Clippers With Sandpaper
Was this page helpful?
At Storables.com, we guarantee accurate and reliable information. Our content, validated by Expert Board Contributors, is crafted following stringent Editorial Policies. We're committed to providing you with well-researched, expert-backed insights for all your informational needs.
0 thoughts on “How To Sharpen Nail Clippers With Sandpaper”