Home>Furniture & Design>Bathroom Accessories>How To Remove Bemis Statite Toilet Seat
Bathroom Accessories
How To Remove Bemis Statite Toilet Seat
Modified: February 18, 2024
Learn how to easily remove a Bemis Statite toilet seat for quick replacement or cleaning. Find the best bathroom accessories for your needs.
(Many of the links in this article redirect to a specific reviewed product. Your purchase of these products through affiliate links helps to generate commission for Storables.com, at no extra cost. Learn more)
Introduction
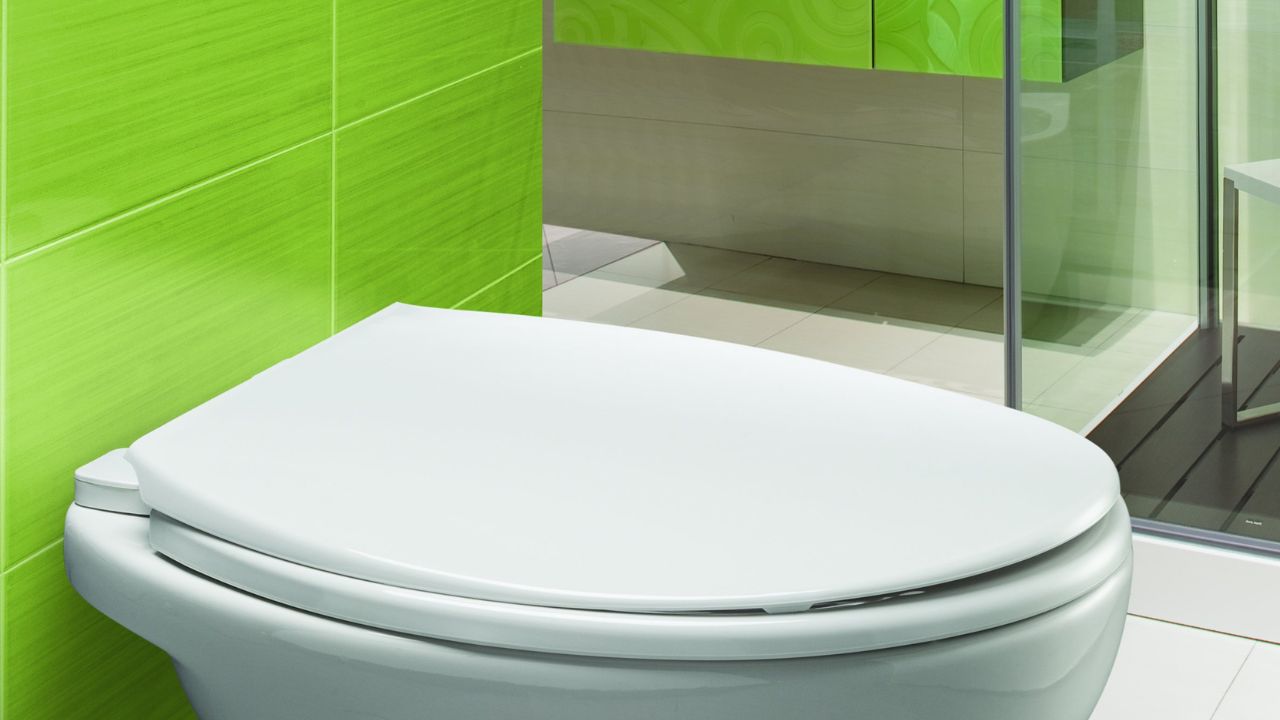
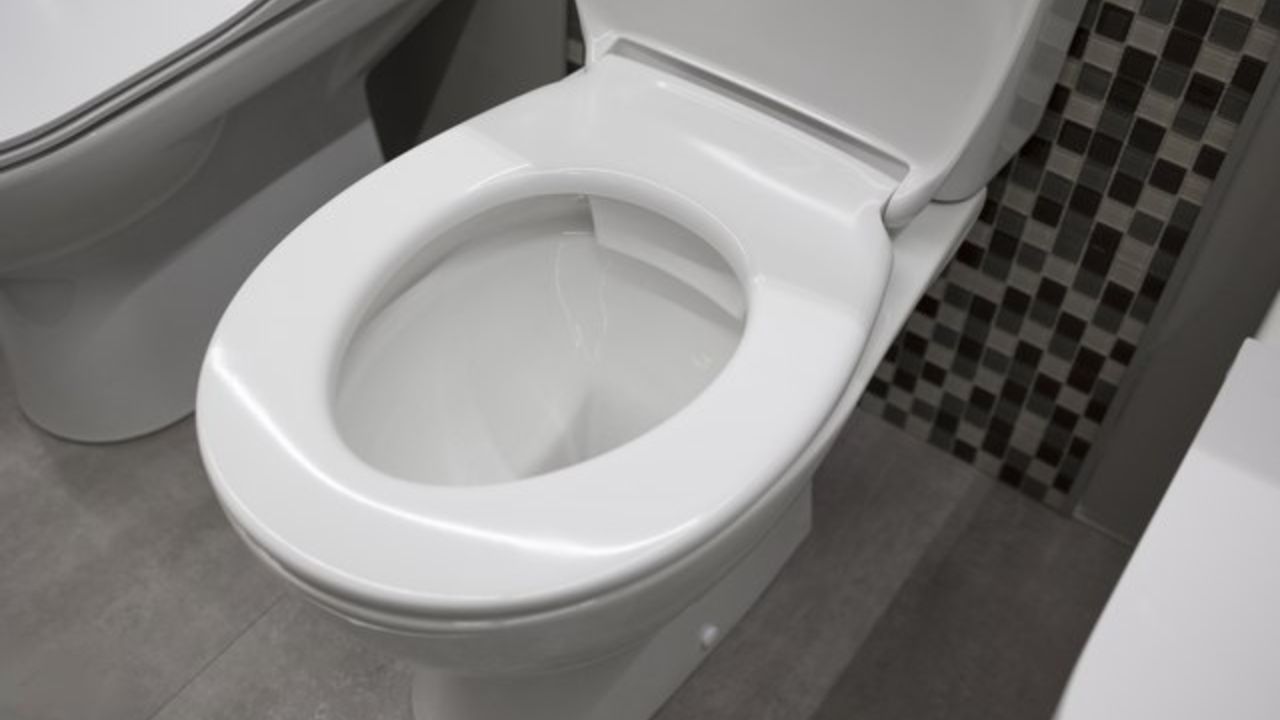
Removing a Bemis Statite toilet seat may seem like a daunting task, but with the right tools and a clear understanding of the process, it can be a straightforward and manageable endeavor. Whether you're looking to replace the existing seat or simply need to clean the area beneath it, this guide will walk you through the necessary steps to accomplish this task with ease.
The Bemis Statite toilet seat is designed for durability and stability, featuring innovative technology that ensures a secure fit to the toilet bowl. While this provides peace of mind during everyday use, it also means that removing the seat requires a specific approach to ensure a smooth and successful process.
By following the steps outlined in this guide, you can confidently tackle the task of removing a Bemis Statite toilet seat without encountering unnecessary challenges. From gathering the essential tools to cleaning the area and potentially installing a new seat, each step is designed to provide a comprehensive and effective approach to this maintenance task.
Whether you're a seasoned DIY enthusiast or a novice looking to expand your home maintenance skills, this guide aims to equip you with the knowledge and confidence needed to tackle the removal of a Bemis Statite toilet seat. With a clear understanding of the process and the right tools at your disposal, you can approach this task with assurance and achieve a successful outcome.
Key Takeaways:
- Removing a Bemis Statite toilet seat is easy with the right tools and steps. Loosen the bolts, lift the seat, clean the area, and optionally install a new seat for a refreshed bathroom look.
- Gather essential tools like an adjustable wrench and screwdriver before removing the Bemis Statite toilet seat. Follow the steps to loosen the bolts, lift the seat, clean the area, and consider installing a new seat for a bathroom upgrade.
Read more: How To Remove A Bemis Toilet Seat
Step 1: Gather the necessary tools
Before embarking on the task of removing a Bemis Statite toilet seat, it's essential to gather the necessary tools to ensure a smooth and efficient process. Having the right tools at hand will not only streamline the task but also minimize the risk of encountering unexpected challenges along the way. Here's a comprehensive list of the essential tools you'll need:
-
Adjustable Wrench: This versatile tool will enable you to loosen and remove the bolts securing the toilet seat to the bowl. An adjustable wrench provides the flexibility to fit various bolt sizes, making it a crucial tool for this task.
-
Screwdriver: Depending on the specific model of the Bemis Statite toilet seat, you may require a screwdriver to assist in the removal process. A flathead or Phillips-head screwdriver can be used to manipulate any screws or fasteners holding the seat in place.
-
Protective Gloves: It's advisable to wear protective gloves to safeguard your hands during the removal process. Gloves can provide a barrier against any dirt, grime, or cleaning agents that may be encountered while working beneath the toilet seat.
-
Cleaning Supplies (Optional): While not a tool in the traditional sense, having cleaning supplies on hand can be beneficial, especially if you intend to thoroughly clean the area beneath the toilet seat after its removal. This may include disinfectant spray, cleaning cloths, and a mild cleaning solution.
By ensuring that you have these essential tools readily available, you can approach the task of removing a Bemis Statite toilet seat with confidence and preparedness. With the right tools at your disposal, you'll be well-equipped to navigate the subsequent steps of the removal process, setting the stage for a successful and hassle-free maintenance task.
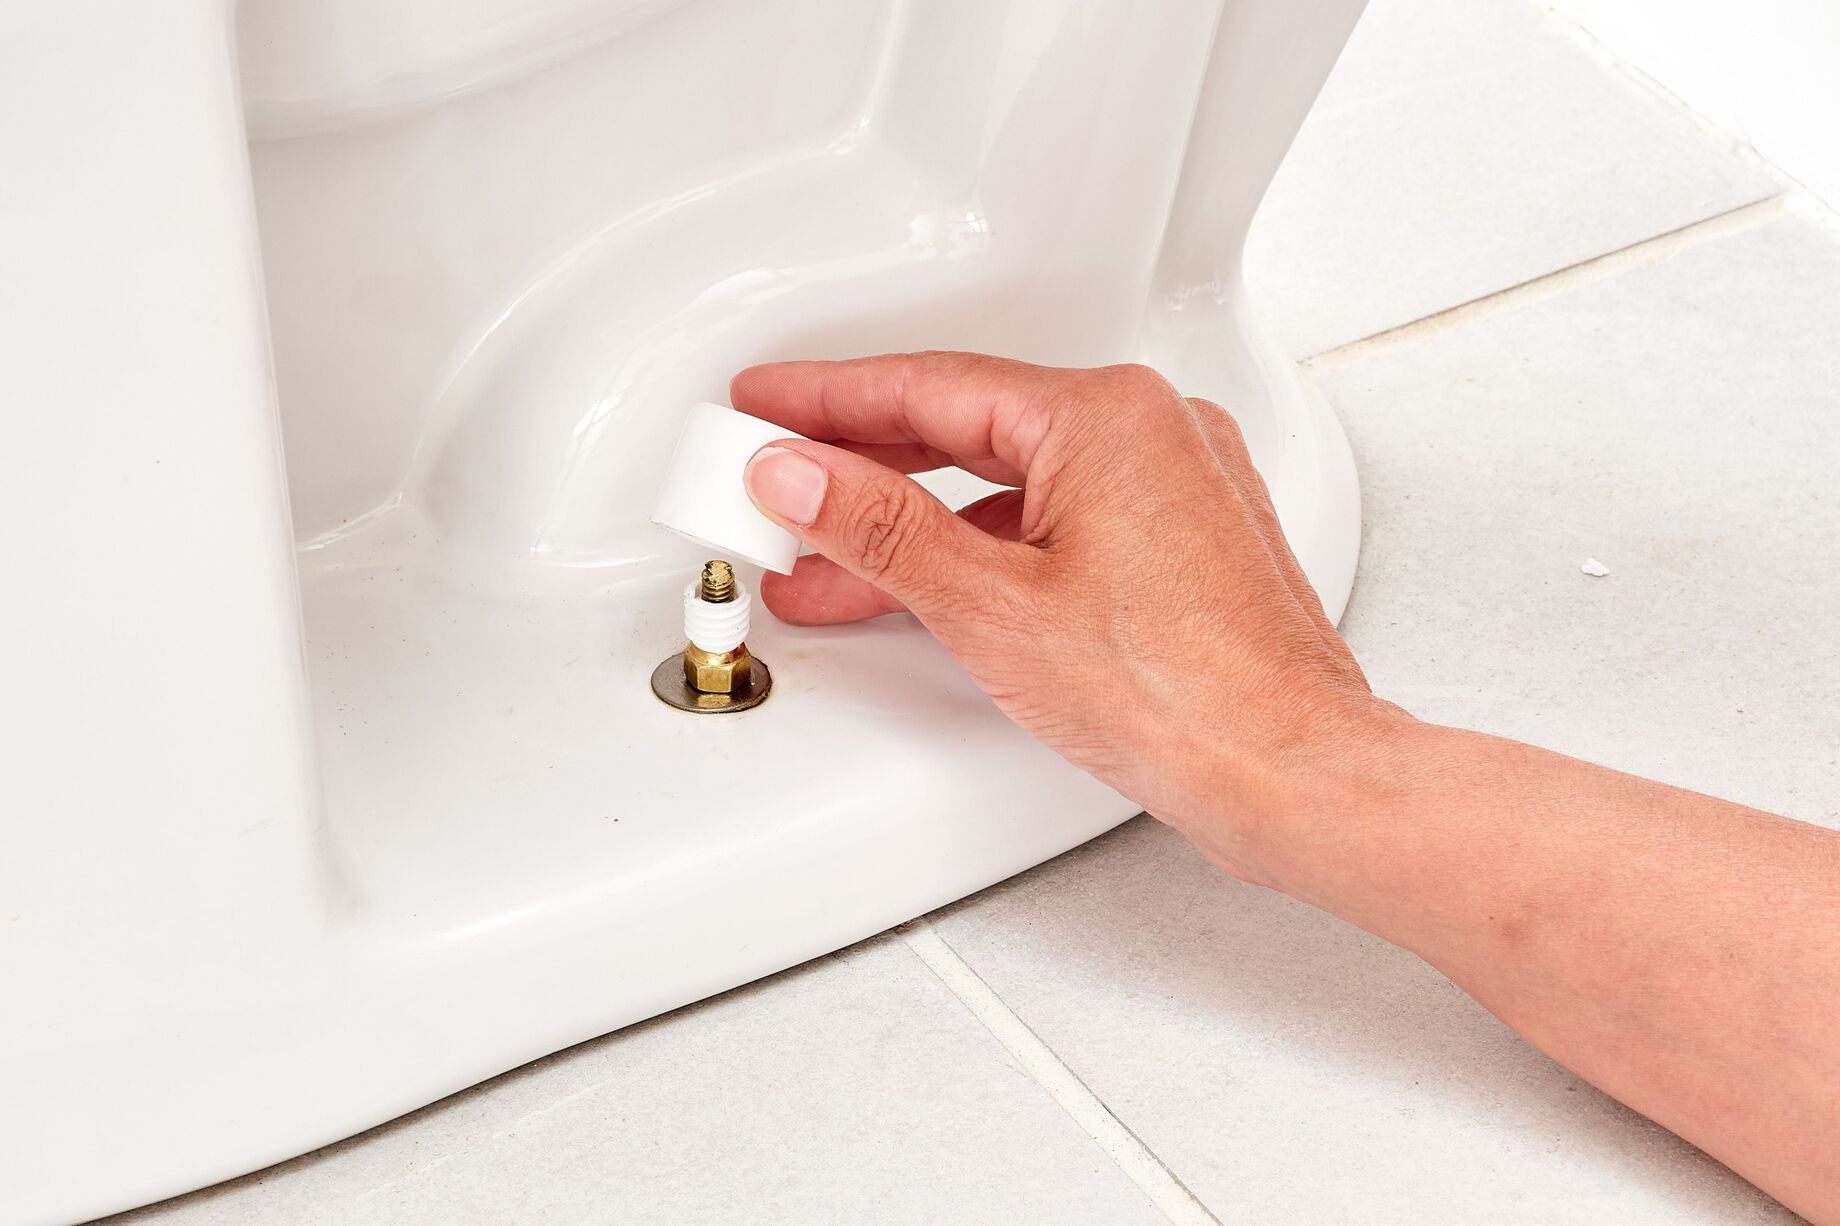
Step 2: Loosen the bolts
Once you have gathered the necessary tools, the next step in removing a Bemis Statite toilet seat is to loosen the bolts securing it to the toilet bowl. This process requires careful manipulation of the bolts to ensure a smooth and successful removal. Here's a detailed guide on how to effectively loosen the bolts:
-
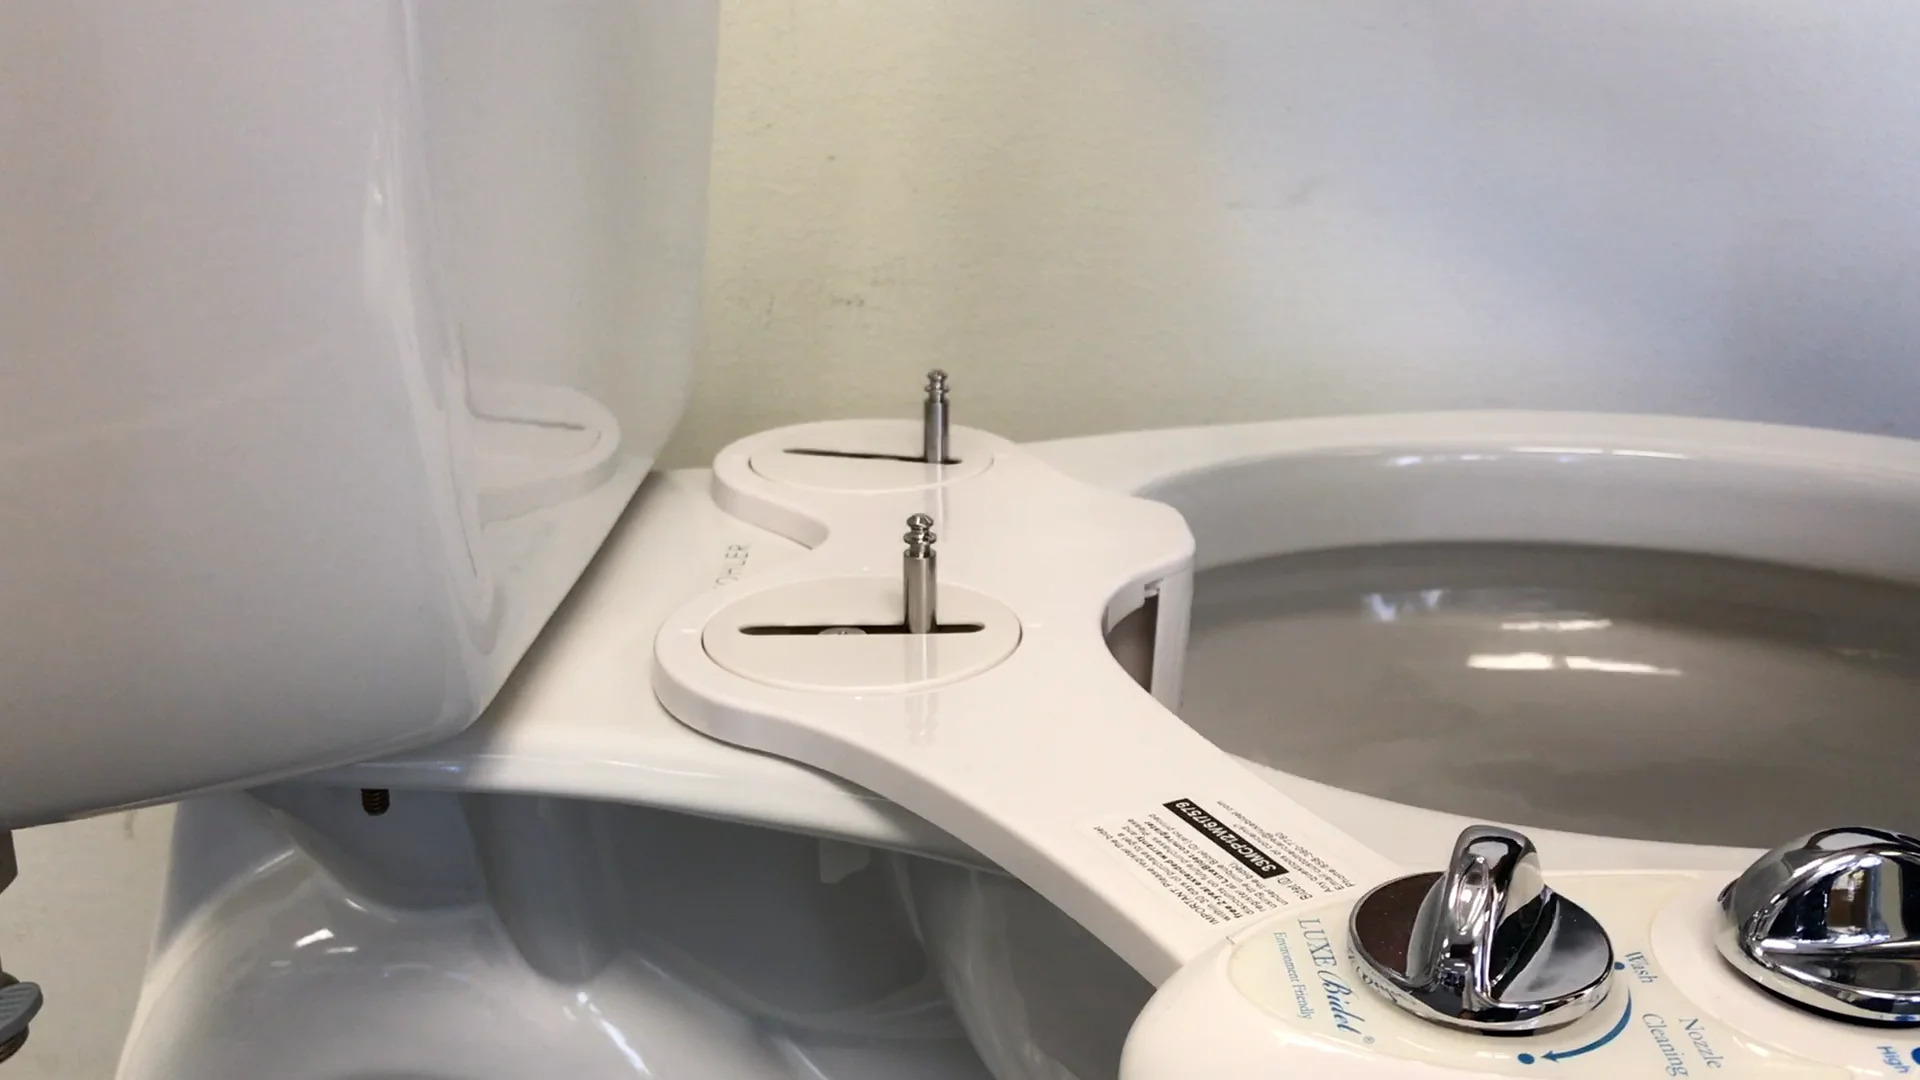
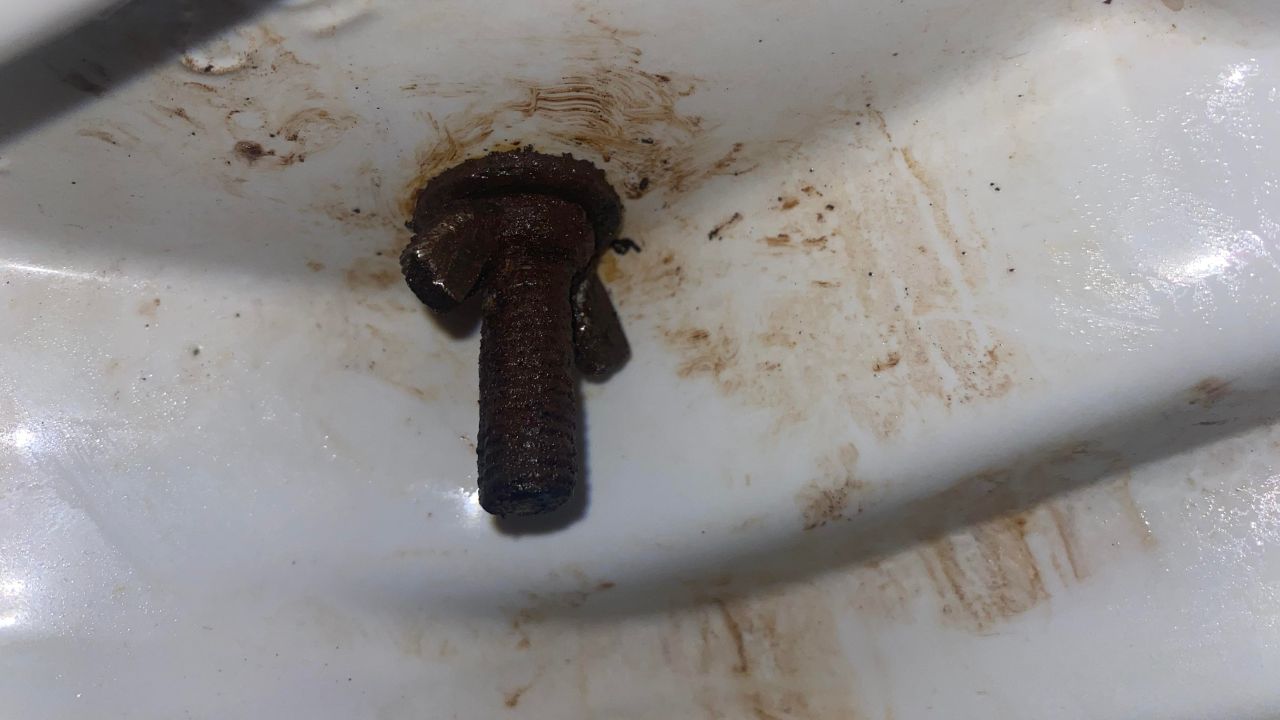
Locate the Bolts: Begin by identifying the bolts that secure the toilet seat to the bowl. These bolts are typically located at the rear of the seat, where it attaches to the bowl. They may be covered by decorative caps or be directly visible, depending on the specific design of the Bemis Statite toilet seat.
-
Use the Adjustable Wrench: With the adjustable wrench in hand, carefully position it over the bolt head. Ensure that the wrench is adjusted to fit the size of the bolt head securely. Once in position, apply gentle pressure to the wrench in a counterclockwise direction to begin loosening the bolt. It's important to exercise caution to avoid applying excessive force, which could potentially damage the bolt or the toilet seat.
-
Repeat the Process: If the Bemis Statite toilet seat is secured with two bolts, repeat the loosening process for the second bolt. Take care to maintain a balanced approach, ensuring that both bolts are loosened gradually and evenly to prevent any uneven pressure on the seat.
-
Check for Resistance: As you begin to loosen the bolts, be mindful of any resistance or stubbornness encountered. If a bolt appears to be particularly tight or difficult to loosen, avoid forcing it. Instead, apply a penetrating lubricant to the bolt and allow it to sit for a few minutes before attempting to loosen it again. This can help to alleviate any resistance and facilitate a smoother removal process.
-
Remove the Bolts: Once the bolts have been sufficiently loosened, carefully unscrew them from the toilet bowl using the adjustable wrench. Keep the bolts and any accompanying hardware in a safe place, as they may be needed if you plan to install a new toilet seat.
By following these detailed steps to loosen the bolts securing the Bemis Statite toilet seat, you can effectively prepare the seat for removal without encountering unnecessary challenges. This methodical approach ensures that the seat is detached from the bowl in a controlled and deliberate manner, setting the stage for the subsequent steps in the removal process.
To remove a Bemis Statite toilet seat, locate the release buttons or screws at the back of the seat and press or unscrew them to release the seat from the toilet. Lift the seat off and clean the area before installing a new seat if needed.
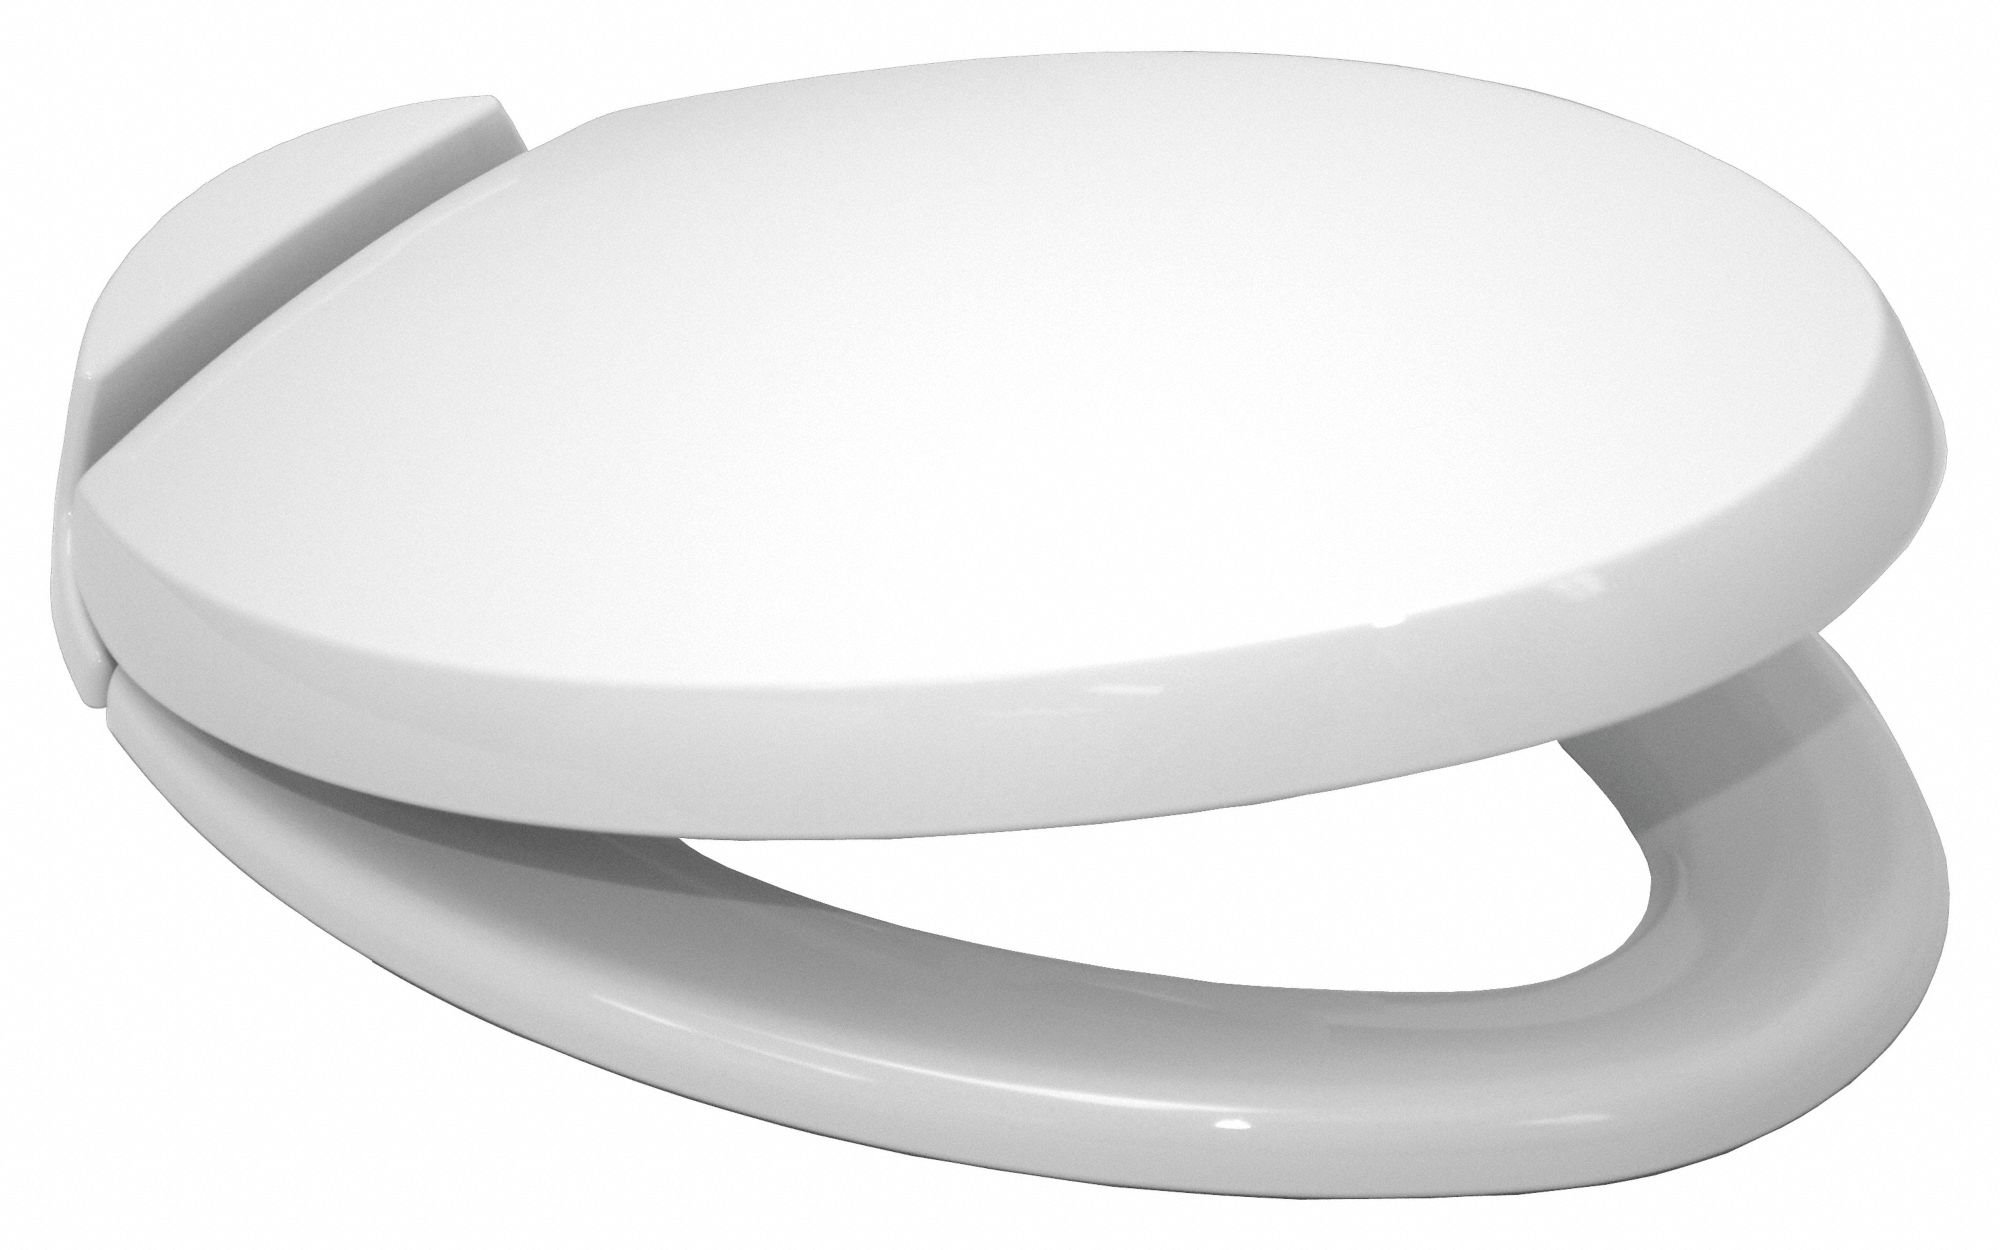
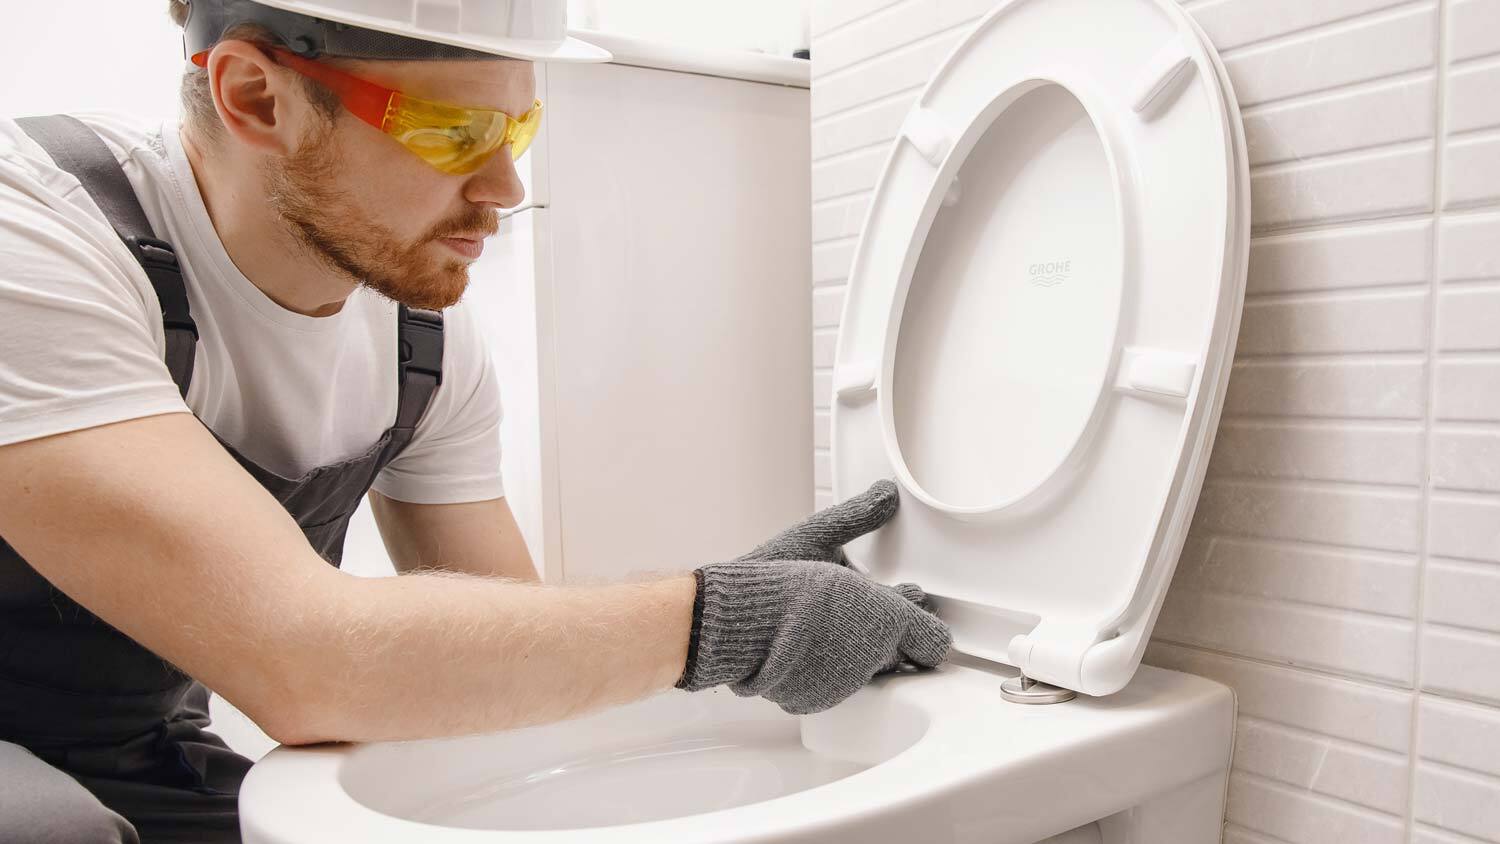
Step 3: Remove the toilet seat
With the bolts loosened and the Bemis Statite toilet seat prepared for removal, the next crucial step is to carefully detach the seat from the toilet bowl. This process requires a steady and deliberate approach to ensure that the seat is removed smoothly and without causing any damage to the toilet or surrounding area. Here's a detailed guide on how to effectively remove the toilet seat:
-
Lift the Seat: Begin by gently lifting the Bemis Statite toilet seat and lid assembly away from the toilet bowl. It's important to maintain a firm grip on the seat to prevent any accidental slippage or mishandling during this step. Take care to lift the seat straight upward, ensuring that it remains aligned with the bowl as it is removed.
-
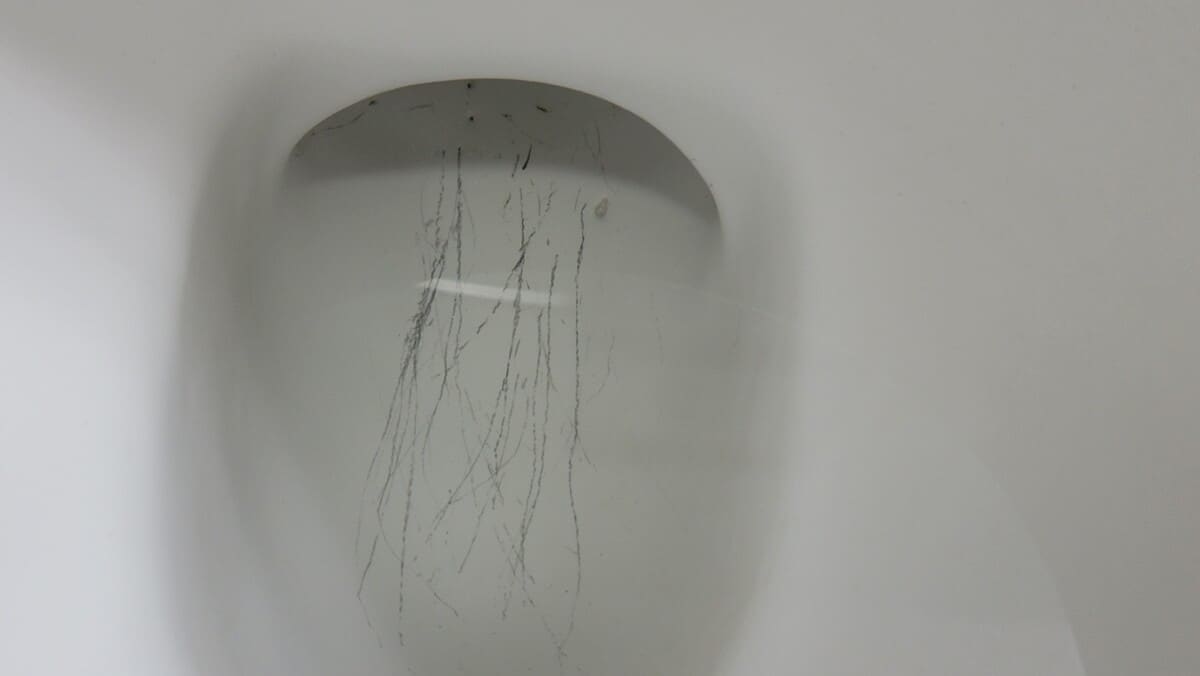
Inspect for Residue: As the seat is lifted, take a moment to inspect the area beneath it for any signs of residue or debris. Over time, dirt and grime may accumulate around the seat's mounting points, and this is an opportune moment to assess the cleanliness of the area. If necessary, use a mild cleaning solution and a cleaning cloth to gently wipe away any residue, ensuring that the area is clean and free from any obstructions.
-
Set Aside the Seat: Once the seat has been successfully lifted from the toilet bowl, carefully set it aside in a safe and stable location. Take care to place it on a flat surface to prevent any accidental tipping or damage. If you plan to reinstall the same seat after cleaning or maintenance, ensure that it is placed in a secure and easily accessible area.
-
Inspect the Mounting Points: With the seat removed, take a moment to inspect the mounting points on the toilet bowl. Check for any signs of wear, damage, or buildup that may require attention. This inspection can provide valuable insights into the condition of the mounting area and inform any necessary maintenance or cleaning tasks before reinstalling the seat.
By following these detailed steps to remove the Bemis Statite toilet seat, you can effectively complete this crucial phase of the maintenance process. With the seat successfully detached from the toilet bowl, you are now ready to proceed with the subsequent steps, whether it involves cleaning the area, performing maintenance, or installing a new toilet seat.
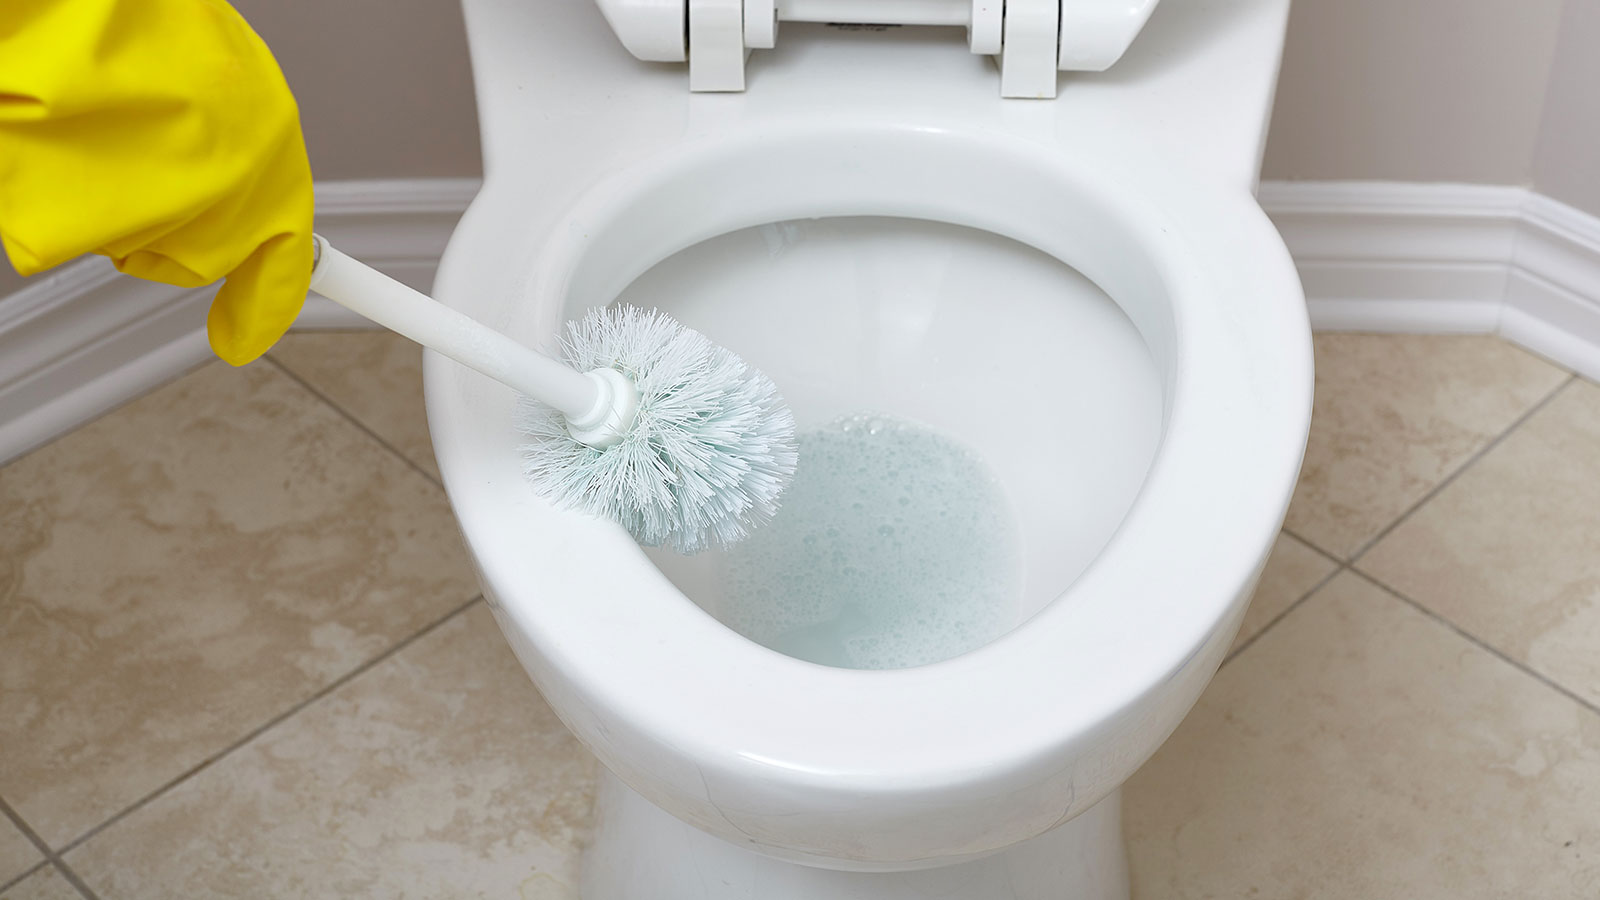
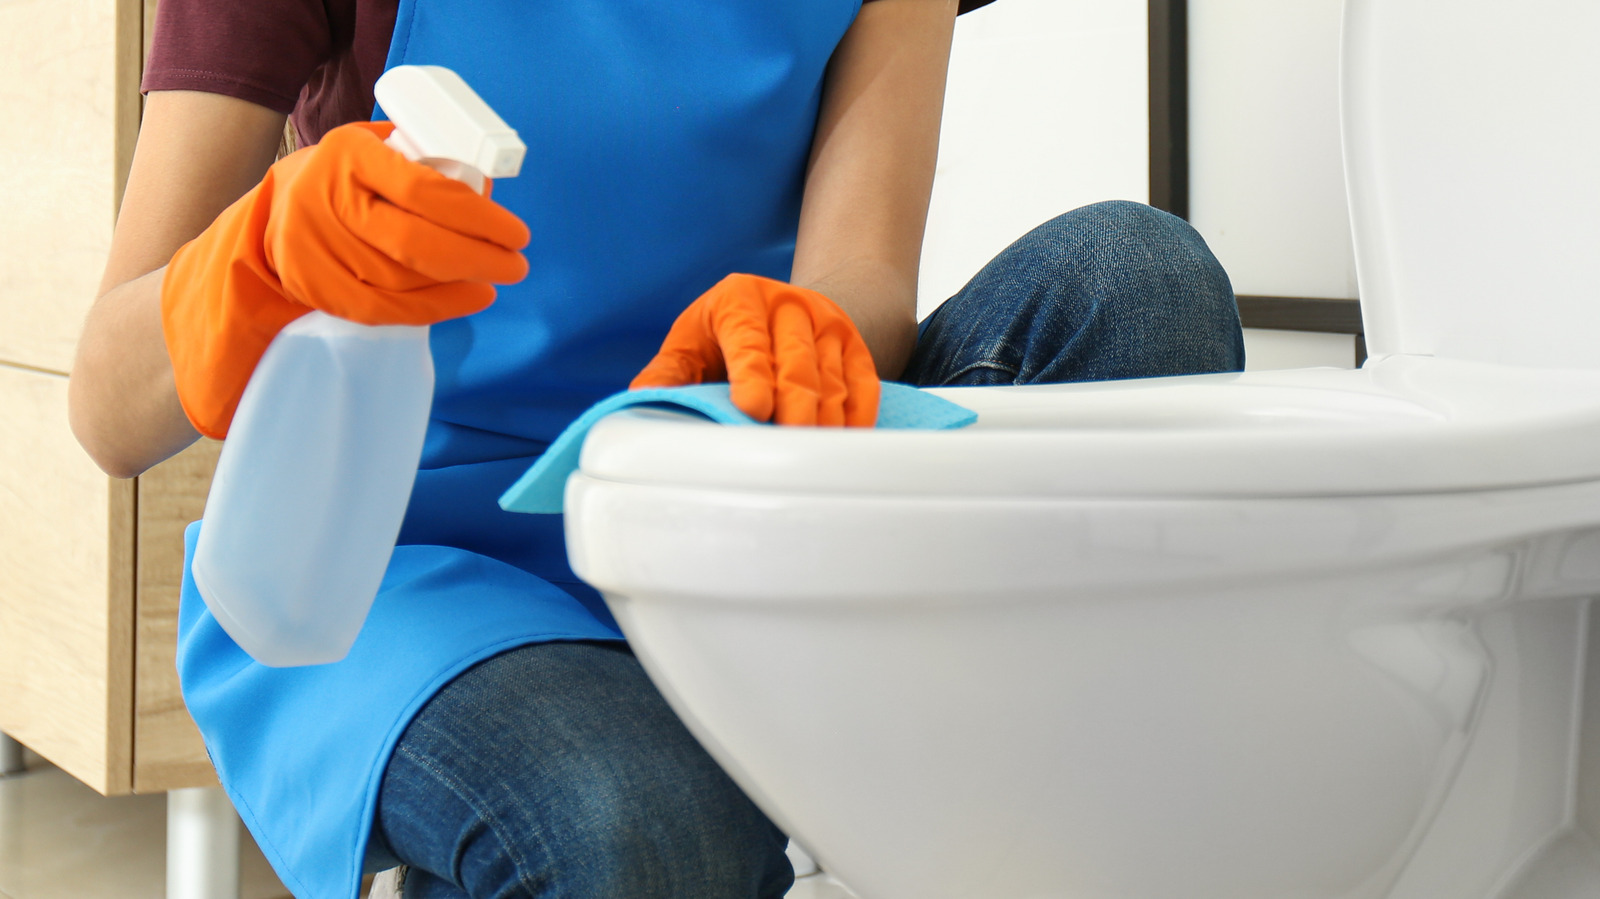
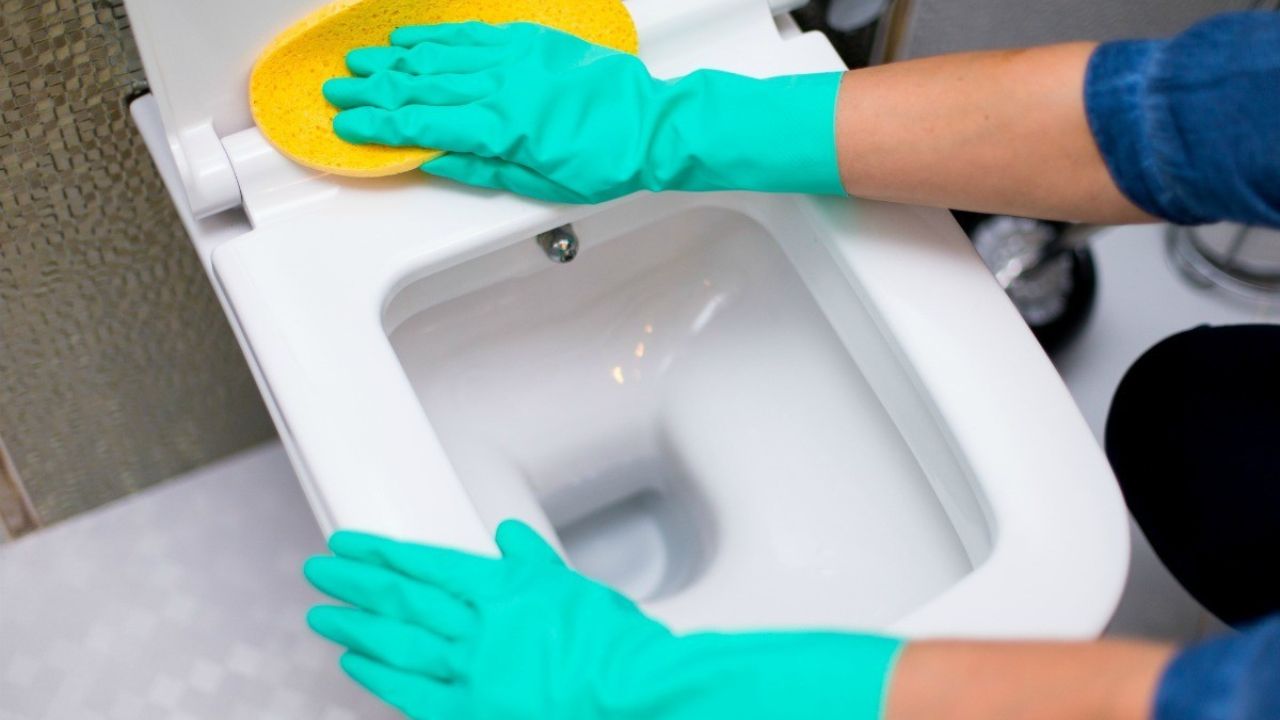
Step 4: Clean the area
After successfully removing the Bemis Statite toilet seat, it's essential to dedicate attention to cleaning the area beneath it. This step not only ensures a hygienic environment but also provides an opportunity to address any accumulated residue or dirt that may have been concealed by the seat. Here's a detailed guide on how to effectively clean the area:
-
Inspect for Residue: Begin by closely examining the area around the mounting points on the toilet bowl. Look for any signs of residue, grime, or discoloration that may have accumulated over time. Pay particular attention to the areas where the seat's hinges were attached, as these spots are prone to collecting debris.
-
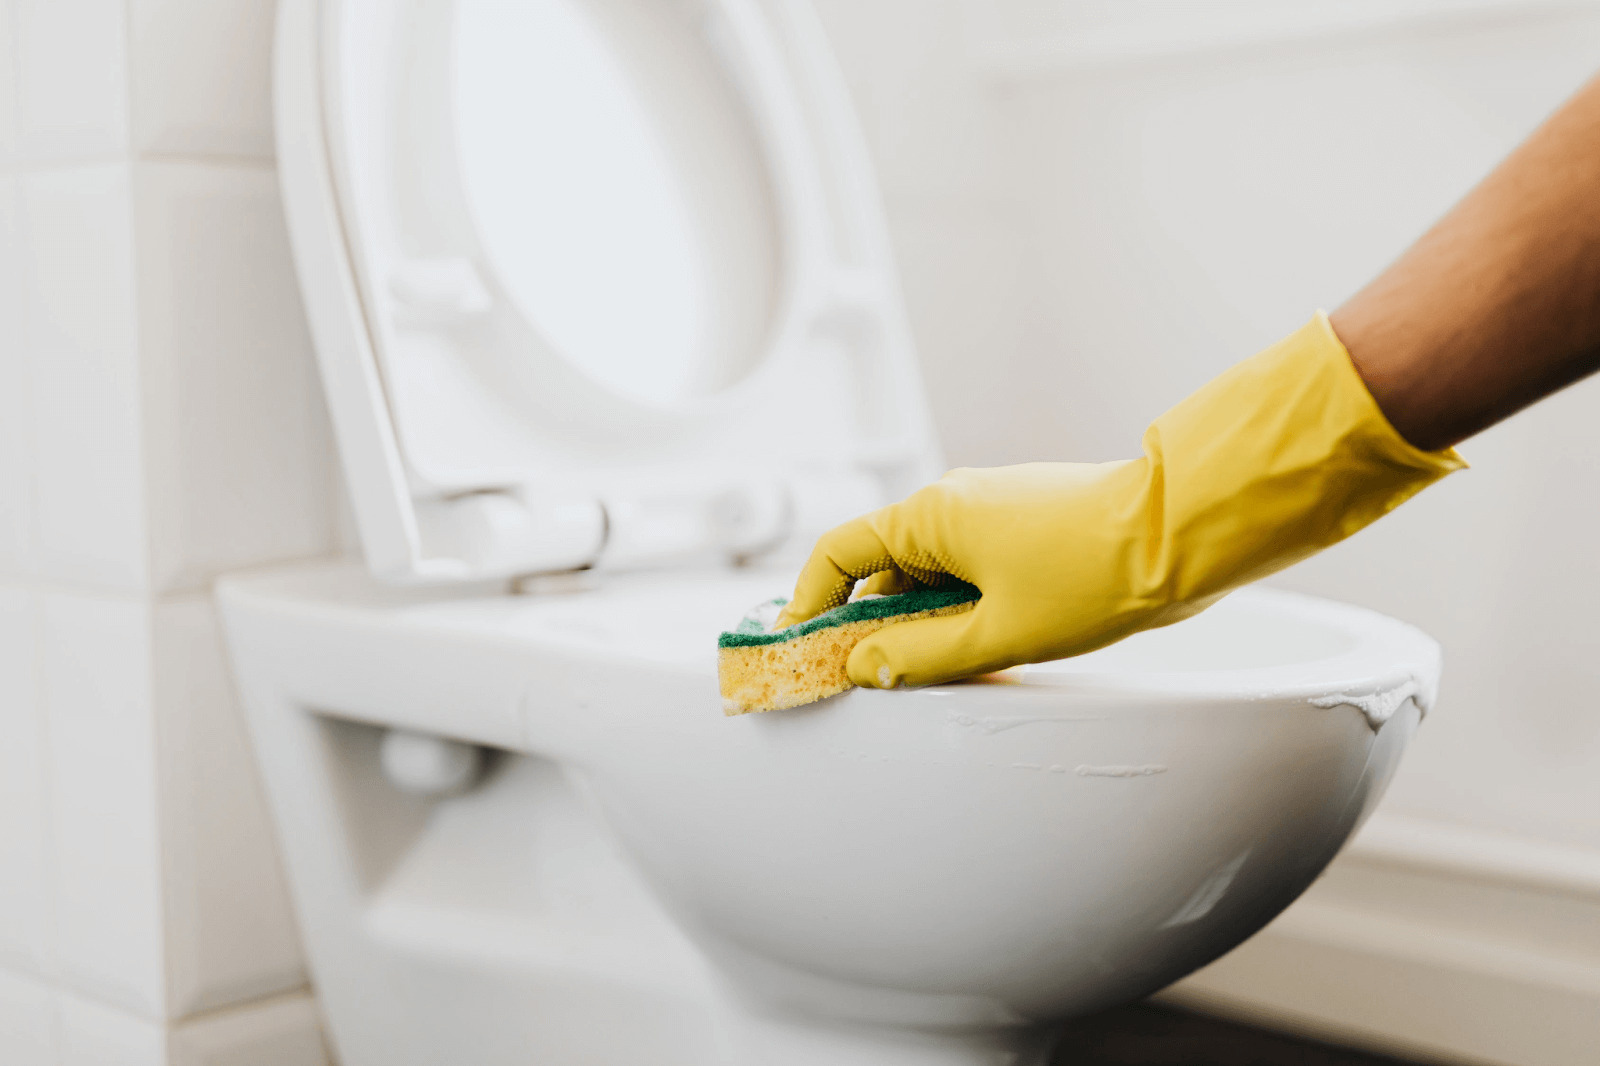
Use a Mild Cleaning Solution: Prepare a mild cleaning solution by diluting a gentle household cleaner or dish soap in warm water. This solution can effectively break down and remove any stubborn residue without causing damage to the toilet bowl's surface. Avoid using abrasive cleaners or harsh chemicals, as these may scratch or discolor the porcelain.
-
Apply the Cleaning Solution: Dip a cleaning cloth or sponge into the prepared cleaning solution and gently apply it to the areas requiring attention. Take care to thoroughly clean around the mounting points, ensuring that any accumulated residue is effectively addressed. If necessary, allow the cleaning solution to sit for a few minutes to loosen stubborn grime before proceeding.
-
Thoroughly Wipe and Rinse: Using the dampened cleaning cloth or sponge, carefully wipe the surfaces around the mounting points, removing any residue and dirt. Rinse the cloth or sponge regularly to prevent spreading the debris. Once the area has been thoroughly wiped, rinse the cloth or sponge and wipe the cleaned surfaces with clean water to remove any remaining cleaning solution.
-
Dry the Area: After cleaning and rinsing, use a dry cloth to carefully dry the cleaned surfaces. Ensuring that the area is completely dry helps prevent water spots and maintains a clean, polished appearance. Take care to remove any excess moisture, paying attention to the areas around the mounting points and the immediate surrounding surface.
By following these detailed steps to clean the area beneath the Bemis Statite toilet seat, you can effectively ensure a hygienic and visually appealing environment. This thorough cleaning process not only addresses accumulated residue but also prepares the area for any subsequent maintenance or the installation of a new toilet seat, if desired.
Read also: 8 Best Bemis Toilet Seat for 2024
Step 5: Install the new toilet seat (optional)
Should you decide to replace the existing Bemis Statite toilet seat with a new one, the installation process presents an opportunity to refresh the appearance and functionality of your bathroom fixture. Whether you're seeking a different style, enhanced features, or simply a clean and pristine seat, installing a new toilet seat can rejuvenate the overall look and feel of your bathroom. Here's a comprehensive guide on how to effectively install a new toilet seat:
-
Select the New Seat: Begin by selecting a new Bemis Statite toilet seat that aligns with your preferences and the specifications of your toilet bowl. Consider factors such as color, material, and additional features to ensure that the new seat complements your bathroom decor and meets your functional requirements.
-
Position the Seat: Place the new toilet seat and lid assembly over the bowl, aligning it with the mounting points. Ensure that the seat is positioned evenly and symmetrically to achieve a balanced fit. Take care to align the seat's hinges with the mounting points on the bowl, preparing it for secure attachment.
-
Insert and Tighten the Bolts: Insert the bolts provided with the new toilet seat through the mounting holes on the seat and into the corresponding openings on the toilet bowl. Use the adjustable wrench to tighten the bolts securely, ensuring that the seat is firmly anchored to the bowl. Exercise caution to avoid over-tightening, which could potentially damage the seat or the bowl.
-
Adjust the Seat Alignment: Once the bolts are securely tightened, check the alignment and positioning of the new seat. Ensure that it sits evenly and level on the bowl, with the hinges aligned properly. Make any necessary adjustments to the seat's positioning to achieve a balanced and symmetrical fit.
-
Test the Stability: Gently test the stability of the newly installed seat by applying light pressure to ensure that it remains securely in place. Verify that the seat does not shift or wobble, indicating a stable and secure installation. This step helps confirm that the seat is properly anchored and ready for use.
By following these detailed steps to install a new Bemis Statite toilet seat, you can effectively complete this optional yet rewarding task. Whether you're upgrading to a new seat for aesthetic or functional reasons, a carefully executed installation ensures a secure and visually appealing addition to your bathroom. With the new seat in place, you can enjoy a refreshed and revitalized bathroom fixture that enhances the overall ambiance of your space.
Frequently Asked Questions about How To Remove Bemis Statite Toilet Seat
Was this page helpful?
At Storables.com, we guarantee accurate and reliable information. Our content, validated by Expert Board Contributors, is crafted following stringent Editorial Policies. We're committed to providing you with well-researched, expert-backed insights for all your informational needs.
0 thoughts on “How To Remove Bemis Statite Toilet Seat”