Home>Furniture & Design>Bathroom Accessories>How To Add Shower Head To Bathtub
Bathroom Accessories
How To Add Shower Head To Bathtub
Modified: October 28, 2024
Learn how to easily add a shower head to your bathtub for a convenient and stylish upgrade. Find the best bathroom accessories and installation tips here.
(Many of the links in this article redirect to a specific reviewed product. Your purchase of these products through affiliate links helps to generate commission for Storables.com, at no extra cost. Learn more)
Introduction
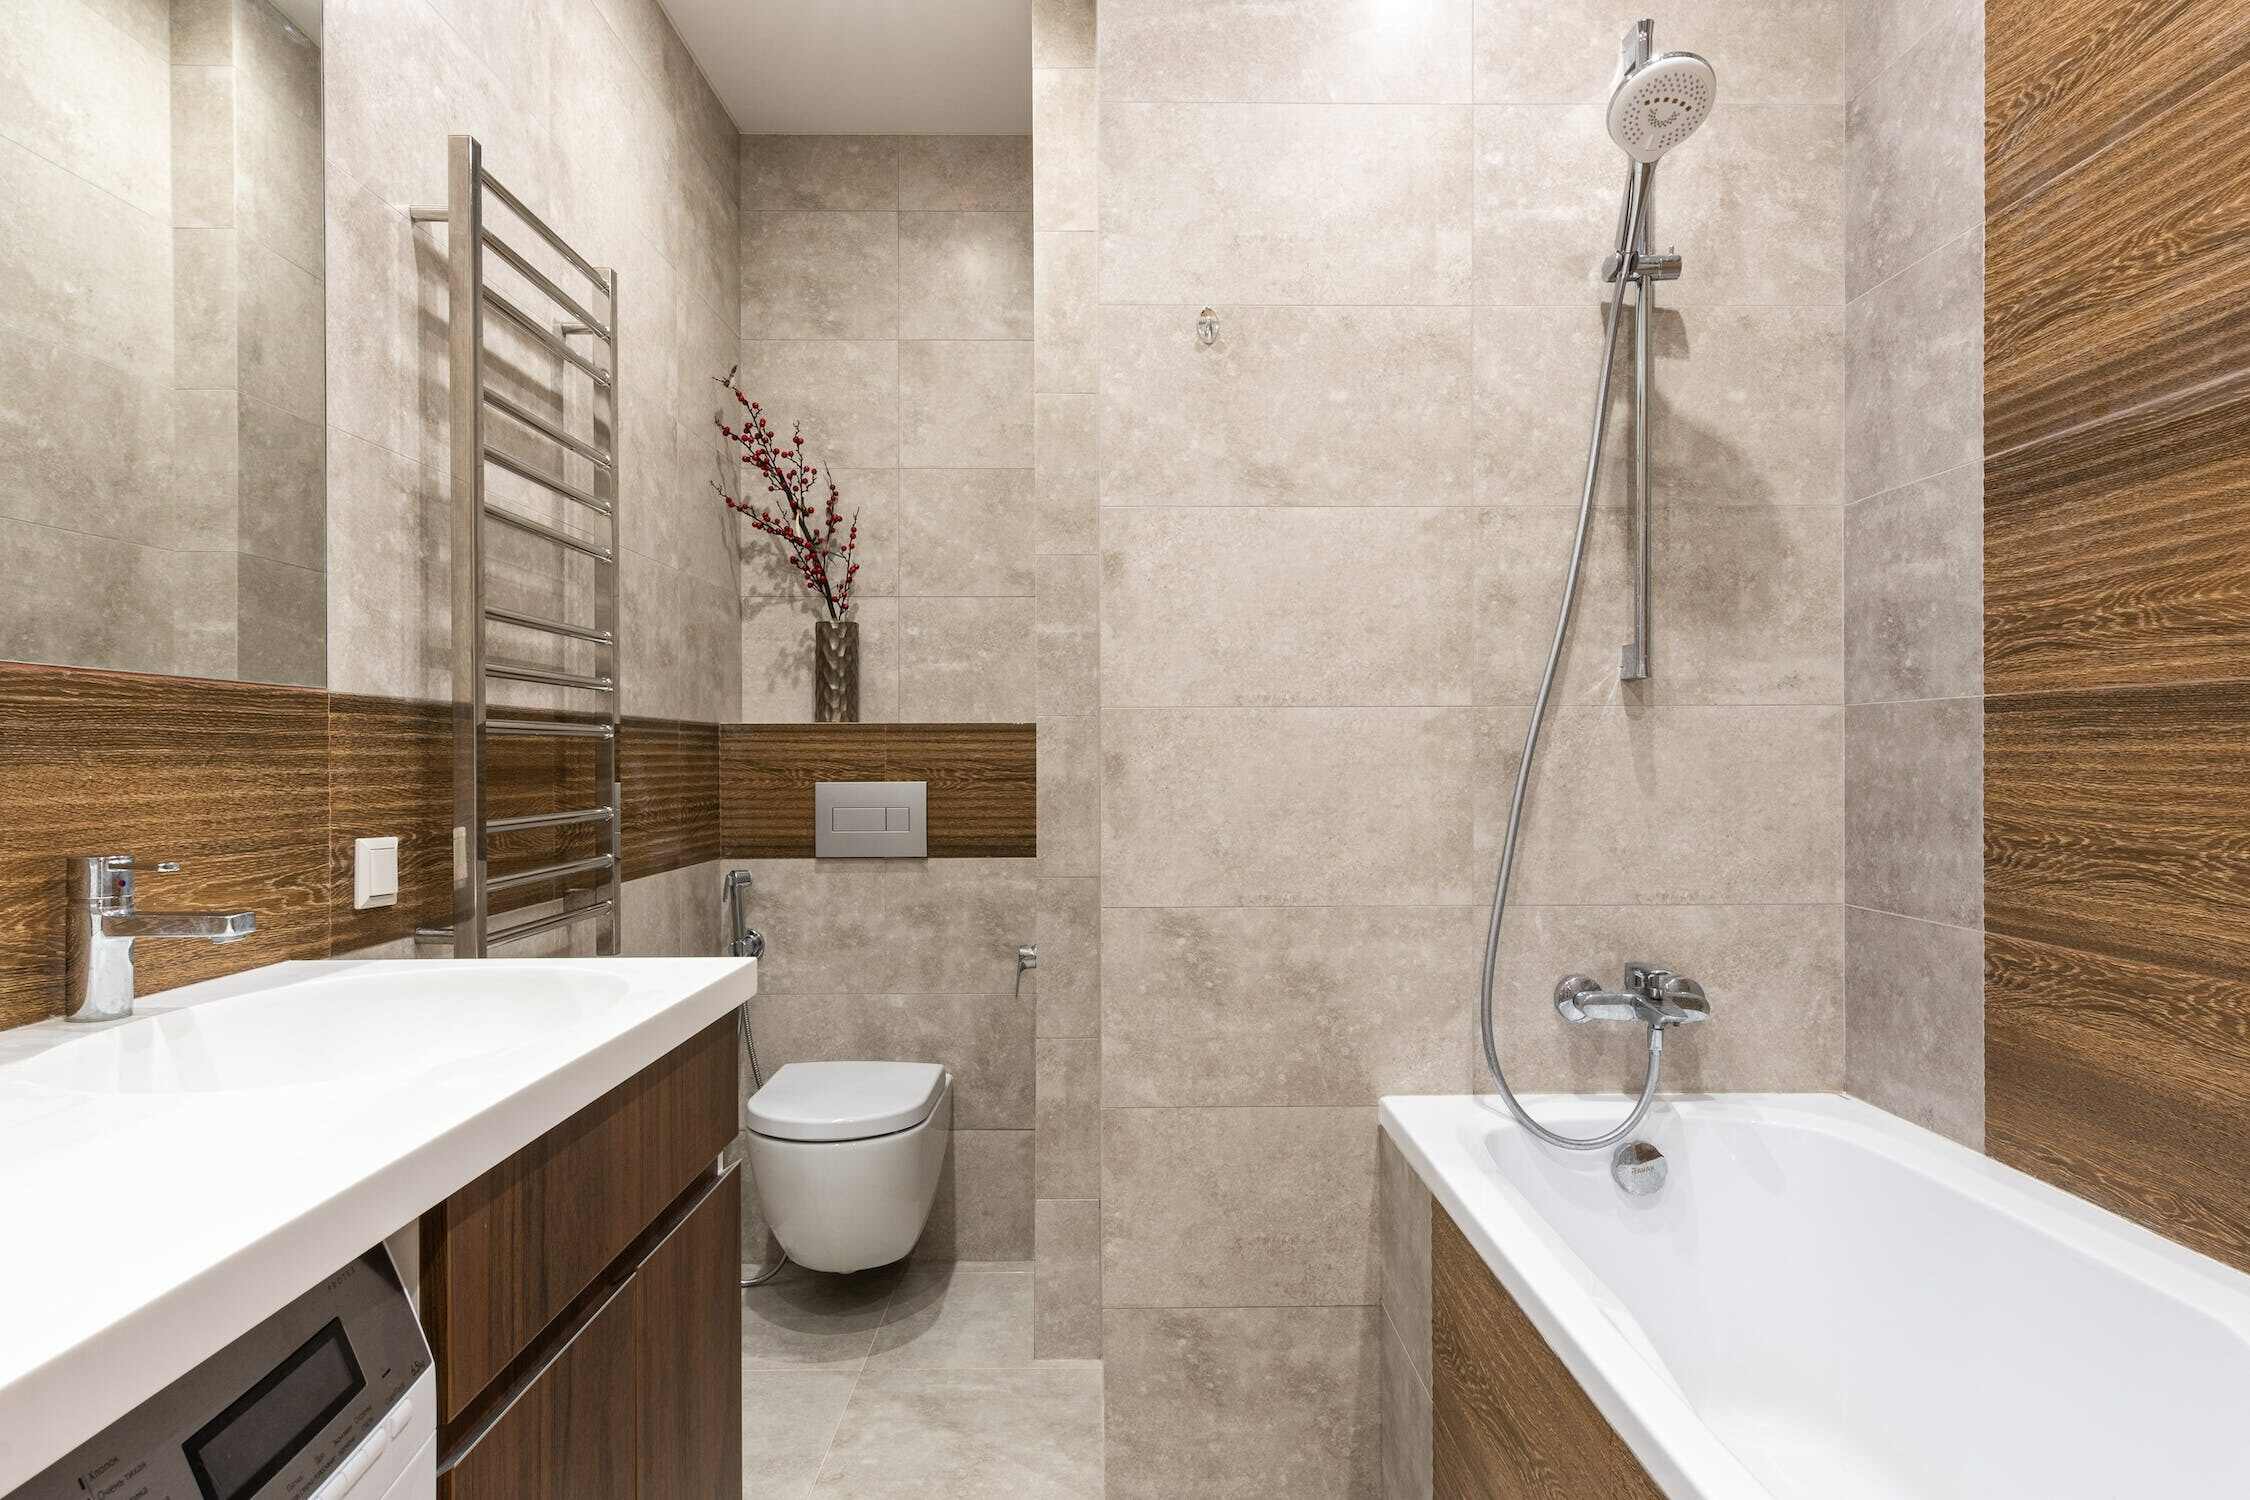
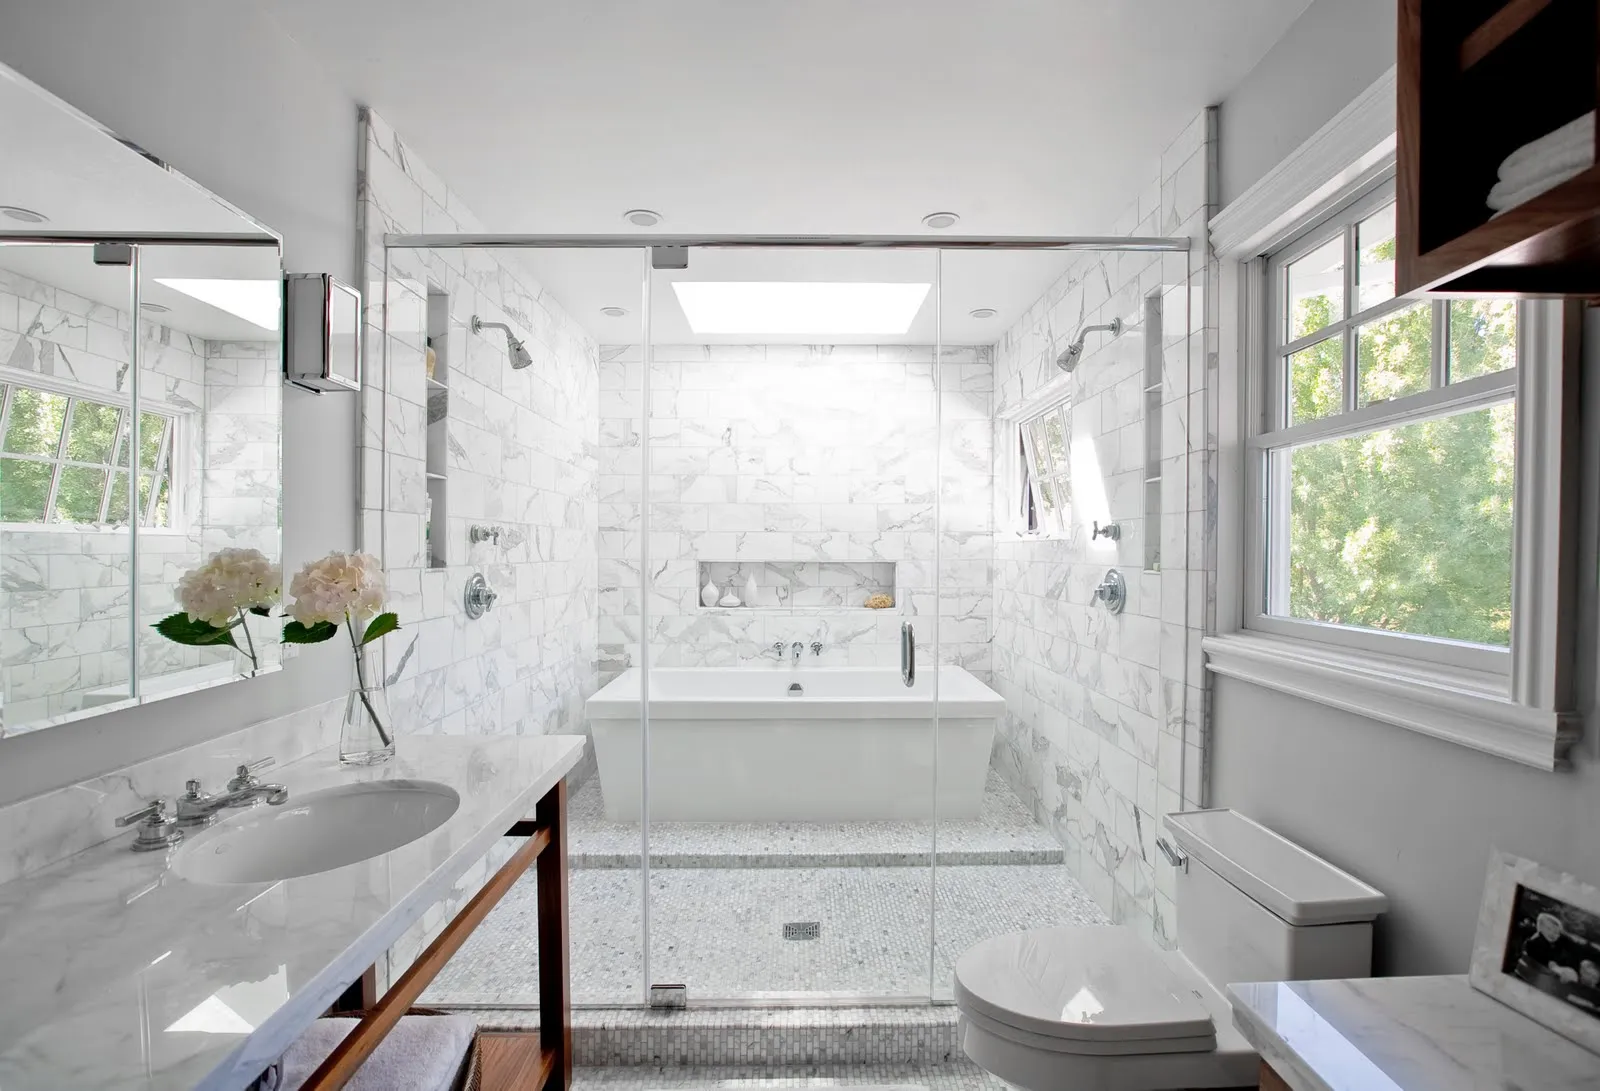
Adding a shower head to a bathtub can significantly enhance the functionality and versatility of your bathroom. Whether you're looking to create a more convenient bathing experience or simply want to update the aesthetics of your bathroom, installing a shower head in your bathtub can be a rewarding project. With the ability to switch between a relaxing bath and an invigorating shower, this addition offers a practical solution for households with diverse bathing preferences.
In this comprehensive guide, we will walk you through the step-by-step process of adding a shower head to your bathtub. From gathering the necessary tools and materials to testing the newly installed shower head, we will cover every aspect of this project to ensure a successful and satisfying outcome. By following these instructions, you can transform your bathtub into a multifunctional bathing space that caters to your specific needs and preferences.
Whether you're a seasoned DIY enthusiast or a novice looking to embark on your first home improvement project, this guide is designed to provide clear and concise instructions that anyone can follow. With a little time and effort, you can enjoy the convenience and luxury of having a shower head in your bathtub, adding both practicality and style to your bathroom.
So, let's dive into the process of adding a shower head to your bathtub and discover how this simple yet impactful upgrade can elevate the functionality and appeal of your bathroom space. Get ready to embark on this rewarding journey and unlock the full potential of your bathtub with the addition of a shower head.
Key Takeaways:
- Adding a shower head to your bathtub creates a versatile bathing space, allowing you to switch between a relaxing bath and an invigorating shower for a more enjoyable and personalized experience.
- By following the step-by-step guide, you can confidently install and test a shower head, enhancing your bathroom with convenience and style while elevating your daily bathing routine.
Read more: How To Add Shower To Bathtub
Step 1: Gather necessary tools and materials
Before embarking on the process of adding a shower head to your bathtub, it's essential to gather all the required tools and materials. By ensuring that you have everything at your disposal, you can streamline the installation process and minimize any potential delays or interruptions. Here's a comprehensive list of the tools and materials you'll need for this project:
Tools:
- Adjustable wrench
- Pipe wrench
- Screwdriver (flathead and Phillips)
- Pipe thread sealant tape (Teflon tape)
- Adjustable pliers
- Hacksaw
- Drill and drill bits
- Measuring tape
- Pencil
- Safety goggles
Materials:
- Shower head kit (including the shower head, hose, and mounting hardware)
- Shower arm and flange
- Diverter valve (if not included in the shower head kit)
- Pipe fittings (if required for the specific installation)
- Silicone caulk
- Waterproof sealant
By ensuring that you have all the necessary tools and materials on hand, you can proceed with confidence, knowing that you're fully equipped to complete the installation process. This proactive approach will help you avoid any last-minute runs to the hardware store and ensure a smooth and efficient installation experience.
With the tools and materials gathered, you're now ready to move on to the next step of preparing the bathtub for the installation of the shower head. This initial preparation phase sets the stage for a successful installation and paves the way for a seamless transition to the subsequent steps of the process. Let's move forward and delve into the next phase of this exciting project.
Step 2: Prepare the bathtub
Before proceeding with the installation of the shower head, it's crucial to prepare the bathtub to ensure a secure and functional setup. This involves assessing the existing plumbing, making necessary adjustments, and creating a suitable environment for the installation process.
Read more: How To Attach A Shower Head To A Bathtub
Assess the Existing Plumbing
Begin by examining the current plumbing configuration in the vicinity of the bathtub. Identify the location of the water supply lines and the existing faucet. This assessment will help determine the most practical placement for the shower head and ensure that the necessary connections can be made without complications.
Shut Off the Water Supply
Prior to making any modifications to the plumbing, it's essential to turn off the water supply to the bathtub. Locate the shut-off valves for the hot and cold water lines and securely close them to prevent any water flow during the installation process. This precautionary measure is crucial for safety and to avoid potential water damage.
Remove the Existing Faucet (If Necessary)
If the installation of the shower head requires the removal of the existing faucet, carefully disconnect and remove it from the bathtub. Use a wrench to loosen and detach the water supply lines and any mounting hardware securing the faucet. Once removed, inspect the exposed plumbing to ensure it's in good condition and free from any obstructions.
Clean and Prepare the Installation Area
Thoroughly clean the area where the shower head and accompanying fixtures will be installed. Remove any debris, residue, or old sealant to create a clean and smooth surface for the new components. This step is essential for promoting a secure and watertight installation, preventing leaks, and ensuring the longevity of the newly added shower head.
Read more: How To Shower In A Bathtub?
Make Necessary Adjustments
If the existing plumbing requires any adjustments to accommodate the installation of the shower head, such as repositioning water supply lines or making modifications to the piping, this is the time to address those requirements. Carefully measure and plan any necessary alterations to the plumbing to ensure a precise and seamless fit for the new components.
By meticulously preparing the bathtub for the installation of the shower head, you set the stage for a successful and trouble-free upgrade. This preparatory phase lays the groundwork for the subsequent installation steps, ensuring that the new shower head integrates seamlessly with the existing plumbing and delivers a reliable and enjoyable bathing experience. With the bathtub primed and ready, you're now poised to move on to the exciting phase of installing the shower head and bringing your vision of a multifunctional bathtub to life.
Step 3: Install the shower head
With the bathtub prepared for the installation of the shower head, you can now proceed with the exciting phase of installing the new fixture. This step-by-step process will guide you through the installation, ensuring that the shower head is securely mounted and seamlessly integrated into your bathing space.
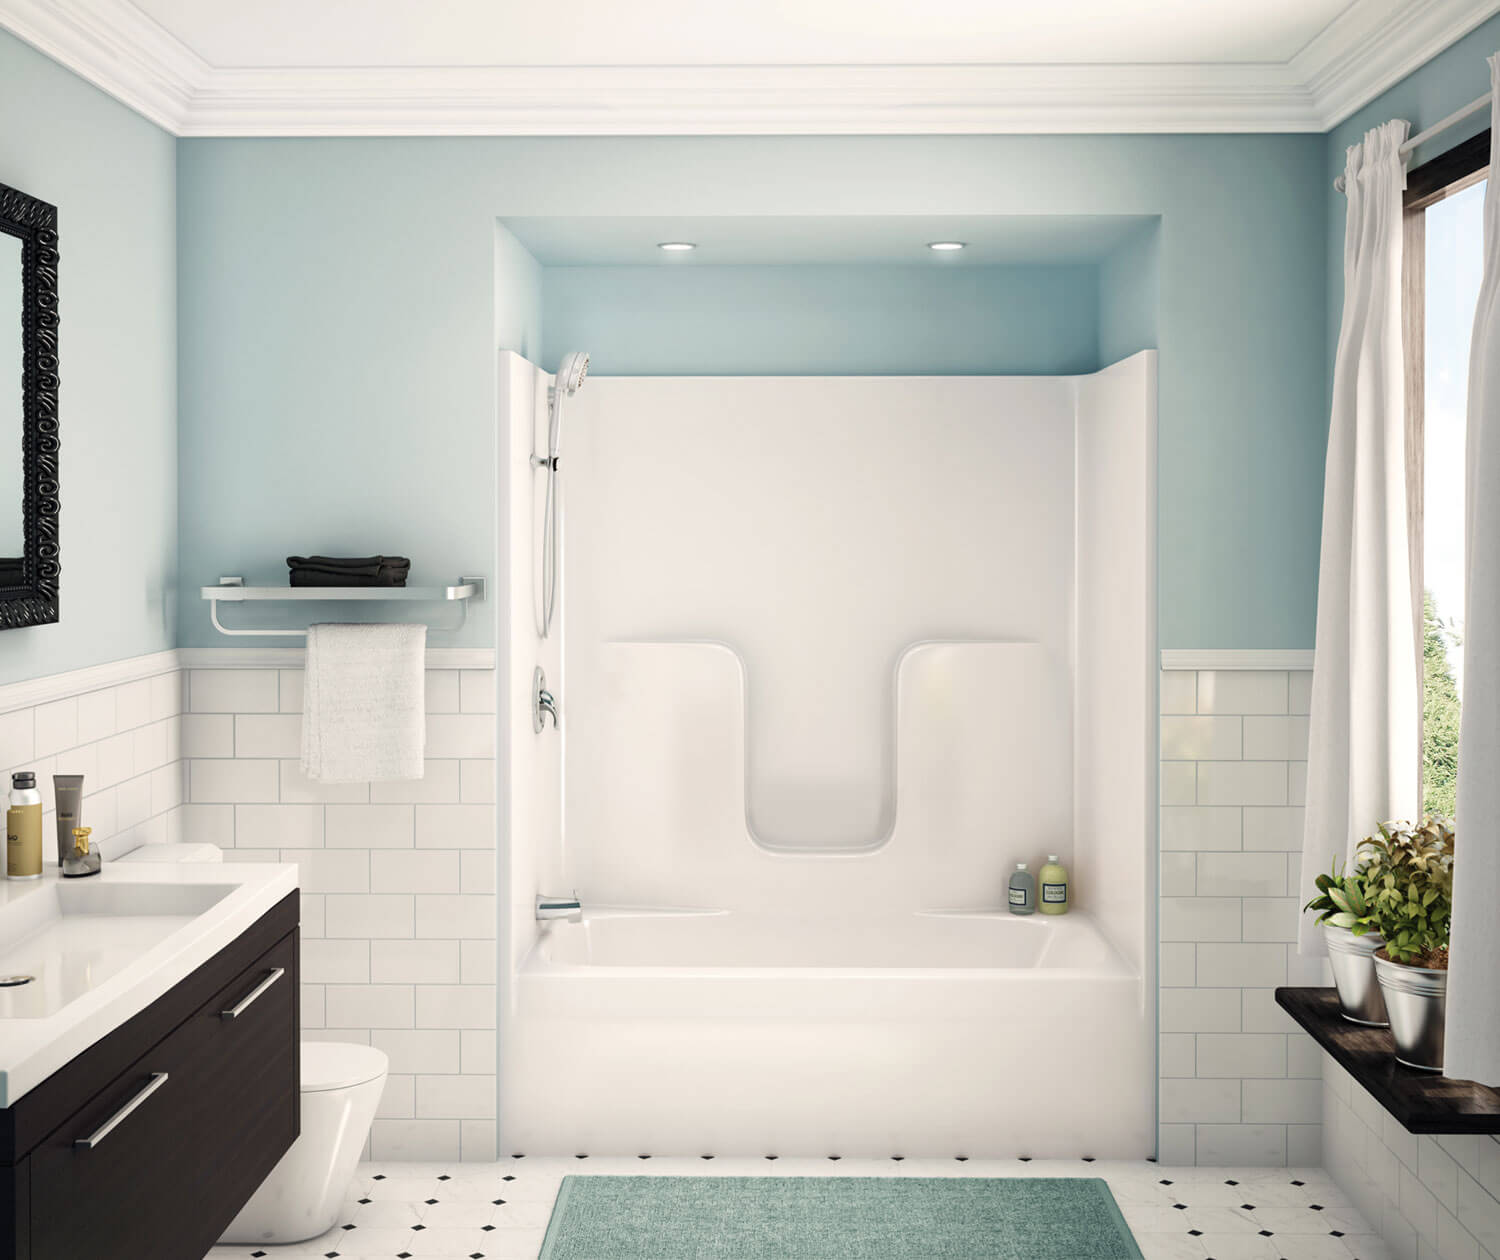
1. Attach the Shower Arm and Flange
Begin by attaching the shower arm to the water supply outlet on the wall above the bathtub. Apply a layer of pipe thread sealant tape (Teflon tape) to the threaded end of the shower arm to create a secure and watertight connection. Use an adjustable wrench to tighten the shower arm onto the water supply outlet, ensuring a snug fit without over-tightening.
Once the shower arm is securely in place, slide the flange over the arm and position it against the wall. The flange serves as a decorative cover and provides a finished look for the connection point. Secure the flange in place, ensuring that it sits flush against the wall and complements the overall aesthetic of your bathroom.
2. Install the Diverter Valve (If Required)
If your shower head kit includes a diverter valve or if a separate diverter is necessary for your installation, carefully follow the manufacturer's instructions to install this component. The diverter valve allows you to switch the water flow between the shower head and the bathtub faucet, providing flexibility in your bathing options. Ensure that the diverter valve is securely connected to the water supply lines and functions smoothly to direct the water flow as intended.
Read more: How To Replace A Bathtub Shower
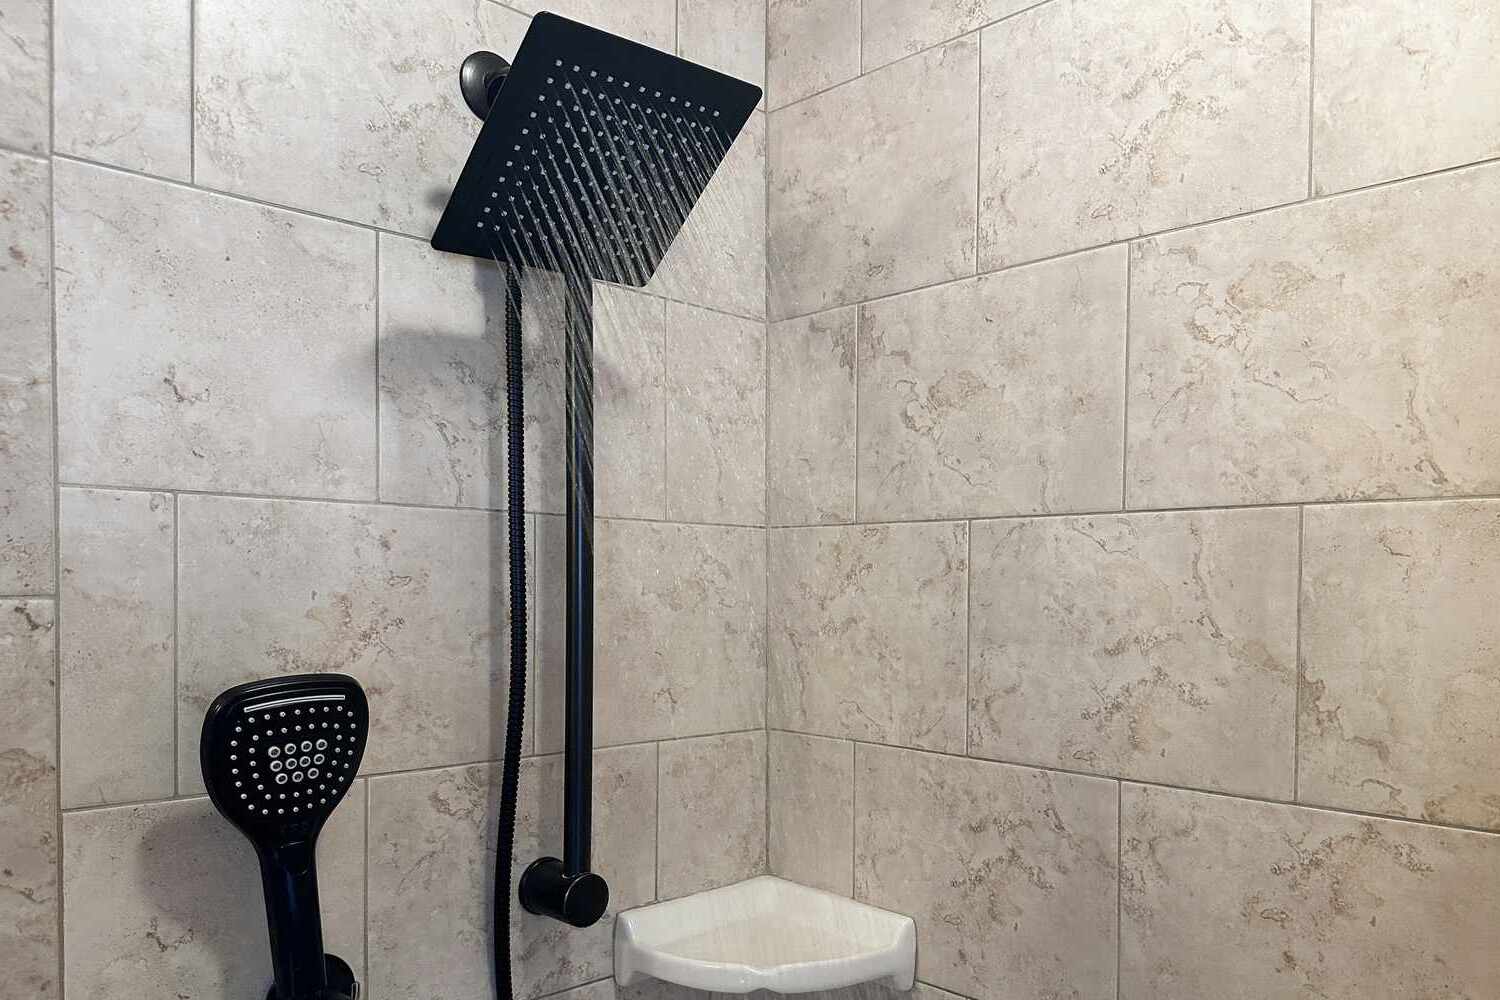
3. Mount the Shower Head
With the shower arm and any necessary diverter valve in place, it's time to mount the shower head. Depending on the type of shower head you have, follow the specific instructions provided with the kit to securely attach the shower head to the end of the shower arm. Use an adjustable wrench or pliers to tighten the connection, ensuring that the shower head is firmly affixed to the arm without any leaks or wobbling.
4. Connect the Shower Hose (If Applicable)
If your shower head includes a handheld option or requires a hose for functionality, connect the shower hose to the designated outlet on the shower head. Ensure that the connection is tight and secure, allowing for smooth and reliable operation of the handheld shower feature if applicable.
5. Apply Sealant and Test for Leaks
Once all components are in place, apply a bead of silicone caulk or waterproof sealant around the base of the shower arm and flange to create a watertight seal. This additional layer of protection helps prevent water from seeping into the wall and ensures a durable and long-lasting installation.
After applying the sealant, turn on the water supply to the bathtub and test the newly installed shower head. Check for any leaks or drips at the connection points and make any necessary adjustments to achieve a completely watertight installation.
By following these detailed steps, you can successfully install a shower head in your bathtub, transforming it into a versatile bathing space that offers the convenience of both a bath and a shower. With the installation complete and the shower head seamlessly integrated into your bathroom, you're now ready to move on to the final phase of this project: testing the shower head to ensure optimal functionality and performance.
Step 4: Test the shower head
After successfully installing the shower head in your bathtub, it's essential to thoroughly test the functionality and performance of the new fixture. This critical step ensures that the shower head operates as intended, delivering a satisfying and reliable bathing experience. By conducting a comprehensive test, you can identify any potential issues, make necessary adjustments, and ultimately enjoy the full benefits of your newly installed shower head.
Read more: How To Turn A Shower Into A Bathtub?
1. Water Flow and Pressure
Turn on the water supply to the bathtub and activate the shower head to assess the water flow and pressure. Pay close attention to the strength and consistency of the water stream, ensuring that it meets your expectations for a refreshing and invigorating shower experience. If the water flow appears weak or uneven, check for any obstructions or restrictions in the shower head or the water supply lines. Adjust the diverter valve, if applicable, to ensure a smooth transition between the shower head and the bathtub faucet.
2. Temperature Control
Test the temperature control by adjusting the hot and cold water knobs or handles to achieve your desired shower temperature. Verify that the shower head effectively delivers water at the selected temperature, allowing you to enjoy a comfortable and personalized bathing experience. If you encounter any issues with temperature control, such as inconsistent water temperature or difficulty adjusting the knobs, inspect the water supply lines and the diverter valve to address any potential causes of the problem.
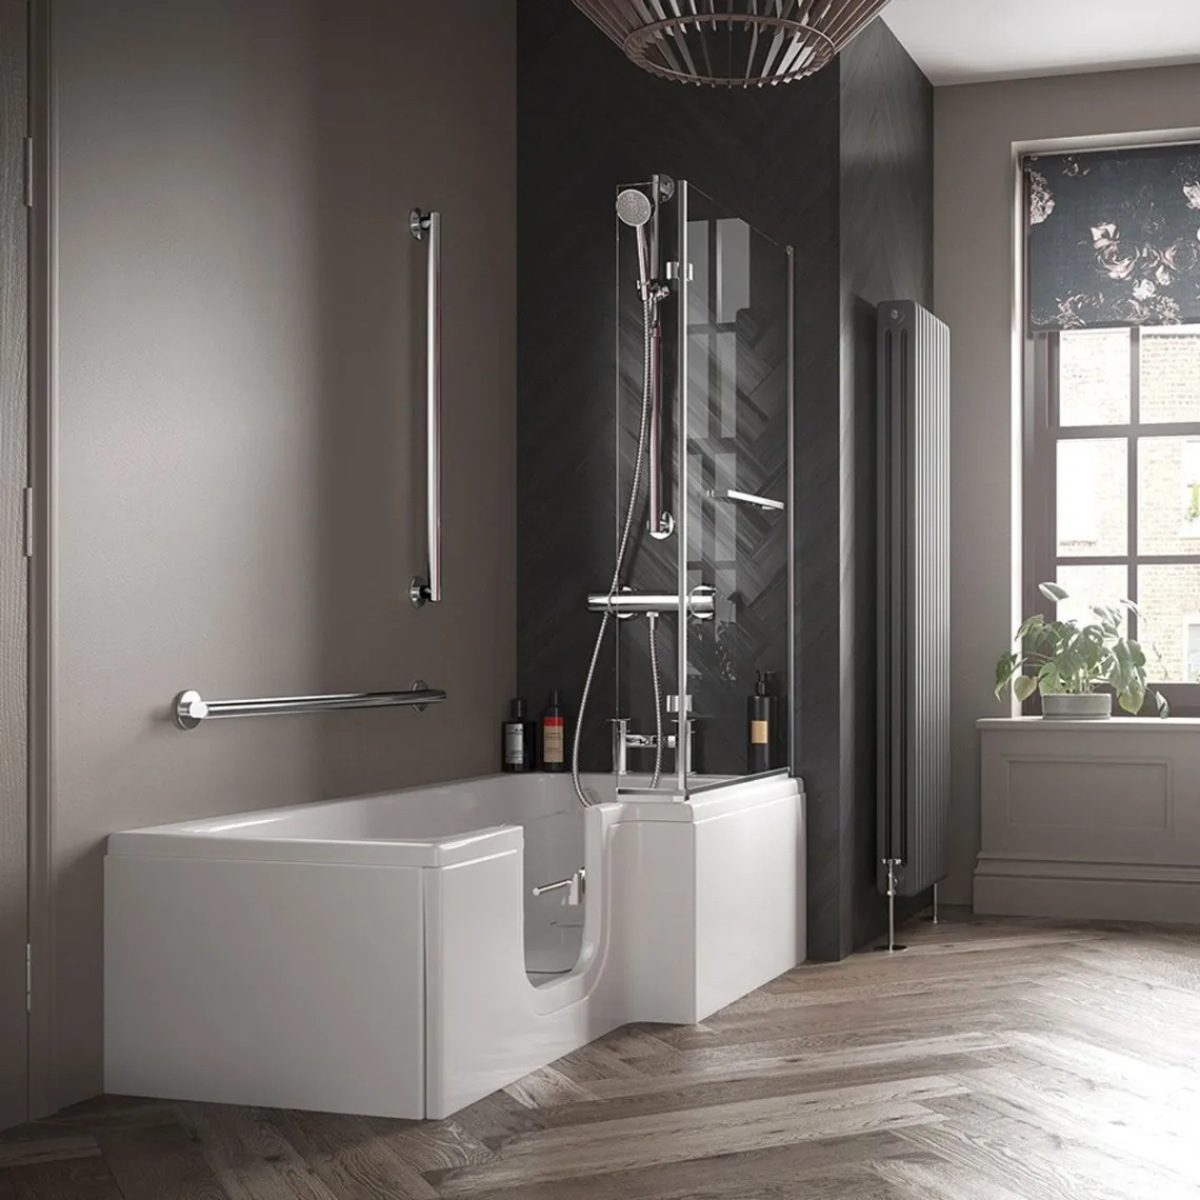
3. Handheld Shower Functionality (If Applicable)
If your shower head includes a handheld option, test the functionality of the handheld shower feature. Ensure that the handheld shower operates smoothly, allowing for easy maneuverability and targeted water flow. Test the handheld shower at different angles and heights to confirm its versatility and practicality for various bathing preferences. If you encounter any challenges with the handheld shower functionality, inspect the hose connections and the diverter valve to troubleshoot and resolve any issues.
4. Leak Detection
Carefully inspect the connection points of the shower head, shower arm, flange, and any additional components for signs of leaks or drips. Run the shower head for an extended period to thoroughly evaluate the integrity of the installation and identify any potential areas of concern. Address any leaks by tightening connections, applying additional sealant, or making necessary adjustments to achieve a completely leak-free installation.
By conducting a comprehensive test of the shower head, you can ensure that the installation is successful and that the new fixture meets your expectations for functionality, performance, and reliability. Any identified issues can be promptly addressed, allowing you to enjoy the convenience and luxury of having a shower head in your bathtub without any concerns. With the shower head successfully tested and confirmed to deliver a satisfying bathing experience, you can now revel in the enhanced versatility and comfort of your upgraded bathtub.
Read more: How To Turn A Bathtub Into A Shower?
Conclusion
In conclusion, the process of adding a shower head to your bathtub represents a transformative upgrade that enhances the functionality and versatility of your bathroom space. By following the comprehensive steps outlined in this guide, you have successfully embarked on a journey to create a multifunctional bathing environment that caters to diverse preferences and elevates the overall bathing experience.
The initial phase of gathering the necessary tools and materials ensured that you were fully equipped to undertake the installation process with confidence and efficiency. By meticulously preparing the bathtub and assessing the existing plumbing, you set the stage for a seamless integration of the shower head into your bathing space. The careful attention to detail during the installation phase, including attaching the shower arm, mounting the shower head, and applying sealant, has resulted in a secure and reliable installation that promises long-term durability.
The thorough testing of the shower head has provided assurance that the new fixture operates as intended, delivering optimal water flow, temperature control, and, if applicable, handheld shower functionality. Any identified issues were promptly addressed, ensuring that the installation is leak-free and fully functional.
With the shower head successfully installed and tested, you can now enjoy the convenience of switching between a relaxing bath and an invigorating shower, all within the comfort of your bathtub. This upgrade not only adds practicality to your bathing routine but also contributes to the aesthetic appeal of your bathroom, creating a space that reflects your preferences and lifestyle.
The addition of a shower head to your bathtub opens up a world of possibilities, allowing you to customize your bathing experience according to your mood and preferences. Whether you seek a soothing soak or a refreshing shower, this versatile setup accommodates your needs, offering a personalized and enjoyable bathing experience.
As you reflect on the journey of adding a shower head to your bathtub, take pride in the accomplishment of enhancing your bathroom space and creating a more functional and inviting environment. Embrace the newfound convenience and luxury that this upgrade brings, and revel in the satisfaction of a successful home improvement project that enriches your daily routine.
With the completion of this project, you have not only added a shower head to your bathtub but also infused your bathroom with a renewed sense of comfort and style. As you step into your revitalized bathing space, may you relish the rewards of your efforts and savor the enhanced bathing experience that awaits you.
Frequently Asked Questions about How To Add Shower Head To Bathtub
Was this page helpful?
At Storables.com, we guarantee accurate and reliable information. Our content, validated by Expert Board Contributors, is crafted following stringent Editorial Policies. We're committed to providing you with well-researched, expert-backed insights for all your informational needs.


0 thoughts on “How To Add Shower Head To Bathtub”