Home>Furniture & Design>Bathroom Accessories>How To Remove A Bathtub Shower Combo
Bathroom Accessories
How To Remove A Bathtub Shower Combo
Modified: October 21, 2024
Learn how to remove a bathtub shower combo and upgrade your bathroom accessories with our step-by-step guide. Transform your space with ease!
(Many of the links in this article redirect to a specific reviewed product. Your purchase of these products through affiliate links helps to generate commission for Storables.com, at no extra cost. Learn more)
Introduction
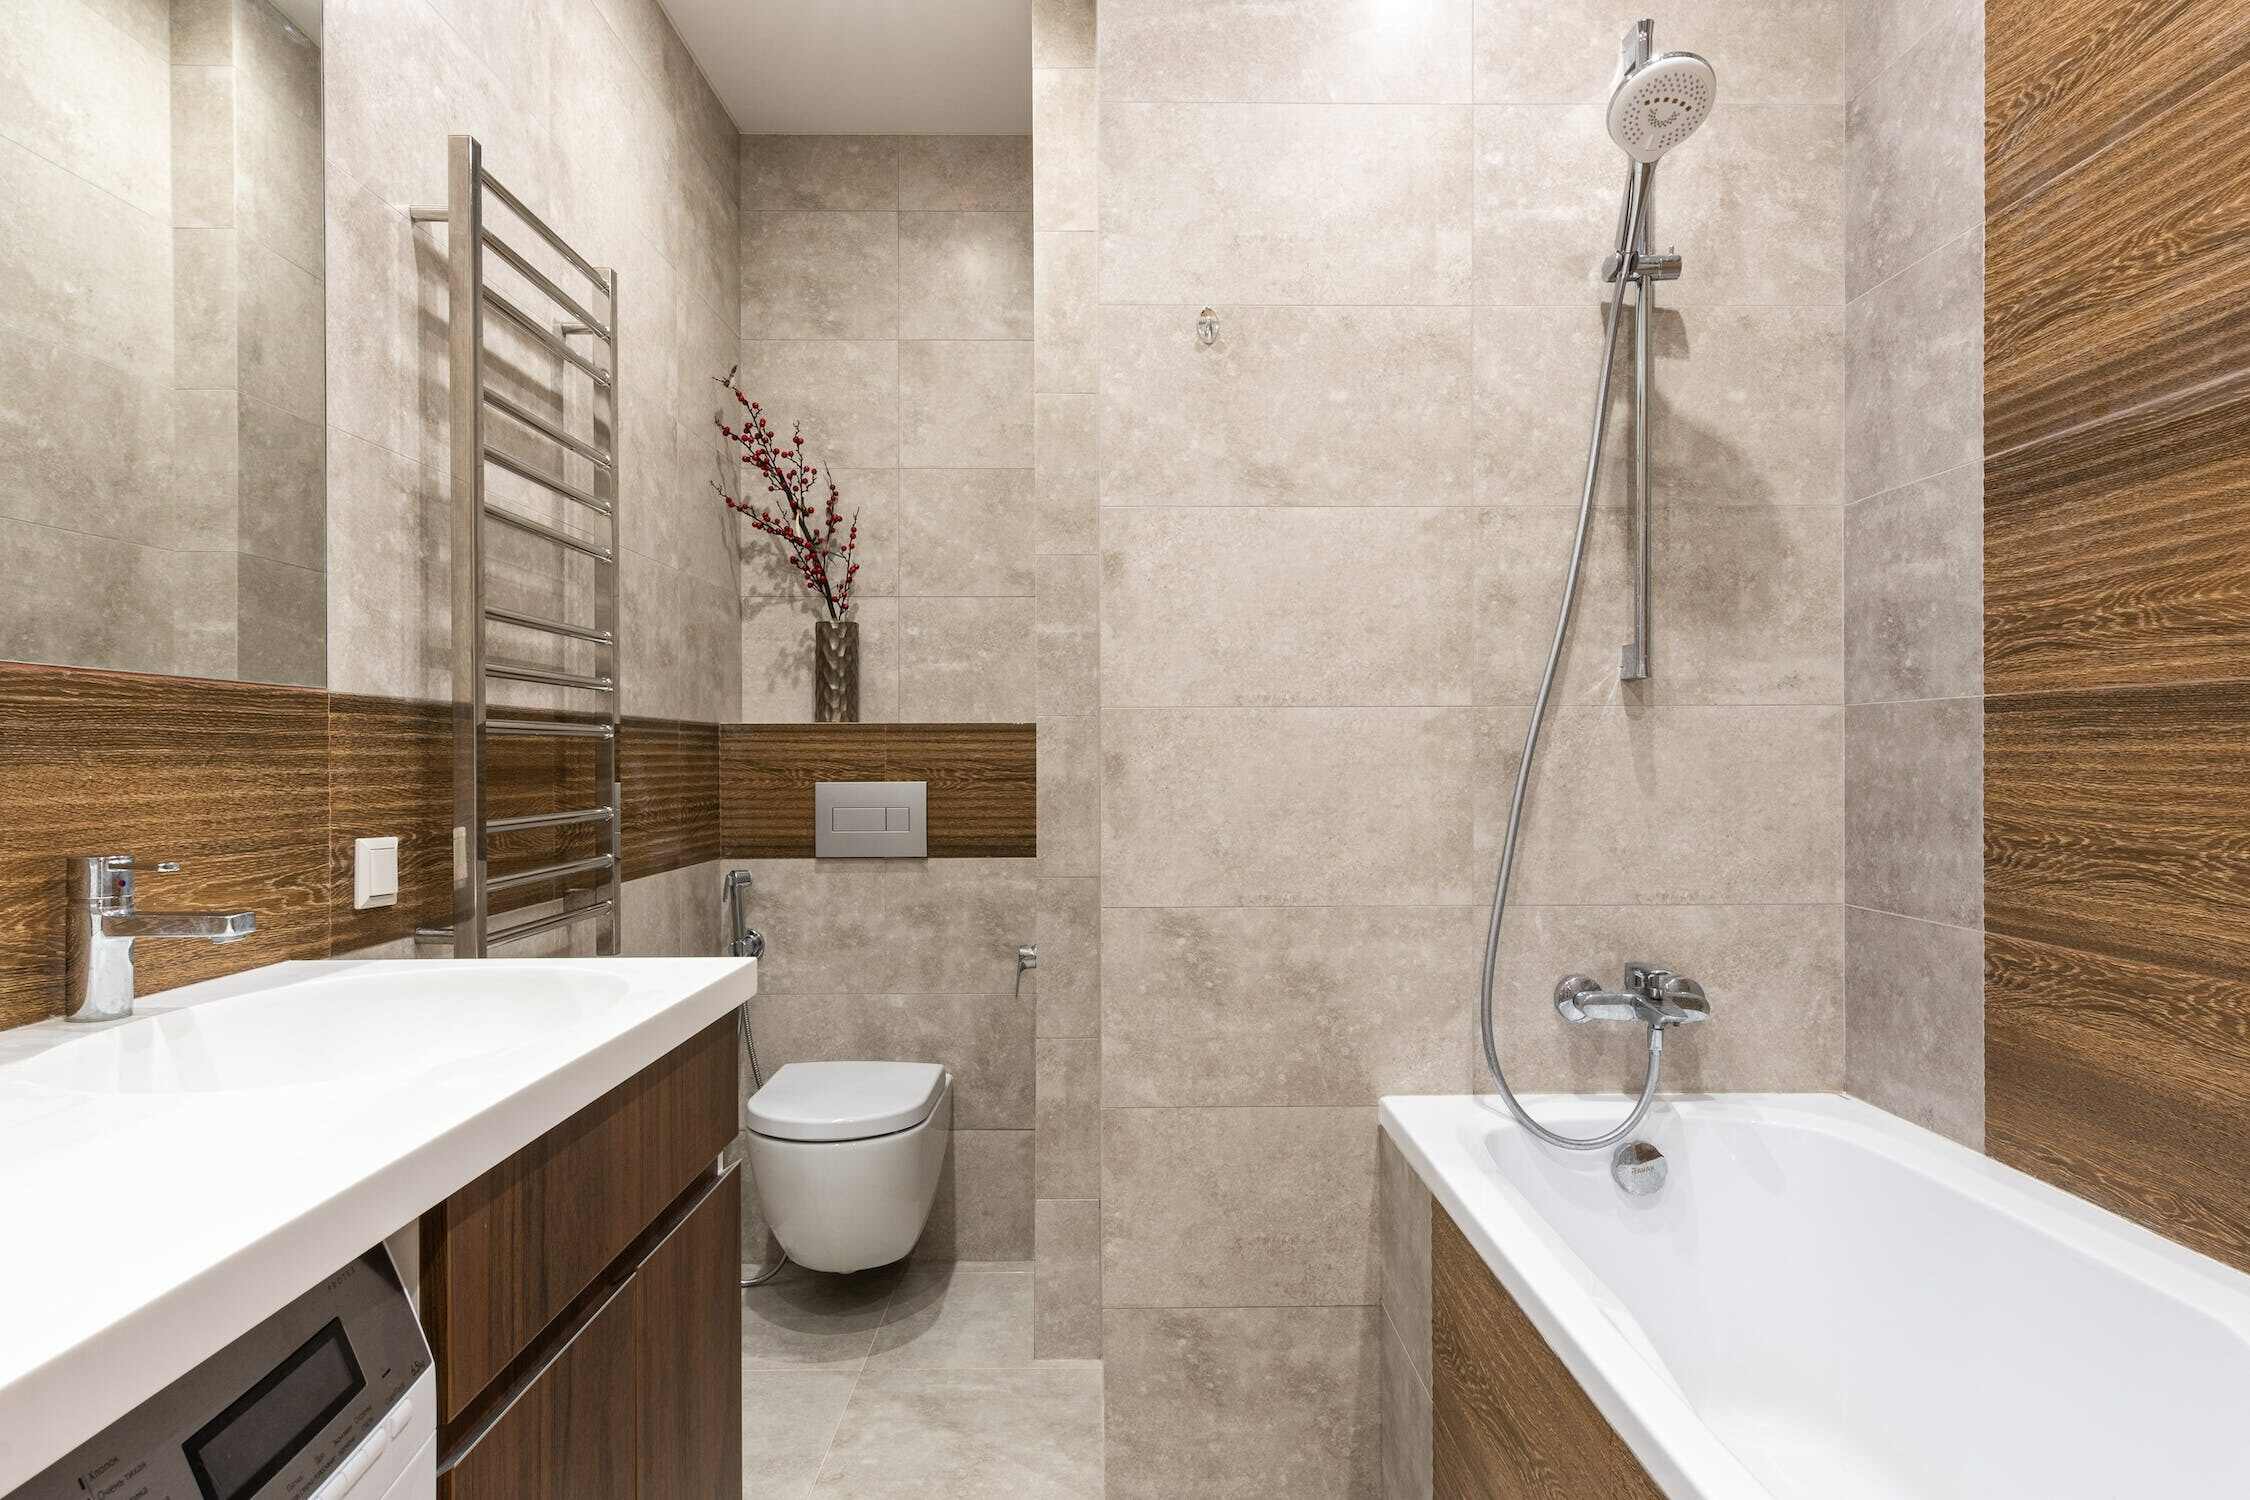
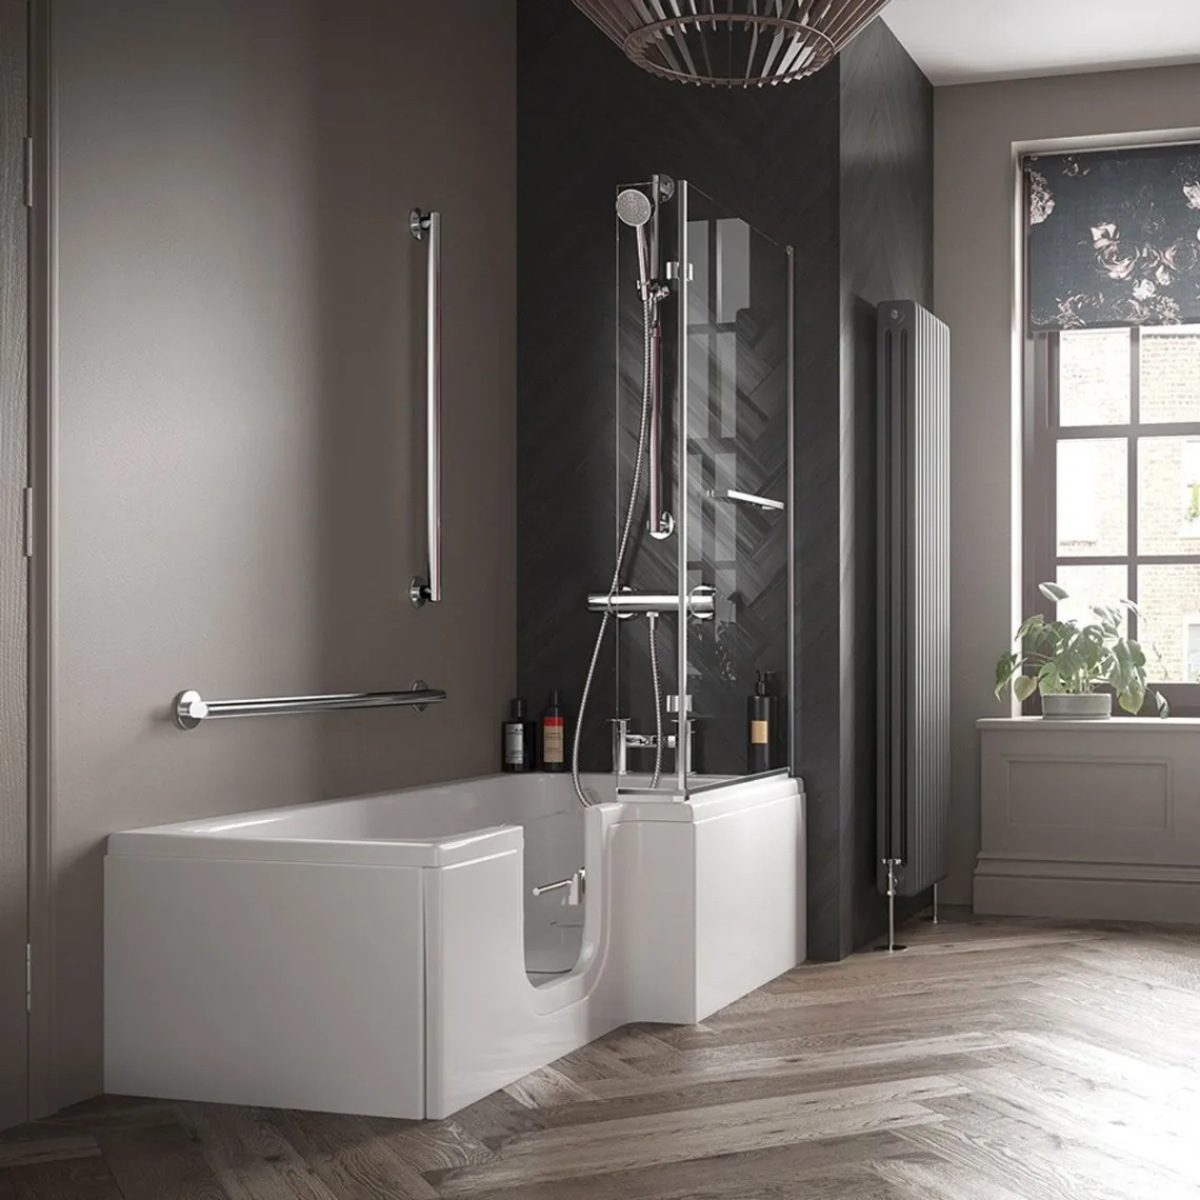
Removing a bathtub shower combo can be a daunting task, but with the right tools, materials, and know-how, it's a project that can be tackled with confidence. Whether you're looking to upgrade your bathroom with a new shower or simply need to replace worn-out fixtures, understanding the step-by-step process is essential for a successful removal.
In this comprehensive guide, we'll walk you through the process of removing a bathtub shower combo, providing detailed instructions and tips to help you navigate each step with ease. From gathering the necessary tools and materials to disconnecting the plumbing and removing the fixtures, we've got you covered every step of the way.
By following this guide, you'll gain the knowledge and confidence to take on this project, whether you're a seasoned DIY enthusiast or a first-time homeowner looking to tackle a home improvement task. So, roll up your sleeves, gather your tools, and let's dive into the process of removing a bathtub shower combo to pave the way for a fresh, new look in your bathroom.
Key Takeaways:
- Removing a bathtub shower combo requires careful planning and attention to detail. Gather the right tools, turn off the water supply, and disconnect plumbing to ensure a smooth and efficient removal process.
- After removing the bathtub shower combo, clean up and prepare the space for new fixtures. Clear debris, inspect for damage, and plan for installation to create a fresh, updated bathroom space.
Read more: How To Shower In A Bathtub?
Step 1: Gather the necessary tools and materials
Before embarking on the task of removing a bathtub shower combo, it's crucial to gather all the essential tools and materials to ensure a smooth and efficient process. Here's a comprehensive list of what you'll need:
Tools:
- Adjustable Wrench: This versatile tool will come in handy for loosening and tightening various plumbing connections.
- Screwdriver Set: A set of screwdrivers, including both flathead and Phillips head, will be essential for removing screws and fasteners.
- Utility Knife: Use this to cut through caulk and sealants around the bathtub and shower surround.
- Pry Bar: A pry bar will assist in gently removing the bathtub surround without causing damage to the walls.
- Plumbers' Putty Knife: This tool is useful for scraping off old putty and caulking.
- Hacksaw: In case you need to cut through pipes or hardware during the removal process.
- Safety Glasses and Gloves: Always prioritize safety by wearing protective eyewear and gloves to prevent injuries.
Materials:
- Plumber's Putty: You may need this to create a watertight seal when installing new fixtures.
- Caulk: Have a tube of caulk on hand for resealing areas after the removal process.
- Plumbing Tape: Also known as Teflon tape, this will be necessary for resealing threaded plumbing connections.
- Bucket: Keep a bucket nearby to catch any water remaining in the plumbing lines.
- Plastic Sheeting: Use plastic sheeting to protect the floor and surrounding areas from debris and water during the removal process.
- Container for Small Parts: Have a container ready to store small screws, nuts, and bolts to prevent them from getting lost.
By ensuring you have all the necessary tools and materials at your disposal, you'll be well-prepared to tackle the task of removing a bathtub shower combo. This proactive approach will help streamline the process and minimize any potential delays or interruptions. With everything in place, you'll be ready to move on to the next step with confidence.
Step 2: Turn off the water supply
Before beginning the process of removing a bathtub shower combo, it's crucial to turn off the water supply to the bathroom. This step is essential to prevent any water leakage or unexpected flow during the removal process. Here's a detailed guide on how to safely turn off the water supply:
-
Locate the Shut-Off Valve: The shut-off valve for the bathroom's water supply is typically located near the fixtures or in the basement or utility area. It's important to familiarize yourself with the location of the shut-off valve beforehand to avoid any confusion.
-
Turn Off the Main Water Supply: In some cases, the shut-off valve may be connected to the main water supply for the entire house. If this is the case, locate the main shut-off valve and turn it clockwise to shut off the water supply to the entire house. This step is crucial for ensuring that no water flows into the bathroom during the removal process.
-
Test the Water Supply: After turning off the shut-off valve, it's advisable to test the water supply in the bathroom to ensure that it has been successfully turned off. Simply turn on the faucets in the bathroom to check for any water flow. If no water comes out, the shut-off valve has been successfully closed.
By following these steps to turn off the water supply, you'll create a safe and controlled environment for the removal of the bathtub shower combo. This proactive measure helps prevent potential water damage and ensures a smooth and efficient removal process. With the water supply safely turned off, you're now ready to proceed to the next step with confidence.
Read more: How To Replace A Bathtub Shower
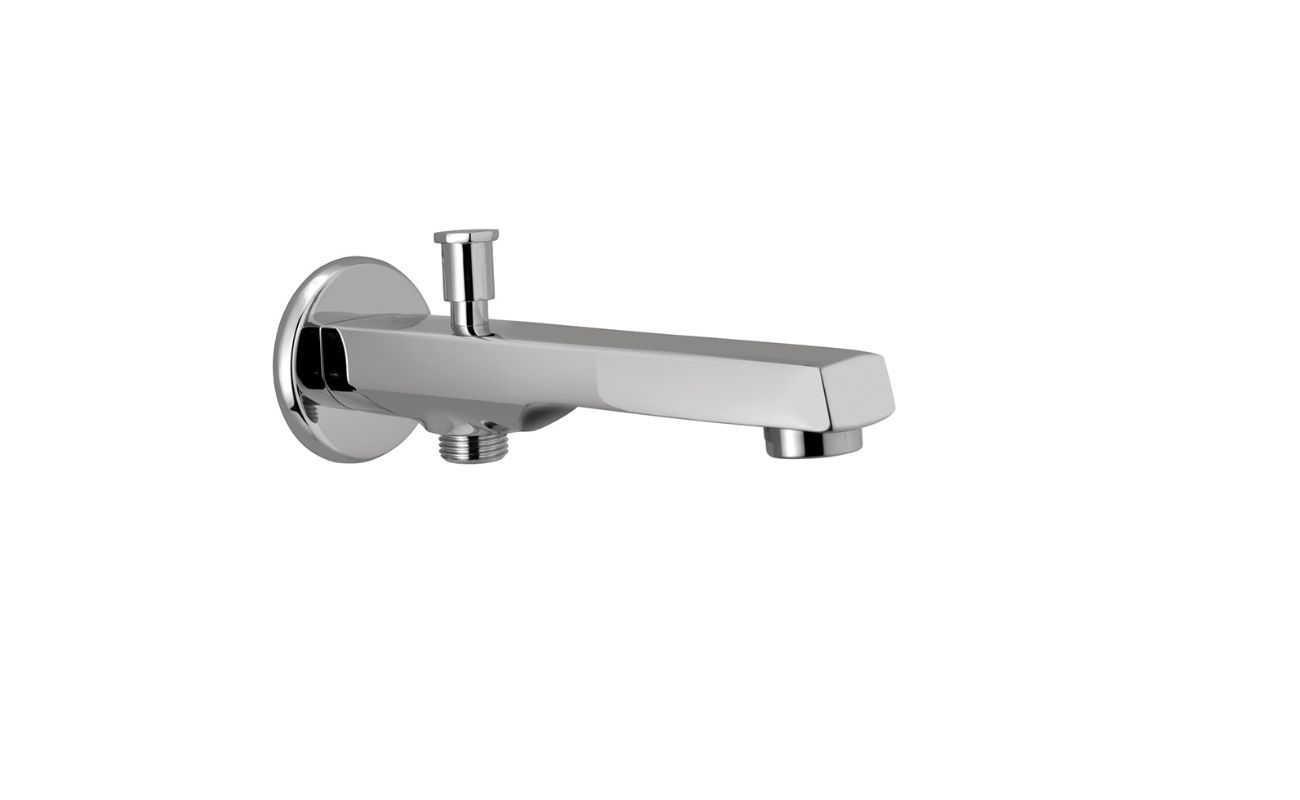
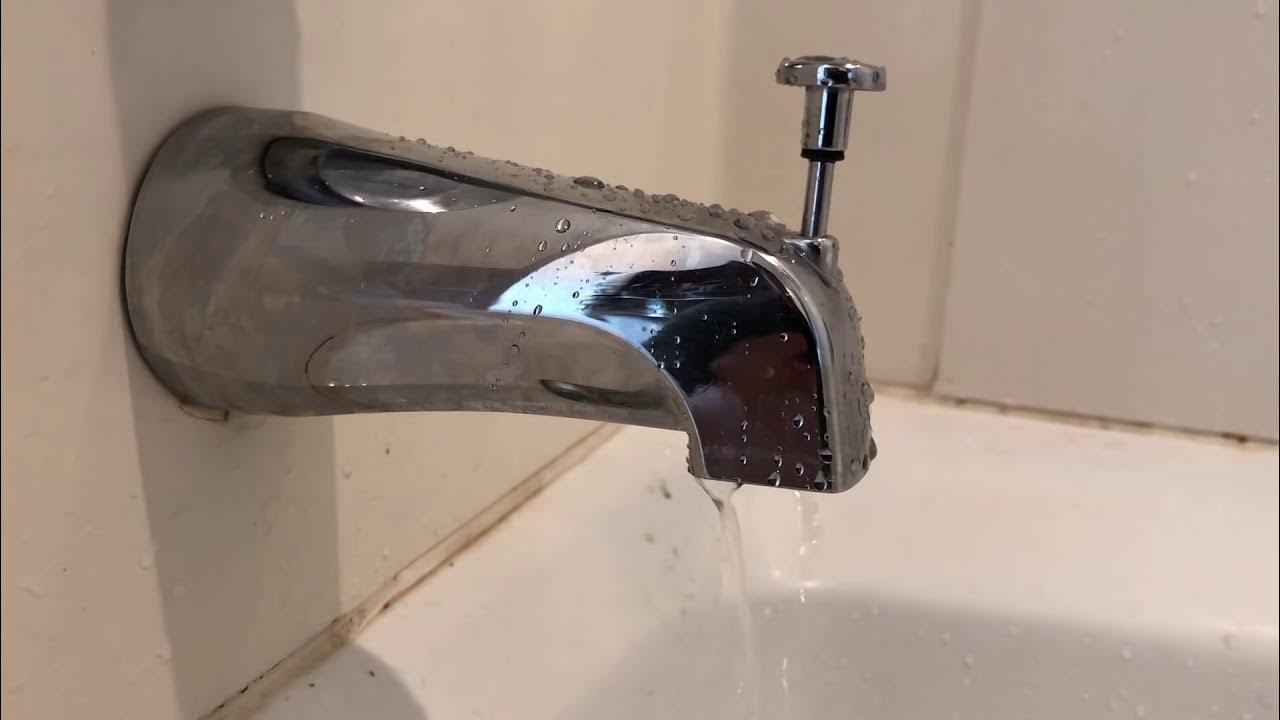
Step 3: Remove the shower head and faucet handles
Removing the shower head and faucet handles is a crucial step in the process of dismantling a bathtub shower combo. This step requires attention to detail and precision to ensure that the fixtures are safely detached without causing damage to the surrounding surfaces. Here's a detailed guide on how to remove the shower head and faucet handles effectively:
-
Turn off the Water Supply: Before proceeding with the removal of the shower head and faucet handles, it's essential to ensure that the water supply to the shower is completely turned off. This prevents any water from flowing out during the removal process, minimizing the risk of water damage.
-
Use an Adjustable Wrench: To remove the shower head, use an adjustable wrench to loosen the connection between the shower arm and the shower head. Turn the wrench counterclockwise to loosen the threaded connection, allowing you to detach the shower head from the shower arm.
-
Inspect the Faucet Handles: Examine the faucet handles to identify the type of fastening mechanism used to secure them in place. Depending on the design, the handles may be attached using screws, caps, or decorative covers. Use a screwdriver or an appropriate tool to remove any fasteners or covers, exposing the underlying connections.
-
Loosen and Remove the Handles: Once the fasteners are accessible, use the appropriate tools to loosen and remove the faucet handles. For handles secured with screws, use a screwdriver to remove the screws and detach the handles from the valve stems. In the case of handles with decorative covers, gently pry off the covers to reveal the screws or fastening mechanisms underneath.
-
Label and Organize Components: As you remove the shower head and faucet handles, it's important to label and organize the components to facilitate reassembly or replacement. Store any screws, nuts, or small parts in a labeled container to prevent them from getting misplaced.
-
Inspect for Sealants and Residues: After removing the fixtures, inspect the exposed connections for any residual sealants, tape, or debris. Clean the areas around the shower arm and valve stems to prepare them for the next steps in the removal process.
By following these detailed steps, you can effectively remove the shower head and faucet handles as part of the bathtub shower combo removal process. This meticulous approach ensures that the fixtures are detached safely and sets the stage for the subsequent stages of the removal process. With the shower head and faucet handles successfully removed, you're ready to progress to the next phase of the removal process with confidence.
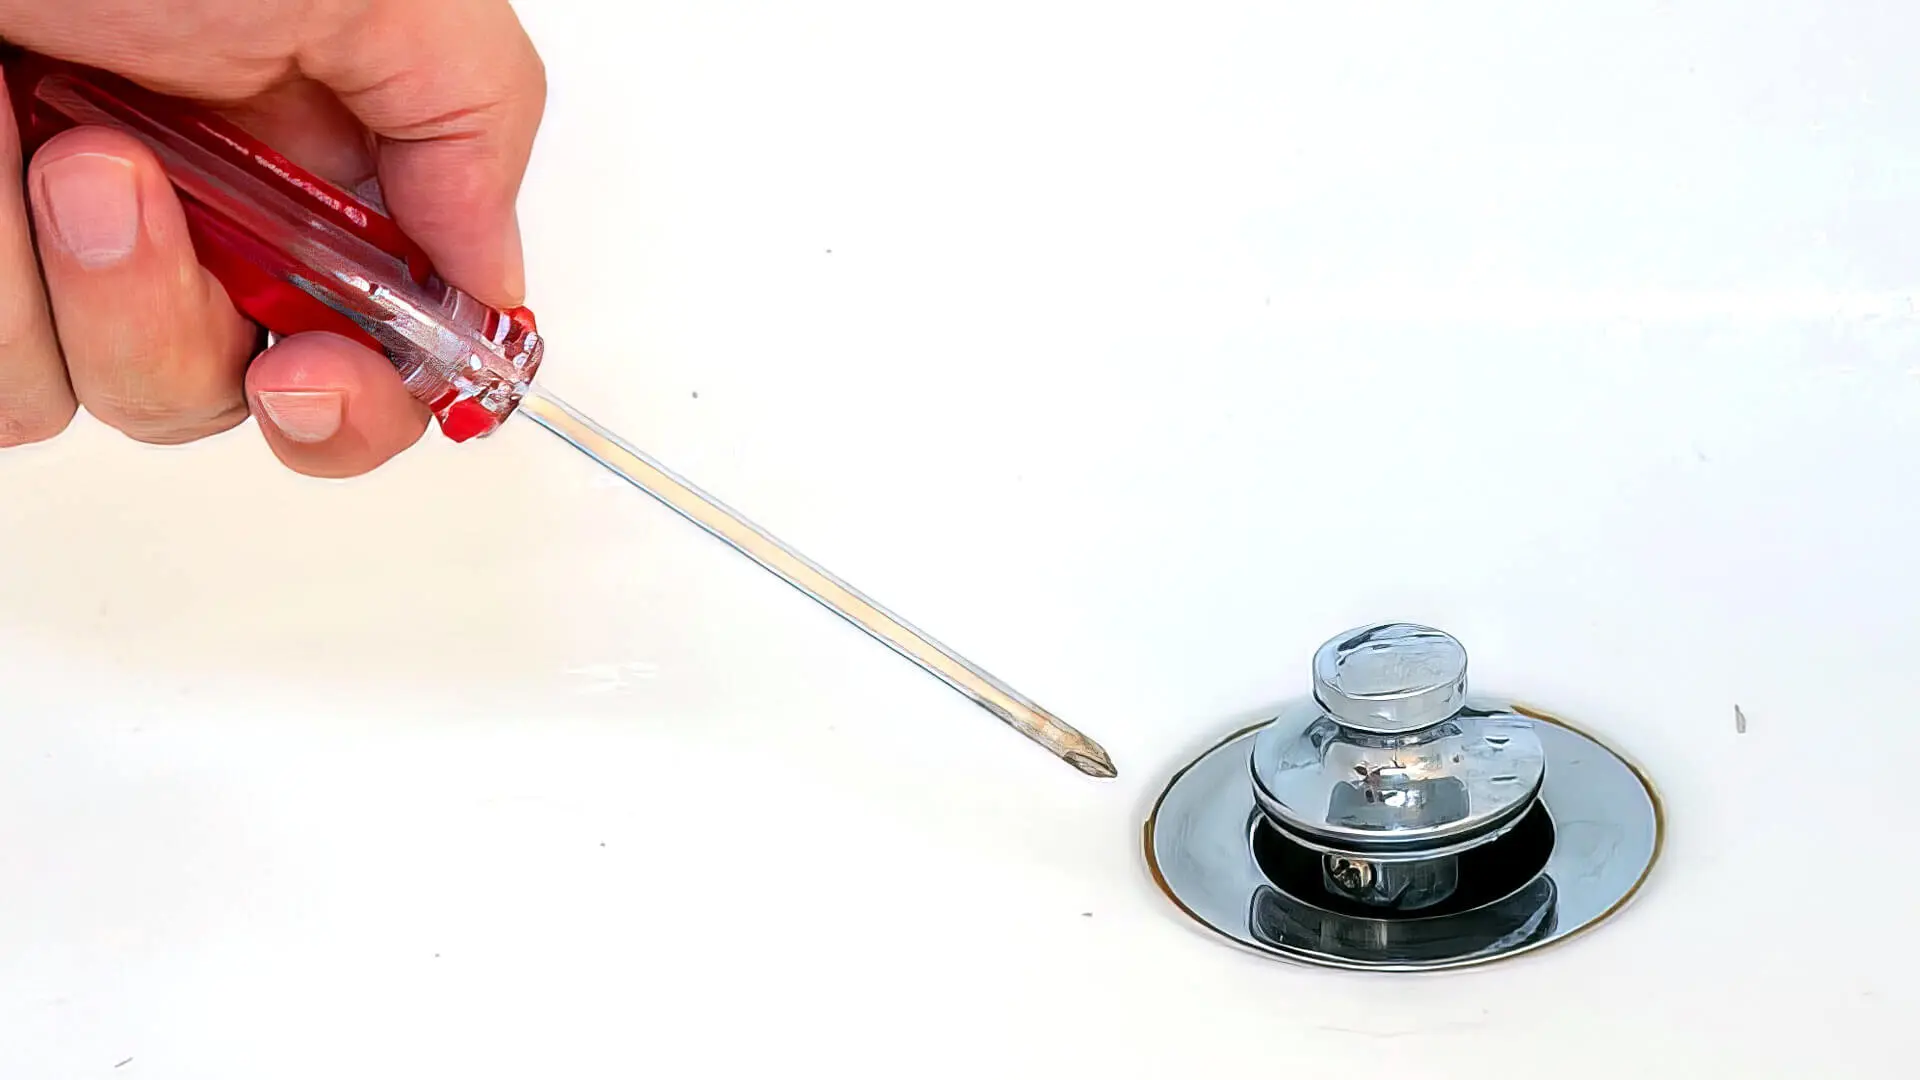
Step 4: Disconnect the drain and overflow assembly
Removing the drain and overflow assembly is a critical step in the process of dismantling a bathtub shower combo. This step involves disconnecting the plumbing components that facilitate drainage and overflow control, preparing the unit for removal. Here's a detailed guide on how to disconnect the drain and overflow assembly effectively:
-
Access the Underside: To begin the process, access the underside of the bathtub where the drain and overflow assembly are located. This may involve removing an access panel or gaining entry through the basement or crawl space beneath the bathroom.
-
Identify the Components: Once you have access to the underside of the bathtub, identify the drain and overflow assembly components, including the drain shoe, overflow pipe, and associated connections. Familiarize yourself with the layout and configuration of the plumbing components before proceeding.
-
Loosen the Drain Flange: Using an appropriate tool, such as a drain key or pliers, loosen the drain flange by turning it counterclockwise. The drain flange is the visible portion of the drain assembly located inside the bathtub. Carefully unscrew the flange to detach it from the drain shoe, allowing the drain to be separated from the bathtub.
-
Disconnect the Overflow Pipe: Next, disconnect the overflow pipe from the bathtub. This may involve unscrewing the overflow cover plate to access the overflow pipe connections. Loosen any fasteners or connections securing the overflow pipe to the bathtub, allowing it to be detached.
-
Inspect and Clean the Components: After disconnecting the drain and overflow assembly, take the opportunity to inspect the components for any signs of damage, corrosion, or wear. Clean the drain and overflow components to remove any accumulated debris, residue, or old sealants.
-
Cap or Seal the Drain: Once the drain and overflow assembly are disconnected, it's advisable to cap or seal the drain opening to prevent debris or odors from entering the plumbing system. Use a suitable drain cap or cover to secure the drain opening until the installation of the new fixtures.
By following these detailed steps, you can effectively disconnect the drain and overflow assembly as part of the bathtub shower combo removal process. This meticulous approach ensures that the plumbing components are safely detached, setting the stage for the subsequent stages of the removal process. With the drain and overflow assembly successfully disconnected, you're ready to progress to the next phase of the removal process with confidence.
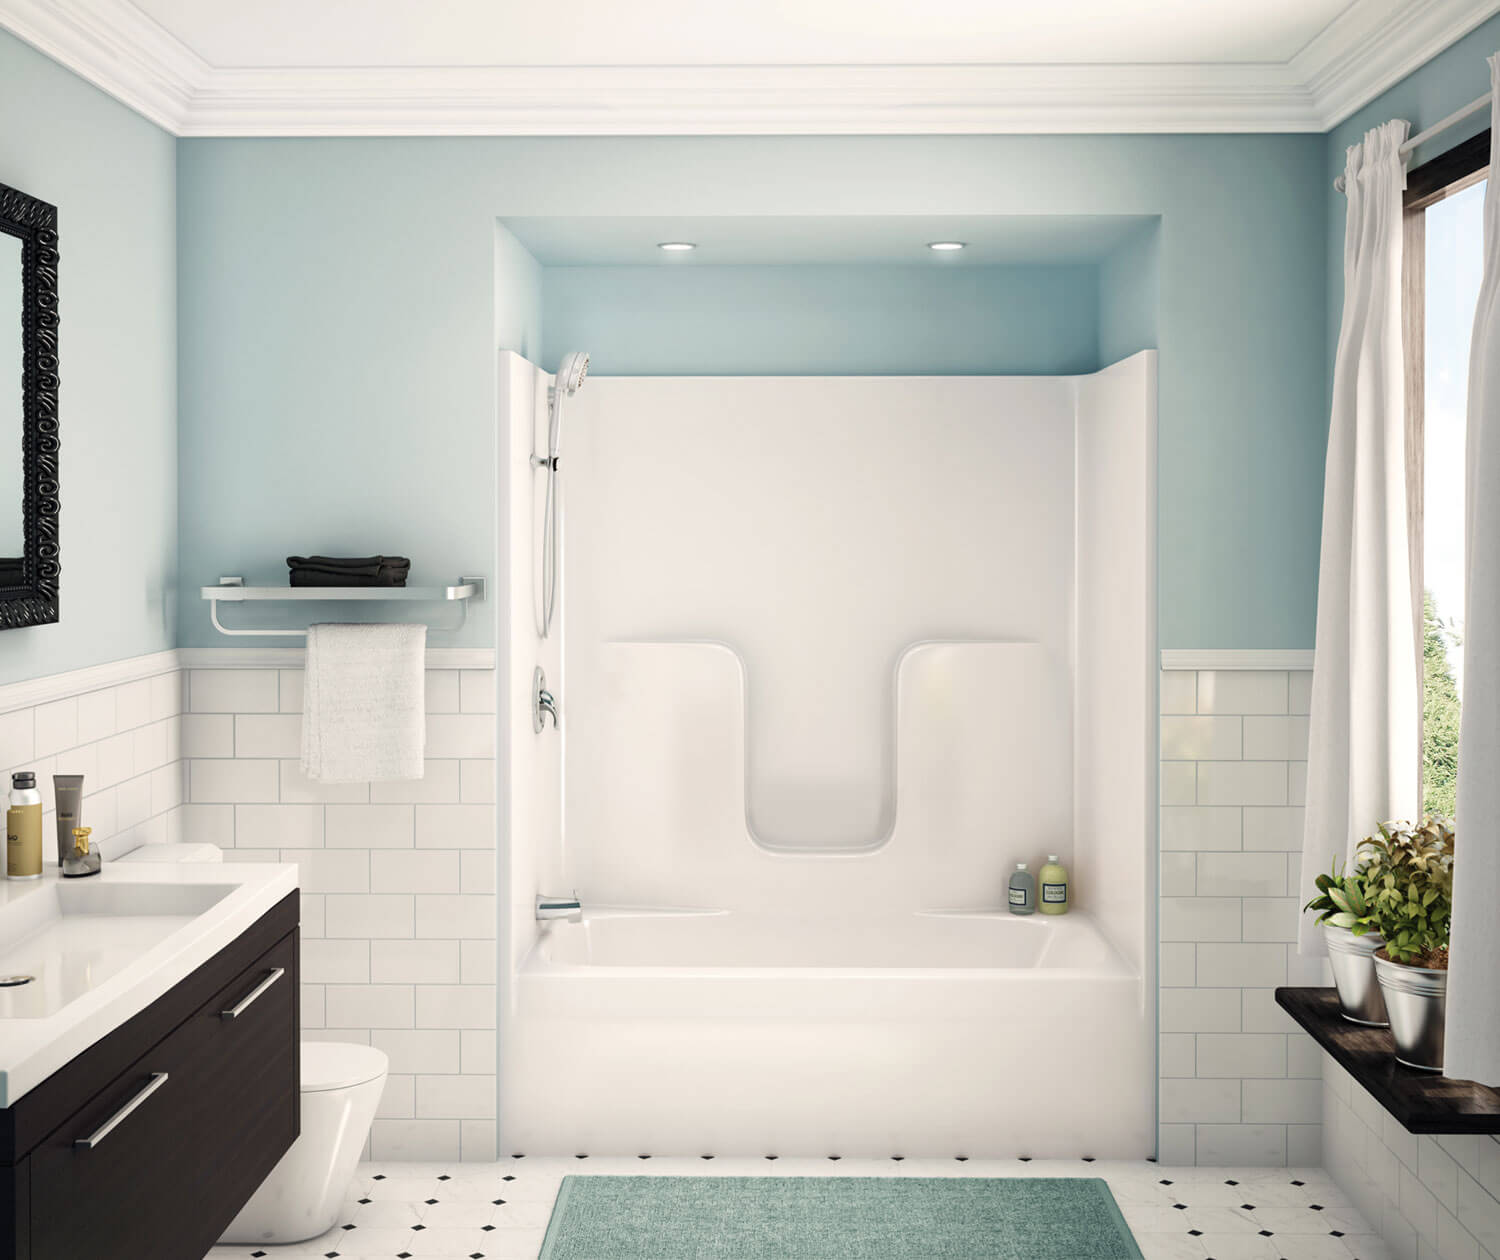
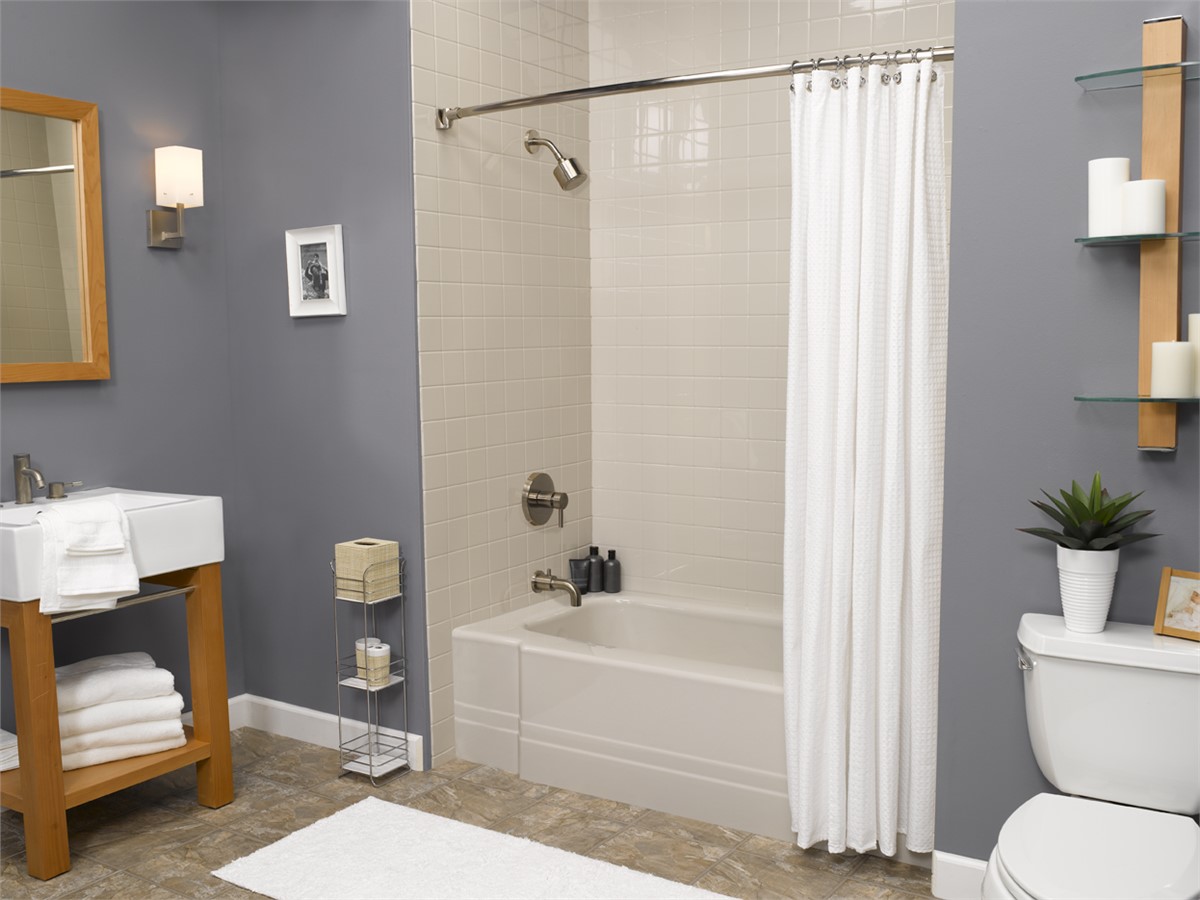
Step 5: Remove the bathtub surround
Removing the bathtub surround is a pivotal step in the process of dismantling a bathtub shower combo. The surround, typically made of materials such as fiberglass, acrylic, or tile, encases the walls around the bathtub, providing a decorative and functional barrier. Here's a detailed guide on how to effectively remove the bathtub surround:
-
Prepare the Surround: Before initiating the removal process, clear the area around the bathtub and ensure that any personal items or accessories are removed from the vicinity. Protect the floor and surrounding areas by laying down plastic sheeting to contain debris and minimize the impact of the removal process.
-
Inspect for Fasteners and Adhesives: Examine the bathtub surround to identify any fasteners, screws, or adhesives securing it to the wall. Depending on the installation method, the surround may be attached using screws, nails, adhesive caulk, or a combination of these fastening techniques.
-
Remove the Fasteners: Using the appropriate tools, such as a screwdriver or pry bar, carefully remove any visible fasteners securing the bathtub surround to the wall. Take caution to avoid damaging the wall surfaces during this process, as the goal is to detach the surround without causing unnecessary harm to the underlying structure.
-
Cut Through Adhesive Caulk: In cases where the surround is adhered to the wall with caulking or adhesive, use a utility knife to carefully cut through the sealant along the edges of the surround. This step may require patience and precision to ensure that the surround can be separated from the wall without causing damage to the surrounding surfaces.
-
Gently Pry and Detach: With the fasteners removed and the caulking cut, gently pry the edges of the bathtub surround away from the wall. Take a methodical approach, working gradually around the perimeter of the surround to release it from the wall. Exercise caution to prevent sudden or forceful movements that could lead to damage.
-
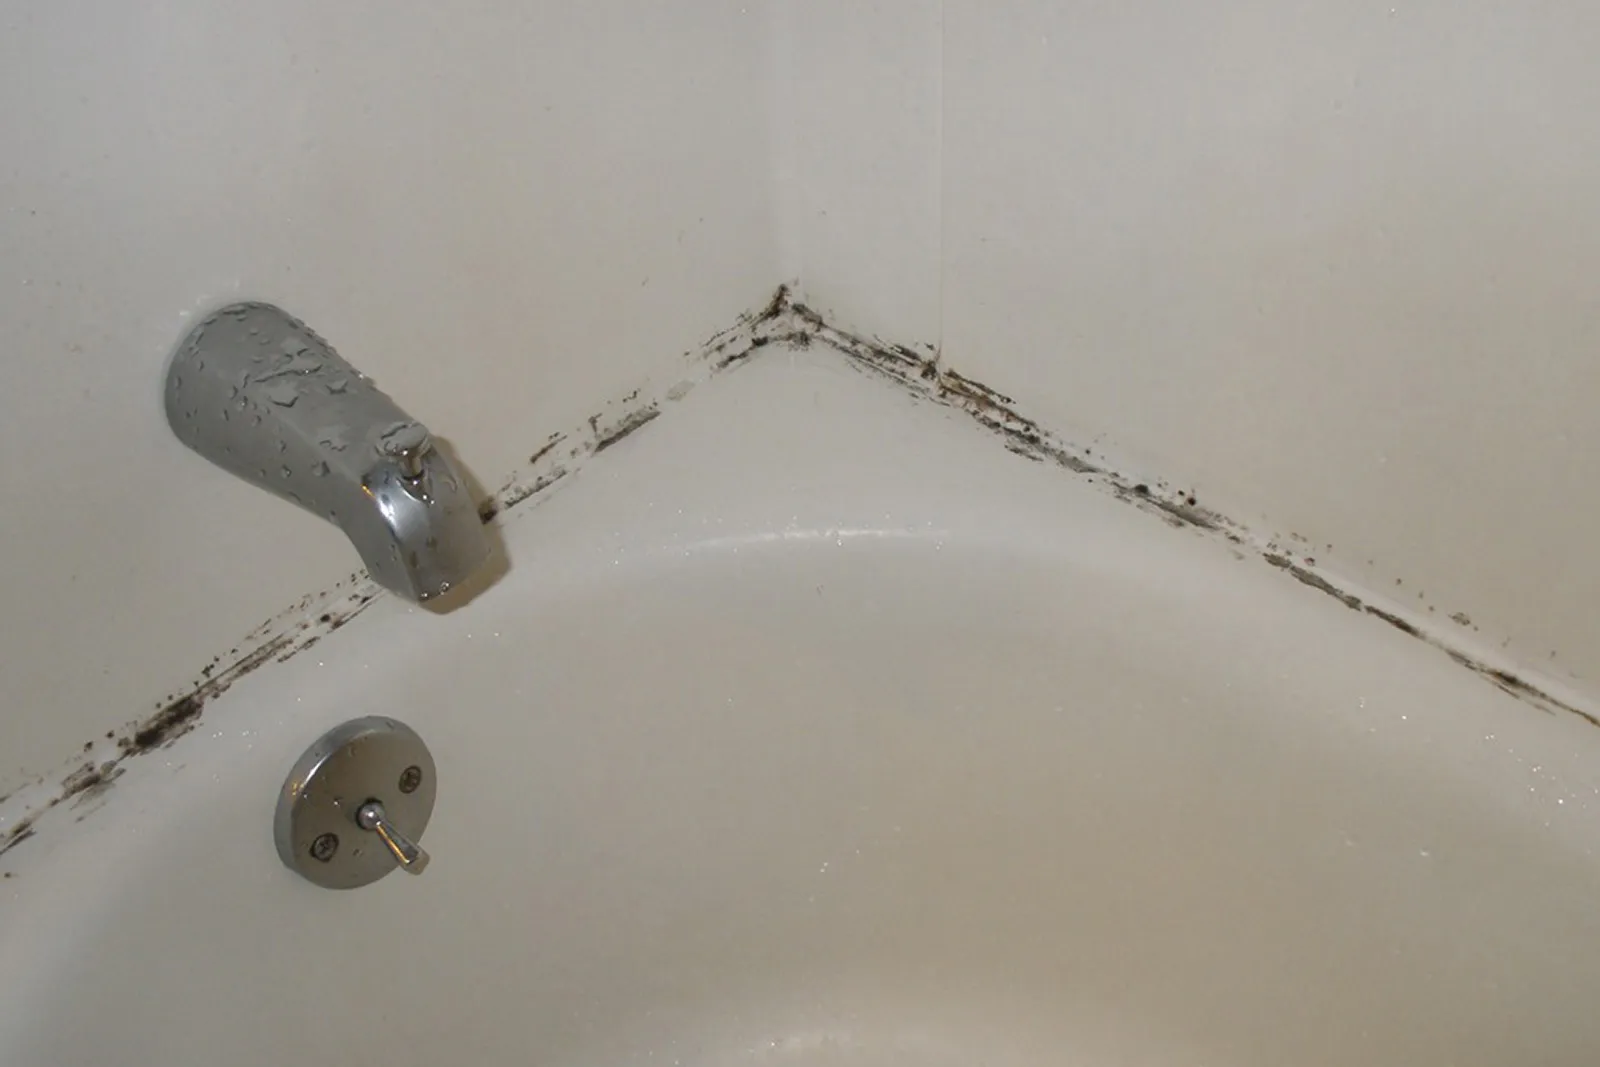
Inspect and Clean the Wall: After successfully removing the bathtub surround, inspect the wall surface for any remaining adhesive, caulk, or debris. Clean the wall to prepare it for the installation of new fixtures or to facilitate any necessary repairs or modifications.
By following these detailed steps, you can effectively remove the bathtub surround as part of the bathtub shower combo removal process. This meticulous approach ensures that the surround is detached safely, setting the stage for the subsequent stages of the removal process. With the bathtub surround successfully removed, you're ready to progress to the next phase of the removal process with confidence.
Before starting, turn off the water supply and disconnect the drain. Remove the faucet and showerhead, then carefully detach the tub surround. Finally, disconnect and remove the tub and shower unit.
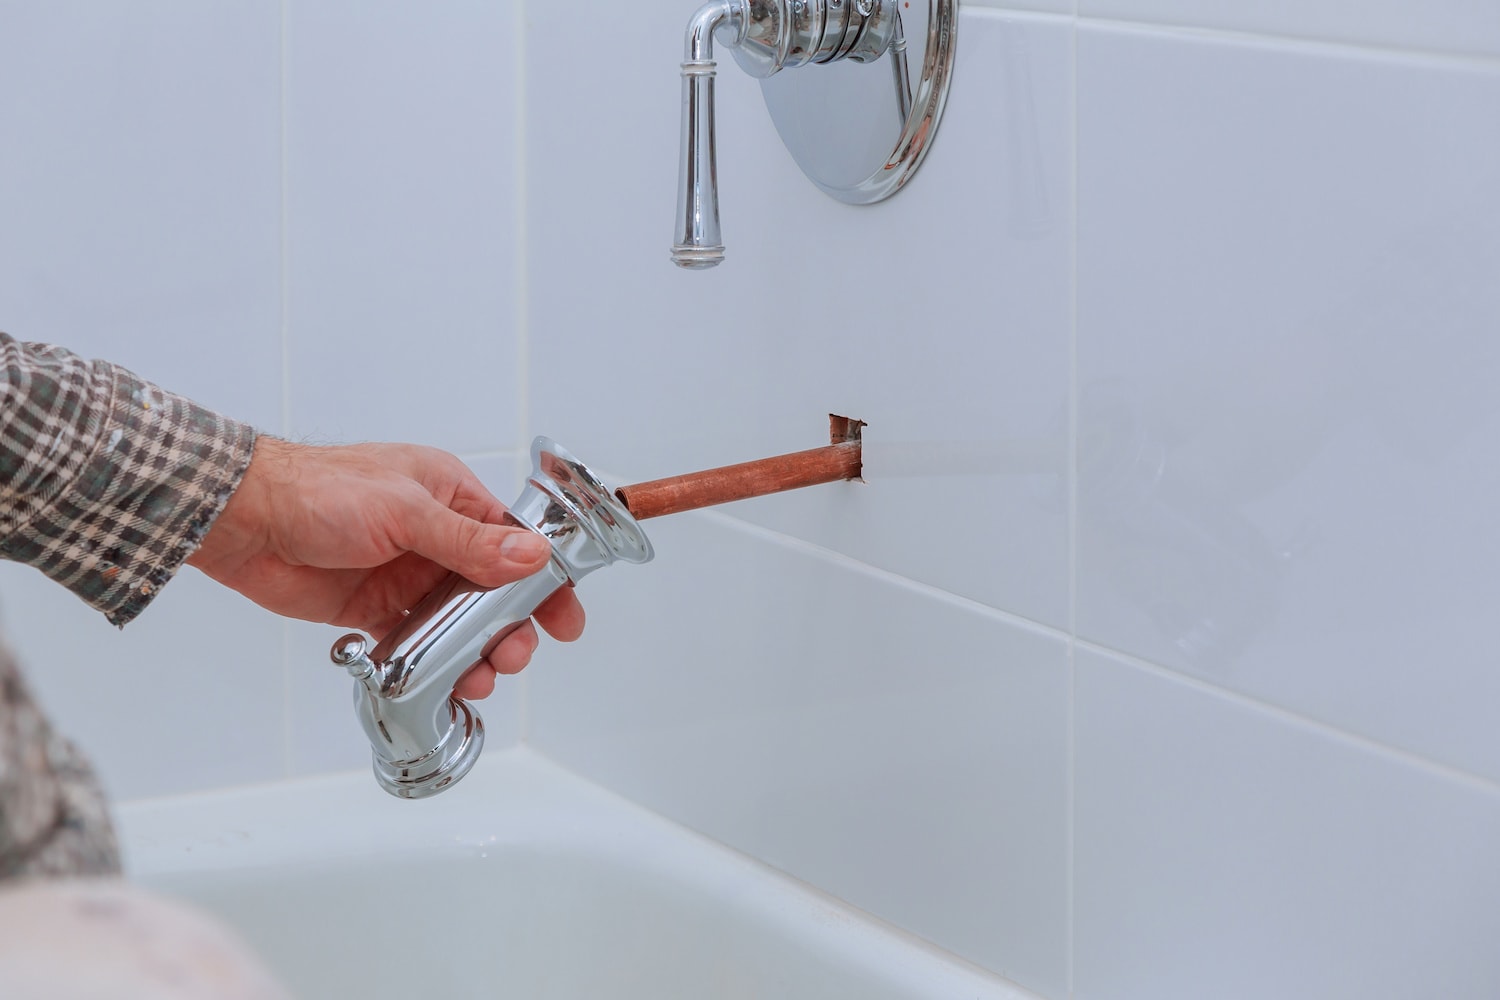
Step 6: Disconnect the plumbing
Disconnecting the plumbing is a crucial step in the process of removing a bathtub shower combo. This step involves detaching the water supply lines, drain pipes, and any additional plumbing connections that are integral to the functionality of the fixtures. Here's a detailed guide on how to effectively disconnect the plumbing:
-
Turn Off the Water Supply: Before proceeding with the disconnection of plumbing components, ensure that the water supply to the bathtub and shower fixtures is completely turned off. This proactive measure prevents any unexpected water flow during the removal process, minimizing the risk of water damage and ensuring a controlled environment for the disconnection.
-
Locate and Identify the Plumbing Connections: Familiarize yourself with the layout of the plumbing connections associated with the bathtub and shower fixtures. Identify the hot and cold water supply lines, as well as the drain pipes and any additional plumbing components such as shut-off valves or diverter mechanisms.
-
Use the Appropriate Tools: Depending on the type of plumbing connections present, utilize the necessary tools to disconnect the fixtures. An adjustable wrench is commonly used to loosen and disconnect water supply lines, while a pipe wrench may be required for removing threaded connections. Additionally, a hacksaw or tubing cutter may be necessary for cutting and removing drain pipes.
-
Disconnect the Water Supply Lines: Begin by disconnecting the hot and cold water supply lines from the bathtub and shower fixtures. Use an adjustable wrench to loosen the connections, turning them counterclockwise to detach the supply lines from the faucets or valves. Be prepared for residual water to drain from the lines once they are disconnected.
-
Remove the Drain Pipes: After disconnecting the water supply lines, focus on removing the drain pipes associated with the bathtub and shower. Depending on the configuration, this may involve unscrewing threaded connections, cutting through pipes, or releasing compression fittings. Exercise caution to avoid damaging the surrounding plumbing and fixtures during this process.
-
Cap or Seal Openings: Once the plumbing connections are disconnected, it's advisable to cap or seal the open ends of the water supply lines and drain pipes to prevent debris from entering the plumbing system. Use appropriate caps, plugs, or covers to secure the open ends until the installation of the new fixtures.
By following these detailed steps, you can effectively disconnect the plumbing as part of the bathtub shower combo removal process. This meticulous approach ensures that the plumbing components are safely detached, setting the stage for the subsequent stages of the removal process. With the plumbing successfully disconnected, you're ready to progress to the next phase of the removal process with confidence.
Read more: How To Add Shower To Bathtub
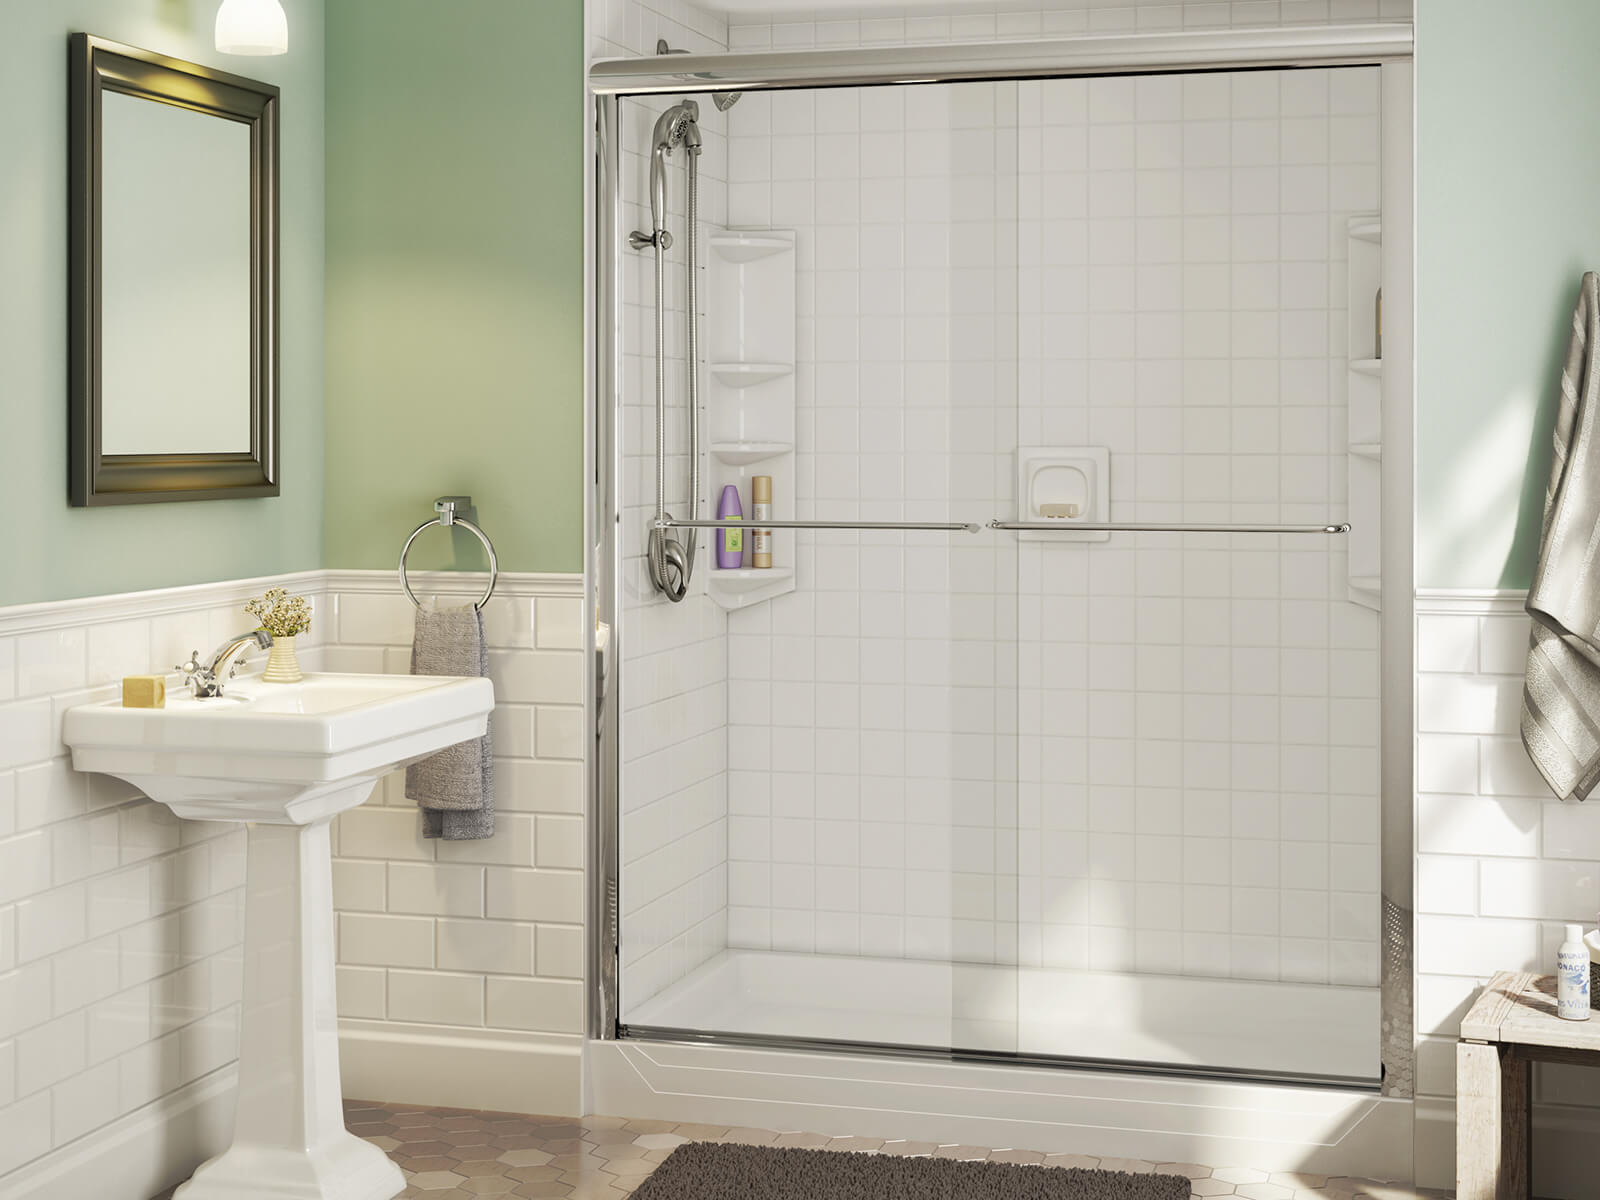
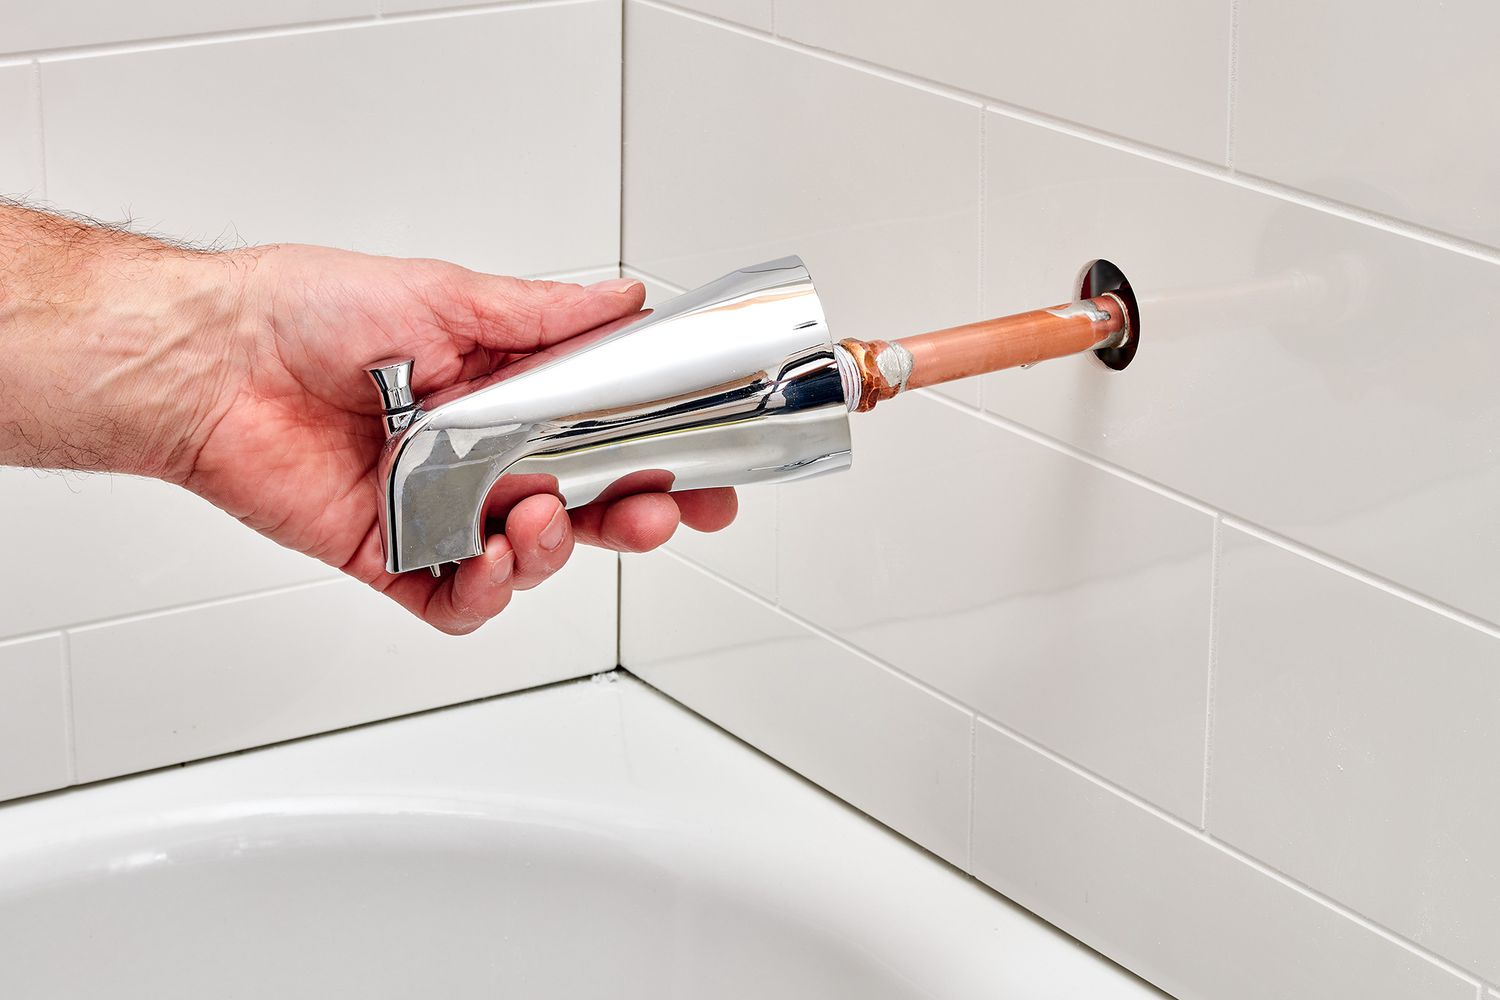
Step 7: Remove the bathtub and shower combo
Removing the bathtub and shower combo is a significant undertaking that requires careful planning and execution. This step marks the culmination of the removal process, as the primary fixtures are detached from their existing position, paving the way for new installations or renovations. Here's a detailed guide on how to effectively remove the bathtub and shower combo:
-
Prepare the Surrounding Area: Before initiating the removal process, clear the surrounding area of any obstacles and ensure that the pathway is clear for maneuvering the fixtures. Protect the floor and adjacent surfaces with plastic sheeting to contain debris and minimize the impact of the removal process.
-
Assess the Weight and Accessibility: Evaluate the weight and dimensions of the bathtub and shower combo to determine the best approach for removal. Depending on the size and layout of the bathroom, it may be necessary to enlist the assistance of additional individuals to safely maneuver and transport the fixtures.
-
Detach the Fixtures from the Walls: If the bathtub and shower combo are secured to the walls, carefully detach them by removing any fasteners, screws, or brackets holding them in place. Exercise caution to avoid damaging the walls or surrounding surfaces during this process.
-
Disconnect the Drain: Ensure that the drain assembly is completely disconnected from the bathtub to allow for its removal. If necessary, use a suitable tool to loosen and detach the drain flange, freeing the bathtub from the drain pipe.
-
Lift and Maneuver the Fixtures: With the assistance of others, carefully lift and maneuver the bathtub and shower combo away from its existing position. Take a methodical approach, ensuring that the fixtures are lifted evenly and guided through doorways or narrow passages without causing damage.
-
Clear the Path to Disposal or Storage: Once the fixtures are removed from their original location, clear a path for transporting them to the disposal area or designated storage space. Exercise caution and use proper lifting techniques to prevent injuries during this phase.
-
Inspect the Vacated Space: After the bathtub and shower combo are removed, inspect the vacated space for any remaining debris, sealants, or residues. Clean the area to prepare it for the installation of new fixtures or to facilitate any necessary repairs or modifications.
By following these detailed steps, you can effectively remove the bathtub and shower combo as part of the removal process. This meticulous approach ensures that the fixtures are detached safely, setting the stage for the subsequent phases of the renovation or installation process. With the bathtub and shower combo successfully removed, you're ready to progress to the next phase with confidence.
Step 8: Clean up and prepare for installation of new fixtures
With the bathtub and shower combo successfully removed, the final step involves cleaning up the area and preparing it for the installation of new fixtures. This phase is essential for ensuring a smooth transition to the next stage of the renovation or upgrade process. Here's a detailed guide on how to effectively clean up and prepare the space for the installation of new fixtures:
-
Clear Debris and Residues: Begin by clearing any debris, dust, or residues that may have accumulated during the removal process. Use a vacuum cleaner or broom to thoroughly clean the area, including the floor, walls, and surrounding surfaces. This step sets the stage for a clean and organized workspace for the upcoming installations.
-
Inspect for Damage or Wear: Take the opportunity to inspect the walls, flooring, and plumbing connections for any signs of damage, wear, or deterioration. Address any issues promptly, whether it involves repairing drywall, replacing damaged tiles, or addressing plumbing concerns. This proactive approach ensures that the space is in optimal condition for the installation of new fixtures.
-
Prepare Plumbing and Electrical Connections: If the renovation involves the installation of new fixtures that require plumbing or electrical connections, ensure that the necessary preparations are made. This may involve adjusting or relocating plumbing lines, installing new shut-off valves, or updating electrical connections to accommodate the new fixtures.
-
Address Wall and Floor Surfaces: Depending on the scope of the renovation, consider refreshing the wall and floor surfaces to complement the new fixtures. This may involve repainting walls, applying new tile or flooring, or making cosmetic enhancements to enhance the overall aesthetic appeal of the space.
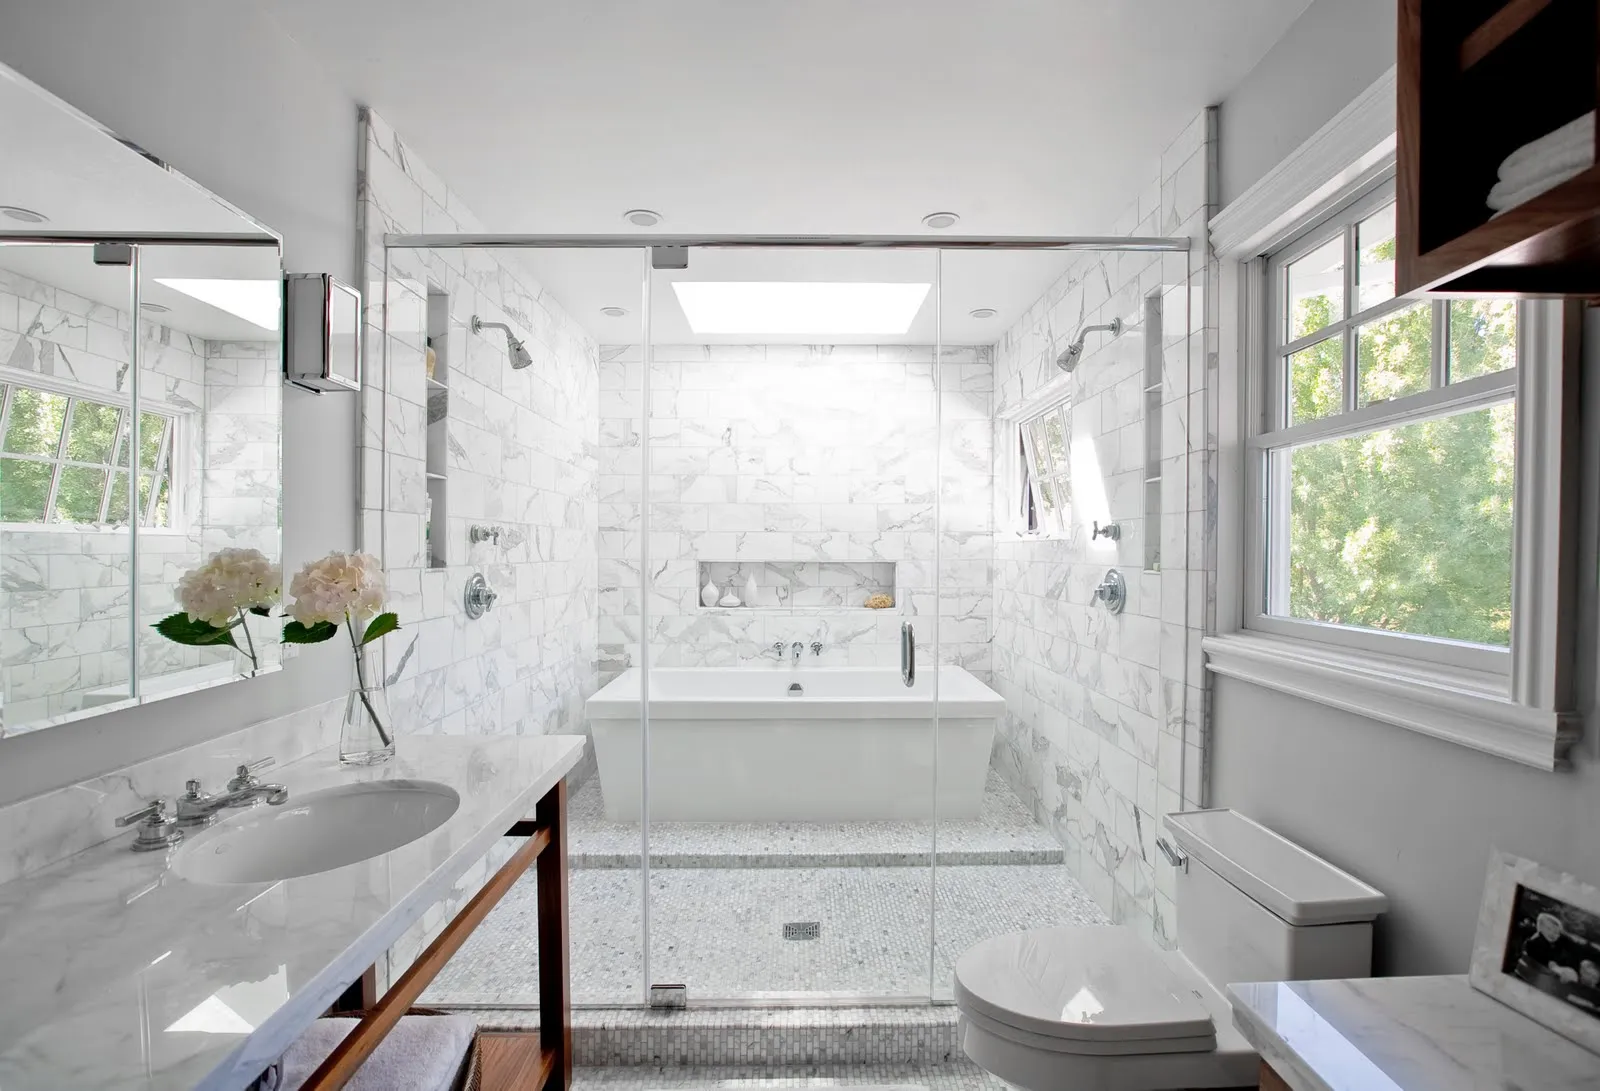
-
Plan for Fixture Installation: Take the time to plan and prepare for the installation of the new fixtures, whether it's a standalone shower, a freestanding bathtub, or a complete shower system. Ensure that the necessary components, such as faucets, showerheads, and drain assemblies, are readily available and that any additional modifications to the space are addressed beforehand.
-
Seal and Waterproof: Prior to installing the new fixtures, ensure that the surrounding areas are properly sealed and waterproofed. This is particularly important for areas prone to moisture exposure, such as shower enclosures and bathtub surrounds. Use high-quality sealants and waterproofing materials to create a durable and water-resistant environment for the new fixtures.
By following these detailed steps, you can effectively clean up and prepare the space for the installation of new fixtures. This meticulous approach ensures that the area is primed for the next phase of the renovation, setting the stage for the seamless installation of the new fixtures and the realization of a fresh, updated bathroom space.
Conclusion
In conclusion, the process of removing a bathtub shower combo involves a series of meticulous steps that require careful planning, attention to detail, and the use of appropriate tools and materials. By following the comprehensive guide outlined in this article, homeowners and DIY enthusiasts can confidently navigate each stage of the removal process, from disconnecting the plumbing to lifting and maneuvering the fixtures.
The importance of thorough preparation cannot be overstated, as gathering the necessary tools and materials, turning off the water supply, and assessing the weight and accessibility of the fixtures are critical initial steps. This proactive approach sets the stage for a smooth and efficient removal process, minimizing potential challenges and ensuring a safe working environment.
Throughout the removal process, attention to detail is paramount, particularly when disconnecting the plumbing, removing the bathtub surround, and detaching the drain and overflow assembly. By carefully following the step-by-step instructions and exercising caution, individuals can successfully dismantle the bathtub shower combo without causing damage to the surrounding surfaces or plumbing components.
As the bathtub and shower combo is lifted and removed from its existing position, the final phase of cleaning up and preparing the space for the installation of new fixtures is essential. This phase allows for the inspection of the vacated space, addressing any damage or wear, and making necessary preparations for the upcoming renovation or upgrade.
Ultimately, the successful removal of a bathtub shower combo paves the way for a fresh start in the bathroom, whether it involves the installation of a new shower, a standalone bathtub, or a complete shower system. By adhering to the detailed guidance provided in this article, individuals can approach the removal process with confidence, knowing that they have the knowledge and resources to tackle this home improvement project effectively.
In essence, the removal of a bathtub shower combo presents an opportunity for transformation and renewal, allowing individuals to revitalize their bathroom space and create a refreshed and updated environment. With careful planning, attention to detail, and a methodical approach, the removal process can be navigated successfully, setting the stage for the realization of a new and improved bathroom space.
Frequently Asked Questions about How To Remove A Bathtub Shower Combo
Was this page helpful?
At Storables.com, we guarantee accurate and reliable information. Our content, validated by Expert Board Contributors, is crafted following stringent Editorial Policies. We're committed to providing you with well-researched, expert-backed insights for all your informational needs.


0 thoughts on “How To Remove A Bathtub Shower Combo”