Home>Furniture & Design>Bathroom Accessories>How To Replace A Bathtub With A Shower?

Bathroom Accessories
How To Replace A Bathtub With A Shower?
Modified: March 2, 2024
Learn how to upgrade your bathroom with new accessories and transform your bathtub into a stylish and functional shower. Get expert tips and guidance for a seamless transition.
(Many of the links in this article redirect to a specific reviewed product. Your purchase of these products through affiliate links helps to generate commission for Storables.com, at no extra cost. Learn more)
Introduction
Replacing a bathtub with a shower is a transformative home improvement project that can enhance both the functionality and aesthetics of your bathroom. Whether you're looking to create a more accessible bathing option, increase the available space, or simply update the look of your bathroom, this conversion can bring a fresh and modern feel to the space.
By removing the bulky bathtub and installing a sleek, modern shower, you can open up the room and create a more spacious and contemporary feel. This renovation can also be a practical choice for those who prefer the convenience of a shower over a bath, or for households with limited mobility, as it can provide easier access and a safer bathing experience.
In addition to the functional benefits, replacing a bathtub with a shower can also significantly enhance the visual appeal of your bathroom. With a wide range of shower base options, tile designs, and fixtures available, you have the opportunity to customize the new shower to suit your personal style and create a luxurious spa-like atmosphere in your own home.
Before embarking on this project, it's important to carefully plan and consider the specific requirements of your space, as well as any potential challenges that may arise during the installation process. From removing the old bathtub to tiling the walls and installing the fixtures, each step of the conversion requires attention to detail and a thorough understanding of the necessary procedures.
In the following sections, we will guide you through the step-by-step process of replacing a bathtub with a shower, providing valuable insights and practical tips to help you successfully complete this rewarding home improvement project. Whether you're a seasoned DIY enthusiast or a first-time renovator, this comprehensive guide will equip you with the knowledge and confidence to tackle this transformation and create a stunning new shower in your bathroom.
Key Takeaways:
- Transform your bathroom by replacing a bathtub with a shower. Enjoy a more spacious, modern, and accessible bathing experience while enhancing the visual appeal of your space.
- Carefully plan and execute each step, from removing the old bathtub to installing the new shower fixtures, to successfully complete this rewarding home improvement project.
Read more: How To Replace A Bathtub Shower
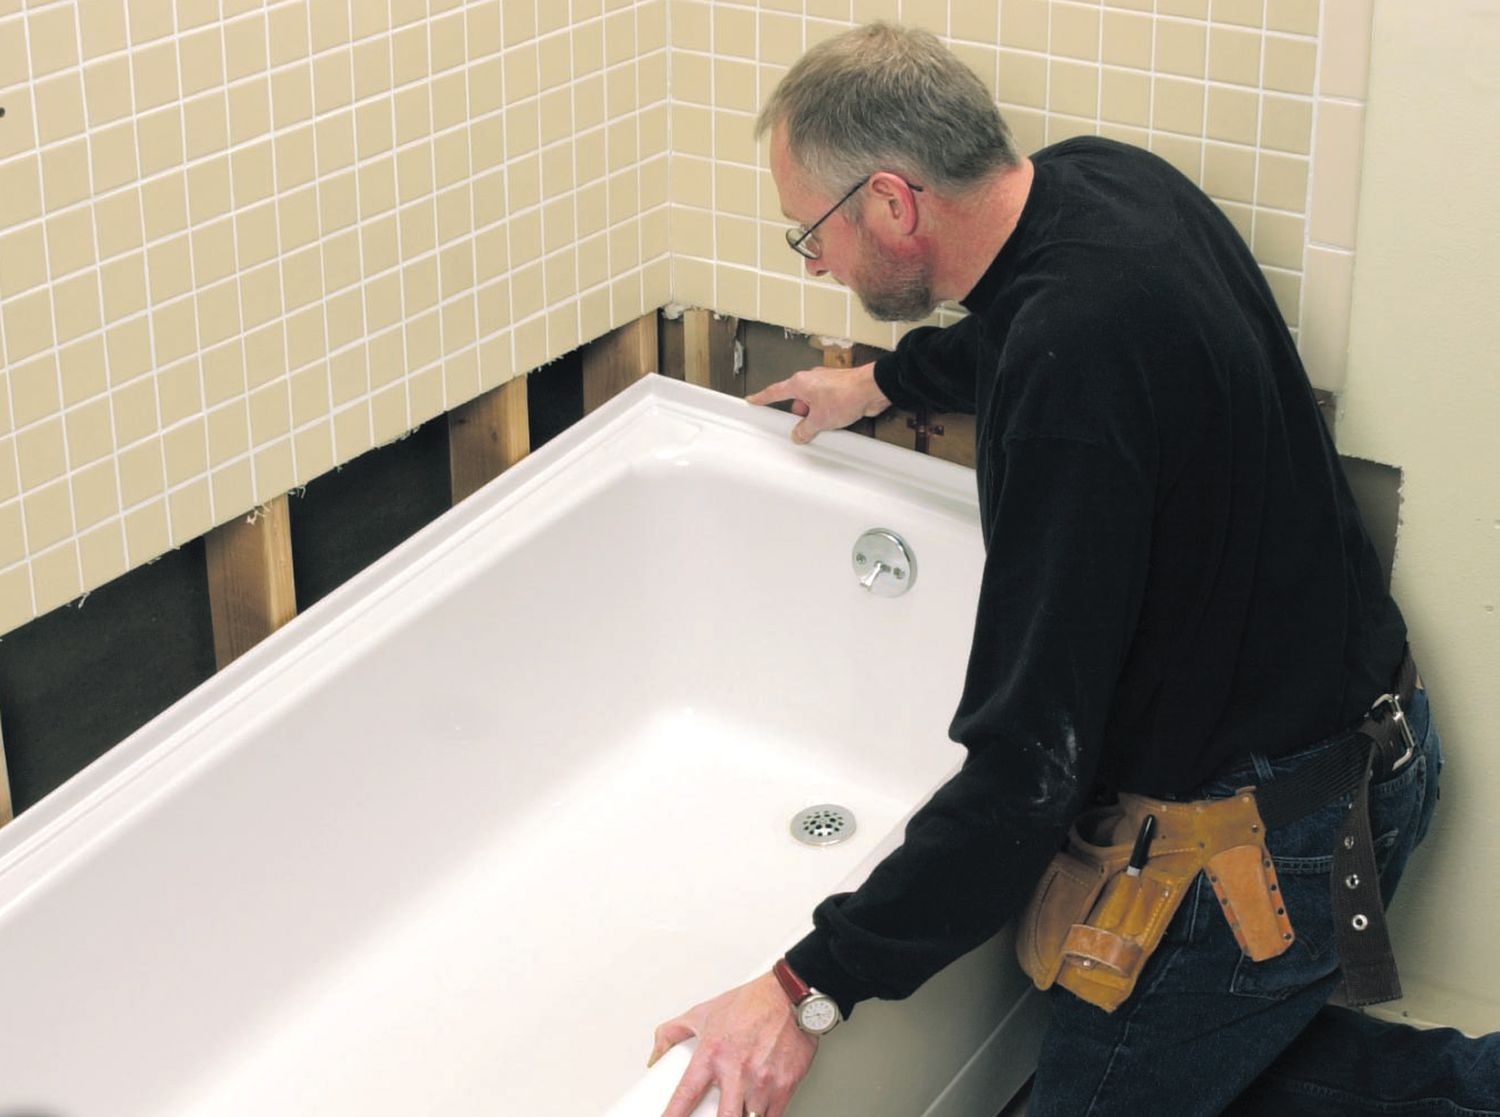
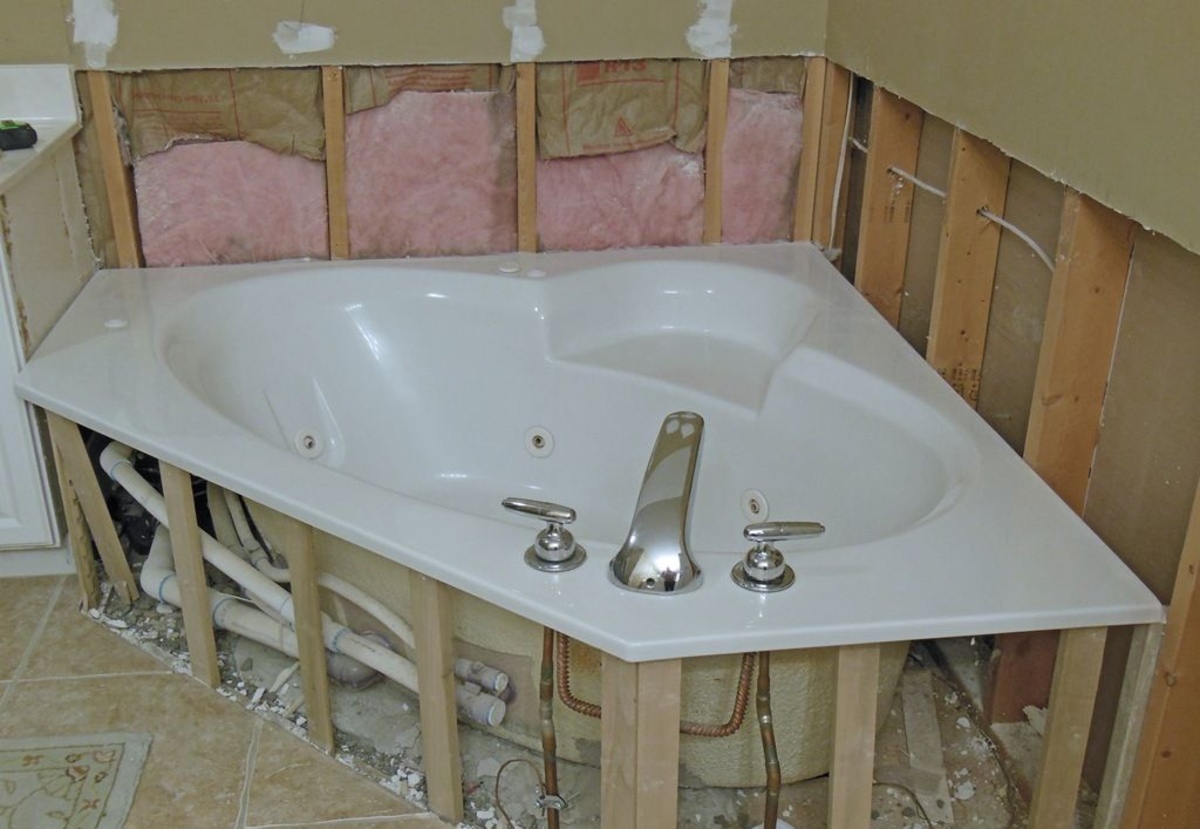
Step 1: Remove the Old Bathtub
Removing the old bathtub is the crucial first step in the process of replacing it with a shower. This task requires careful planning and preparation to ensure a smooth and efficient removal process. Here's a detailed breakdown of the steps involved in removing the old bathtub:
1. Turn Off the Water Supply
Before starting the removal process, it's essential to turn off the water supply to the bathtub. Locate the shut-off valves for the hot and cold water lines and ensure that the water flow is completely stopped.
2. Disconnect the Plumbing
Once the water supply is turned off, the next step is to disconnect the plumbing fixtures attached to the bathtub. This includes removing the faucet, showerhead, and any other plumbing connections. It's important to use the appropriate tools and take care to avoid damaging the plumbing during this step.
3. Remove Surrounding Fixtures
If the bathtub is surrounded by tiles or other fixtures, such as a shower enclosure or wall panels, these will need to be carefully removed to access the bathtub. Depending on the materials used, this may involve using a pry bar, utility knife, or other tools to detach and remove the surrounding fixtures.
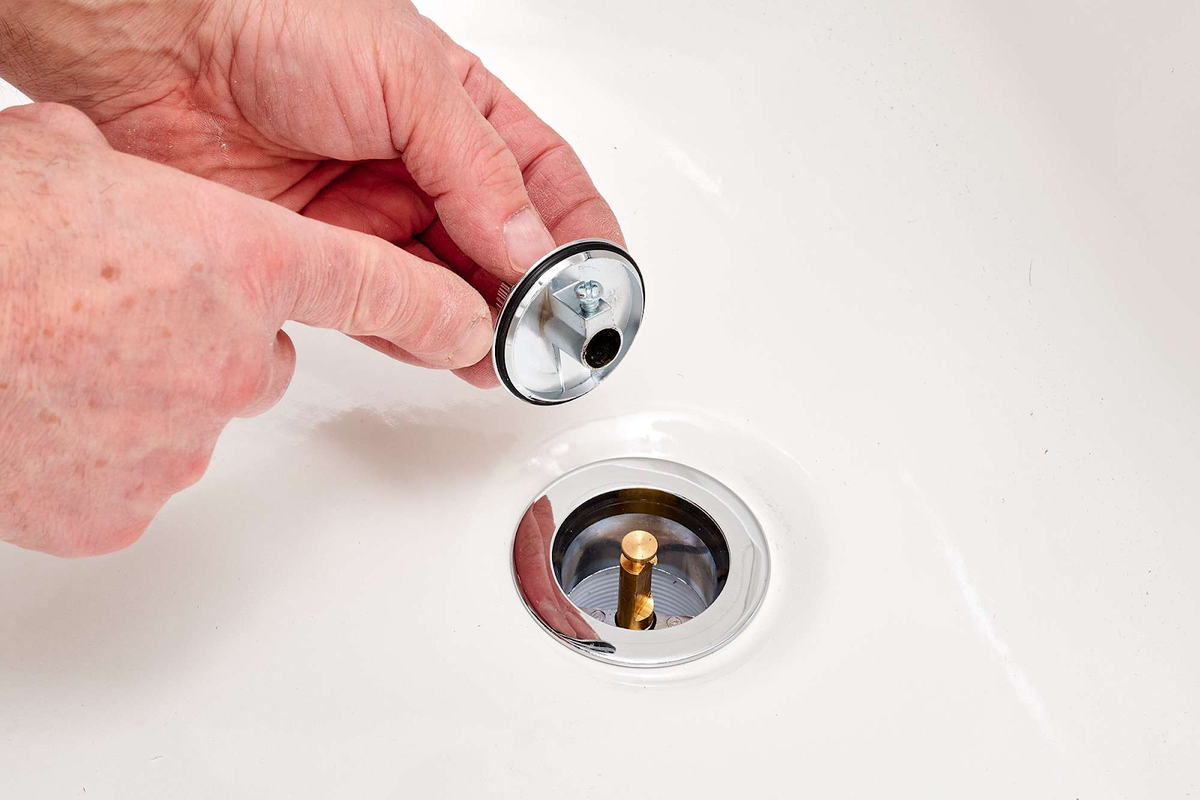
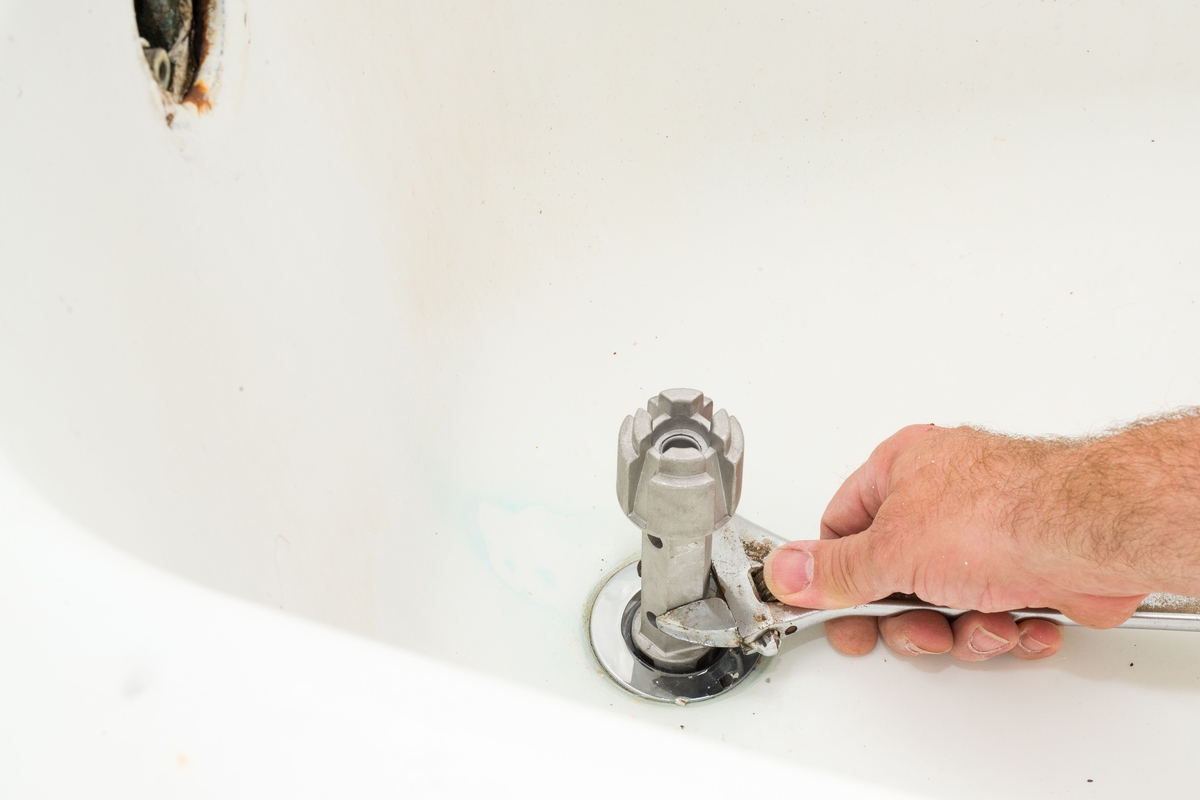
4. Disconnect the Drain
After disconnecting the plumbing fixtures, the bathtub drain must be disconnected. This typically involves accessing the underside of the bathtub to disconnect the drain pipe and remove the bathtub trap. It's important to have a bucket and towels on hand to catch any residual water that may be present in the drain.
5. Dismantle the Tub
With the plumbing disconnected and the surrounding fixtures removed, the bathtub can be dismantled and removed from its position. This may require cutting or breaking the bathtub into smaller pieces, depending on its size and the available space for removal. Care should be taken to avoid damaging the surrounding walls and flooring during this process.
6. Clean the Area
Once the old bathtub has been removed, it's important to thoroughly clean the area to prepare it for the installation of the new shower. This includes removing any debris, cleaning the exposed plumbing connections, and ensuring that the surrounding space is clear and ready for the next steps in the conversion process.
By following these detailed steps, you can effectively remove the old bathtub and prepare the space for the installation of the new shower. This careful and methodical approach sets the stage for a successful bathtub-to-shower conversion, ensuring that the subsequent steps can be carried out smoothly and efficiently.
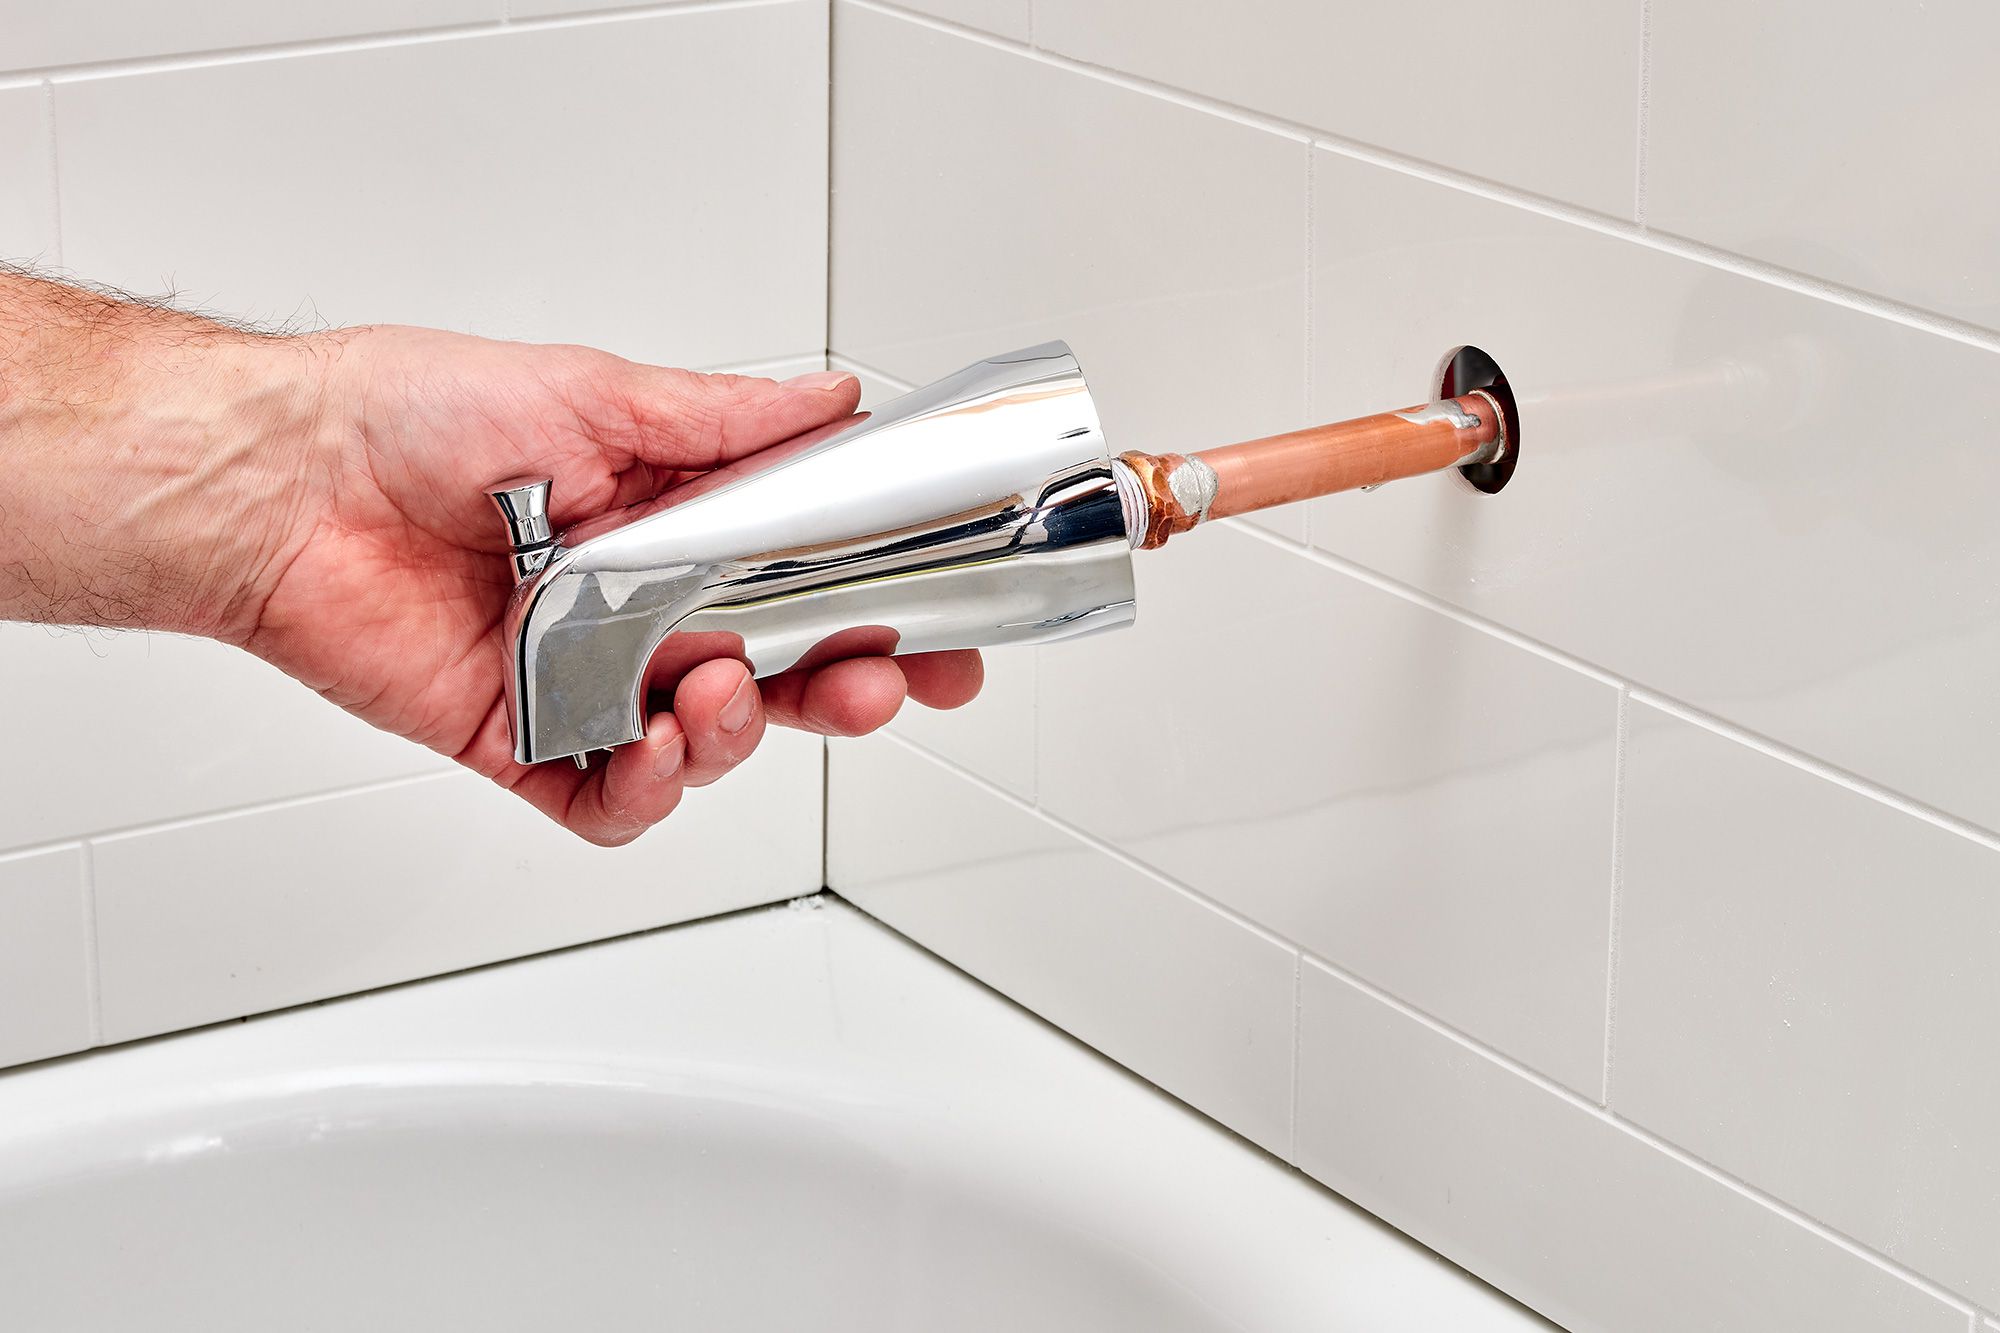
Step 2: Prepare the Plumbing
Preparing the plumbing for the new shower is a critical aspect of the bathtub-to-shower conversion process. This step involves assessing the existing plumbing configuration, making necessary adjustments, and ensuring that the plumbing infrastructure is compatible with the installation of the new shower. Here's a detailed breakdown of the tasks involved in preparing the plumbing for the shower installation:
-
Evaluate the Existing Plumbing
Before proceeding with the installation of the new shower, it's essential to evaluate the existing plumbing system to determine its compatibility with the shower fixtures and drainage requirements. This includes assessing the placement of the water supply lines, drain pipe, and any necessary venting for the shower area. -
Adjust Water Supply Lines
Depending on the specific design and layout of the new shower, adjustments to the water supply lines may be necessary. This could involve repositioning the water supply connections to accommodate the location of the shower fixtures, such as the showerhead and controls. Careful consideration should be given to the optimal placement of the water supply lines to ensure efficient and effective water distribution within the shower. -
Install the Shower Drain
Installing a suitable drain for the shower is a crucial aspect of preparing the plumbing for the new installation. This involves ensuring that the shower drain is positioned correctly to facilitate proper drainage and prevent water accumulation within the shower area. The drain should be installed at the appropriate slope to allow for efficient water flow and should be compatible with the chosen shower base or pan. -
Consider Ventilation Requirements
Adequate ventilation is essential for maintaining a healthy and functional shower environment. As part of preparing the plumbing, it's important to consider the ventilation requirements for the shower area. This may involve assessing the existing ventilation system and making any necessary adjustments to ensure proper air circulation and moisture control within the shower space. -
Address Accessibility and Safety
When preparing the plumbing for the new shower, it's important to consider accessibility and safety features, especially if the conversion is being done to accommodate individuals with mobility challenges. This may include installing grab bars, adjusting the height of shower controls, and ensuring that the plumbing layout supports the installation of additional safety features as needed.
By meticulously preparing the plumbing for the new shower, you can ensure that the foundational elements of the installation are carefully addressed. This proactive approach sets the stage for a successful and efficient shower installation, laying the groundwork for a functional and visually appealing shower space.
Read more: How To Shower In A Bathtub?
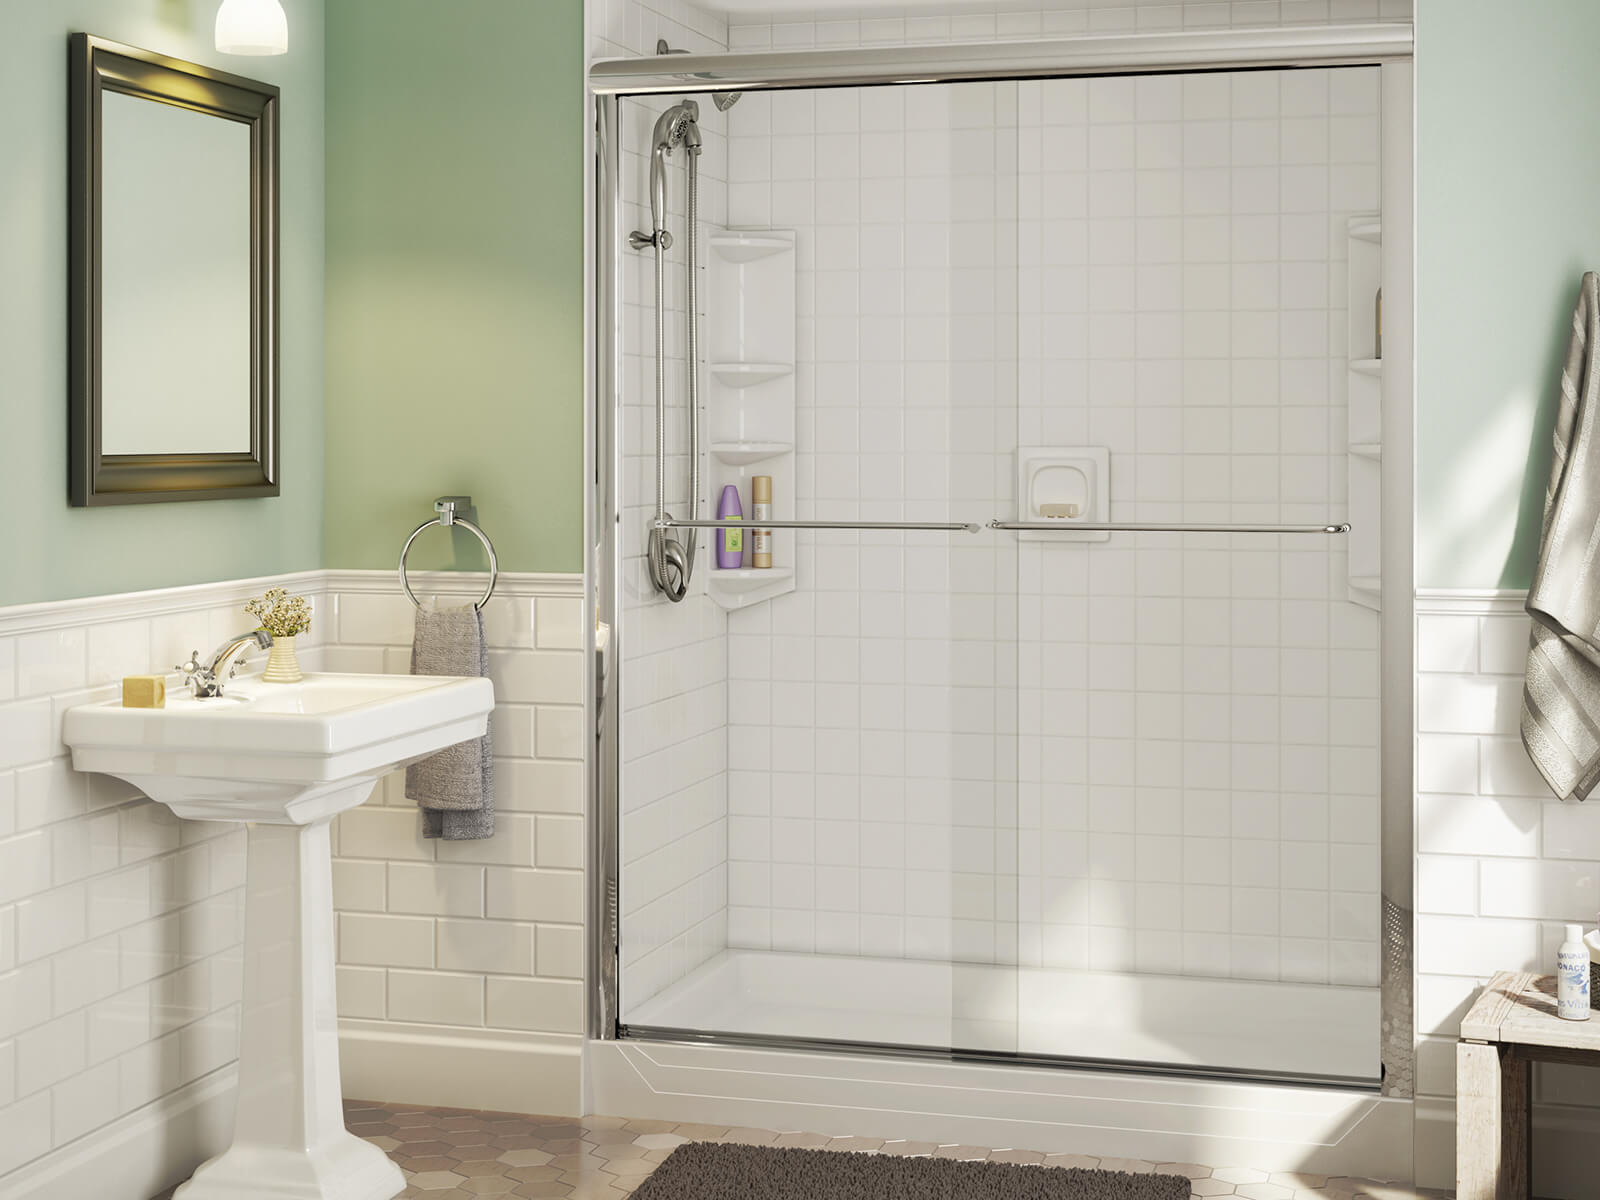
Step 3: Install the Shower Base
The installation of the shower base is a pivotal stage in the process of replacing a bathtub with a shower. The shower base, also known as a shower pan, serves as the foundation for the shower floor and plays a crucial role in ensuring proper drainage and structural support for the shower enclosure. Here's a comprehensive overview of the steps involved in installing the shower base:
-
Select the Appropriate Shower Base: Begin by selecting a shower base that is compatible with the dimensions and layout of the shower area. Consider factors such as the size, shape, and material of the shower base to ensure that it aligns with the design and functional requirements of the new shower.
-
Prepare the Subfloor: Before installing the shower base, it's essential to prepare the subfloor to provide a level and stable surface for the base. This may involve removing any existing flooring materials, such as tiles or linoleum, and ensuring that the subfloor is clean and free from debris.
-
Position the Shower Base: Carefully position the shower base in the designated area, ensuring that it aligns with the drainage and plumbing connections. Use a level to verify that the base is positioned evenly and securely on the subfloor, making any necessary adjustments to achieve a precise fit.
-
Secure the Shower Base: Once the shower base is properly positioned, secure it to the subfloor to prevent movement and ensure stability. Depending on the type of shower base, this may involve using adhesive, screws, or other fastening methods to firmly attach the base to the subfloor.
-
Connect the Drain: Install and connect the shower drain to the designated opening in the shower base, ensuring a watertight seal to prevent leaks. Verify that the drain is positioned correctly and securely attached to facilitate proper water drainage from the shower.
-
Test for Stability and Leaks: After installing the shower base and connecting the drain, conduct a thorough inspection to ensure that the base is stable and level. Test the drainage system by pouring water into the shower base and checking for any signs of leaks or inadequate water flow.
By following these detailed steps, you can effectively install the shower base and establish a solid foundation for the new shower. The careful execution of this phase sets the stage for the subsequent stages of the conversion, ensuring that the shower base provides the necessary support and functionality for the completed shower enclosure.
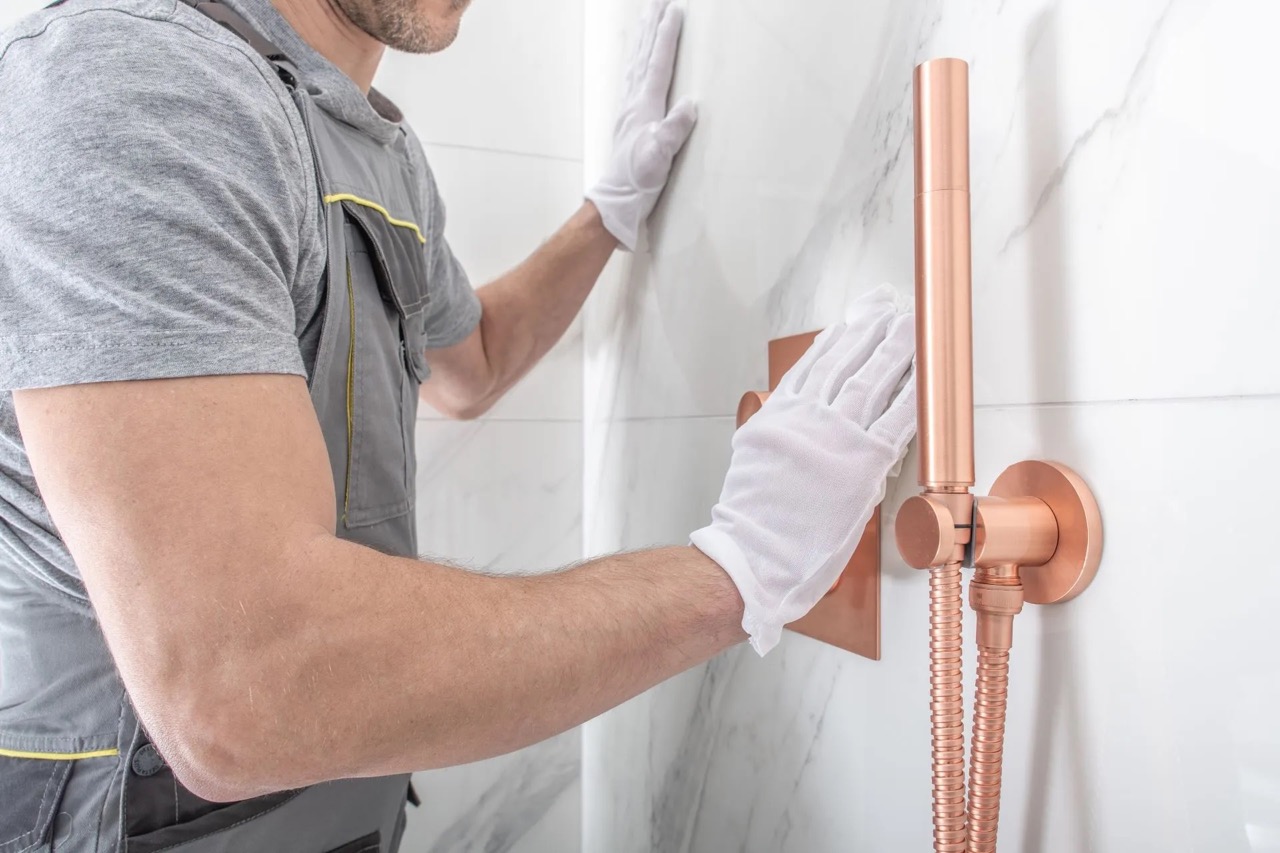
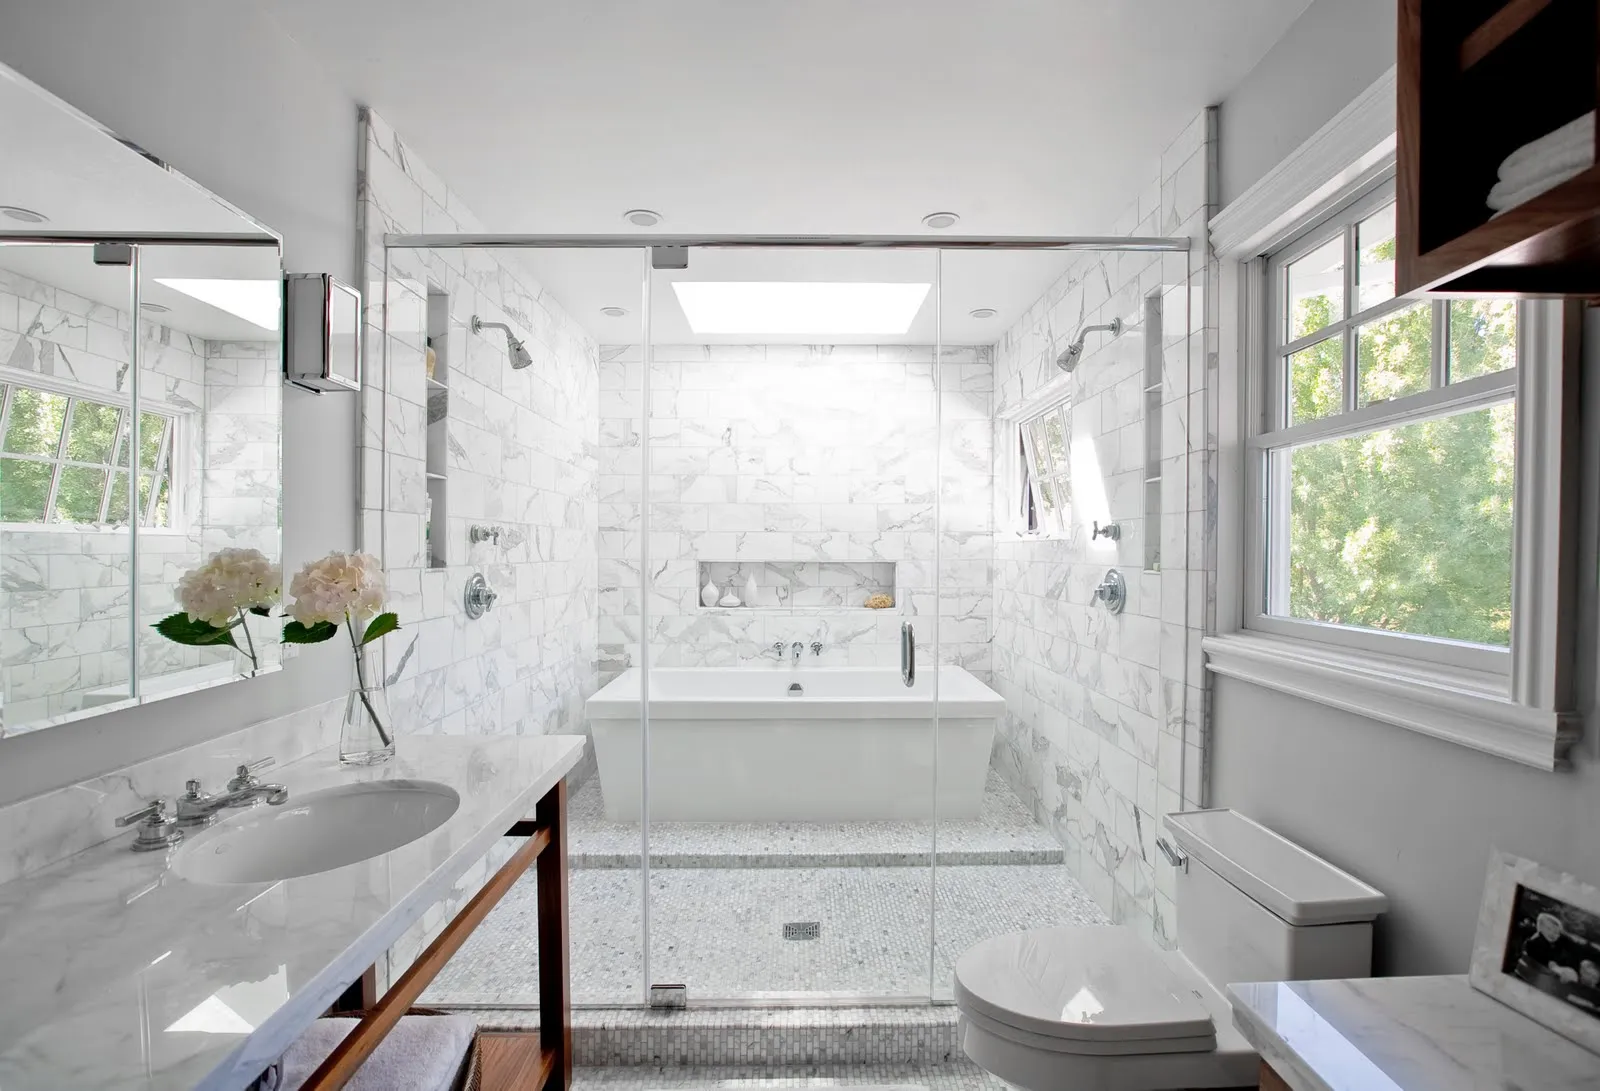
Step 4: Tile the Walls
Tiling the walls is a pivotal step in the process of replacing a bathtub with a shower, as it not only contributes to the aesthetic appeal of the new shower but also plays a crucial role in ensuring durability and water resistance. Properly installed wall tiles can create a visually stunning and functional shower enclosure, providing a clean and waterproof surface that enhances the overall appeal of the bathroom. Here's a detailed breakdown of the steps involved in tiling the walls for the new shower:
-
Prepare the Wall Surface: Before installing the tiles, it's essential to prepare the wall surface to ensure optimal adhesion and a smooth finish. This may involve removing any existing wall coverings, such as old tiles or wallpaper, and repairing any imperfections or damage to the wall. The surface should be clean, dry, and free from any debris that could affect the adhesion of the tiles.
-
Choose the Right Tiles: Selecting the appropriate tiles is a critical aspect of the tiling process. Consider factors such as the size, material, and design of the tiles to complement the overall aesthetic of the bathroom. It's important to choose tiles that are specifically designed for wet areas, such as ceramic or porcelain tiles, to ensure water resistance and durability.
-
Plan the Tile Layout: Carefully plan the layout of the tiles to ensure a visually appealing and symmetrical installation. This may involve measuring the wall space, determining the starting point for the tiles, and marking guidelines to guide the installation process. Consider factors such as tile orientation, pattern, and any decorative elements to create a cohesive and visually striking wall surface.
-
Apply the Tile Adhesive: Using a suitable tile adhesive, apply a thin, even layer to the wall surface using a notched trowel. This ensures proper adhesion and helps to create a strong bond between the tiles and the wall. Work in small sections to prevent the adhesive from drying out before the tiles are installed.
-
Install the Tiles: Carefully place the tiles onto the adhesive, following the planned layout and guidelines. Use tile spacers to maintain consistent spacing between the tiles and ensure a uniform and professional finish. Pay attention to the alignment and level of the tiles to achieve a seamless and visually appealing installation.
-
Grout the Joints: Once the tiles are set and the adhesive has cured, apply grout to fill the joints between the tiles. Choose a grout color that complements the tiles and enhances the overall aesthetic of the shower. Use a grout float to press the grout into the joints and remove any excess grout from the tile surfaces.
-
Clean and Seal the Tiles: After the grout has set, clean the tile surfaces to remove any grout residue and ensure a polished finish. Once the tiles are dry, apply a suitable sealer to protect the grout and tiles from moisture and stains, enhancing their longevity and maintaining their appearance over time.
By meticulously following these steps, you can effectively tile the walls of the new shower, creating a visually stunning and functional enclosure that enhances the overall appeal of the bathroom. The careful execution of this phase ensures that the shower walls are not only aesthetically pleasing but also durable, waterproof, and built to withstand the rigors of daily use.
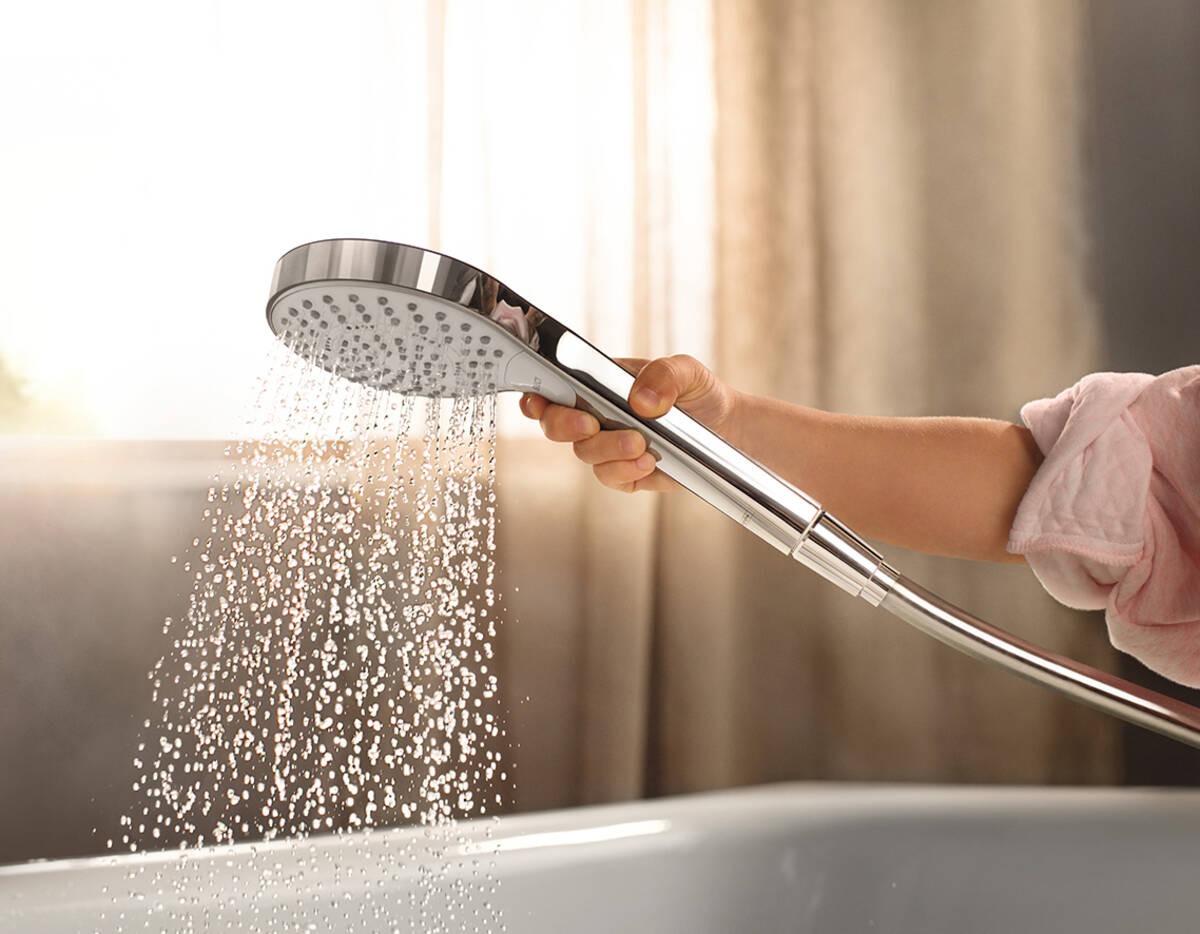
Step 5: Install the Shower Fixtures
Installing the shower fixtures is a pivotal stage in the transformation of a bathtub into a shower, as it brings the functional and aesthetic elements of the new shower to life. From the showerhead and controls to additional features such as shelves and seating, the installation of these fixtures plays a crucial role in creating a fully functional and personalized shower space. Here's a comprehensive overview of the steps involved in installing the shower fixtures:
-
Select the Shower Fixtures: Begin by selecting the shower fixtures that align with your design preferences and functional requirements. Consider factors such as the style, finish, and features of the fixtures to ensure that they complement the overall aesthetic of the shower and provide the desired functionality.
-
Position the Showerhead and Controls: Carefully position the showerhead and controls in the designated locations within the shower area. This may involve marking the precise placement of the fixtures based on the layout of the shower walls and the desired height and orientation of the showerhead and controls.
-
Prepare for Installation: Before installing the fixtures, ensure that the wall surfaces are ready to accommodate the necessary plumbing connections. This may involve creating openings in the wall to access the existing plumbing or make new connections for the shower fixtures.
-
Connect the Plumbing: Install and connect the plumbing fixtures, including the showerhead, faucet controls, and any additional features such as body jets or hand showers. Take care to ensure that the connections are secure and watertight to prevent leaks and ensure proper functionality.
-
Install Additional Features: If desired, install additional features such as built-in shelves, seating, or niche inserts to enhance the convenience and functionality of the shower. These features can be integrated into the shower walls during the installation process to provide seamless and practical enhancements to the shower space.
-
Test the Functionality: Once the fixtures are installed, test the functionality of the shower system to verify that the water flow, temperature control, and any additional features are operating as intended. Make any necessary adjustments to ensure optimal performance and user comfort.
By meticulously following these steps, you can effectively install the shower fixtures and bring the new shower to life with functional and visually appealing elements. The careful execution of this phase ensures that the shower provides a personalized and enjoyable bathing experience, tailored to your specific preferences and needs.
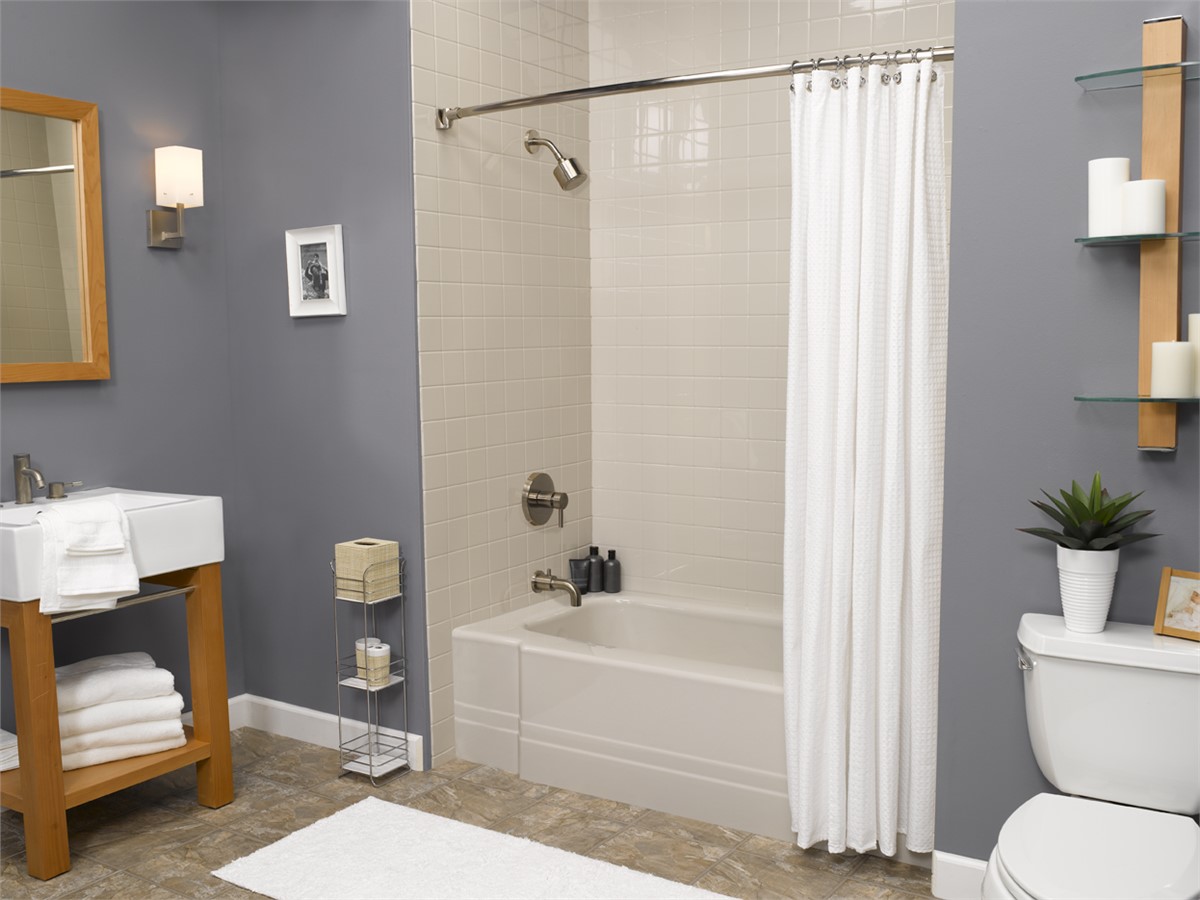
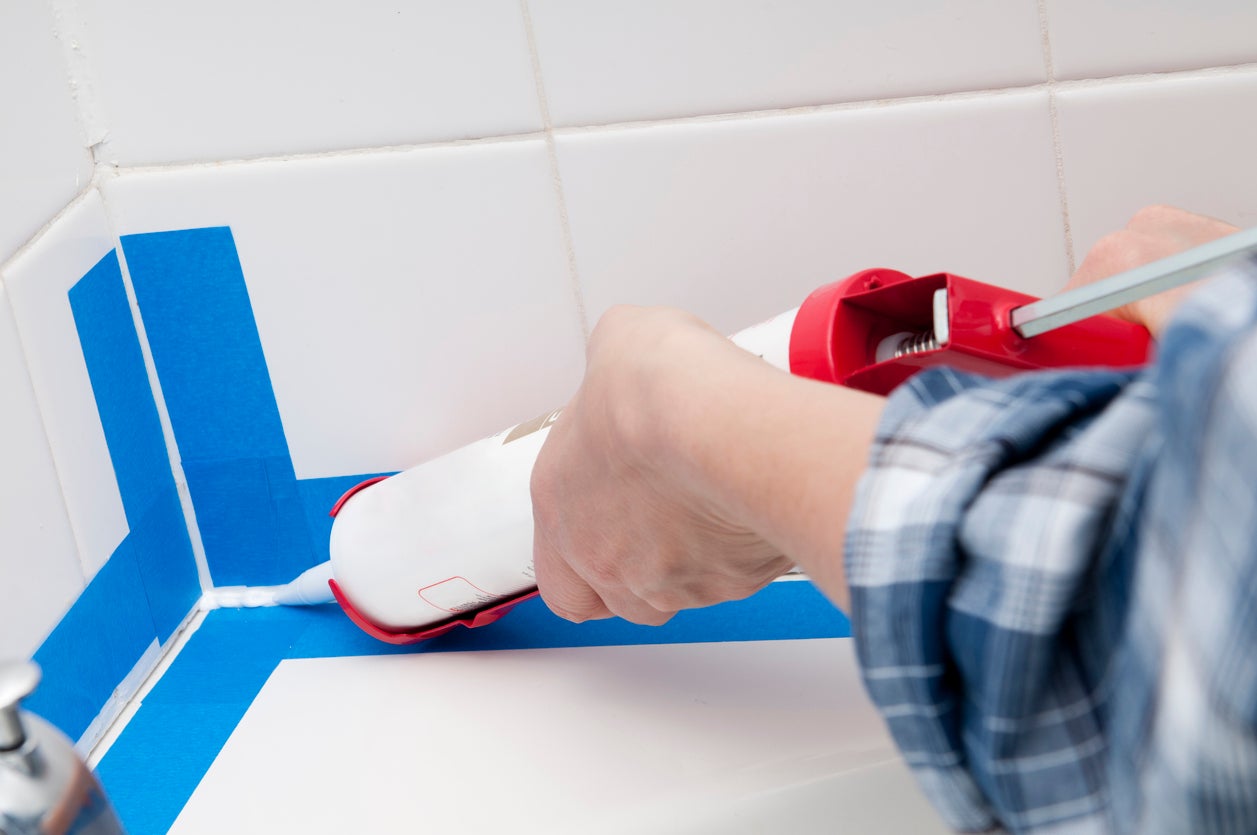
Step 6: Seal and Finish the Shower Area
Sealing and finishing the shower area is the final crucial step in the process of replacing a bathtub with a shower. This phase involves ensuring that the newly installed shower is not only visually appealing but also well-protected against water damage and moisture infiltration. Here's a detailed breakdown of the tasks involved in sealing and finishing the shower area:
-
Apply Waterproofing Membrane: Before proceeding with the finishing touches, it's essential to apply a waterproofing membrane to the shower walls and base. This membrane acts as a protective barrier, preventing water from seeping into the underlying structure and causing damage over time. Ensure that the membrane is applied according to the manufacturer's instructions, paying particular attention to seams, corners, and any penetrations in the shower walls.
-
Grout Sealing: Once the tile grout has fully cured, apply a high-quality grout sealer to protect the grout lines from moisture and staining. The sealer forms a protective barrier that repels water and prevents the buildup of mold and mildew in the grout, enhancing the longevity and cleanliness of the shower walls.
-
Install Shower Door or Enclosure: If a shower door or enclosure is part of the design, carefully install it according to the manufacturer's instructions. Ensure that the door or enclosure provides a watertight seal when closed, preventing water from escaping the shower area and protecting the surrounding walls and flooring.
-
Finish the Edges: Pay attention to the finishing details, such as sealing the edges of the tile installation with silicone caulk. This not only provides a clean and polished look but also serves as an additional barrier against water intrusion, particularly in areas where different materials meet, such as the junction between the shower walls and the shower base.
-
Test for Leaks: After completing the sealing and finishing process, conduct a thorough inspection of the shower area to check for any potential leaks or areas of concern. Run water in the shower and carefully examine the walls, base, and surrounding areas for any signs of water seepage or inadequate sealing.
-
Clean and Polish: Once the shower area has been sealed and any necessary adjustments have been made, thoroughly clean the surfaces to remove any construction residue or debris. Polish the fixtures and glass surfaces to achieve a sparkling finish, enhancing the overall visual appeal of the new shower.
By meticulously following these steps, you can effectively seal and finish the shower area, ensuring that it not only looks stunning but also provides long-lasting protection against water damage and moisture. The careful execution of this phase sets the stage for a functional, durable, and visually captivating shower that will be a standout feature in your bathroom.
Frequently Asked Questions about How To Replace A Bathtub With A Shower?
Was this page helpful?
At Storables.com, we guarantee accurate and reliable information. Our content, validated by Expert Board Contributors, is crafted following stringent Editorial Policies. We're committed to providing you with well-researched, expert-backed insights for all your informational needs.


0 thoughts on “How To Replace A Bathtub With A Shower?”