Home>Furniture & Design>Bathroom Accessories>How To Turn A Bathtub Into A Shower?
Bathroom Accessories
How To Turn A Bathtub Into A Shower?
Modified: August 28, 2024
Transform your bathroom with ease by learning how to convert a bathtub into a shower. Explore the best bathroom accessories for a seamless transition.
(Many of the links in this article redirect to a specific reviewed product. Your purchase of these products through affiliate links helps to generate commission for Storables.com, at no extra cost. Learn more)
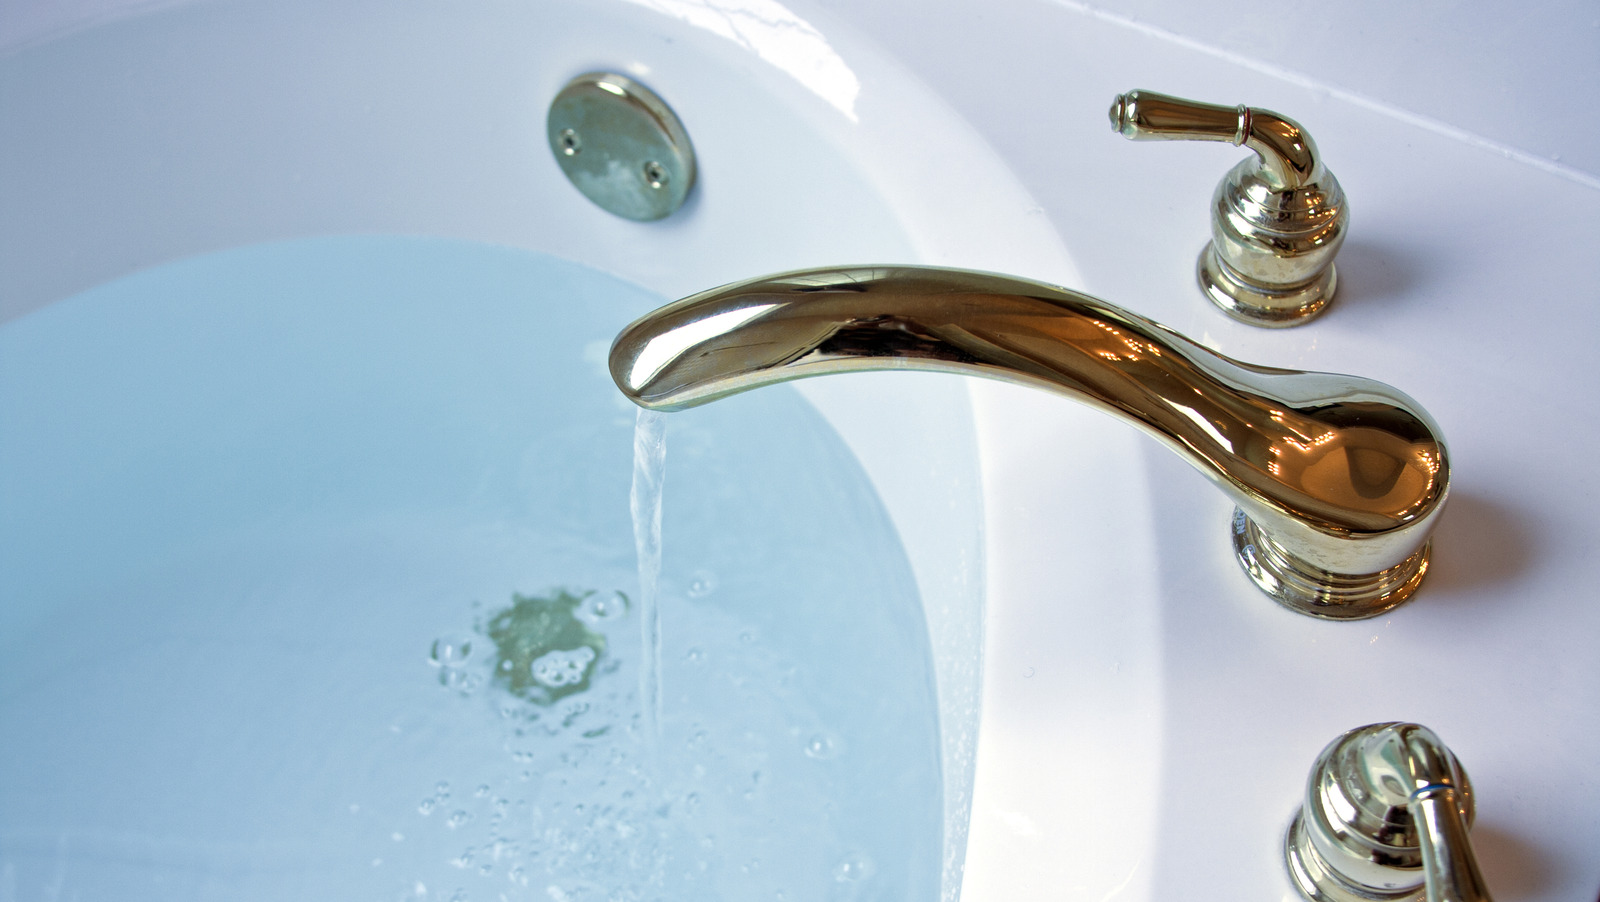
Assessing the Space
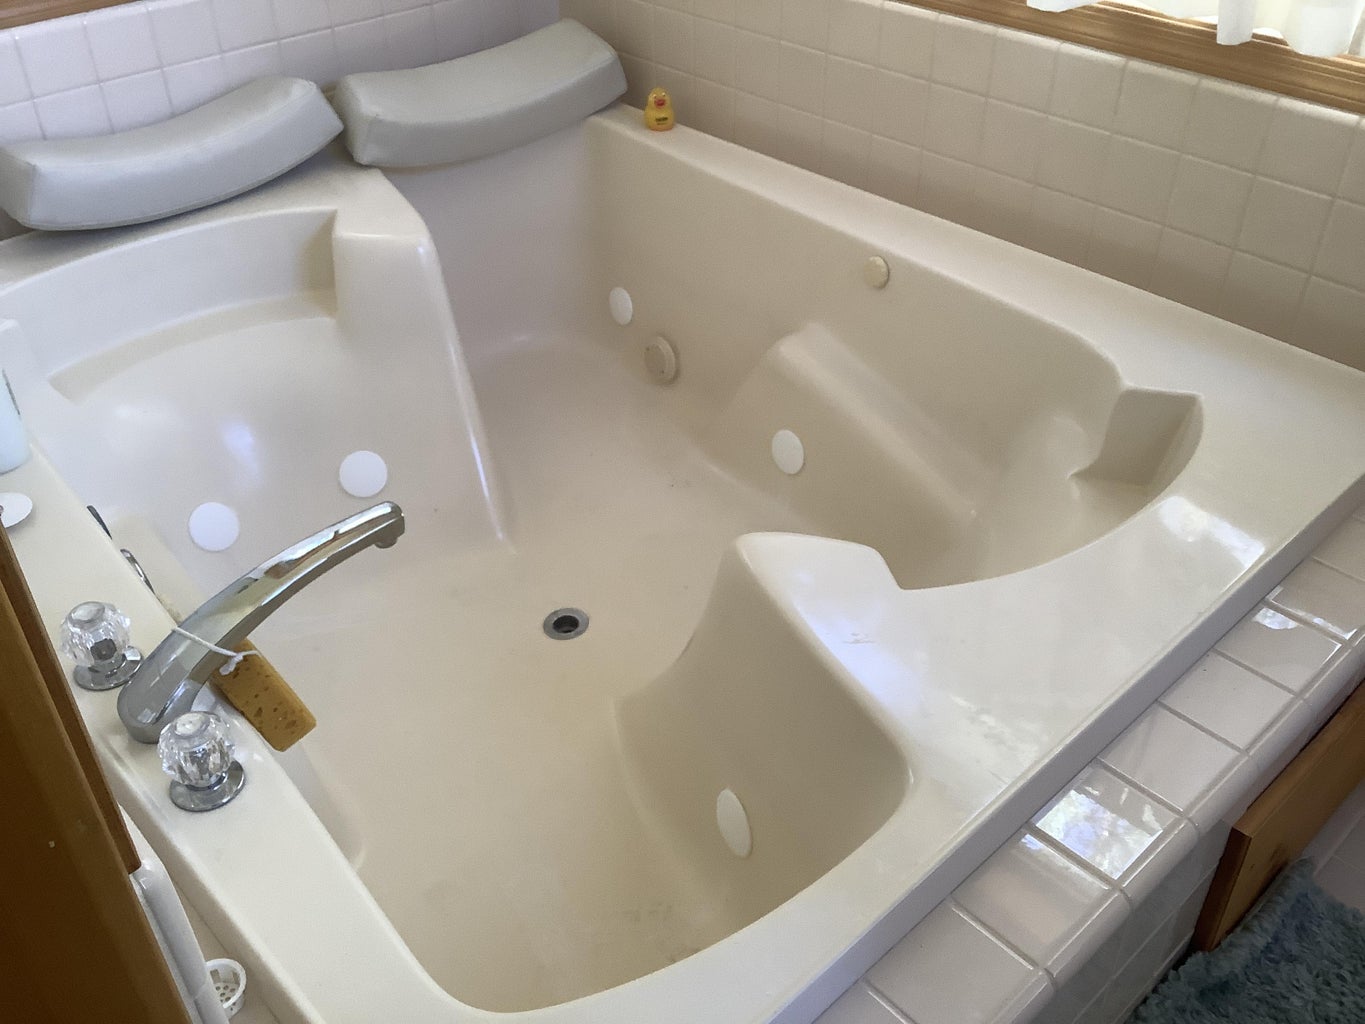
Before embarking on the journey of turning a bathtub into a shower, it's crucial to assess the space to ensure a seamless and successful conversion. This initial step sets the foundation for the entire project, allowing for a clear understanding of the available space and any potential challenges that may arise. Here's a comprehensive guide to assessing the space for your bathtub to shower conversion:
-
Measurements Matter: Begin by measuring the dimensions of the bathtub and the surrounding area. Accurate measurements are essential for determining the size and type of shower conversion kit that will best fit the space. Take note of the width, length, and height of the bathtub, as well as the distance between the bathtub and any adjacent walls or fixtures.
-
Evaluate the Layout: Assess the layout of the bathroom to identify any potential obstacles or constraints that may impact the shower conversion. Consider the location of existing plumbing fixtures, such as the faucet and drain, as well as the proximity of the bathtub to other essential elements, including the toilet, vanity, and door swing. This evaluation will help in determining the feasibility of the conversion and any necessary adjustments to the layout.
-
Assess Structural Integrity: Inspect the structural integrity of the bathtub and the surrounding walls. Look for signs of water damage, mold, or deterioration that may require repair or reinforcement before proceeding with the conversion. Additionally, check for any existing water leaks or plumbing issues that need to be addressed to ensure a watertight and secure shower installation.
-
Consider Accessibility: Take into account the accessibility and functionality of the new shower space. Evaluate whether the proposed shower location allows for easy entry and exit, as well as sufficient space for maneuvering within the shower area. Accessibility considerations are particularly important for individuals with mobility challenges or those planning for aging-in-place modifications.
-
Assess Ventilation and Lighting: Evaluate the existing ventilation and lighting in the bathroom to determine if any modifications or enhancements are needed to accommodate the new shower space. Adequate ventilation is essential for preventing moisture buildup and mold growth, while proper lighting enhances the functionality and ambiance of the shower area.
By thoroughly assessing the space, taking accurate measurements, evaluating the layout, ensuring structural integrity, considering accessibility, and addressing ventilation and lighting, you can lay the groundwork for a successful bathtub to shower conversion. This proactive approach sets the stage for informed decision-making and effective planning as you move forward with the project.
Key Takeaways:
- Assessing the space is crucial before turning a bathtub into a shower. Measure, evaluate layout, check structural integrity, consider accessibility, and assess ventilation and lighting for a successful conversion.
- Choosing the right shower conversion kit is essential. Consider compatibility, style, material quality, accessibility features, installation requirements, and budget to ensure a seamless and gratifying transformation.
Read more: How To Turn A Shower Into A Bathtub?
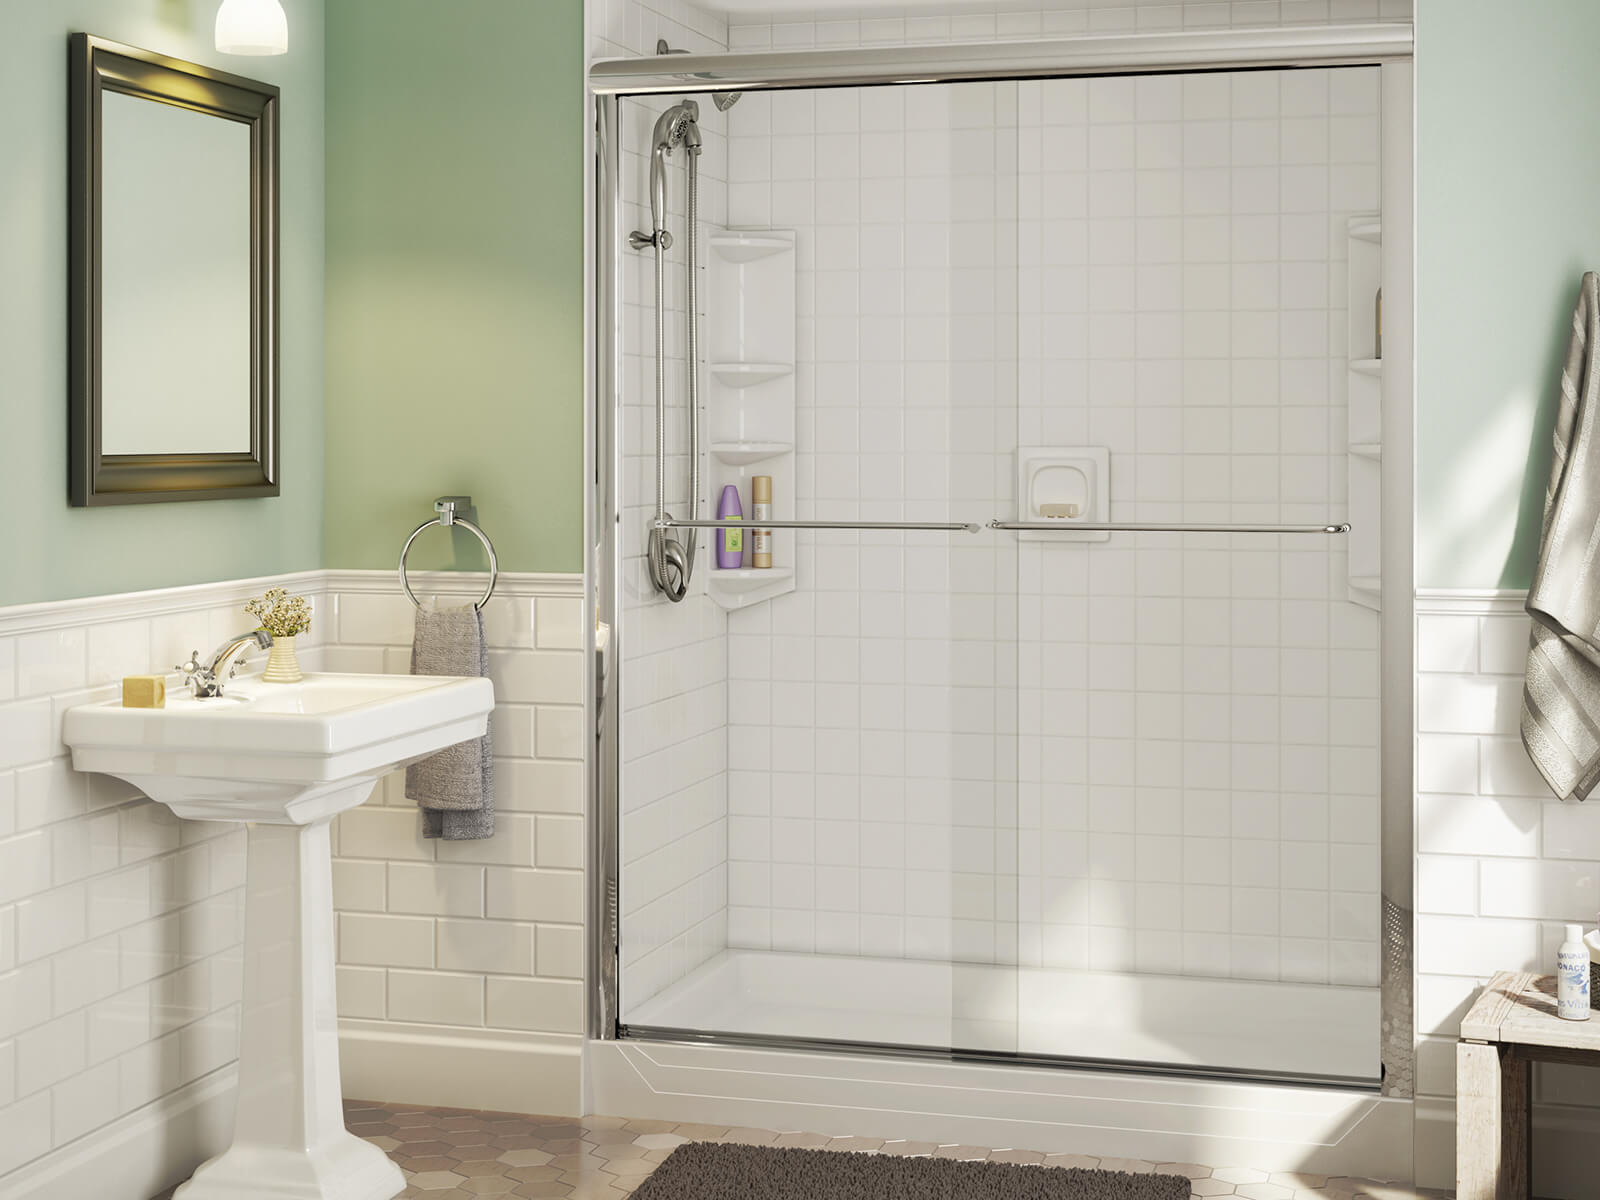
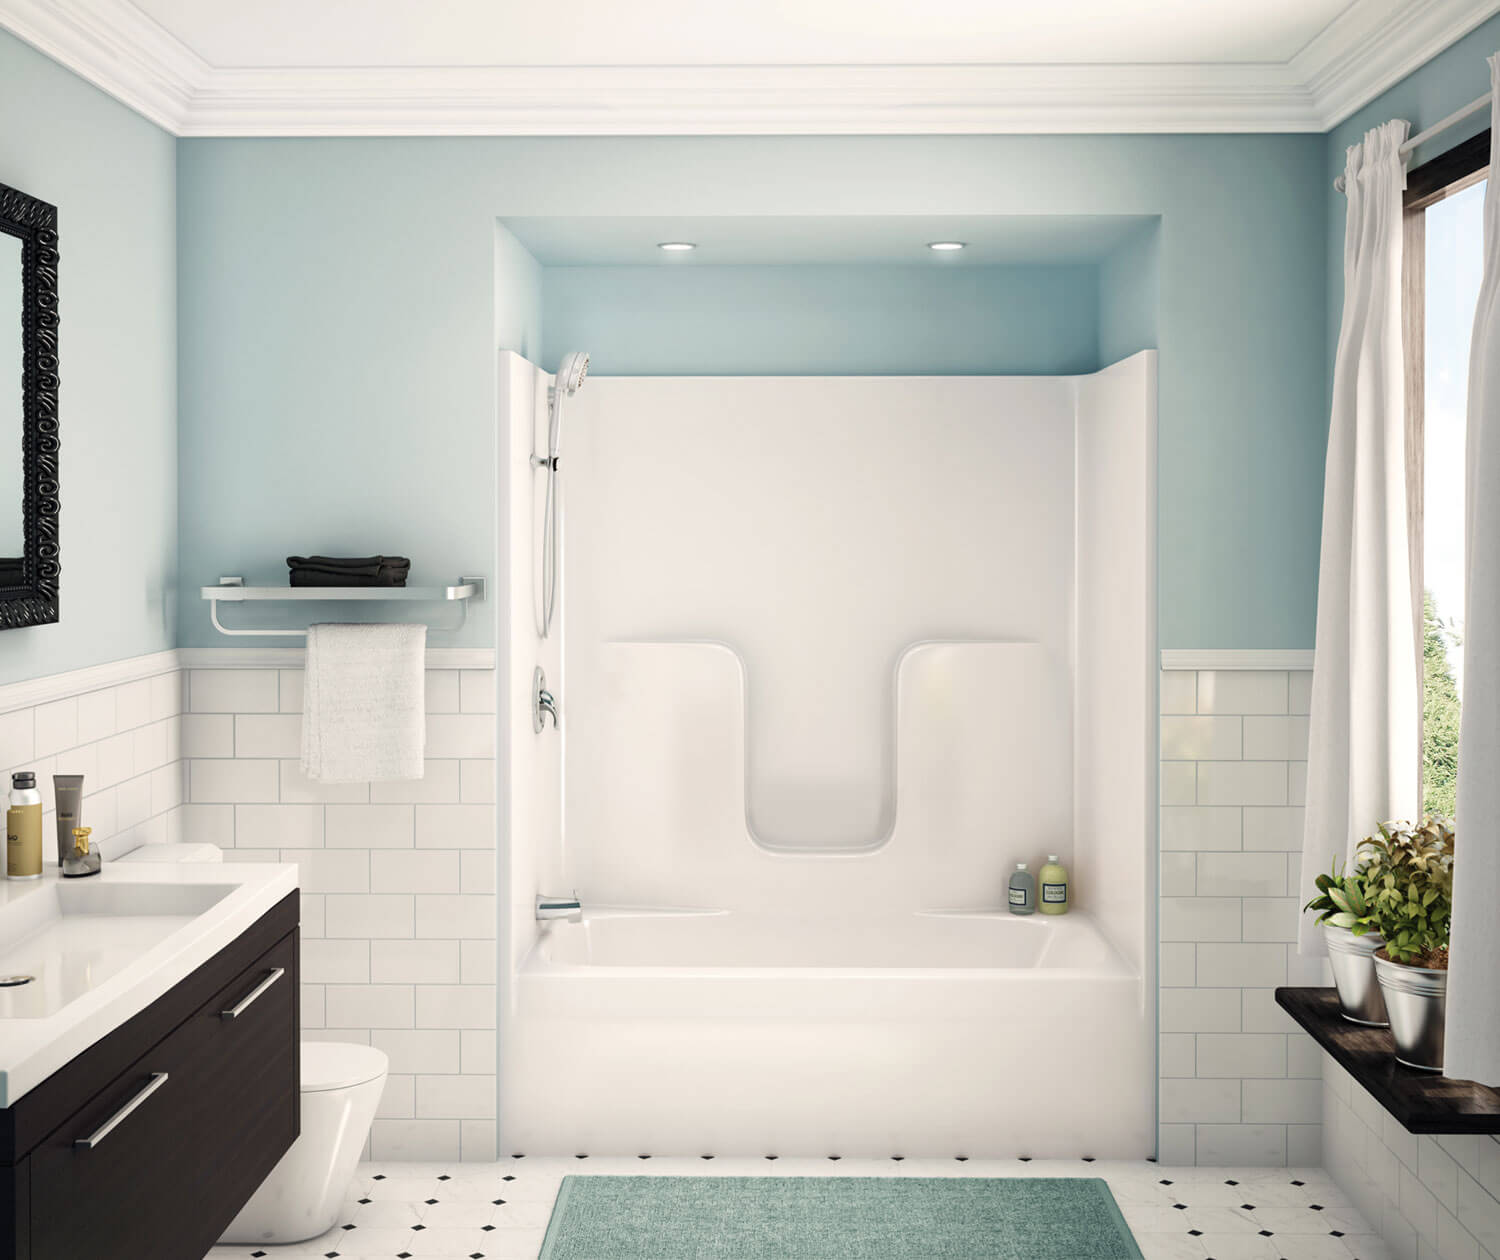
Choosing the Right Shower Conversion Kit
Selecting the appropriate shower conversion kit is a pivotal decision in the process of transforming a bathtub into a shower. The right kit not only ensures a seamless and efficient installation but also contributes to the overall functionality and aesthetic appeal of the new shower space. Here's a detailed exploration of the key factors to consider when choosing the right shower conversion kit:
Compatibility and Fit
The first consideration when selecting a shower conversion kit is ensuring compatibility and fit with the existing bathtub space. Take precise measurements of the bathtub and surrounding area to determine the available space for the shower enclosure. Consider the dimensions, shape, and configuration of the bathtub, as well as any specific requirements for the shower kit to seamlessly integrate with the existing plumbing and fixtures.
Style and Design
The style and design of the shower conversion kit play a significant role in defining the visual appeal and ambiance of the new shower space. Explore a range of options, including framed or frameless enclosures, sliding or hinged doors, and various finish options to complement the bathroom decor. Consider the overall aesthetic of the bathroom and select a shower kit that harmonizes with the existing design elements while adding a touch of modern elegance or timeless charm.
Material Quality and Durability
Opt for a shower conversion kit crafted from high-quality, durable materials that can withstand the rigors of daily use and provide long-lasting performance. Look for features such as tempered glass panels, corrosion-resistant hardware, and sturdy construction to ensure the durability and longevity of the shower enclosure. Additionally, consider the ease of maintenance and cleaning requirements to keep the shower kit looking pristine over time.
Read more: How To Shower In A Bathtub?
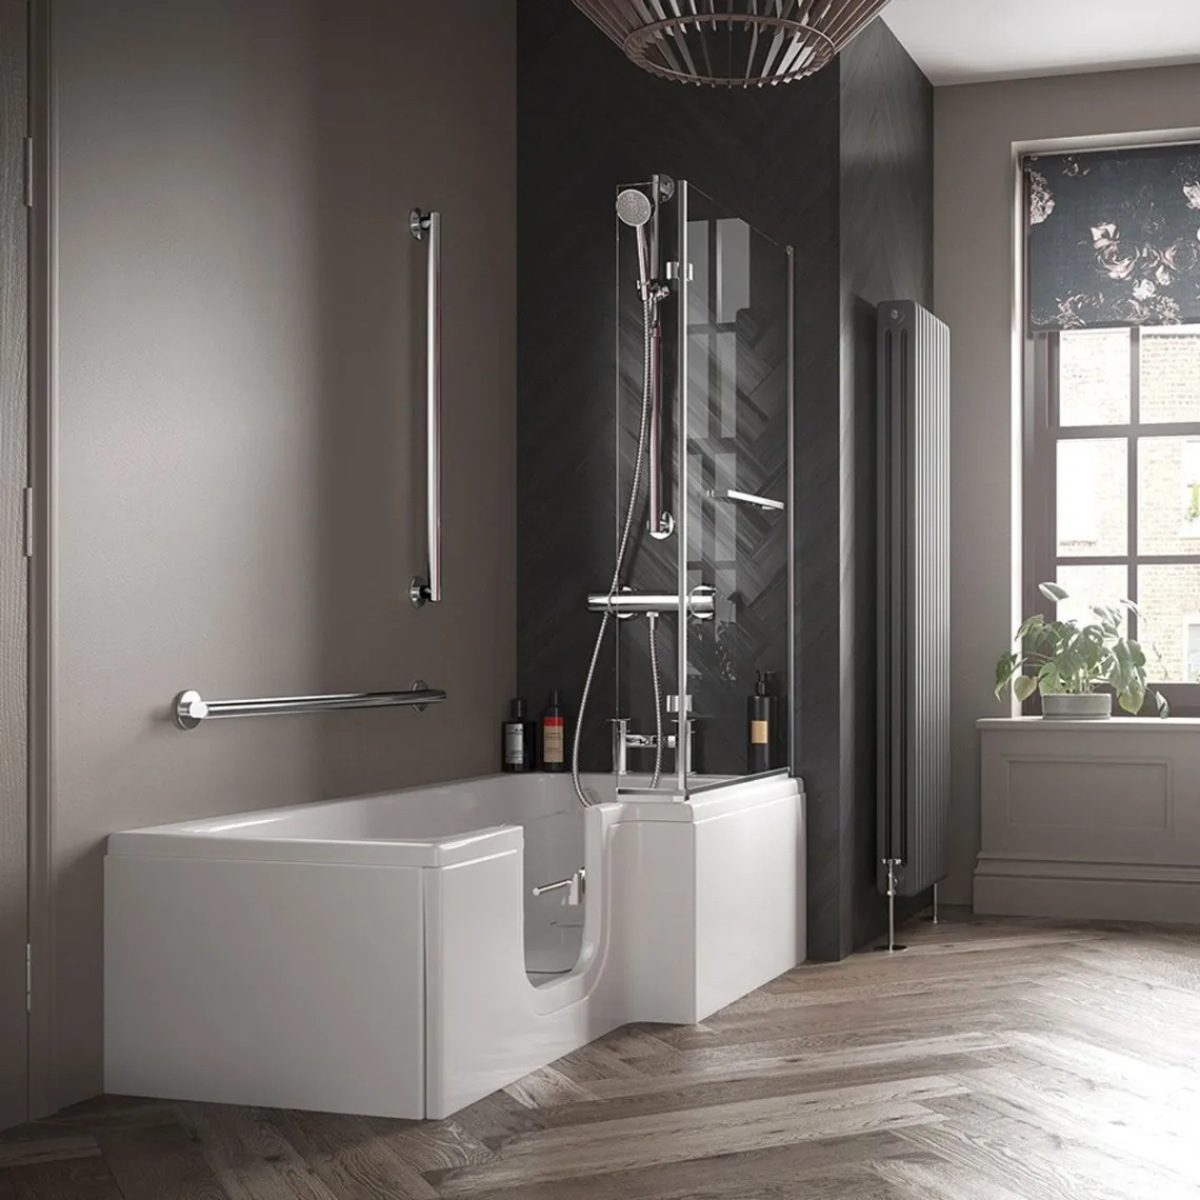
Accessibility and Safety Features
For individuals with specific accessibility needs or those planning for aging-in-place modifications, prioritize shower conversion kits that offer accessibility and safety features. Look for options with low or barrier-free thresholds, strategically placed grab bars, and non-slip flooring to enhance safety and ease of use. Accessibility-focused shower kits contribute to a more inclusive and user-friendly shower experience for individuals of all ages and abilities.
Installation Requirements and Ease
Consider the installation requirements and complexity of the shower conversion kit to ensure a smooth and efficient installation process. Look for kits that include comprehensive installation instructions, necessary hardware, and compatibility with standard plumbing configurations. Additionally, assess the level of expertise and tools required for installation, and if necessary, seek professional assistance to ensure a precise and secure installation.
Budget and Value
Evaluate the cost of the shower conversion kit in relation to the overall value it offers in terms of quality, functionality, and aesthetic enhancement. While budget considerations are important, prioritize value and long-term benefits when selecting a shower kit. Look for options that strike a balance between affordability and quality, offering a worthwhile investment in transforming the bathtub into a stylish and functional shower space.
By carefully considering compatibility and fit, style and design, material quality and durability, accessibility and safety features, installation requirements and ease, as well as budget and value, you can confidently choose the right shower conversion kit for your bathtub to shower transformation. This thoughtful selection sets the stage for a successful and gratifying shower conversion, bringing a renewed sense of functionality and elegance to your bathroom space.
Preparing the Bathtub for Conversion
Preparing the bathtub for conversion is a crucial phase that sets the groundwork for a successful transition to a shower. This process involves thorough cleaning, removal of existing fixtures, and addressing any structural or plumbing considerations to ensure a seamless and efficient conversion. Here's a comprehensive guide to preparing the bathtub for conversion:
-
Clearing the Space: Begin by removing any existing accessories, such as shower curtains, rods, and caddies, from the bathtub area. Clearing the space allows for better access and visibility during the preparation process.
-
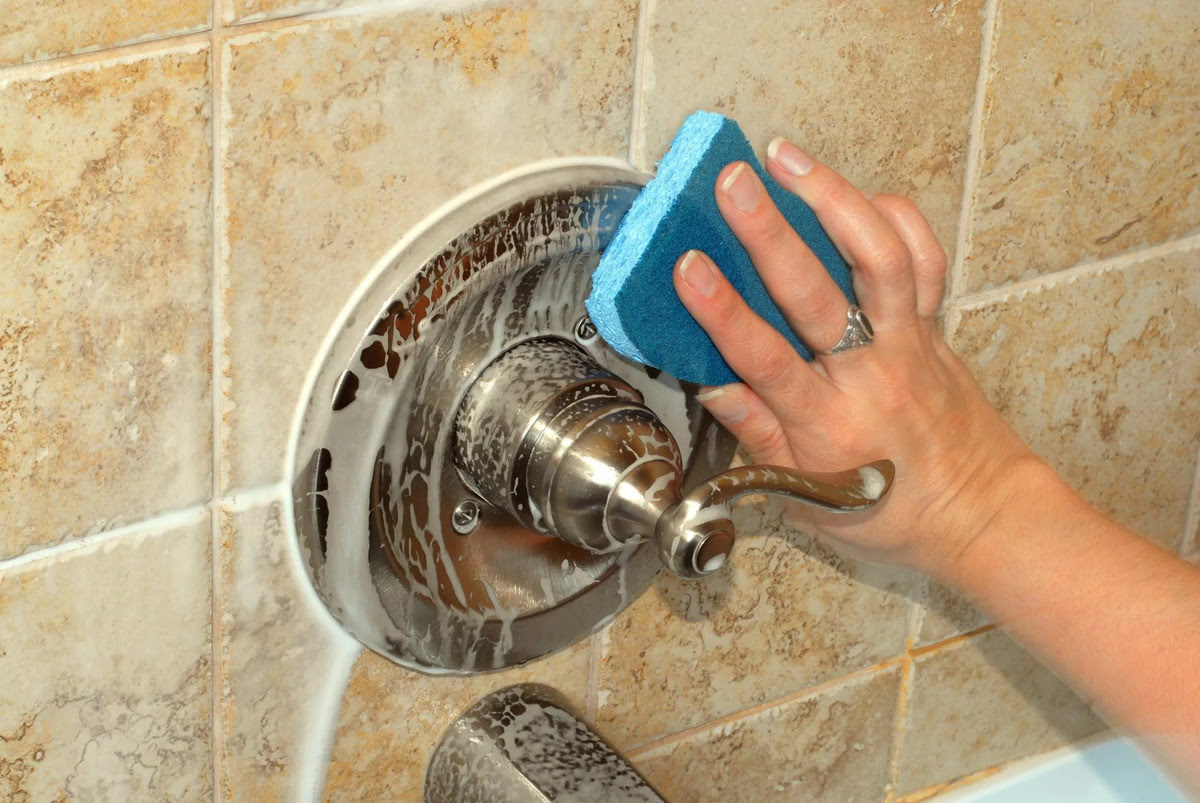
Deep Cleaning: Thoroughly clean the bathtub and its surroundings to remove any accumulated grime, soap scum, and mineral deposits. Use a suitable cleaning solution and scrubbing tools to ensure a clean and sanitized surface, free from any residues that may affect the adhesion of new materials during the conversion.
-
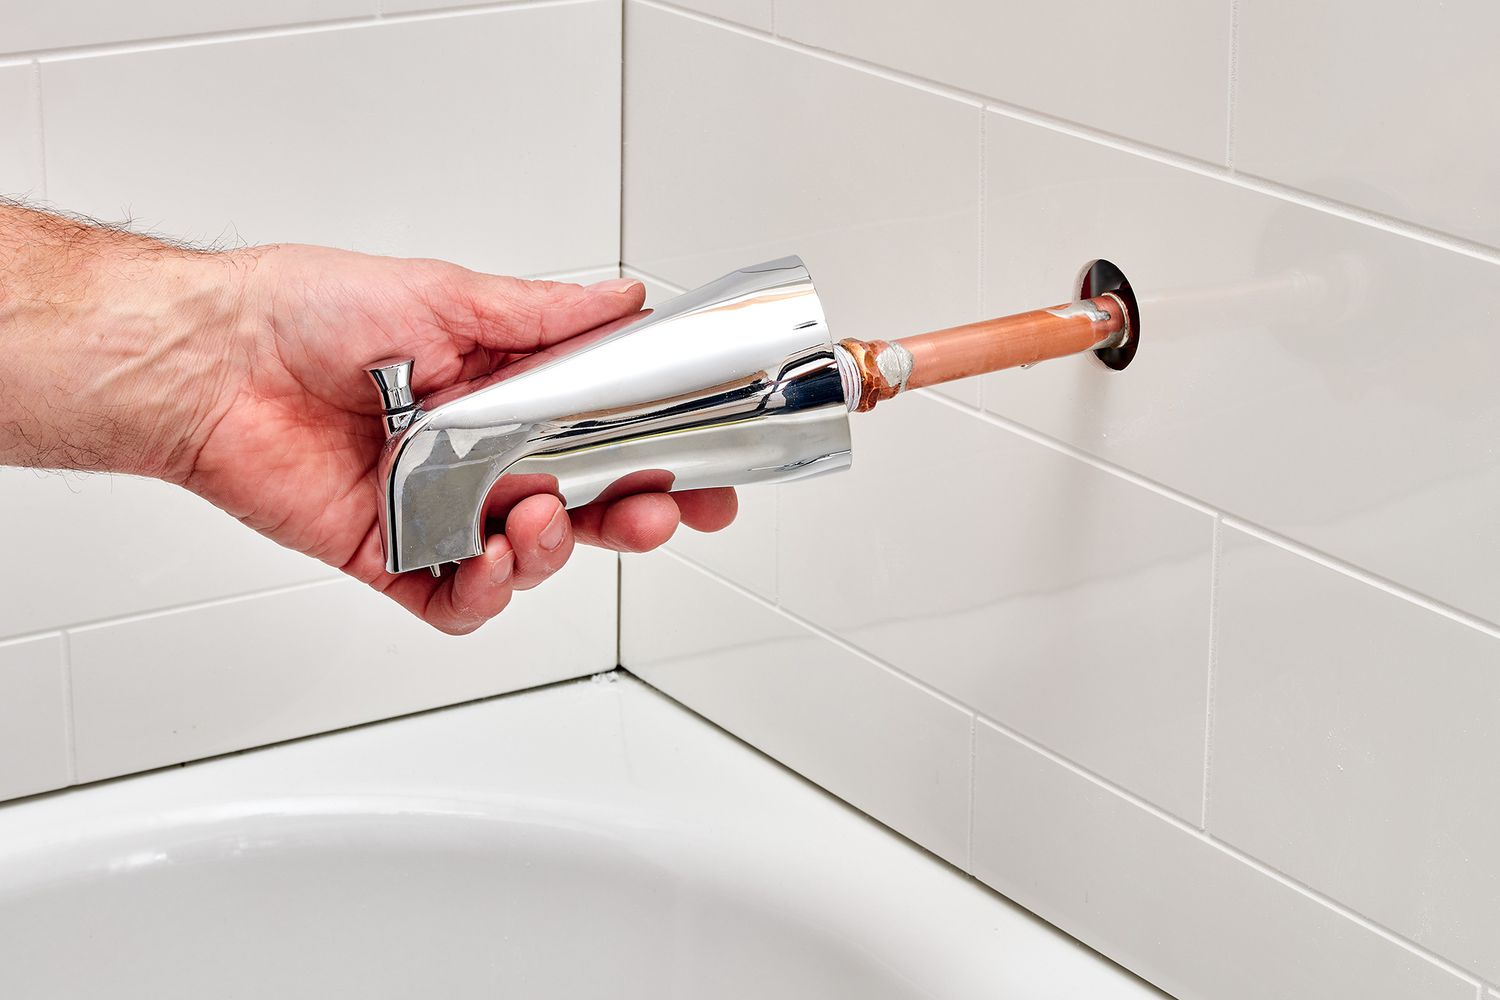
Removing Existing Fixtures: If the bathtub is equipped with a showerhead, faucet, or other fixtures that are no longer needed for the shower conversion, carefully remove them. Use appropriate tools to disconnect the plumbing connections and safely detach the fixtures from the bathtub.
-
Repairing and Reinforcing: Inspect the bathtub for any signs of damage, wear, or structural issues that may impact the conversion process. Address any cracks, chips, or worn areas by applying suitable repair materials to restore the integrity of the bathtub surface. Additionally, reinforce the surrounding walls and floor as needed to support the installation of the new shower components.
-
Addressing Plumbing Considerations: Evaluate the existing plumbing connections and drainage system associated with the bathtub. Determine if any modifications or adjustments are necessary to accommodate the installation of the shower components. This may involve repositioning or extending water supply lines, adjusting drain connections, or installing new plumbing fixtures to align with the shower configuration.
-
Prepping the Surrounding Walls: Prepare the walls surrounding the bathtub for the installation of the shower enclosure. Ensure that the walls are clean, dry, and free from any existing adhesives or residues that may interfere with the attachment of the new shower components. If necessary, apply a suitable waterproofing membrane to the walls to enhance moisture resistance and protect the underlying structure.
By meticulously preparing the bathtub for conversion through clearing the space, deep cleaning, removing existing fixtures, repairing and reinforcing, addressing plumbing considerations, and prepping the surrounding walls, you establish a solid foundation for the subsequent installation of the shower conversion kit. This proactive approach ensures that the transition from a bathtub to a shower is executed with precision and attention to detail, setting the stage for a revitalized and functional shower space in your bathroom.
Read more: How To Replace A Bathtub Shower
Installing the Shower Conversion Kit
The installation of the shower conversion kit marks a pivotal phase in the transformation of a bathtub into a shower, where meticulous attention to detail and precise execution are essential. This process involves assembling and securing the components of the shower enclosure, ensuring proper alignment, waterproofing, and structural integrity. Here's a comprehensive guide to the step-by-step installation of the shower conversion kit:
-
Assemble the Components: Begin by carefully unpacking the shower conversion kit and organizing the components. Follow the manufacturer's instructions to assemble the frame, door, panels, and any additional elements included in the kit. Ensure that all necessary hardware and accessories are readily available for the installation process.
-
Positioning and Alignment: Position the assembled components in the designated area to verify the fit and alignment with the bathtub and surrounding walls. Make any necessary adjustments to ensure that the shower enclosure is level, plumb, and properly positioned within the space. This step is crucial for achieving a seamless and visually appealing installation.
-
Secure the Frame and Panels: Once the positioning and alignment are confirmed, securely attach the frame and panels to the walls and floor. Use appropriate fasteners and anchors to ensure a stable and secure attachment, taking care to maintain the proper spacing and alignment of the components. Follow the manufacturer's guidelines for recommended installation techniques and hardware usage.
-
Install the Shower Door: If the shower conversion kit includes a door, carefully install it according to the provided instructions. Ensure that the door operates smoothly, seals effectively, and aligns correctly with the frame and adjacent panels. Proper installation of the shower door is essential for functionality, aesthetics, and water containment within the shower space.
-
Waterproofing and Sealing: Apply a high-quality waterproofing sealant or caulk along the seams, joints, and edges of the shower enclosure to create a watertight barrier. Pay special attention to areas where the frame, panels, and door meet the walls and floor, ensuring thorough coverage to prevent water infiltration and protect the surrounding surfaces.
-
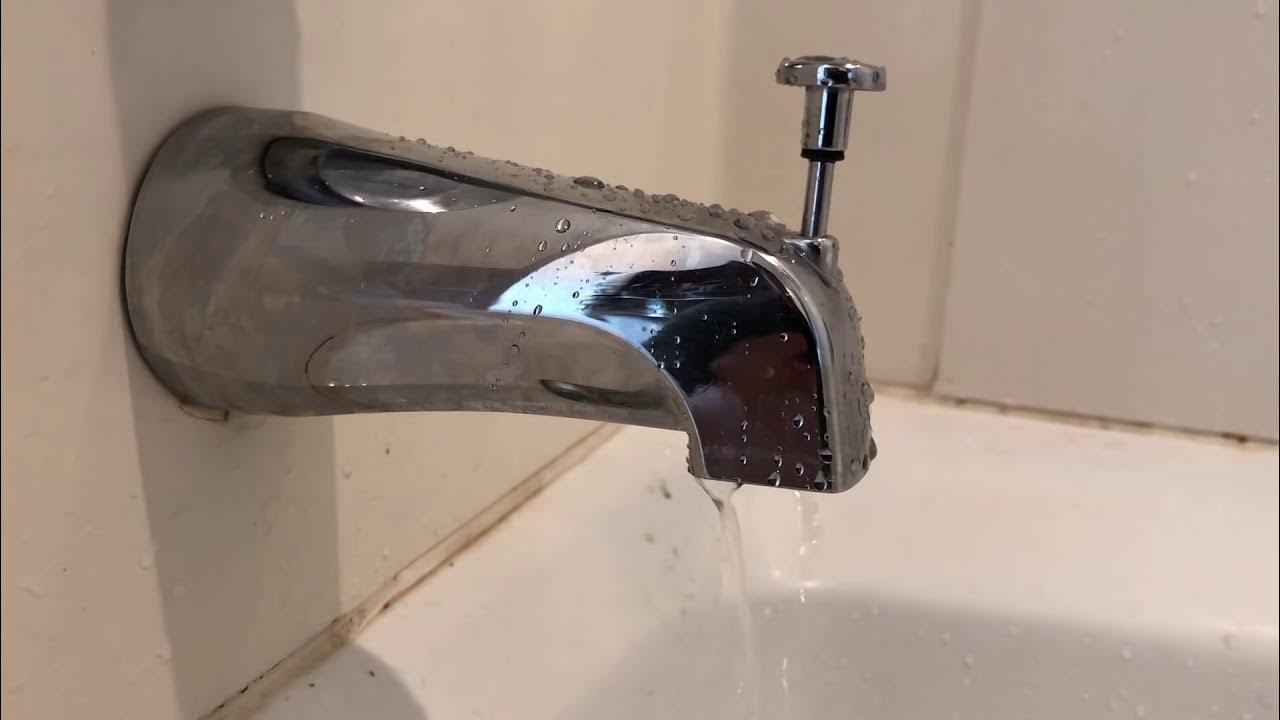
Connect Plumbing Fixtures: If the shower conversion involves the installation of new plumbing fixtures, such as a showerhead, faucet, or controls, carefully connect and secure these components according to the manufacturer's specifications. Verify proper functionality and address any leaks or adjustments as needed to ensure reliable water flow and control.
-
Final Adjustments and Testing: Conduct a comprehensive inspection of the installed shower conversion kit, making final adjustments to ensure proper fit, alignment, and functionality. Test the operation of the shower door, check for any signs of water leakage, and verify the overall stability and integrity of the installation.
By following these detailed steps for installing the shower conversion kit, you can achieve a seamless and professional transformation from a bathtub to a shower. This meticulous approach ensures that the new shower space not only meets functional and aesthetic expectations but also provides lasting durability and performance, enhancing the overall appeal and usability of your bathroom.
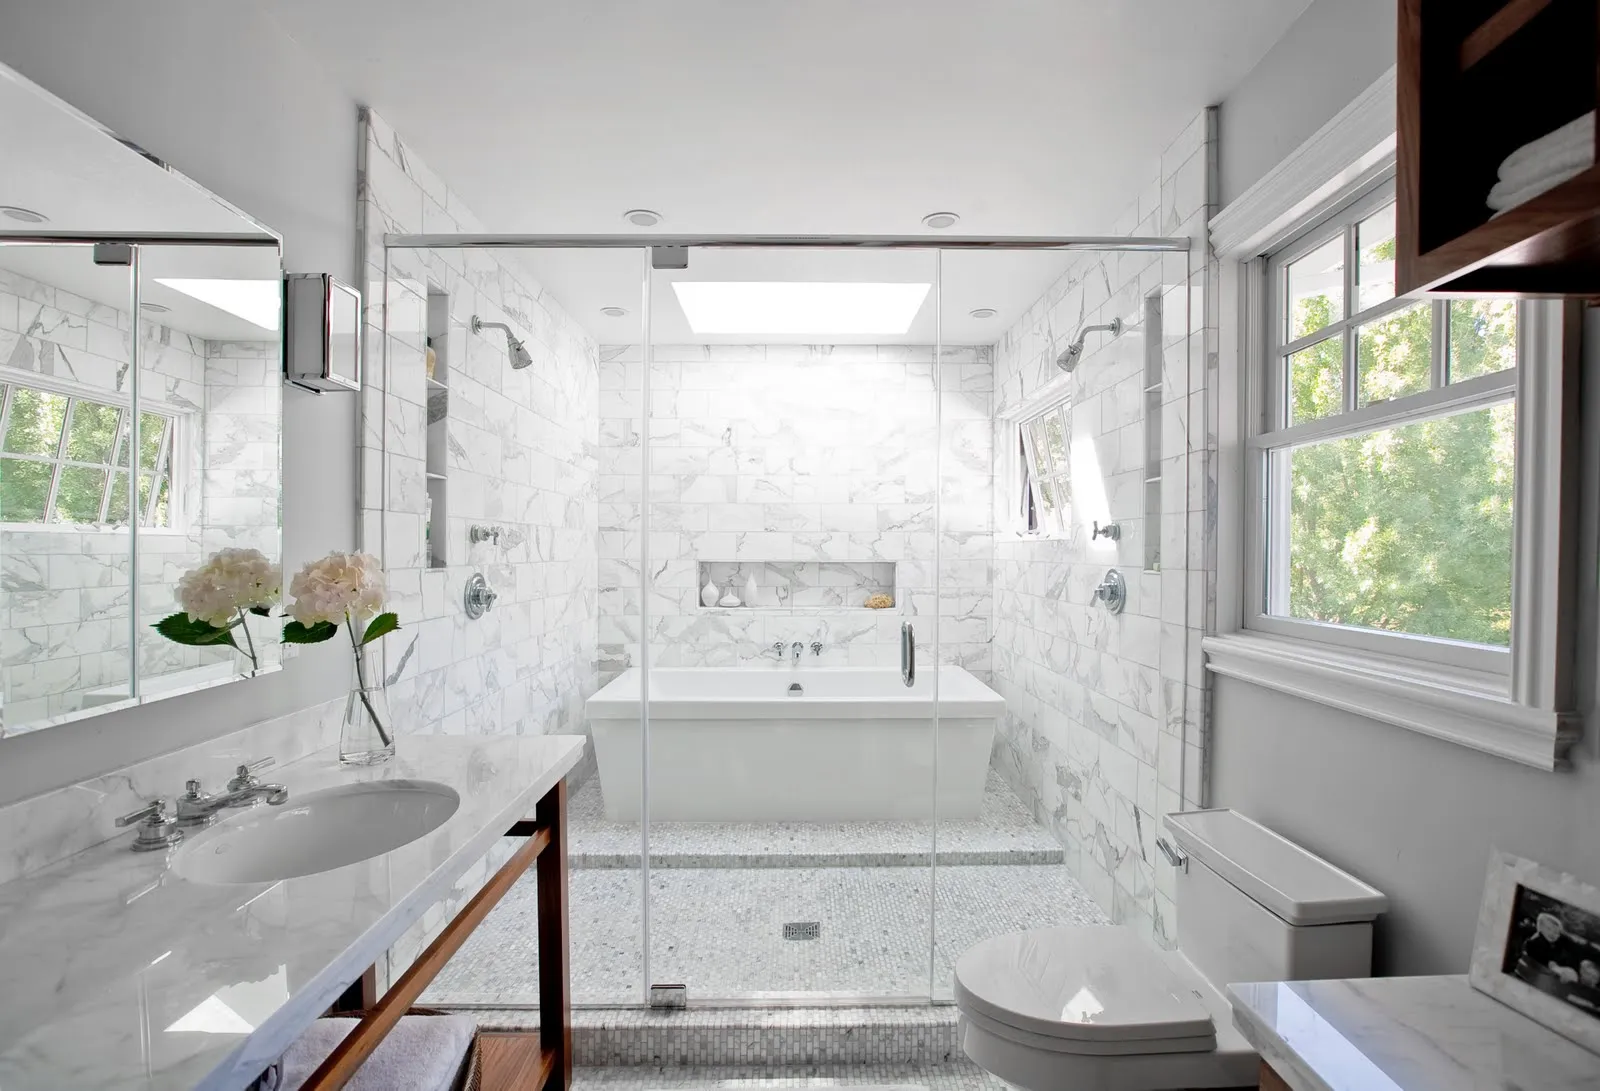
Sealing and Finishing Touches
The sealing and finishing touches phase represents the culmination of the bathtub to shower conversion process, where meticulous attention to detail and precision are paramount. This critical stage involves applying the final seals, addressing aesthetic enhancements, and ensuring the overall functionality and visual appeal of the newly transformed shower space. Here's a comprehensive guide to the essential steps involved in sealing and adding finishing touches to the shower conversion:
Waterproofing and Sealant Application
Begin by meticulously applying a high-quality waterproof sealant or caulk along the seams, edges, and joints of the shower enclosure. Pay particular attention to areas where the shower components meet the walls and floor, ensuring a thorough and uniform application to create a watertight barrier. The sealant not only prevents water infiltration but also safeguards the surrounding surfaces from moisture damage, contributing to the long-term durability and integrity of the shower installation.
Grout and Tile Work
If the shower conversion involves the use of tiles, carefully inspect the grout lines and tile surfaces for any imperfections or gaps. Address any areas that require regrouting or touch-ups to ensure a uniform and aesthetically pleasing appearance. Additionally, consider applying a suitable tile sealer to enhance the longevity and resistance of the tile surfaces against water and stains, further elevating the overall quality and maintenance of the shower space.
Read more: How To Add Shower To Bathtub
Trim and Finishing Details
Incorporate finishing touches such as trim pieces, decorative accents, and complementary fixtures to enhance the visual appeal and cohesiveness of the shower area. Install trim along the edges of the shower enclosure, around niche areas, and at transitions between different materials to create a polished and refined look. Select fixtures and accessories that complement the overall design aesthetic, adding a touch of sophistication and functionality to the newly transformed shower space.
Cleaning and Final Inspection
Conduct a thorough cleaning of the entire shower area, removing any construction residues, dust, or debris that may have accumulated during the installation process. Pay attention to the glass panels, hardware, and surfaces, ensuring a pristine and inviting presentation. Once cleaned, perform a final inspection to verify the completeness of the sealing and finishing touches, addressing any minor adjustments or touch-ups as needed to achieve a flawless and professional outcome.
By meticulously executing the sealing and finishing touches, you elevate the overall quality and appeal of the newly transformed shower space, creating a functional, visually stunning, and enduring addition to your bathroom. This meticulous attention to detail ensures that the shower conversion not only meets but exceeds expectations, delivering a revitalized and inviting shower area that enhances the comfort and elegance of your home.
Frequently Asked Questions about How To Turn A Bathtub Into A Shower?
Was this page helpful?
At Storables.com, we guarantee accurate and reliable information. Our content, validated by Expert Board Contributors, is crafted following stringent Editorial Policies. We're committed to providing you with well-researched, expert-backed insights for all your informational needs.

0 thoughts on “How To Turn A Bathtub Into A Shower?”