Home>Furniture & Design>Bathroom Accessories>How To Add Shower To Bathtub
Bathroom Accessories
How To Add Shower To Bathtub
Modified: October 18, 2024
Learn how to enhance your bathroom with a shower added to your bathtub. Find the best bathroom accessories and upgrade your space today.
(Many of the links in this article redirect to a specific reviewed product. Your purchase of these products through affiliate links helps to generate commission for Storables.com, at no extra cost. Learn more)
Introduction
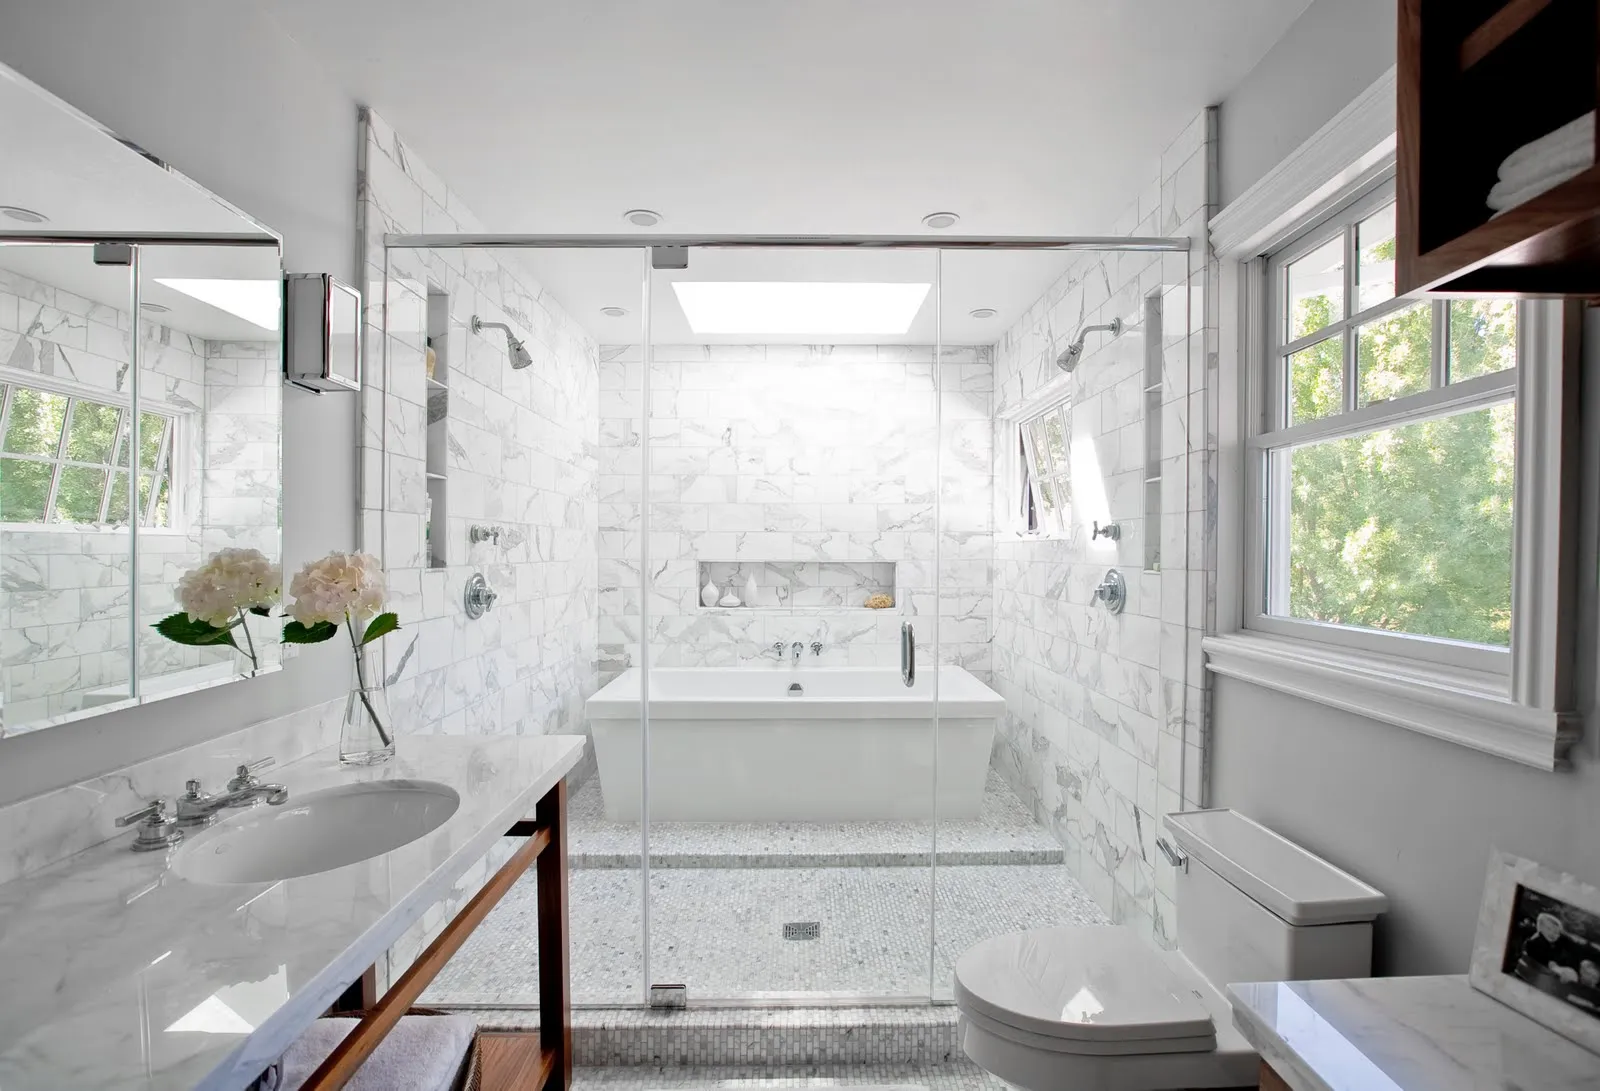
Adding a shower to a bathtub can significantly enhance the functionality and versatility of your bathroom. Whether you're looking to save space, accommodate the needs of a growing family, or simply update the aesthetics of your bathroom, installing a shower kit can be a practical and stylish solution. This transformation not only increases the value of your home but also provides a convenient and luxurious bathing experience.
By incorporating a shower into your bathtub space, you can create a multifunctional area that caters to both relaxation and efficiency. This upgrade allows you to enjoy the best of both worlds, as you can indulge in a leisurely soak in the tub or opt for a quick and invigorating shower, depending on your mood and schedule.
Moreover, the addition of a shower to your bathtub area can bring a modern and sophisticated touch to your bathroom decor. With a wide range of stylish and functional shower kits available, you have the freedom to customize the look and feel of your bathing space to suit your personal taste and lifestyle.
In this comprehensive guide, we will walk you through the step-by-step process of adding a shower to your bathtub. From assessing your space and choosing the right shower kit to preparing the area, installing the shower kit, and adding the finishing touches, we will cover everything you need to know to successfully complete this home improvement project.
So, whether you're a seasoned DIY enthusiast or a first-time home improver, this guide will equip you with the knowledge and confidence to embark on this rewarding endeavor. Get ready to transform your bathroom into a more functional, stylish, and enjoyable space with the addition of a shower to your bathtub.
Key Takeaways:
- Transform your bathtub into a versatile shower space to enjoy both relaxation and efficiency, adding value and luxury to your home while enhancing your bathing experience.
- Carefully assess your space, choose the right shower kit, and meticulously prepare, install, and test your new shower to create a stylish, functional, and safe bathing area.
Read more: How To Add Shower Head To Bathtub
Assessing Your Space
Before embarking on the journey of adding a shower to your bathtub, it's crucial to assess your space thoroughly. This initial step sets the foundation for a successful and seamless installation process. Here's a detailed breakdown of the key aspects to consider when evaluating your bathroom for the addition of a shower:
-
Available Space: Begin by measuring the available space in your bathroom. Assess the dimensions of the bathtub area to determine if it can accommodate a shower kit. Consider the layout of the room and identify any potential obstacles, such as fixtures, cabinets, or doors, that may impact the installation process.
-
Plumbing and Drainage: Evaluate the existing plumbing and drainage system in your bathroom. Determine if the current setup can support the addition of a shower. Assess the proximity of the bathtub to the water supply and drainage lines to ensure that the necessary connections can be made without extensive modifications.
-
Structural Considerations: Inspect the structural integrity of the bathtub and surrounding walls. Ensure that the bathtub is in good condition and capable of supporting the weight of a shower kit. Additionally, assess the condition of the walls to determine if they are suitable for the installation of shower fixtures and accessories.
-
Ventilation and Moisture Control: Consider the ventilation and moisture control measures in your bathroom. Adequate ventilation is essential for preventing moisture buildup and mold growth in the shower area. Evaluate the existing ventilation system and explore options for improving airflow to create a comfortable and hygienic shower environment.
-
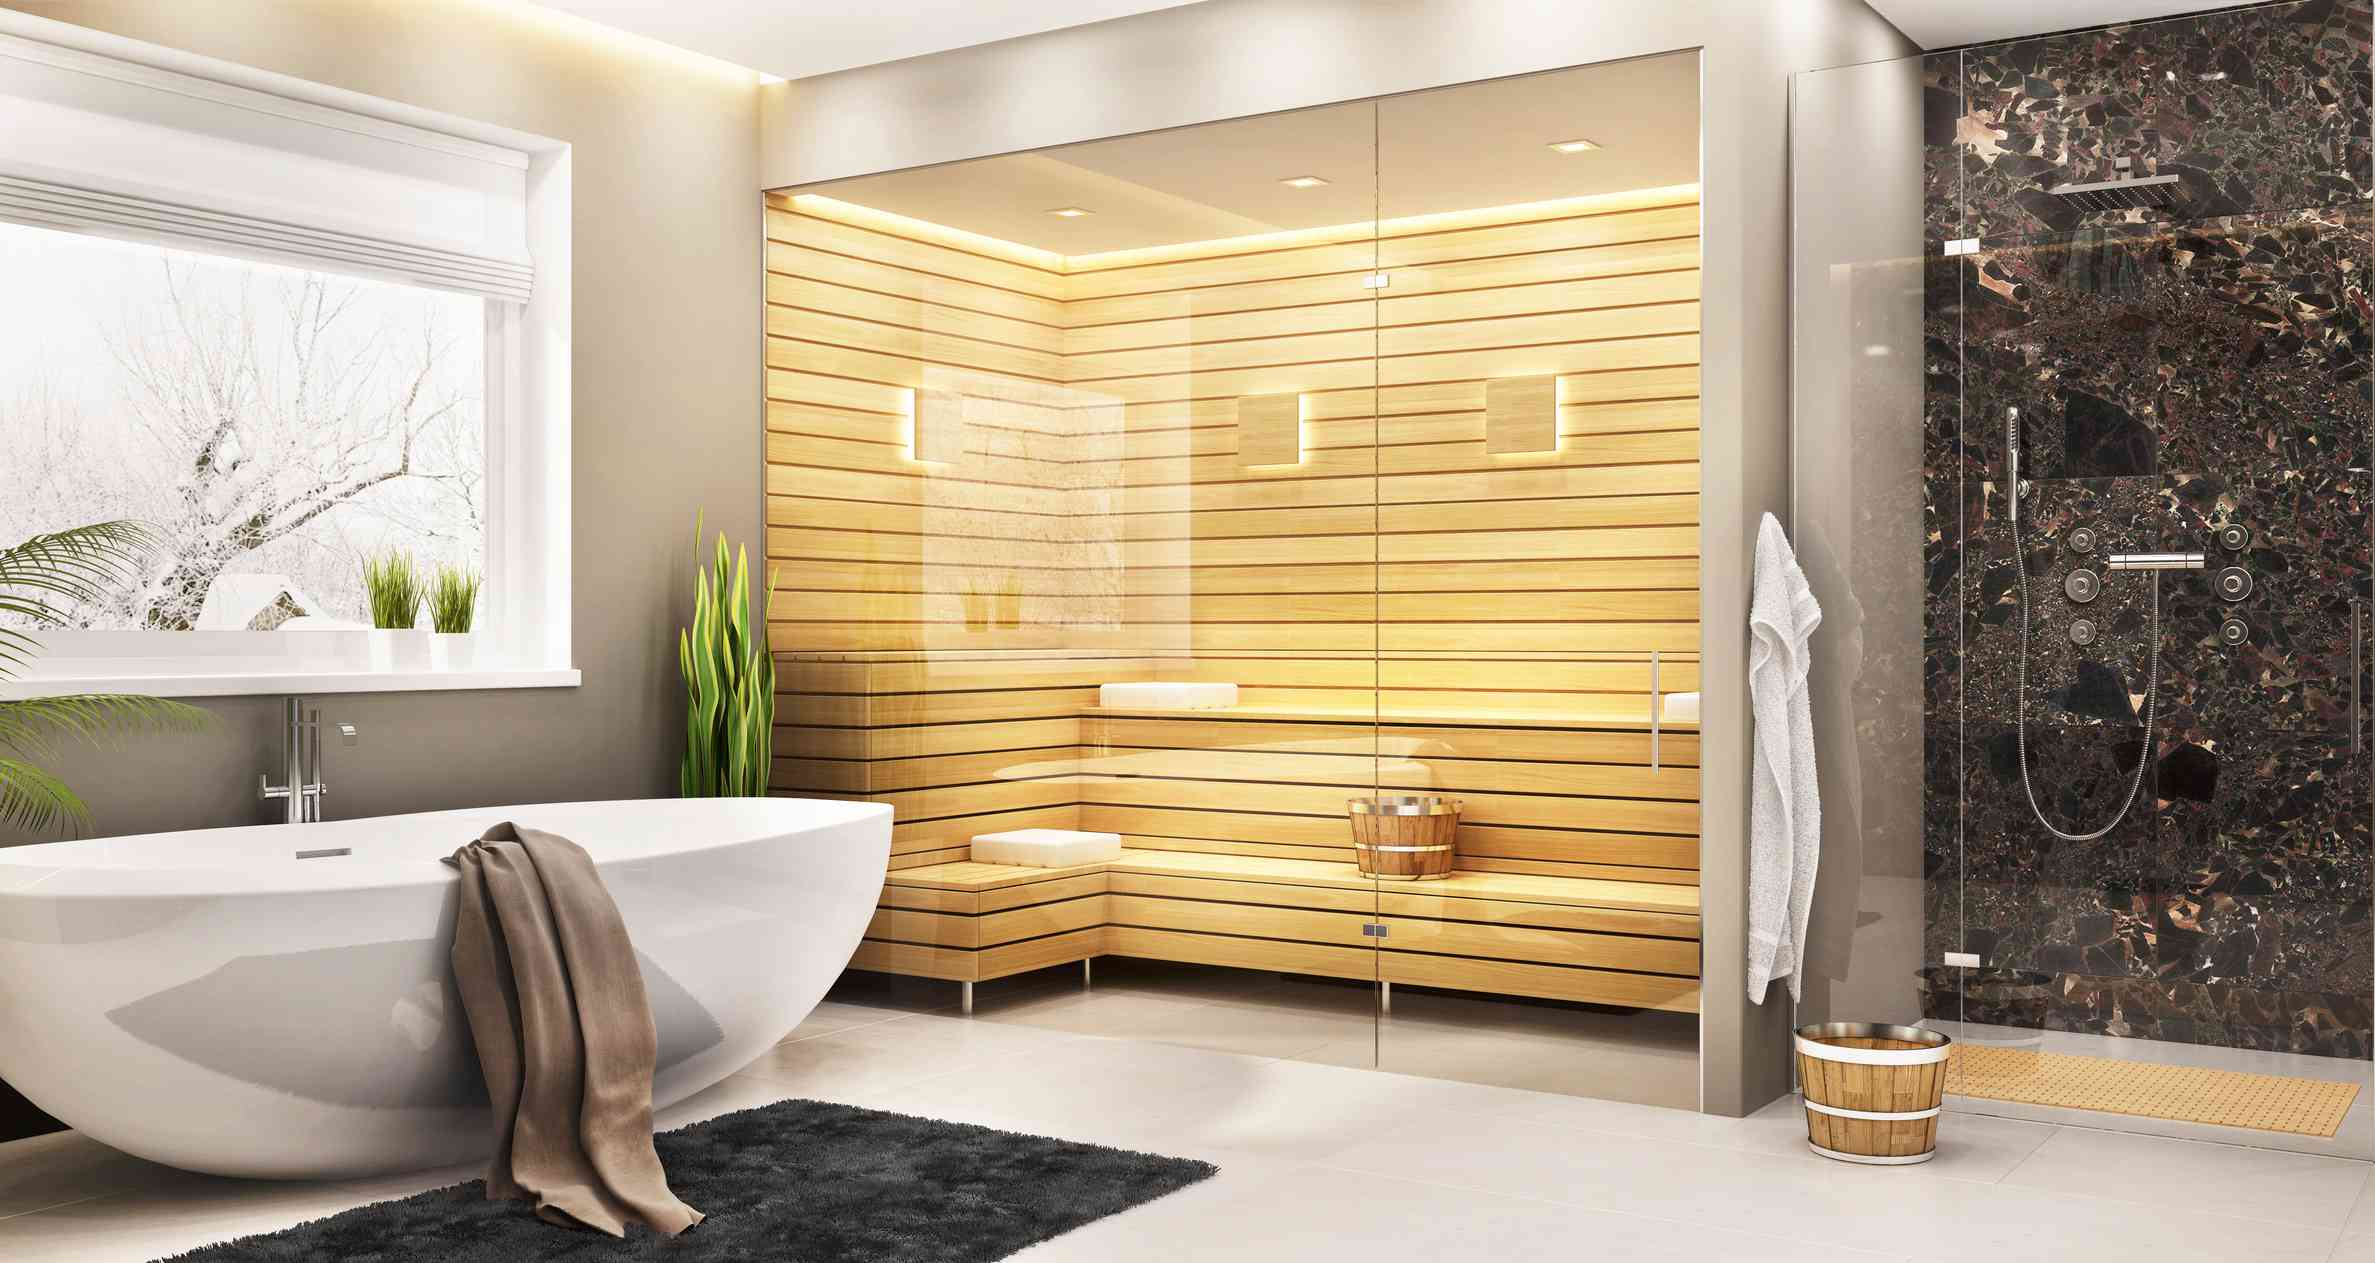
Aesthetic Preferences: Take into account your aesthetic preferences and design aspirations for the shower addition. Consider how the new shower will integrate with the overall style of your bathroom. Explore different shower kit options, including enclosure styles, glass designs, and hardware finishes, to align with your desired aesthetic vision.
By meticulously assessing these key elements, you can gain a comprehensive understanding of your space and its suitability for accommodating a shower. This preparatory phase empowers you to make informed decisions and plan effectively for the subsequent stages of the installation process. With a clear understanding of your space, you can proceed with confidence and precision as you move forward with adding a shower to your bathtub.
Choosing the Right Shower Kit
Selecting the right shower kit is a pivotal step in the process of adding a shower to your bathtub. The market offers a diverse array of shower kits, each with unique features and design elements. To ensure that you choose a shower kit that aligns with your specific needs and preferences, consider the following factors:
-
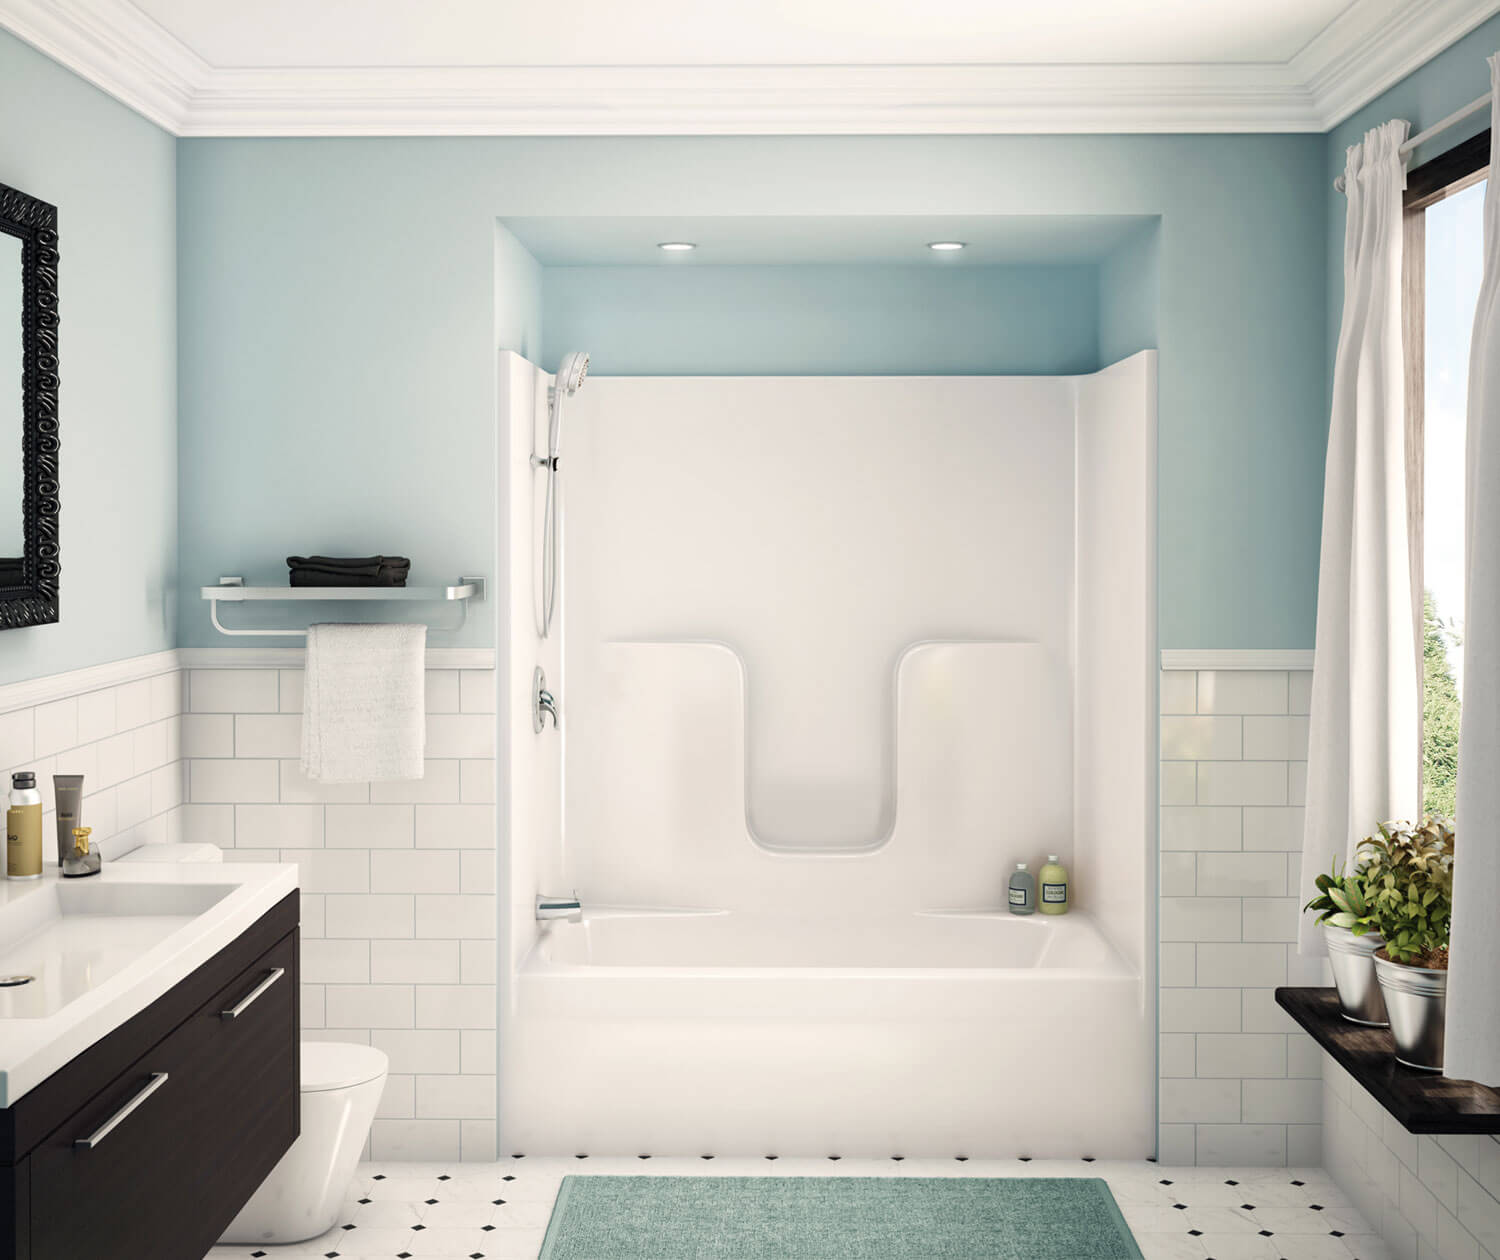
Size and Configuration: Begin by evaluating the size and configuration of your bathtub space. Determine the dimensions available for the shower enclosure and select a kit that fits seamlessly within the allotted area. Consider the layout of your bathroom to choose between corner, alcove, or freestanding shower kits, depending on the available space and your design objectives.
-
Material and Finish: Explore the material options for the shower walls, base, and doors. Common materials include acrylic, fiberglass, and tempered glass. Consider the durability, maintenance requirements, and aesthetic appeal of each material. Additionally, select a finish for the hardware and fixtures that complements the existing decor of your bathroom.
-
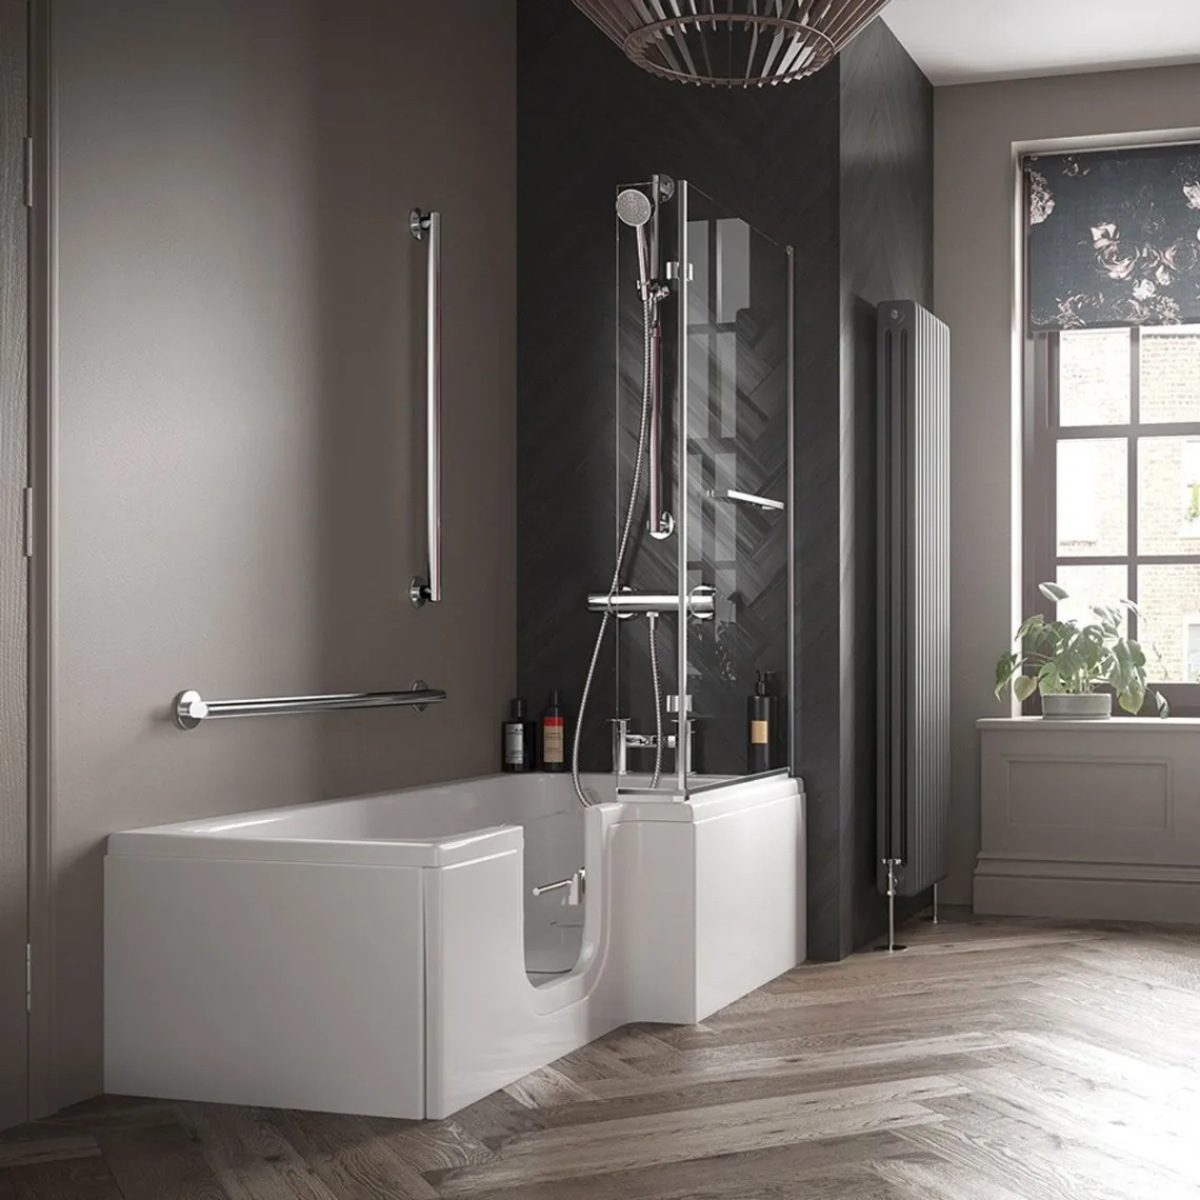
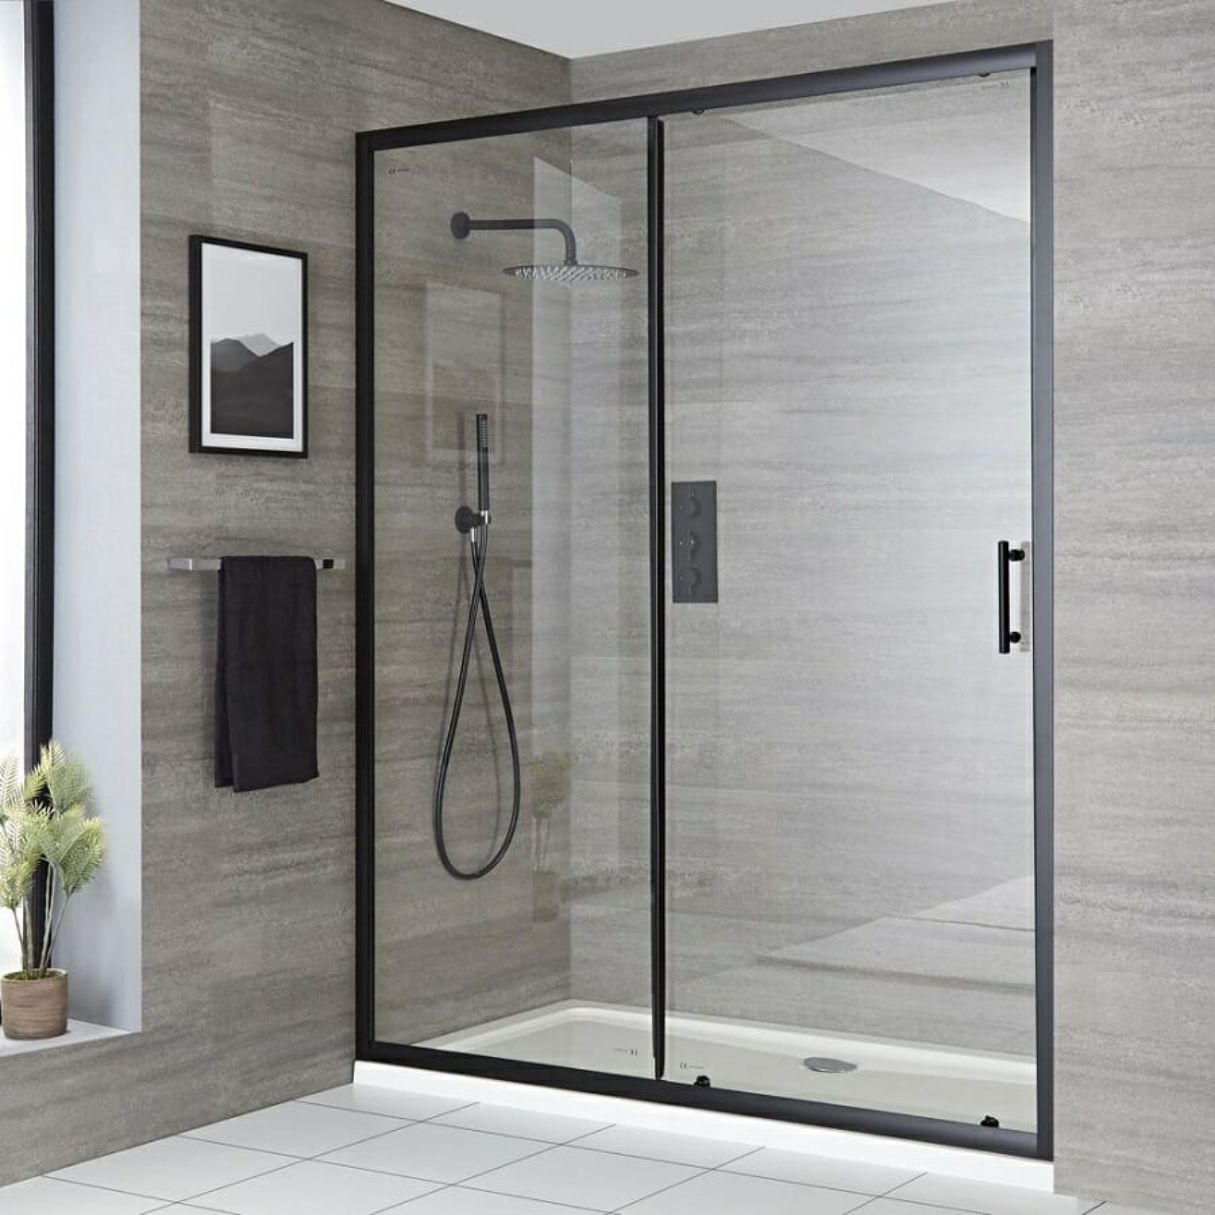
Door Style and Accessibility: Assess the door options available for the shower kit. Choose between sliding, pivot, hinged, or bi-fold doors based on your accessibility needs and space constraints. Consider the ease of entry and exit, especially if you have mobility considerations or if the shower will be used by individuals with varying physical abilities.
-
Customization and Design Elements: Look for opportunities to customize the design of the shower kit to suit your personal style. Explore options for adding built-in shelving, seating, and niche inserts to enhance the functionality and visual appeal of the shower space. Additionally, consider the availability of decorative glass patterns and hardware finishes to elevate the overall aesthetic of the shower enclosure.
-
Waterproofing and Sealing: Prioritize the waterproofing features of the shower kit to ensure a watertight and secure installation. Look for kits that incorporate effective sealing mechanisms and integrated water containment systems to prevent leaks and water damage. Verify that the kit includes all necessary components for proper waterproofing, such as seals, gaskets, and thresholds.
-
Budget and Long-Term Value: Establish a budget for the shower kit and consider the long-term value it offers. Balance the initial cost with the quality, durability, and warranty of the kit. Investing in a high-quality shower kit can contribute to the longevity and functionality of your bathroom, making it a worthwhile long-term investment.
By carefully considering these factors, you can make an informed decision when choosing the right shower kit for your bathtub. Keep in mind that the selected kit should not only meet your practical needs but also align with your aesthetic preferences, ultimately enhancing the overall appeal and functionality of your bathroom space.
Preparing the Area
Preparing the area for the installation of a shower in your bathtub involves a series of essential tasks that lay the groundwork for a successful and durable outcome. This phase encompasses a range of activities aimed at ensuring that the designated space is ready to accommodate the new shower kit seamlessly. Here's a detailed breakdown of the key steps involved in preparing the area for the shower addition:
-
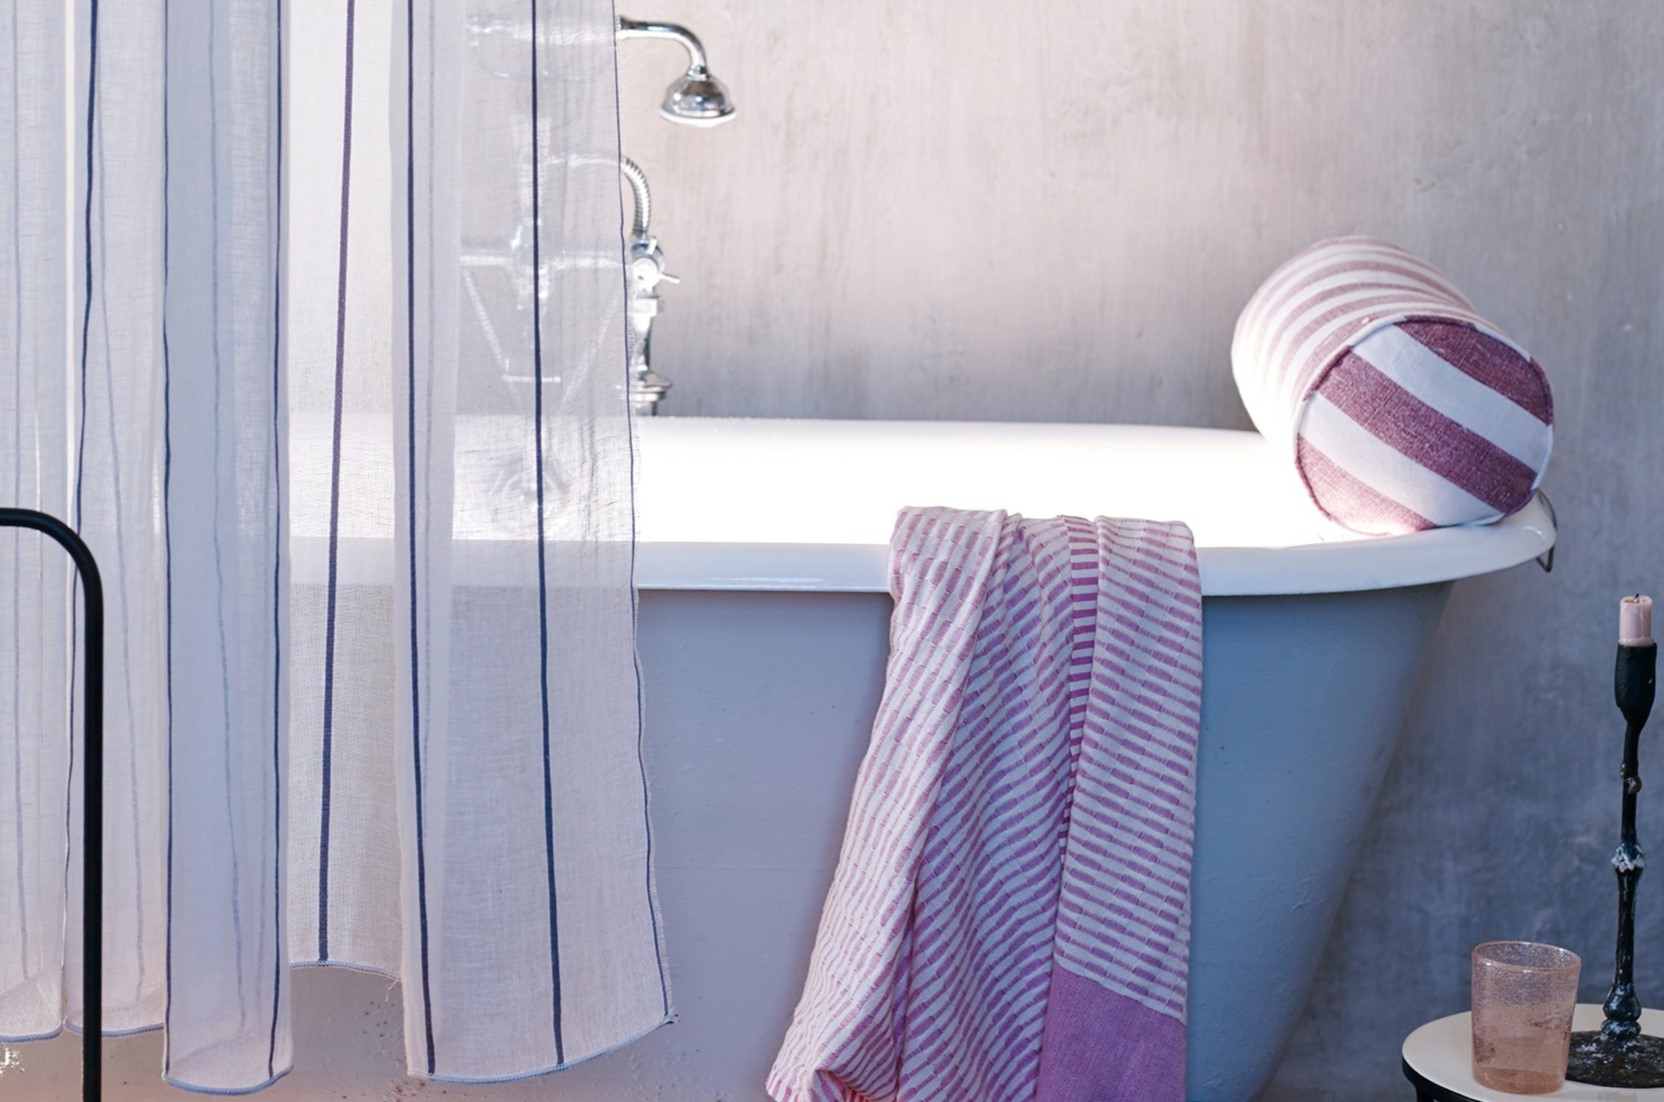
Clearing the Space: Begin by clearing the bathtub area of any existing fixtures, accessories, and personal items. Remove shower curtains, rods, and any other items that may obstruct the installation process. Clearing the space provides a clean canvas for the subsequent tasks and allows for unrestricted access to the installation area.
-
Inspecting the Plumbing: Evaluate the existing plumbing connections and fixtures to ensure that they are in good working condition. Check for any signs of leaks, corrosion, or damage in the water supply lines, faucets, and drain components. Address any plumbing issues and make necessary repairs or replacements to ensure the integrity of the water delivery and drainage systems.
-
Addressing Structural Concerns: Inspect the structural integrity of the bathtub and surrounding walls. Ensure that the bathtub is securely anchored and free from any structural damage or deterioration. Assess the condition of the wall studs and framing to verify that they are capable of supporting the installation of the shower kit and associated fixtures.
-
Preparing the Substrate: Prepare the substrate, which may involve removing existing wall coverings, such as tiles or panels, to expose the underlying surface. Ensure that the substrate is clean, level, and free from any debris or protrusions that could interfere with the installation of the shower walls and base. Address any irregularities in the substrate to create a smooth and stable foundation for the new shower enclosure.
-
Establishing Waterproofing Measures: Prioritize the implementation of waterproofing measures to safeguard the installation area against moisture infiltration. Apply a waterproof membrane or sealing system to the walls and floor surrounding the bathtub to create a protective barrier against water damage. Pay special attention to areas prone to moisture exposure, such as corners, seams, and penetrations.
-
Securing Necessary Permits: Check local building codes and regulations to determine if permits are required for the installation of the shower kit. Obtain any necessary permits and ensure compliance with applicable building standards to avoid potential issues during or after the installation process.
By meticulously addressing these preparatory tasks, you can create a solid foundation for the successful installation of the shower kit. This proactive approach not only ensures the structural integrity and functionality of the new shower but also contributes to the long-term durability and performance of the entire bathing space. With the area meticulously prepared, you are poised to move forward with confidence and precision as you embark on the installation phase of adding a shower to your bathtub.
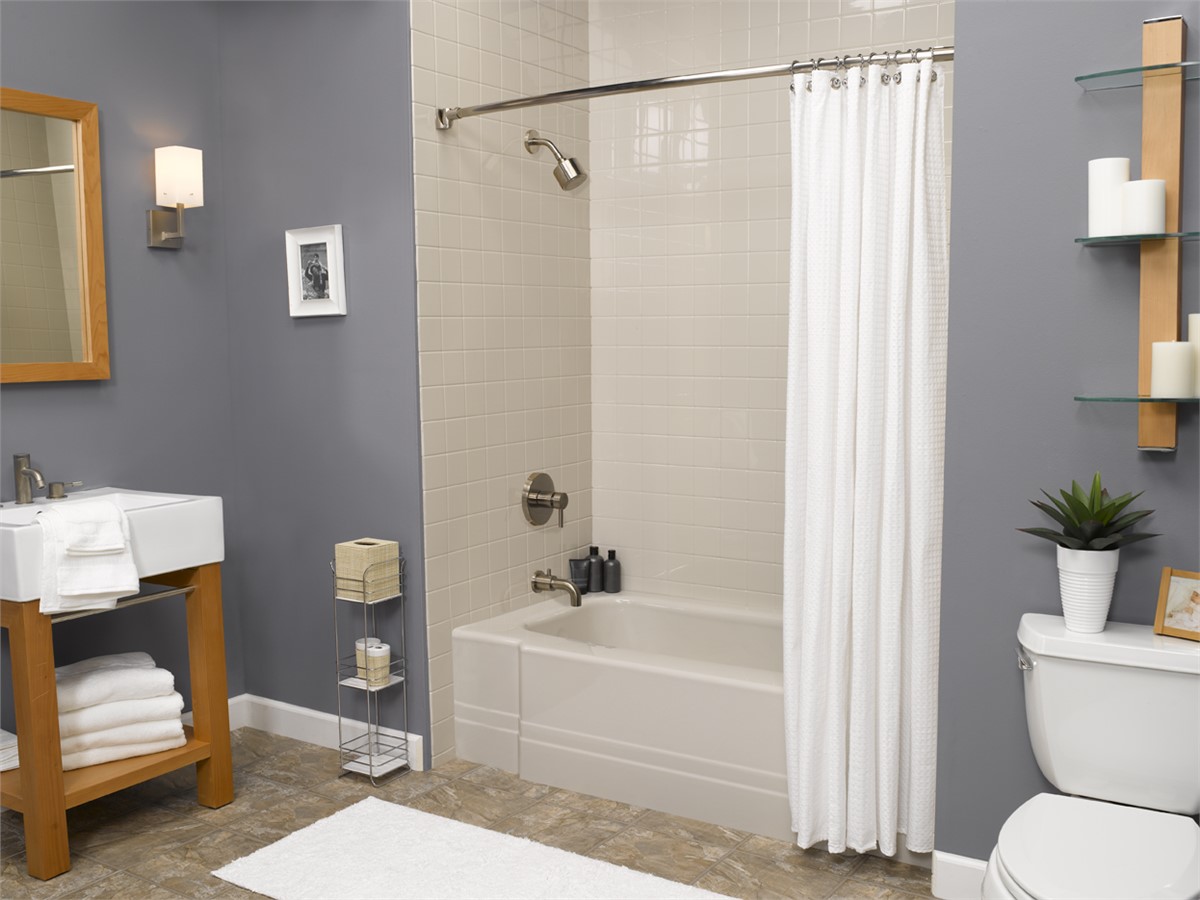
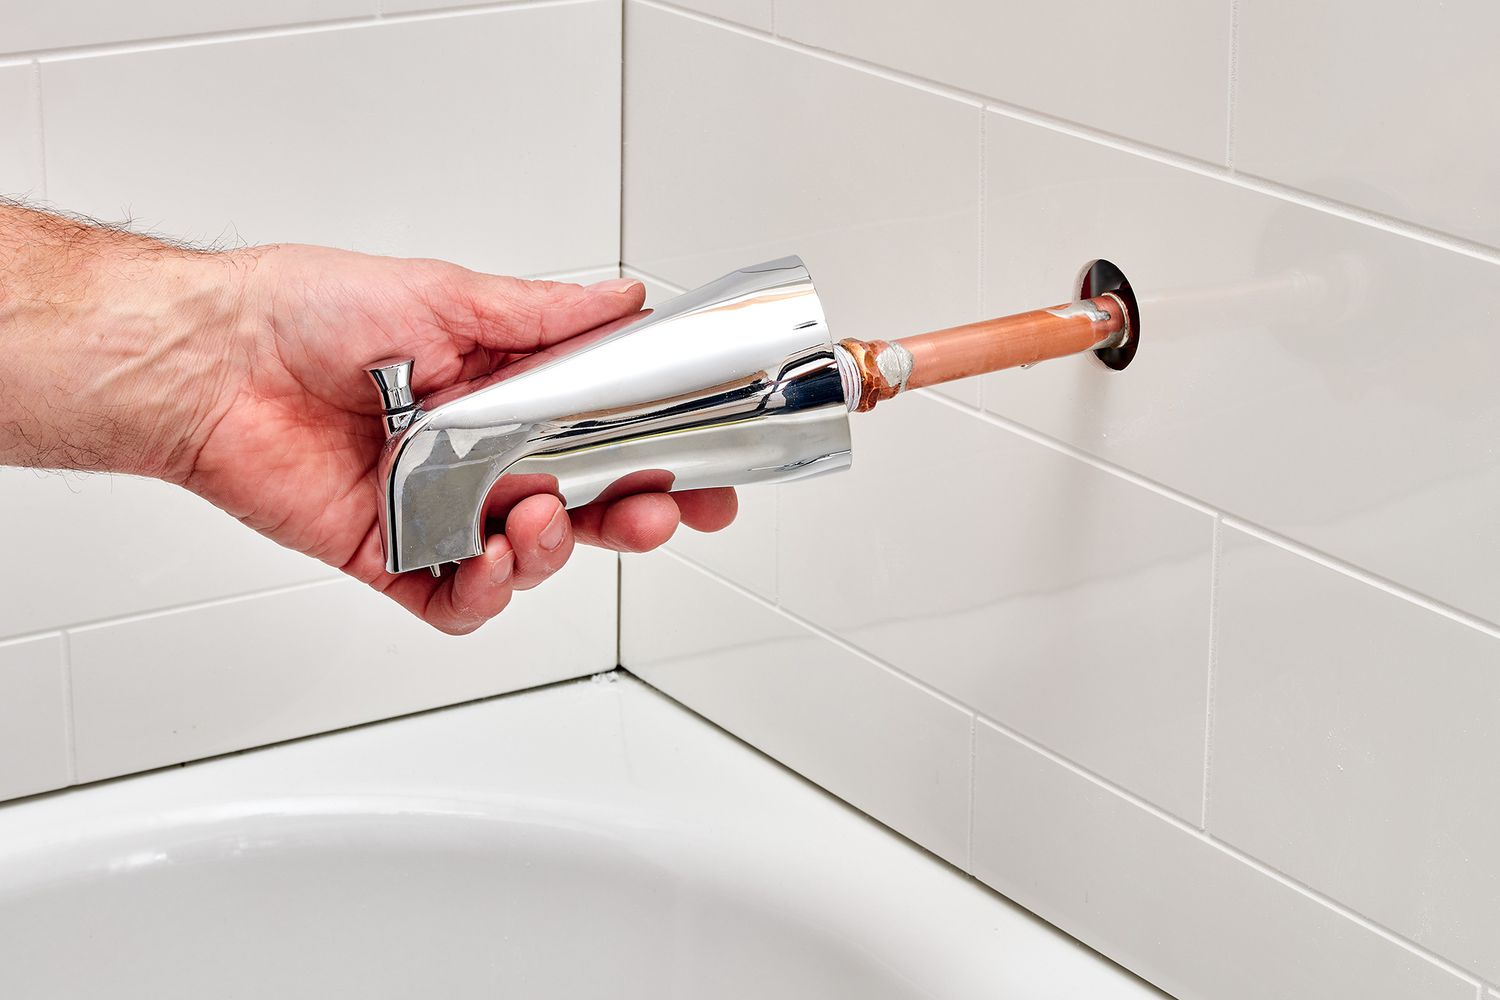
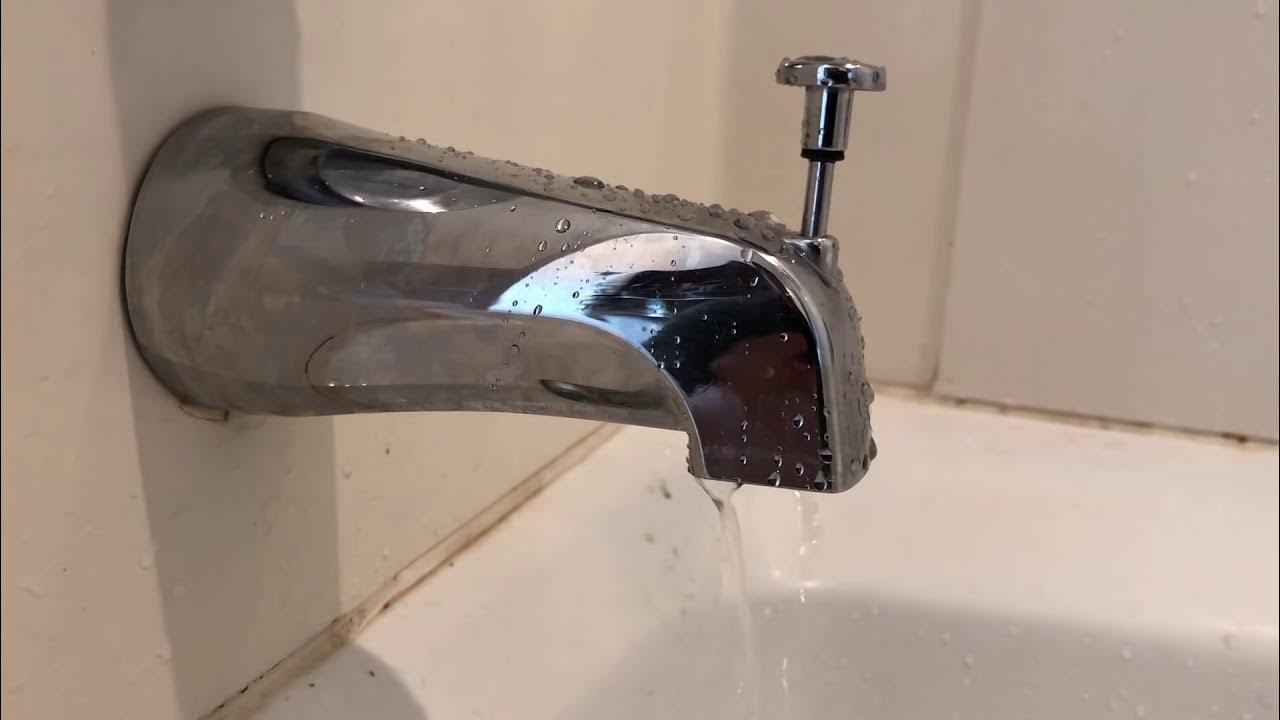
Consider installing a shower curtain rod and shower head above the bathtub. Make sure to waterproof the area and use a diverter to switch between the tub faucet and the shower head.
Installing the Shower Kit
The installation of the shower kit marks a pivotal phase in the process of adding a shower to your bathtub. This transformative step involves the meticulous assembly and integration of the various components that comprise the shower enclosure, culminating in the realization of a functional and visually appealing shower space. Here's a comprehensive overview of the key steps involved in installing the shower kit:
-
Assembling the Components: Begin by unpacking the shower kit components and carefully reviewing the manufacturer's instructions. Familiarize yourself with the individual parts, including the walls, base, doors, and hardware. Verify that all necessary components are present and undamaged before proceeding with the installation.
-
Positioning the Base: Position the shower base in the designated area, ensuring that it aligns with the existing drain and plumbing connections. Use a level to confirm that the base is perfectly horizontal and stable. Secure the base in place according to the manufacturer's guidelines, utilizing the recommended fastening methods to ensure a secure and reliable foundation for the shower enclosure.
-
Installing the Walls: Install the shower walls according to the manufacturer's specifications. Ensure that the walls are properly aligned and securely anchored to the substrate. Pay close attention to the sealing and waterproofing requirements, applying the recommended sealants and adhesives to create a watertight barrier between the walls and the surrounding surfaces.
-
Attaching the Doors: If the shower kit includes doors, carefully attach them to the designated openings in the enclosure. Follow the provided instructions for door installation, adjusting the hinges, tracks, and seals as necessary to achieve smooth operation and a snug fit. Test the doors for proper functionality and make any adjustments to ensure optimal performance.
-
Securing the Fixtures and Accessories: Install the fixtures and accessories, such as showerheads, handles, shelves, and towel bars, as per the manufacturer's guidelines. Ensure that all fixtures are securely fastened and properly sealed to prevent water leakage. Verify the functionality of each fixture and make any necessary adjustments to optimize their performance.
-
Applying Finishing Touches: Complete the installation by applying any finishing touches, such as trim pieces, caulking, and decorative elements. Pay attention to the aesthetic details, ensuring that the final presentation of the shower kit aligns with your design vision and complements the overall style of your bathroom.
By meticulously following these steps and adhering to the manufacturer's instructions, you can achieve a successful and professional installation of the shower kit. This phase represents the culmination of careful planning and precise execution, resulting in the transformation of your bathtub space into a versatile and inviting shower area. With the shower kit seamlessly integrated into your bathroom, you are one step closer to enjoying the enhanced functionality and aesthetic appeal that comes with the addition of a shower to your bathtub.
Read more: How To Shower In A Bathtub?
Testing and Finishing Touches
Once the shower kit is successfully installed, thorough testing and attention to finishing touches are essential to ensure that the new shower in your bathtub meets the highest standards of functionality, safety, and aesthetic appeal.
Testing for Functionality and Safety
Begin by conducting comprehensive testing of the newly installed shower to verify its functionality and safety features. Test the operation of the shower doors, ensuring smooth opening and closing without any obstructions or misalignments. Check the functionality of the shower fixtures, including the showerhead, handles, and any additional accessories, to confirm proper water flow, temperature control, and adjustability. Run water through the shower to assess the drainage system and confirm that water is effectively directed toward the drain without any pooling or leakage.
In addition to functionality testing, prioritize safety checks to ensure that the shower area is secure and free from potential hazards. Confirm that the shower doors are equipped with reliable locking mechanisms to prevent accidental opening during use. Assess the stability of the shower base and walls, ensuring that they are securely anchored and free from any signs of movement or instability. Verify that all fixtures and accessories are properly installed and pose no risks of detachment or malfunction during use.
Applying Finishing Touches
With the functionality and safety of the new shower validated, shift your focus to the application of finishing touches that enhance the overall aesthetic and comfort of the shower area. Apply silicone caulking along the seams and edges of the shower enclosure to create a watertight seal and a polished appearance. Consider adding decorative trim pieces or accent tiles to complement the design of the shower and integrate it seamlessly with the surrounding bathroom decor.
Furthermore, pay attention to the lighting within the shower area, ensuring that it provides adequate illumination for a comfortable and inviting bathing experience. Explore options for incorporating stylish and functional lighting fixtures, such as waterproof LED lights or recessed lighting, to enhance the ambiance and functionality of the shower space.
Finally, consider the addition of accessories and storage solutions, such as shower caddies, seating, or grab bars, to further personalize and optimize the shower area according to your specific needs and preferences. These thoughtful finishing touches contribute to the overall comfort, convenience, and visual appeal of the newly added shower in your bathtub.
By meticulously testing the functionality and safety of the shower and attending to the finishing touches, you can elevate the new shower area to its full potential, creating a space that not only meets practical needs but also reflects your personal style and enhances the overall ambiance of your bathroom.
Frequently Asked Questions about How To Add Shower To Bathtub
Was this page helpful?
At Storables.com, we guarantee accurate and reliable information. Our content, validated by Expert Board Contributors, is crafted following stringent Editorial Policies. We're committed to providing you with well-researched, expert-backed insights for all your informational needs.


0 thoughts on “How To Add Shower To Bathtub”