Home>Furniture & Design>Bathroom Accessories>How To Fix A Kitchen Exhaust Fan
Bathroom Accessories
How To Fix A Kitchen Exhaust Fan
Modified: February 26, 2024
Learn how to fix a kitchen exhaust fan with our expert tips and advice. Find the best bathroom accessories to enhance your kitchen ventilation.
(Many of the links in this article redirect to a specific reviewed product. Your purchase of these products through affiliate links helps to generate commission for Storables.com, at no extra cost. Learn more)
Introduction
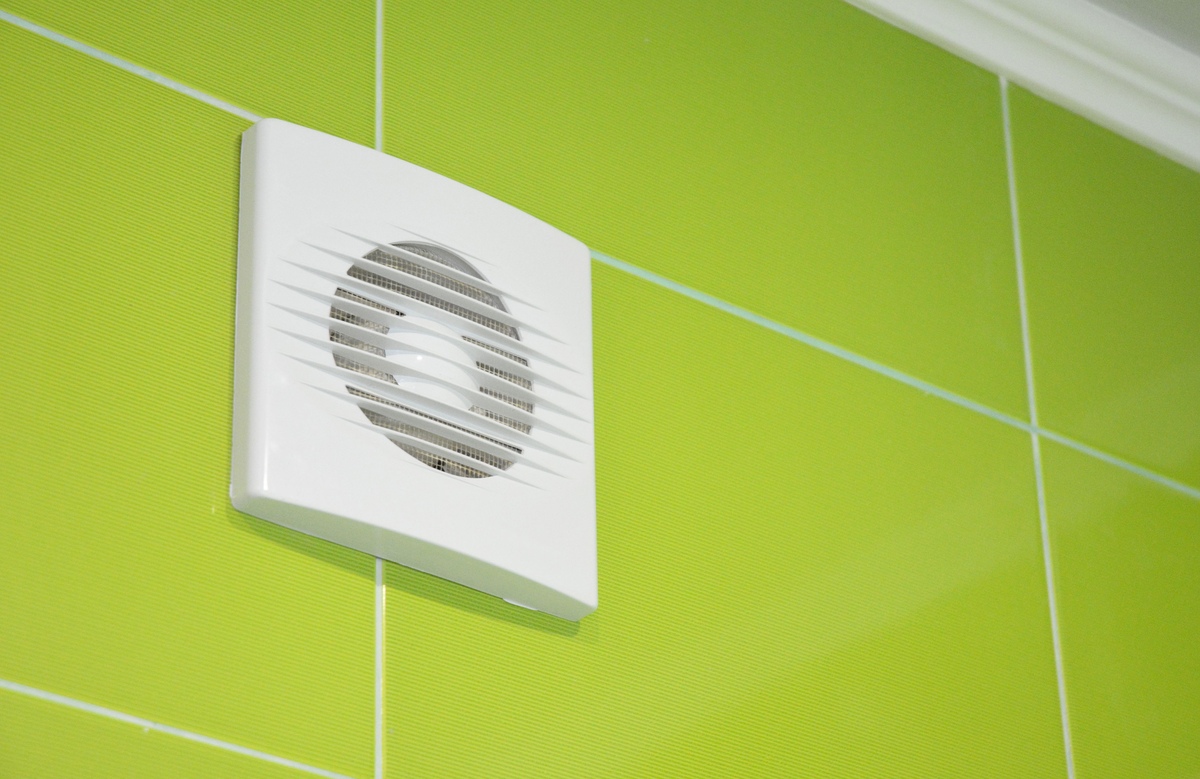
A kitchen exhaust fan is an essential component of any kitchen, as it helps to remove smoke, odors, and airborne grease particles from the air. Over time, these fans can become clogged with grease and debris, leading to reduced efficiency or complete malfunction. When your kitchen exhaust fan starts to underperform, it's important to address the issue promptly to maintain a healthy and comfortable kitchen environment.
In this comprehensive guide, we will walk you through the step-by-step process of fixing a kitchen exhaust fan. Whether your fan is making strange noises, not working at all, or simply not providing adequate ventilation, this guide will help you troubleshoot and resolve the issue. By following these instructions, you can save time and money by avoiding the need for professional repairs or replacements.
A malfunctioning kitchen exhaust fan can lead to a variety of issues, including poor air quality, lingering cooking odors, and potential fire hazards due to the accumulation of grease. By taking the time to address any problems with your kitchen exhaust fan, you can ensure a safer and more pleasant cooking environment for you and your family.
Now, let's dive into the step-by-step process of fixing your kitchen exhaust fan, starting with the crucial first step of turning off the power to ensure safety throughout the repair process.
Key Takeaways:
- Keep your kitchen exhaust fan in top condition by cleaning the fan and vent regularly to ensure optimal airflow and ventilation, preventing the buildup of grease and debris that can compromise its performance.
- If your kitchen exhaust fan is still not working properly after cleaning and checking for loose connections, consider replacing the motor to restore its functionality and maintain a healthy and pleasant cooking environment.
Read more: How To Fix A Bathroom Exhaust Fan
Step 1: Turn off the Power
Before you begin any work on your kitchen exhaust fan, it is absolutely essential to turn off the power to the fan to ensure your safety. This step is crucial to prevent the risk of electric shock or injury while working on the fan. Here's how to safely turn off the power to your kitchen exhaust fan:
-
Locate the Circuit Breaker: The first step is to locate the circuit breaker that controls the power supply to your kitchen exhaust fan. Circuit breakers are typically located in the electrical panel of your home. Once you have located the panel, open the door to reveal the circuit breakers inside.
-
Identify the Correct Breaker: Look for the breaker that is labeled for the kitchen exhaust fan. In some cases, the breaker may be labeled specifically for the fan, while in other situations, it may be part of a larger circuit that powers multiple kitchen appliances. If you are unsure which breaker controls the fan, you can enlist the help of a voltage tester to confirm the correct one.
-
Switch Off the Breaker: Once you have identified the correct breaker, switch it to the "off" position. This will cut off the power supply to the kitchen exhaust fan, ensuring that it is safe to proceed with any maintenance or repair work.
-
Test the Power: After switching off the breaker, it's a good idea to test the power to the fan to confirm that it has been successfully disconnected. You can do this by attempting to turn on the fan switch or using a voltage tester to check for the presence of electrical current.
By following these steps to turn off the power to your kitchen exhaust fan, you can create a safe working environment for any subsequent maintenance or repair tasks. Always exercise caution when working with electrical components, and never attempt to perform any work on the fan without first ensuring that the power has been completely disconnected.
With the power safely turned off, you can proceed to the next steps in the process of fixing your kitchen exhaust fan, confident in the knowledge that you have taken the necessary precautions to protect yourself from electrical hazards.
Step 2: Clean the Fan and Vent
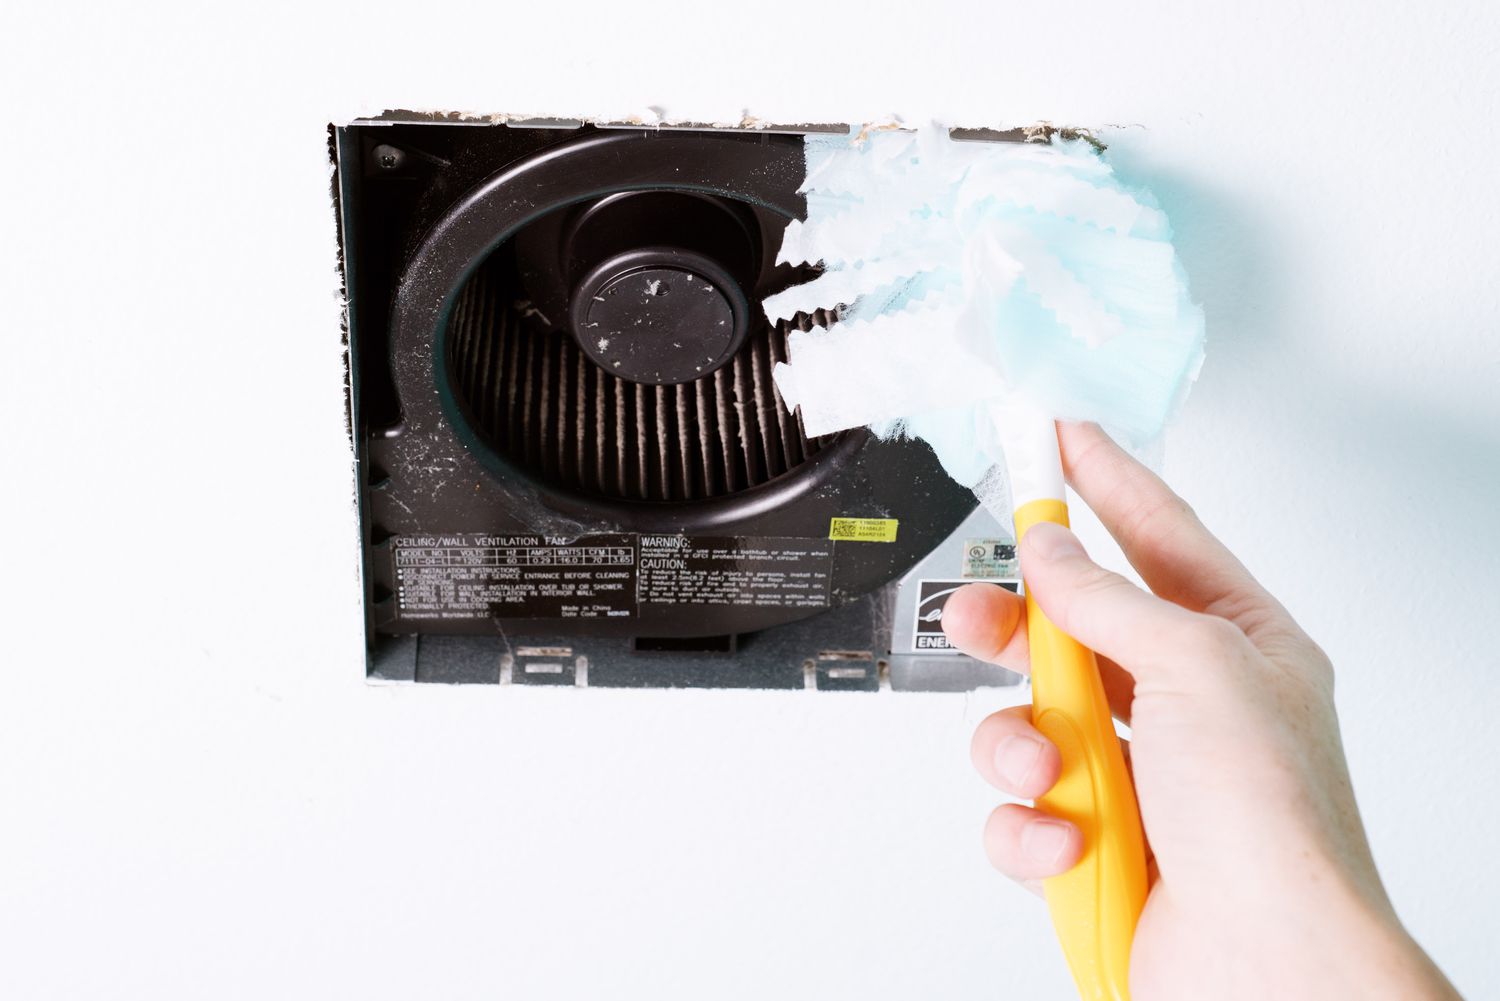
Cleaning the fan and vent is a crucial step in restoring the optimal functionality of your kitchen exhaust fan. Over time, grease, dust, and other airborne particles can accumulate on the fan blades and within the vent, leading to reduced airflow and efficiency. By thoroughly cleaning these components, you can improve the fan's performance and ensure that it effectively removes cooking odors and airborne particles from your kitchen.
Cleaning the Fan
-
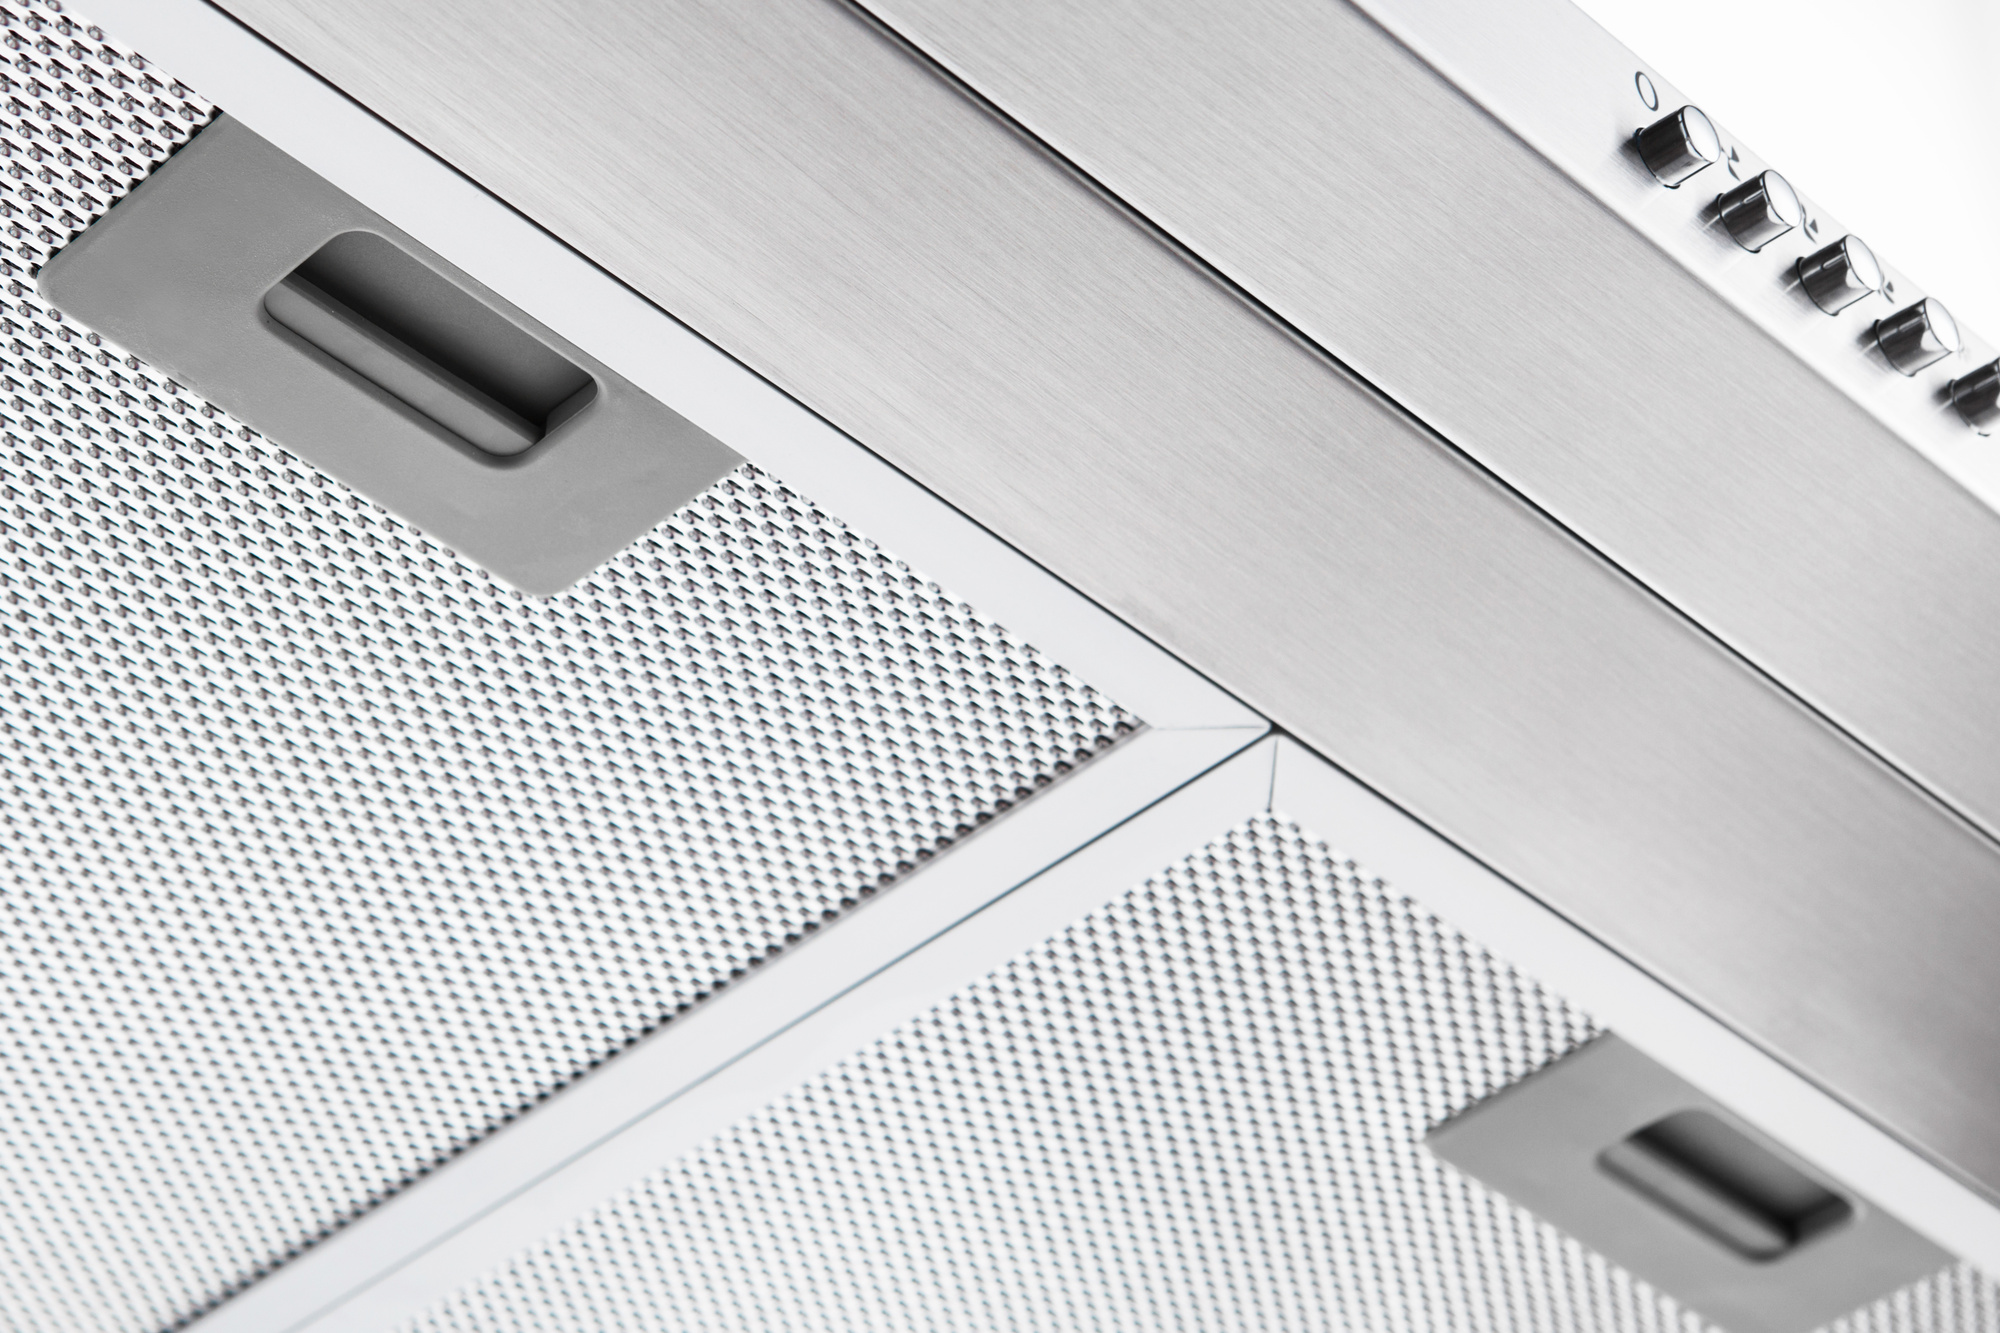
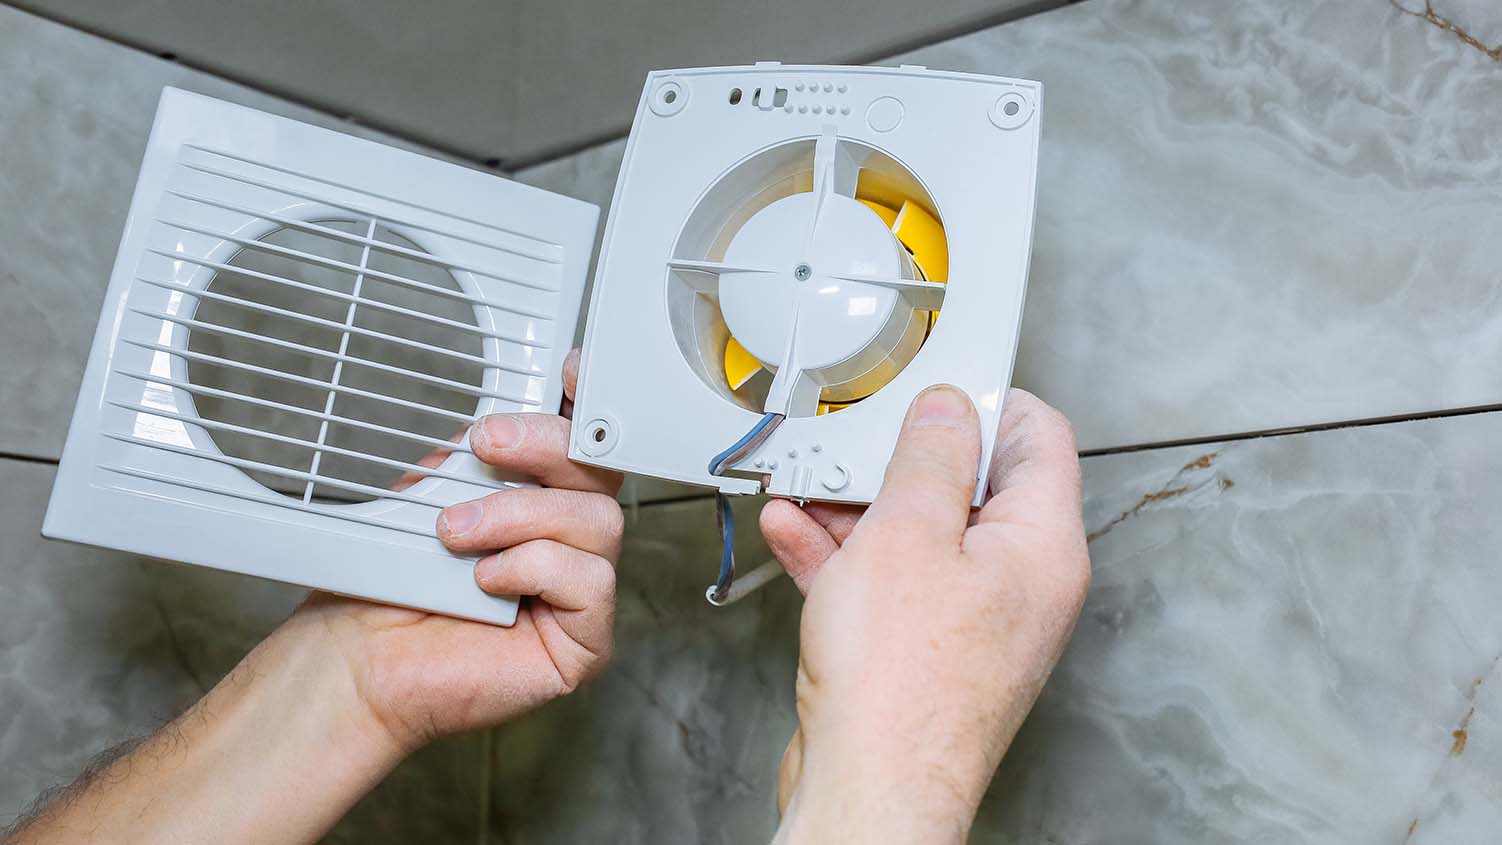
Remove the Fan Cover: Start by removing the cover or grille that encases the fan. This can usually be done by unscrewing the fasteners or gently prying the cover away from the fan housing. Once the cover is removed, set it aside for cleaning later.
-
Inspect the Fan Blades: Take a close look at the fan blades to assess the level of buildup. If the blades are coated with grease or dust, use a soft-bristled brush or a cloth dampened with a mild degreasing cleaner to gently remove the debris. Be thorough in your cleaning to ensure that the blades are free from any obstructions.
-
Clean the Fan Housing: While the cover is off, take the opportunity to clean the interior of the fan housing. Use a vacuum cleaner with a brush attachment to remove any accumulated dust and debris. Pay special attention to the areas around the motor and the fan blades.
Cleaning the Vent
-
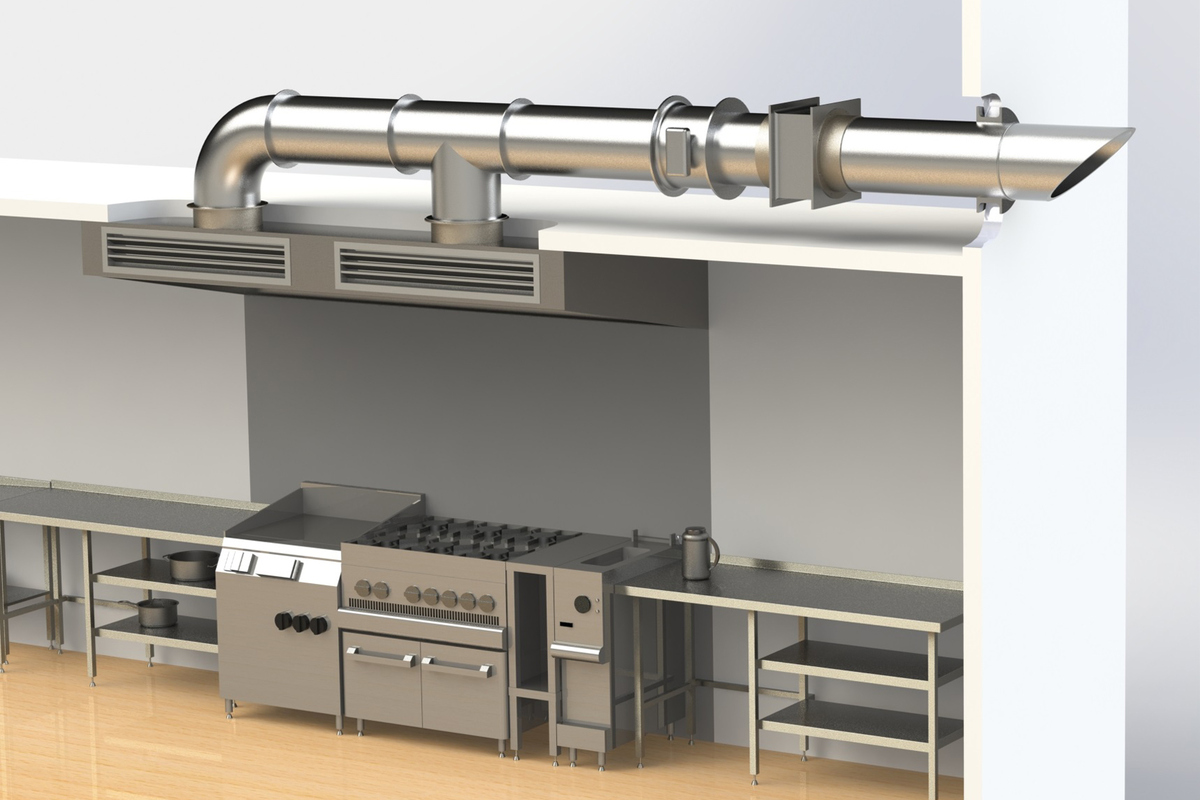
Access the Vent Opening: Depending on the design of your kitchen exhaust system, you may need to access the vent opening from inside your kitchen or from the exterior of your home. Use a stepladder if necessary to reach the vent.
-
Remove Debris: Inspect the vent opening for any visible debris, such as leaves, bird nests, or built-up grease. Use a gloved hand or a brush to clear away any obstructions that may be impeding the airflow.
-
Clean the Vent Cover: If your vent is equipped with a cover or hood, remove it and clean both the cover and the surrounding area. Use a mild detergent and warm water to remove grease and dirt, and ensure that the vent cover is free from any blockages.
By thoroughly cleaning the fan and vent, you can effectively remove accumulated grease and debris, allowing for improved airflow and ventilation. This simple maintenance task can significantly enhance the performance of your kitchen exhaust fan, ensuring that it operates at its full capacity to keep your kitchen air clean and fresh.
Read more: How To Fix Bathroom Exhaust Fan
Step 3: Check for Loose Connections
Once you have cleaned the fan and vent, the next crucial step in fixing your kitchen exhaust fan is to check for loose connections. Over time, the vibrations and movements associated with the fan's operation can lead to the loosening of electrical connections, potentially causing the fan to malfunction or operate erratically. By carefully inspecting and securing these connections, you can ensure the fan's electrical components are functioning properly and safely.
Inspecting the Electrical Connections
-
Turn Off the Power: Before proceeding with any electrical work, it is essential to ensure that the power to the fan is turned off. Refer back to Step 1 to safely disconnect the power supply.
-
Access the Fan's Wiring: Depending on the design of your kitchen exhaust fan, you may need to remove the fan cover or access the electrical components from inside the fan housing. Use caution and refer to the manufacturer's instructions for guidance on accessing the wiring.
-
Inspect the Wiring and Terminals: Carefully examine the wiring connections and terminals for any signs of looseness or damage. Look for wires that may have come loose from their terminals or any visible wear and tear on the insulation.
-
Tighten Loose Connections: If you identify any loose connections, use a screwdriver or appropriate tool to securely tighten the terminals. Ensure that the wires are properly seated and that there is no movement or play in the connections.
-
Check for Corrosion: In addition to checking for loose connections, inspect the terminals for any signs of corrosion. Corrosion can impede the flow of electricity and lead to poor fan performance. If corrosion is present, use a wire brush or electrical contact cleaner to remove it before re-securing the connections.
Reassembling and Testing
Once you have thoroughly inspected and secured the electrical connections, it is time to reassemble the fan and test its operation.
-
Reinstall the Fan Cover: If you removed the fan cover to access the wiring, carefully reattach it, ensuring that it is securely fastened in place.
-
Restore Power and Test the Fan: With the electrical connections secured and the fan reassembled, restore power to the fan by switching the circuit breaker back on. Test the fan by turning it on and observing its operation. Listen for any unusual noises and ensure that it is effectively drawing air and expelling it through the vent.
By checking for loose connections and ensuring the integrity of the electrical components, you can address potential issues that may be impacting the performance of your kitchen exhaust fan. This proactive maintenance step can help prevent future malfunctions and ensure that your fan operates reliably and efficiently.
Step 4: Replace the Motor
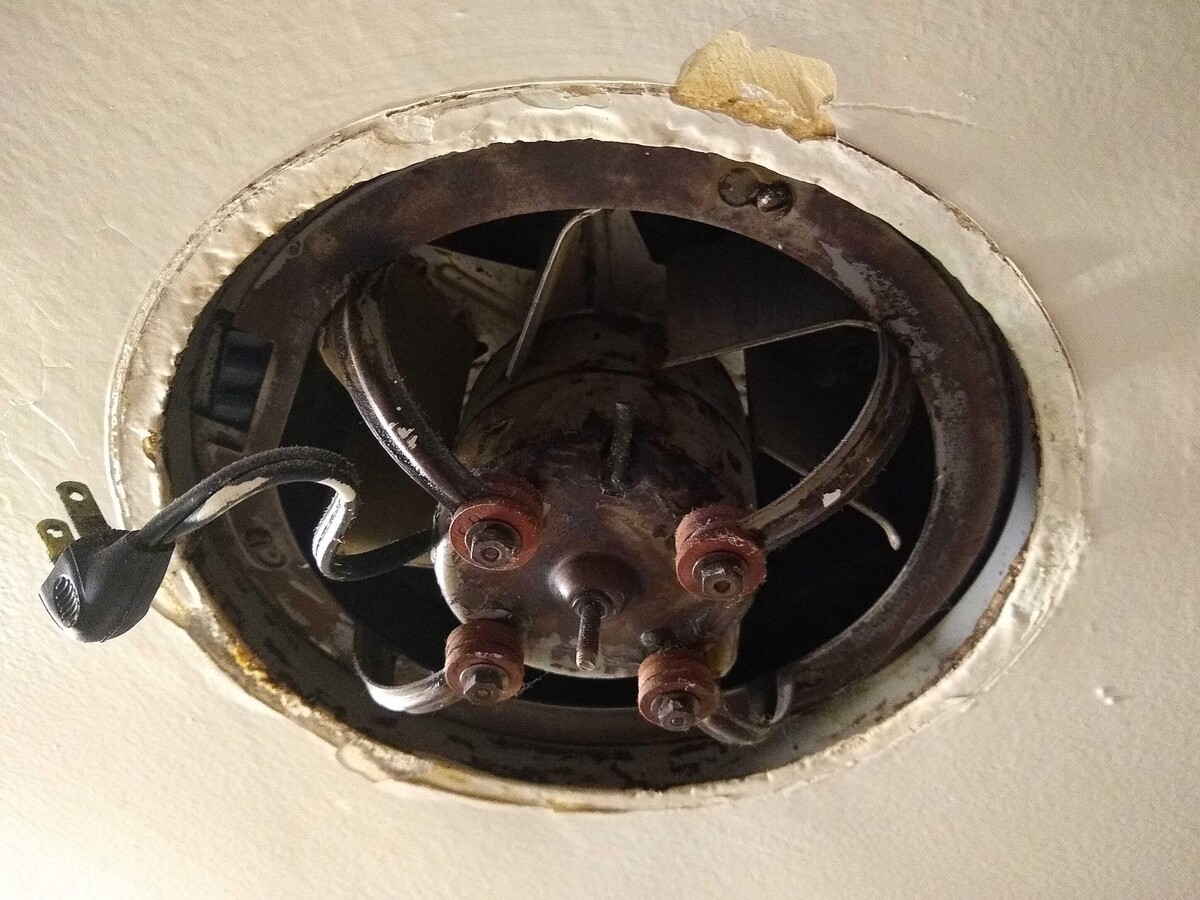
If you have completed the previous steps and your kitchen exhaust fan is still not functioning properly, it may be necessary to replace the motor. The motor is a critical component of the fan, responsible for driving the rotation of the fan blades and facilitating the extraction of air from your kitchen. Over time, motors can wear out or become damaged, leading to a decline in performance or complete failure of the fan. Here's how to replace the motor in your kitchen exhaust fan:
-
Identify the Correct Replacement Motor: Before proceeding with the replacement, it is essential to ensure that you have the correct replacement motor for your specific fan model. Refer to the fan's manual or consult the manufacturer's guidelines to determine the appropriate motor type and specifications.
-
Turn Off the Power: As with any work involving electrical components, it is crucial to turn off the power supply to the fan before proceeding. Refer back to Step 1 for instructions on safely disconnecting the power.
-
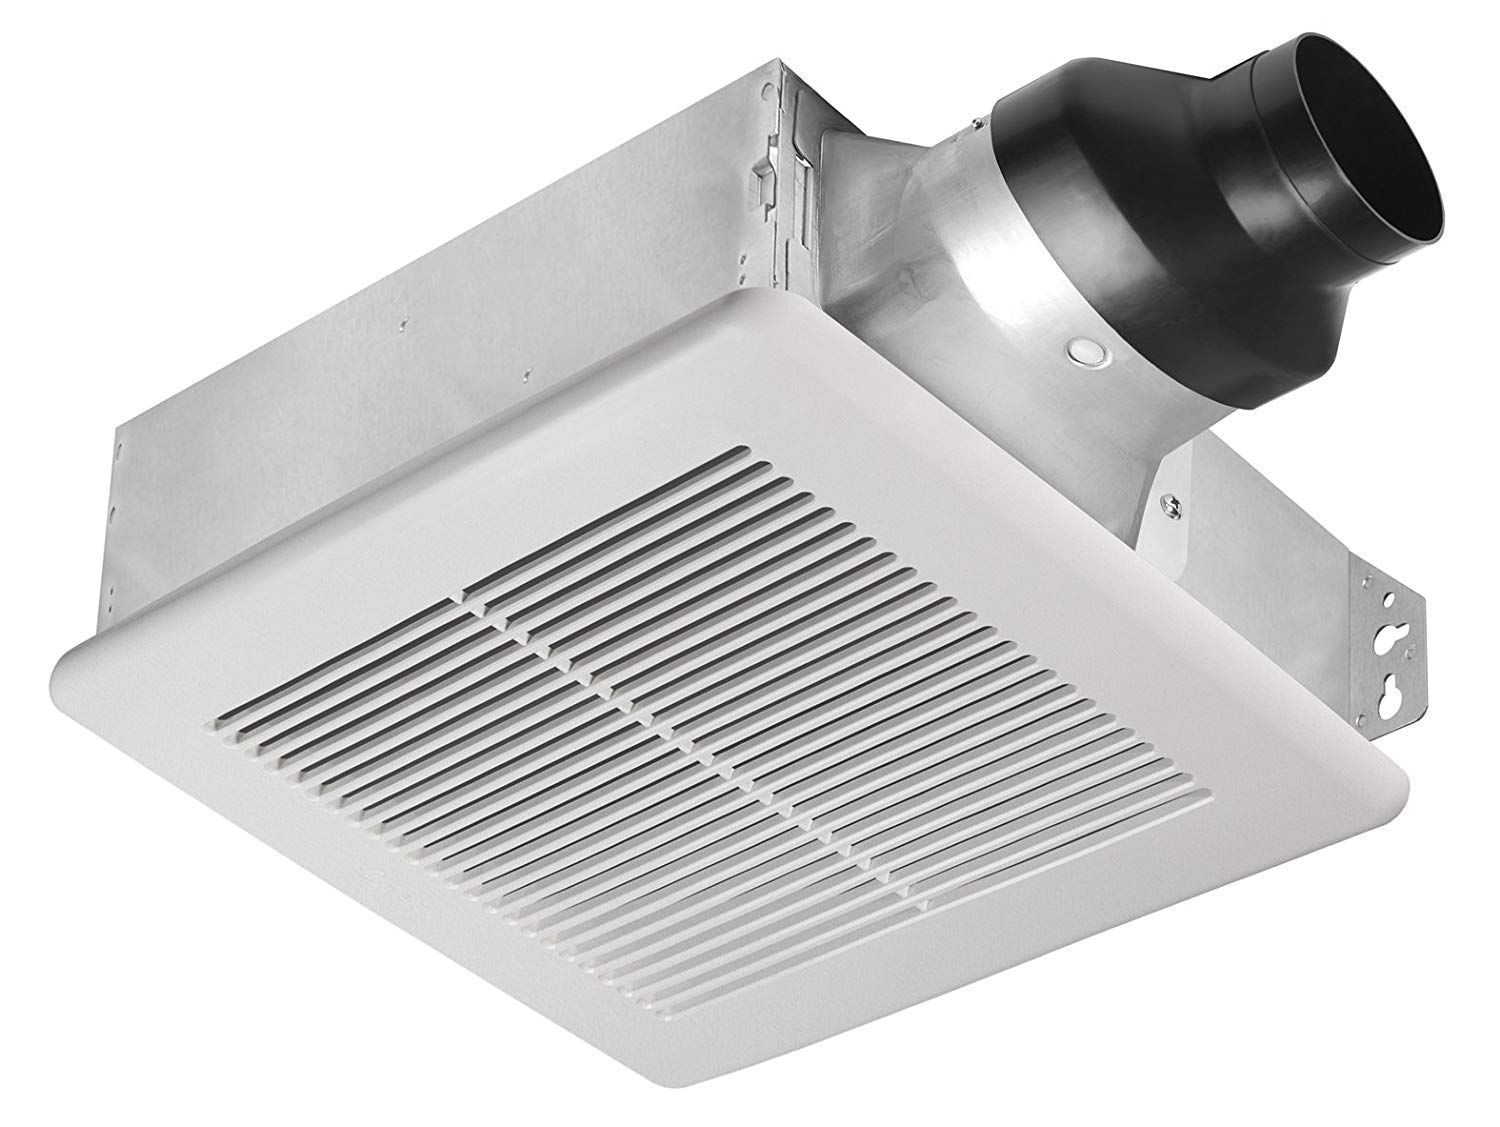
Access the Motor: Depending on the design of your kitchen exhaust fan, you may need to remove the fan cover or access panels to reach the motor. Follow the manufacturer's instructions for guidance on accessing the motor housing.
-
Disconnect the Wiring: Carefully disconnect the electrical wiring that is connected to the motor. Take note of the wire connections or take a photograph for reference when installing the new motor.
-
Remove the Old Motor: Unscrew or unfasten the old motor from its mounting within the fan housing. Take care when handling the motor to avoid damaging any surrounding components.
-
Install the Replacement Motor: Position the new motor in place and secure it within the fan housing according to the manufacturer's instructions. Ensure that the motor is properly aligned and securely fastened.
-
Reconnect the Wiring: Reconnect the electrical wiring to the new motor, following the reference notes or photographs taken during the disconnection process. Double-check the connections to ensure they are secure and properly seated.
-
Reassemble the Fan: If you removed any components to access the motor, carefully reassemble the fan, ensuring that all fasteners are securely tightened.
-
Restore Power and Test the Fan: Once the motor replacement and reassembly are complete, restore power to the fan by switching the circuit breaker back on. Test the fan to ensure that the new motor is functioning correctly and that the fan is operating as expected.
By following these steps to replace the motor in your kitchen exhaust fan, you can address motor-related issues and restore the fan's functionality. If you encounter any challenges during the replacement process, consider seeking assistance from a qualified professional to ensure the safe and effective installation of the new motor.
Read more: How To Install An Exhaust Fan
Step 5: Reassemble and Test the Fan
After completing the necessary maintenance and repair tasks on your kitchen exhaust fan, the final step involves reassembling the fan and conducting thorough testing to ensure that it is functioning optimally. This critical phase of the repair process allows you to verify the effectiveness of your efforts and confirm that the fan is capable of providing the ventilation and air quality control your kitchen requires.
Reassembling the Fan Components
-
Secure the Fan Cover: If you removed the fan cover during the repair process, carefully reattach it to the fan housing. Ensure that the cover is properly aligned and securely fastened in place to prevent any rattling or movement during operation.
-
Fasten Any Removed Components: If you disassembled any additional components, such as the vent cover or access panels, make sure to reattach them according to the manufacturer's guidelines. Check that all fasteners are tightened to prevent any potential issues during fan operation.
Testing the Fan Operation
-
Restore Power: Once the fan components are reassembled, restore power to the fan by switching the circuit breaker back on. Ensure that the power supply is stable and that there are no signs of electrical issues.
-
Turn on the Fan: Activate the fan by using the control switch or button. Observe the fan's operation closely, listening for any unusual noises or vibrations. Pay attention to the airflow and ensure that the fan is effectively drawing air and expelling it through the vent.
-
Check for Proper Ventilation: Stand near the vent opening and verify that the fan is expelling air to the exterior of your home. You should feel a steady flow of air exiting the vent, indicating that the fan is effectively removing cooking odors and airborne particles from your kitchen.
-
Monitor for Any Issues: Keep an eye on the fan for a few minutes to ensure that it continues to operate smoothly without any unexpected interruptions. Look for any signs of malfunction or irregular behavior that may indicate unresolved issues.
Seek Professional Assistance if Needed
If, after reassembling and testing the fan, you encounter persistent issues or notice that the fan is still not performing as expected, it may be necessary to seek professional assistance. A qualified technician can conduct a thorough assessment of the fan and identify any underlying problems that require expert attention.
By diligently reassembling the fan and conducting comprehensive testing, you can confidently assess the success of your repair efforts and ensure that your kitchen exhaust fan is fully operational. This final step provides peace of mind, knowing that your kitchen environment will benefit from efficient ventilation and improved air quality.
Read more: Who Can Fix A Bathroom Exhaust Fan
Conclusion
In conclusion, addressing issues with your kitchen exhaust fan is essential for maintaining a healthy and comfortable kitchen environment. By following the step-by-step process outlined in this guide, you have taken proactive measures to troubleshoot and resolve common problems that can affect the performance of your kitchen exhaust fan.
The initial step of turning off the power ensured your safety throughout the repair process, setting the stage for the subsequent tasks. Cleaning the fan and vent was a pivotal maintenance step, as it effectively removed accumulated grease and debris, allowing for improved airflow and ventilation. Checking for loose connections provided an opportunity to secure the electrical components, addressing potential issues that could impact the fan's performance.
In cases where the fan's functionality was still compromised, the option to replace the motor was presented, offering a comprehensive solution to motor-related malfunctions. Finally, reassembling and testing the fan allowed you to verify the success of your repair efforts and ensure that the fan is capable of providing the ventilation and air quality control your kitchen requires.
It's important to note that while this guide provides a comprehensive framework for addressing common kitchen exhaust fan issues, there may be instances where professional assistance is necessary. If you encounter persistent issues or feel uncertain about any aspect of the repair process, seeking the expertise of a qualified technician is a prudent course of action.
By taking the initiative to address problems with your kitchen exhaust fan, you have not only improved the functionality of this essential kitchen appliance but also contributed to a healthier and more enjoyable cooking environment for you and your family. Regular maintenance and prompt attention to any issues that arise will ensure that your kitchen exhaust fan continues to operate reliably and efficiently, providing effective ventilation and air quality control for years to come.
Frequently Asked Questions about How To Fix A Kitchen Exhaust Fan
Was this page helpful?
At Storables.com, we guarantee accurate and reliable information. Our content, validated by Expert Board Contributors, is crafted following stringent Editorial Policies. We're committed to providing you with well-researched, expert-backed insights for all your informational needs.


0 thoughts on “How To Fix A Kitchen Exhaust Fan”