Articles
How To Install Kitchen Exhaust Fan
Modified: January 18, 2024
Learn how to install a kitchen exhaust fan with our comprehensive articles. Ensure proper ventilation in your kitchen for a healthy and clean environment.
(Many of the links in this article redirect to a specific reviewed product. Your purchase of these products through affiliate links helps to generate commission for Storables.com, at no extra cost. Learn more)
Introduction
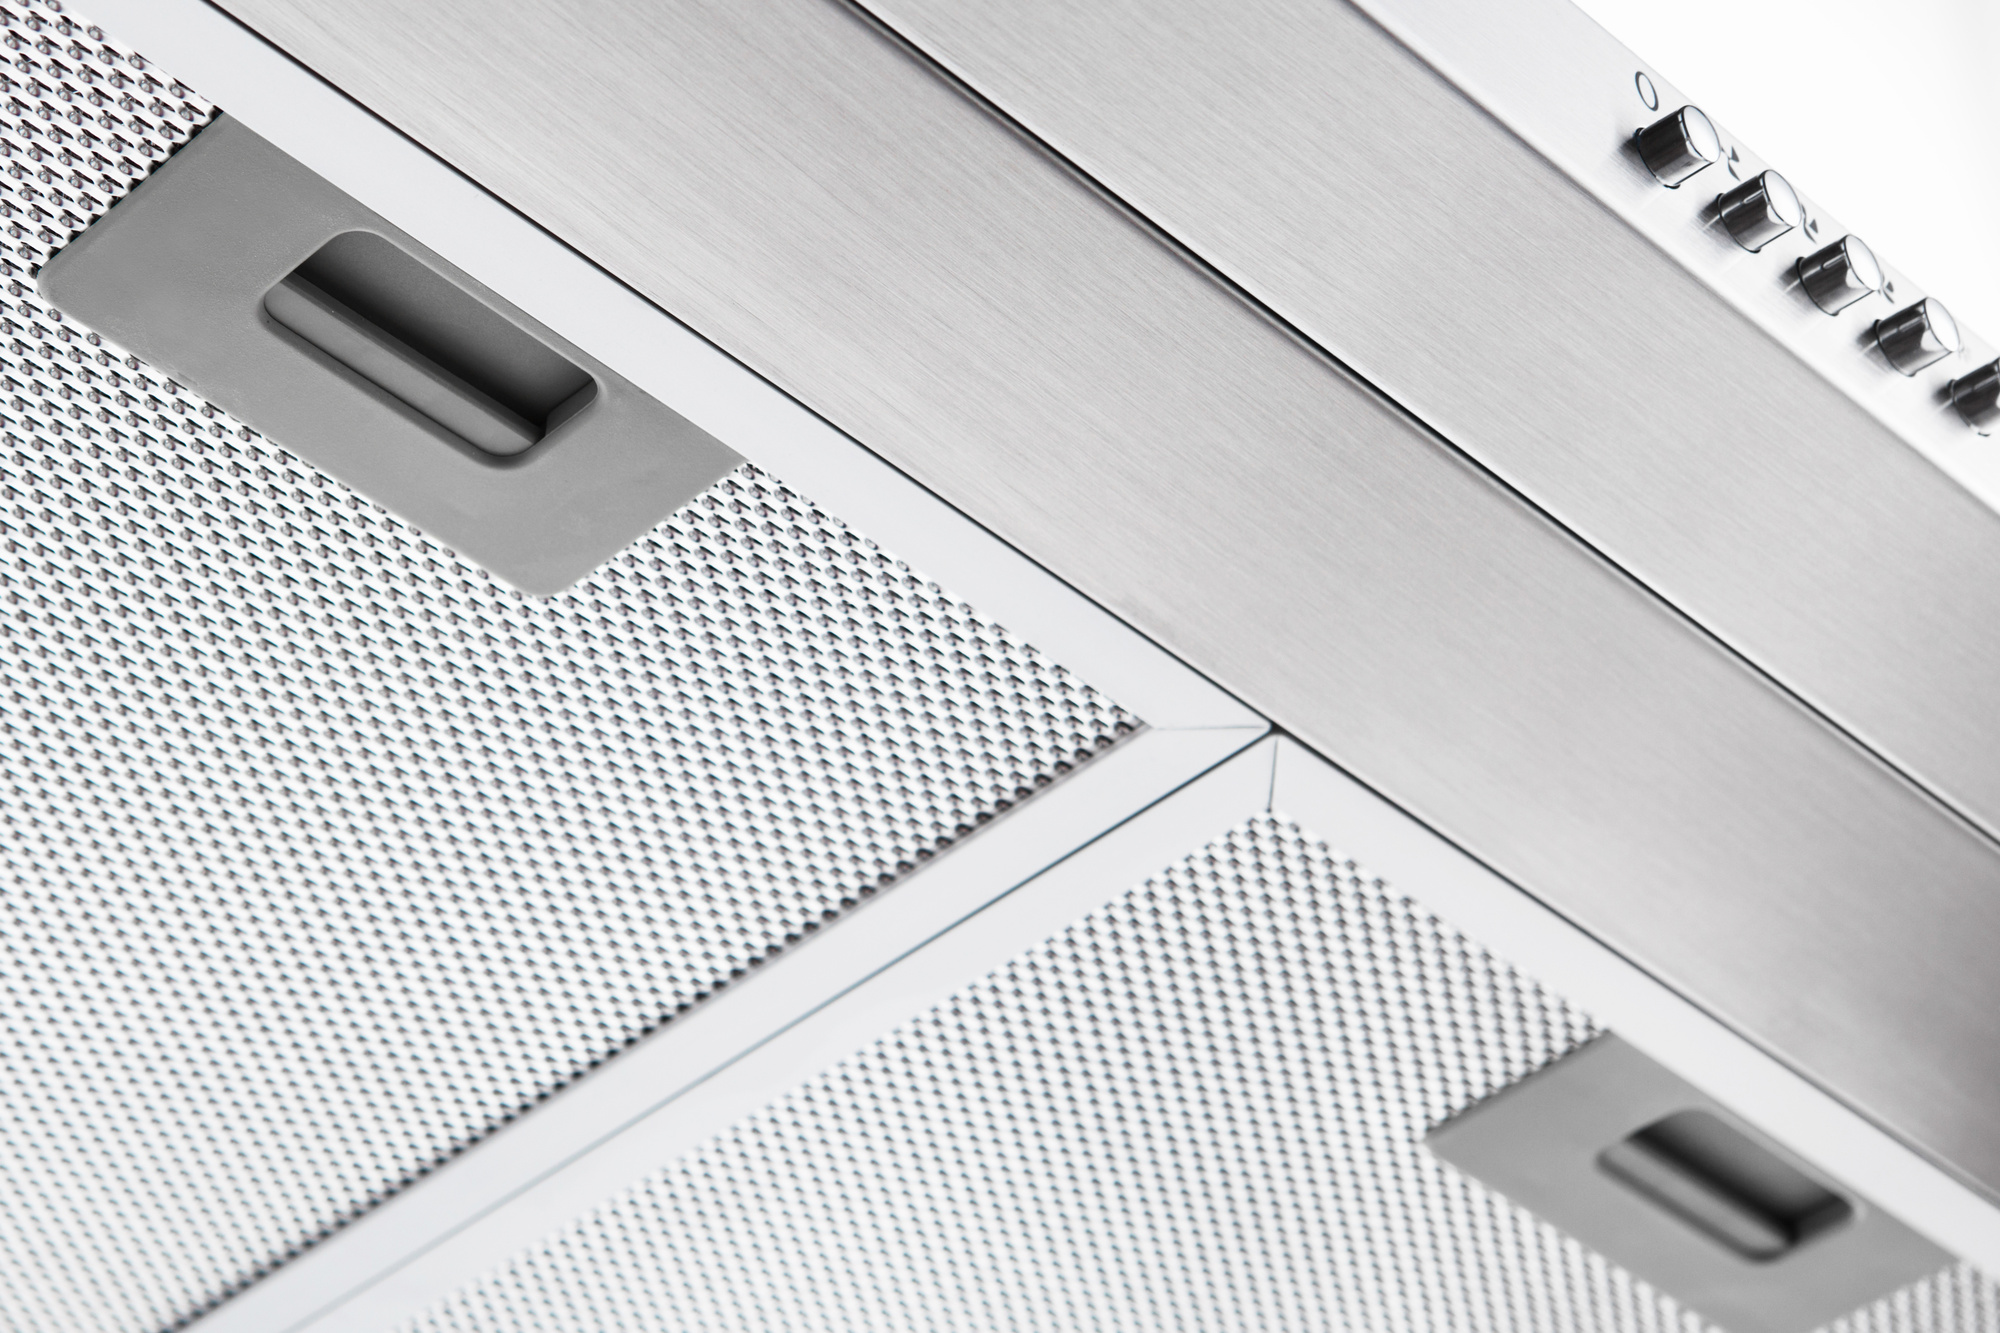
A kitchen exhaust fan, also known as a range hood or vent hood, is an essential component of any kitchen. It helps to remove smoke, odors, grease, and heat from the cooking area, improving air quality and maintaining a comfortable environment. Installing a kitchen exhaust fan can be a worthwhile investment, providing numerous benefits such as reducing airborne pollutants, preventing grease buildup, and enhancing the overall functionality of your kitchen.
In this article, we will guide you through the process of installing a kitchen exhaust fan. Whether you are replacing an old fan or installing a new one, we will provide you with step-by-step instructions to ensure a successful installation. So, grab your tools and let’s get started!
Key Takeaways:
- Proper installation of a kitchen exhaust fan involves choosing the right location, preparing the area, assembling the fan, installing ductwork, connecting wiring, and testing functionality. Attention to detail and safety are crucial for a successful installation.
- Installing a kitchen exhaust fan not only improves air quality but also enhances the functionality of the kitchen. Following the step-by-step process and prioritizing safety ensures a well-ventilated and comfortable cooking environment.
Read more: How To Install A Kitchen Exhaust Fan
Tools and Materials Needed
Before you begin the installation process, it’s important to gather all the necessary tools and materials. Here’s a list of what you’ll need:
- Power drill
- Screwdriver
- Measuring tape
- Pencil
- Hacksaw or tin snips
- Ductwork (flexible or rigid)
- Mounting hardware (screws and anchors)
- Wire nuts
- Electrical tape
- Wire cutter/stripper
- Outlet tester
- Step ladder
- Protective eyewear
- Work gloves
In addition to these tools, you’ll need some materials specific to your installation. These may include:
- Kitchen exhaust fan
- Duct tape or foil tape
- Duct connectors
- Roof cap or wall cap
- Roof flashing (if installing a roof cap)
Make sure you have all the necessary tools and materials before you begin the installation to avoid any delays or interruptions. Safety should always be a priority, so don’t forget to wear appropriate protective gear while working.
Step 1: Choose the Right Location
The first step in installing a kitchen exhaust fan is selecting the optimal location. The location will depend on various factors such as the layout of your kitchen, the placement of your stove, and the existing ventilation system in your home. Here are some points to consider:
- Proximity to the stove: Ideally, the exhaust fan should be positioned directly above the stove to efficiently capture and remove cooking fumes. Measure the distance between the stove and the desired installation spot to ensure a proper fit.
- Clearance requirements: Check the manufacturer’s guidelines for the recommended clearance requirements. This includes the minimum distance between the bottom of the fan and the cooking surface, as well as any surrounding cabinets or walls.
- Existing ductwork: If your kitchen already has a ventilation system with ductwork in place, it is advisable to locate the exhaust fan near the existing ductwork to simplify the installation process.
- Structural considerations: Take into account any structural obstacles, such as wall studs or ceiling joists, that may impact the installation of the exhaust fan. Make sure you choose a location where there are no obstructions that would hinder the installation.
- Aesthetic appeal: Consider the overall aesthetics of your kitchen when choosing the location. You want the exhaust fan to blend seamlessly with the surrounding decor to create a cohesive and visually pleasing space.
Once you have determined the ideal location, mark it with a pencil on the wall or ceiling. This will serve as a reference point for the installation process.
Remember, selecting the right location is crucial for optimal performance of your kitchen exhaust fan. Take the time to carefully evaluate all the factors involved to ensure a successful and efficient installation.
Step 2: Prepare the Installation Area
Before you begin installing the kitchen exhaust fan, it’s important to prepare the installation area. Here are the steps to follow:
- Turn off the power: Safety should always be a priority when working with electrical components. Before starting any work, turn off the power to the area where you’ll be installing the exhaust fan. Locate the circuit breaker in your electrical panel and switch off the corresponding circuit.
- Clean the area: Remove any debris, grease, or dust from the installation area. Cleaning the surface will ensure a secure and stable installation.
- Mark the mounting holes: Hold the fan assembly up to the marked location on the wall or ceiling. Use a pencil to mark the positions of the mounting holes. Double-check the measurements to ensure accuracy.
- Prepare the ductwork: If you’re using flexible ductwork, measure and cut it to the required length using a hacksaw or tin snips. If you’re using rigid ductwork, measure and mark the required dimensions for cutting.
- Cut the ductwork: Use a hacksaw or tin snips to cut the ductwork according to the measurements you’ve marked. Make sure the cuts are clean and precise to ensure a proper fit.
- Position the ductwork: Hold the ductwork in place and check the alignment with the mounting holes. Make any necessary adjustments to ensure a proper fit.
- Secure the ductwork: Use duct tape or foil tape to secure the joints of the ductwork. This will create a tight seal and prevent any air leaks.
By properly preparing the installation area, you’re laying the foundation for a smooth and successful installation process. Take the time to clean the area, mark the mounting holes accurately, and prepare the ductwork to ensure a secure and efficient installation of your kitchen exhaust fan.
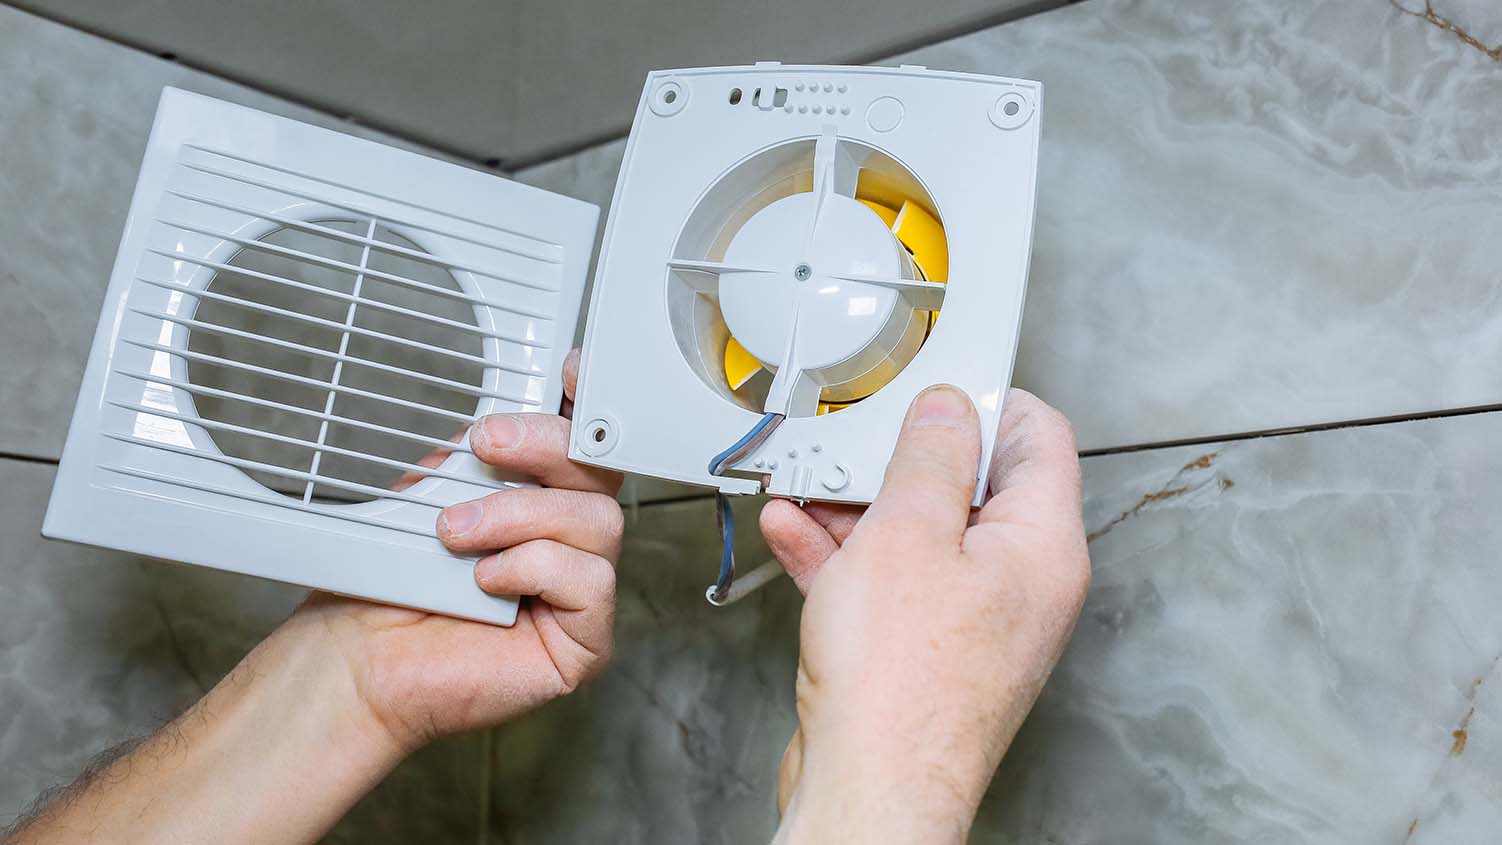
Step 3: Assemble the Exhaust Fan
Once the installation area is prepared, it’s time to assemble the kitchen exhaust fan. Follow these steps:
- Read the manufacturer’s instructions: Before proceeding with the assembly, carefully read the instructions provided by the manufacturer. Pay close attention to any specific steps or guidelines that need to be followed.
- Attach the brackets: Depending on the design of your exhaust fan, you may need to attach brackets to the fan assembly. These brackets will help secure the fan to the mounting holes. Follow the manufacturer’s instructions to properly attach the brackets.
- Insert the fan into the housing: If your exhaust fan has a removable housing, insert the fan unit into the housing according to the manufacturer’s instructions. Ensure that the fan is securely seated within the housing.
- Secure the fan assembly: Line up the mounting holes on the fan assembly with the marked holes on the wall or ceiling. Using a power drill or screwdriver, secure the fan assembly in place with the provided screws or anchors.
- Check for stability: Once the fan assembly is secured, give it a gentle shake to ensure that it is stable and securely mounted. If there is any movement or instability, double-check the mounting and make any necessary adjustments.
By following the manufacturer’s instructions and properly assembling the exhaust fan, you will ensure that it functions effectively and remains securely in place. Take your time during this step to ensure a proper and stable installation of your kitchen exhaust fan.
When installing a kitchen exhaust fan, make sure to carefully measure and mark the location for the fan to ensure proper ventilation. It’s also important to follow the manufacturer’s instructions for installation to ensure safe and effective operation.
Read more: How To Install An Exhaust Fan
Step 4: Install the Ductwork
Installing the ductwork is an essential step in the installation process of a kitchen exhaust fan. The ductwork ensures that the extracted air is properly vented to the outside. Follow these steps to install the ductwork:
- Position the ductwork: Hold the ductwork in place, aligning it with the opening on the fan assembly. Make sure the ductwork is centered and properly aligned for a secure connection.
- Secure the duct connector: Attach a duct connector to the opening on the fan assembly. Use screws or clamps, depending on the type of connector provided. Ensure the duct connector is tightly secured to prevent any air leaks.
- Attach the ductwork: Connect the ductwork to the duct connector. If you’re using flexible ductwork, slide it over the duct connector. If you’re using rigid ductwork, use screws or clamps to secure it in place. Make sure the connection is tight and secure.
- Support the ductwork: Depending on the length and weight of the ductwork, you may need to provide additional support. Use hangers, straps, or other appropriate methods to stabilize and support the ductwork along its length.
- Seal the joints: To prevent any air leaks, use duct tape or foil tape to seal the joints between duct pieces. This will ensure optimal ventilation and prevent any loss of airflow.
Proper installation of the ductwork is crucial for the efficient and effective functioning of your kitchen exhaust fan. Ensure that the ductwork is securely connected and sealed to prevent any air leakage. Take the time to properly position, secure, and support the ductwork for a reliable ventilation system.
Step 5: Mount the Fan
Mounting the kitchen exhaust fan is the next step in the installation process. Properly mounting the fan ensures stability and efficient operation. Follow these steps to mount the fan:
- Position the fan: Place the fan unit into the fan assembly, aligning the mounting holes on the fan with the corresponding holes on the assembly.
- Secure the fan: Insert screws or bolts through the mounting holes and tighten them securely using a screwdriver or wrench. Make sure the fan is firmly attached to the assembly.
- Check for stability: Test the stability of the fan by gently shaking it. Ensure that it is securely mounted and does not move or wobble. If there is any instability, double-check the mounting and make any necessary adjustments.
- Verify proper airflow direction: Before proceeding to the next step, ensure that you have positioned the fan in the correct orientation for the desired airflow direction. The fan should be set up to draw air from the cooking area and expel it outside.
By securely mounting the fan, you ensure its stability and optimal functioning. Take your time during this step to double-check the fastening and alignment for a secure installation of your kitchen exhaust fan.
Step 6: Connect the Wiring
Connecting the wiring is a critical step in the installation process of a kitchen exhaust fan. Follow these steps to ensure a safe and proper connection:
- Turn off the power: Before working with any electrical connections, turn off the power to the area where you’ll be installing the fan. Locate the circuit breaker in your electrical panel and switch off the corresponding circuit.
- Verify the electrical requirements: Check the manufacturer’s instructions for the electrical requirements of your kitchen exhaust fan. Ensure that you have the appropriate wiring, voltage, and amperage for the fan.
- Remove the electrical cover: Remove the electrical cover on the fan assembly to access the wiring compartment. This is usually located on the back or bottom of the fan.
- Connect the wires: Inside the wiring compartment, you will find a series of wires – typically black, white, and green or bare copper. Connect the corresponding wires from the fan to the electrical supply using wire nuts. Connect the black to black (hot), white to white (neutral), and green/bare copper to the ground.
- Secure the wire connections: After connecting the wires, use electrical tape to secure and insulate the wire nuts. This will prevent any accidental disconnections or exposure.
- Replace the electrical cover: Once the wiring is securely connected, replace the electrical cover on the fan assembly.
It is highly recommended to consult a licensed electrician if you are unfamiliar with electrical work or if you are unsure about any part of the installation process. Safety is crucial when working with electricity.
Double-check all the connections to ensure they are secure, properly insulated, and in accordance with local electrical codes. Taking the time to correctly connect the wiring will ensure the safe and efficient operation of your kitchen exhaust fan.
Step 7: Test the Fan
The final step in the installation process of a kitchen exhaust fan is to test its functionality. Testing the fan ensures that it is operating correctly and effectively removing smoke, odors, and grease from the cooking area. Follow these steps to test the fan:
- Turn on the power: After completing the wiring and ensuring that all connections are secure, turn on the power to the fan by switching on the corresponding circuit in your electrical panel.
- Switch on the fan: Locate the fan controls, usually located on the front of the fan assembly or on a separate wall switch. Switch on the fan to the desired speed or setting.
- Observe the airflow: Verify that the fan is operating and generating airflow. You should notice the movement of air from the cooking area towards the fan assembly.
- Check for proper suction: Hold a piece of paper or a smoke detector near the fan intake to check if it is pulling in air effectively. The paper should be drawn towards the intake, and the smoke detector should activate and sense the airflow.
- Listen for any abnormal noises: Pay attention to any unusual sounds coming from the fan. While some fan noise is normal, any excessive vibrations, rattling, or grinding noises may indicate a problem. If you notice any issues, consult the manufacturer’s troubleshooting guide or contact a professional for assistance.
By testing the fan, you can ensure that it is functioning properly and efficiently. If the fan is not operating as expected or if you encounter any issues during the test, refer to the manufacturer’s instructions or consult a professional for further assistance.
Once you have confirmed that the fan is working correctly, you can consider the installation process complete. Enjoy the benefits of a well-ventilated kitchen with your newly installed kitchen exhaust fan!
Read more: How To Install An Exhaust Fan In The Kitchen
Conclusion
Installing a kitchen exhaust fan is a valuable investment that enhances the functionality and air quality of your kitchen. By following the steps outlined in this article, you can successfully install a kitchen exhaust fan and enjoy the benefits it provides.
Choosing the right location for the fan, preparing the installation area, assembling the fan, installing the ductwork, mounting the fan, connecting the wiring, and testing the fan are the key steps involved in the installation process. Each step requires careful attention to detail and adherence to safety guidelines.
Remember to gather all the necessary tools and materials before you begin the installation, and always prioritize safety by turning off the power and wearing protective gear. Additionally, it is important to consult the manufacturer’s instructions and, if necessary, seek professional guidance to ensure a proper and accurate installation.
Once installed, your kitchen exhaust fan will effectively remove smoke, odors, grease, and heat from your cooking area, improving air quality and creating a more comfortable environment. Regular maintenance and cleaning of the fan will help it to function optimally and prolong its lifespan.
Now that you have the knowledge and instructions to install a kitchen exhaust fan, it’s time to put your skills to work and enhance your kitchen space. Enjoy the benefits of better air quality and ventilation as you cook and create in your kitchen.
Frequently Asked Questions about How To Install Kitchen Exhaust Fan
Was this page helpful?
At Storables.com, we guarantee accurate and reliable information. Our content, validated by Expert Board Contributors, is crafted following stringent Editorial Policies. We're committed to providing you with well-researched, expert-backed insights for all your informational needs.


0 thoughts on “How To Install Kitchen Exhaust Fan”