Home>Furniture & Design>Bathroom Accessories>How To Make Concrete Bathtub

Bathroom Accessories
How To Make Concrete Bathtub
Modified: May 6, 2024
Learn how to make a concrete bathtub for your bathroom with our step-by-step guide. Explore unique bathroom accessories and create a stunning focal point.
(Many of the links in this article redirect to a specific reviewed product. Your purchase of these products through affiliate links helps to generate commission for Storables.com, at no extra cost. Learn more)
Introduction
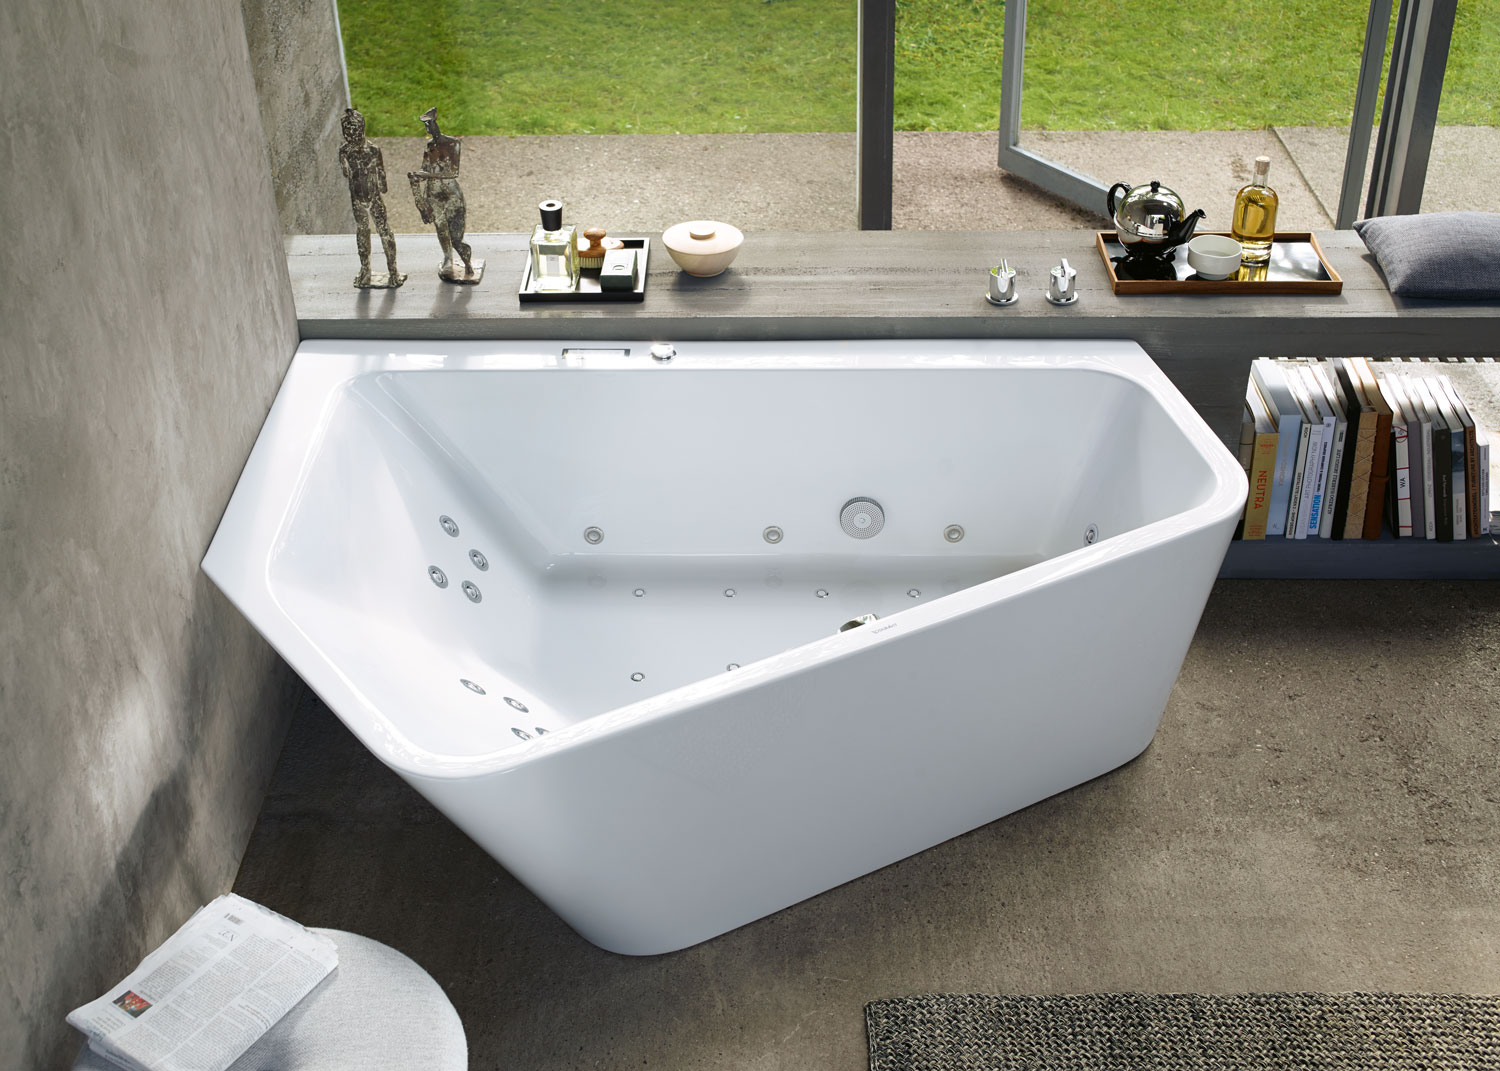
Creating a concrete bathtub can be a rewarding and unique project that adds a touch of modern elegance to any bathroom. This DIY endeavor allows you to customize the size, shape, and style of the bathtub to perfectly suit your space and preferences. While the process may seem daunting at first, with the right materials, tools, and guidance, you can successfully craft a stunning concrete bathtub that will become the centerpiece of your bathroom.
Designing and constructing a concrete bathtub is a labor of love that requires careful planning, attention to detail, and a willingness to embrace the creative process. By embarking on this venture, you have the opportunity to infuse your personal touch into a functional and visually striking fixture that will elevate the aesthetic appeal of your bathroom.
Throughout this article, we will delve into the step-by-step process of making a concrete bathtub, from preparing the mold to adding the finishing touches. With a clear understanding of the materials and techniques involved, you can confidently embark on this endeavor, knowing that the end result will be a one-of-a-kind masterpiece that reflects your individual style and craftsmanship.
Key Takeaways:
- Creating a concrete bathtub is a unique and rewarding DIY project that allows you to customize the size, shape, and style to suit your preferences, adding modern elegance to your bathroom.
- The meticulous process involves preparing the mold, mixing and pouring the concrete, reinforcing it with fiberglass, and applying finishing touches to create a durable and visually striking centerpiece for your bathroom.
Read more: How To Make A Concrete Walkway
Materials and Tools Needed
To embark on the journey of creating a concrete bathtub, you will need a comprehensive array of materials and tools to ensure a successful and efficient construction process. Here's a detailed list of the essential items required to bring your vision to life:
Materials:
- Concrete Mix: Select a high-quality concrete mix suitable for casting large structures. Opt for a mix that offers durability and is specifically formulated for use in water-bearing applications.
- Fiberglass Reinforcement: Incorporate fiberglass reinforcement to enhance the strength and resilience of the concrete bathtub. This material will help prevent cracking and ensure the longevity of the fixture.
- Release Agent: Acquire a reliable release agent to facilitate the easy removal of the bathtub mold once the concrete has cured. This essential component will prevent the concrete from adhering to the mold surface.
- Sealant: Choose a waterproof sealant designed for concrete applications to protect the bathtub against water damage and ensure a long-lasting finish.
- Rubber Gloves and Safety Gear: Prioritize safety by investing in durable rubber gloves and appropriate safety gear to shield yourself from potential hazards during the construction process.
Tools:
- Mold Materials: Depending on your design preferences, you will need materials to construct the mold for the bathtub. This may include plywood, melamine sheets, or other suitable materials for creating the desired shape and dimensions.
- Mixing Equipment: Utilize a sturdy wheelbarrow or mixing tub to combine the concrete mix with water thoroughly. Additionally, have a mixing paddle or hoe on hand to achieve a consistent and lump-free concrete mixture.
- Trowel and Float: A high-quality trowel and float are indispensable for smoothing and leveling the concrete surface during the pouring and finishing stages.
- Measuring Tools: Accurate measurements are crucial in ensuring the precise dimensions of the bathtub. Equip yourself with measuring tape, level, and square to maintain precision throughout the construction process.
- Protective Coverings: Safeguard your work area and surrounding surfaces by using plastic sheeting or drop cloths to prevent concrete spills and splatters.
- Supporting Framework: Depending on the design and size of the bathtub, you may require additional tools such as braces, clamps, or supports to reinforce the mold structure and maintain its integrity during the pouring and curing stages.
By gathering these essential materials and tools, you will be well-equipped to commence the construction of your concrete bathtub with confidence and precision. Each item plays a crucial role in ensuring the successful realization of your vision, and careful consideration and selection of these components will contribute to the overall quality and durability of the finished bathtub.
Preparing the Mold
The process of preparing the mold for your concrete bathtub is a critical initial step that sets the foundation for the entire construction endeavor. This phase demands meticulous attention to detail and precision to ensure that the resulting mold accurately reflects the desired shape and dimensions of the bathtub. Here's a comprehensive guide to effectively prepare the mold for your concrete bathtub:
Read more: How To Make Concrete Coasters
Design and Construction
Begin by meticulously designing the shape and dimensions of your concrete bathtub. Whether you envision a sleek, modern design or a more organic and free-form structure, it's essential to translate your vision into a detailed plan. Once the design is finalized, gather the necessary materials, such as plywood, melamine sheets, or other suitable mold-building materials, to construct the formwork.
Building the Mold Structure
Using the precise measurements and design specifications, assemble the mold structure with utmost care and accuracy. Ensure that the mold is sturdy and well-supported, as it will bear the weight of the concrete during the pouring and curing stages. Pay close attention to the seams and joints, sealing them effectively to prevent any leakage of the concrete mix.
Incorporating Drainage and Fixtures
If your design includes specific provisions for drainage and fixtures, such as faucets and overflow outlets, integrate these elements into the mold structure. Carefully position and secure these components to align with the intended layout of the bathtub. Additionally, verify that the mold accommodates the necessary plumbing connections and fixtures with precision.
Applying Release Agent
Prior to pouring the concrete, generously apply a high-quality release agent to the interior surfaces of the mold. This crucial step ensures that the cured concrete can be easily separated from the mold without any adhesion or damage. The release agent serves as a protective barrier, facilitating the smooth removal of the mold once the concrete has set.
Read more: How To Make Concrete Floor
Verifying Accuracy
Before proceeding to the next phase of the construction process, meticulously inspect the mold to confirm that it accurately reflects the intended design and dimensions of the bathtub. Verify that all components, including the reinforcement and fixtures, are securely positioned within the mold and that the structure is ready to receive the concrete mixture.
By meticulously preparing the mold for your concrete bathtub, you establish a solid framework for the subsequent stages of the construction process. This foundational phase sets the stage for the successful realization of your design, ensuring that the resulting bathtub embodies the precise shape, dimensions, and features envisioned at the outset of the project.
Mixing and Pouring the Concrete
The process of mixing and pouring the concrete is a pivotal stage in the construction of a concrete bathtub, demanding precision, attention to detail, and a methodical approach to achieve optimal results. This phase involves the careful blending of the concrete mix, ensuring a consistent and workable composition, followed by the controlled pouring of the mixture into the prepared mold. Here's a comprehensive guide to effectively execute the mixing and pouring of the concrete for your bathtub:
Preparing the Concrete Mix
Begin by carefully following the manufacturer's instructions to prepare the concrete mix. Measure the appropriate quantity of concrete mix based on the dimensions and depth of the bathtub, ensuring accuracy to achieve the desired structural integrity. It's essential to use a high-quality concrete mix specifically formulated for casting large structures, as this will contribute to the durability and longevity of the bathtub.
Mixing the Concrete
In a clean and spacious area, combine the measured concrete mix with water in a sturdy wheelbarrow or mixing tub. Use a mixing paddle or hoe to blend the materials thoroughly, ensuring that the mixture achieves a uniform consistency. It's crucial to avoid overwatering the concrete, as this can compromise its strength and structural integrity. Aim for a workable yet firm mixture that can be easily maneuvered during the pouring process.
Read more: How To Make A Bathtub Caddy
Pouring the Concrete
With the concrete mix thoroughly blended, carefully transfer it into the prepared mold for the bathtub. Exercise caution and precision to distribute the concrete evenly within the mold, minimizing air pockets and ensuring uniform coverage. Employ a trowel and float to level the surface of the poured concrete, smoothing out any irregularities and achieving a uniform finish. Pay close attention to the edges and corners, ensuring that the entire mold is filled with the concrete mixture.
Managing the Pouring Process
As the concrete is poured into the mold, monitor the consistency and flow of the mixture to maintain control over the pouring process. Work systematically to prevent any abrupt shifts or disturbances that could compromise the integrity of the poured concrete. Additionally, ensure that the reinforcement materials, such as fiberglass, are evenly distributed within the concrete to enhance its strength and resilience.
Curing the Concrete
Following the pouring of the concrete, allow the mixture to cure and set within the mold according to the manufacturer's recommendations. This crucial curing period is essential for the concrete to achieve its optimal strength and durability. Implement measures to maintain a consistent curing environment, such as covering the mold with plastic sheeting and periodically moistening the concrete to facilitate proper hydration.
By meticulously executing the mixing and pouring of the concrete for your bathtub, you lay the foundation for a structurally sound and visually appealing fixture. This phase demands precision and care, as the quality of the concrete mixture and the pouring process significantly influence the overall integrity and longevity of the finished bathtub. With a methodical approach and attention to detail, you can ensure that the poured concrete embodies the desired characteristics, setting the stage for the subsequent phases of the construction process.
Reinforcing the Concrete
Reinforcing the concrete is a critical step in the construction of a durable and long-lasting bathtub. By integrating fiberglass reinforcement into the concrete mixture, you enhance the structural integrity of the bathtub, mitigating the risk of cracking and ensuring its resilience in the face of regular use. The reinforcement process involves strategically incorporating fiberglass mesh or fibers into the concrete mix, effectively dispersing them to fortify the entire structure. Here's a detailed exploration of the essential aspects of reinforcing the concrete for your bathtub:
Read more: How To Make An Outdoor Bathtub
Selecting the Reinforcement Material
When reinforcing the concrete for your bathtub, opt for high-quality fiberglass mesh or fibers specifically designed for use in concrete applications. Fiberglass reinforcement offers exceptional strength and flexibility, making it an ideal choice for enhancing the performance of the concrete. The material's resistance to corrosion and ability to withstand the alkaline environment of concrete further solidify its suitability for this purpose.
Integrating Fiberglass into the Concrete Mix
Once the concrete mix is prepared and ready for reinforcement, carefully incorporate the fiberglass mesh or fibers into the mixture. Thoroughly blend the reinforcement material with the concrete, ensuring even distribution throughout the entire mix. The goal is to achieve a uniform dispersion of the fiberglass, effectively reinforcing the concrete and minimizing the risk of localized weaknesses.
Enhancing Structural Resilience
By reinforcing the concrete with fiberglass, you significantly bolster the bathtub's structural resilience. The fiberglass reinforcement acts as a supportive framework within the concrete, effectively dispersing stress and minimizing the potential for cracking or structural compromise. This reinforcement is particularly crucial in areas prone to high stress, such as the base and edges of the bathtub, where the fiberglass serves to fortify the concrete against potential vulnerabilities.
Mitigating Cracking and Shrinkage
The incorporation of fiberglass reinforcement plays a pivotal role in mitigating cracking and shrinkage within the concrete. As the bathtub cures and settles, the reinforcement material acts as a safeguard against the development of hairline cracks and structural instabilities. This proactive measure ensures that the bathtub maintains its integrity over time, withstanding the rigors of regular use and environmental factors.
Read more: How To Make Bathtub Not Slippery
Ensuring Long-Term Durability
Ultimately, reinforcing the concrete with fiberglass contributes to the long-term durability of the bathtub. The enhanced strength and resilience provided by the reinforcement material fortify the concrete, resulting in a fixture that can withstand the test of time. By prioritizing the reinforcement process, you invest in the longevity of the bathtub, ensuring that it remains a functional and visually striking centerpiece in your bathroom for years to come.
By meticulously reinforcing the concrete for your bathtub with high-quality fiberglass, you elevate the structural integrity and longevity of the fixture. This proactive measure serves as a safeguard against potential vulnerabilities, ensuring that the bathtub remains resilient and visually appealing throughout its lifespan. With a steadfast commitment to reinforcing the concrete, you lay the groundwork for a durable and enduring centerpiece that embodies both functionality and aesthetic allure.
Curing the Concrete
Curing the concrete is a crucial phase in the construction of a durable and resilient bathtub. This process involves creating and maintaining the ideal conditions for the concrete to gradually achieve its optimal strength and durability. Proper curing is essential for minimizing the risk of cracking, enhancing the concrete's resistance to wear and tear, and ensuring the longevity of the bathtub. Here's a detailed exploration of the essential aspects of curing the concrete for your bathtub:
Importance of Curing
Effective curing is paramount to the overall quality and performance of the concrete bathtub. It directly influences the hydration process, during which the concrete undergoes chemical reactions to attain its intended strength. Insufficient or improper curing can lead to a range of issues, including reduced strength, surface defects, and diminished durability. By prioritizing thorough and consistent curing, you set the stage for a robust and long-lasting bathtub that can withstand the demands of daily use.
Initial Curing Period
Following the pouring of the concrete into the mold, the initial curing period is critical for establishing a strong foundation. During this phase, it's essential to shield the concrete from premature drying and to maintain a consistently moist environment. Cover the mold with plastic sheeting to prevent moisture loss and create a protective enclosure that facilitates the gradual hydration of the concrete. This initial curing phase sets the groundwork for the subsequent development of the concrete's strength and durability.
Read more: How To Make Bubbles In Bathtub
Moisture Retention
Sustaining adequate moisture levels within the concrete is a key factor in effective curing. To prevent premature evaporation and ensure thorough hydration, consider employing methods such as periodic misting or the use of damp coverings. By maintaining a moist environment, you support the concrete's ongoing chemical reactions, allowing it to progressively gain strength and resilience. Consistent moisture retention is instrumental in mitigating the risk of surface cracking and promoting the uniform development of the concrete's properties.
Duration of Curing
The duration of the curing process is influenced by various factors, including the specific concrete mix used, ambient conditions, and the size and complexity of the bathtub. As a general guideline, aim to sustain the curing environment for an extended period, typically spanning several days to promote comprehensive hydration and strength development. Adhering to the manufacturer's recommendations and industry best practices regarding curing duration is essential for maximizing the concrete's long-term performance and durability.
Ensuring Uniform Curing
Throughout the curing process, strive to maintain uniform conditions across the entire surface of the concrete bathtub. Pay close attention to potential variations in temperature and moisture levels, ensuring that the curing environment remains consistent. By promoting uniform curing, you minimize the risk of differential shrinkage and cracking, fostering a structurally sound and visually appealing bathtub that embodies the desired characteristics.
By meticulously executing the curing process, you establish the groundwork for a concrete bathtub that embodies optimal strength, durability, and resilience. This proactive approach to curing ensures that the concrete achieves its full potential, resulting in a fixture that can withstand the rigors of daily use and maintain its visual appeal over time. With a steadfast commitment to effective curing, you lay the foundation for a durable and enduring centerpiece in your bathroom.
Removing the Mold
The process of removing the mold from the cured concrete bathtub marks a significant milestone in the construction journey, signifying the transition from the formative stages to the revelation of the finished fixture. This pivotal step demands precision, care, and a methodical approach to ensure the seamless separation of the mold from the concrete surface, unveiling the true form of the bathtub. Here's a comprehensive guide to effectively execute the removal of the mold and unveil the concrete bathtub:
Read more: How To Make A Bathtub Tray
Assessing the Curing Status
Before initiating the mold removal process, carefully assess the curing status of the concrete. Verify that the concrete has undergone sufficient curing to attain the necessary strength and resilience for the demolding process. It's essential to adhere to the recommended curing duration to ensure that the concrete has fully set and achieved its intended properties.
Releasing the Mold
Begin the demolding process by gently and methodically releasing the mold from the concrete surface. Depending on the materials used for the mold, such as plywood or melamine sheets, employ appropriate techniques to gradually disengage the mold from the concrete. Exercise caution to avoid abrupt movements that could potentially damage the concrete or compromise the integrity of the bathtub's surface.
Leveraging Release Agents
The application of a high-quality release agent prior to pouring the concrete proves instrumental in facilitating the smooth removal of the mold. The release agent serves as a protective barrier, preventing the concrete from adhering to the mold and easing the separation process. As the mold is carefully disassembled and lifted away, the efficacy of the release agent becomes apparent, ensuring that the concrete retains its pristine finish.
Ensuring Even Disengagement
As the mold is being removed, prioritize even disengagement across the entire surface of the concrete bathtub. Pay close attention to potential areas of resistance or adhesion, employing gentle maneuvers to gradually release the mold without causing any undue stress or impact on the concrete. By ensuring a uniform and controlled demolding process, you safeguard the integrity of the bathtub's surface.
Read more: How To Make A Bathtub Taller
Verifying the Unveiled Surface
Upon successful removal of the mold, take a moment to verify the unveiled surface of the concrete bathtub. Inspect the entirety of the exposed concrete, ensuring that the demolding process has not resulted in any surface imperfections or irregularities. If necessary, address any minor blemishes or imperfections to maintain the pristine appearance of the bathtub.
By meticulously executing the process of removing the mold, you unveil the true form of the concrete bathtub, showcasing the culmination of your craftsmanship and dedication. This transformative phase marks the transition from the construction phase to the realization of a visually striking and functional fixture that embodies your unique vision and attention to detail. With a methodical and attentive approach to demolding, you reveal a concrete bathtub that stands as a testament to your commitment to quality and excellence.
Finishing Touches
With the mold successfully removed, the concrete bathtub begins to emerge as a striking centerpiece in the bathroom space. However, the journey towards its completion involves the meticulous application of finishing touches to refine its appearance and functionality. This phase encompasses a series of essential steps aimed at enhancing the visual appeal, durability, and overall user experience of the bathtub.
Surface Smoothing and Polishing
Upon demolding, the surface of the concrete bathtub may benefit from additional smoothing and polishing to achieve a refined and tactile finish. Utilizing fine-grit sandpaper or polishing pads, carefully refine the surface, eliminating any minor imperfections and irregularities. This process not only contributes to the aesthetic refinement of the bathtub but also enhances its tactile comfort, ensuring a smooth and inviting feel.
Sealing and Waterproofing
To fortify the concrete bathtub against moisture and potential staining, the application of a high-quality sealant is essential. Select a waterproof sealant specifically formulated for concrete applications and meticulously apply it to the entire surface of the bathtub. This protective barrier not only safeguards the concrete against water damage but also accentuates the natural beauty of the material, creating a lustrous and enduring finish.
Read more: How To Make A Portable Bathtub
Customization and Personalization
Embrace the opportunity to customize the bathtub to align with your unique preferences and style. Consider incorporating decorative elements, such as embedded stones or tiles, to infuse the bathtub with individuality and character. Additionally, explore the possibility of integrating personalized features, such as built-in shelving or seating, to enhance the functionality and visual allure of the bathtub, transforming it into a bespoke and tailored fixture.
Fixture Installation
As the finishing touches take shape, proceed to install the necessary fixtures and fittings to complete the functionality of the bathtub. This may involve mounting faucets, drains, and overflow outlets with precision, ensuring seamless integration with the overall design. Attention to detail in fixture installation not only enhances the usability of the bathtub but also contributes to a cohesive and harmonious aesthetic.
Final Inspection and Refinement
Conduct a comprehensive inspection of the completed bathtub, meticulously verifying the integrity of the surface, the functionality of installed fixtures, and the overall visual appeal. Address any remaining imperfections or areas of concern, refining the bathtub to meet the highest standards of quality and craftsmanship. This meticulous attention to detail ensures that the finished bathtub embodies excellence in both form and function.
By meticulously attending to the finishing touches, the concrete bathtub undergoes a transformative journey, evolving into a refined and functional fixture that reflects the dedication and artistry invested in its creation. Each detail contributes to the overall impression of the bathtub, culminating in a visually striking and enduring centerpiece that elevates the ambiance of the bathroom space.
Conclusion
In conclusion, the process of creating a concrete bathtub is a labor of love that encompasses meticulous planning, precise execution, and a steadfast commitment to quality. From the initial stages of preparing the mold to the final application of finishing touches, every step in this journey contributes to the realization of a visually striking and enduring fixture that elevates the aesthetic appeal of the bathroom.
The endeavor of crafting a concrete bathtub transcends mere construction; it embodies a fusion of artistry and functionality, allowing individuals to infuse their unique vision into a utilitarian fixture. The careful selection of materials, the methodical preparation of the mold, and the precise pouring and curing of the concrete culminate in the unveiling of a centerpiece that reflects the dedication and craftsmanship invested in its creation.
Throughout the construction process, attention to detail and a commitment to excellence are paramount. The reinforcement of the concrete with high-quality fiberglass ensures the structural resilience of the bathtub, while the meticulous curing process fosters the development of optimal strength and durability. The removal of the mold and the application of finishing touches further refine the bathtub, transforming it into a bespoke and enduring fixture.
Ultimately, the completion of a concrete bathtub represents the harmonious convergence of artistry, functionality, and durability. It stands as a testament to the individual's creativity and dedication, serving as a captivating focal point in the bathroom space. The tactile allure of the polished concrete, the seamless integration of fixtures, and the personalized touches collectively contribute to a fixture that transcends mere utility, becoming a statement of refined craftsmanship and individual style.
In embracing the journey of creating a concrete bathtub, individuals embark on a transformative experience that culminates in the realization of a visually striking and enduring centerpiece. This endeavor not only yields a functional fixture but also serves as a canvas for personal expression and a testament to the pursuit of excellence in craftsmanship. The completed concrete bathtub stands as a testament to the fusion of art and utility, enriching the bathroom space with its distinctive presence and enduring allure.
Now that you've learned how to craft a stunning concrete bathtub, why stop there? Upgrading your bathroom can be a substantial project, and knowing how long the job will take is crucial. Our detailed guide on bathroom renovations outlines the expected duration and steps involved. Don't let uncertainty slow you down; get all the information you need to plan effectively and create the bathroom of your dreams!
Frequently Asked Questions about How To Make Concrete Bathtub
Was this page helpful?
At Storables.com, we guarantee accurate and reliable information. Our content, validated by Expert Board Contributors, is crafted following stringent Editorial Policies. We're committed to providing you with well-researched, expert-backed insights for all your informational needs.


0 thoughts on “How To Make Concrete Bathtub”