Home>Furniture & Design>Bathroom Accessories>How To Plug An Overflow Drain In Bathtub?
Bathroom Accessories
How To Plug An Overflow Drain In Bathtub?
Modified: October 19, 2024
Learn how to effectively plug an overflow drain in your bathtub with the right bathroom accessories. Keep your bathroom dry and clean with these simple tips.
(Many of the links in this article redirect to a specific reviewed product. Your purchase of these products through affiliate links helps to generate commission for Storables.com, at no extra cost. Learn more)
Introduction
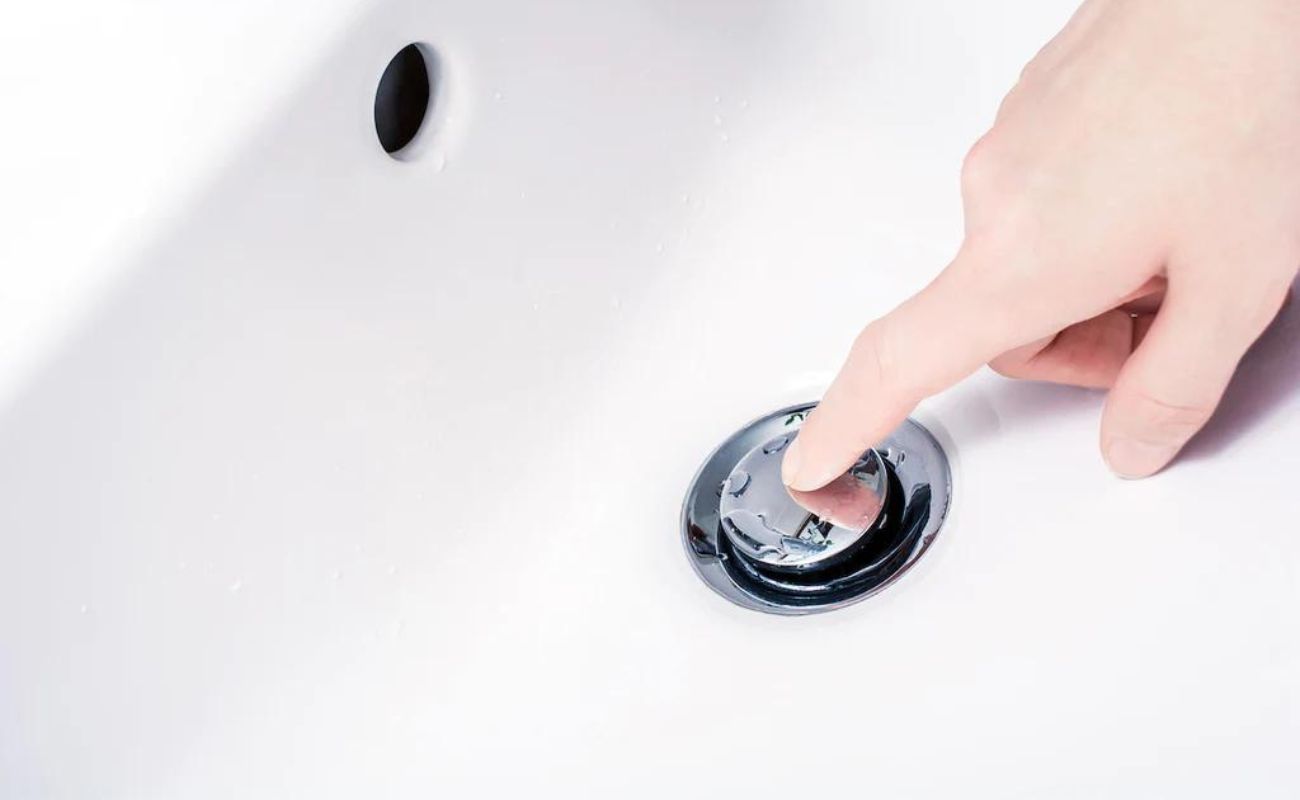
When it comes to creating a relaxing and rejuvenating bathing experience, the overflow drain in a bathtub plays a crucial role. This essential component prevents water from spilling over the edge of the tub, ensuring that your bath remains a tranquil and mess-free oasis. However, there are instances when you may wish to plug the overflow drain, such as when you want to enjoy a deeper soak or when the drain cover needs maintenance or replacement.
In this comprehensive guide, we will explore the step-by-step process of plugging an overflow drain in a bathtub. Whether you are looking to elevate your bathing experience or need to address a maintenance issue, understanding how to effectively plug the overflow drain is essential. By following the instructions outlined in this guide, you will be able to confidently and successfully manage this task, ensuring that your bathing rituals are tailored to your preferences and needs.
Now, let's delve into the specific steps required to plug an overflow drain in a bathtub, from gathering the necessary materials to testing the plug to ensure a watertight seal. Whether you are a seasoned DIY enthusiast or a novice homeowner, this guide will equip you with the knowledge and skills to tackle this task with ease and confidence. So, let's roll up our sleeves and embark on this practical and rewarding journey of enhancing your bathing space.
Key Takeaways:
- Customize your bathing experience by plugging the overflow drain in your bathtub. Gather materials, clean the drain, apply the plug, and test for a watertight seal to enjoy a deeper soak and maintain your bathing space.
- Ensure a secure and effective plug for your bathtub’s overflow drain. Clean the drain, apply the plug, and test for leaks to create a personalized and hassle-free bathing experience, tailored to your preferences and needs.
Read more: How To Replace Overflow Drain On A Bathtub
Step 1: Gather the necessary materials
Before embarking on the process of plugging the overflow drain in your bathtub, it's essential to gather the necessary materials to ensure a smooth and efficient experience. Here's a comprehensive list of items you'll need:
-
Overflow Drain Cover or Plug: The primary component required for this task is an overflow drain cover or plug. These are specifically designed to fit over the overflow opening, effectively blocking the drain and allowing you to enjoy a deeper soak in the tub. Overflow drain covers are available in various materials, including plastic, silicone, and metal, catering to different preferences and budgets.
-
Cleaning Supplies: It's important to ensure that the overflow drain is clean and free from any debris or buildup before applying the plug. Gather cleaning supplies such as a mild detergent, a cleaning brush or sponge, and a cloth to thoroughly clean the area around the overflow opening.
-
Sealant (Optional): Depending on the type of overflow drain cover or plug you choose, you may require a sealant to ensure a watertight seal. Silicone-based sealants are commonly used for this purpose, providing a secure and durable bond between the plug and the bathtub surface.
-
Rubber Gloves: To protect your hands during the cleaning and installation process, it's advisable to have a pair of rubber gloves on hand. These will shield your skin from any cleaning agents or sealants and provide a better grip when handling the materials.
-
Measuring Tape: If you opt for a custom or adjustable overflow drain cover, having a measuring tape will allow you to accurately determine the dimensions of the overflow opening, ensuring a precise fit for the plug.
-
Safety Glasses: While not always necessary, safety glasses can provide added protection, especially if you are using cleaning agents or sealants that may produce fumes or splashes.
By ensuring that you have all the necessary materials at your disposal, you can streamline the process of plugging the overflow drain in your bathtub. This proactive approach minimizes interruptions and allows you to focus on the task at hand, ultimately leading to a successful and satisfying outcome. Now that you have gathered the essential materials, let's move on to the next step in this process.
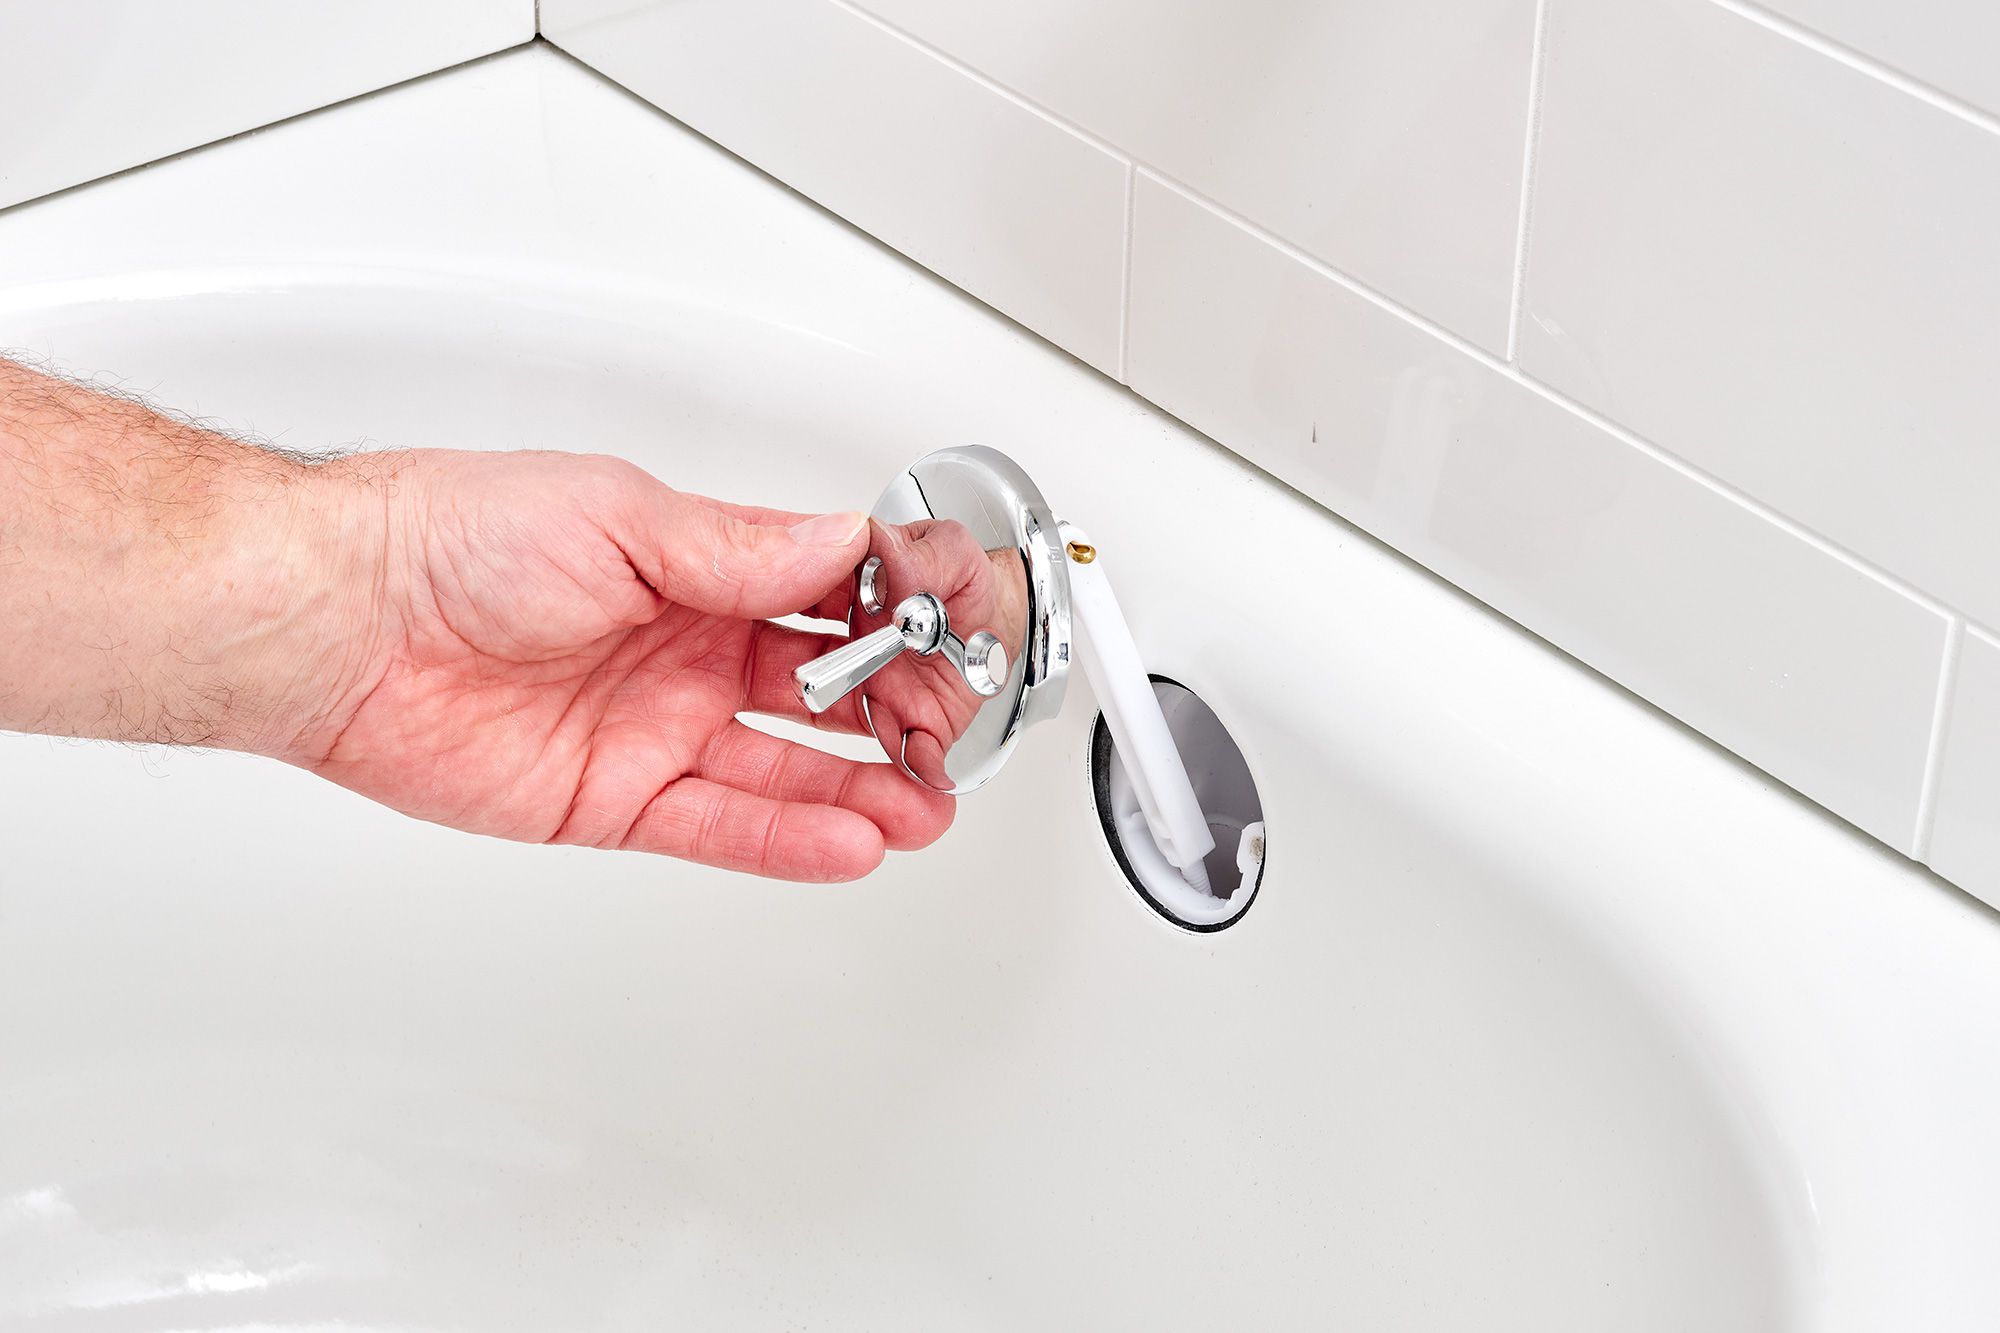
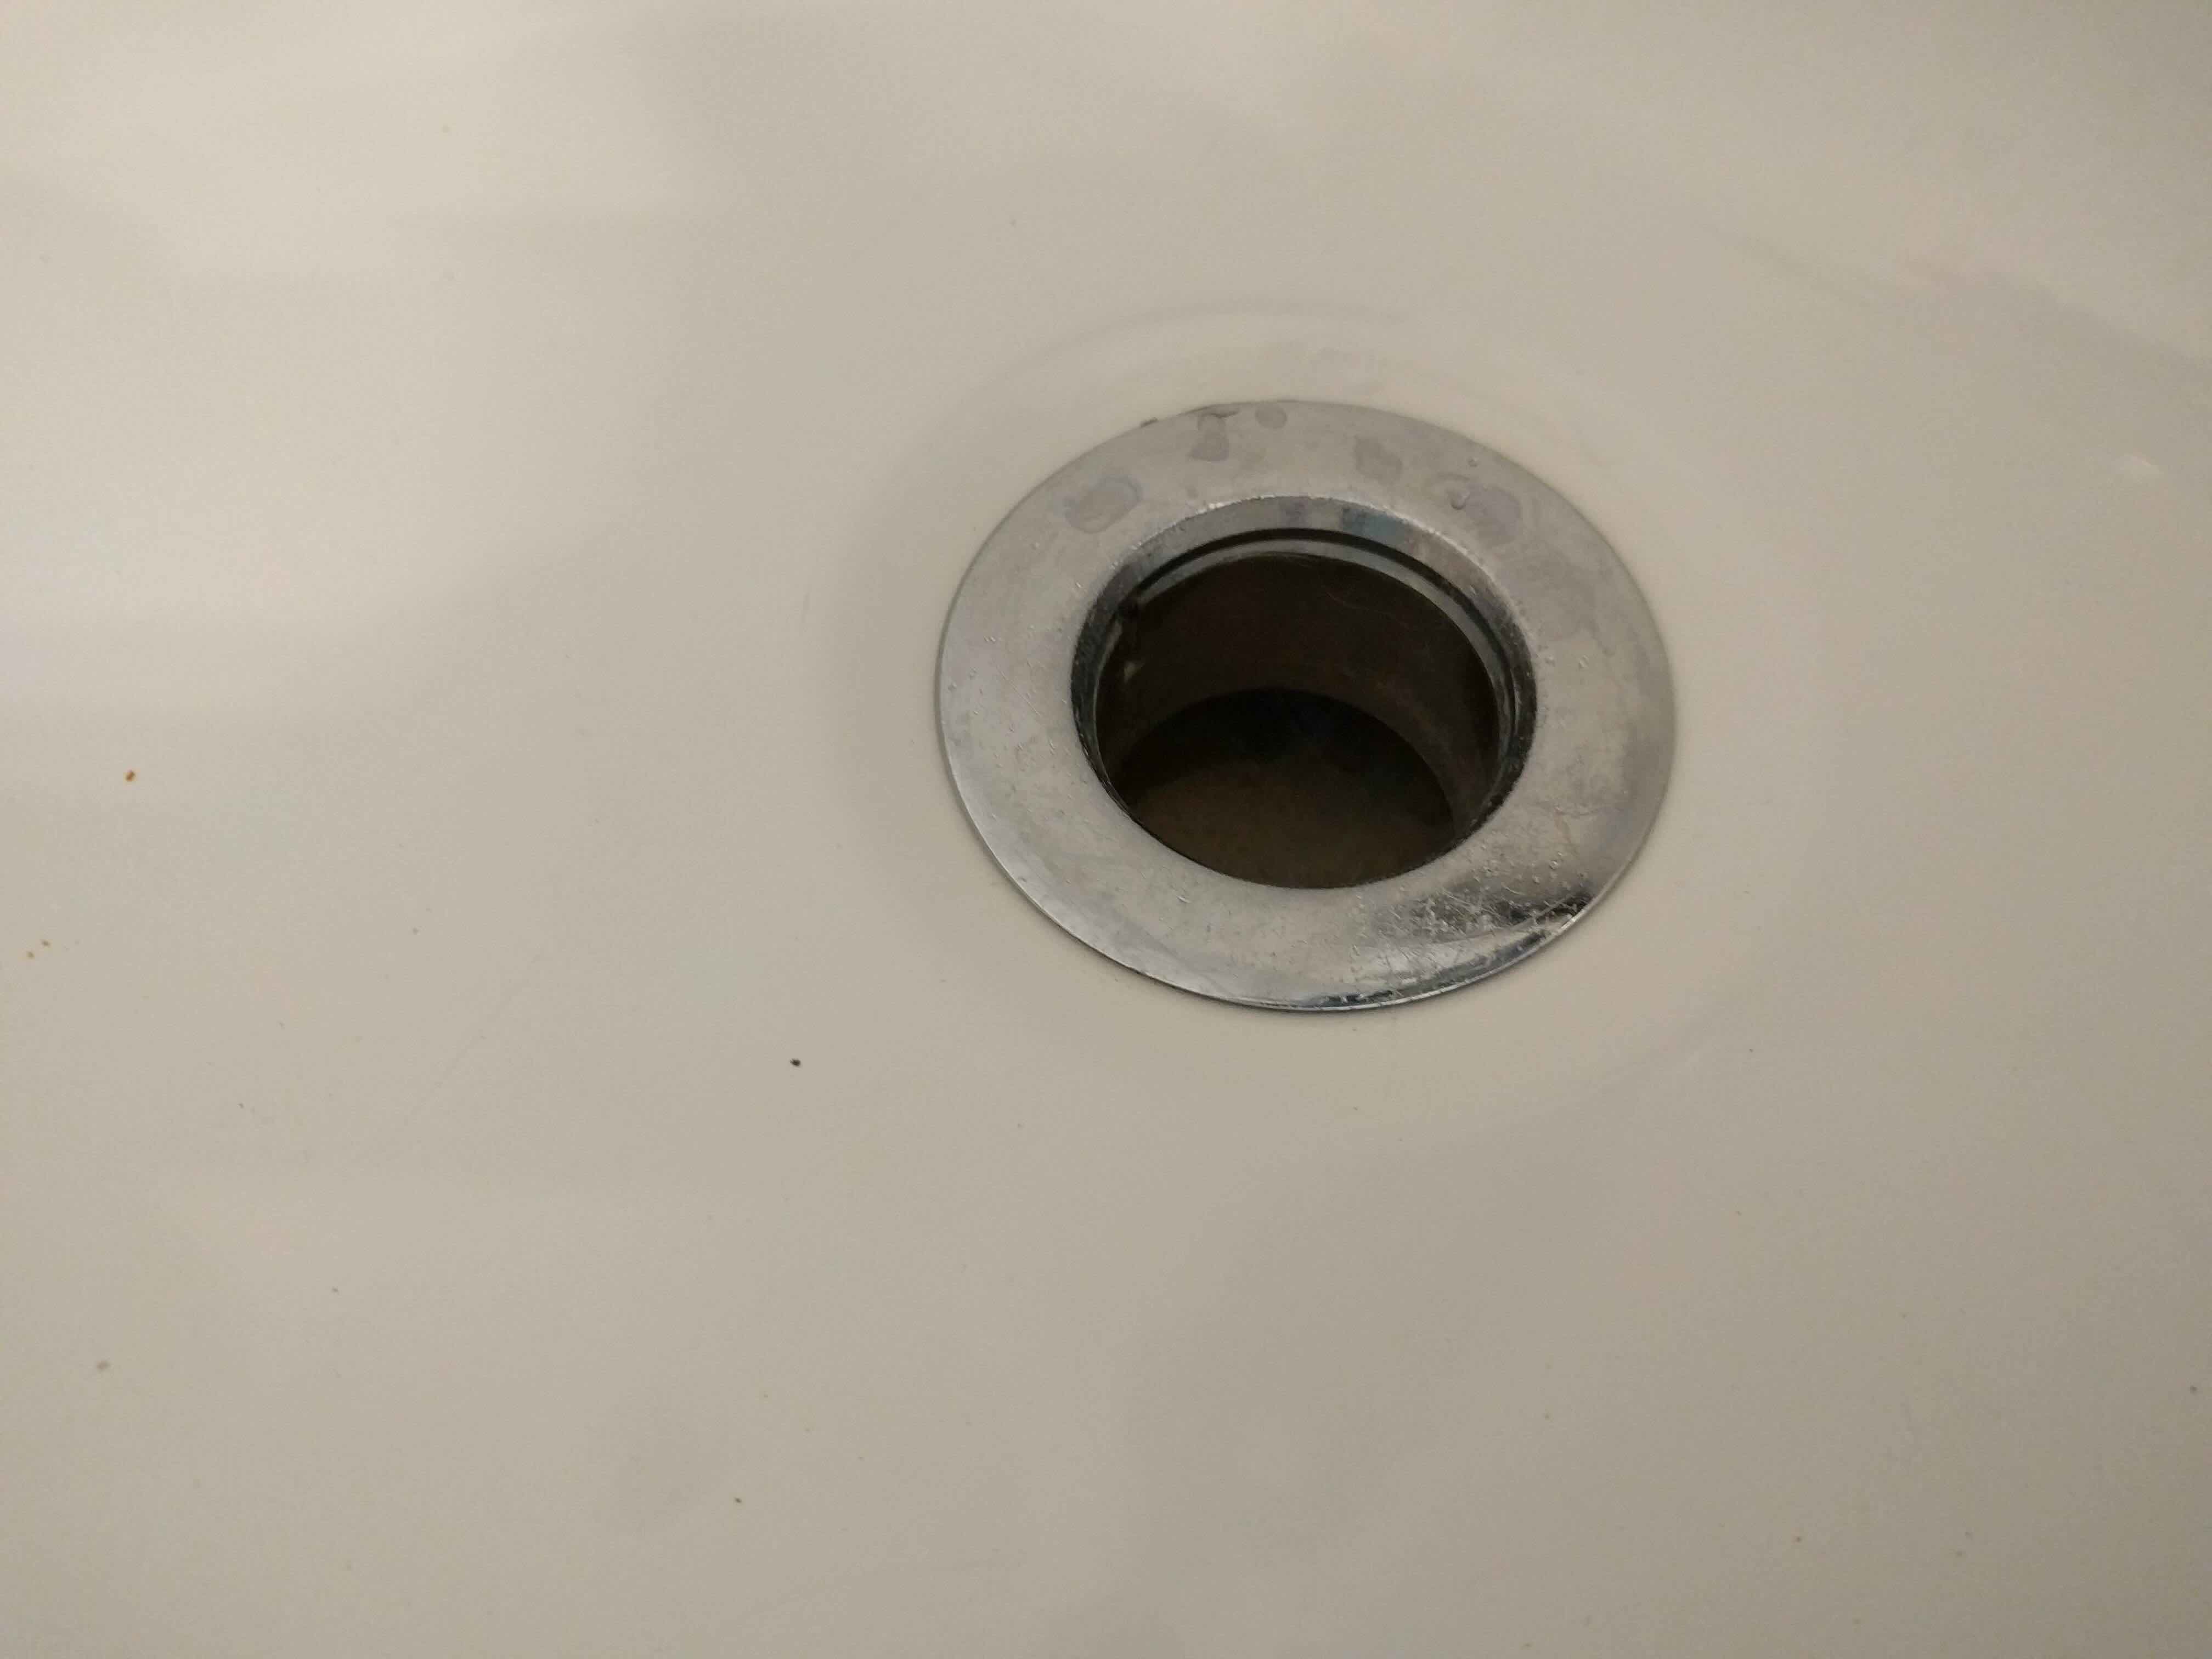
Step 2: Clean the overflow drain
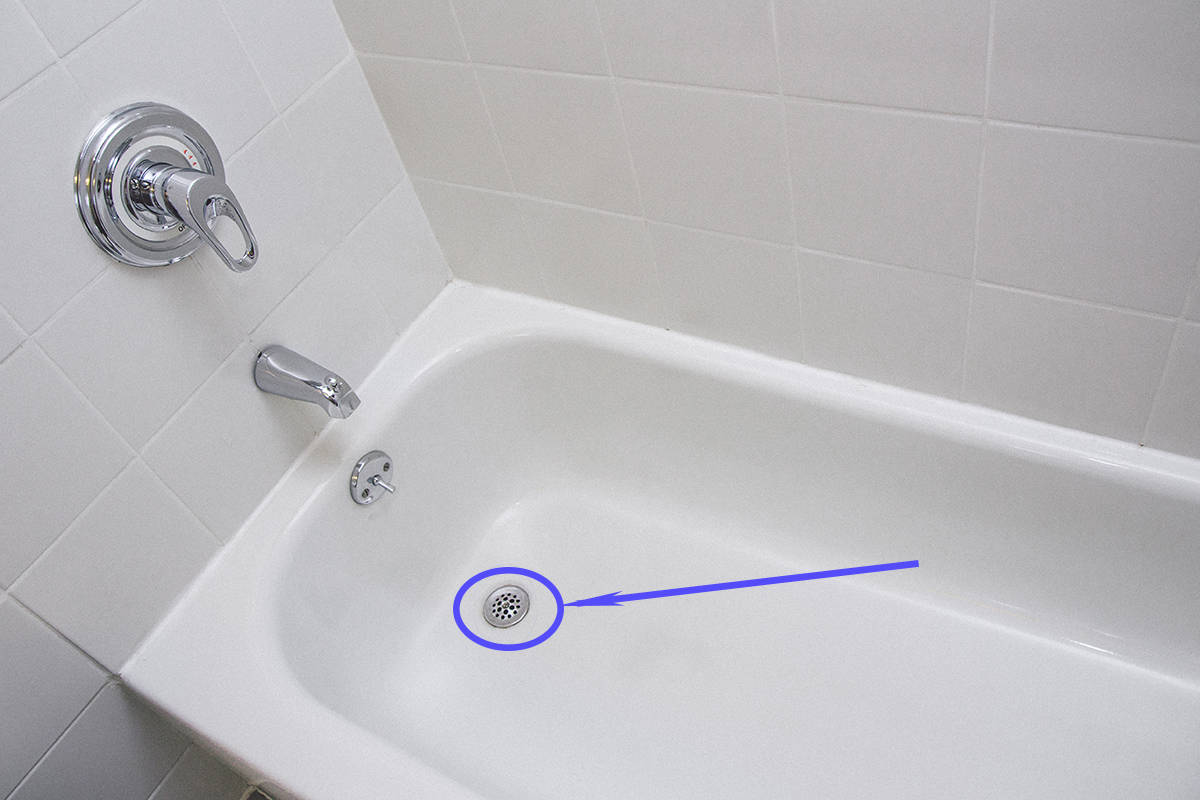
Cleaning the overflow drain is a crucial preparatory step before plugging it. Over time, the overflow drain can accumulate dirt, soap scum, and other debris, which can hinder the effectiveness of the plug and compromise the overall hygiene of your bathtub. By thoroughly cleaning the overflow drain, you can ensure a clean and secure surface for the plug to adhere to, ultimately enhancing the functionality and aesthetics of your bathing space.
To begin the cleaning process, gather your cleaning supplies, including a mild detergent, a cleaning brush or sponge, and a cloth. Start by mixing the mild detergent with warm water to create a cleaning solution. Dip the cleaning brush or sponge into the solution and carefully scrub the area around the overflow opening. Pay close attention to any visible buildup or residue, ensuring that you effectively remove any accumulated grime.
Once you have thoroughly scrubbed the overflow drain, rinse the area with clean water to remove any remaining detergent and loosened debris. Use a cloth to dry the surface, ensuring that it is free from moisture before proceeding to the next step. This meticulous cleaning process not only prepares the overflow drain for the plug but also contributes to a cleaner and more inviting bathing environment.
In some cases, if the overflow drain exhibits stubborn stains or persistent buildup, you may consider using a specialized bathroom cleaner or a mild abrasive cleaner to tackle the tough spots. However, it's important to ensure that the chosen cleaner is compatible with the material of your bathtub and the overflow drain to avoid any damage or discoloration.
By investing time and effort in cleaning the overflow drain, you are setting the stage for a successful plug installation. The clean and sanitized surface will promote a secure bond between the plug and the bathtub, minimizing the risk of leaks or displacement. Additionally, maintaining a clean overflow drain contributes to the overall maintenance and longevity of your bathtub, ensuring that it remains a pristine and enjoyable space for your bathing rituals.
With the overflow drain now clean and prepared, you are ready to proceed to the next step of applying the plug, bringing you closer to achieving your desired bathing experience.
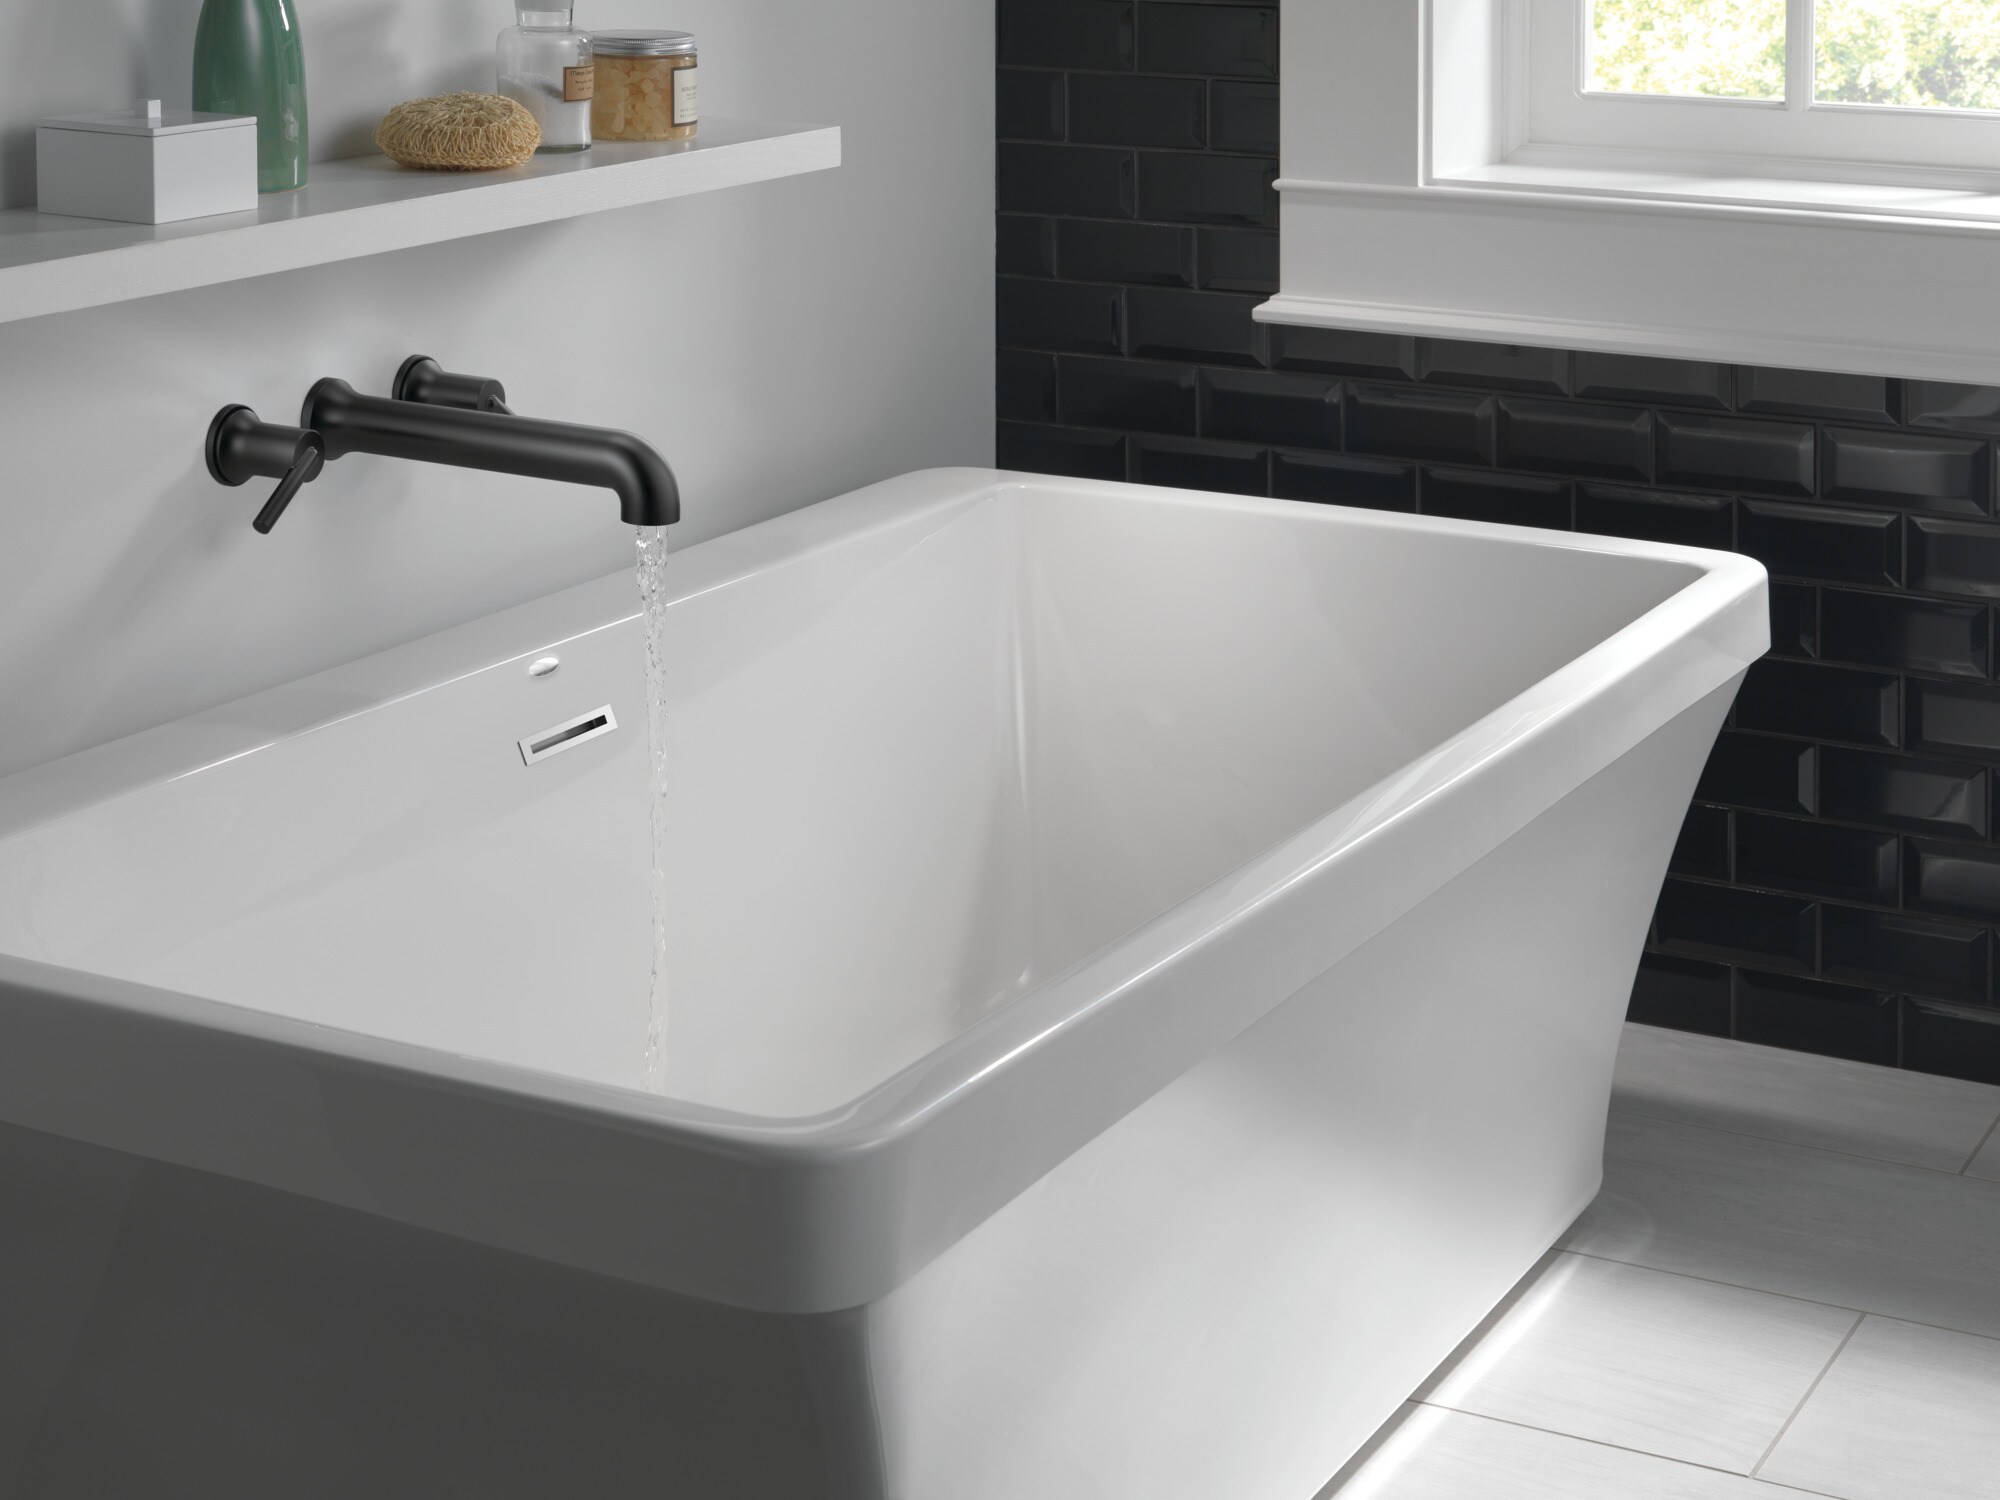
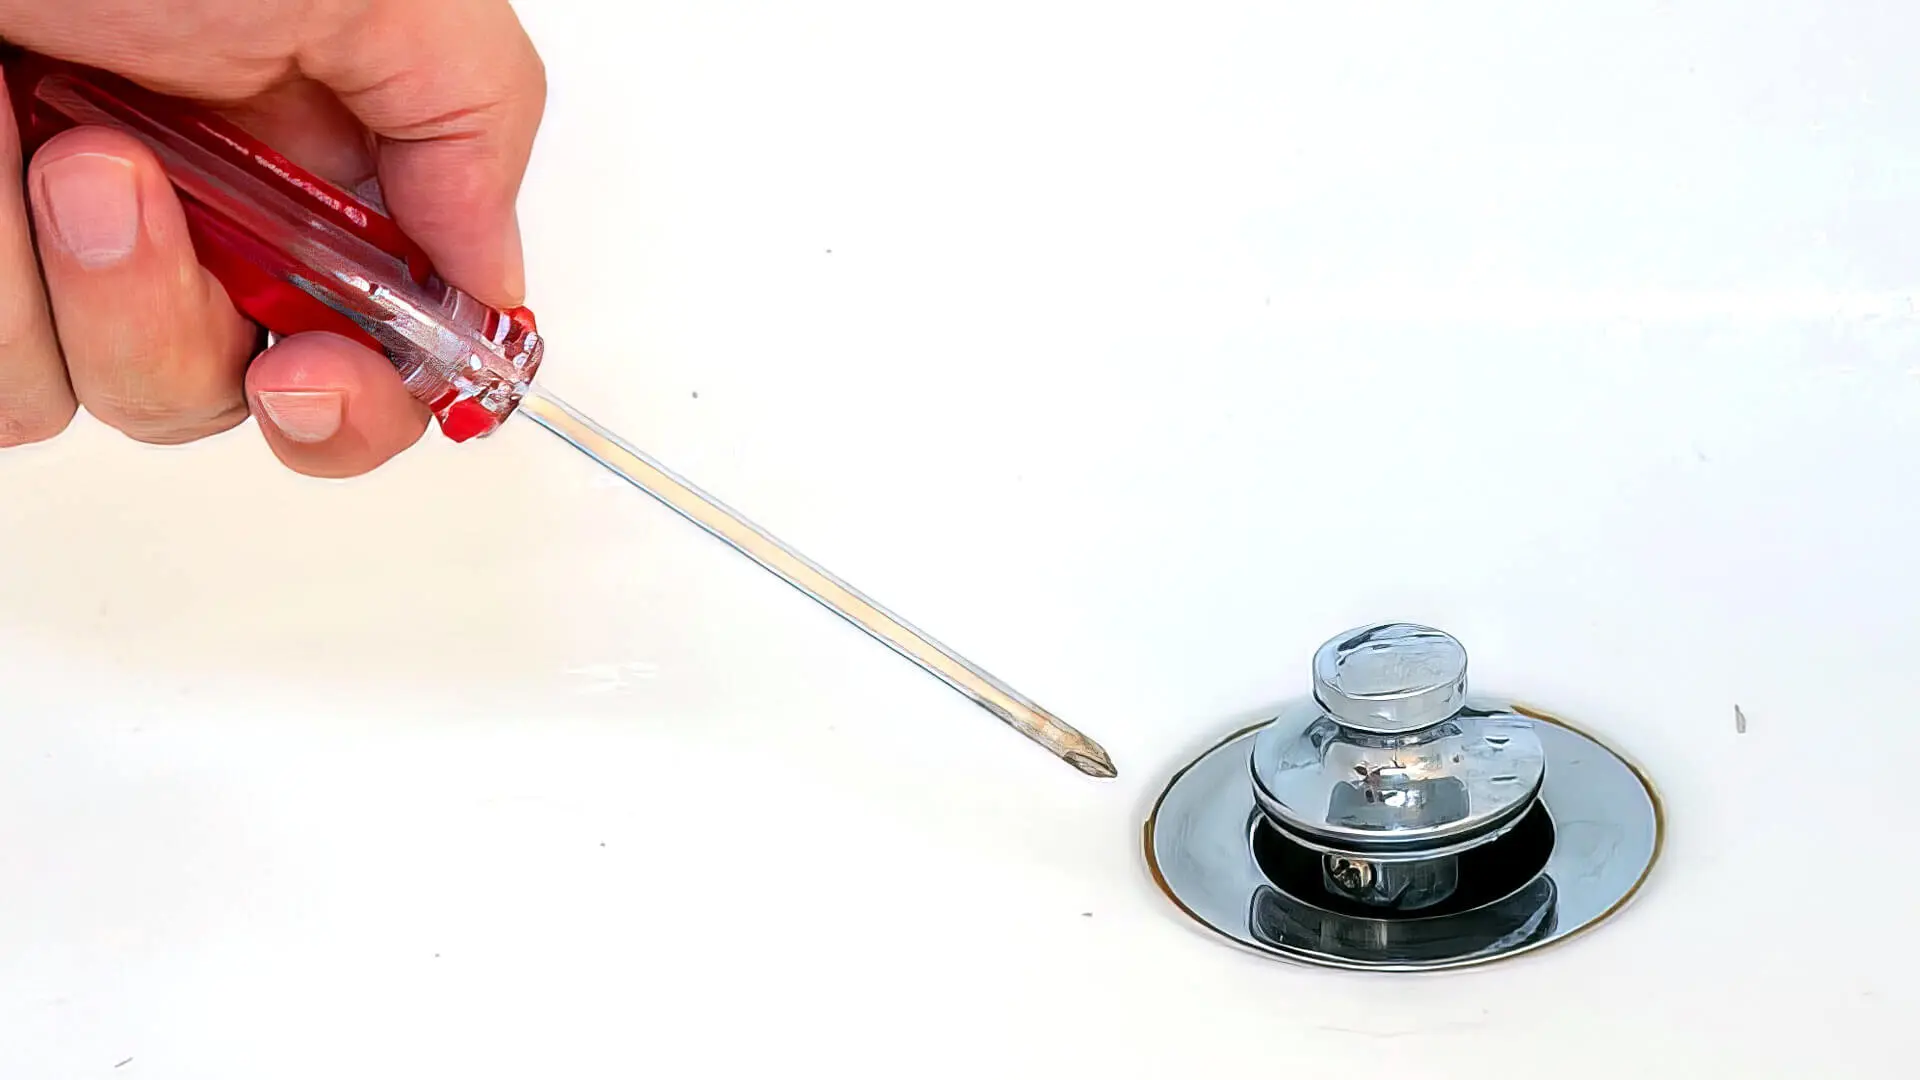
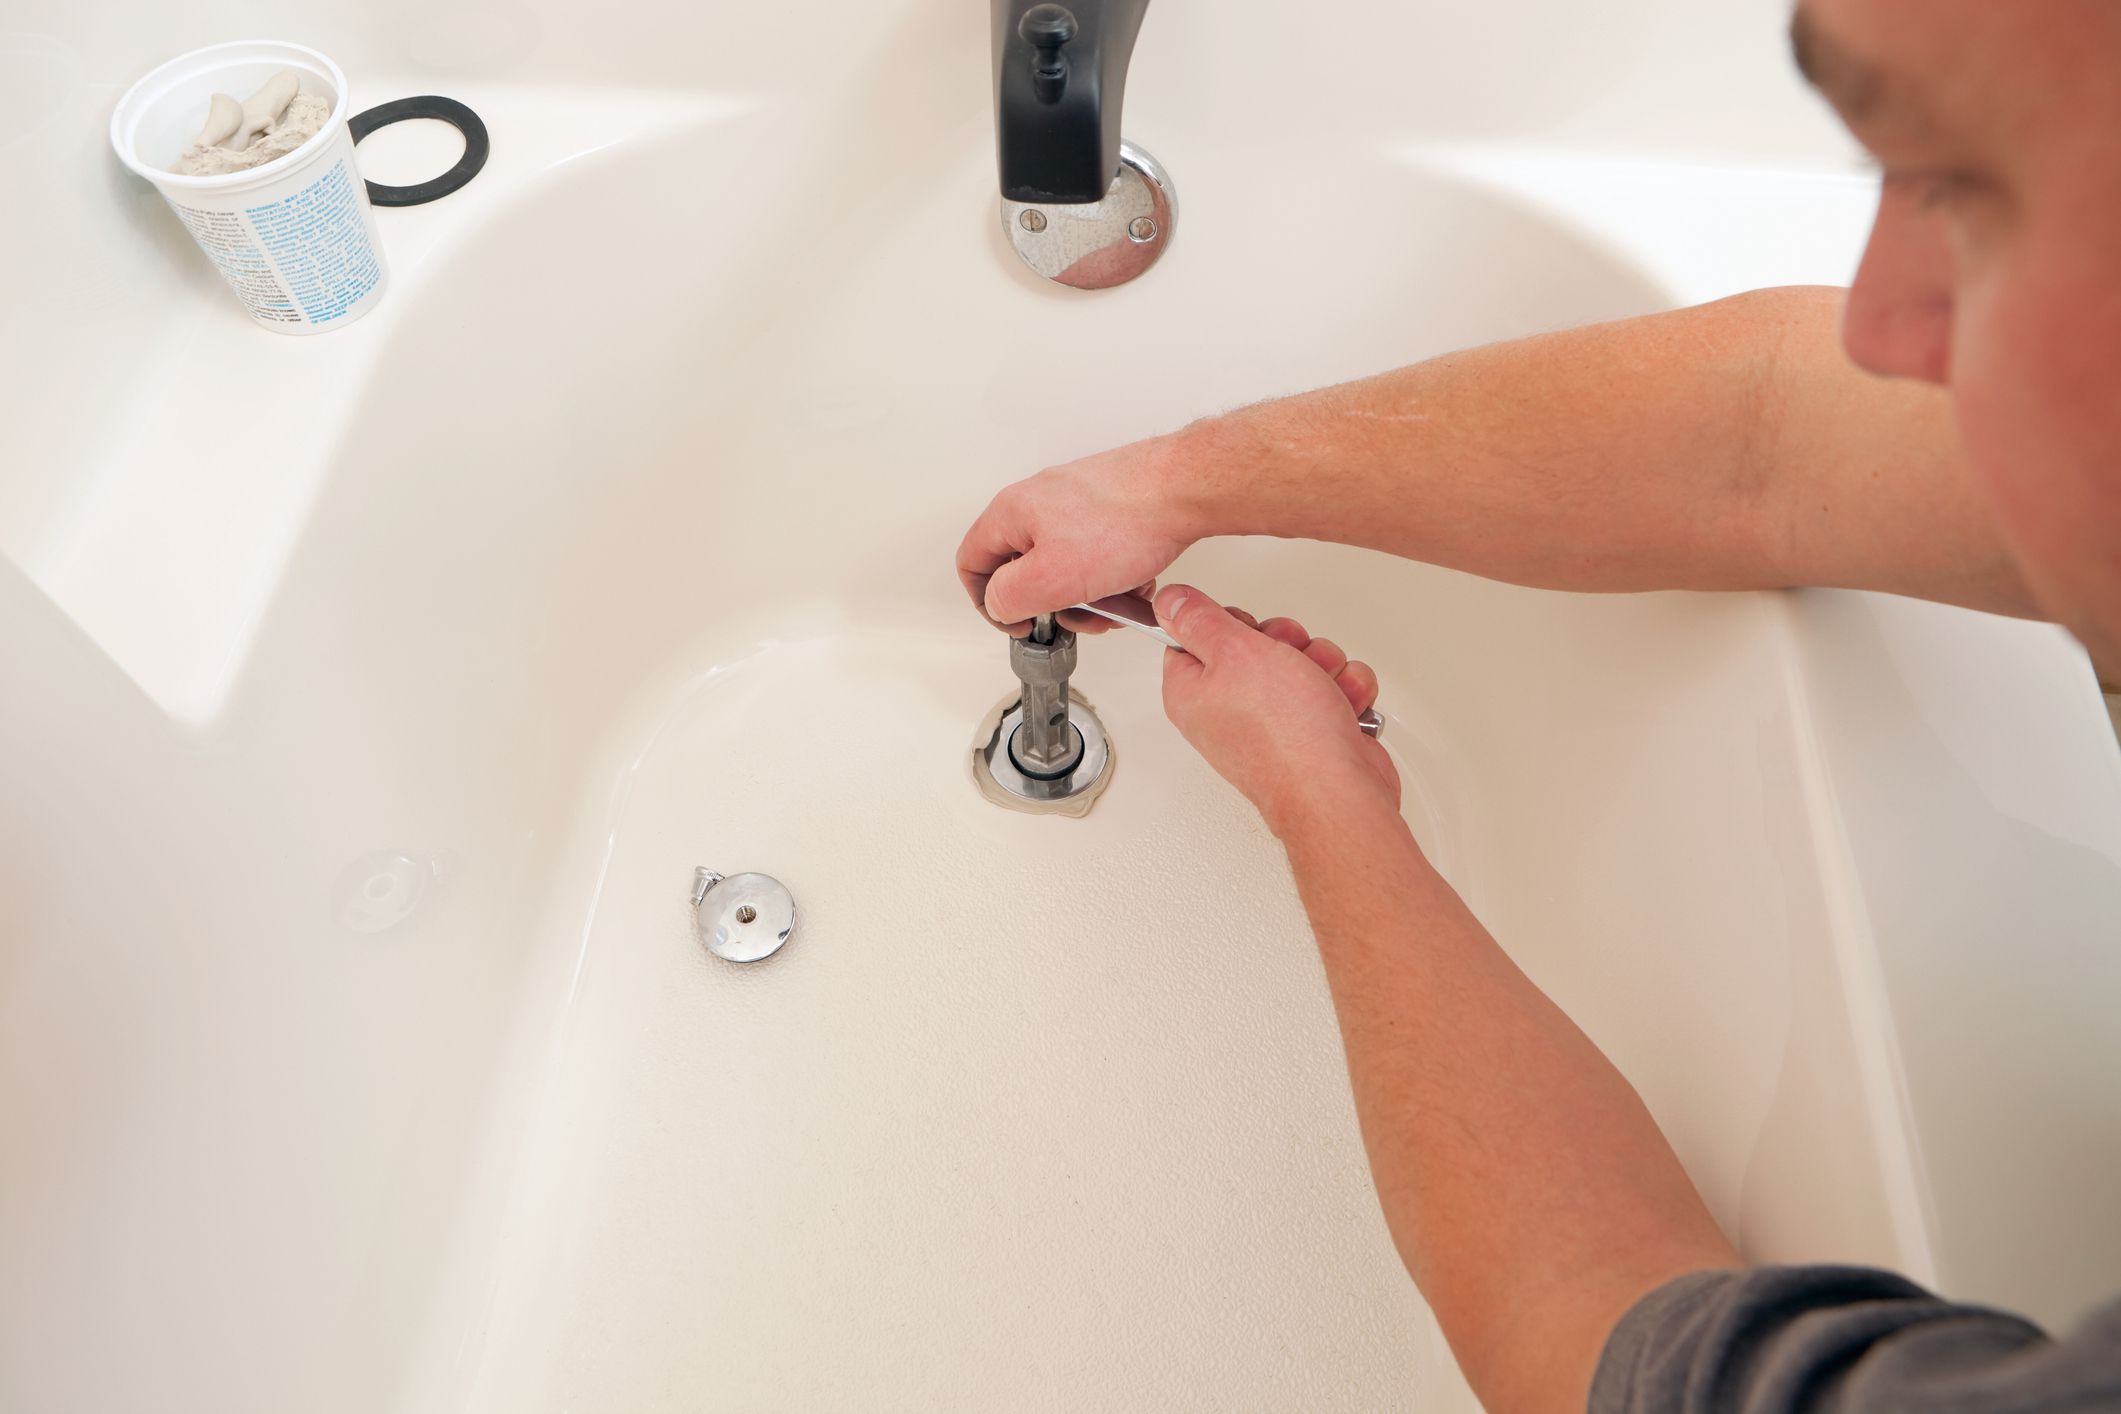
Use a rubber stopper or a drain cover to plug the overflow drain in the bathtub. Make sure it fits securely to prevent any water from leaking out.
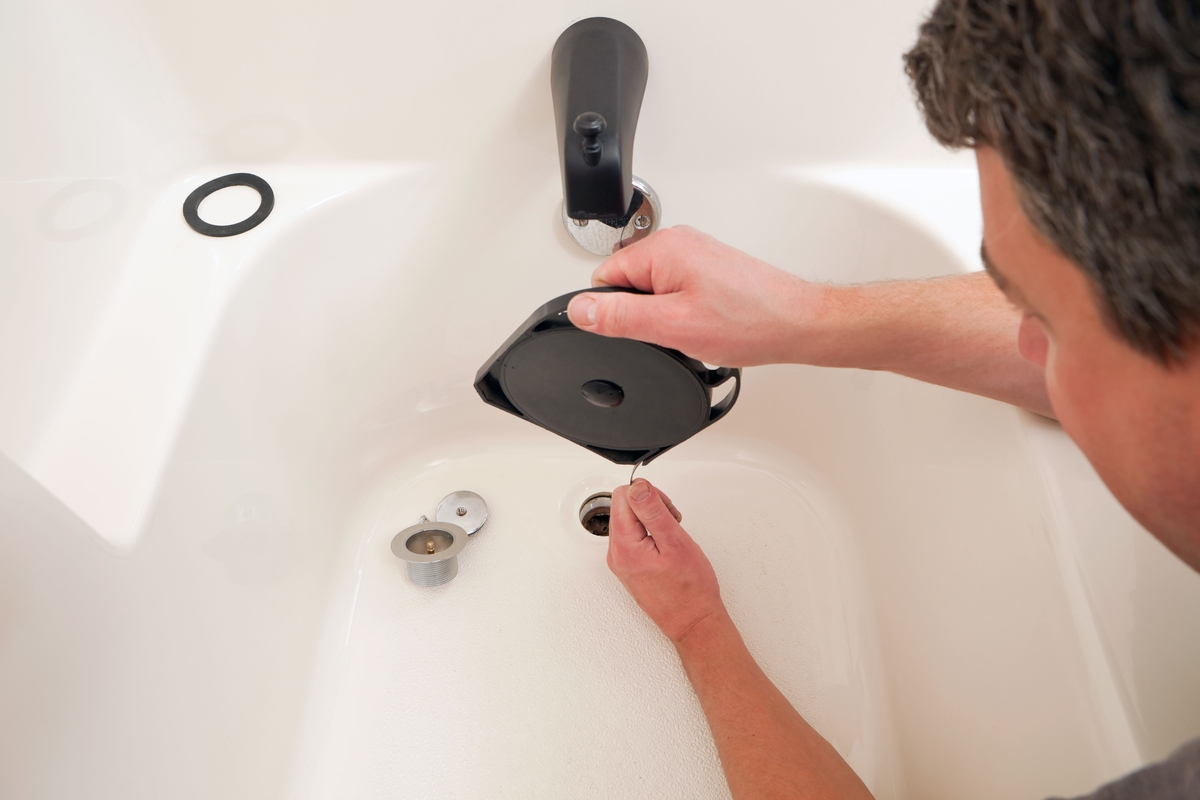
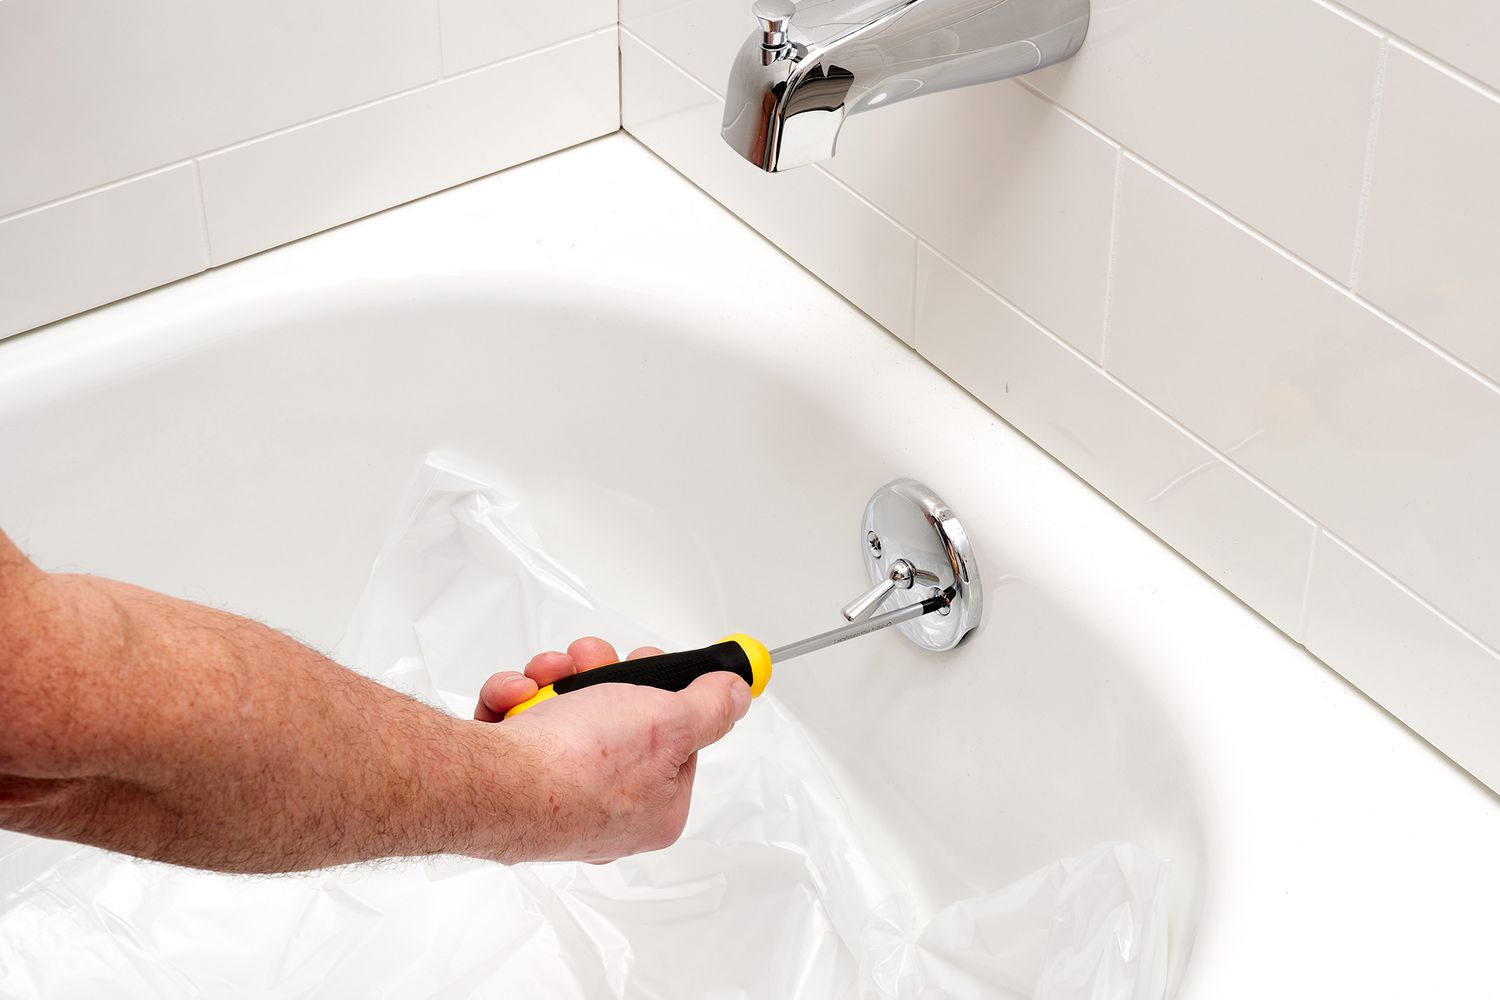
Step 3: Apply the plug
With the overflow drain clean and primed for the next step, it's time to apply the plug. This process involves carefully positioning the overflow drain cover or plug over the opening, ensuring a secure and effective seal that prevents water from escaping through the drain. Here's a detailed guide on how to apply the plug to the overflow drain in your bathtub:
-
Select the Appropriate Plug: Depending on the design of your bathtub and personal preferences, choose the most suitable overflow drain cover or plug. Consider factors such as material, size, and compatibility with your bathtub's design. Whether you opt for a standard cover or a specialized plug designed for deeper soaking, ensure that it aligns with your specific requirements.
-
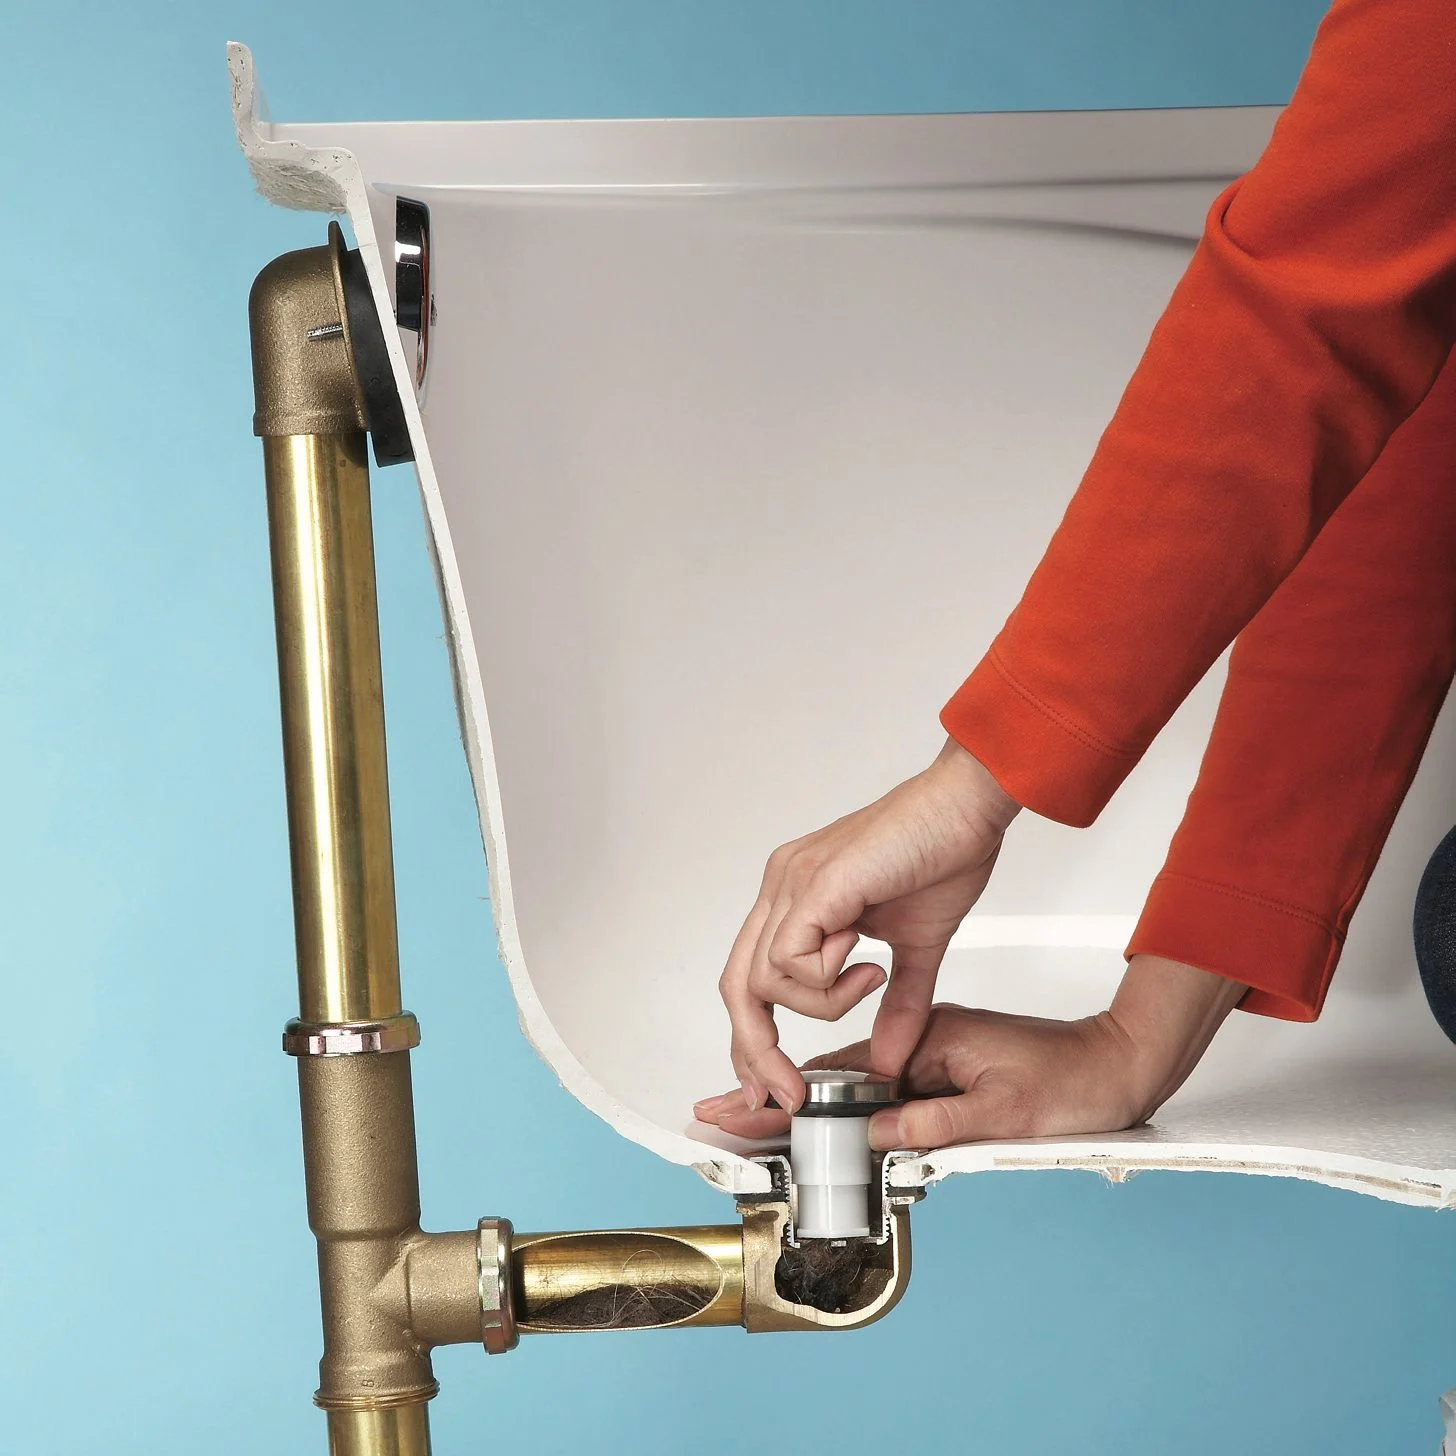
Positioning the Plug: Place the selected plug over the overflow drain opening, ensuring that it fits snugly and covers the entire perimeter of the opening. If the plug is adjustable or requires customization, refer to the manufacturer's instructions to achieve the optimal fit. Take care to align the plug accurately, allowing for a seamless and effective seal.
-
Applying Sealant (if necessary): Depending on the type of plug and the manufacturer's recommendations, you may need to apply a sealant to enhance the seal and prevent any potential leaks. If a silicone-based sealant is required, carefully apply a thin, even layer around the underside of the plug before positioning it over the overflow drain. This step is crucial for ensuring a watertight seal and long-term durability.
-
Securing the Plug: Once the plug is in position, press down gently to secure it in place, ensuring that it adheres firmly to the bathtub surface. If the plug features adjustable components, such as suction cups or locking mechanisms, follow the provided instructions to secure it effectively. This step is essential for preventing the plug from dislodging during use and maintaining a consistent seal.
-
Testing the Seal: After applying the plug, fill the bathtub with water to the desired level, allowing it to flow near the overflow drain. Observe the plug closely to ensure that it effectively prevents water from entering the overflow opening. Look for any signs of leakage or displacement, and make adjustments as necessary to achieve a secure and reliable seal.
By following these detailed steps, you can effectively apply the plug to the overflow drain in your bathtub, customizing your bathing experience and addressing specific maintenance or functionality needs. With the plug securely in place, you can look forward to enjoying a deeper and more indulgent soak, free from concerns about water escaping through the overflow drain. This practical and rewarding process empowers you to tailor your bathing space to your preferences, enhancing both comfort and convenience.
Step 4: Test the plug
Once the plug has been securely applied to the overflow drain, it is crucial to conduct a thorough test to ensure its effectiveness in preventing water from entering the drain. This step is essential for validating the seal and addressing any potential issues before proceeding to use the bathtub for a full soak. Here's a detailed guide on how to test the plug and verify its functionality:
-
Fill the Bathtub: Begin by filling the bathtub with water to the desired level, allowing it to approach the overflow drain. It's important to simulate the conditions of a typical bathing experience to accurately assess the performance of the plug. Ensure that the water level is sufficient to reach the overflow opening without overflowing.
-
Observation and Evaluation: As the water approaches the overflow drain, closely observe the plug to detect any signs of leakage or displacement. Look for water seepage around the edges of the plug or any indication that it is failing to contain the water within the bathtub. This visual inspection is crucial for identifying any potential issues with the seal.
-
Adjustments and Re-sealing: If you notice any leakage or inadequate sealing during the test, it's important to address the issue promptly. Depending on the type of plug and the observed issues, consider making adjustments such as repositioning the plug, applying additional sealant, or tightening any adjustable components. By iteratively testing and making necessary adjustments, you can optimize the seal for reliable performance.
-
Repeat Testing: After making any adjustments, repeat the testing process to verify the effectiveness of the plug. This iterative approach allows you to fine-tune the seal and address any remaining concerns. By conducting multiple tests and adjustments, you can achieve a secure and watertight seal that meets your expectations.
-
Final Validation: Once the plug successfully contains the water without any signs of leakage or displacement, you can confidently validate its functionality. This final validation ensures that the plug is ready for regular use, providing you with the assurance of a reliable and effective solution for plugging the overflow drain.
By meticulously testing the plug and addressing any potential issues, you can ensure that your bathtub is equipped with a dependable and secure overflow drain solution. This proactive approach not only enhances your bathing experience but also contributes to the overall maintenance and functionality of your bathtub. With the plug successfully tested and validated, you can look forward to enjoying a personalized and hassle-free bathing experience, tailored to your preferences and needs.
Read more: How Does A Bathtub Overflow Drain Work?
Conclusion
In conclusion, the process of plugging an overflow drain in a bathtub encompasses essential steps that empower you to customize your bathing experience and address specific maintenance needs. By following the comprehensive guide outlined in this article, you have gained valuable insights into the meticulous process of preparing, applying, and testing the plug, ensuring a secure and effective solution for managing the overflow drain.
The journey begins with gathering the necessary materials, emphasizing the importance of selecting the appropriate overflow drain cover or plug, cleaning supplies, sealant (if necessary), rubber gloves, measuring tape, and safety glasses. This proactive approach sets the stage for a seamless and efficient experience, minimizing interruptions and allowing you to focus on the task at hand.
The subsequent step of cleaning the overflow drain is pivotal in preparing the surface for the plug. By diligently scrubbing away dirt, soap scum, and debris, you not only ensure a clean and sanitized environment but also promote a secure bond between the plug and the bathtub, minimizing the risk of leaks or displacement.
Applying the plug involves a meticulous process of selecting the appropriate plug, positioning it accurately, applying sealant if necessary, and securing it in place. This step empowers you to tailor your bathing space to your preferences, whether you seek a deeper soak or need to address specific maintenance or functionality needs.
The final step of testing the plug is crucial for validating its effectiveness in preventing water from entering the drain. Through a systematic process of filling the bathtub, observing and evaluating the plug, making necessary adjustments, and conducting iterative tests, you can achieve a secure and watertight seal that meets your expectations.
By embracing this comprehensive approach to plugging the overflow drain in your bathtub, you have not only enhanced your bathing experience but also contributed to the overall maintenance and functionality of your bathing space. The knowledge and skills acquired through this guide empower you to confidently manage this task, ensuring that your bathing rituals are tailored to your preferences and needs.
With the plug successfully tested and validated, you can look forward to enjoying a personalized and hassle-free bathing experience, free from concerns about water escaping through the overflow drain. This practical and rewarding process empowers you to create a tranquil and rejuvenating oasis within your own home, reflecting your unique style and preferences.
Frequently Asked Questions about How To Plug An Overflow Drain In Bathtub?
Was this page helpful?
At Storables.com, we guarantee accurate and reliable information. Our content, validated by Expert Board Contributors, is crafted following stringent Editorial Policies. We're committed to providing you with well-researched, expert-backed insights for all your informational needs.


0 thoughts on “How To Plug An Overflow Drain In Bathtub?”