Home>Renovation & DIY>Tools & Equipment>How To Polish Rocks Without Sandpaper
Tools & Equipment
How To Polish Rocks Without Sandpaper
Modified: August 20, 2024
Discover the best tools and equipment for polishing rocks without sandpaper. Learn effective techniques for achieving a smooth, polished finish. Unlock the secrets to rock polishing success!
(Many of the links in this article redirect to a specific reviewed product. Your purchase of these products through affiliate links helps to generate commission for Storables.com, at no extra cost. Learn more)
Introduction
Welcome to the fascinating world of rock polishing! Whether you’re a geology enthusiast, a jewelry maker, or simply someone who appreciates the natural beauty of rocks, learning how to polish rocks without sandpaper can be a rewarding and enjoyable experience. With the right techniques and tools, you can transform rough, unassuming rocks into smooth, lustrous gems that showcase their unique colors and patterns.
In this guide, we’ll explore the step-by-step process of polishing rocks without using sandpaper. From selecting the right rocks to applying polishing methods, you’ll discover the art and science behind this age-old practice. Whether you prefer the convenience of a rock tumbler or the hands-on approach of manual polishing, we’ll cover the essential steps to help you achieve stunning results.
Get ready to embark on a journey of exploration and creativity as we delve into the world of rock polishing. By the end of this guide, you’ll have the knowledge and confidence to turn ordinary rocks into extraordinary treasures that reflect the beauty of the natural world.
Key Takeaways:
- Transform rough rocks into polished gems using a rock tumbler or manual polishing. Choose the right rocks, clean them thoroughly, and celebrate the stunning results with finishing touches.
- Whether using a rock tumbler or polishing by hand, witness the remarkable journey of turning ordinary rocks into extraordinary treasures. Embrace the joy of discovery and the timeless allure of polished rocks.
Read more: What Grit Sandpaper To Polish Headlights
Choosing the Right Rocks
Before diving into the rock polishing process, it’s crucial to start with the right raw materials. Not all rocks are suitable for polishing, so selecting the appropriate specimens is the first step towards achieving stunning results. When choosing rocks for polishing, consider the following factors:
- Type of Rocks: Look for rocks with a hardness level of 7 or higher on the Mohs scale. Common choices include agate, jasper, quartz, and obsidian, which are known for their durability and ability to take on a high polish.
- Size and Shape: Opt for rocks that are free from large cracks, fractures, or irregular shapes. Smooth, rounded rocks are ideal for polishing, as they are more likely to yield consistent and attractive results.
- Natural Patterns and Colors: Consider the natural characteristics of the rocks, such as unique patterns, banding, or vibrant colors. These features can enhance the visual appeal of the polished rocks, creating eye-catching designs and textures.
- Accessibility: If you’re collecting rocks from outdoor locations, ensure that you have permission to gather specimens from public areas, and always respect any regulations or guidelines related to rock collecting.
Whether you’re sourcing rocks from nature or purchasing them from a supplier, take the time to examine each rock carefully, envisioning how its inherent qualities will translate into a polished masterpiece. By choosing rocks that possess the right attributes, you’ll set the stage for a successful and gratifying rock polishing experience.
Cleaning the Rocks
Before diving into the rock polishing process, it’s essential to ensure that the rocks are clean and free from any debris or impurities. Cleaning the rocks not only improves the final appearance of the polished specimens but also prevents contaminants from affecting the polishing equipment. Here’s a step-by-step guide to cleaning your rocks effectively:
- Inspect the Rocks: Examine each rock closely to identify any dirt, dust, or residual materials clinging to the surface. Use a magnifying glass if necessary to spot any hidden impurities.
- Rinse with Water: Thoroughly rinse the rocks under running water to remove loose dirt and debris. Use a gentle stream of water to ensure that the rocks are clean without causing damage to delicate features.
- Soak in a Cleaning Solution: Prepare a mild cleaning solution by mixing warm water with a small amount of dish soap or a specialized rock cleaning solution. Allow the rocks to soak in the solution for a few hours to loosen stubborn grime and organic matter.
- Scrubbing: After soaking, use a soft-bristled brush, such as a toothbrush or a dedicated rock-cleaning brush, to gently scrub the rocks and dislodge any remaining dirt. Take care not to use abrasive brushes that could scratch the rocks’ surfaces.
- Rinse and Dry: Thoroughly rinse the rocks once more to remove the cleaning solution, and then pat them dry with a clean towel. Allow the rocks to air-dry completely before proceeding to the next stage of the polishing process.
By meticulously cleaning the rocks, you’ll create a clean canvas for the polishing phase, ensuring that the natural beauty of the rocks can shine through without any interference from dirt or impurities. This preparatory step sets the foundation for achieving polished rocks that showcase their inherent allure and visual appeal.
Preparing the Rocks for Polishing
Once the rocks are clean and free from any surface impurities, it’s time to prepare them for the polishing process. Proper preparation ensures that the rocks are ready to undergo the transformative journey from rough, unpolished stones to gleaming, polished gems. Here are the essential steps to prepare the rocks for polishing:
- Inspect for Damage: Carefully examine each rock to check for any remaining cracks, chips, or surface imperfections. While minor flaws can often be addressed during the polishing process, it’s essential to assess the overall condition of the rocks before proceeding.
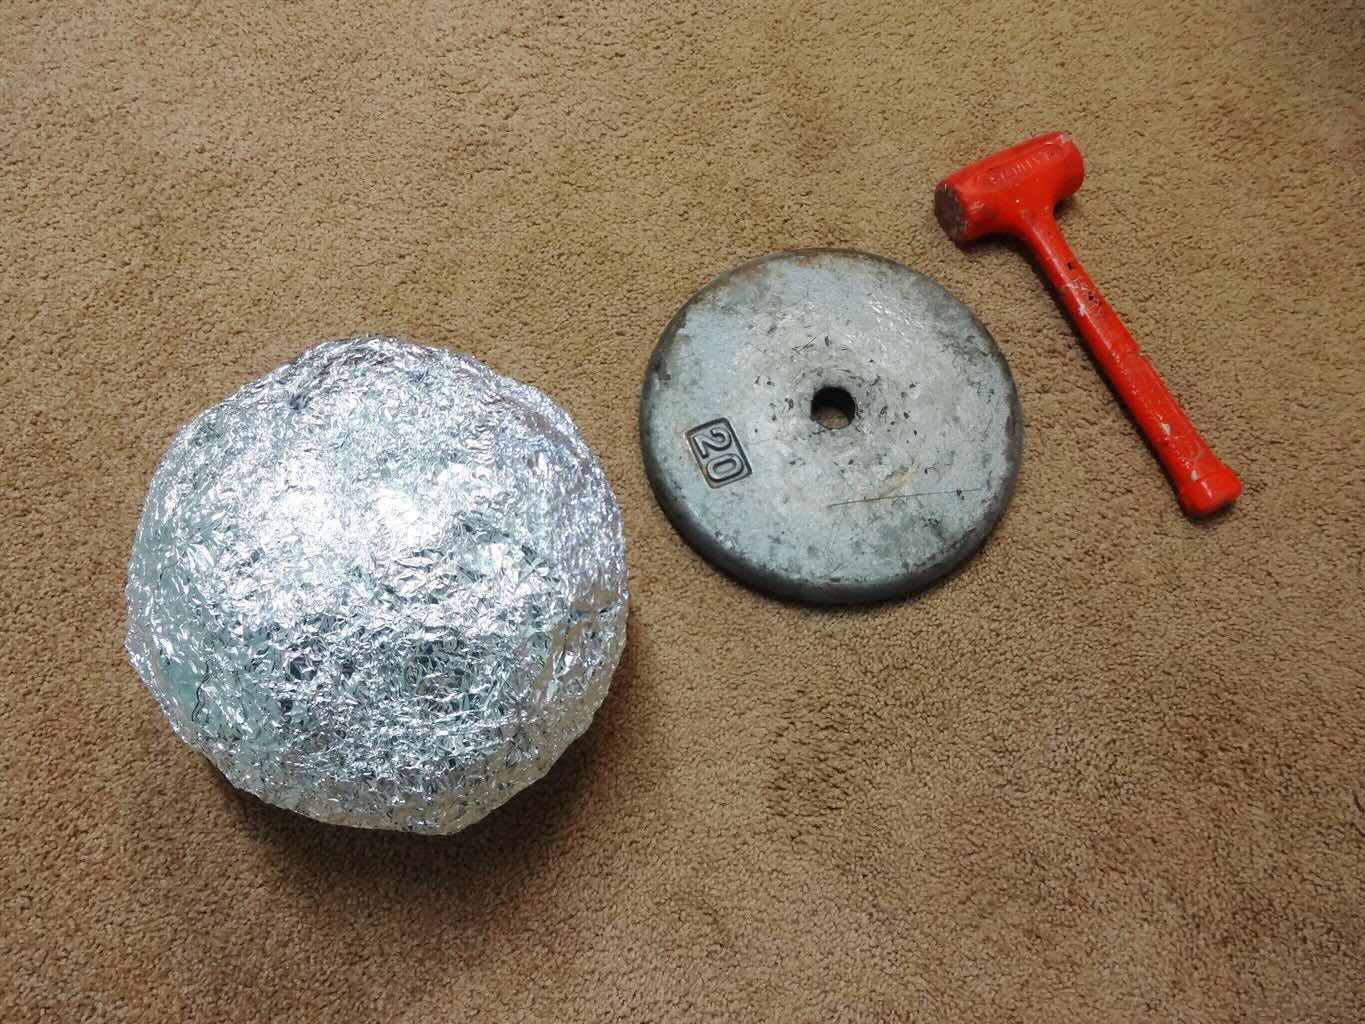
- Remove Sharp Edges: If the rocks have sharp or jagged edges, consider using a rock hammer or a specialized tool to carefully chip away and smooth out any protruding areas. This step not only enhances the safety of handling the rocks but also contributes to a more uniform polishing outcome.
- Optional Pre-Polishing: For particularly rough or uneven rocks, you may opt to perform a pre-polishing step using coarse grit abrasives. This preliminary stage helps to smooth out surface irregularities and accelerates the subsequent polishing phases.
- Inspect the Surface Texture: Assess the texture of the rocks to determine if there are any areas that require special attention during the polishing process. Identifying variations in texture can guide your approach to achieving a consistent and attractive polish across the entire surface of each rock.
- Organize by Size and Hardness: If you’re planning to use a rock tumbler for the polishing process, organize the rocks by size and hardness to ensure that they can undergo tumbling together without causing damage to softer specimens.
By meticulously preparing the rocks for polishing, you’ll lay the groundwork for a successful and rewarding polishing experience. This preparatory phase sets the stage for the subsequent polishing methods, whether you choose to utilize a rock tumbler or opt for manual polishing techniques.
Use a rock tumbler to polish rocks without sandpaper. Simply place the rocks in the tumbler with polishing grit and water, and let it tumble for several days to achieve a smooth and shiny finish.
Polishing with a Rock Tumbler
Using a rock tumbler is a popular and efficient method for polishing rocks, offering a streamlined approach to achieving consistent and high-quality results. Whether you’re a beginner or an experienced enthusiast, a rock tumbler can simplify the polishing process and produce stunning polished rocks with minimal manual effort. Here’s a comprehensive guide to polishing rocks with a rock tumbler:
- Select the Right Tumbler: Choose a rock tumbler that suits your polishing needs, considering factors such as barrel capacity, durability, and motor power. Additionally, ensure that you have the necessary polishing grits, ranging from coarse to fine, to complete the entire tumbling process.
- Add Grit and Rocks: Place the cleaned and prepared rocks into the tumbler barrel, and add the appropriate coarse grit according to the tumbler manufacturer’s guidelines. The ratio of rocks to grit should allow for efficient tumbling without overcrowding the barrel.
- Tumbling Phases: Follow the recommended tumbling phases, which typically include coarse grit, medium grit, fine grit, and polishing compound. Each phase involves tumbling the rocks with the respective grit for a specific duration, gradually refining the surfaces and achieving a smooth polish.
- Monitor Progress: Regularly inspect the rocks during each tumbling phase to assess their progress. Adjust the tumbling duration or change the grit as needed to achieve the desired level of smoothness and polish.
- Final Polishing: In the final tumbling phase, add the polishing compound to the rocks and allow them to tumble for an extended period, resulting in a lustrous, mirror-like finish. This phase enhances the rocks’ visual appeal and brings out their natural luster.
- Cleaning and Inspection: Once the tumbling process is complete, remove the polished rocks from the tumbler, clean off any residual grit or polishing compound, and inspect the results. Admire the transformation from rough rocks to beautifully polished specimens.
Polishing rocks with a rock tumbler offers a systematic and effective approach to achieving professional-quality results. By following the recommended tumbling phases and techniques, you can enjoy the satisfaction of producing polished rocks that showcase the inherent beauty of the natural materials.
Read more: What Grit Sandpaper To Polish Metal
Polishing by Hand
While rock tumblers offer a convenient and efficient method for polishing rocks, some enthusiasts prefer the hands-on approach of manual polishing. Polishing rocks by hand allows for greater control over the process and can be particularly rewarding for those who enjoy the tactile experience of working with natural materials. Here’s a detailed guide to polishing rocks by hand:
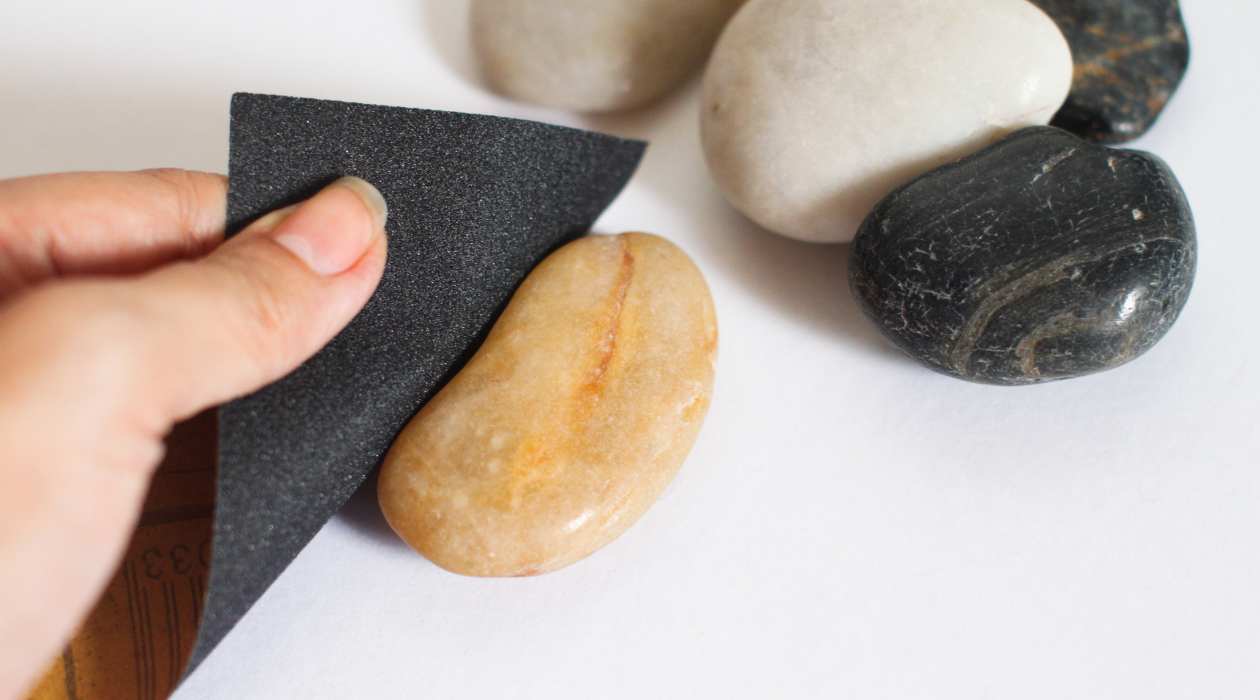
- Select Polishing Tools: Gather a variety of polishing tools, including sandpaper of different grits, polishing cloths, and polishing compounds. The selection of tools will depend on the type of rocks you’re polishing and the level of finish you aim to achieve.
- Initial Sanding: Begin the manual polishing process by using coarse-grit sandpaper to smooth the surfaces of the rocks. This initial sanding phase helps to remove rough spots and imperfections, preparing the rocks for subsequent polishing stages.
- Progressive Polishing: Gradually move on to finer-grit sandpaper, working through a sequence of increasingly finer abrasives to refine the surfaces of the rocks. This progressive approach smooths out any remaining roughness and brings the rocks to a higher level of polish.
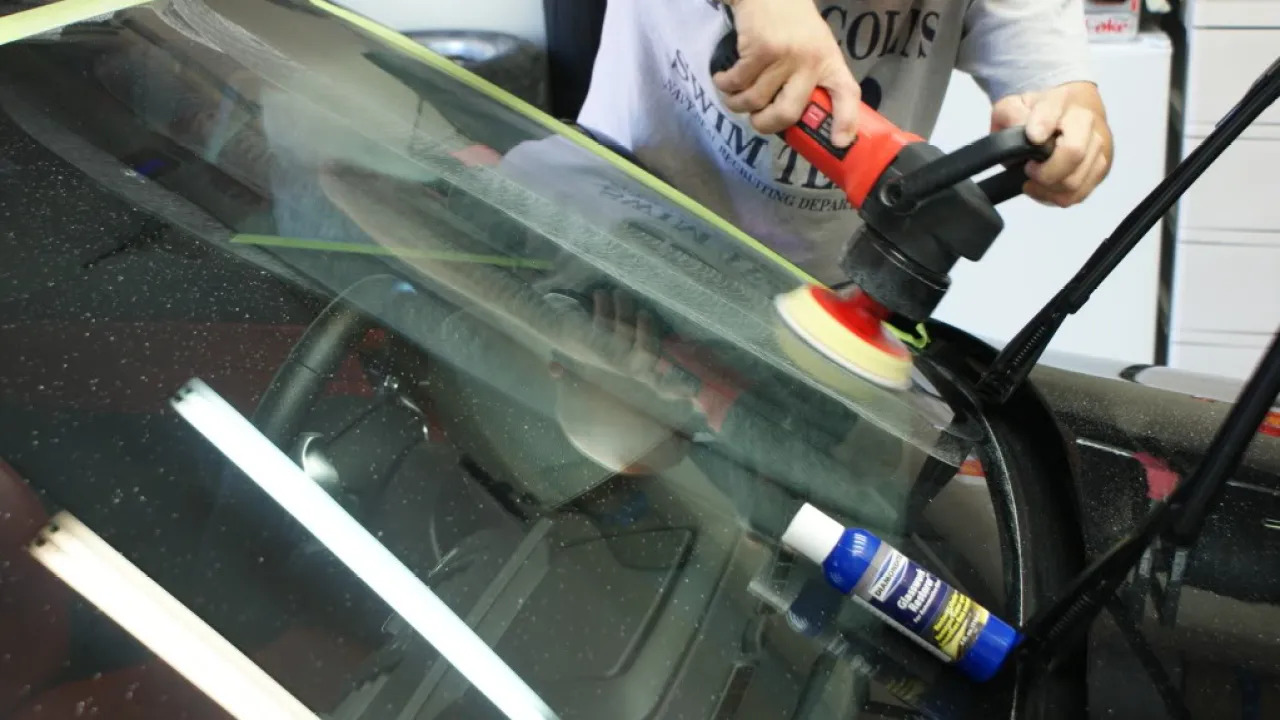
- Polishing Compounds: Apply polishing compounds, such as cerium oxide or aluminum oxide, to specialized polishing cloths or pads. Use these compounds to buff the rocks, further enhancing their luster and sheen. This step contributes to achieving a smooth and glossy finish.
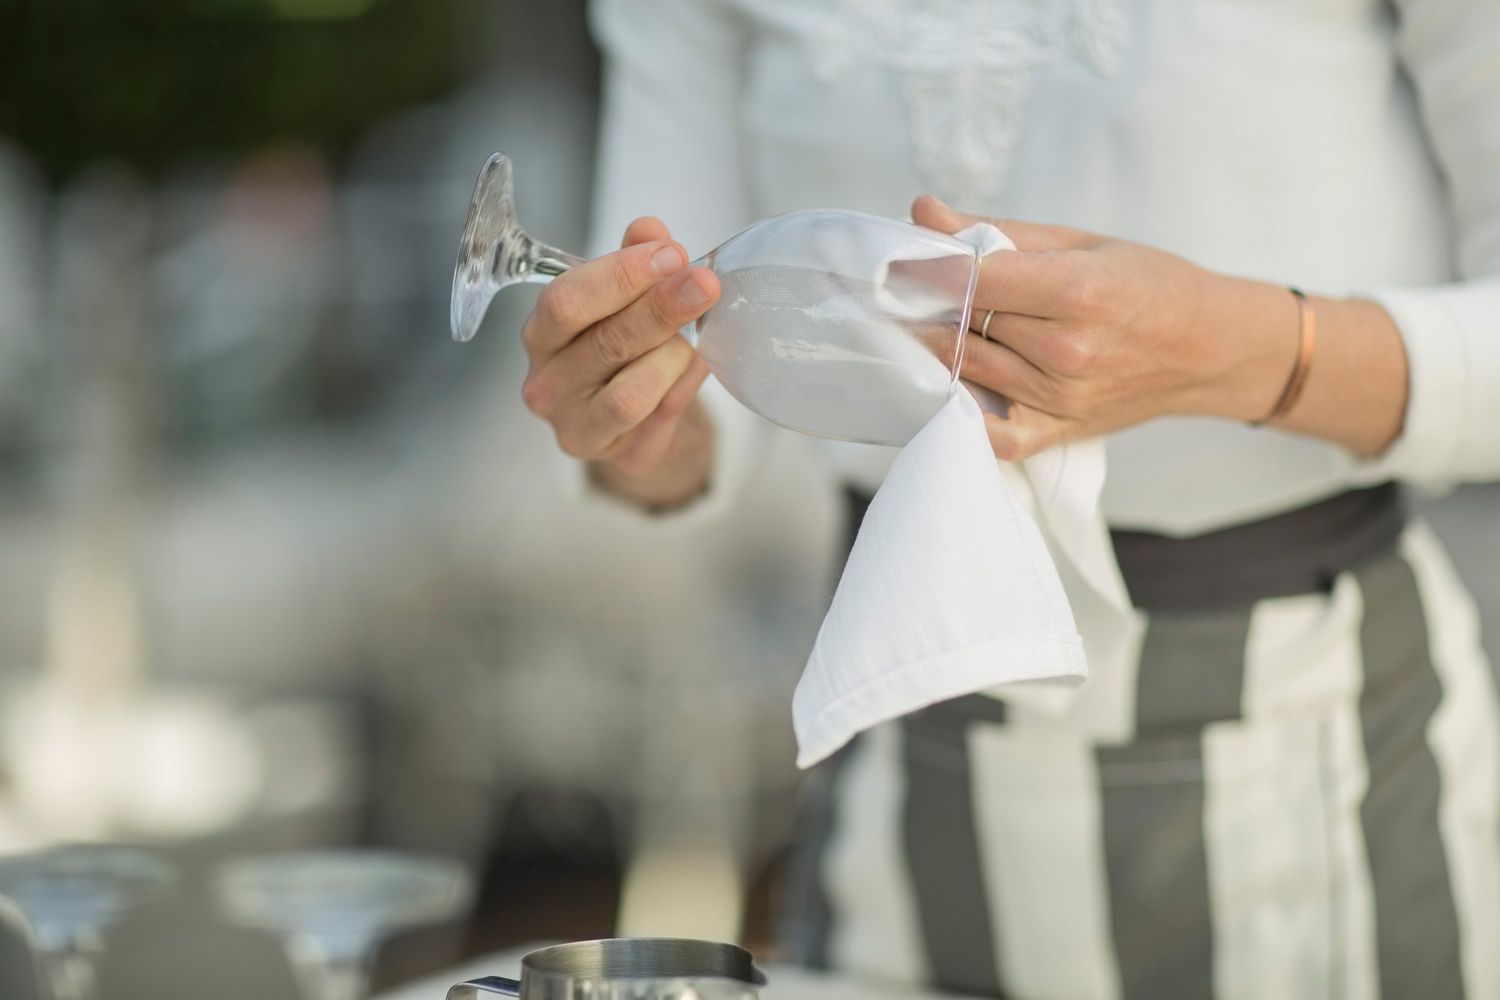
- Hand-Buffing: Employ hand-buffing techniques using soft, lint-free cloths to gently buff the rocks to a brilliant shine. The careful application of pressure and motion during hand-buffing allows for precise control over the polishing process, resulting in a refined and polished appearance.
- Final Inspection: After completing the manual polishing process, carefully inspect the rocks to ensure that they exhibit the desired level of polish. Admire the unique textures and luster that have been revealed through the hands-on polishing approach.
Polishing rocks by hand offers a personalized and tactile experience, allowing enthusiasts to engage intimately with the transformation of rough rocks into polished treasures. Through careful attention to detail and the use of traditional polishing techniques, you can achieve exceptional results that showcase the inherent beauty of the rocks.
Finishing Touches
As you near the completion of the rock polishing process, it’s essential to consider the finishing touches that will elevate the overall appearance and quality of the polished rocks. These final steps add a touch of finesse and ensure that the polished specimens are ready to be showcased or incorporated into various creative projects. Here’s a guide to the finishing touches for polished rocks:
- Surface Inspection: Carefully examine the polished rocks to identify any remaining imperfections or areas that may require additional attention. Address minor flaws by using fine-grit sandpaper or polishing compounds to refine specific areas and achieve a flawless finish.
- Enhancing Natural Patterns: If the rocks feature distinctive patterns, banding, or natural colors, consider using a clear coat of resin or a specialized rock enhancer to accentuate and protect these unique attributes. This step can intensify the visual impact of the natural features, creating captivating focal points on the polished rocks.
- Display or Use: Determine how you intend to showcase or utilize the polished rocks. Whether you plan to display them as decorative pieces, incorporate them into jewelry designs, or use them for educational purposes, consider the best way to present the polished specimens to highlight their individual characteristics.
- Protective Measures: Apply a protective sealant or wax to the polished rocks to safeguard their luster and prevent surface damage. This protective layer helps maintain the polished finish and ensures that the rocks remain visually striking over time.
- Celebrate the Results: Take a moment to appreciate the transformation of the rocks from their raw, unpolished state to the gleaming, polished treasures they have become. Share the joy of your accomplishment with others who appreciate the beauty and artistry of polished rocks.
By attending to the finishing touches, you can refine the appearance of the polished rocks and prepare them for various applications, whether they serve as decorative elements, artistic inspirations, or educational resources. These final steps add a layer of refinement and care to the polished rocks, ensuring that their beauty is preserved and showcased to its fullest potential.
Conclusion
Congratulations on completing the journey of rock polishing without using sandpaper! Throughout this guide, you’ve explored the art and science of transforming rough, unassuming rocks into polished gems that exude natural beauty and allure. Whether you opted for the convenience of a rock tumbler or embraced the hands-on approach of manual polishing, you’ve gained valuable insights into the techniques and considerations involved in the rock polishing process.
By carefully selecting the right rocks, cleaning them meticulously, and preparing them for polishing, you set the stage for a successful and gratifying experience. Whether you chose to utilize a rock tumbler for its efficiency or preferred the tactile engagement of manual polishing, each method offered its unique rewards and opportunities for creativity.
As you applied the polishing methods, whether with a rock tumbler or by hand, you witnessed the remarkable transformation of rough rocks into polished treasures. The progressive stages of polishing, from initial abrasion to the final buffing and inspection, allowed you to witness the inherent beauty of the rocks emerge with each step.
As you add the finishing touches to the polished rocks, you celebrate the culmination of your efforts and prepare the specimens for display, use, or further creative endeavors. The final inspection, enhancement of natural patterns, and protective measures ensure that the polished rocks are ready to be admired and cherished for their unique qualities.
Whether you’re an enthusiastic hobbyist, a dedicated artisan, or simply someone who appreciates the wonders of the natural world, the art of rock polishing offers a captivating blend of creativity, craftsmanship, and scientific exploration. As you continue to explore the possibilities of rock polishing, may you find inspiration in the enduring beauty of polished rocks and the limitless potential for artistic expression they represent.
Embrace the joy of discovery, the satisfaction of creation, and the timeless allure of polished rocks as you embark on future rock polishing endeavors. Let the beauty of nature’s creations shine brightly through your polished rocks, serving as enduring testaments to the artistry and wonder of the world around us.
Frequently Asked Questions about How To Polish Rocks Without Sandpaper
Was this page helpful?
At Storables.com, we guarantee accurate and reliable information. Our content, validated by Expert Board Contributors, is crafted following stringent Editorial Policies. We're committed to providing you with well-researched, expert-backed insights for all your informational needs.


0 thoughts on “How To Polish Rocks Without Sandpaper”