Home>Furniture & Design>Bathroom Accessories>How To Repair A Hole In A Fiberglass Bathtub
Bathroom Accessories
How To Repair A Hole In A Fiberglass Bathtub
Published: February 19, 2024
Learn how to easily repair a hole in your fiberglass bathtub with our step-by-step guide. Find the best bathroom accessories for a seamless fix.
(Many of the links in this article redirect to a specific reviewed product. Your purchase of these products through affiliate links helps to generate commission for Storables.com, at no extra cost. Learn more)
Introduction
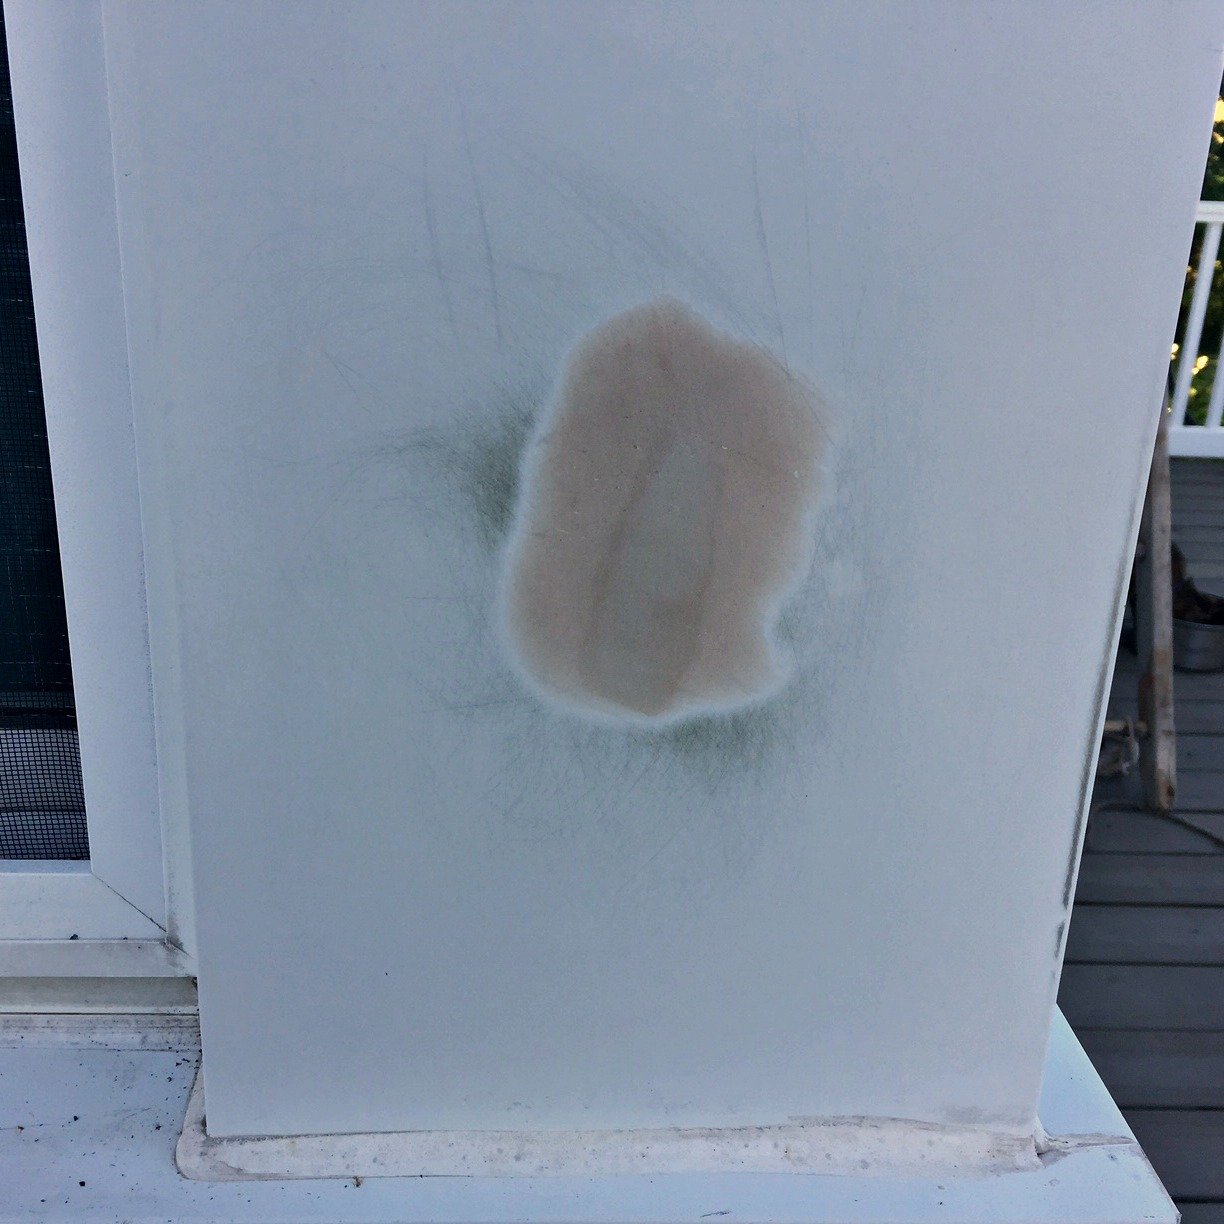
Repairing a hole in a fiberglass bathtub may seem like a daunting task, but with the right materials and a bit of know-how, it can be a manageable DIY project. Whether the hole is the result of accidental damage or wear and tear over time, addressing it promptly is crucial to prevent further deterioration and maintain the integrity of your bathtub.
In this comprehensive guide, we will walk you through the step-by-step process of repairing a hole in a fiberglass bathtub. By following these instructions, you can restore your bathtub to its former glory and avoid the expense of a full replacement.
Let's dive into the details of gathering the necessary materials and preparing the area around the hole to set the stage for a successful repair.
Key Takeaways:
- Don’t panic if your fiberglass bathtub gets a hole – you can fix it yourself! Just gather the right materials, prepare the area, apply the repair kit, sand and smooth, and finish with a protective coat for a professional-quality result.
- Repairing a hole in a fiberglass bathtub is a manageable DIY project. With careful preparation, precise application of repair materials, and patience during the drying and curing process, you can restore your bathtub to its former glory and save on replacement costs.
Read more: How To Whiten A Fiberglass Bathtub
Step 1: Gather the necessary materials
Before embarking on the repair process, it's essential to gather all the required materials to ensure a smooth and efficient repair. Here's a comprehensive list of the items you will need:
-
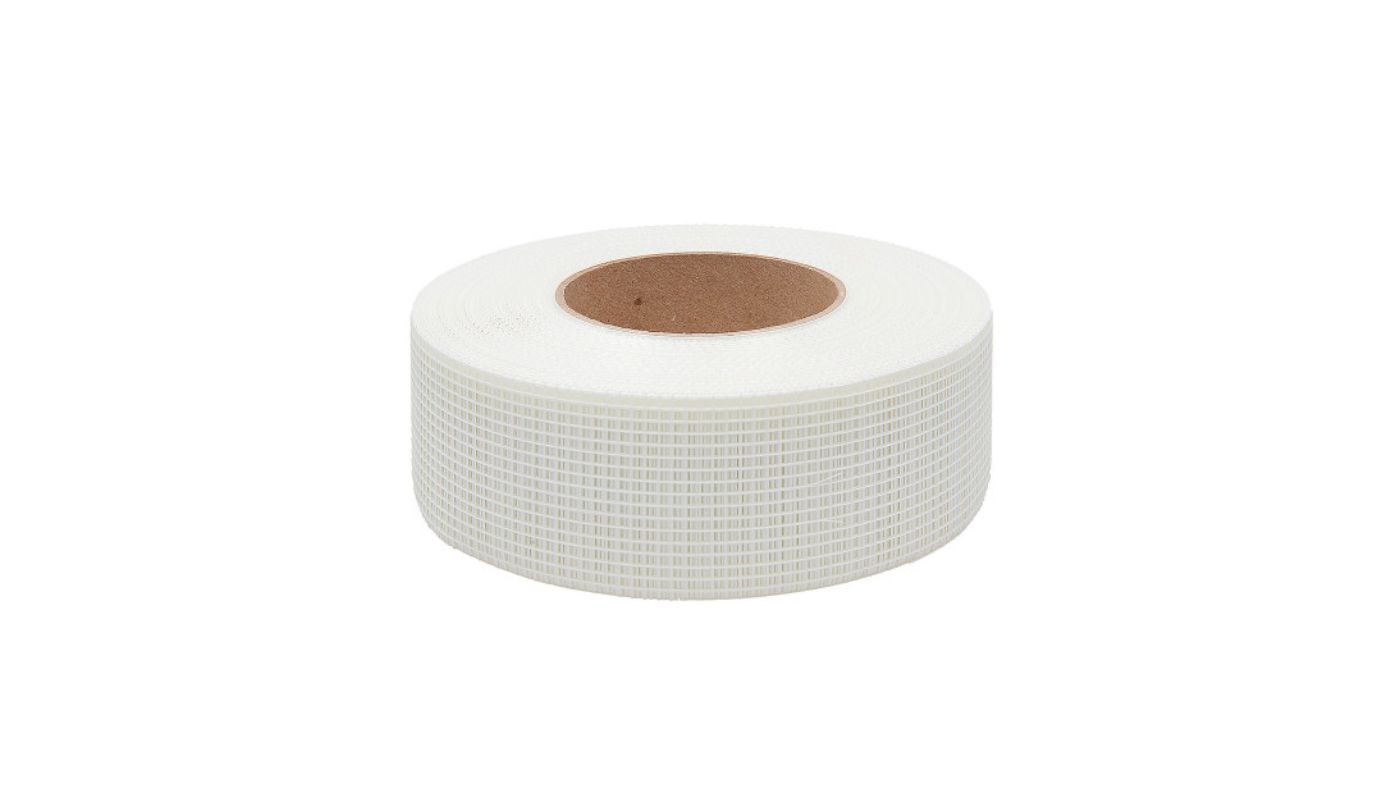
Fiberglass Repair Kit: This kit typically includes resin, hardener, fiberglass cloth, mixing stick, and a mixing container. Ensure that the kit is specifically designed for repairing fiberglass surfaces to achieve optimal results.
-
Safety Gear: Prioritize safety by wearing protective gear, including gloves, safety goggles, and a mask. Fiberglass repair materials can emit strong fumes, so adequate ventilation in the repair area is crucial.
-
Sandpaper: Prepare a variety of sandpaper grits, such as 80-grit, 120-grit, and 220-grit, to effectively sand and smooth the repaired area.
-
Cleaning Supplies: Gather soap, water, and a clean cloth to thoroughly clean the area around the hole before commencing the repair. Additionally, acetone or a similar solvent can be used to ensure the surface is free from any contaminants.
-
Putty Knife or Spatula: A putty knife or spatula will be essential for applying the fiberglass resin and smoothing it over the damaged area.
-
Masking Tape: Use masking tape to create a boundary around the hole, preventing the resin from spreading to unwanted areas during the repair process.
-
Mixing Container: A disposable mixing container, such as a plastic cup, will be necessary for accurately measuring and mixing the resin and hardener.
-
Disposable Brushes or Rollers: These tools will facilitate the application of the resin and ensure an even distribution over the damaged area.
-
Finishing Compound: Depending on the repair kit, a finishing compound may be required to achieve a smooth and seamless finish after the initial repair is complete.
-
Protective Layer: To protect the surrounding area from accidental spills or drips, lay down a drop cloth or old towels to create a designated work area.
By ensuring that you have all the necessary materials at your disposal, you can proceed with confidence to the next step of preparing the area around the hole for the repair process.
Step 2: Prepare the area around the hole
Before diving into the actual repair, it's crucial to prepare the area surrounding the hole in the fiberglass bathtub. This preparation sets the stage for a successful repair and ensures that the repaired area seamlessly blends with the rest of the bathtub surface. Here's a detailed breakdown of the preparation process:
Clean the Area:
Begin by thoroughly cleaning the area around the hole using soap, water, and a clean cloth. This step is essential to remove any dirt, grime, or soap scum that may have accumulated on the surface. Additionally, use acetone or a similar solvent to wipe the area, ensuring that it is free from any contaminants that could interfere with the adhesion of the repair materials.
Create a Boundary:
Using masking tape, carefully create a boundary around the perimeter of the hole. This boundary serves as a guide to prevent the resin from spreading beyond the intended repair area. Ensure that the masking tape is securely adhered to the bathtub surface to maintain a clean and defined boundary.
Read more: How To Support A Fiberglass Bathtub
Roughen the Surface:
To promote better adhesion of the repair materials, lightly sand the area around the hole using 80-grit sandpaper. This process helps roughen the surface, creating a better bonding surface for the fiberglass resin. Be mindful not to oversand the area, as a gentle roughening is sufficient to enhance adhesion.
Remove Dust and Debris:
After sanding, use a clean, dry cloth to remove any dust and debris resulting from the sanding process. It's essential to have a clean and smooth surface before proceeding with the application of the fiberglass repair materials.
Ventilation:
Ensure that the repair area is well-ventilated to dissipate any fumes that may be emitted during the repair process. Open windows and use fans to promote air circulation, and consider wearing a mask to minimize inhalation of fumes.
By meticulously preparing the area around the hole, you establish the groundwork for a successful repair. This preparation ensures that the repair materials adhere effectively and that the final result is a seamless integration of the repaired area with the rest of the bathtub surface. With the area prepared, you are now ready to proceed to the next step of applying the fiberglass repair kit.
Step 3: Apply the fiberglass repair kit
With the area around the hole meticulously prepared, it's time to apply the fiberglass repair kit to initiate the repair process. The repair kit typically includes resin, hardener, fiberglass cloth, a mixing stick, and a mixing container. Follow these detailed steps to effectively apply the fiberglass repair kit and begin restoring your fiberglass bathtub:
-
Prepare the Resin Mixture: Begin by carefully reading the instructions provided with the fiberglass repair kit. In a disposable mixing container, combine the resin and hardener according to the specified ratio. Thoroughly mix the two components using the provided mixing stick until they are fully blended. It's crucial to adhere to the recommended mixing ratio to ensure the proper curing and strength of the repair.
-
Apply the Resin Mixture: Using a disposable brush or roller, apply a generous layer of the resin mixture over the damaged area. Ensure that the resin extends slightly beyond the boundary created by the masking tape to allow for sanding and blending in the subsequent steps. The resin should be evenly distributed over the damaged area, covering it completely.
-
Lay the Fiberglass Cloth: Once the resin is applied, carefully place the fiberglass cloth over the wet resin. Gently press the cloth into the resin, ensuring that it adheres to the surface and conforms to the shape of the bathtub. The fiberglass cloth reinforces the repair, providing strength and durability to the repaired area.
-
Apply Additional Resin: After laying the fiberglass cloth, apply another layer of resin over the cloth to fully saturate it. The resin should penetrate the fiberglass cloth, effectively bonding it to the bathtub surface. Ensure that the entire repair area is covered with a smooth and even layer of resin.
-
Smooth Out Air Bubbles: To achieve a seamless finish, carefully smooth out any air bubbles or wrinkles in the fiberglass cloth using a clean brush or roller. This step is crucial for ensuring that the repaired area blends seamlessly with the surrounding bathtub surface.
-
Allow the Resin to Cure: Once the repair is complete, allow the resin to cure according to the manufacturer's instructions. This typically involves allowing sufficient time for the resin to harden and fully bond with the bathtub surface. During this curing period, it's important to maintain the recommended temperature and ventilation to facilitate proper curing.
By meticulously following these steps to apply the fiberglass repair kit, you can effectively address the hole in your fiberglass bathtub and lay the foundation for the subsequent sanding and finishing processes. With the repair materials applied, the next step involves sanding and smoothing the repaired area to achieve a seamless and professional-looking finish.
Step 4: Sand and smooth the repaired area
After applying the fiberglass repair kit and allowing the resin to cure, the next critical step in the bathtub repair process is to sand and smooth the repaired area. This step is essential for achieving a seamless integration of the repaired section with the rest of the bathtub surface. Here's a detailed breakdown of the sanding and smoothing process:
Sanding the Repaired Area:
Begin by using 120-grit sandpaper to gently sand the repaired area. The goal is to level the surface and remove any excess resin or fiberglass cloth that may protrude above the surrounding bathtub surface. It's important to maintain a light touch while sanding to avoid creating uneven patches or indentations in the repaired area.
Smoothing the Surface:
Once the initial sanding is complete, transition to 220-grit sandpaper to further smooth the surface. This finer grit helps refine the texture of the repaired area, ensuring that it seamlessly blends with the surrounding bathtub surface. Focus on achieving a uniform texture and feathering the edges of the repair to create a gradual transition between the repaired section and the rest of the bathtub.
Inspecting the Repair:
Periodically inspect the sanded and smoothed area to assess the progress and identify any imperfections that may require additional attention. Look for any uneven areas, rough patches, or inconsistencies in the texture. Address these issues by carefully sanding and smoothing the affected areas until a uniform and seamless surface is achieved.
Cleaning the Surface:
After the sanding and smoothing process is complete, thoroughly clean the repaired area to remove any dust and debris resulting from the sanding. Use a clean, damp cloth to wipe down the surface, ensuring that it is free from any residual particles. This step prepares the surface for the application of the finishing coat in the subsequent step.
By meticulously sanding and smoothing the repaired area, you can ensure that the bathtub's surface is restored to a professional standard. This process sets the stage for the final step of applying a finishing coat to achieve a polished and seamless finish. With the repaired area now sanded and smoothed, you are ready to proceed to the next step of applying a finishing coat to complete the bathtub repair process.
Step 5: Apply a finishing coat
Applying a finishing coat is a crucial step in the process of repairing a hole in a fiberglass bathtub. This final layer serves to not only enhance the visual appeal of the repair but also provide added protection and durability to the restored area. Here's a detailed guide on how to effectively apply a finishing coat to achieve a polished and seamless finish:
Selecting the Finishing Compound:
Before applying the finishing coat, ensure that you have the appropriate finishing compound as recommended by the fiberglass repair kit. The finishing compound is designed to provide a smooth and uniform surface, seamlessly blending the repaired area with the rest of the bathtub. It acts as a protective layer, enhancing the overall resilience of the repair.
Mixing and Application:
Follow the instructions provided with the finishing compound to prepare the mixture. Typically, the compound is mixed with a hardener or catalyst to initiate the curing process. Use a disposable mixing container and a mixing stick to thoroughly blend the compound and hardener according to the specified ratio.
Once the mixture is prepared, apply the finishing compound over the sanded and smoothed area using a putty knife or spatula. Ensure that the compound is spread evenly, covering the entire repaired section and feathering outwards to seamlessly merge with the surrounding bathtub surface. The goal is to achieve a uniform and level application of the finishing compound.
Curing and Drying:
Allow the finishing compound to cure and dry according to the manufacturer's instructions. This typically involves a specified curing time during which the compound hardens and forms a protective layer over the repaired area. It's essential to maintain the recommended temperature and ventilation to facilitate proper curing and ensure the longevity of the repair.
Sanding and Buffing:
Once the finishing compound has fully cured, use a fine-grit sandpaper to lightly sand the surface, creating a smooth and polished finish. This step helps remove any minor imperfections and ensures that the repaired area seamlessly integrates with the rest of the bathtub surface. After sanding, buff the surface with a clean, dry cloth to enhance the luster of the finishing coat.
Final Inspection:
After applying the finishing coat, carefully inspect the repaired area to ensure that the surface is uniform, smooth, and visually seamless. Look for any irregularities or imperfections that may require additional attention. Address any issues by lightly sanding and buffing the affected areas until a consistent and professional finish is achieved.
By meticulously applying the finishing coat and following these detailed steps, you can elevate the quality of the bathtub repair, resulting in a visually appealing and durable restoration. With the finishing coat applied and the repaired area seamlessly integrated with the rest of the bathtub surface, the final step involves allowing the repair to dry and cure completely, ensuring a long-lasting and professional-quality outcome.
Step 6: Let the repair dry and cure
After completing the application of the finishing coat, the crucial final step in repairing a hole in a fiberglass bathtub is to allow the repair to dry and cure thoroughly. This step is essential to ensure the longevity and durability of the restoration, allowing the repair materials to fully bond and harden. Here's a detailed guide on the process of letting the repair dry and cure:
Read more: How To Fill Holes In Concrete Floor
Curing Time:
The specific curing time for the repair materials is typically provided by the manufacturer in the instructions accompanying the fiberglass repair kit. It's imperative to adhere to the recommended curing time to allow the resin, fiberglass cloth, and finishing compound to harden and form a strong, resilient bond with the bathtub surface. During this period, it's essential to avoid any contact with the repaired area to prevent disruption of the curing process.
Temperature and Ventilation:
Maintaining the recommended temperature and ventilation is crucial to facilitate proper curing of the repair materials. Ensure that the repair area is situated in a well-ventilated space with adequate airflow. Additionally, maintaining a consistent temperature within the recommended range promotes optimal curing conditions, contributing to the overall strength and integrity of the repair.
Avoiding Moisture and Impact:
During the drying and curing process, it's important to prevent exposure to moisture and impact. Moisture can interfere with the curing of the repair materials, potentially compromising the strength of the restoration. Similarly, avoiding impact or pressure on the repaired area is essential to prevent any disruptions to the curing process, ensuring that the repair achieves its maximum durability.
Final Inspection:
Once the recommended curing time has elapsed, carefully inspect the repaired area to ensure that the materials have fully dried and cured. Look for any signs of incomplete curing, such as tackiness or soft spots. If any areas appear to require additional curing, allow more time for the materials to set and bond effectively.
Read more: How To Fix A Hole In Wood Floor
Test for Resilience:
After the initial curing period, gently test the resilience of the repaired area to ensure that it has achieved the desired strength and durability. Lightly press on the repaired section to assess its firmness and resistance. A fully cured repair should exhibit solid and stable characteristics, indicating a successful restoration of the bathtub surface.
By meticulously allowing the repair to dry and cure, you can ensure that the repaired area achieves its maximum strength and resilience, contributing to a long-lasting and professional-quality outcome. With the repair materials fully cured, your fiberglass bathtub is now restored to its former glory, ready to withstand the rigors of everyday use and maintain its integrity for years to come.
Conclusion
In conclusion, successfully repairing a hole in a fiberglass bathtub is a rewarding accomplishment that not only restores the functionality of the fixture but also enhances the overall aesthetics of the bathroom. By following the comprehensive step-by-step process outlined in this guide, you can confidently undertake the repair as a DIY project, saving both time and money while achieving professional-quality results.
The journey of repairing a hole in a fiberglass bathtub begins with gathering the necessary materials, including a fiberglass repair kit, safety gear, sandpaper, cleaning supplies, and application tools. Thoroughly preparing the area around the hole is crucial, involving meticulous cleaning, creating a boundary with masking tape, roughening the surface for better adhesion, and ensuring proper ventilation for a conducive repair environment.
The application of the fiberglass repair kit marks a pivotal stage in the repair process, where the resin, hardener, and fiberglass cloth work in unison to reinforce and restore the damaged area. This is followed by the meticulous sanding and smoothing of the repaired section, ensuring a seamless integration with the rest of the bathtub surface.
Applying a finishing coat serves as the final touch, enhancing the visual appeal and durability of the repair. The finishing compound, when applied and cured correctly, creates a protective layer that seamlessly blends with the bathtub surface, providing a polished and professional finish.
Allowing the repair to dry and cure thoroughly is the ultimate step, ensuring that the restoration achieves its maximum strength and resilience. This phase requires patience and adherence to recommended curing times, temperature, and environmental conditions to guarantee a long-lasting and durable repair.
In essence, the process of repairing a hole in a fiberglass bathtub embodies the fusion of meticulous preparation, precise application of repair materials, and patient adherence to curing and drying protocols. The result is a restored bathtub that not only functions seamlessly but also exudes a visually appealing and professional-quality finish.
By embracing the DIY approach to bathtub repair and following the detailed steps outlined in this guide, you have the power to transform a damaged fiberglass bathtub into a rejuvenated centerpiece of your bathroom. The sense of accomplishment and the tangible results of a successful repair serve as a testament to your resourcefulness and capability in maintaining and enhancing your living space.
Frequently Asked Questions about How To Repair A Hole In A Fiberglass Bathtub
Was this page helpful?
At Storables.com, we guarantee accurate and reliable information. Our content, validated by Expert Board Contributors, is crafted following stringent Editorial Policies. We're committed to providing you with well-researched, expert-backed insights for all your informational needs.

0 thoughts on “How To Repair A Hole In A Fiberglass Bathtub”