Home>Furniture & Design>Bathroom Fixtures>How To Install A Steam Shower
Bathroom Fixtures
How To Install A Steam Shower
Modified: March 21, 2024
Learn how to install a steam shower in your bathroom with our expert guide. Upgrade your bathroom fixtures and enjoy a luxurious spa experience at home.
(Many of the links in this article redirect to a specific reviewed product. Your purchase of these products through affiliate links helps to generate commission for Storables.com, at no extra cost. Learn more)
Introduction
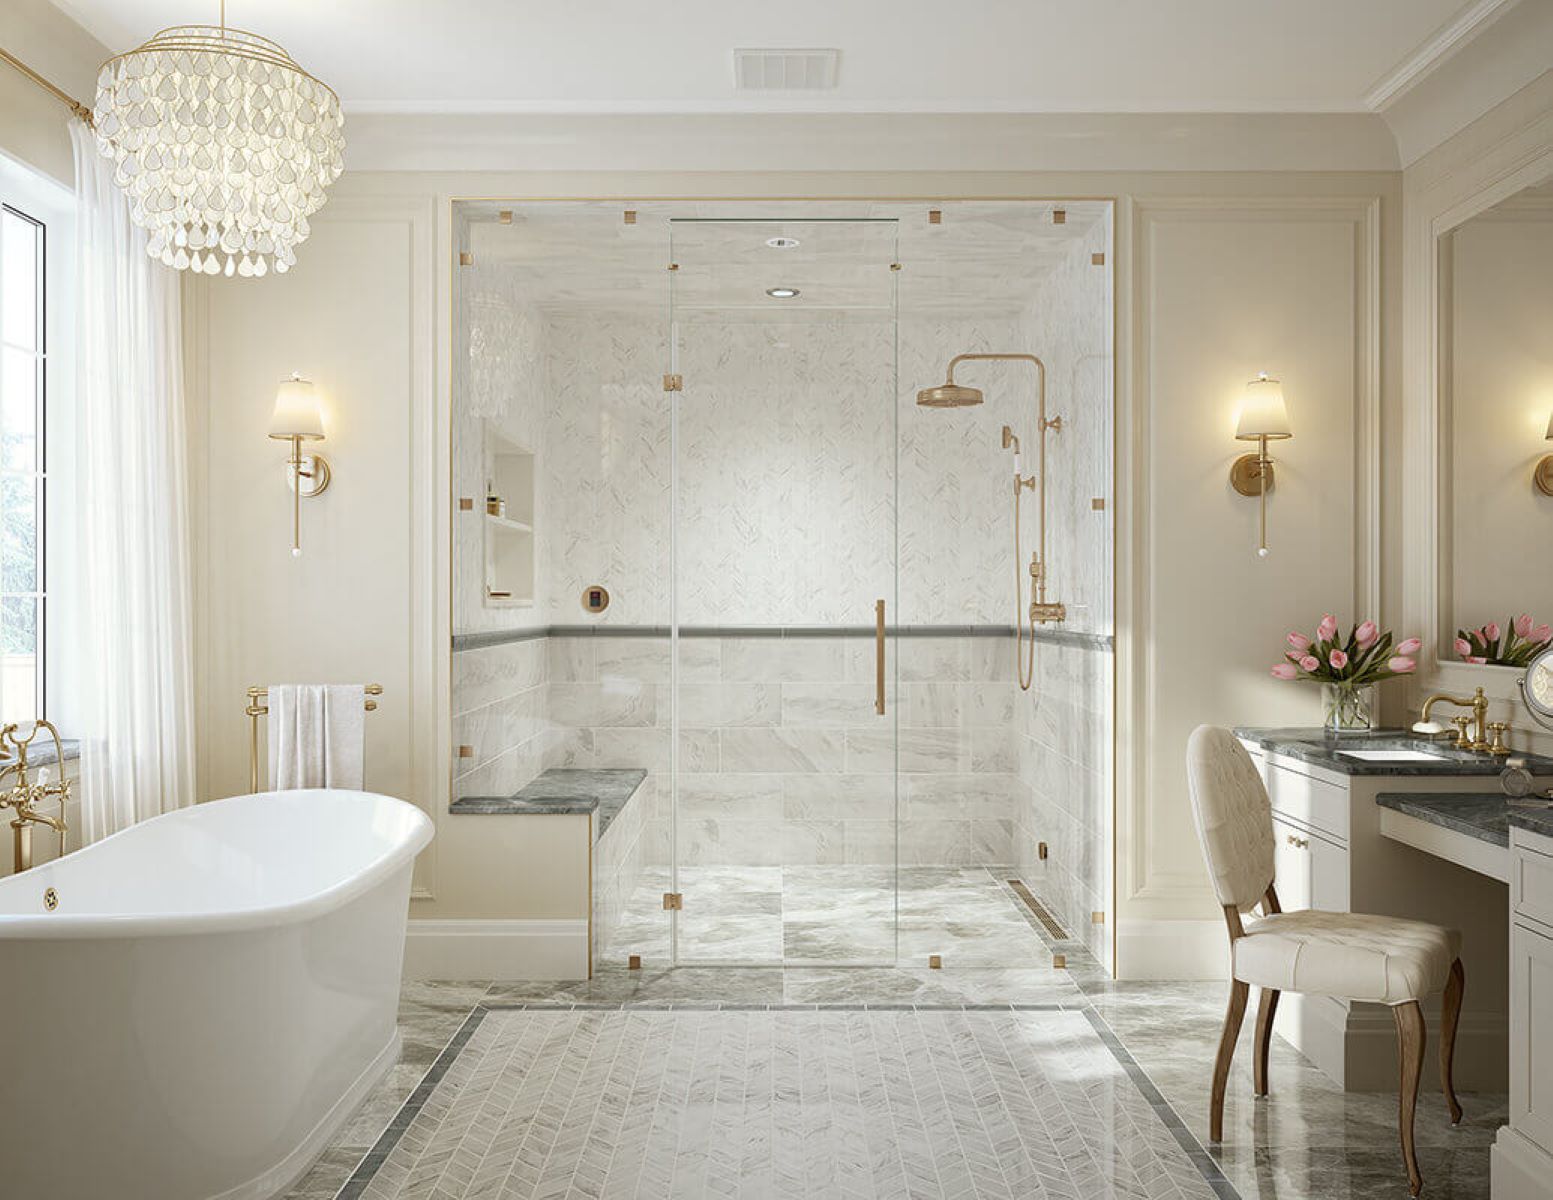
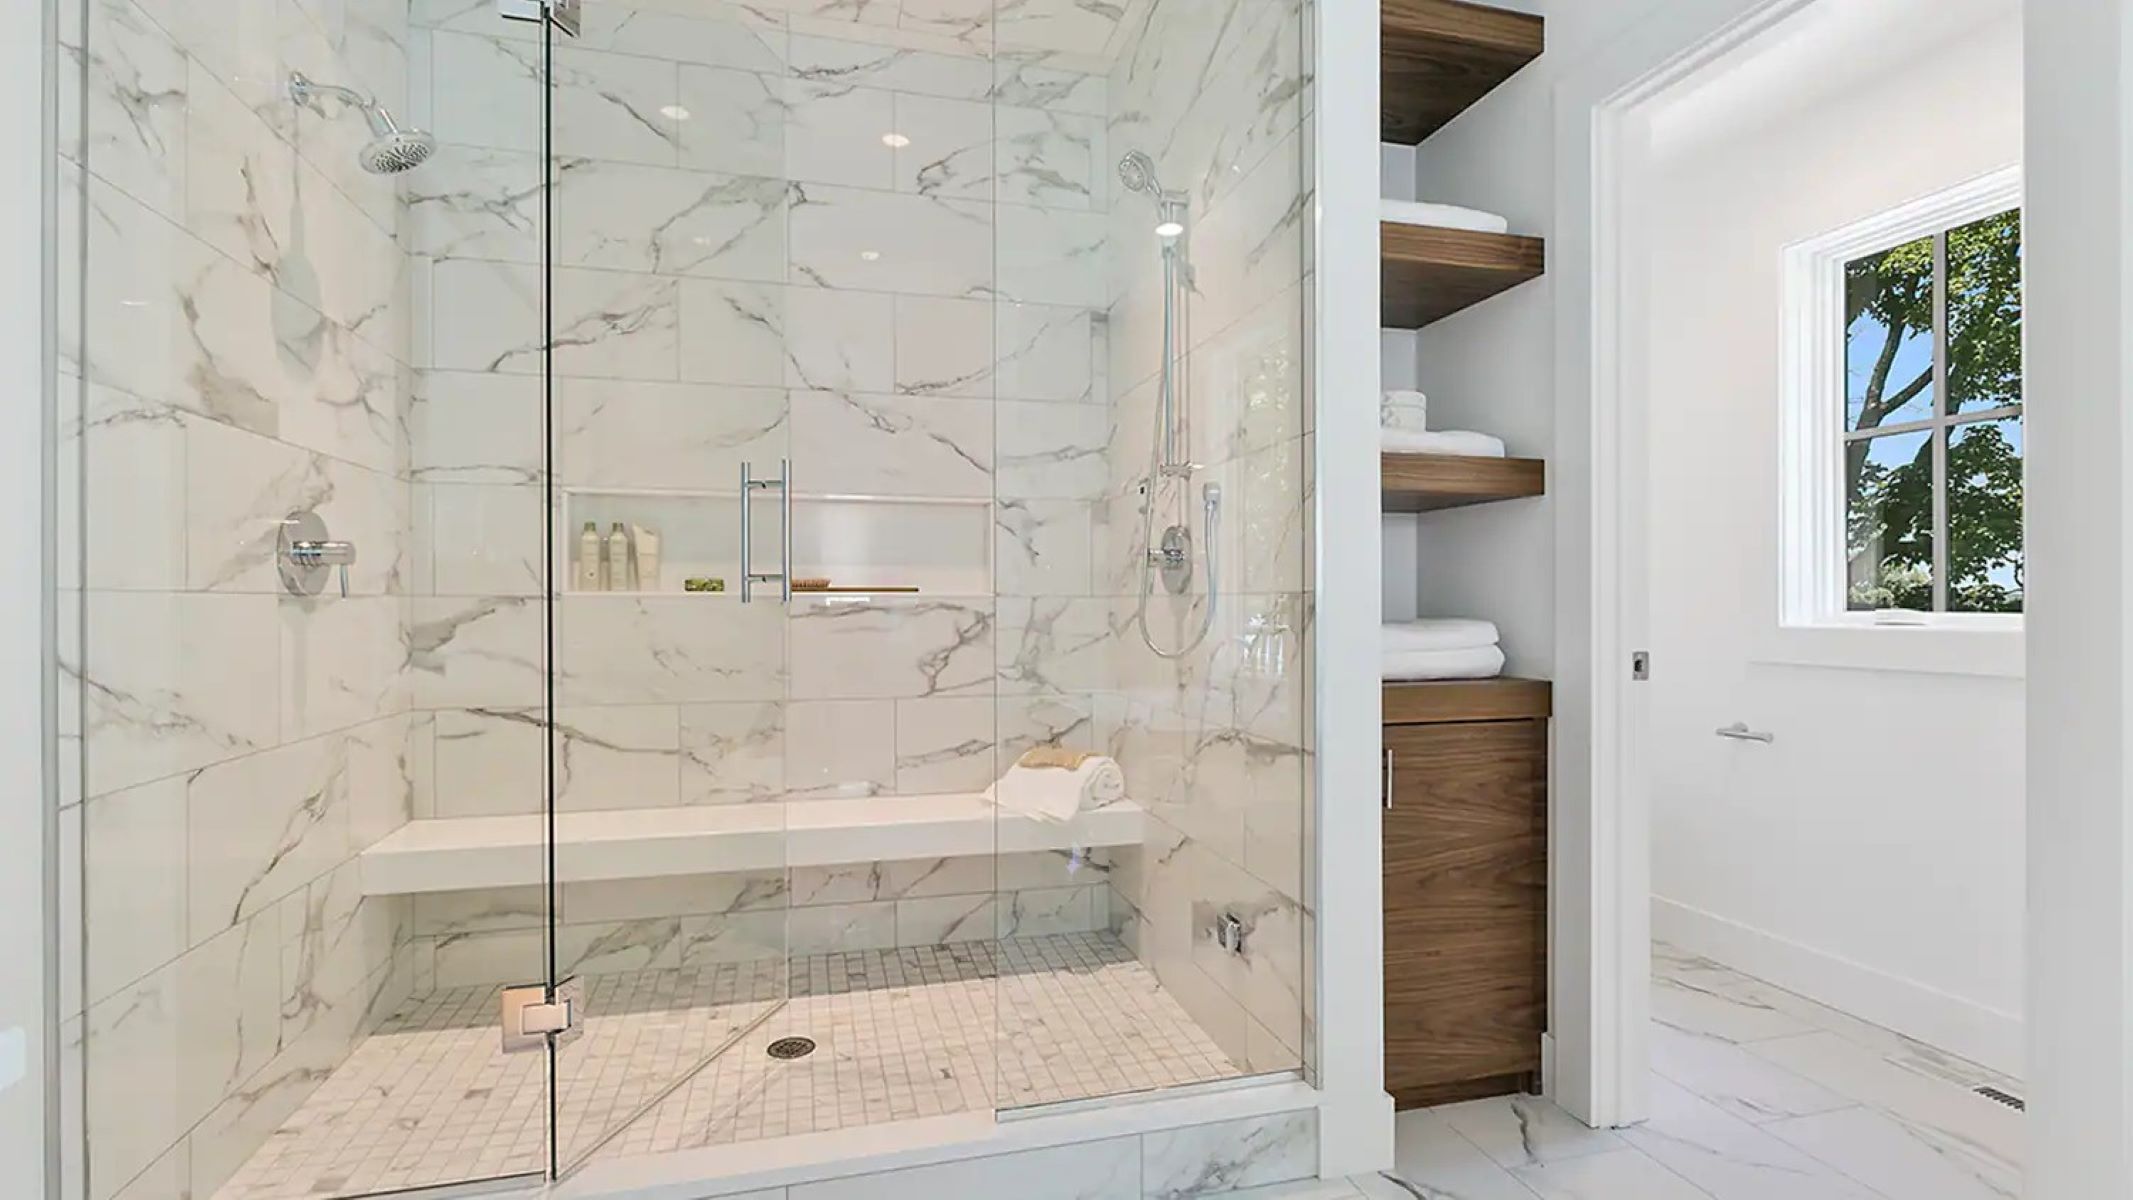
Installing a steam shower in your bathroom can transform it into a luxurious oasis, providing a spa-like experience right in the comfort of your own home. Whether you're looking to upgrade your bathroom or create a relaxing retreat, a steam shower offers a host of benefits, including stress relief, improved circulation, and detoxification. In this comprehensive guide, we'll walk you through the step-by-step process of installing a steam shower, from preparing the space to testing the unit for optimal functionality.
By following these instructions, you can elevate your daily routine and enhance your overall well-being. With the soothing power of steam, you can unwind after a long day, soothe sore muscles, and indulge in a rejuvenating escape without ever leaving your home. So, let's dive into the details and learn how to bring the luxury of a steam shower into your bathroom.
Key Takeaways:
- Transform your bathroom into a luxurious oasis by installing a steam shower. Enjoy the spa-like experience at home, relieving stress and improving overall well-being with the power of steam.
- Elevate your daily routine with a meticulously installed steam shower. Embrace the transformative power of steam, creating a personal sanctuary for relaxation and rejuvenation within your home.
Step 1: Preparing the Space
Before embarking on the installation of a steam shower, it's crucial to adequately prepare the space to ensure a seamless and successful process. Here's a detailed breakdown of the essential steps involved in preparing the area for your new steam shower:
-
Assess the Space: Begin by assessing the available space in your bathroom to determine the most suitable location for the steam shower unit. Consider factors such as proximity to existing plumbing and electrical connections, as well as ventilation requirements. Ideally, the chosen area should provide enough room for the steam shower enclosure without compromising the functionality and aesthetic appeal of the bathroom.
-
Ensure Proper Ventilation: Proper ventilation is essential for a steam shower to function effectively and prevent moisture-related issues. If your bathroom lacks adequate ventilation, consider installing a vent fan to ensure proper air circulation. Additionally, ensure that the chosen location for the steam shower allows for the installation of a steam-tight enclosure to contain the steam effectively.
-
Evaluate Plumbing and Electrical Requirements: Assess the existing plumbing and electrical connections in the chosen location. Ensure that the plumbing can accommodate the addition of a steam generator and any necessary water supply modifications. Similarly, verify that the electrical system can support the steam generator and any other electrical components of the steam shower unit.
-
Prepare the Subfloor and Walls: The subfloor and walls of the designated area must be properly prepared to withstand the moisture and heat generated by the steam shower. Consider using moisture-resistant materials such as waterproof drywall or cement board for the walls and a waterproof membrane for the subfloor to prevent water damage and mold growth.
-
Create a Level and Stable Base: It's essential to create a level and stable base for the steam shower unit. Depending on the type of steam shower you've chosen, this may involve installing a shower pan or ensuring that the existing floor is level and capable of supporting the weight of the unit.
By meticulously preparing the space for your new steam shower, you can lay a solid foundation for a successful installation process. Taking the time to assess the space, address ventilation and infrastructure requirements, and prepare the surfaces will set the stage for a seamless transition to the next phase of the installation process.
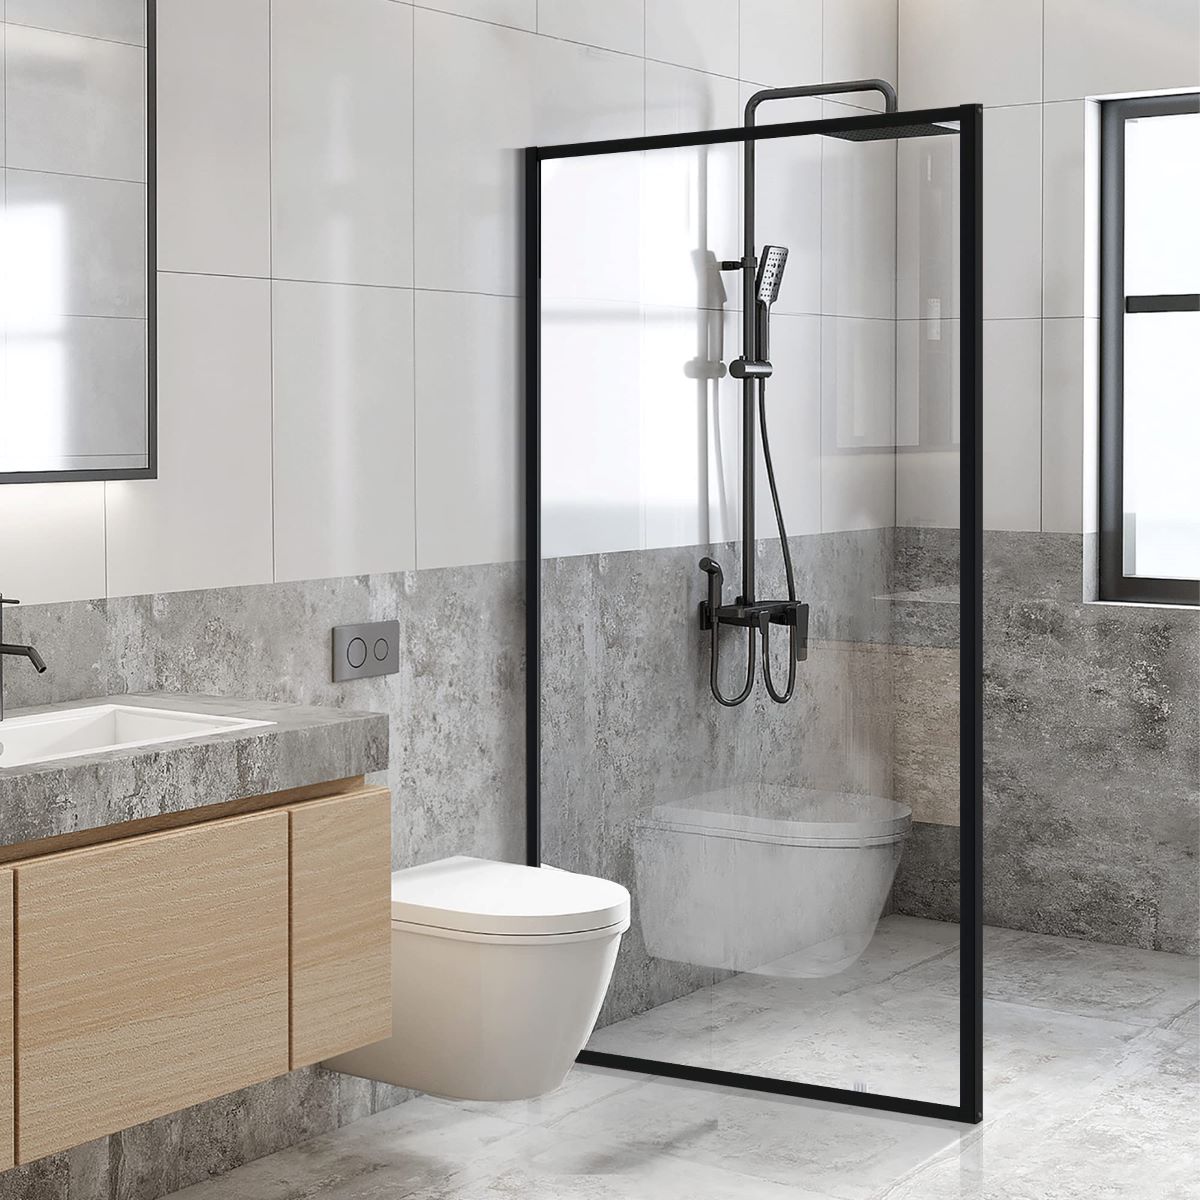
Step 2: Assembling the Steam Shower Unit
With the space meticulously prepared, it's time to delve into the exciting phase of assembling the steam shower unit. This pivotal step involves bringing together the various components of the steam shower, including the enclosure, steam generator, control panel, and any additional features that contribute to the functionality and comfort of the unit. Here's a comprehensive guide to navigating the assembly process with confidence and precision:
-
Unpack and Organize Components: Carefully unpack all the components of the steam shower unit, ensuring that each part is accounted for and undamaged. Organize the parts in a systematic manner, grouping them according to their respective assembly stages. This initial organization will streamline the assembly process and minimize the risk of overlooking essential components.
-
Assemble the Enclosure: Begin by assembling the enclosure according to the manufacturer's instructions. This typically involves connecting the walls, door, and roof of the enclosure to create a secure and steam-tight structure. Pay close attention to the alignment and secure fastening of the enclosure components to ensure a proper fit and optimal functionality.
-
Install the Steam Generator: Position the steam generator in the designated location, ensuring that it is easily accessible for maintenance and service. Follow the manufacturer's guidelines for connecting the steam generator to the water supply, electrical power, and any necessary drainage system. It's crucial to adhere to safety protocols and local building codes when installing the steam generator to guarantee safe and efficient operation.
-
Mount the Control Panel and Additional Features: Mount the control panel in a convenient and accessible location within the steam shower enclosure. This control interface allows users to adjust the steam settings, temperature, duration, and any additional features such as aromatherapy or chromotherapy options. If your steam shower includes features like built-in seating, shelving, or lighting, this is the stage to install and integrate these elements into the overall assembly.
-
Connect Plumbing and Electrical Components: If the steam shower unit includes plumbing fixtures such as a showerhead or body jets, ensure that these components are properly connected to the water supply and integrated into the overall assembly. Similarly, connect the electrical components, such as lighting fixtures and audio systems, following the manufacturer's specifications and any applicable building codes.
-
Seal Joints and Connections: Once all the components are assembled and in place, carefully seal the joints, connections, and seams to prevent steam and water leakage. Utilize high-quality, waterproof sealants and caulking materials to create a durable and steam-tight enclosure, ensuring that the steam shower is fully contained during operation.
By methodically assembling the steam shower unit and paying attention to each detail, you can ensure that the unit is structurally sound, aesthetically pleasing, and ready for the next crucial steps of connecting the plumbing and electrical systems.
This phase of the installation process sets the stage for the seamless integration of the steam shower unit into your bathroom, bringing you one step closer to enjoying the rejuvenating benefits of a luxurious steam shower experience.
Step 3: Connecting the Plumbing and Electrical
The successful connection of plumbing and electrical components is a pivotal stage in the installation of a steam shower, as it ensures the seamless functionality and safety of the unit. This phase requires meticulous attention to detail and adherence to plumbing and electrical codes to guarantee optimal performance and user safety. Here's a comprehensive guide to navigating the intricate process of connecting the plumbing and electrical systems of your steam shower:
Plumbing Connection
-
Steam Generator Plumbing: Begin by connecting the steam generator to the water supply, following the manufacturer's specifications and local plumbing codes. This typically involves integrating the generator with the hot and cold water lines, as well as the necessary shut-off valves and pressure-relief valves to regulate water flow and pressure within the system.
-
Shower Fixtures: If your steam shower unit includes additional shower fixtures such as a handheld showerhead, body jets, or a rain shower, carefully connect these components to the water supply. Ensure that the fixtures are securely fastened and properly aligned to deliver an optimal showering experience.
-
Drainage System: Verify that the steam generator's drainage system is correctly connected to the existing plumbing, allowing for the efficient discharge of excess water and condensation. Proper drainage is essential for preventing water accumulation within the steam shower enclosure and maintaining a hygienic environment.
Electrical Connection
-
Steam Generator Electrical Supply: Safely connect the steam generator to the electrical power supply, adhering to local electrical codes and safety standards. This involves ensuring that the electrical wiring is appropriately sized and rated for the steam generator's power requirements, and that all connections are securely fastened to prevent electrical hazards.
-
Control Panel and Additional Features: If your steam shower unit includes advanced features such as lighting, audio systems, or digital controls, carefully connect these electrical components according to the manufacturer's guidelines. Pay close attention to the proper grounding and insulation of electrical connections to mitigate the risk of electrical malfunctions or safety hazards.
-
Safety Considerations: Prioritize safety throughout the electrical connection process, incorporating ground fault circuit interrupters (GFCIs) where required to protect users from electrical shocks. Additionally, ensure that all electrical components are installed in compliance with moisture-resistant and waterproof standards to withstand the humid environment within the steam shower.
By meticulously connecting the plumbing and electrical systems of your steam shower, you can ensure that the unit operates reliably, efficiently, and safely. This phase marks a significant milestone in the installation process, bringing you closer to the ultimate indulgence of a rejuvenating steam shower experience in the comfort of your home.
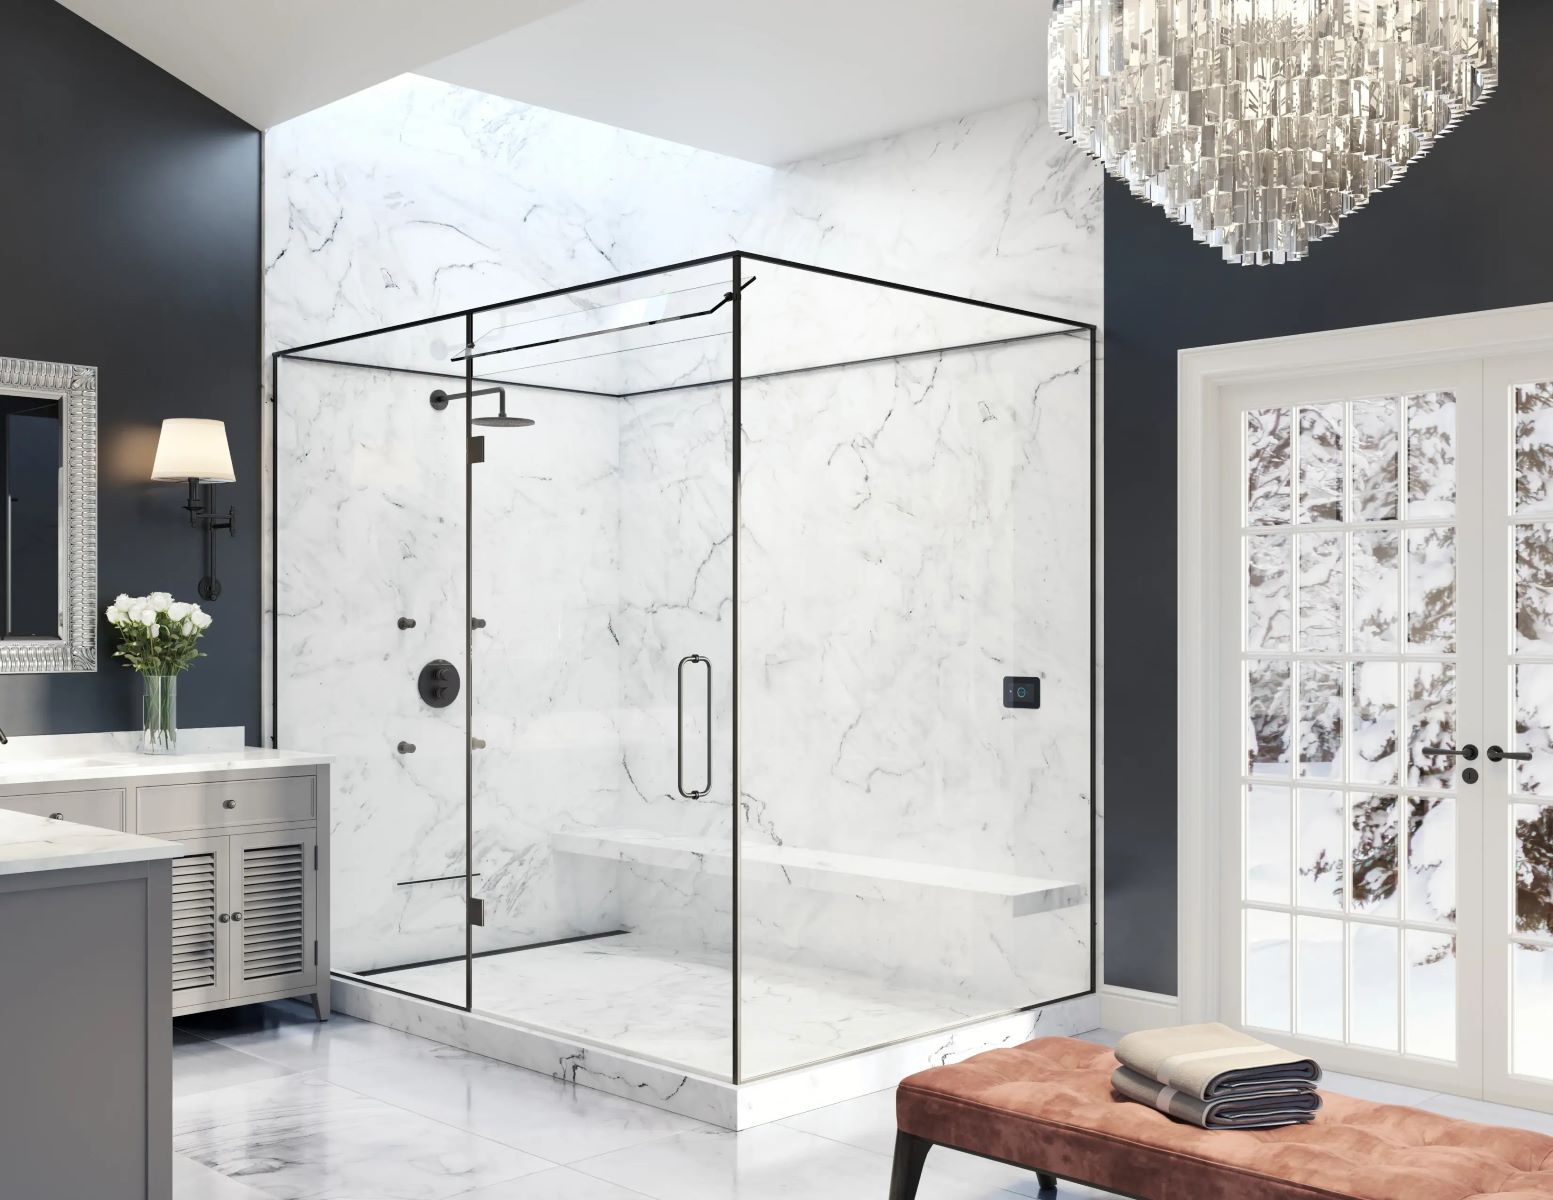
Step 4: Sealing and Testing the Steam Shower
With the plumbing and electrical connections in place, the final phase of installing a steam shower involves meticulous sealing and comprehensive testing to ensure optimal performance and user safety. This critical step encompasses the thorough sealing of joints, seams, and connections within the steam shower enclosure, followed by rigorous testing to validate the functionality of the unit. Here's a detailed exploration of the sealing and testing process:
Sealing the Enclosure
-
Sealant Application: Utilize high-quality, waterproof sealants to meticulously seal all joints, seams, and connections within the steam shower enclosure. Pay particular attention to areas where different materials meet, such as where the walls meet the shower pan or where the enclosure components join together. The application of a durable sealant creates a watertight and steam-tight barrier, preventing moisture and steam from escaping the enclosure.
-
Caulking and Weather Stripping: Apply silicone caulking to seal gaps around fixtures, such as the control panel, steam generator, and shower fixtures. Additionally, install weather stripping along the edges of the enclosure door to ensure a snug and secure seal when the door is closed. These measures contribute to the overall integrity of the enclosure, minimizing the risk of water and steam leakage.
-
Inspecting and Rectifying: Thoroughly inspect the sealed areas for any signs of gaps or inadequately sealed areas. Rectify any deficiencies by reapplying sealant or caulking as needed to guarantee a complete and effective seal. A meticulous approach to sealing the enclosure is essential for maintaining a controlled and comfortable steam shower environment.
Testing the Steam Shower
-
Dry Run Test: Before introducing steam, conduct a dry run test of the steam shower to ensure that all electrical and plumbing components function as intended. Verify that the control panel, lighting, audio systems, and any additional features operate smoothly. This preliminary test allows for the identification and resolution of any potential issues before steam is introduced into the enclosure.
-
Steam Generation Test: Initiate the steam generation process to evaluate the performance of the steam generator and the distribution of steam within the enclosure. Monitor the steam output, ensuring that it reaches the desired temperature and creates a consistent and enveloping steam environment. This test validates the functionality of the steam generation system and its ability to deliver a satisfying steam shower experience.
-
Leakage and Condensation Check: During the steam generation test, carefully inspect the enclosure for any signs of water leakage or excessive condensation. Verify that the sealed joints and connections effectively contain the steam, preventing moisture from escaping the enclosure. Address any identified issues promptly to maintain the integrity of the steam shower environment.
-
User Interface Testing: Engage with the control panel and any additional user interface elements to confirm their responsiveness and ease of use. Adjust the steam settings, temperature, and any optional features to ensure that users can effortlessly customize their steam shower experience to suit their preferences.
By meticulously sealing the enclosure and conducting comprehensive testing, you can instill confidence in the functionality and reliability of your newly installed steam shower. This phase marks the culmination of the installation process, paving the way for you to indulge in the luxurious and rejuvenating benefits of a fully operational steam shower within your home.
Make sure to properly seal all the seams and connections in your steam shower to prevent any leaks. This will help maintain the steam and ensure a comfortable and effective experience.
Read more: How To Clean A Steam Shower
Conclusion
Congratulations on successfully completing the installation of your steam shower! By following the comprehensive steps outlined in this guide, you've transformed your bathroom into a luxurious retreat, offering the indulgence of a spa-like steam shower experience right at home. As you bask in the satisfaction of your accomplishment, it's essential to reflect on the transformative impact of this addition to your living space.
The installation of a steam shower represents more than just a functional upgrade to your bathroom; it signifies a commitment to holistic well-being and self-care. With the power of steam at your fingertips, you now have the opportunity to embrace a daily ritual of relaxation, rejuvenation, and personal indulgence. The benefits of steam showers extend beyond mere physical comfort, encompassing mental rejuvenation, stress relief, and the promotion of overall wellness.
As you step into your newly installed steam shower, you're greeted by a haven of tranquility, where the cares of the day melt away amidst the enveloping warmth and soothing steam. The therapeutic effects of steam on your body and mind are poised to become an integral part of your daily routine, offering respite from the demands of modern life and a sanctuary for unwinding and recharging.
Moreover, the installation of a steam shower represents a tangible investment in the value of your home. Beyond the immediate gratification of a luxurious bathing experience, a well-appointed steam shower enhances the appeal and desirability of your property, potentially increasing its market value and setting it apart in the eyes of prospective buyers.
As you revel in the comfort and luxury of your newly installed steam shower, take pride in the meticulous attention to detail and the dedication that went into the installation process. Your commitment to creating a space of unparalleled relaxation and rejuvenation has culminated in the realization of a personal sanctuary within your home.
So, as the steam envelops you in its comforting embrace, remember that you've not only installed a remarkable bathroom fixture; you've curated an oasis of well-being and luxury, tailored to elevate your daily life and nurture your overall wellness. Embrace the transformative power of steam, and savor the countless moments of tranquility and rejuvenation that await you in your newly installed steam shower.
Frequently Asked Questions about How To Install A Steam Shower
Was this page helpful?
At Storables.com, we guarantee accurate and reliable information. Our content, validated by Expert Board Contributors, is crafted following stringent Editorial Policies. We're committed to providing you with well-researched, expert-backed insights for all your informational needs.


0 thoughts on “How To Install A Steam Shower”