
Articles
How to Install Shower Plumbing
Modified: April 22, 2024
Looking for articles on how to do plumbing for a shower? Get expert tips and step-by-step guides to tackle your shower plumbing project successfully.
(Many of the links in this article redirect to a specific reviewed product. Your purchase of these products through affiliate links helps to generate commission for Storables.com, at no extra cost. Learn more)
Introduction
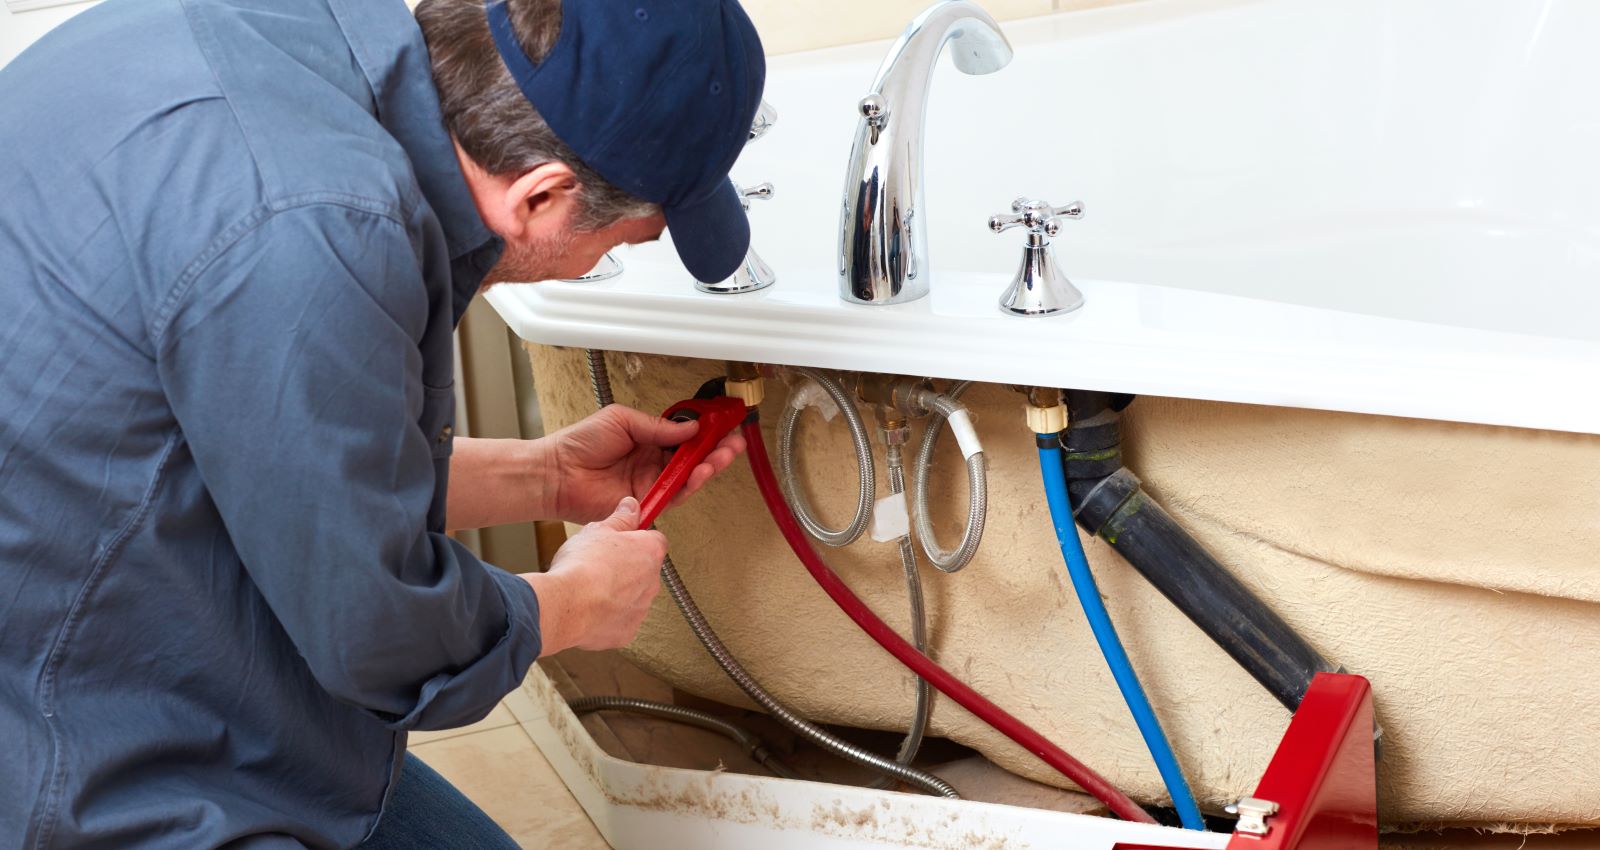
When it comes to bathroom renovations, one of the key elements is the shower. Whether you’re replacing an old shower or installing a brand new one, knowing how to do plumbing for a shower is essential. This comprehensive guide will walk you through the step-by-step process of plumbing for a shower, helping you achieve a functional and beautiful bathroom.
Before you embark on this plumbing project, it’s important to gather all the necessary tools and materials. Having everything on hand will make the process smoother and more efficient. Here are the items you will need:
- Adjustable wrench
- Pipe wrench
- Plumber’s tape
- Screwdriver
- Pipe cutter or hacksaw
- Shower faucet and handles
- Showerhead
- Pipe and fittings
- Plumbing adhesive or flux and solder
- Teflon tape
- Pipe joint compound
- Plumber’s putty
- Bucket or towel
Now that you have your tools and materials ready, let’s dive into the step-by-step process of plumbing for a shower.
Key Takeaways:
- Mastering the art of plumbing for a shower is a rewarding endeavor that can elevate your bathroom renovation game. From shutting off the water supply to testing for leaks, this comprehensive guide equips you with the skills to achieve a functional and visually appealing shower installation.
- Prioritize safety and thoroughness when tackling plumbing projects. By gathering the necessary tools and materials and following the step-by-step process, you can confidently install a new shower faucet and enjoy the comfort and satisfaction of a job well done.
Read more: How Do You Install Shower Plumbing
Tools and Materials Needed
Before you begin the process of plumbing for a shower, it’s important to gather all the necessary tools and materials. Having everything ready will make the project go smoothly and efficiently. Here is a list of tools and materials you will need:
Tools:
- Adjustable wrench: This tool will allow you to tighten or loosen various connections during the process.
- Pipe wrench: Essential for gripping and turning pipes and fittings.
- Plumber’s tape: A thin, white tape used to seal pipe threads. It helps ensure a watertight connection.
- Screwdriver: Used for removing and installing screws during the process.
- Pipe cutter or hacksaw: Depending on the type of piping you have, a pipe cutter or hacksaw will be needed to cut the pipes to the desired lengths.
- Plumber’s putty: A waterproof, moldable material used to create a watertight seal around joints and connections.
- Bucket or towel: Useful for catching any water that may leak during the plumbing process.
Materials:
- Shower faucet and handles: Choose a shower faucet and handle set that suits your style and preferences. Ensure it is compatible with your plumbing system.
- Showerhead: Select a showerhead that provides the desired spray pattern and water pressure.
- Pipe and fittings: Depending on your existing plumbing, you may need to replace or add pipes and fittings to connect the shower faucet and handle with the water supply.
- Plumbing adhesive or flux and solder: These materials are used for attaching pipes and fittings together securely.
- Teflon tape: A thin, white tape used to wrap around threaded connections to create a tight seal.
- Pipe joint compound: Similar to Teflon tape, pipe joint compound is applied to threaded connections to prevent leaks.
With these tools and materials prepared, you can confidently move on to the next steps of plumbing for a shower. Make sure to double-check that you have everything you need before starting the project to minimize any interruptions.
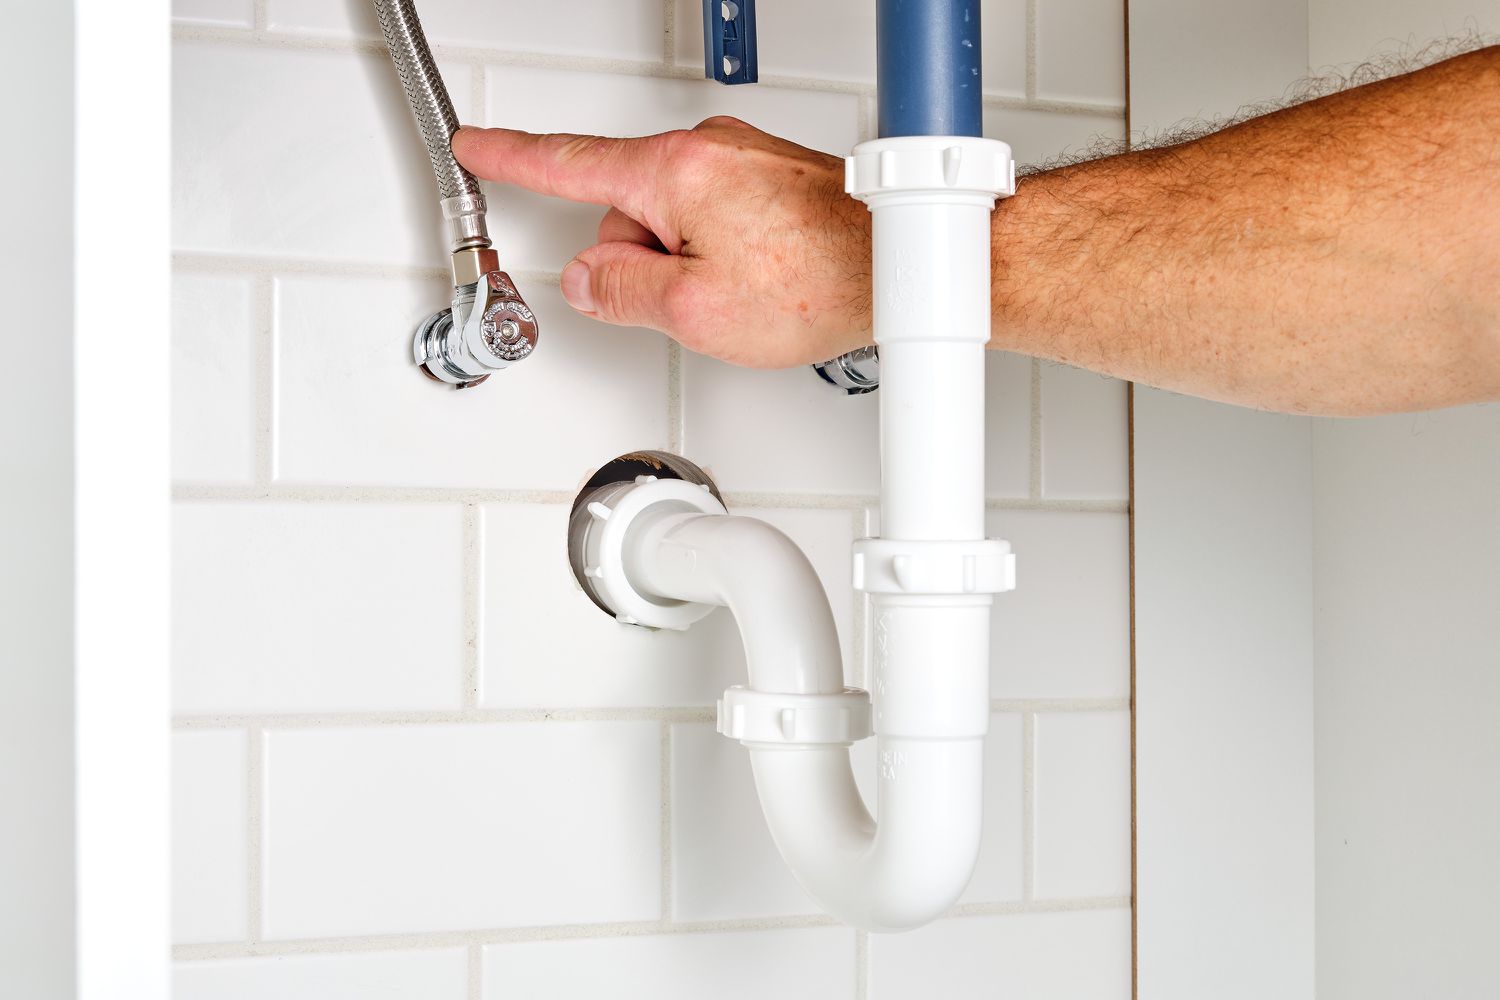
Step 1: Shut off the Water Supply
Before you begin any plumbing work, it’s crucial to shut off the water supply to avoid any potential water damage or accidents. Here’s how to do it:
- Locate the main water shut-off valve in your home. This is usually located near the water meter or in the basement.
- Turn the valve clockwise to shut off the water supply. If the valve is difficult to turn, you can use a wrench for added leverage.
- Once the water supply is shut off, open a nearby faucet to relieve any remaining pressure in the pipes.
It’s important to ensure that the water supply is completely off before proceeding with the next steps. This will prevent any accidental water leakage or damage while working on the plumbing for the shower.
Remember, safety should always be a priority. If you’re unsure of how to shut off the water supply or encounter any difficulties, it’s recommended to consult a professional plumber.
Once you’ve successfully shut off the water supply, you’re ready to move on to the next step in the process.
Step 2: Remove the Old Shower Faucet
Now that you have shut off the water supply, it’s time to remove the old shower faucet. Here’s a step-by-step guide on how to do it:
- Use a screwdriver or Allen wrench to remove any screws or bolts securing the old faucet handles and trim plate. Set them aside for later use.
- Gently pull off the handle and trim plate to expose the valve and cartridge assembly.
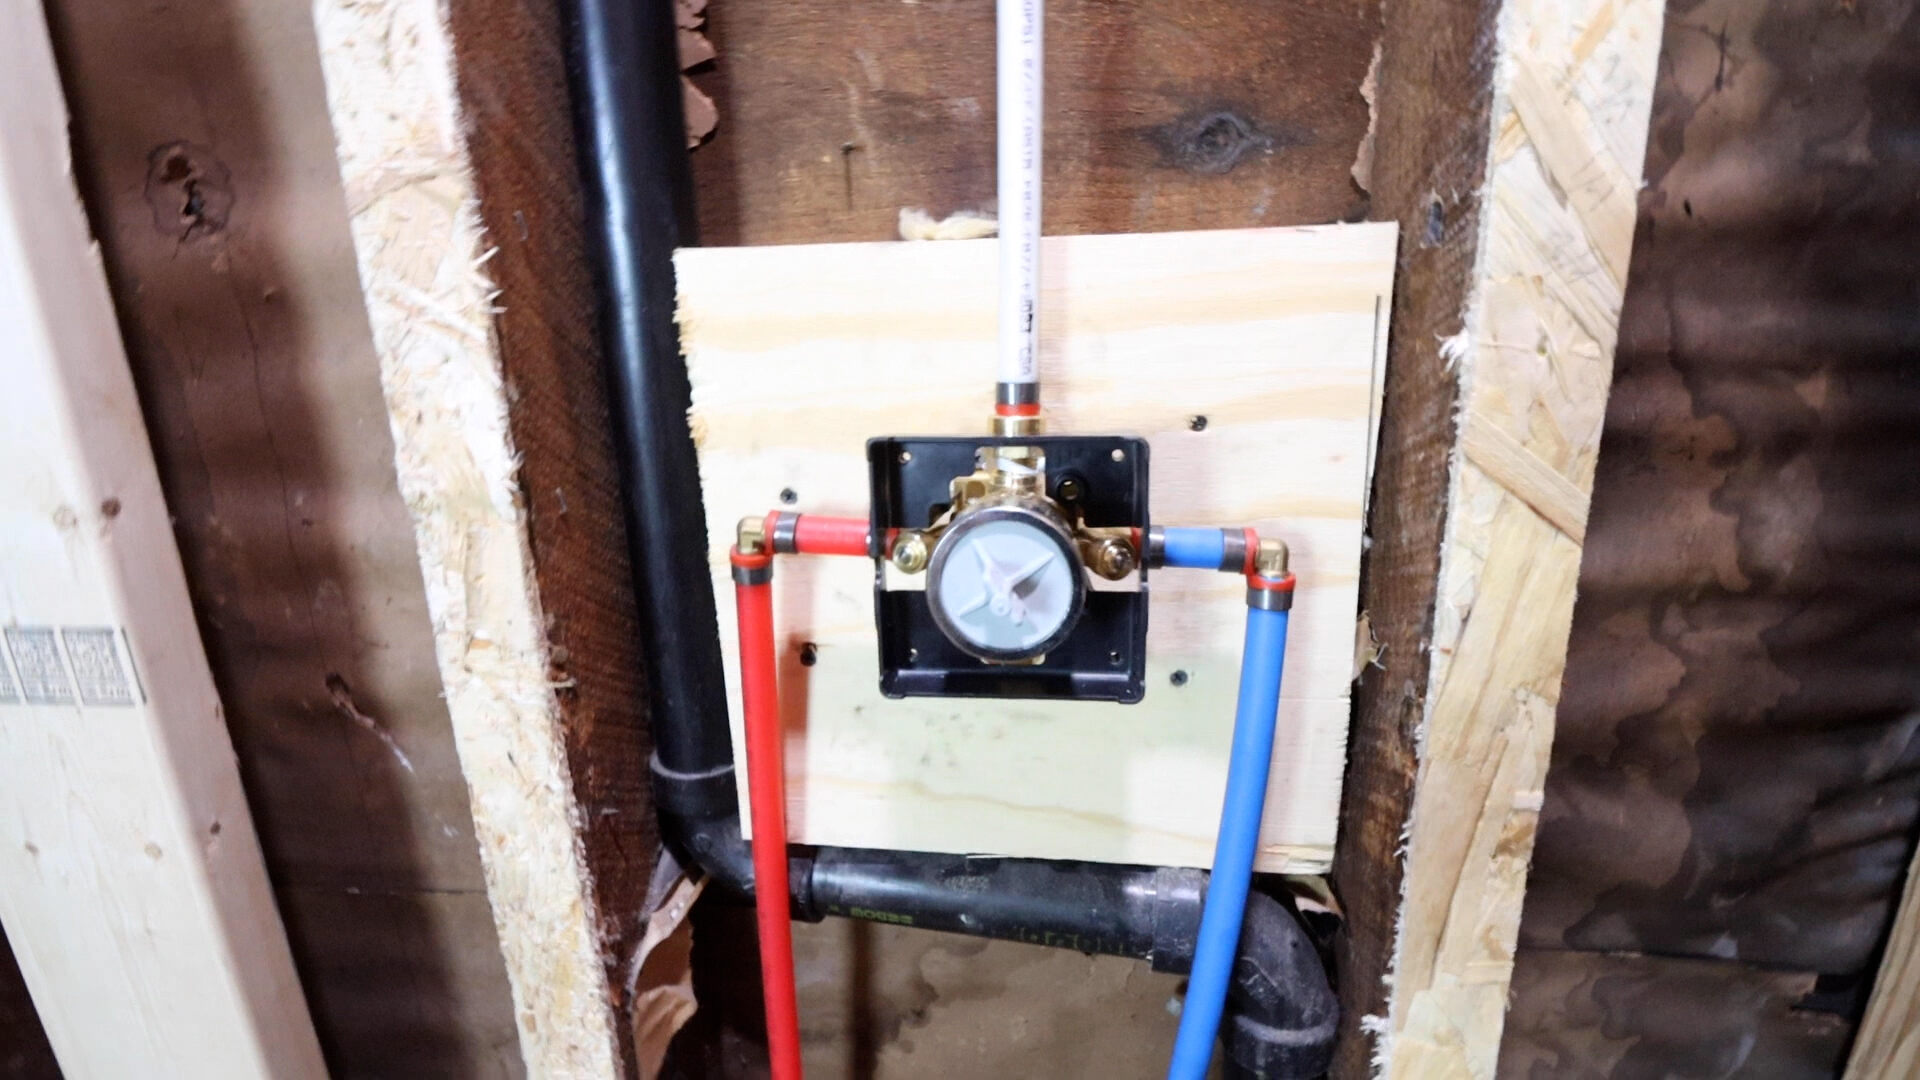
- Inspect the valve and cartridge assembly to determine the type of connection it has. It could be threaded, soldered, or connected by nuts and bolts.
- If the assembly is threaded, use an adjustable wrench to loosen and remove the connection. Turn it counterclockwise to unscrew it.
- If the assembly is soldered, you will need to cut the soldered joint using a pipe cutter or hacksaw. Be careful not to damage any surrounding pipes or fittings.
- If the assembly is connected by nuts and bolts, use a wrench or pliers to loosen and remove them.
- Once the connections are removed, carefully pull out the old shower faucet from the wall. It may require some force, so be gentle yet firm.
After removing the old shower faucet, inspect the area for any signs of damage or corrosion. If necessary, clean and repair the area before proceeding with the installation of the new faucet.
Remember to keep the screws, bolts, and other small parts in a safe place for later use. They will be needed when installing the new shower faucet.
With the old shower faucet removed, you’re now ready to move on to the next step in the plumbing process.
Step 3: Install New Shower Faucet
With the old shower faucet removed, it’s time to install the new shower faucet. Follow these steps to ensure proper installation:
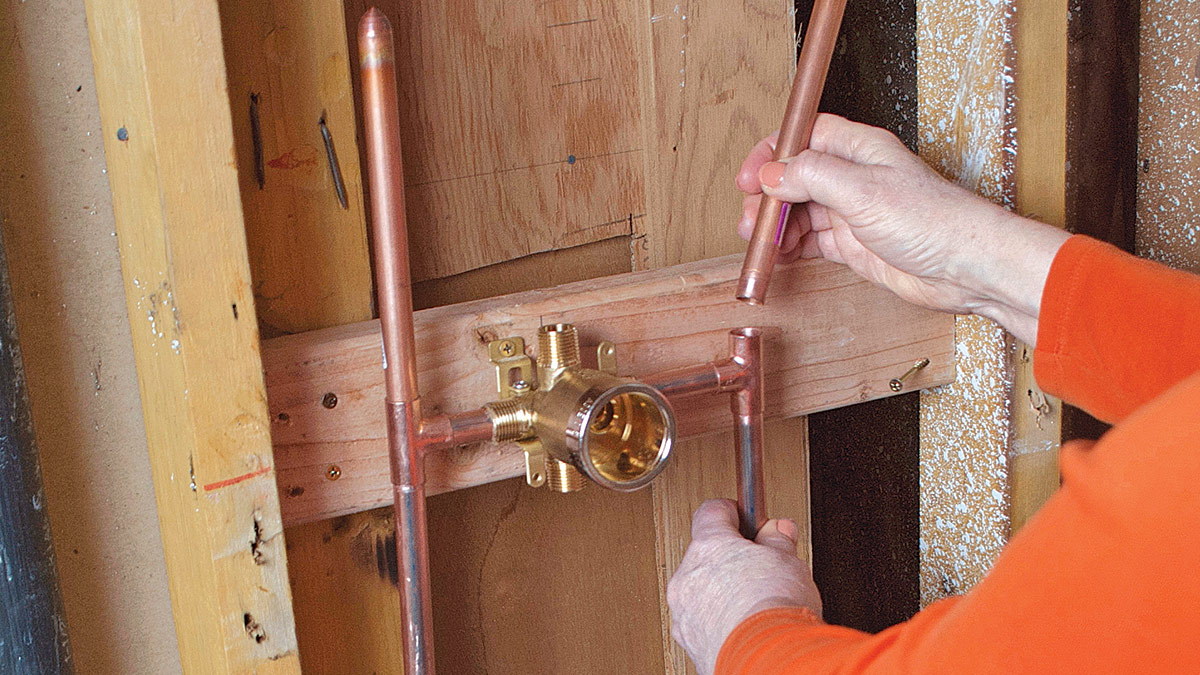
- Begin by preparing the new shower faucet. This may involve attaching any necessary fittings or adapters provided with the faucet.
- Apply a thin layer of plumber’s putty to the base of the faucet trim plate. This will help create a watertight seal when it is installed.
- Carefully insert the new faucet into the opening in the wall, aligning it with the mounting holes. Make sure the faucet is level and centered.
- Secure the faucet to the wall by using screws or bolts provided with the faucet. Tighten them just enough to hold the faucet in place, but do not over-tighten.
- If your new faucet requires soldering, make sure to follow the manufacturer’s instructions for proper soldering techniques. Use plumber’s tape on threaded connections to ensure a tight seal.
- After the faucet is securely installed, attach the faucet handles according to the manufacturer’s instructions. This may involve tightening screws or using a decorative cap.
- Once the handles are in place, install the trim plate over the faucet and secure it with the provided screws or bolts.
Take care to ensure that all connections are properly tightened, but again, be cautious not to over-tighten and damage any components.
Before moving on to the next step, visually inspect the installed faucet for any signs of misalignment or damage. Make any necessary adjustments or corrections before continuing.
Congratulations! You have successfully installed your new shower faucet. Now let’s move on to the next step in the plumbing process.
When installing a shower, make sure to use Teflon tape on all threaded connections to prevent leaks. Tighten the connections securely, but be careful not to over-tighten and damage the fittings.
Step 4: Connect the Showerhead and Handles
Now that the new shower faucet is installed, it’s time to connect the showerhead and handles to complete the plumbing process. Follow these steps:
- Attach the showerhead: Screw the showerhead onto the shower arm protruding from the wall. Use plumber’s tape on the threaded connections to ensure a tight seal. Hand-tighten the showerhead, making sure it is secure but not overly tight.
- Connect the handles: If your faucet has separate hot and cold handles, follow the manufacturer’s instructions to identify which handle is for hot water and which is for cold water. Slide the handles onto the valve stems and securely attach them, either by tightening screws or using provided adapters or nuts.
- Check for proper alignment: Ensure that the handles are properly aligned with the “Hot” and “Cold” indicators on the trim plate. Make any necessary adjustments to ensure symmetry and proper functionality.
Once the showerhead and handles are connected, it’s important to test the water flow and temperature to make sure everything is functioning correctly. Turn on the water supply and open the shower valve to test the flow of water and adjust the temperature using the handles.
If you notice any leaks or issues with the water flow or temperature, double-check the connections and tighten as needed. Ensure that all connections are secure and that there are no signs of water leakage.
With the showerhead and handles properly connected, you’re almost finished with the plumbing process. Let’s move on to the final step.
Step 5: Test the Shower for Leaks
After completing the installation of the new shower faucet, it’s crucial to thoroughly test the shower for any potential leaks. Follow these steps to ensure a watertight and functional shower:
- Close the shower valve and ensure that it is in the “OFF” position.
- Turn on the water supply and let the water flow into the showerhead.
- Inspect the connections: Carefully examine all the connections, including the faucet, handles, showerhead, and any other associated pipes or fittings, for any signs of water leakage.
- Listen for any unusual sounds: Pay attention to any hissing or dripping sounds that may indicate a leak.
- Check for water accumulation: Look for any water pooling or dripping around the base of the faucet, handles, or showerhead.
- If you find any leaks or issues, tighten the connections as necessary or seek professional assistance if needed.
- Recheck the connections: After tightening, repeat the inspection process to ensure that all leaks have been resolved and there are no areas of water seepage.
Testing the shower for leaks is crucial to prevent any potential water damage and to ensure the longevity and functionality of your newly installed shower. It’s always better to be thorough and address any leaks immediately to avoid further complications down the line.
Once you’ve confirmed that there are no leaks and everything is working properly, congratulations! You have successfully completed the plumbing process for your shower.
Remember to always keep an eye out for any signs of leaks or ongoing maintenance to ensure your shower continues to provide a refreshing and enjoyable experience.
With the shower tested and confirmed leak-free, you can now bask in the satisfaction of a job well done. Enjoy your newly installed shower and the comfort it brings to your everyday routine!
Read more: How To Replace Shower Plumbing
Conclusion
Congratulations! You have successfully learned how to do plumbing for a shower. By following the step-by-step guide provided in this article, you have gained the knowledge and skills to install a new shower faucet and create a functional and visually appealing bathroom.
From shutting off the water supply to removing the old shower faucet, installing the new one, and testing for leaks, each step was carefully explained to guide you through the process. By gathering the necessary tools and materials, you were able to tackle this plumbing project with confidence.
Remember, safety should always be a priority when working with plumbing systems. If at any point you feel uncertain or uncomfortable with the tasks involved, it’s best to consult a professional plumber for assistance. They have the expertise and experience to ensure a successful installation and minimize any potential issues.
Proper installation and maintenance of your shower will not only enhance your bathing experience but also contribute to the overall value and functionality of your home. Regularly checking for leaks and performing occasional maintenance will help ensure the longevity of your shower and prevent any water-related damage.
Now that you have completed the plumbing process, take a moment to admire your handiwork. Enjoy the refreshing showers and the satisfaction of a job well done. With your newly installed shower, you can look forward to many years of comfort and relaxation.
Thank you for following this guide, and best of luck with all your future plumbing endeavors!
Frequently Asked Questions about How To Install Shower Plumbing
Was this page helpful?
At Storables.com, we guarantee accurate and reliable information. Our content, validated by Expert Board Contributors, is crafted following stringent Editorial Policies. We're committed to providing you with well-researched, expert-backed insights for all your informational needs.


0 thoughts on “How to Install Shower Plumbing”