Home>Furniture & Design>Bathroom Fixtures>How To Grout A Shower Tile

Bathroom Fixtures
How To Grout A Shower Tile
Modified: August 27, 2024
Learn how to grout shower tiles with our step-by-step guide for a professional finish. Transform your bathroom fixtures with our expert tips.
(Many of the links in this article redirect to a specific reviewed product. Your purchase of these products through affiliate links helps to generate commission for Storables.com, at no extra cost. Learn more)
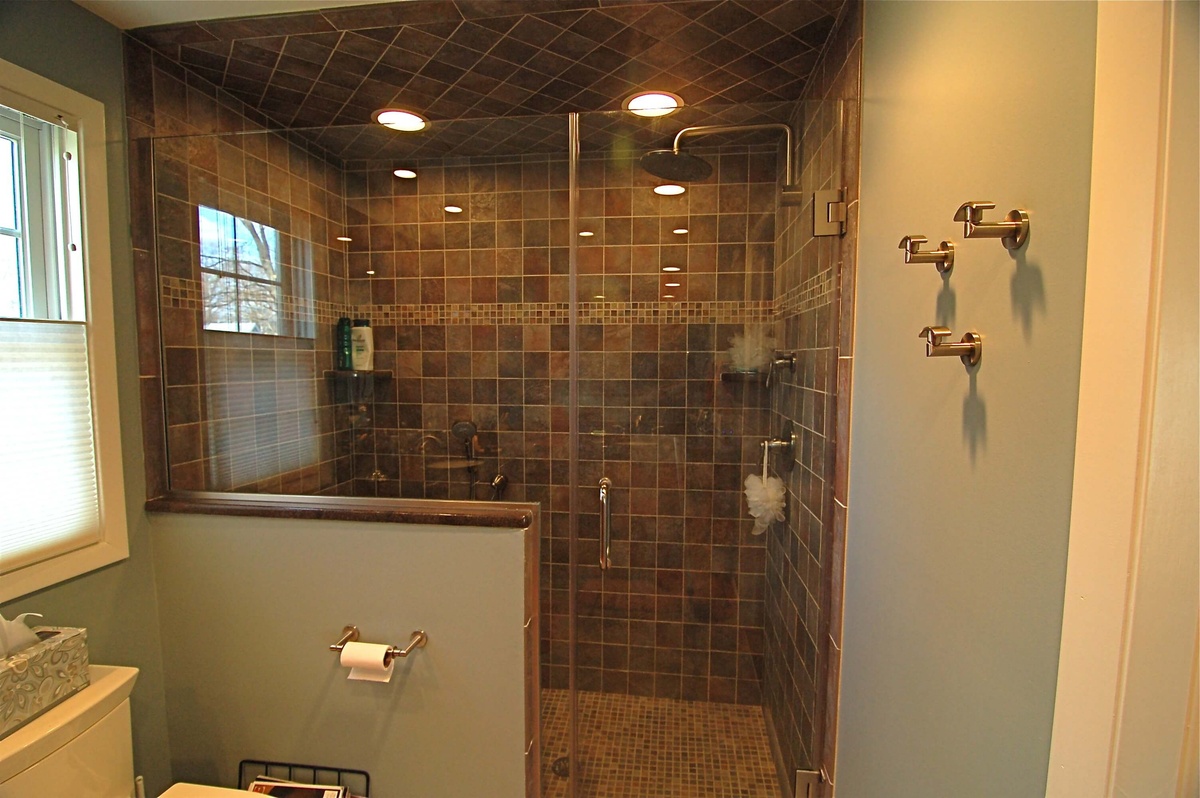
Introduction
So, you've just installed beautiful new tiles in your shower, and now it's time to finish the job by grouting the tiles. Grout not only serves as a bonding agent between the tiles but also plays a crucial role in enhancing the overall appearance of your shower. Proper grouting not only ensures the longevity of your tiles but also adds a polished and professional finish to the entire project.
In this comprehensive guide, we will walk you through the step-by-step process of grouting your shower tiles, providing you with the knowledge and confidence to tackle this task like a seasoned pro. From preparing the shower area to mixing and applying the grout, we've got you covered with all the essential tips and tricks to achieve a flawless finish.
So, roll up your sleeves, gather your tools, and let's dive into the art of grouting a shower tile!
Key Takeaways:
- Transform your shower into a stunning oasis by mastering the art of grouting shower tiles. From meticulous preparation to precise application, achieve a professional and long-lasting finish with confidence and skill.
- Preserve the beauty and durability of your newly grouted shower tiles with regular maintenance and timely resealing. Embrace the satisfaction of a job well done and enjoy a well-deserved relaxing shower in your revitalized space.
Read more: How To Repair A Shower Tile Grout
Tools and Materials Needed
Before you embark on the grouting journey, it’s essential to gather all the necessary tools and materials to ensure a smooth and efficient process. Here’s a comprehensive list of what you’ll need:
Tools:
- Grout float
- Grout sponge
- Buckets
- Margin trowel
- Grout saw
- Painter's tape
- Utility knife
- Protective gloves
- Dust mask
Materials:
- Grout mix
- Water
- Tile sealer
- Clean rags
- Tile spacers
- Grout release
Having these tools and materials at your disposal will streamline the grouting process and ensure that you’re well-prepared for any challenges that may arise along the way.
Preparing the Shower Area
Before diving into the grouting process, it’s crucial to prepare the shower area to ensure optimal results. Here’s a step-by-step guide to preparing the space:
Read more: How To Grout Shower Floor
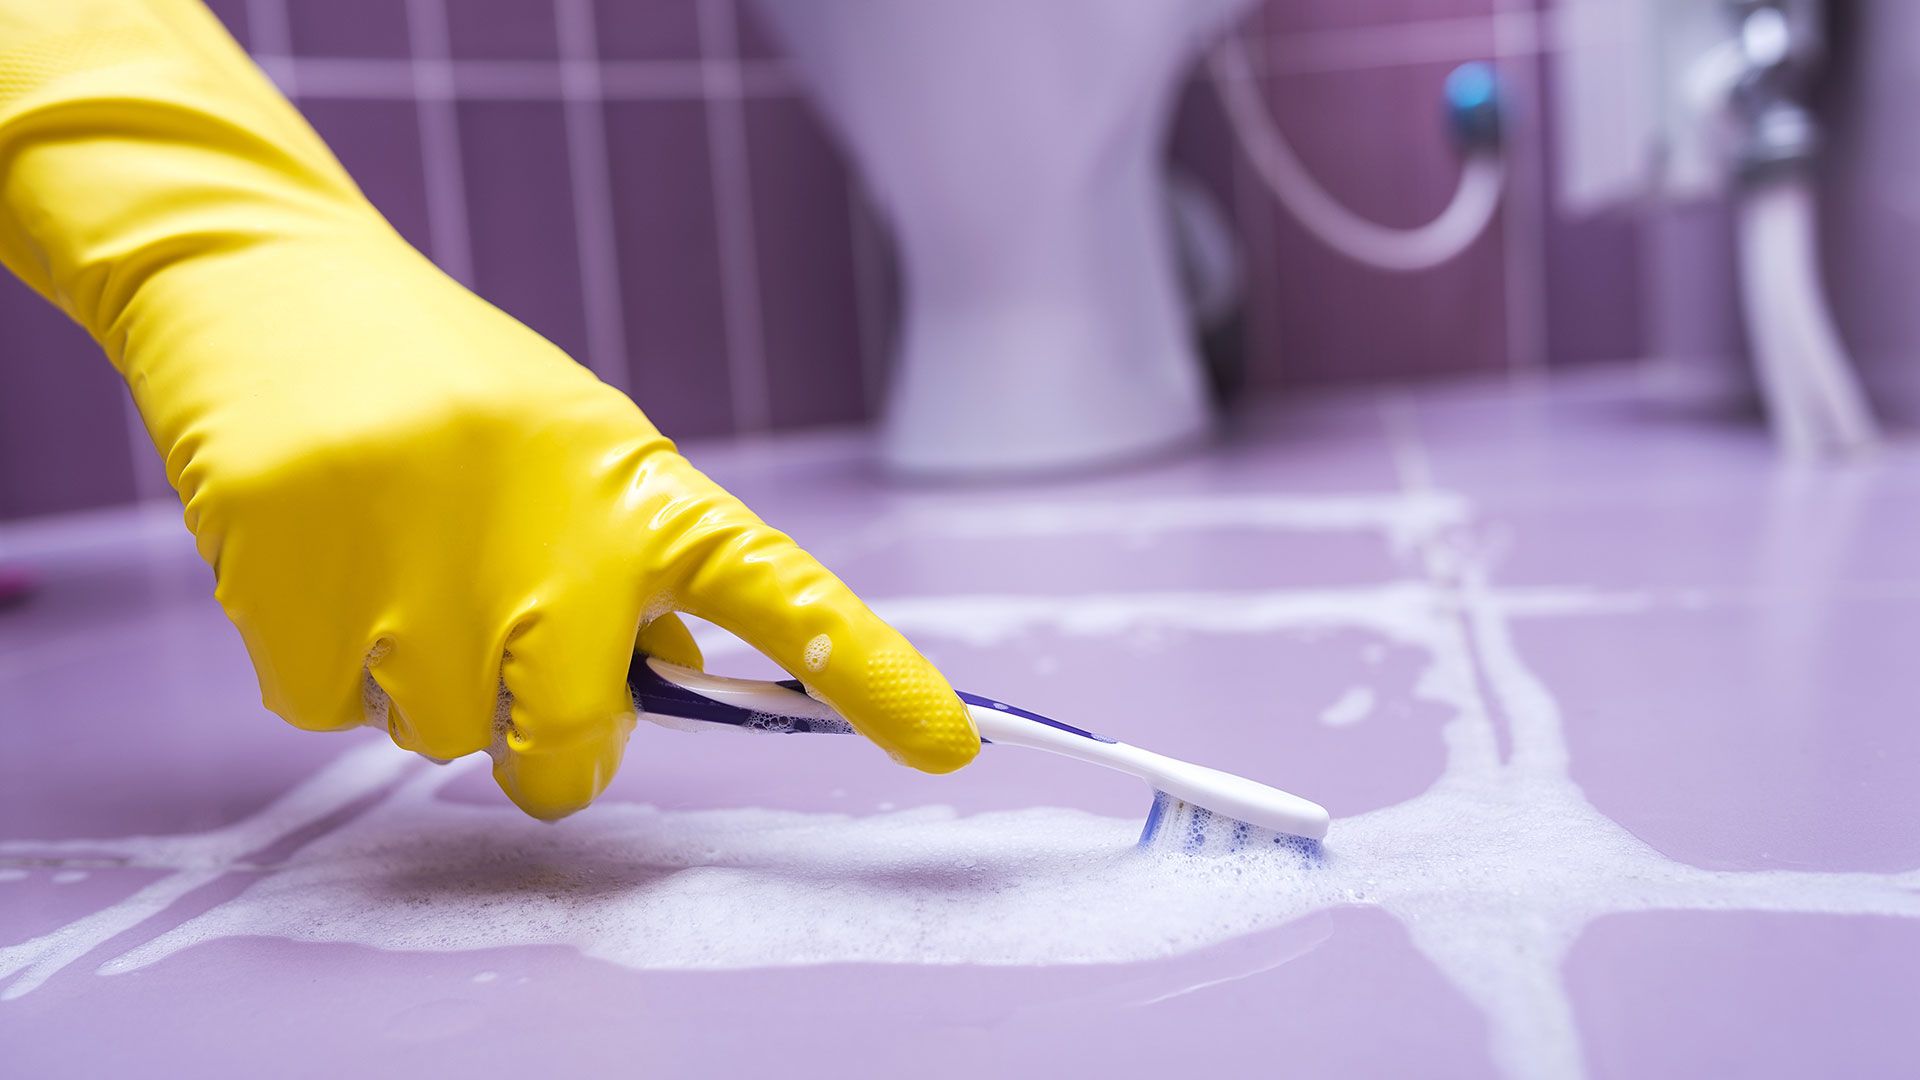
Clean the Tiles:
Start by thoroughly cleaning the tiles and removing any debris, dirt, or soap scum. Use a mild detergent and water to scrub the tiles, ensuring that the surface is free from any substances that could hinder the grout’s adhesion.
Inspect for Cracks and Damage:
Carefully inspect the tiles for any cracks, chips, or damage. If you spot any issues, address them before proceeding with the grouting process. It’s essential to have a smooth and intact tile surface for the grout to adhere properly.
Protect Adjacent Surfaces:
Use painter’s tape to protect adjacent surfaces, such as the shower fixtures and glass doors, from accidental grout splatters. This simple step can save you time and effort in cleaning up later.
Remove Excess Caulk:
If there is any excess caulk present, use a utility knife to carefully remove it. This will ensure that the grout application is seamless and uniform.
By meticulously preparing the shower area, you set the stage for a successful grouting process, laying the foundation for a pristine and long-lasting finish.
Read more: How To Tile And Grout A Floor
Mixing the Grout
Now that the shower area is prepped and ready, it’s time to mix the grout. This step is crucial as it determines the consistency and workability of the grout. Follow these steps for a perfectly mixed grout:
Choose the Right Grout:
Select a high-quality grout that is suitable for your specific tile and shower environment. There are various types of grout, including sanded and unsanded, each designed for different tile applications.
Measure the Grout and Water:
Follow the manufacturer’s instructions to determine the appropriate ratio of grout to water. Use a bucket to measure the water, and gradually add the grout while stirring continuously to avoid lumps.
Attain the Desired Consistency:
Aim for a smooth, lump-free consistency that is similar to creamy peanut butter. Avoid adding too much water, as overly runny grout can compromise its strength and durability.
Read more: How To Grout Outdoor Tiles
Let the Grout Rest:
Allow the mixed grout to rest for a few minutes, as this enables the ingredients to fully combine and reach the ideal consistency. This short resting period is essential for achieving optimal results.
By meticulously mixing the grout, you ensure that it is primed for seamless application, setting the stage for a professional and long-lasting finish.
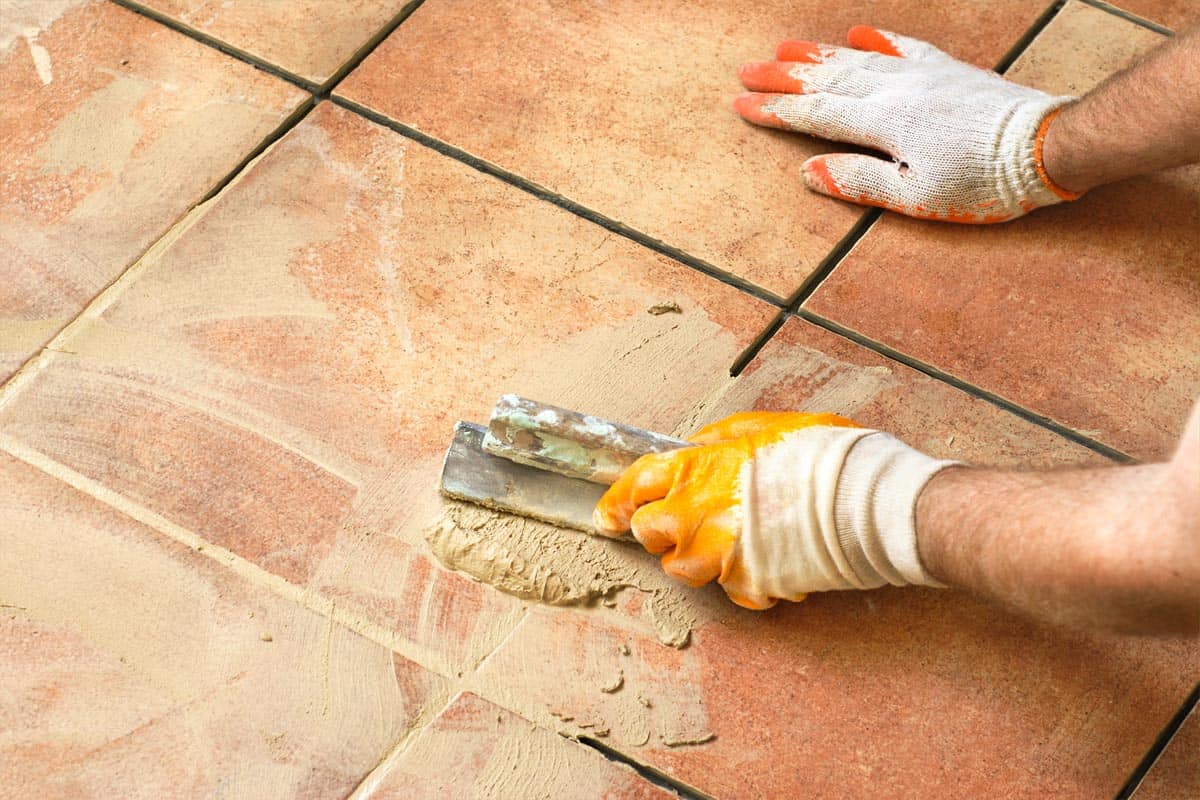
Applying the Grout
With the grout mixed to perfection, it’s time to apply it to the shower tiles. This step requires precision and attention to detail to achieve a flawless finish. Follow these steps for a successful grout application:
Use the Right Tool:
Employ a grout float to apply the grout onto the tiles. The rubber edge of the float helps to spread the grout evenly and ensures that it fills the spaces between the tiles effectively.
Work in Sections:
Begin by applying the grout to a small, manageable section of tiles. This approach prevents the grout from drying out before you have a chance to smooth it into the joints.
Read more: How To Clean Floor Tile Grout
Hold the Float at a 45-Degree Angle:
Position the grout float at a 45-degree angle to the tiles and use firm, sweeping motions to press the grout into the joints. Ensure that the grout fills the gaps completely without leaving any voids.
Remove Excess Grout:
Once the grout is applied, use the edge of the grout float to remove any excess grout from the tile surfaces. Hold the float at a steeper angle and make diagonal passes to scrape off the surplus grout.
Read more: How To Grout Shower Floor
Clean the Tiles:
After applying the grout to a section, use a damp grout sponge to gently clean the tiles. Work in a circular motion to remove excess grout and achieve a smooth, uniform finish.
By following these steps, you can ensure that the grout is applied evenly and neatly, resulting in a professional and aesthetically pleasing outcome that enhances the overall appearance of your shower tiles.
Cleaning and Sealing the Grout
Once the grout has been applied and allowed to set for the recommended time, the final steps involve cleaning the tiles and grout and sealing the grout to ensure its longevity and durability. Follow these essential steps to complete the grouting process:
Read more: How To Grout Tiles: Step-by-step
Cleaning the Grout:
Use a clean, damp grout sponge to gently wipe away any remaining grout residue from the tile surfaces. Rinse the sponge frequently and ensure that the tiles are free from any grout haze or film.
Inspect for Imperfections:
Carefully inspect the grout lines for any inconsistencies or areas that may require touch-ups. Address any uneven or low spots by adding more grout and smoothing it into the joints with the grout float.
Allow the Grout to Cure:
Give the grout ample time to cure and set firmly. Follow the manufacturer’s recommendations for the specific type of grout you have used, as curing times may vary based on the product.
Sealing the Grout:
Once the grout is fully cured, consider applying a high-quality grout sealer to protect and seal the grout. A sealer helps to repel moisture and prevent staining, ultimately prolonging the life of the grout and maintaining its pristine appearance.
Read more: How To Repair Grout On Tile Floor
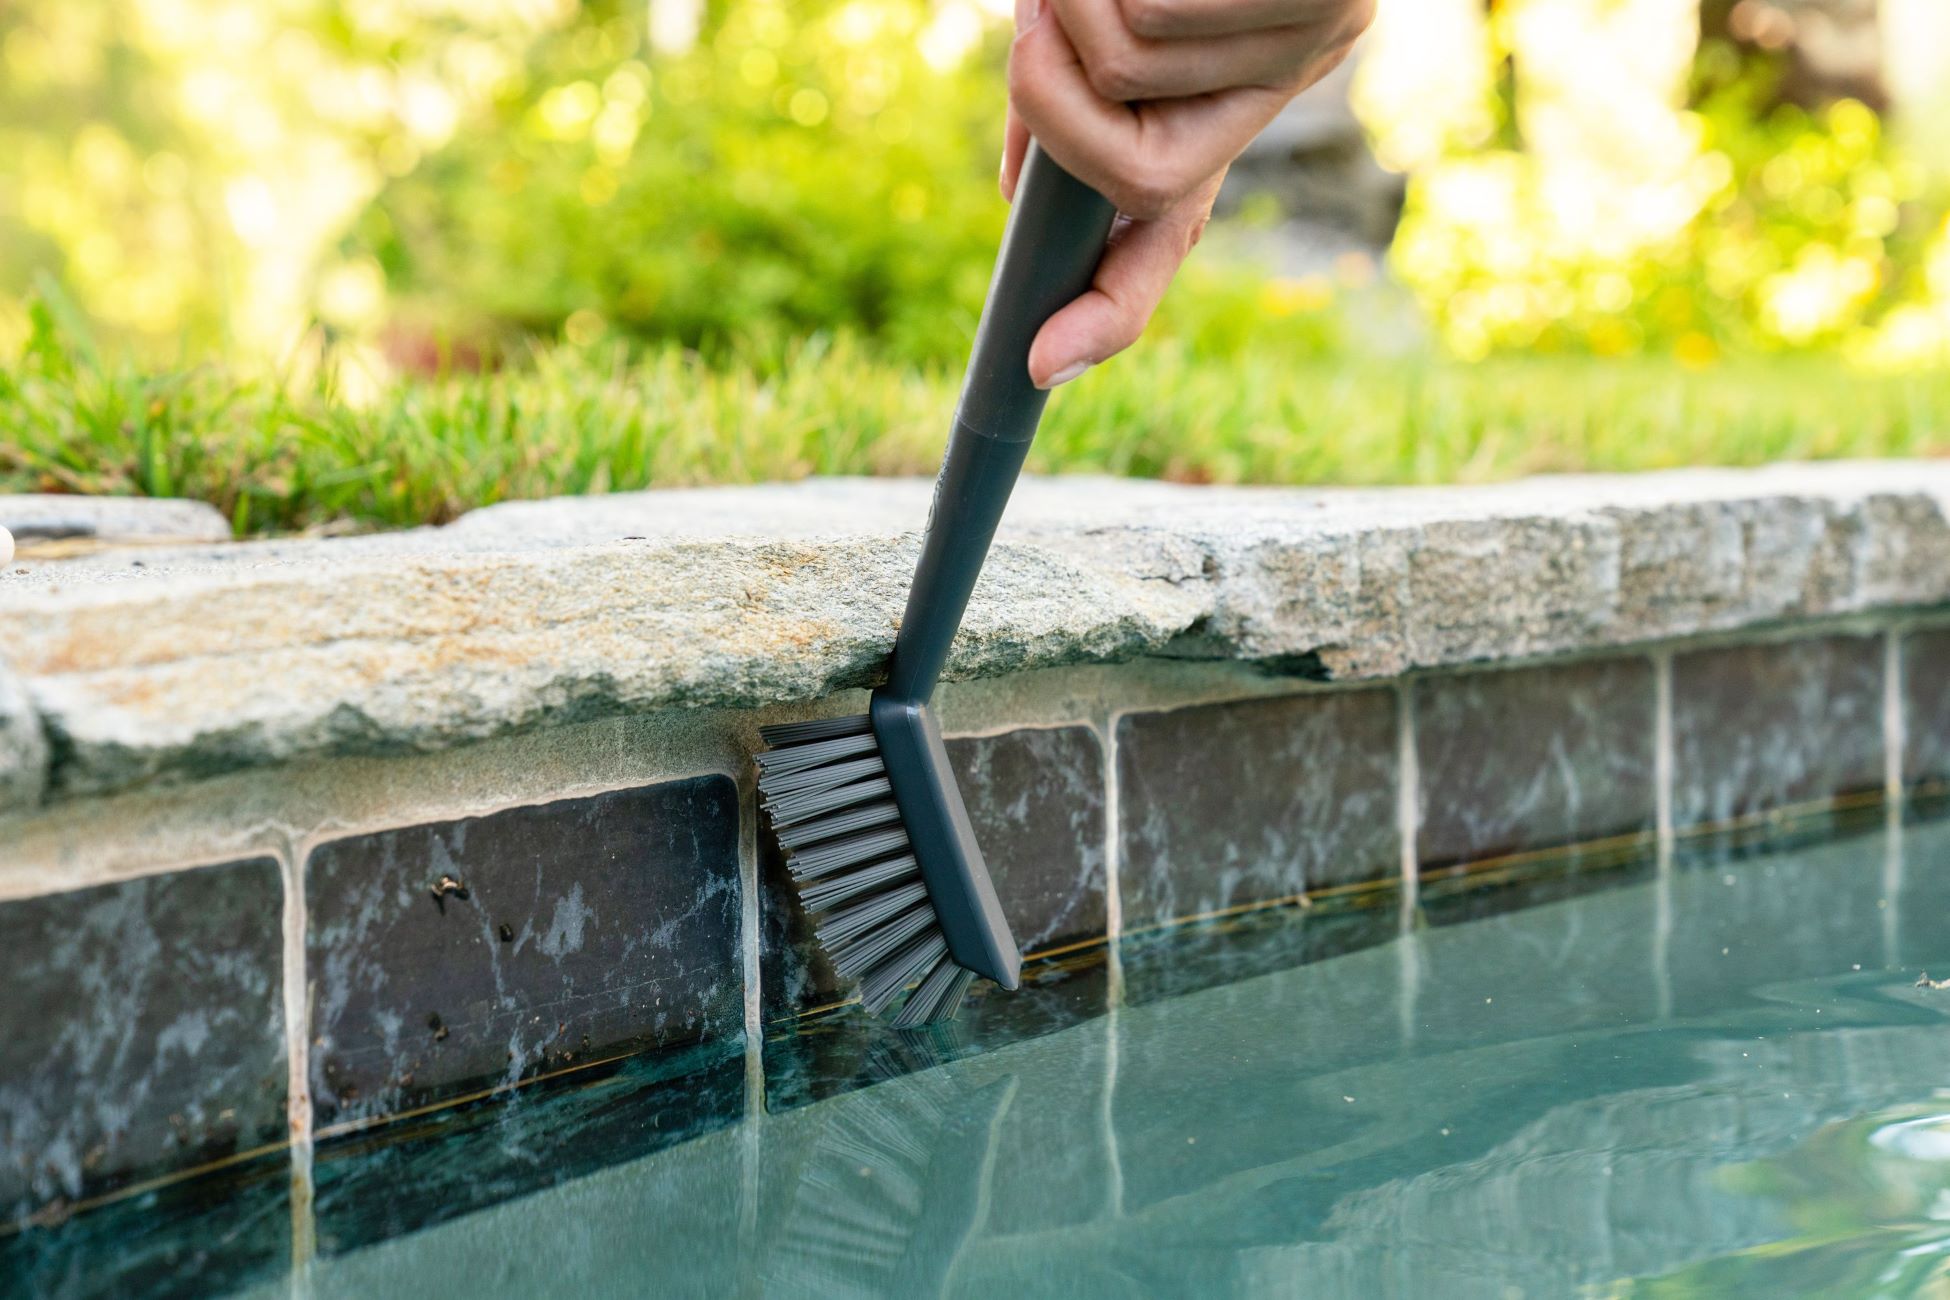
Regular Maintenance:
To preserve the grout’s integrity, make a habit of cleaning the shower tiles regularly with a mild, pH-neutral cleaner. Avoid harsh chemicals that can deteriorate the grout over time.
By diligently cleaning and sealing the grout, you not only enhance its durability and resistance to moisture and stains but also contribute to the overall longevity and visual appeal of your newly grouted shower tiles.
Conclusion
Congratulations! You’ve successfully navigated the art of grouting shower tiles, transforming your shower into a stunning and functional space. By following the step-by-step guide outlined in this article, you’ve acquired the knowledge and skills needed to achieve a professional and long-lasting grout finish.
From meticulously preparing the shower area to mixing and applying the grout with precision, you’ve embraced the intricacies of this essential tiling process. By investing time and effort into the grouting process, you’ve not only enhanced the aesthetic appeal of your shower but also fortified the durability and longevity of the tiled surfaces.
Remember, proper maintenance and care are key to preserving the beauty and integrity of your newly grouted shower tiles. Regular cleaning and timely resealing of the grout will safeguard its resilience against moisture and stains, ensuring that your shower remains a pristine oasis for years to come.
So, take a step back, admire your handiwork, and revel in the satisfaction of a job well done. Your newly grouted shower is a testament to your dedication and craftsmanship, adding value and allure to your home.
Now, go ahead and treat yourself to a well-deserved relaxing shower in your newly revitalized space. You’ve earned it!
Frequently Asked Questions about How To Grout A Shower Tile
Was this page helpful?
At Storables.com, we guarantee accurate and reliable information. Our content, validated by Expert Board Contributors, is crafted following stringent Editorial Policies. We're committed to providing you with well-researched, expert-backed insights for all your informational needs.


0 thoughts on “How To Grout A Shower Tile”