Home>Furniture & Design>Bathroom Fixtures>How To Resurface A Shower Tile

Bathroom Fixtures
How To Resurface A Shower Tile
Modified: August 27, 2024
Learn how to resurface your shower tile and give your bathroom fixtures a fresh new look. Our step-by-step guide will help you transform your bathroom with ease.
(Many of the links in this article redirect to a specific reviewed product. Your purchase of these products through affiliate links helps to generate commission for Storables.com, at no extra cost. Learn more)
Introduction
Welcome to the ultimate guide on how to rejuvenate your shower tile through the art of resurfacing. Over time, the once-gleaming tiles in your shower may lose their luster, succumbing to the wear and tear of daily use. Fear not, as resurfacing presents a cost-effective and transformative solution to breathe new life into your shower space.
In this comprehensive guide, we will delve into the intricacies of assessing the condition of your shower tile, preparing the surface for resurfacing, applying the resurfacing material, and finally, curing and finishing the resurfaced shower tile. By the end of this journey, you will possess the knowledge and confidence to embark on this revitalizing endeavor, turning your shower into a sanctuary of elegance and functionality.
So, roll up your sleeves, gather your materials, and let’s embark on this transformative journey to resurface your shower tile. Whether you’re a seasoned DIY enthusiast or a newcomer to home improvement projects, this guide is tailored to equip you with the expertise needed to achieve stunning results. Let’s dive in and discover the art of shower tile resurfacing together!
Key Takeaways:
- Revitalize your shower tiles by assessing, preparing, applying, and finishing the resurfacing process. Achieve a stunning, durable, and rejuvenated shower space with meticulous attention to detail and creativity.
- Transform your shower into a sanctuary of elegance and functionality through the art of resurfacing. Embrace the transformative power of DIY resurfacing, infusing your living space with enduring beauty and your unique craftsmanship.
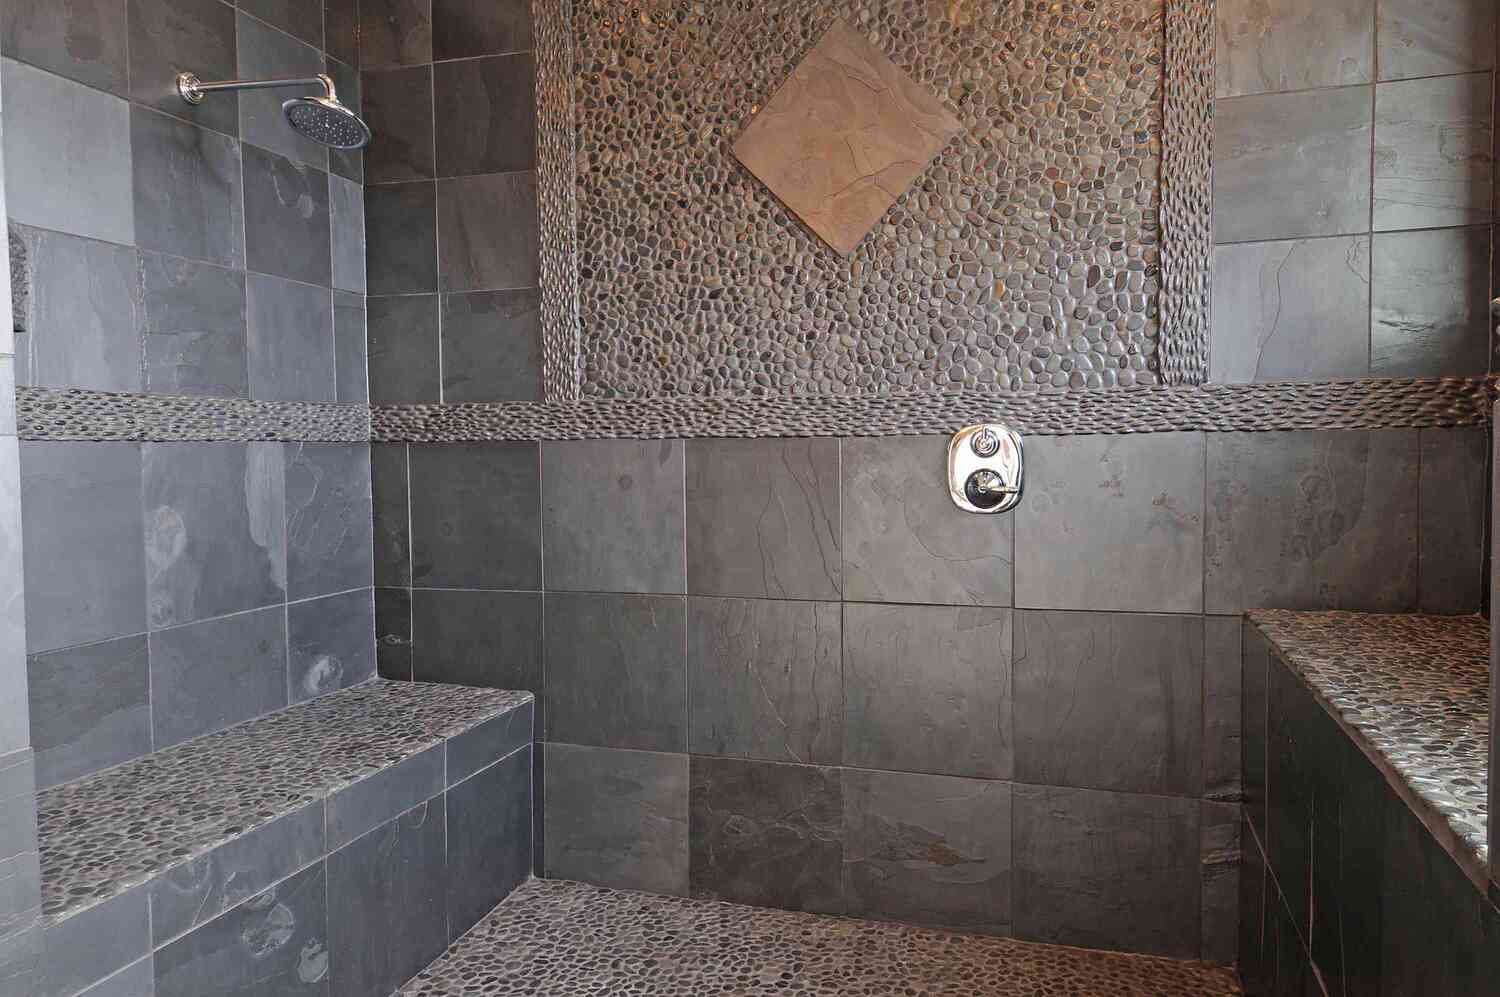
Assessing the Condition of the Shower Tile
Before embarking on the resurfacing process, it’s crucial to assess the current state of your shower tile. This step sets the stage for the subsequent actions, ensuring that you address any underlying issues and achieve a flawless resurfacing outcome.
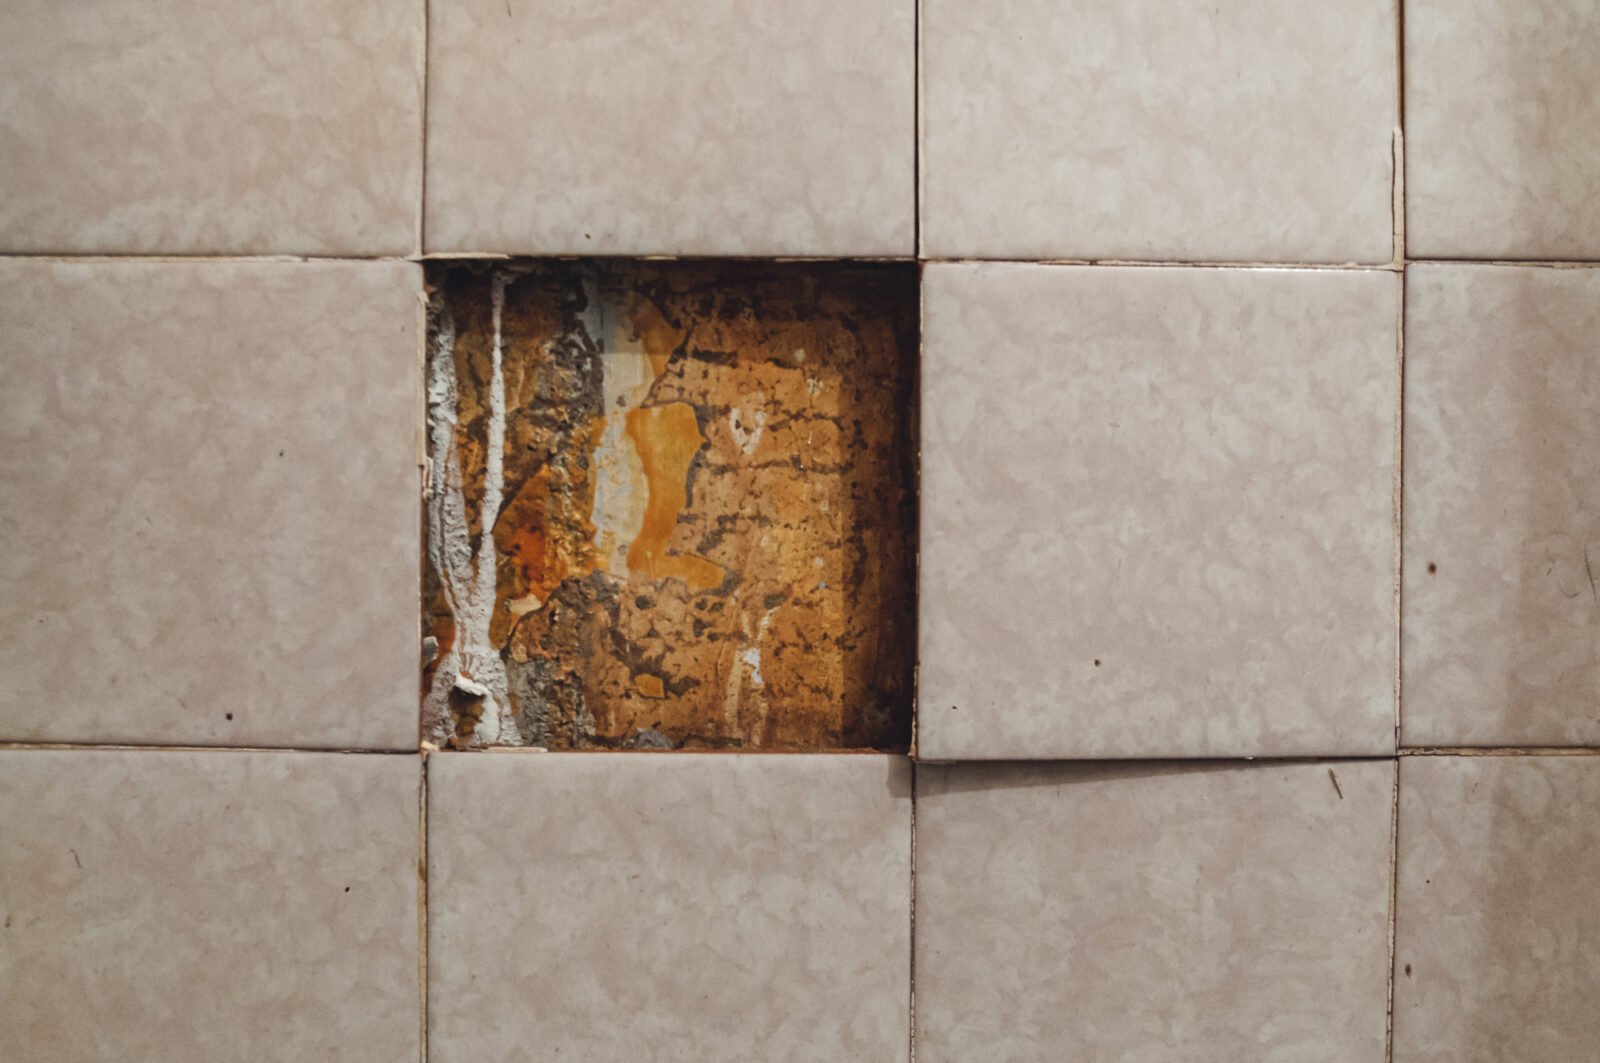
Start by thoroughly examining the condition of the tile surface. Look for signs of wear, such as cracks, chips, or areas where the glaze has worn off. Additionally, inspect the grout lines for any discoloration, mildew, or deterioration. These observations will guide your approach to preparing the surface for resurfacing.
Equally important is evaluating the structural integrity of the tiles. Tap each tile gently to check for any hollow-sounding areas, which may indicate loose or damaged tiles. Addressing these issues before resurfacing is essential to ensure a stable and long-lasting result.
Furthermore, assess the presence of any existing coatings or sealants on the tile surface. These must be completely removed before proceeding with the resurfacing process to ensure proper adhesion of the new material.
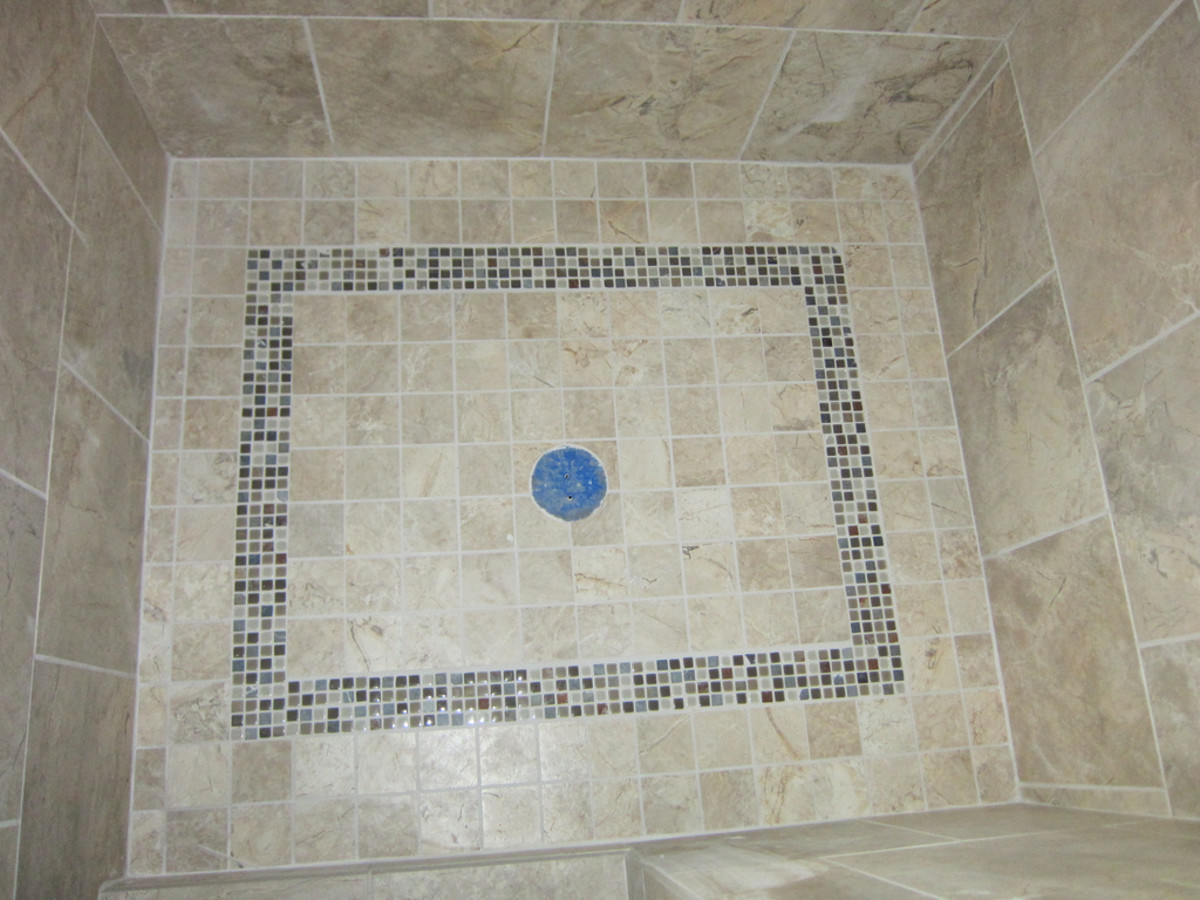
Lastly, consider the aesthetic aspects. Take note of the current color, texture, and overall appearance of the tiles. This evaluation will help you determine the desired outcome of the resurfacing process, whether it involves restoring the original look or introducing a new color and texture to revitalize the space.
By meticulously assessing the condition of the shower tile, you lay the groundwork for a successful resurfacing endeavor. Armed with a clear understanding of the tile’s state, you can proceed to the next phase with confidence, knowing that you are well-prepared to restore and enhance the beauty of your shower.
Preparing the Shower Tile for Resurfacing
Once you have thoroughly assessed the condition of the shower tile, the next crucial step is preparing the surface for resurfacing. This phase is pivotal in ensuring optimal adhesion and a flawless finish for the new coating.
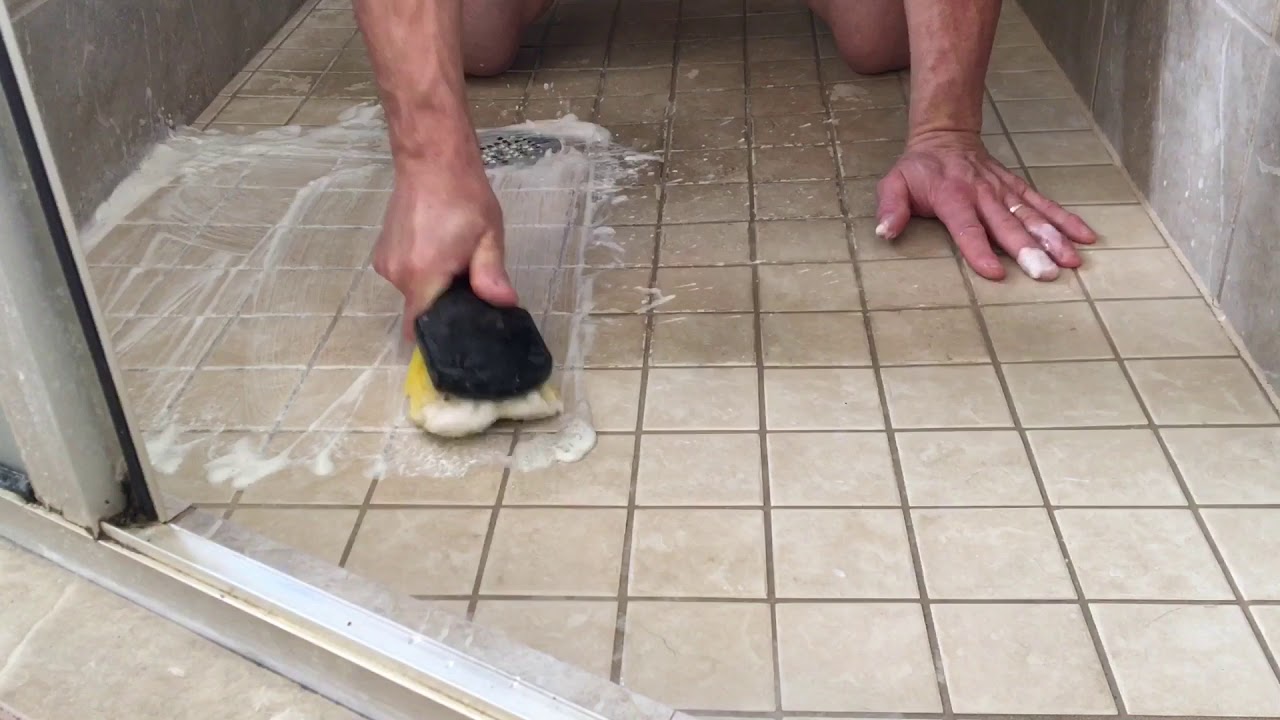
Begin by thoroughly cleaning the tile surface and grout lines. Use a suitable cleaner and a stiff-bristled brush to remove any soap scum, mineral deposits, and mildew. It’s essential to eliminate all traces of grime and residue to create a clean and receptive canvas for the resurfacing material.
After cleaning, carefully inspect the surface for any remaining sealants, coatings, or adhesive residues. These must be completely removed to facilitate proper adhesion of the new resurfacing material. Depending on the type of residue, you may need to use a solvent, adhesive remover, or mechanical means to ensure a pristine surface.
Next, address any imperfections in the tile and grout. Repair any cracks, chips, or damaged grout lines using suitable repair products. Ensure that the repairs are fully cured and level with the surrounding surface before proceeding to the next stage.
Once the surface is clean and free of any residues or imperfections, it’s time to roughen the tile and grout to promote adhesion. This can be achieved by lightly sanding the surface with fine-grit sandpaper or using a chemical etching solution. Be sure to follow the manufacturer’s recommendations and safety guidelines when using chemical etching products.
Finally, protect the surrounding areas and fixtures from the resurfacing material. Cover the shower fixtures, walls, and any adjacent surfaces to prevent accidental application of the resurfacing material where it is not intended.
By diligently preparing the shower tile for resurfacing, you set the stage for a successful transformation. With a clean, repaired, and properly prepped surface, you are now ready to apply the resurfacing material and breathe new life into your shower space.
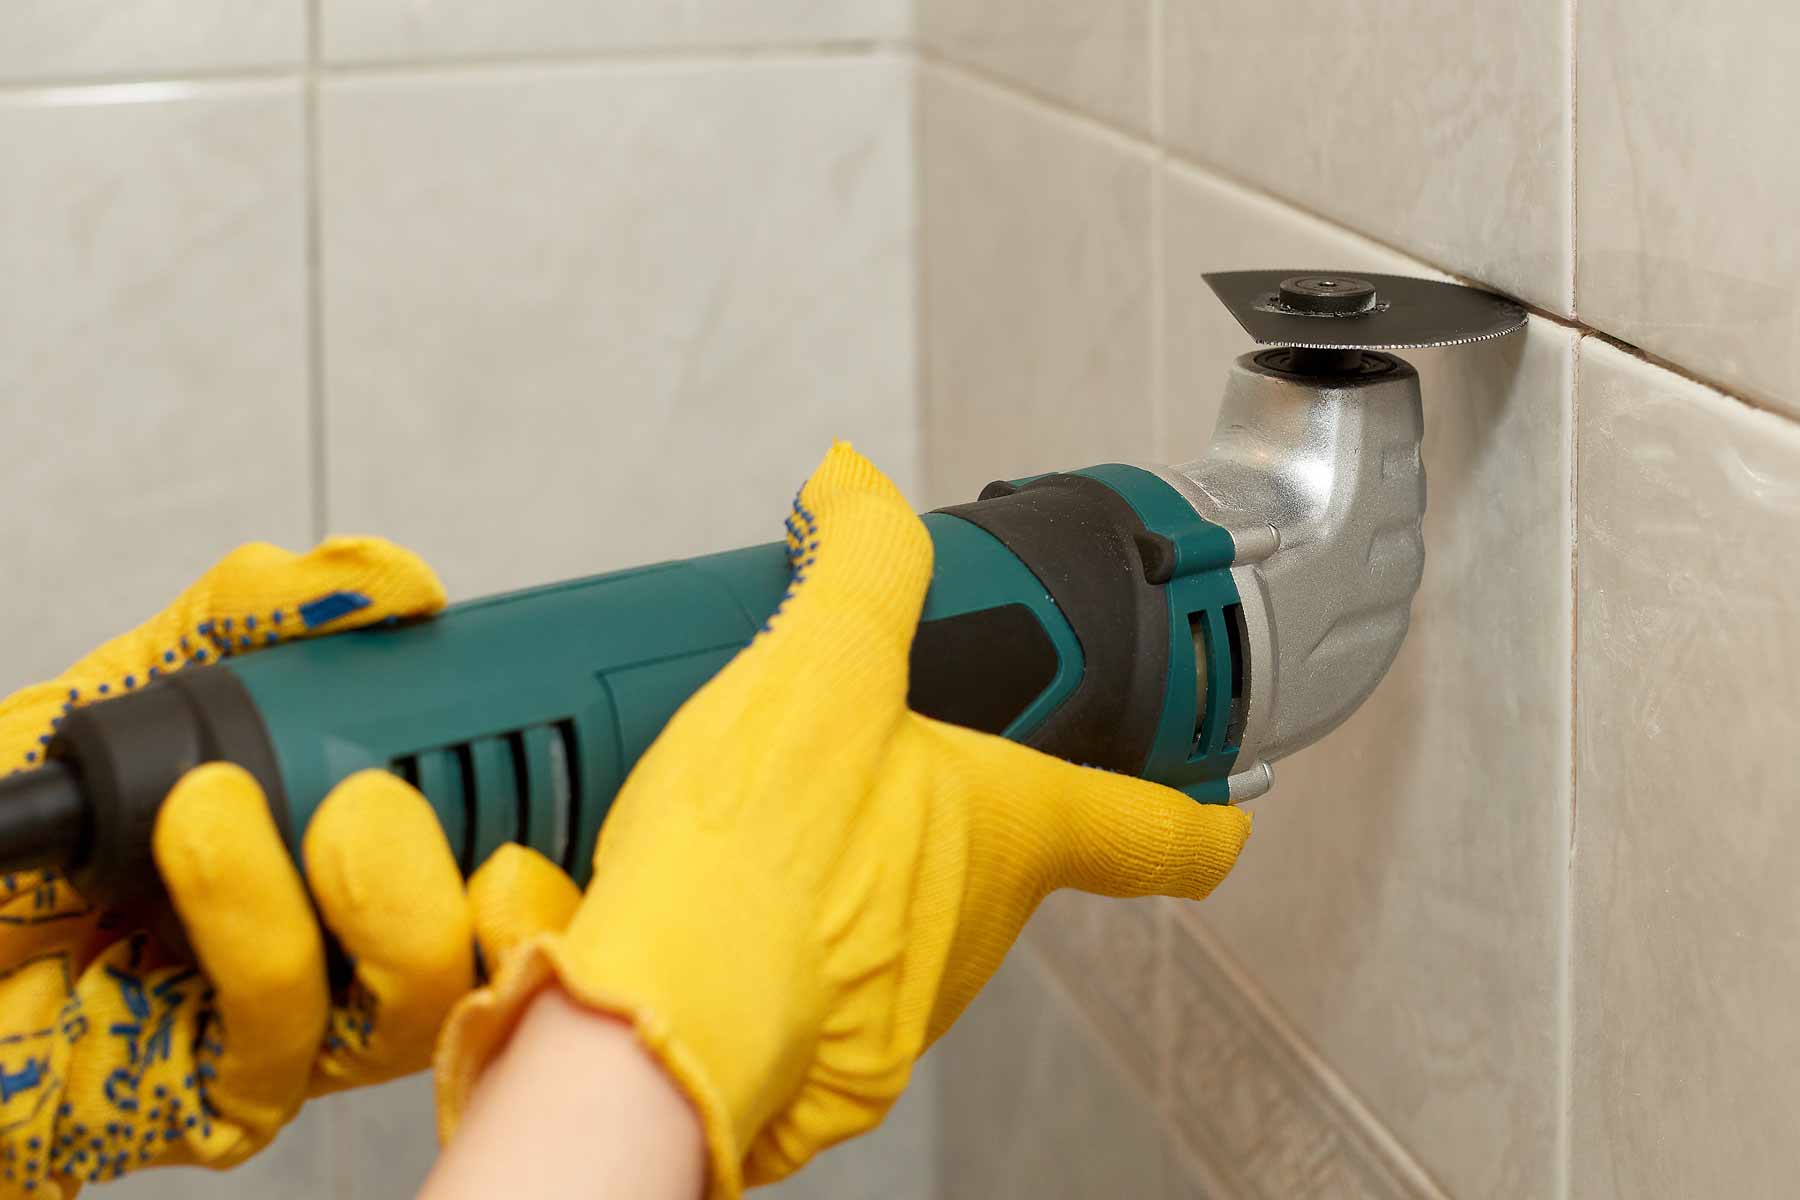
Use a rotary tool with a diamond bit to remove old grout and roughen the surface. Clean the tiles thoroughly before applying a new layer of grout and sealant for a fresh look.
Applying the Resurfacing Material
With the shower tile meticulously prepared, it’s time to embark on the transformative stage of applying the resurfacing material. This pivotal step will revitalize the appearance of the tiles, imparting a fresh and rejuvenated aesthetic to your shower space.
Before proceeding, carefully read and follow the manufacturer’s instructions for the resurfacing material. It’s essential to adhere to the recommended application techniques and safety precautions to achieve the best results.
Begin by mixing the resurfacing material according to the provided instructions. Ensure that the mixture is homogeneous and free of lumps or inconsistencies. Depending on the product, you may need to add a catalyst or activator to initiate the curing process.
Using a suitable applicator, such as a roller or brush designed for resurfacing applications, start applying the material to the prepared tile surface. Work methodically, covering one section at a time to ensure even coverage and a uniform finish. Pay special attention to the grout lines, ensuring that the resurfacing material fully coats and rejuvenates the grout along with the tiles.
Depending on the product, you may need to apply multiple coats to achieve the desired finish. Allow each coat to dry or cure as per the manufacturer’s instructions before applying subsequent layers. This incremental approach ensures a durable and flawless resurfacing outcome.
As you apply the resurfacing material, take care to maintain a consistent thickness and avoid drips or pooling. Smooth out any uneven areas or excess material to achieve a seamless and professional-looking finish.
Once the entire surface is coated and the final layer applied, allow the resurfacing material to cure as per the recommended duration. This crucial curing period is essential for the material to fully bond and harden, ensuring a resilient and enduring finish.
By skillfully applying the resurfacing material, you are embarking on a transformative journey that will breathe new life into your shower tile. With each stroke of the applicator, you are one step closer to unveiling the stunning results of your resurfacing endeavor.
Curing and Finishing the Resurfaced Shower Tile
As the resurfacing material adorns your shower tile, the final phases of curing and finishing pave the way for a stunning transformation. These critical steps ensure that the resurfaced tile achieves its full potential, exuding durability, beauty, and a rejuvenated allure.
Once the resurfacing material has been applied, it’s essential to allow it to cure undisturbed for the specified duration. During this curing period, refrain from using the shower to prevent any premature stress on the newly coated surface. The patience invested in this phase will yield a resilient and long-lasting finish.
As the material cures, monitor the ventilation in the shower area to facilitate proper air circulation. Adequate ventilation expedites the curing process and promotes a uniform and flawless finish. Additionally, ensure that the shower remains free of moisture during this period, as exposure to water can compromise the curing process and the quality of the resurfaced tile.
Following the complete curing of the resurfacing material, it’s time to attend to the finishing touches. Carefully inspect the resurfaced tile for any imperfections or irregularities. If necessary, lightly sand any rough areas or uneven spots to achieve a smooth and uniform surface.
Once the surface is pristine, consider applying a sealant or topcoat to enhance the durability and water resistance of the resurfaced tile. Select a high-quality sealant designed for use in wet environments, ensuring that it complements the resurfacing material and further fortifies the surface against daily wear and tear.
Upon completing the sealing process, allow the sealant to cure as per the manufacturer’s recommendations. This final phase of finishing ensures that your resurfaced shower tile is not only visually captivating but also fortified to withstand the rigors of daily use, transforming your shower into a sanctuary of enduring elegance.
With the resurfaced shower tile now cured and impeccably finished, revel in the remarkable transformation that has unfolded before your eyes. The once-worn and lackluster tiles have been reborn, radiating a renewed vibrancy and allure that breathe new life into your shower space.
Read more: How To Replace A Shower Tile
Conclusion
Congratulations on embarking on the transformative journey of resurfacing your shower tile! Through meticulous assessment, thorough preparation, skillful application, and attentive curing and finishing, you have revitalized your shower space, infusing it with a renewed sense of beauty and functionality.
As you stand back and admire the resurfaced shower tile, take pride in the artistry and dedication that have culminated in this stunning outcome. The once-worn and lackluster tiles now exude a captivating allure, breathing new life into your shower space and elevating the ambiance of your entire bathroom.
Not only have you achieved a visually captivating result, but you have also fortified the tile against the rigors of daily use, ensuring that its enduring beauty stands the test of time. The seamless fusion of aesthetics and resilience has transformed your shower into a sanctuary of elegance and practicality.
As you revel in the success of your resurfacing endeavor, take a moment to appreciate the transformative power of this process. What was once a tired and lackluster shower space has been reborn, radiating a renewed vibrancy and allure that invigorates your daily routine.
Whether you embarked on this journey as a seasoned DIY enthusiast or ventured into the realm of home improvement for the first time, your dedication and skill have yielded a remarkable result. The art of shower tile resurfacing has empowered you to shape your living space according to your vision, infusing it with beauty, resilience, and a touch of your unique craftsmanship.
With the resurfaced shower tile as a testament to your creativity and dedication, may this transformative endeavor inspire future projects and instill a deep sense of pride in the art of home improvement. As you continue to imbue your living space with your personal touch, may each endeavor be a testament to your ingenuity and passion for creating spaces that resonate with beauty and functionality.
Embrace the renewed allure of your shower space, knowing that your expertise and artistry have brought forth a stunning transformation. The resurfaced shower tile stands as a testament to your craftsmanship, infusing your home with enduring elegance and a touch of your unique vision.
Frequently Asked Questions about How To Resurface A Shower Tile
Was this page helpful?
At Storables.com, we guarantee accurate and reliable information. Our content, validated by Expert Board Contributors, is crafted following stringent Editorial Policies. We're committed to providing you with well-researched, expert-backed insights for all your informational needs.


0 thoughts on “How To Resurface A Shower Tile”