Home>Furniture & Design>Bathroom Fixtures>How To Drill A Shower Tile

Bathroom Fixtures
How To Drill A Shower Tile
Modified: August 27, 2024
Learn how to drill through shower tiles with ease and precision. Find the best bathroom fixtures and tools for your DIY project. Step-by-step guide for a successful installation.
(Many of the links in this article redirect to a specific reviewed product. Your purchase of these products through affiliate links helps to generate commission for Storables.com, at no extra cost. Learn more)
Introduction
Welcome to the ultimate guide on how to drill a shower tile. Whether you’re looking to install a new shower fixture or make repairs, drilling through tile can be a daunting task. However, with the right tools, materials, and techniques, you can successfully drill through shower tiles without causing damage or compromising the integrity of the tile. In this comprehensive guide, we’ll walk you through the step-by-step process of drilling a shower tile, from preparing the tile surface to installing the shower fixture.
Drilling through tile requires precision and care to avoid cracking or chipping the tile. With the proper guidance, you can confidently tackle this project and achieve professional-looking results. So, let’s dive in and equip you with the knowledge and skills needed to conquer the task of drilling a shower tile.
Key Takeaways:
- Master the art of drilling shower tiles with precision and confidence by using the right tools, marking the spot accurately, and maintaining a steady pace to achieve professional-looking results.
- Elevate your DIY skills and create a seamless integration of shower fixtures into tiled surfaces by following careful preparation, precise drilling, and meticulous installation steps.
Read more: How To Drill Glass Tile
Tools and Materials Needed
Before embarking on the task of drilling a shower tile, it’s essential to gather the necessary tools and materials to ensure a smooth and successful process. Here’s a comprehensive list of what you’ll need:
Tools:
- Electric drill
- Diamond-tipped drill bit
- Masking tape
- Permanent marker
- Safety goggles
- Painter's tape
- Spray bottle with water
- Level
- Adjustable wrench
- Tile hole saw
- Protective gloves
Materials:
- Shower tile
- Shower fixture
- Plastic anchors
- Silicone caulk
- Waterproofing membrane
- Grout
- Tile spacers
- Tile adhesive
- Tile sealer
- Tile edging
Having the right tools and materials at your disposal is crucial for a successful tile drilling project. With these items on hand, you’ll be well-prepared to tackle the next steps in the process.
Preparing the Shower Tile
Before diving into the actual drilling process, it’s important to properly prepare the shower tile to ensure a clean and precise outcome. Here are the essential steps for preparing the shower tile:
1. Marking the Drill Spot: Use a permanent marker to indicate the precise spot where you want to drill the hole. Ensure that the mark is clearly visible and accurately placed.
2. Securing the Tile: To prevent the tile from cracking or shifting during drilling, use painter’s tape or masking tape to create a protective barrier over the marked spot. This will help stabilize the tile and reduce the risk of damage.
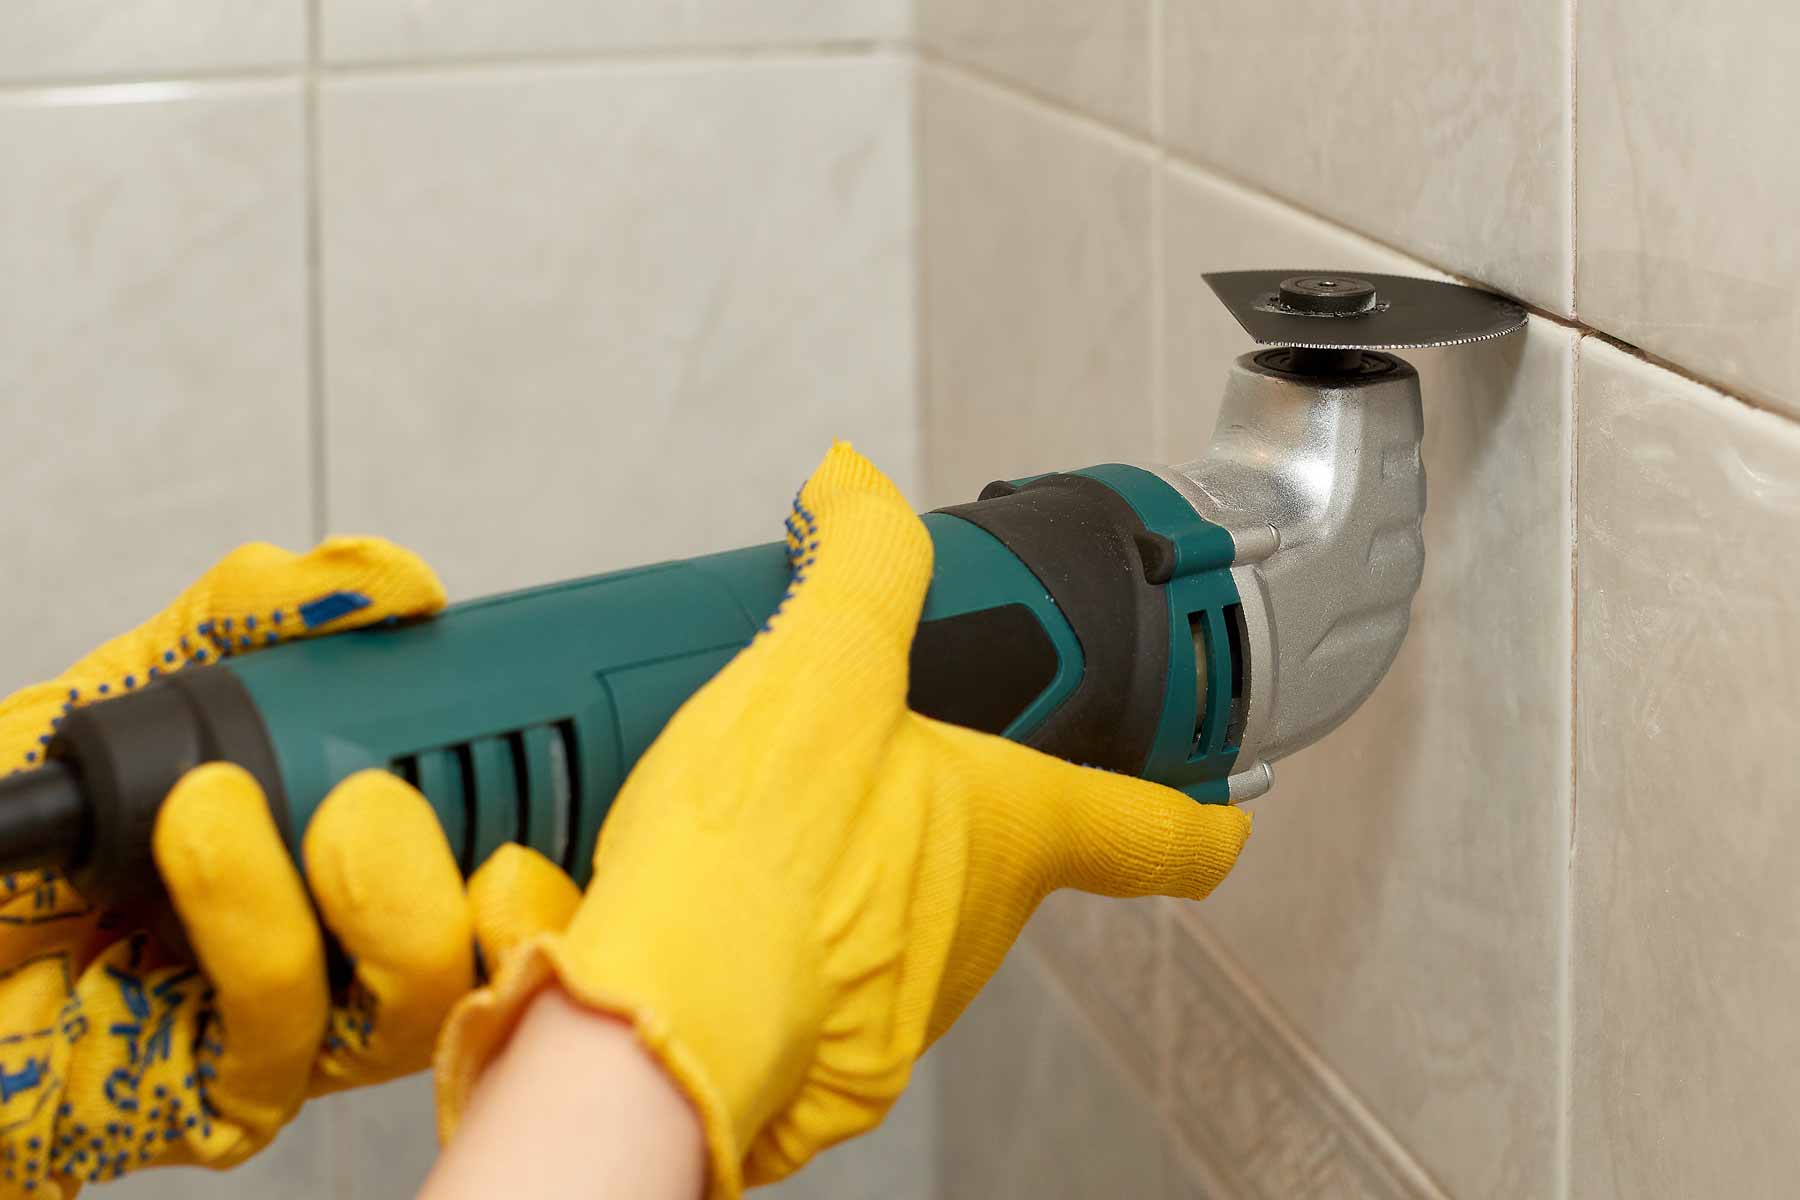
3. Using a Tile Hole Saw: If you’re drilling a larger hole for a shower fixture, consider using a tile hole saw. These specialized tools are designed to cut through tile with precision, minimizing the chances of cracks or fractures.
4. Safety First: Prioritize safety by wearing protective goggles and gloves to shield yourself from debris and potential tile shards. Additionally, keep a spray bottle filled with water nearby to cool the drill bit and reduce friction during the drilling process.
By meticulously preparing the shower tile, you’ll set the stage for a successful drilling experience. Taking the time to complete these preparatory steps will contribute to a smooth and efficient drilling process, leading to professional-looking results.
Drilling the Tile
Now that the shower tile is properly prepared, it’s time to delve into the actual drilling process. Follow these step-by-step guidelines to drill through the tile with precision and confidence:
1. Selecting the Right Drill Bit: Opt for a diamond-tipped drill bit specifically designed for drilling through tile. These specialized drill bits are capable of cutting through the hard surface of the tile without causing damage.
2. Securing the Drill Bit: Insert the diamond-tipped drill bit into an electric drill, ensuring that it is securely fastened and centered. The drill bit should correspond to the size of the hole you need for the shower fixture.
3. Applying Gentle Pressure: Position the drill bit at the marked spot on the tile and apply gentle, consistent pressure as you begin drilling. Avoid exerting excessive force, as this can lead to tile breakage or damage.
4. Cooling the Drill Bit: To prevent overheating and potential tile cracking, periodically spray water onto the drill bit and the tile surface. This helps to dissipate heat and lubricate the drilling area, resulting in smoother progress.
5. Maintaining a Steady Pace: Drill at a steady pace, allowing the drill bit to work through the tile gradually. Avoid rushing the process, as patience and precision are key to achieving clean and accurate results.
6. Clearing the Debris: As you drill, periodically pause to clear away the debris and excess dust generated during the process. This will help maintain visibility and prevent the accumulation of debris that could impede the drilling progress.
By following these steps and exercising caution throughout the drilling process, you can successfully create a clean, precise hole in the shower tile, ready for the installation of the shower fixture.
Use a diamond-tipped drill bit to drill through shower tiles. Start with a small pilot hole and gradually increase the size. Use a low drill speed and keep the area wet to prevent overheating.
Installing the Shower Fixture
With the tile successfully drilled, it’s time to proceed with the installation of the shower fixture. Follow these steps to seamlessly integrate the fixture into the tiled surface:
1. Inserting Plastic Anchors: If the fixture requires anchoring, insert plastic anchors into the drilled holes. These anchors provide stability and support for securing the fixture in place.
2. Applying Silicone Caulk: Prior to installing the fixture, apply a bead of silicone caulk around the perimeter of the drilled hole. This creates a waterproof seal and helps secure the fixture in position.
3. Aligning the Fixture: Gently position the shower fixture over the drilled hole, ensuring that it aligns with the anchors and sits flush against the tile surface. Use a level to confirm that the fixture is perfectly horizontal or vertical, depending on the design.
4. Securing with Screws: If the fixture includes screws for attachment, use an adjustable wrench to securely fasten the screws, ensuring that the fixture is firmly anchored to the tile.
5. Applying Tile Sealer: Once the fixture is in place, apply a tile sealer around the edges of the fixture to further enhance waterproofing and protect the surrounding tile from moisture penetration.
6. Grouting and Finishing: If necessary, apply grout around the base of the fixture to fill any gaps and create a seamless, polished appearance. Wipe away any excess grout and allow it to set according to the manufacturer’s instructions.
By following these steps, you can successfully install the shower fixture, seamlessly integrating it into the tiled surface while ensuring durability, stability, and a professional finish.
Conclusion
Congratulations! You’ve successfully navigated the process of drilling a shower tile and installing a shower fixture. By following the steps outlined in this guide, you’ve not only acquired the skills to tackle this project with confidence but also achieved professional-looking results.
Remember, the key to a successful tile drilling endeavor lies in meticulous preparation, the use of appropriate tools and materials, and a patient, steady approach. By marking the drill spot accurately, securing the tile, and employing the right drilling techniques, you’ve effectively conquered the challenge of drilling through tile without compromising its integrity.
Furthermore, the installation of the shower fixture marks the culmination of your efforts, resulting in a functional and aesthetically pleasing addition to your shower space. The careful application of silicone caulk, the alignment of the fixture, and the finishing touches with tile sealer and grout have collectively contributed to a seamless integration of the fixture into the tiled surface.
As you admire your handiwork, take pride in the fact that you’ve not only accomplished a practical task but have also expanded your DIY skills. The knowledge and experience gained from this project will serve you well in future home improvement endeavors, empowering you to take on new challenges with confidence.
With your newly acquired expertise in drilling shower tiles and installing fixtures, you’re well-equipped to enhance and customize your living space, all while achieving professional-quality results. So, whether it’s a bathroom renovation or a simple upgrade, you now have the know-how to elevate your surroundings with precision and finesse.
Embrace your newfound skills, and let your creativity and resourcefulness continue to flourish as you embark on future projects. With the right guidance and determination, there’s no limit to what you can accomplish in the realm of home improvement.
Frequently Asked Questions about How To Drill A Shower Tile
Was this page helpful?
At Storables.com, we guarantee accurate and reliable information. Our content, validated by Expert Board Contributors, is crafted following stringent Editorial Policies. We're committed to providing you with well-researched, expert-backed insights for all your informational needs.


0 thoughts on “How To Drill A Shower Tile”