Home>Furniture & Design>Interior Design Trends>How Do You Cut Plexiglass
Interior Design Trends
How Do You Cut Plexiglass
Modified: February 18, 2024
Learn the best techniques for cutting plexiglass in line with the latest interior design trends. Discover expert tips and tricks for a flawless finish.
(Many of the links in this article redirect to a specific reviewed product. Your purchase of these products through affiliate links helps to generate commission for Storables.com, at no extra cost. Learn more)
Introduction
Plexiglass, also known as acrylic glass or acrylic sheet, is a versatile material commonly used in various DIY projects, home renovations, and commercial applications. Its transparent and durable nature makes it a popular choice for windows, signage, protective barriers, and decorative elements in interior design. Whether you are a seasoned craftsman or a DIY enthusiast, understanding how to cut plexiglass safely and accurately is essential for achieving professional-looking results.
In this comprehensive guide, we will explore the best practices for cutting and shaping plexiglass to suit your specific project needs. From safety precautions to cutting techniques and finishing touches, we will cover everything you need to know to tackle plexiglass cutting with confidence. By mastering these skills, you can unleash your creativity and bring your design ideas to life with precision and finesse.
Let's embark on this journey to discover the art and science of working with plexiglass, empowering you to unleash your creativity and elevate your interior design projects to new heights.
Key Takeaways:
- Stay Safe: Prioritize safety when cutting plexiglass by wearing protective gear, securing the work surface, and using proper lighting to prevent accidents and ensure a smooth crafting experience.
- Master the Art: Equip yourself with the right tools and materials, and master cutting techniques such as scoring and snapping, jigsaw cutting, and router trimming to achieve precise and clean results for your interior design projects involving plexiglass.
Read more: How To Cut Plexiglass With Hand Tools
Safety Precautions
When working with plexiglass, prioritizing safety is paramount to prevent accidents and ensure a smooth cutting process. The following safety precautions should be diligently observed to safeguard yourself and others during the handling and cutting of plexiglass:
-
Protective Gear: Before commencing any cutting or shaping activities, it is crucial to don appropriate protective gear. This includes safety goggles to shield your eyes from flying debris, as well as gloves to safeguard your hands from sharp edges and potential splinters.
-
Well-Ventilated Workspace: Ensure that your workspace is well-ventilated to disperse any fumes generated during the cutting process. Adequate ventilation helps minimize exposure to potentially harmful vapors, promoting a safer working environment.
-
Stable Work Surface: Prior to cutting plexiglass, secure it on a stable work surface to prevent accidental slips or movements that could lead to injuries. A non-slip mat or clamps can be used to keep the material firmly in place during cutting.
-
Proper Lighting: Adequate lighting is essential for clear visibility while working with plexiglass. Ensure that your workspace is well-lit to accurately mark cutting lines and safely maneuver cutting tools.
-
Correct Tools and Techniques: Utilize the appropriate cutting tools and techniques for plexiglass to minimize the risk of accidents. Improper tools or techniques can lead to cracking, splintering, or shattering of the material, posing potential hazards.
-
Mindful Handling: Exercise caution when handling plexiglass sheets to avoid accidental drops or collisions. Mishandling can result in breakage and sharp fragments, increasing the risk of cuts or injuries.
By adhering to these safety precautions, you can create a secure and controlled environment for cutting plexiglass, mitigating potential risks and ensuring a smooth and accident-free crafting experience. Prioritizing safety not only protects you and those around you but also contributes to the overall success and quality of your interior design projects involving plexiglass.
Tools and Materials
To embark on the journey of cutting and shaping plexiglass, it is essential to gather the right tools and materials that will facilitate a precise and efficient crafting process. Equipping yourself with the following items will empower you to tackle plexiglass projects with confidence and finesse:
Tools:
-
Glass Cutter: A high-quality glass cutter with a tungsten carbide wheel is a fundamental tool for scoring and cutting plexiglass sheets. Opt for a cutter specifically designed for acrylic materials to achieve clean and accurate cuts.
-
Acrylic Scoring Knife: This specialized tool features a sharp, angled blade designed to score plexiglass sheets deeply, allowing for controlled breaking along the scored line.
-
Jigsaw with Fine-Toothed Blade: When cutting complex shapes or curves in plexiglass, a jigsaw equipped with a fine-toothed blade designed for plastics can deliver precise and smooth cuts.
-
Router with Acrylic-Cutting Bit: For intricate designs and edge-finishing, a router fitted with a specialized acrylic-cutting bit can be employed to achieve polished edges and custom shapes.
-
Clamps or Non-Slip Mat: Securing the plexiglass sheet in place during cutting is crucial to prevent slippage and ensure accurate cuts. Utilize clamps or a non-slip mat to stabilize the material on the work surface.
Materials:
-
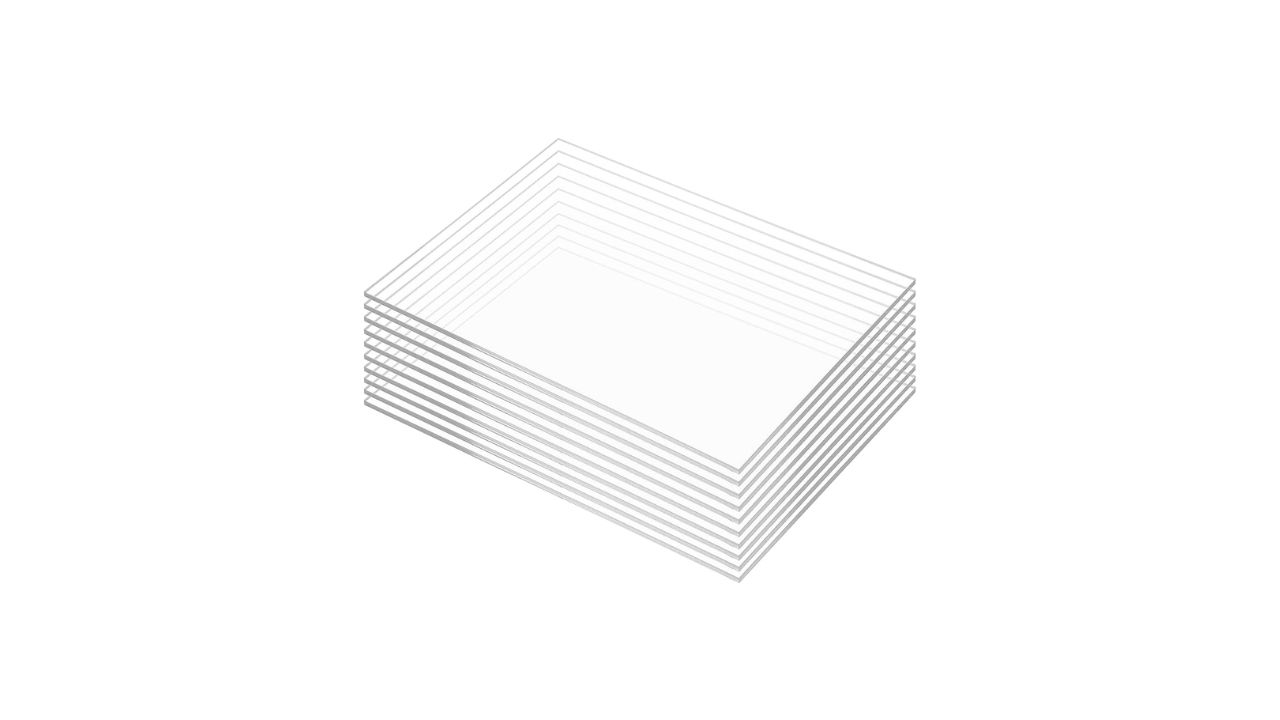
Plexiglass Sheets: Select high-quality plexiglass sheets in the desired thickness and dimensions for your project. Ensure that the sheets are free from scratches or blemishes to achieve pristine results.
-
Masking Tape: Utilize masking tape to mark cutting lines on the plexiglass surface. This not only serves as a guide for cutting but also helps minimize splintering and chipping along the cut edges.
-
Sandpaper or Sanding Blocks: Smooth out rough edges and refine cut surfaces using fine-grit sandpaper or sanding blocks. This aids in achieving a professional finish and ensures safe handling of the plexiglass.
-
Polishing Compound: To enhance the clarity and luster of cut edges, a polishing compound specifically formulated for acrylic materials can be applied to achieve a pristine, glass-like finish.
By assembling these essential tools and materials, you are well-equipped to embark on the plexiglass cutting journey with confidence and precision. Each item plays a crucial role in ensuring the successful execution of your interior design projects, allowing you to unleash your creativity and bring your visions to life with impeccable craftsmanship.
Read more: How Do You Cut Gutters
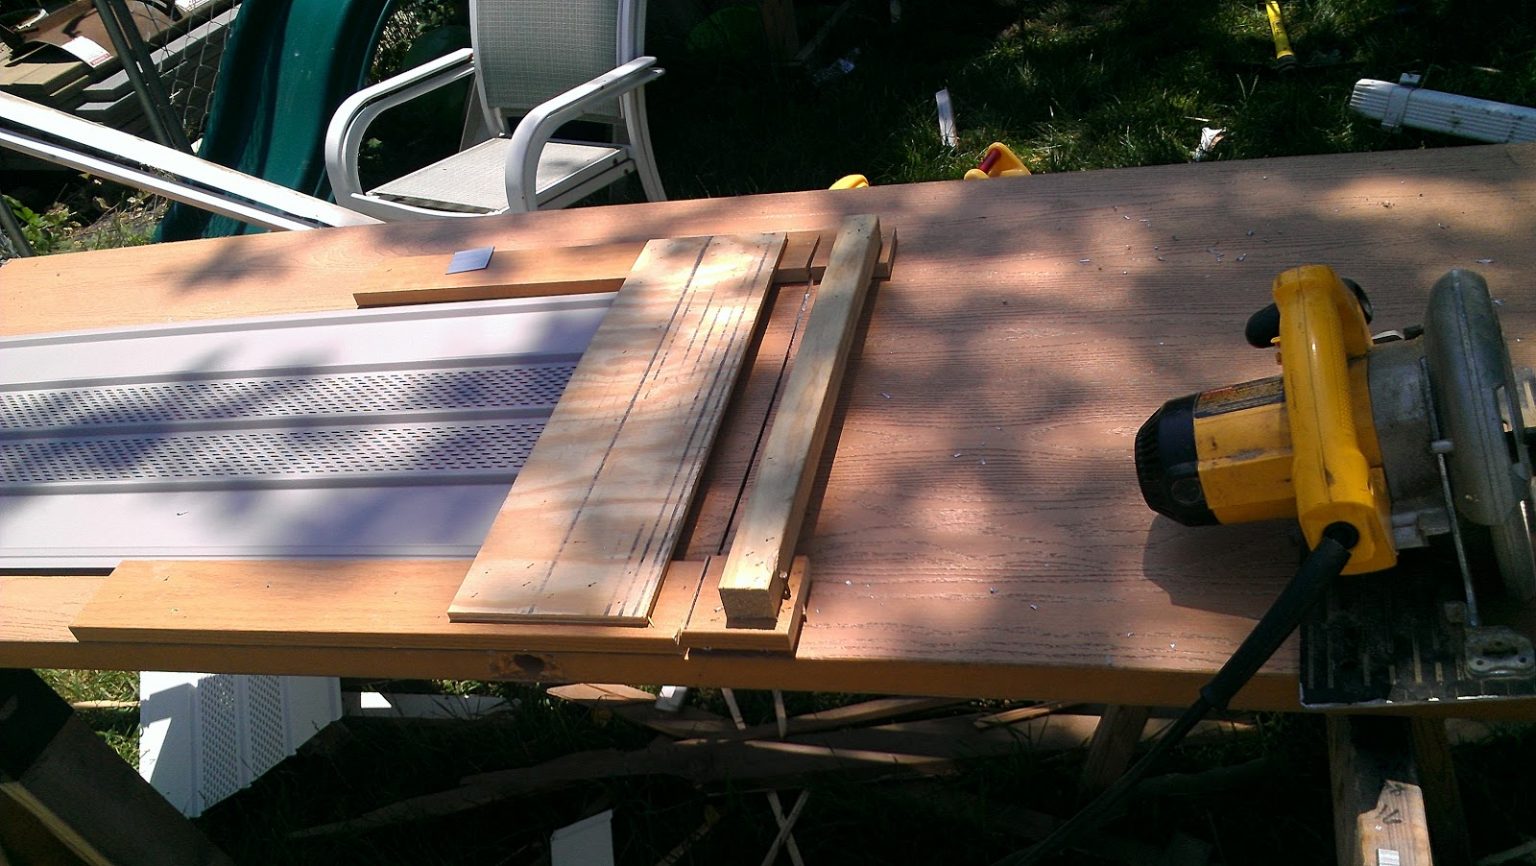
Cutting Techniques
When it comes to cutting plexiglass, employing the right techniques is essential for achieving precise and clean results. Whether you are aiming for straight cuts, curves, or intricate shapes, mastering the following cutting techniques will empower you to tackle diverse design challenges with finesse and accuracy.
Scoring and Snapping
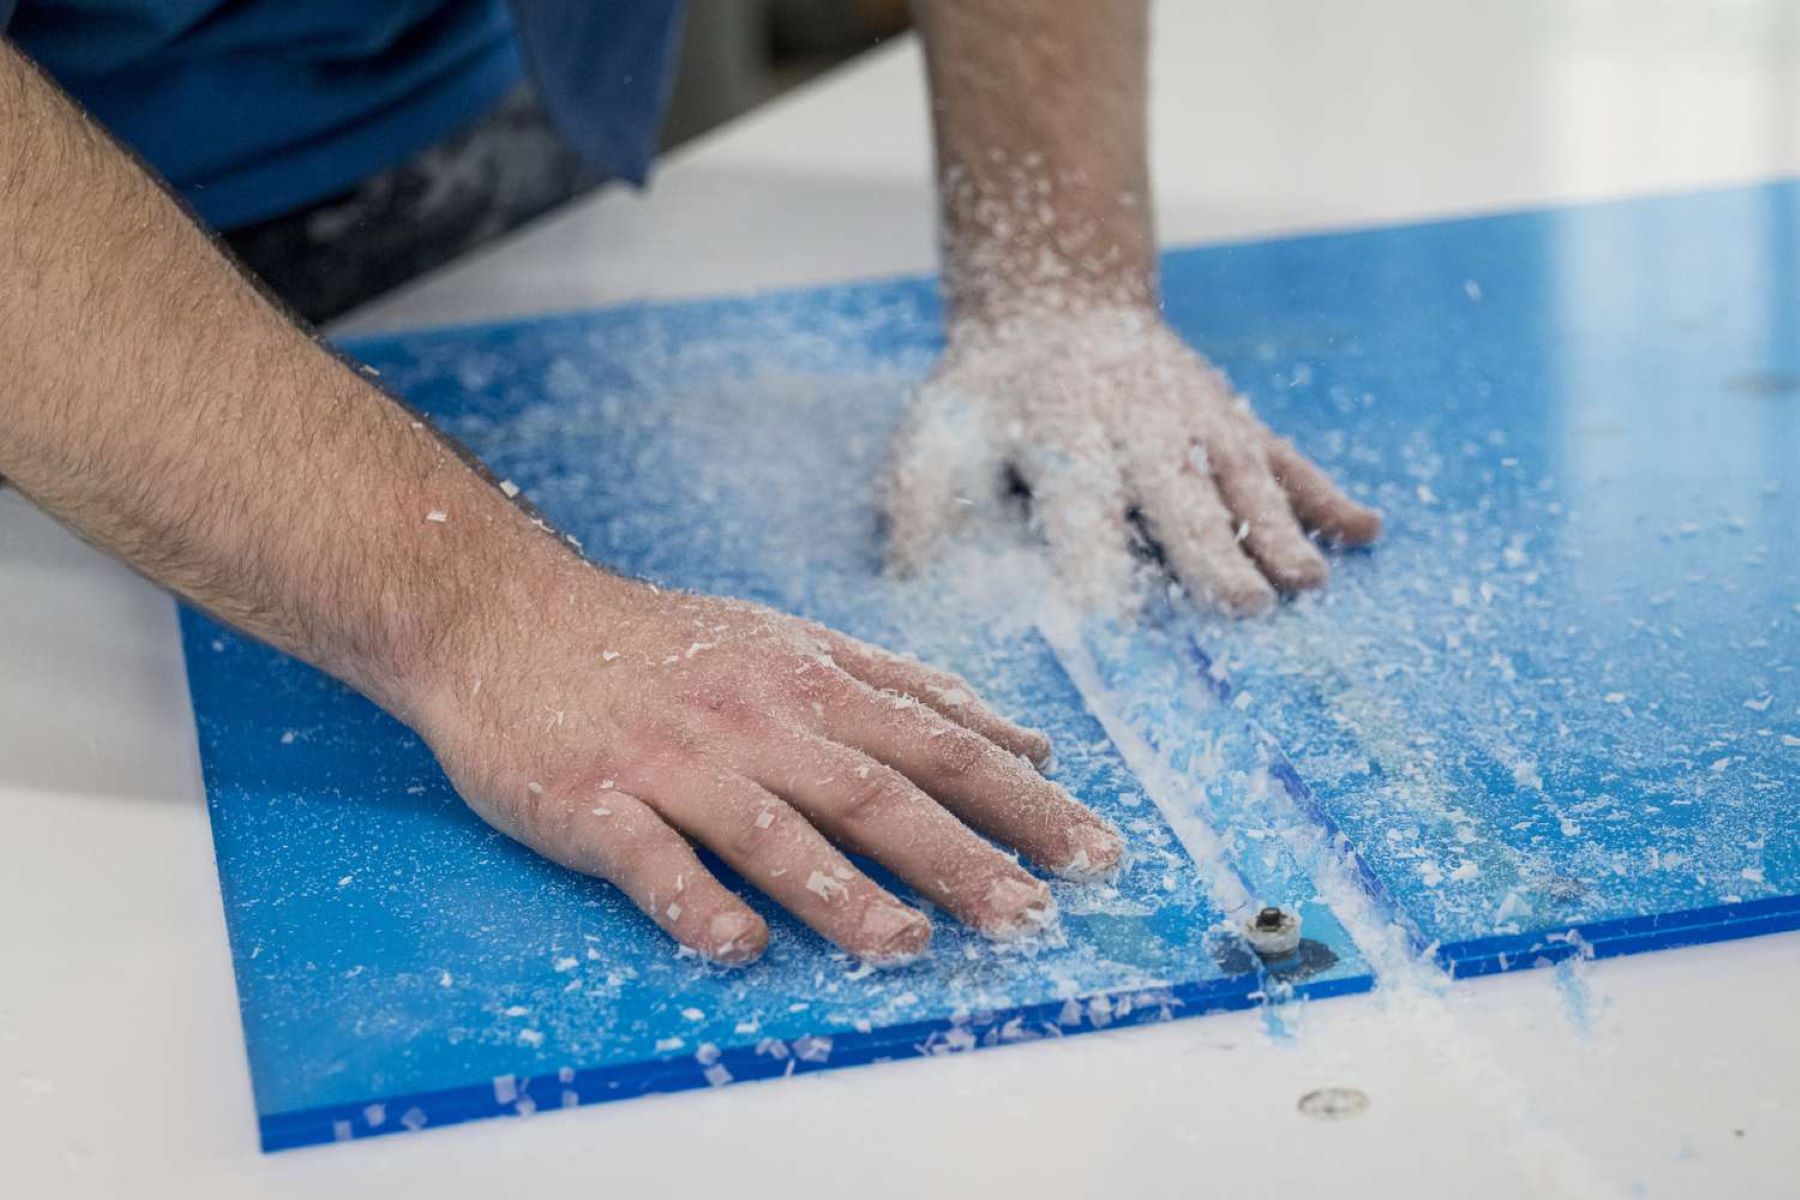
Scoring and snapping is a fundamental technique for achieving straight cuts in plexiglass. To execute this method, begin by marking the cutting line on the protective film covering the plexiglass using a ruler and a marker. Once the line is marked, secure the plexiglass on a flat and stable work surface, ensuring that it does not shift during the cutting process. Using a glass cutter with a tungsten carbide wheel, score along the marked line with firm and consistent pressure, ensuring that the score line is deep and even. After scoring, carefully position the scored line along the edge of the work surface and apply downward pressure to snap the plexiglass along the scored line. This technique yields clean and precise straight cuts, making it ideal for basic shaping and resizing of plexiglass sheets.
Jigsaw Cutting
When dealing with curved cuts or intricate shapes, employing a jigsaw with a fine-toothed blade designed for plastics is the preferred technique. Begin by affixing the plexiglass sheet to a stable work surface using clamps or a non-slip mat to prevent movement during cutting. Next, carefully mark the desired cutting line on the protective film covering the plexiglass. With the jigsaw equipped with the appropriate blade, initiate the cutting process by gently guiding the blade along the marked line, maintaining a steady and controlled pace. It is crucial to use minimal pressure and avoid rapid movements to prevent chipping or splintering of the plexiglass. This technique allows for precise and smooth curved cuts, enabling the realization of intricate design elements and custom shapes with ease.
Router Trimming
For edge-finishing and shaping custom designs, utilizing a router with a specialized acrylic-cutting bit offers unparalleled precision and versatility. This technique is particularly effective for creating polished edges and intricate patterns in plexiglass. After securing the plexiglass sheet on the work surface, mark the desired cutting lines on the protective film. With the router fitted with the acrylic-cutting bit, carefully maneuver the tool along the marked lines, allowing the bit to smoothly trim and shape the plexiglass with precision. The router technique enables the creation of custom edge profiles and decorative accents, elevating the visual appeal of plexiglass elements in interior design projects.
By mastering these cutting techniques, you can confidently approach plexiglass cutting tasks, whether you are crafting sleek window panels, custom signage, or decorative accents. Each technique offers unique advantages and applications, empowering you to unleash your creativity and achieve impeccable results in your interior design endeavors.
Read more: How Do You Cut Laminate Countertops
Finishing and Polishing
After successfully cutting and shaping plexiglass to suit your design requirements, the finishing and polishing phase plays a pivotal role in elevating the overall aesthetic appeal and ensuring the structural integrity of the crafted elements. This crucial step involves refining the cut edges, removing any imperfections, and enhancing the visual clarity of the plexiglass surfaces, ultimately culminating in a professional and polished finish.
Refining Cut Edges
Upon completing the cutting process, it is common for the edges of the plexiglass to exhibit roughness or unevenness. To address this, utilizing fine-grit sandpaper or sanding blocks is essential for smoothing out the cut edges and achieving a uniform surface texture. With gentle and consistent strokes, carefully sand the edges of the plexiglass, ensuring that any rough spots or irregularities are meticulously refined. This meticulous approach results in seamlessly finished edges, laying the foundation for a pristine final product.
Removing Blemishes
In the course of cutting and handling plexiglass, minor blemishes or scratches may emerge on the surfaces. To restore the visual clarity and transparency of the material, a specialized polishing compound formulated for acrylic materials can be applied. By gently buffing the plexiglass surfaces with the polishing compound, any surface imperfections are effectively minimized, allowing the inherent brilliance and luster of the material to shine through. This step not only enhances the visual appeal of the crafted elements but also ensures that the plexiglass surfaces exude a professional and flawless finish.
Achieving a Glass-Like Finish
To elevate the visual impact of the cut edges and surfaces, a final polishing step can be undertaken to achieve a glass-like finish. This involves applying the polishing compound with a soft, lint-free cloth and meticulously buffing the plexiglass surfaces to enhance their sheen and clarity. The gentle yet deliberate polishing motion facilitates the removal of any remaining blemishes and imparts a glossy, mirror-like finish to the edges and surfaces of the plexiglass. This transformative process results in a refined and professional appearance, elevating the visual allure of the crafted plexiglass elements.
By meticulously refining the cut edges, eliminating imperfections, and achieving a pristine finish, the finishing and polishing phase adds a touch of sophistication and finesse to the plexiglass elements, ensuring that they seamlessly integrate into your interior design projects with elegance and allure. This meticulous attention to detail not only enhances the visual impact of the crafted elements but also underscores your commitment to achieving excellence in every facet of your creative endeavors.
Read more: How Do You Cut A Glass Bottle
Conclusion
In conclusion, mastering the art of cutting and shaping plexiglass is a transformative skill that empowers interior design enthusiasts and craftsmen to unleash their creativity and bring their design visions to life with precision and finesse. By adhering to essential safety precautions, equipping oneself with the right tools and materials, and mastering cutting techniques, individuals can confidently embark on plexiglass projects, whether they involve crafting sleek window panels, custom signage, or decorative accents.
The journey of cutting plexiglass begins with prioritizing safety, as creating a secure and controlled environment is fundamental to prevent accidents and ensure a smooth crafting experience. By donning protective gear, securing the work surface, and employing proper lighting, individuals can safeguard themselves and others while working with this versatile material, fostering a safe and conducive environment for creativity to flourish.
Equipping oneself with the right tools and materials is pivotal in facilitating a precise and efficient cutting process. From glass cutters and jigsaws to clamps and sanding blocks, each item plays a crucial role in ensuring the successful execution of interior design projects involving plexiglass. By assembling these essentials, individuals are well-prepared to tackle diverse design challenges and bring their creative concepts to fruition with confidence and proficiency.
Mastering cutting techniques such as scoring and snapping, jigsaw cutting, and router trimming empowers individuals to achieve precise and clean results, whether they are shaping straight cuts, curves, or intricate designs. These techniques offer unparalleled versatility, enabling the realization of custom shapes and decorative elements that seamlessly integrate into interior design compositions, elevating the aesthetic appeal of residential and commercial spaces.
The finishing and polishing phase serves as the crowning touch, refining cut edges, removing imperfections, and achieving a glass-like finish that enhances the visual allure of the crafted plexiglass elements. This meticulous attention to detail underscores the commitment to excellence, ensuring that the final products exude professionalism and sophistication, ready to adorn interior spaces with elegance and allure.
In essence, the journey of cutting plexiglass transcends the realm of craftsmanship, offering a gateway to boundless creativity and innovation in interior design. By honing these skills and embracing the transformative potential of plexiglass, individuals can embark on a captivating journey of self-expression, bringing their design aspirations to fruition with unparalleled precision and artistry.
Frequently Asked Questions about How Do You Cut Plexiglass
Was this page helpful?
At Storables.com, we guarantee accurate and reliable information. Our content, validated by Expert Board Contributors, is crafted following stringent Editorial Policies. We're committed to providing you with well-researched, expert-backed insights for all your informational needs.


0 thoughts on “How Do You Cut Plexiglass”