Home>Home Security and Surveillance>How To Replace The Battery In An ADT Motion Detector
Home Security and Surveillance
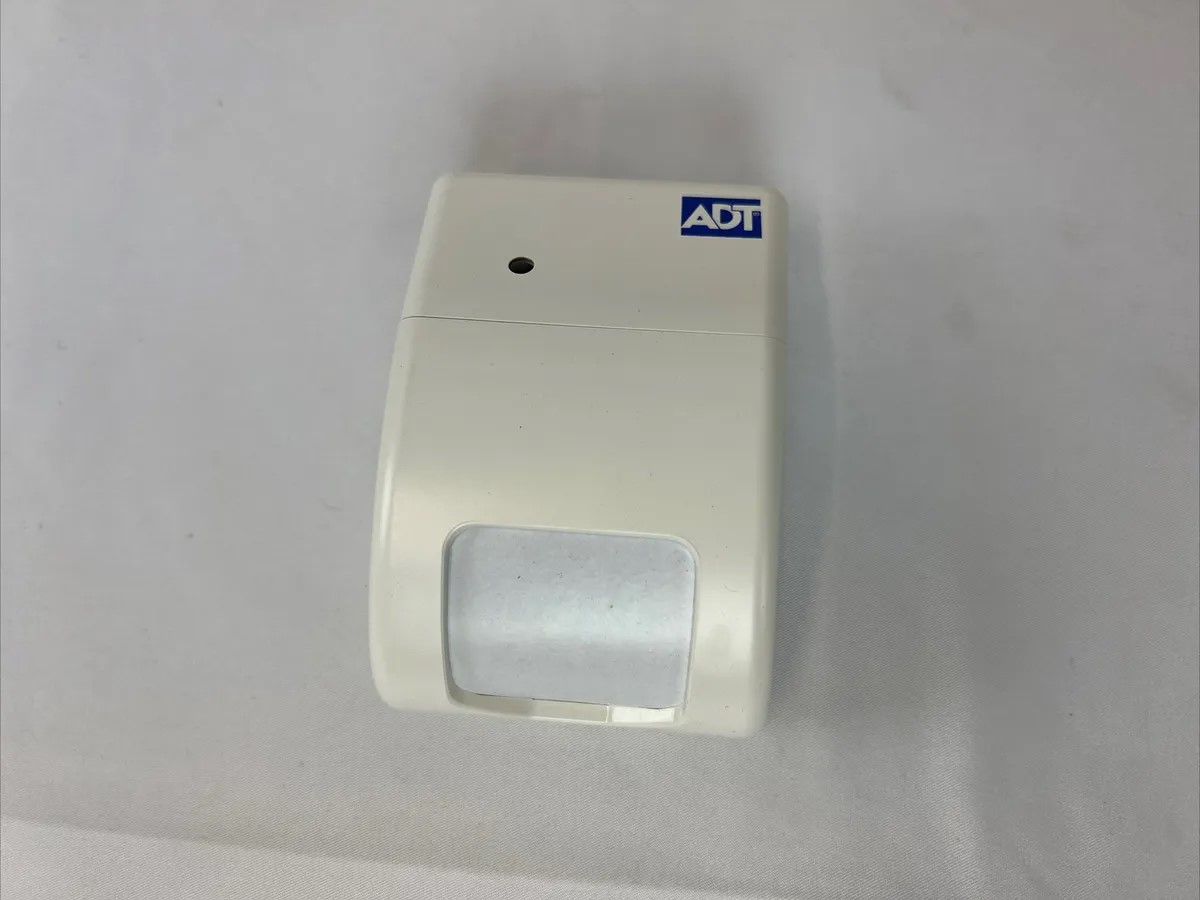
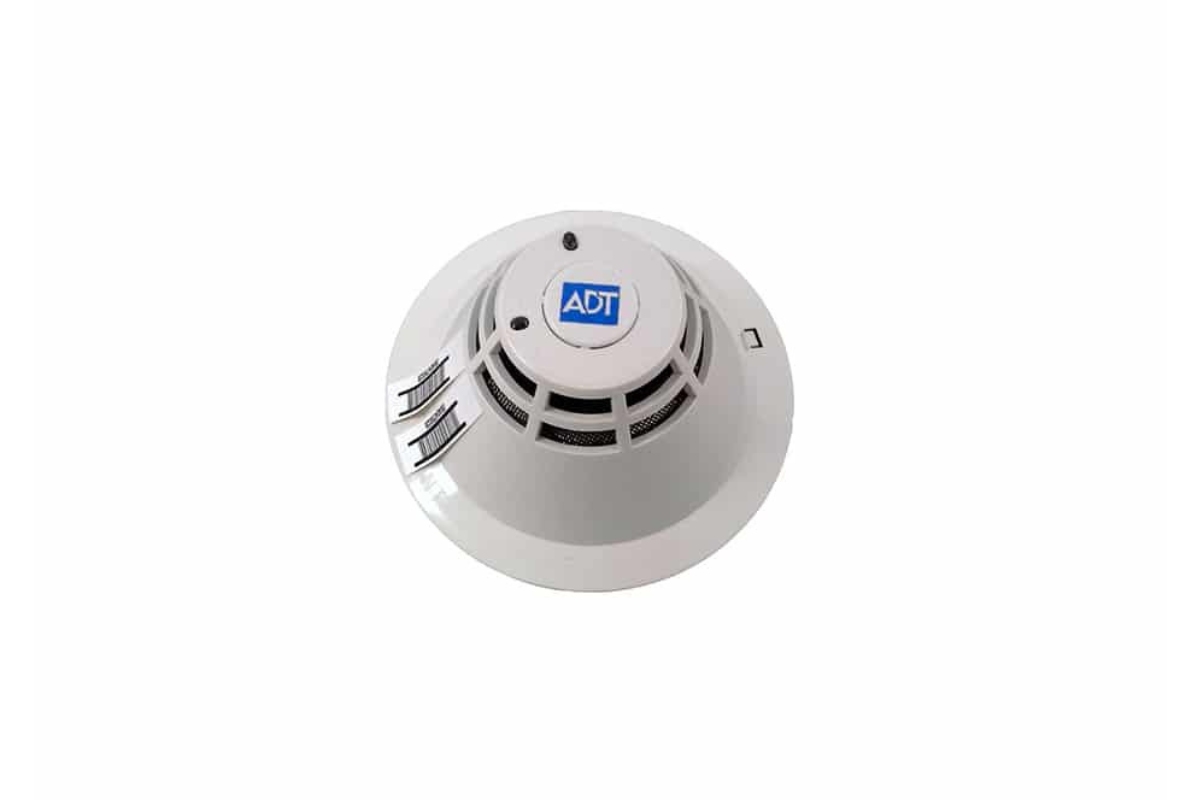
How To Replace The Battery In An ADT Motion Detector
Modified: August 16, 2024
Learn how to replace the battery in an ADT motion detector for enhanced home security and surveillance. Ensure continuous monitoring with this simple DIY guide.
(Many of the links in this article redirect to a specific reviewed product. Your purchase of these products through affiliate links helps to generate commission for Storables.com, at no extra cost. Learn more)
Introduction
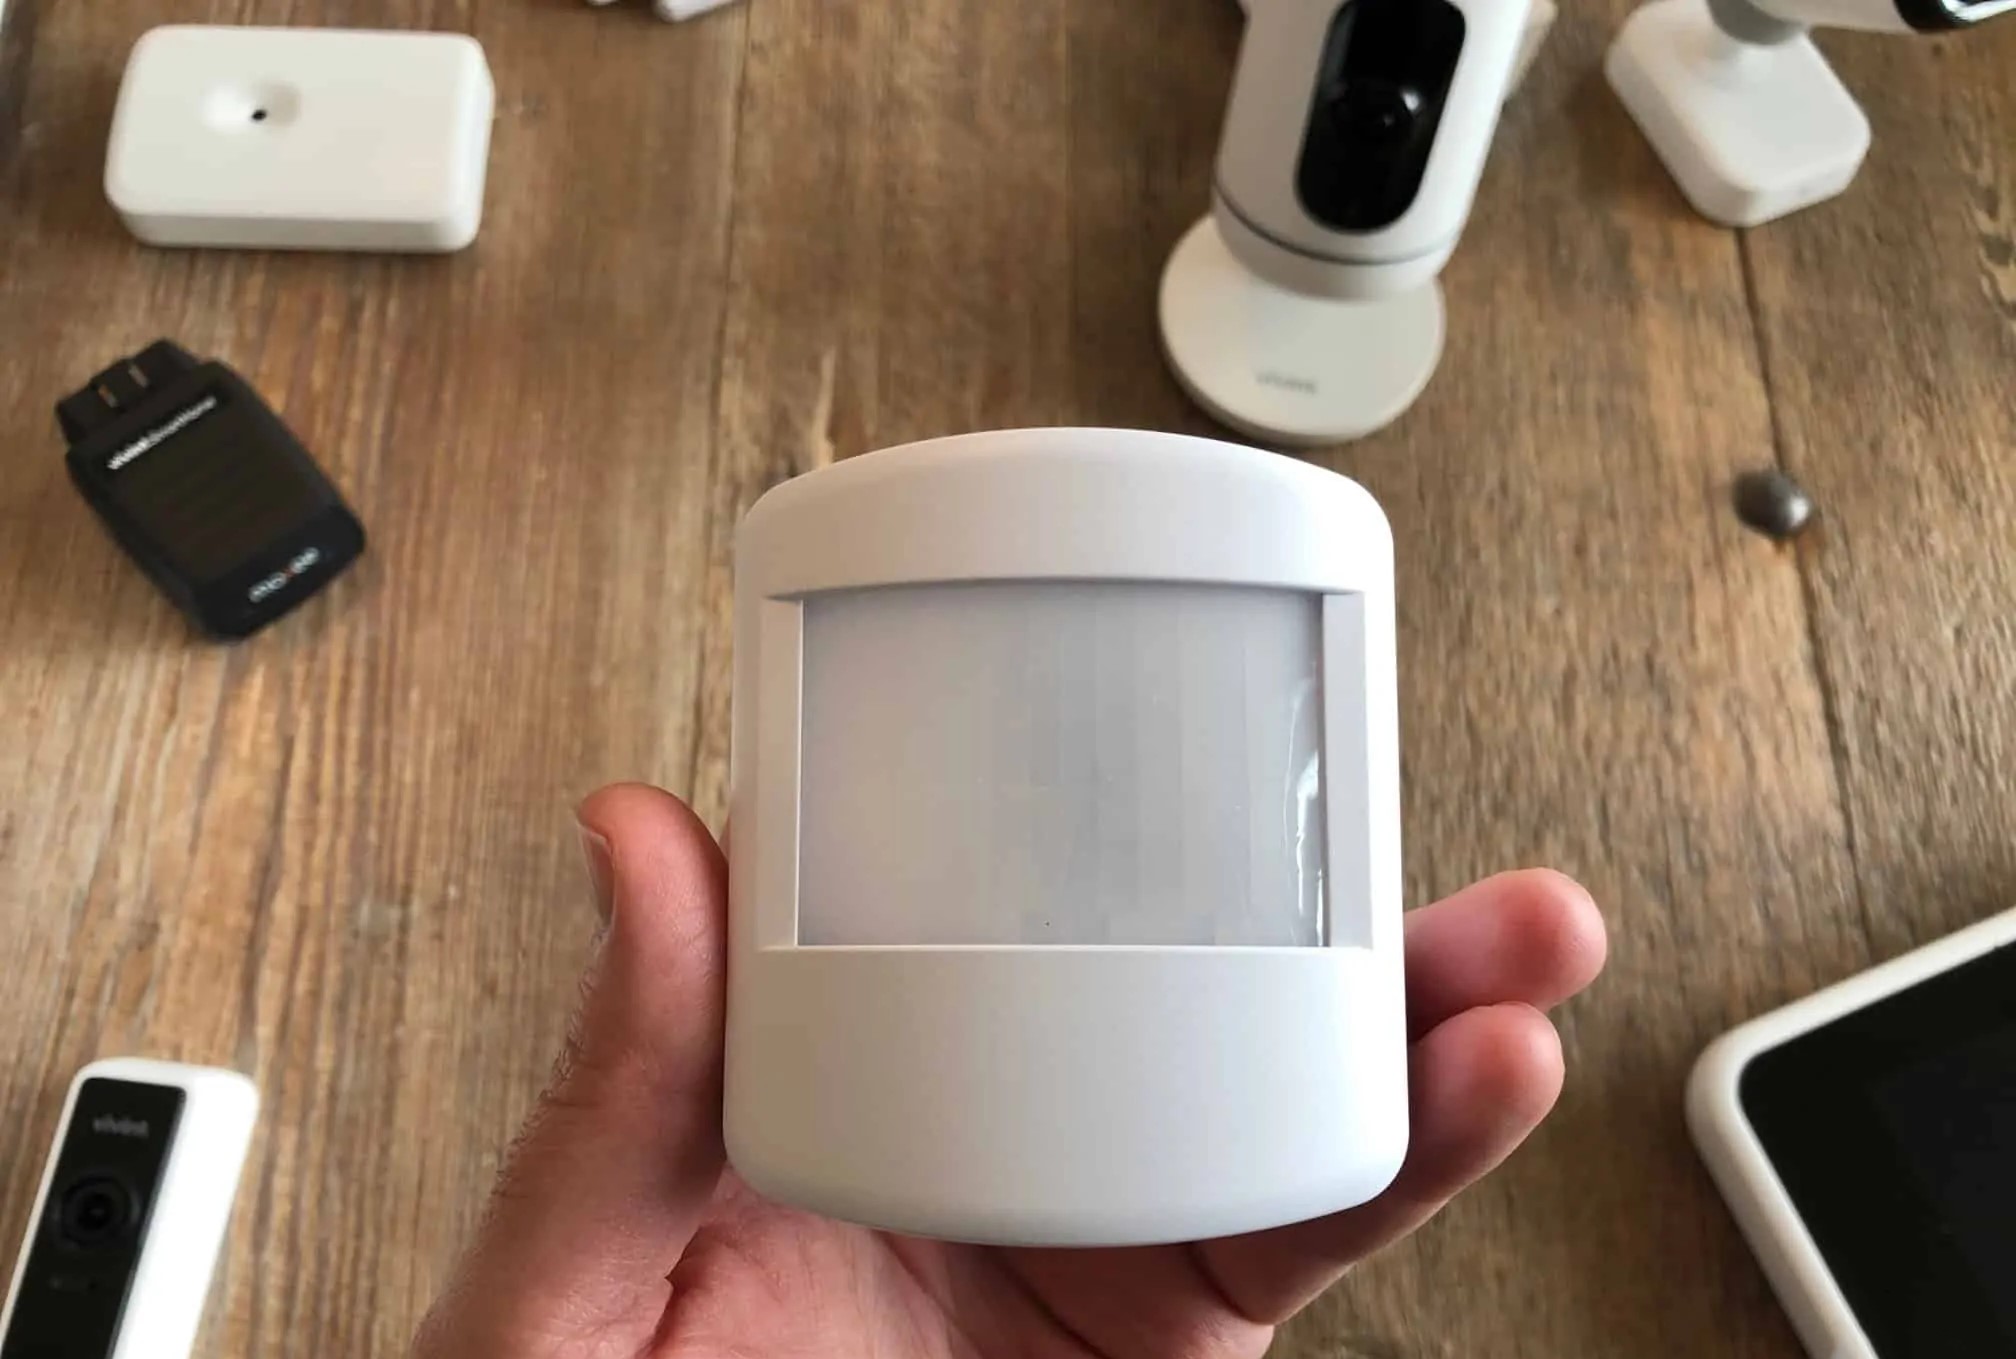
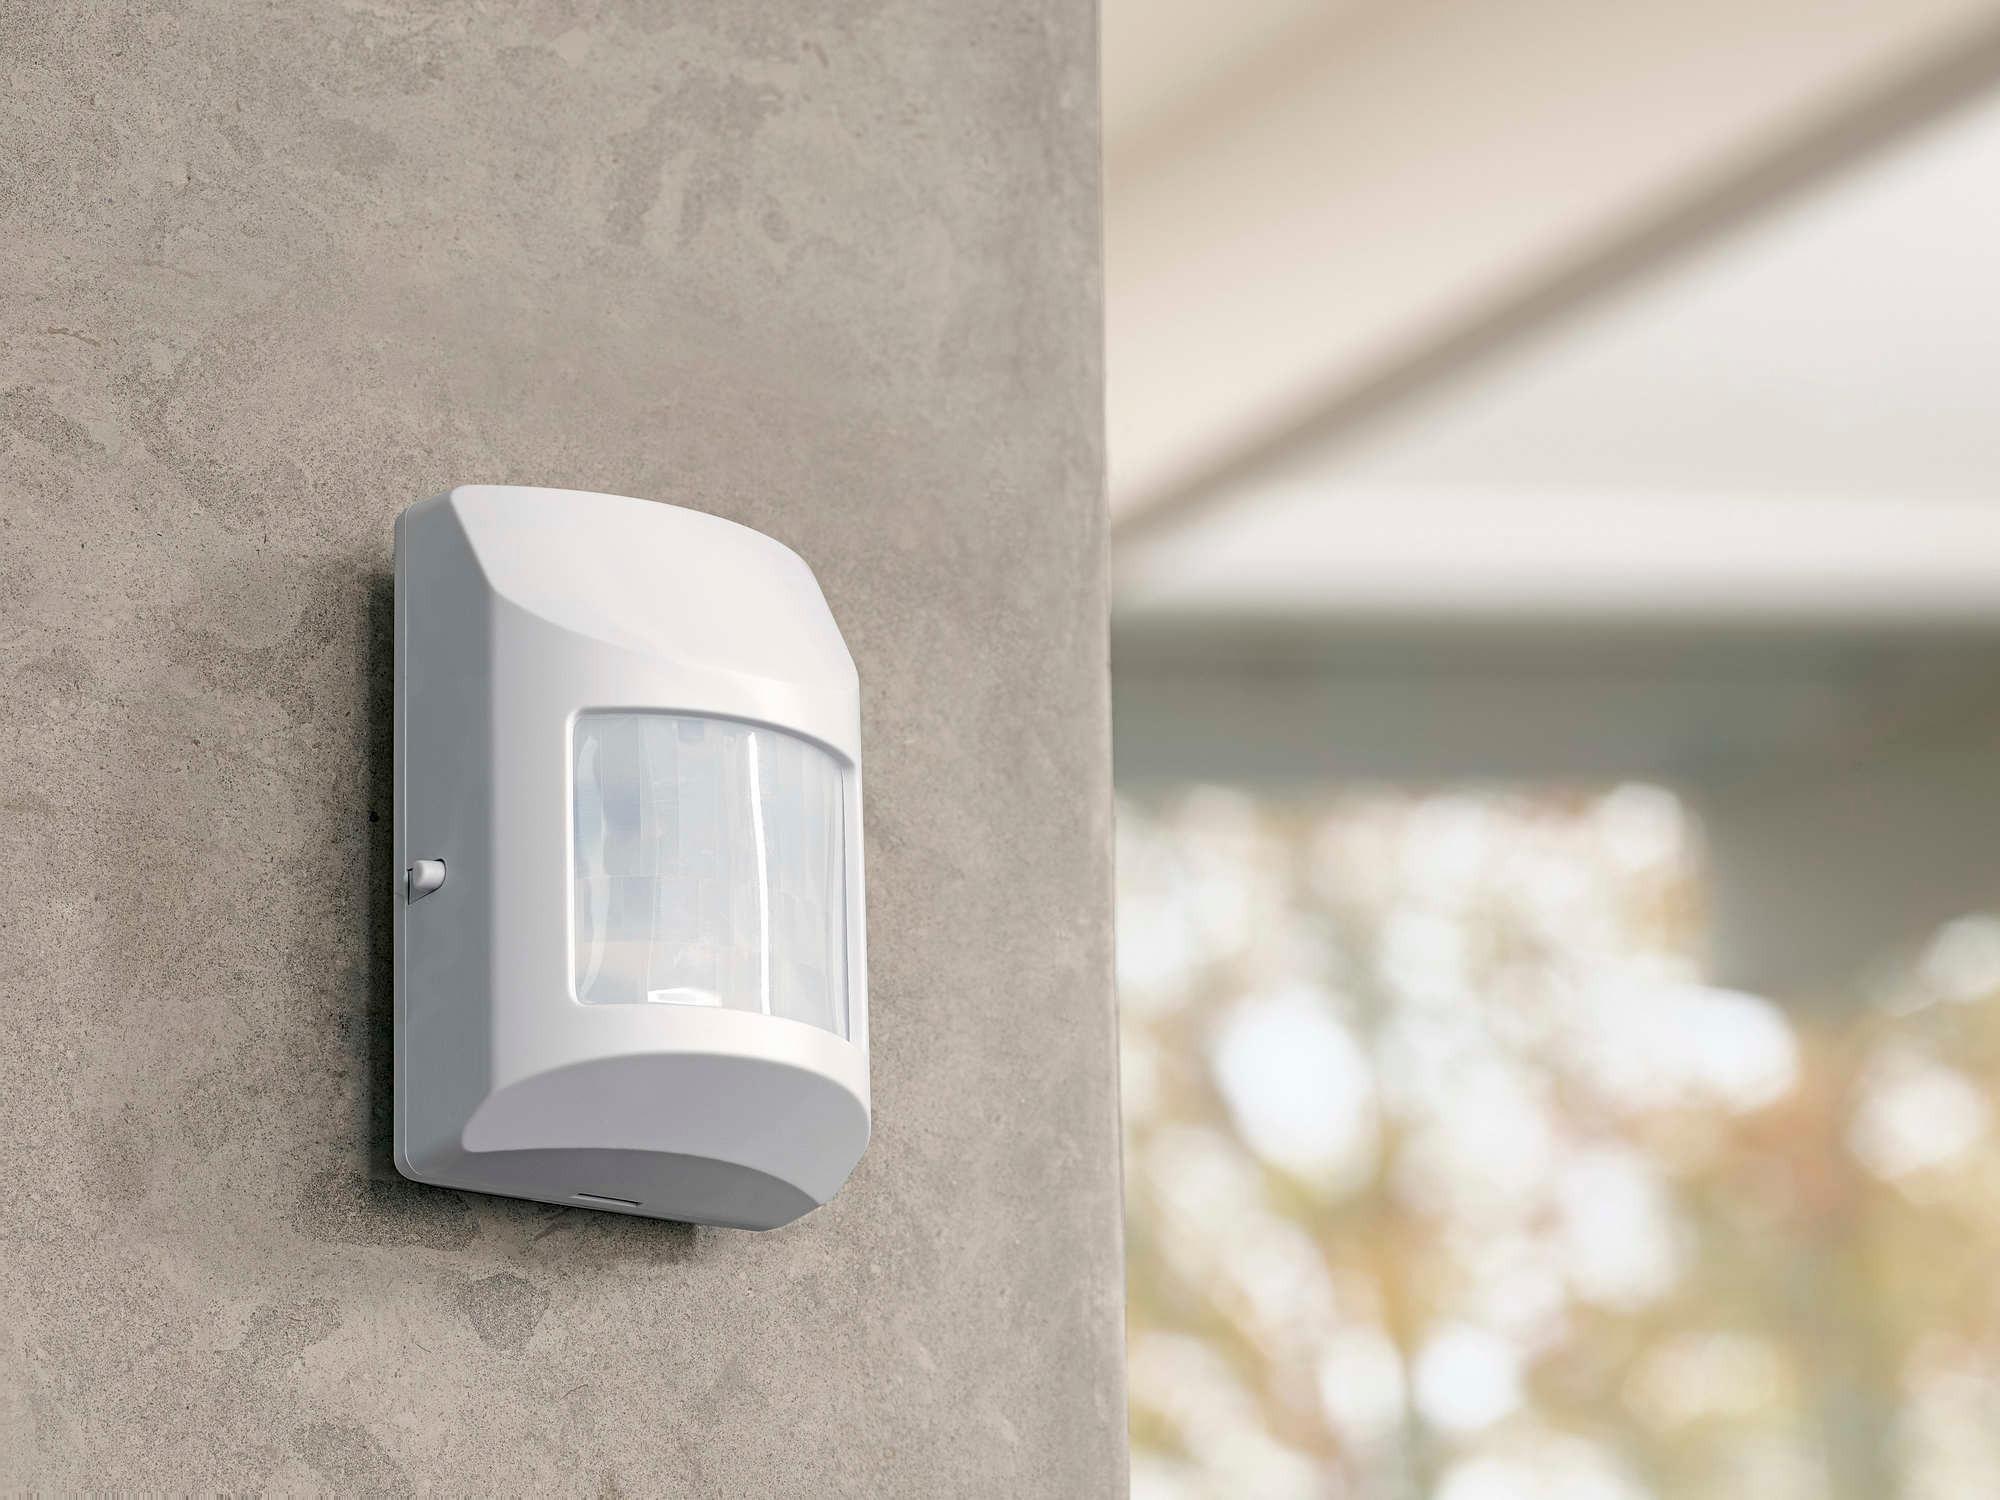
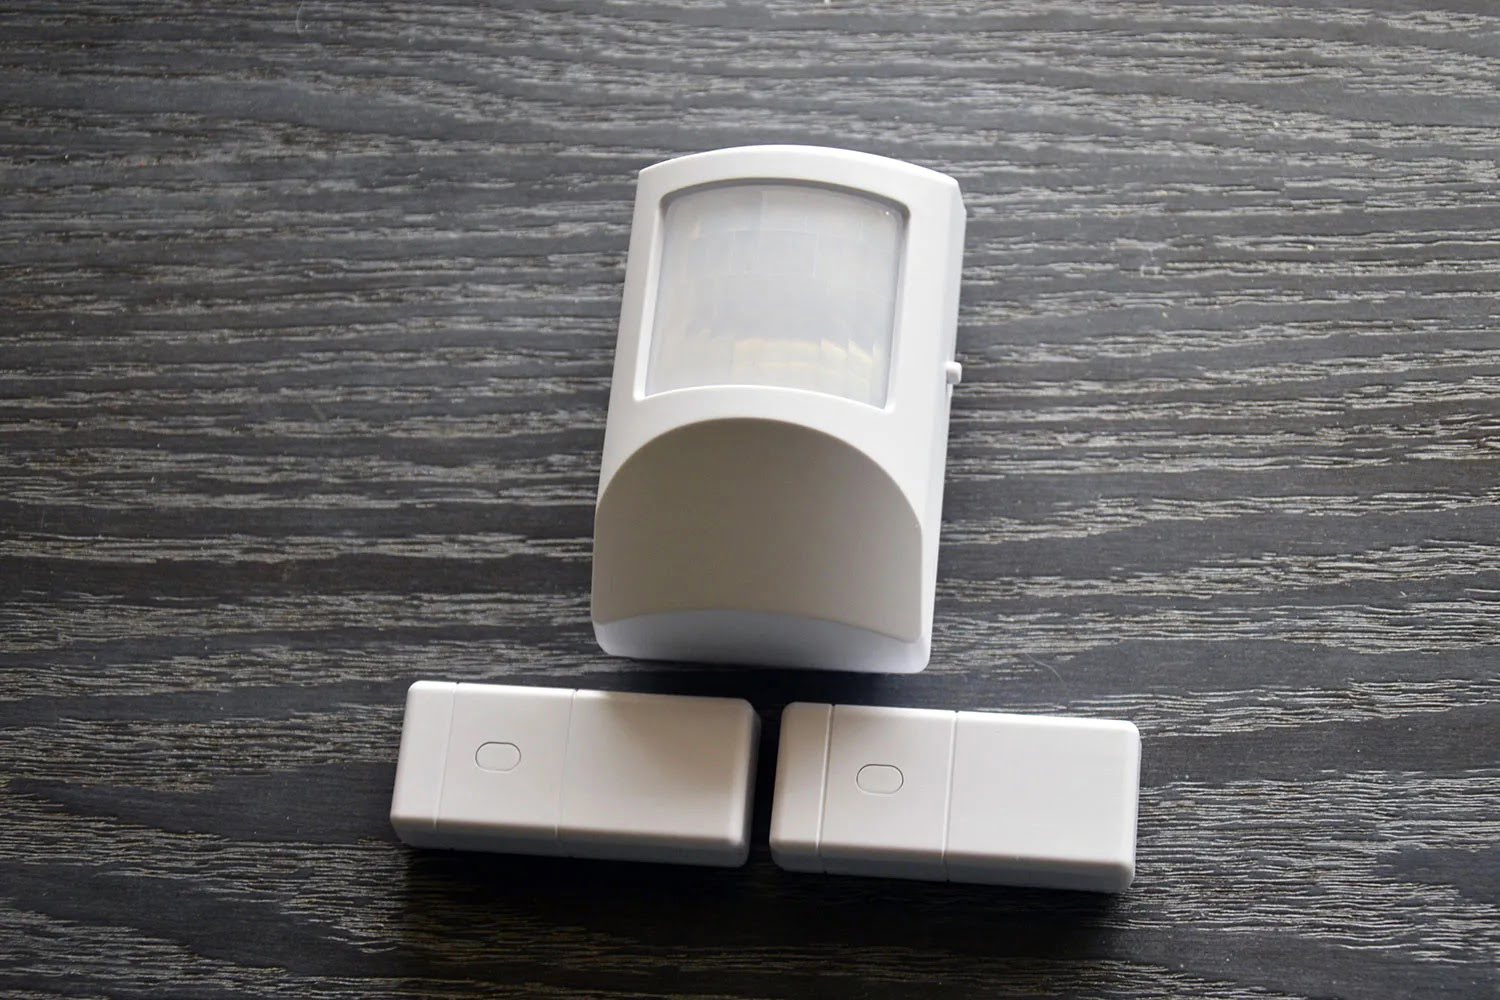
Welcome to our guide on how to replace the battery in an ADT Motion Detector. Having a functioning home security system is crucial for protecting your family and belongings, and one key component of a security system is motion detectors. These devices use infrared technology to detect movement within a specified range and send signals to the central monitoring station or trigger the alarm. However, to ensure that these motion detectors remain operational, it is essential to replace the batteries regularly.
In this article, we will take you through a step-by-step process to replace the battery in an ADT Motion Detector. Whether you have noticed a decline in your motion detector’s performance or it’s been a while since the last battery replacement, following these instructions will help you maintain the functionality and effectiveness of your home security system.
Before we begin, keep in mind that your motion detector’s specific model may have slight variations in design and battery placement. It is always a good idea to refer to your motion detector’s user manual or contact the manufacturer for any specific instructions. Without further ado, let’s get started on replacing the battery in your ADT Motion Detector.
Key Takeaways:
- Regularly replacing the battery in your ADT Motion Detector is crucial for maintaining a reliable home security system. Follow the step-by-step guide to ensure optimal functionality and peace of mind.
- Test the motion detector after replacing the battery to verify its proper operation. By following the simple steps, you can ensure your home security system is working effectively.
Step 1: Gather the necessary tools and supplies
Before you begin the battery replacement process, it is important to gather all the tools and supplies you will need. This will ensure a smooth and efficient process. Here are the items you will need:
- A new battery compatible with your ADT Motion Detector. The specific type of battery required will typically be indicated on the motion detector or in the user manual.
- A small screwdriver or a tool specifically designed for opening the battery compartment. The size of the screwdriver needed may vary, so it is best to have a set of different sizes available.
- Disposable gloves to protect your hands from any dirt or debris that may be present around the battery compartment.
Once you have gathered these items, you are ready to move on to the next step in the battery replacement process.
Step 2: Prepare the motion detector
Before you start working on the motion detector, it is important to ensure a safe and effective replacement process. Here’s how to prepare the motion detector:
- Disable the motion detector. To avoid any false alarms or unnecessary disturbances during the battery replacement process, it is important to disable the motion detector. Depending on your specific model, this can usually be done by accessing the control panel of your home security system and following the instructions to temporarily disable the motion detector.
- Find a well-lit and clean working area. It is important to have good lighting and a clean surface to work on while replacing the battery. This will prevent any accidental damage or contamination that may affect the performance of the motion detector.
- Turn off the power supply. Double-check that the power supply to the motion detector is turned off. This can usually be done by switching off the circuit breaker or disconnecting the power source. This precautionary step will prevent any mishaps or electrical shocks while handling the motion detector.
By following these preparatory steps, you will create a safe and conducive environment for replacing the battery in your ADT Motion Detector. Now, let’s move on to the next step.
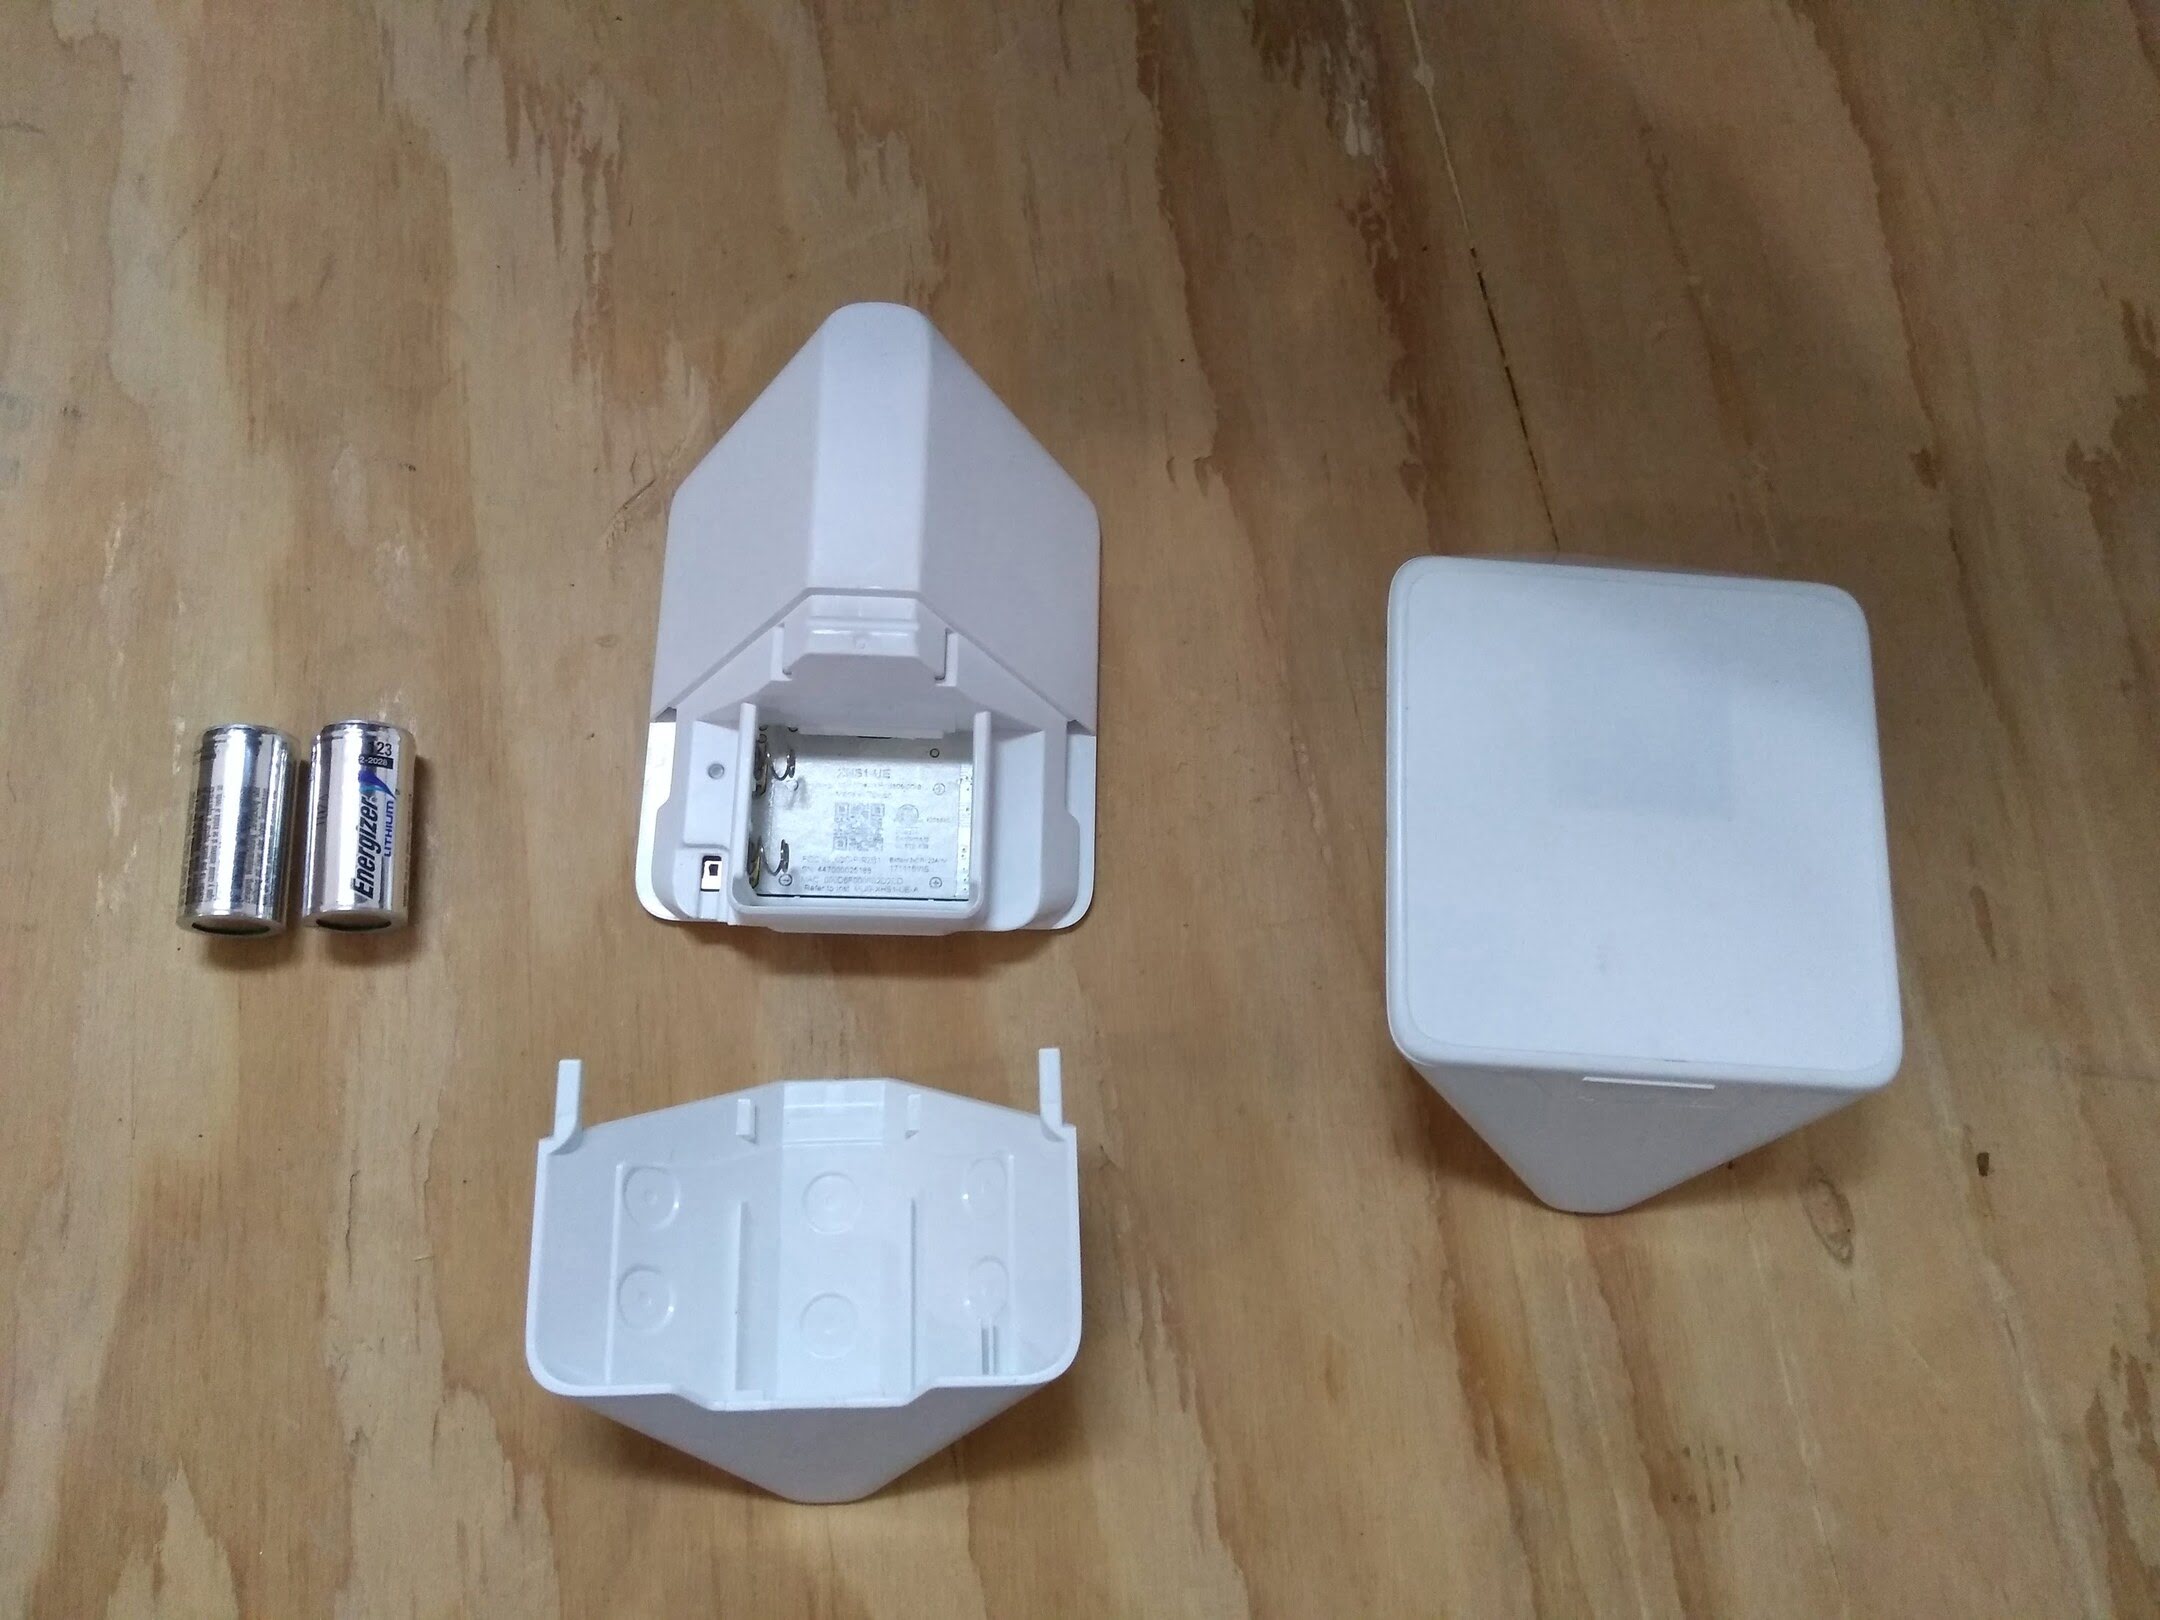
Step 3: Open the battery compartment
Now that you have prepared the motion detector, it is time to open the battery compartment. Follow these steps:
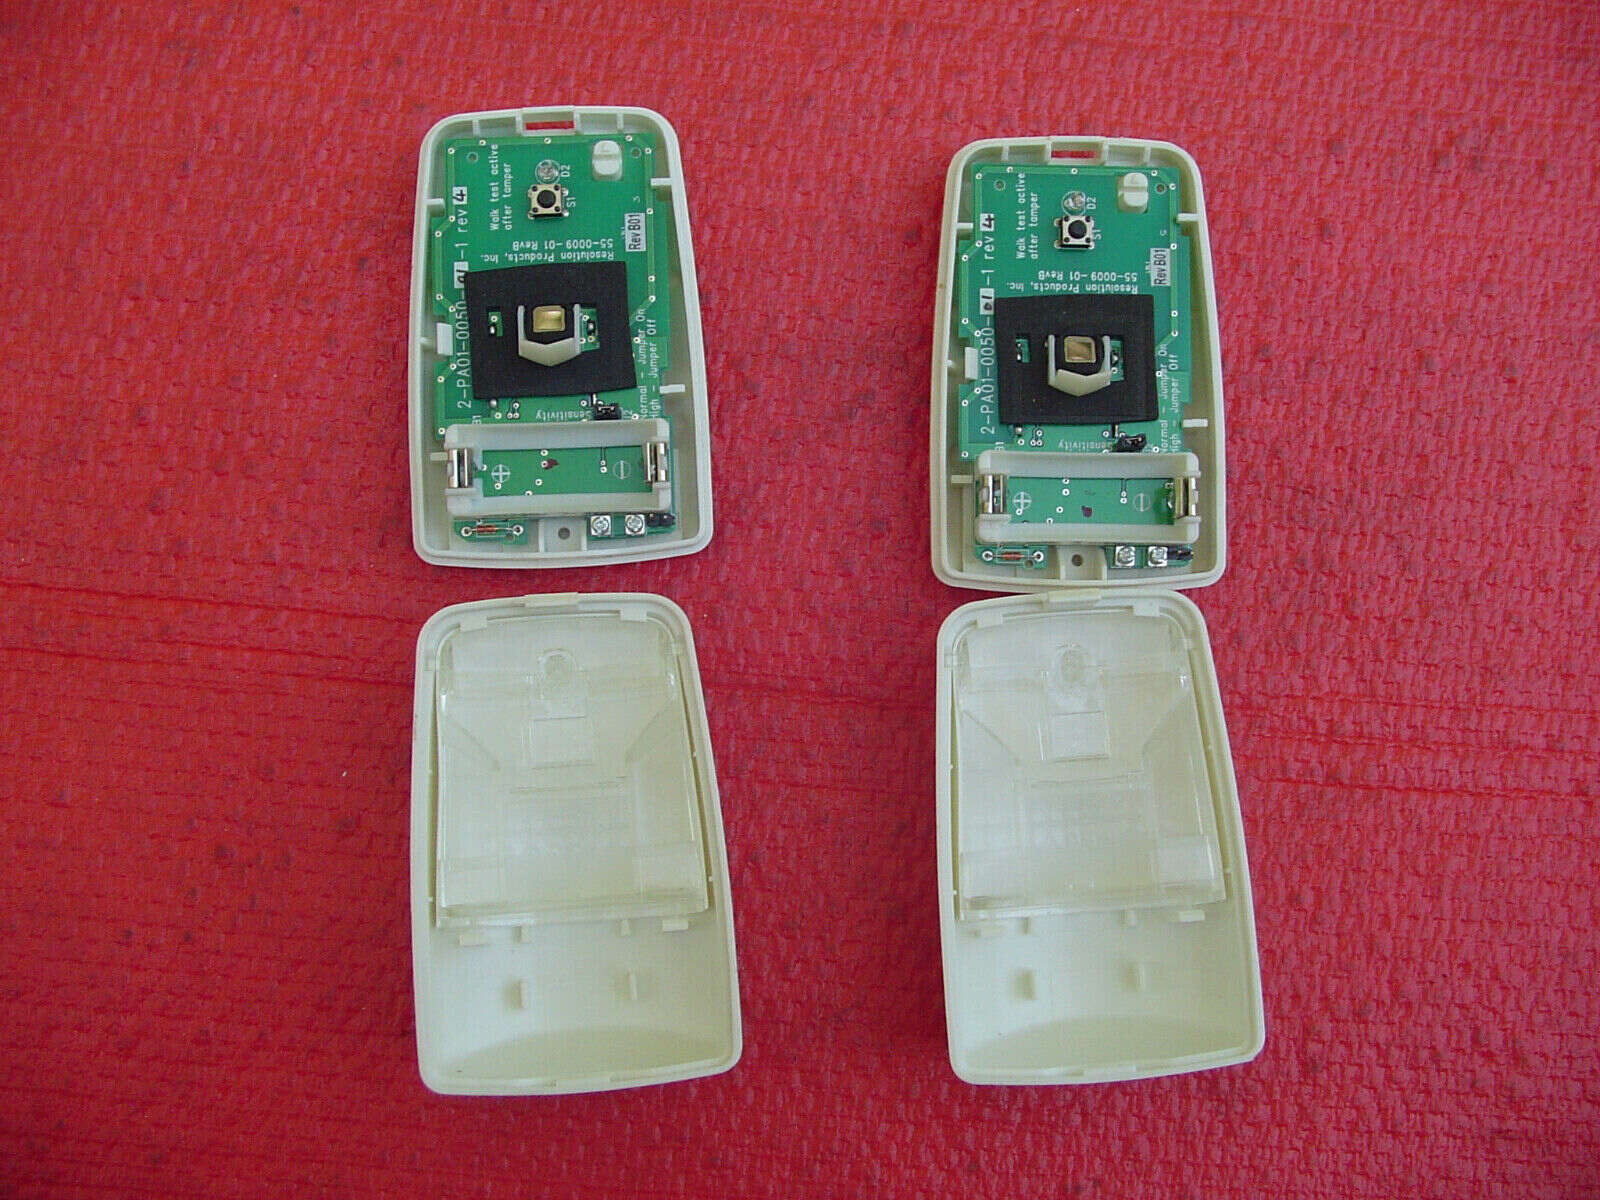
- Locate the battery compartment. Depending on the model of your ADT Motion Detector, the battery compartment may be located on the front, back, or side of the device. Look for a small cover or panel that can be opened.
- Use the appropriate tool. Take your small screwdriver or the designated tool for opening the battery compartment and gently insert it into the slot or groove provided. Apply a gentle amount of pressure and carefully pry open the compartment cover.
- Take caution with fragile parts. As you open the battery compartment, be mindful of any delicate parts or components. Avoid excessive force or rough handling to prevent any damage.
Once you have successfully opened the battery compartment, you are now ready to proceed to the next step of replacing the battery in your ADT Motion Detector.
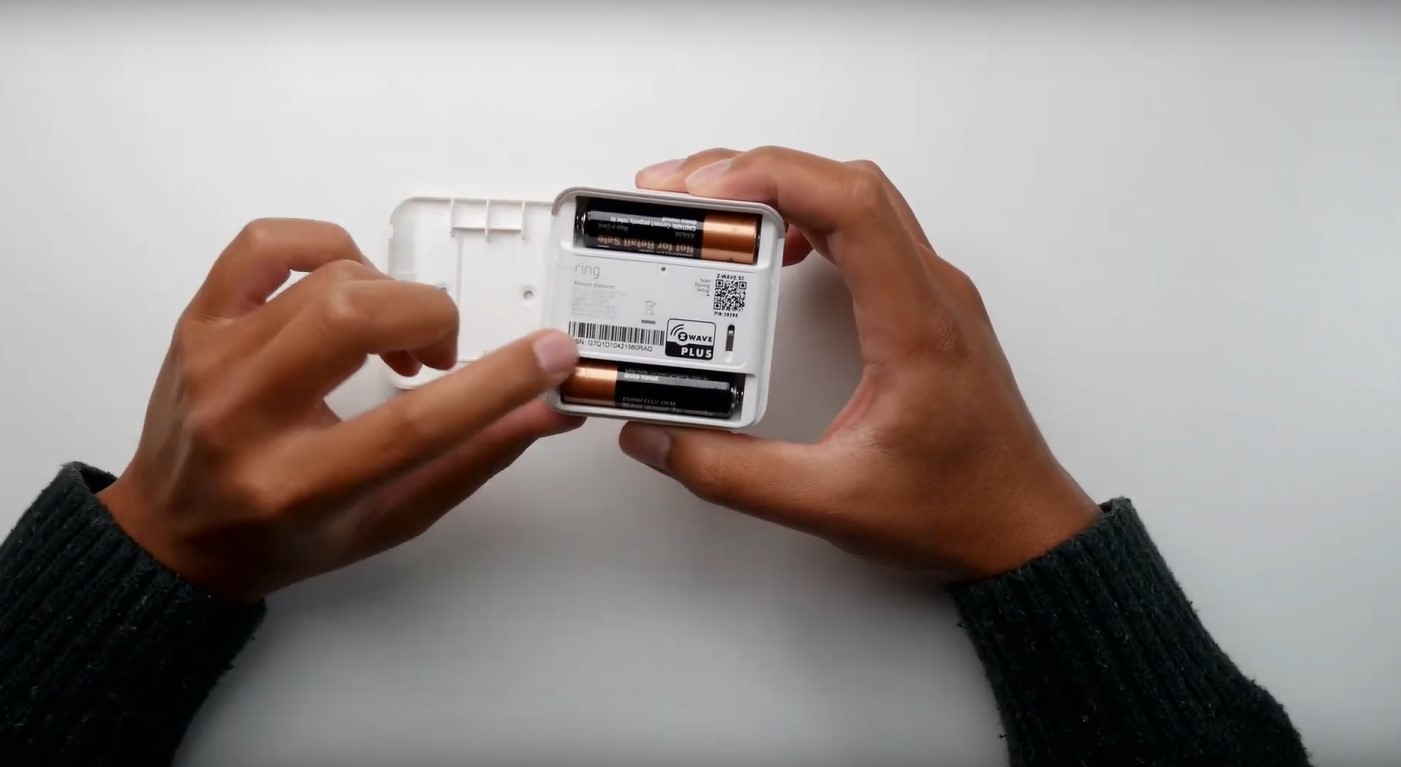
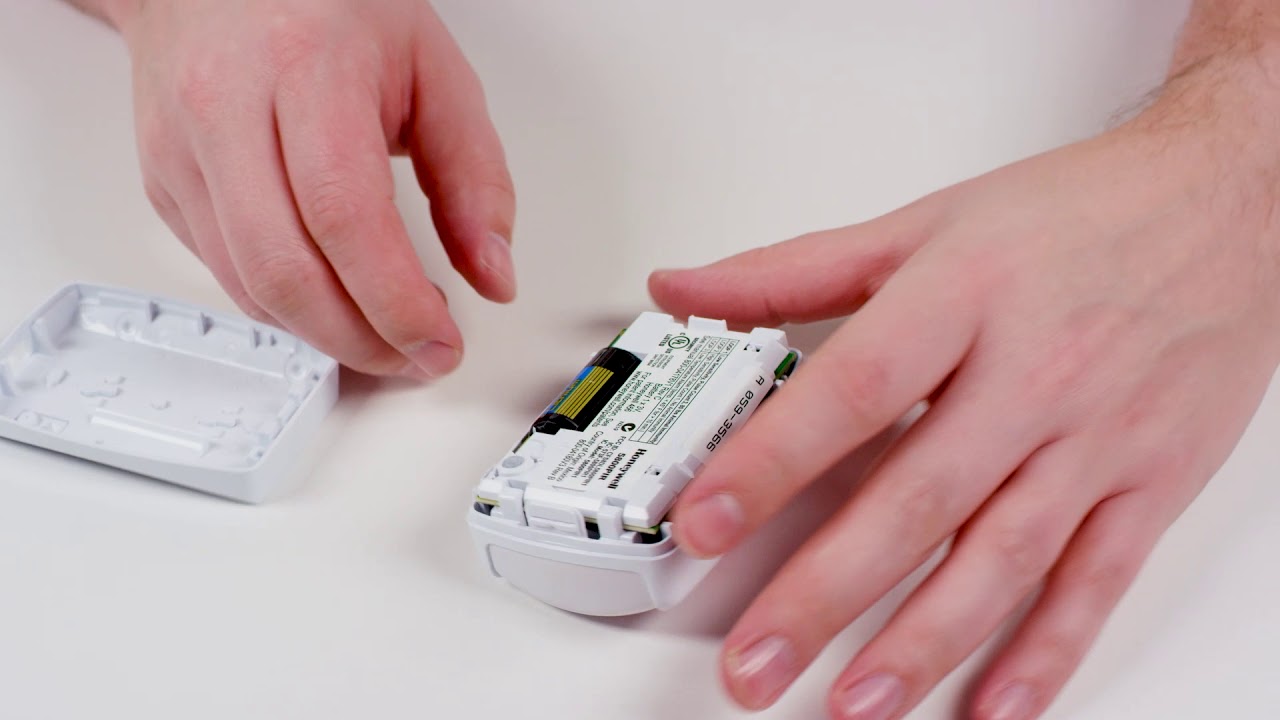
Step 4: Remove the old battery
With the battery compartment open, it is time to remove the old battery from your ADT Motion Detector. Follow these steps:
- Identify the position and orientation of the old battery. Take note of how the battery is positioned within the compartment. Observe the positive (+) and negative (-) terminals and the direction in which the battery is inserted.
- Wear disposable gloves. Before touching the battery, put on disposable gloves to protect your hands from any dirt, oil, or residue that may be present.
- Gently remove the old battery. Using your gloved hand or a small tool, carefully lift the old battery out of the battery compartment. Apply light pressure if needed, but be cautious not to damage any surrounding components.
- Properly dispose of the old battery. It is important to handle the old battery with care and dispose of it in accordance with your local regulations. Look for recycling centers or designated battery disposal locations in your area.
By following these steps, you have successfully removed the old battery from your ADT Motion Detector. Now, let’s move on to the next step to insert the new battery.
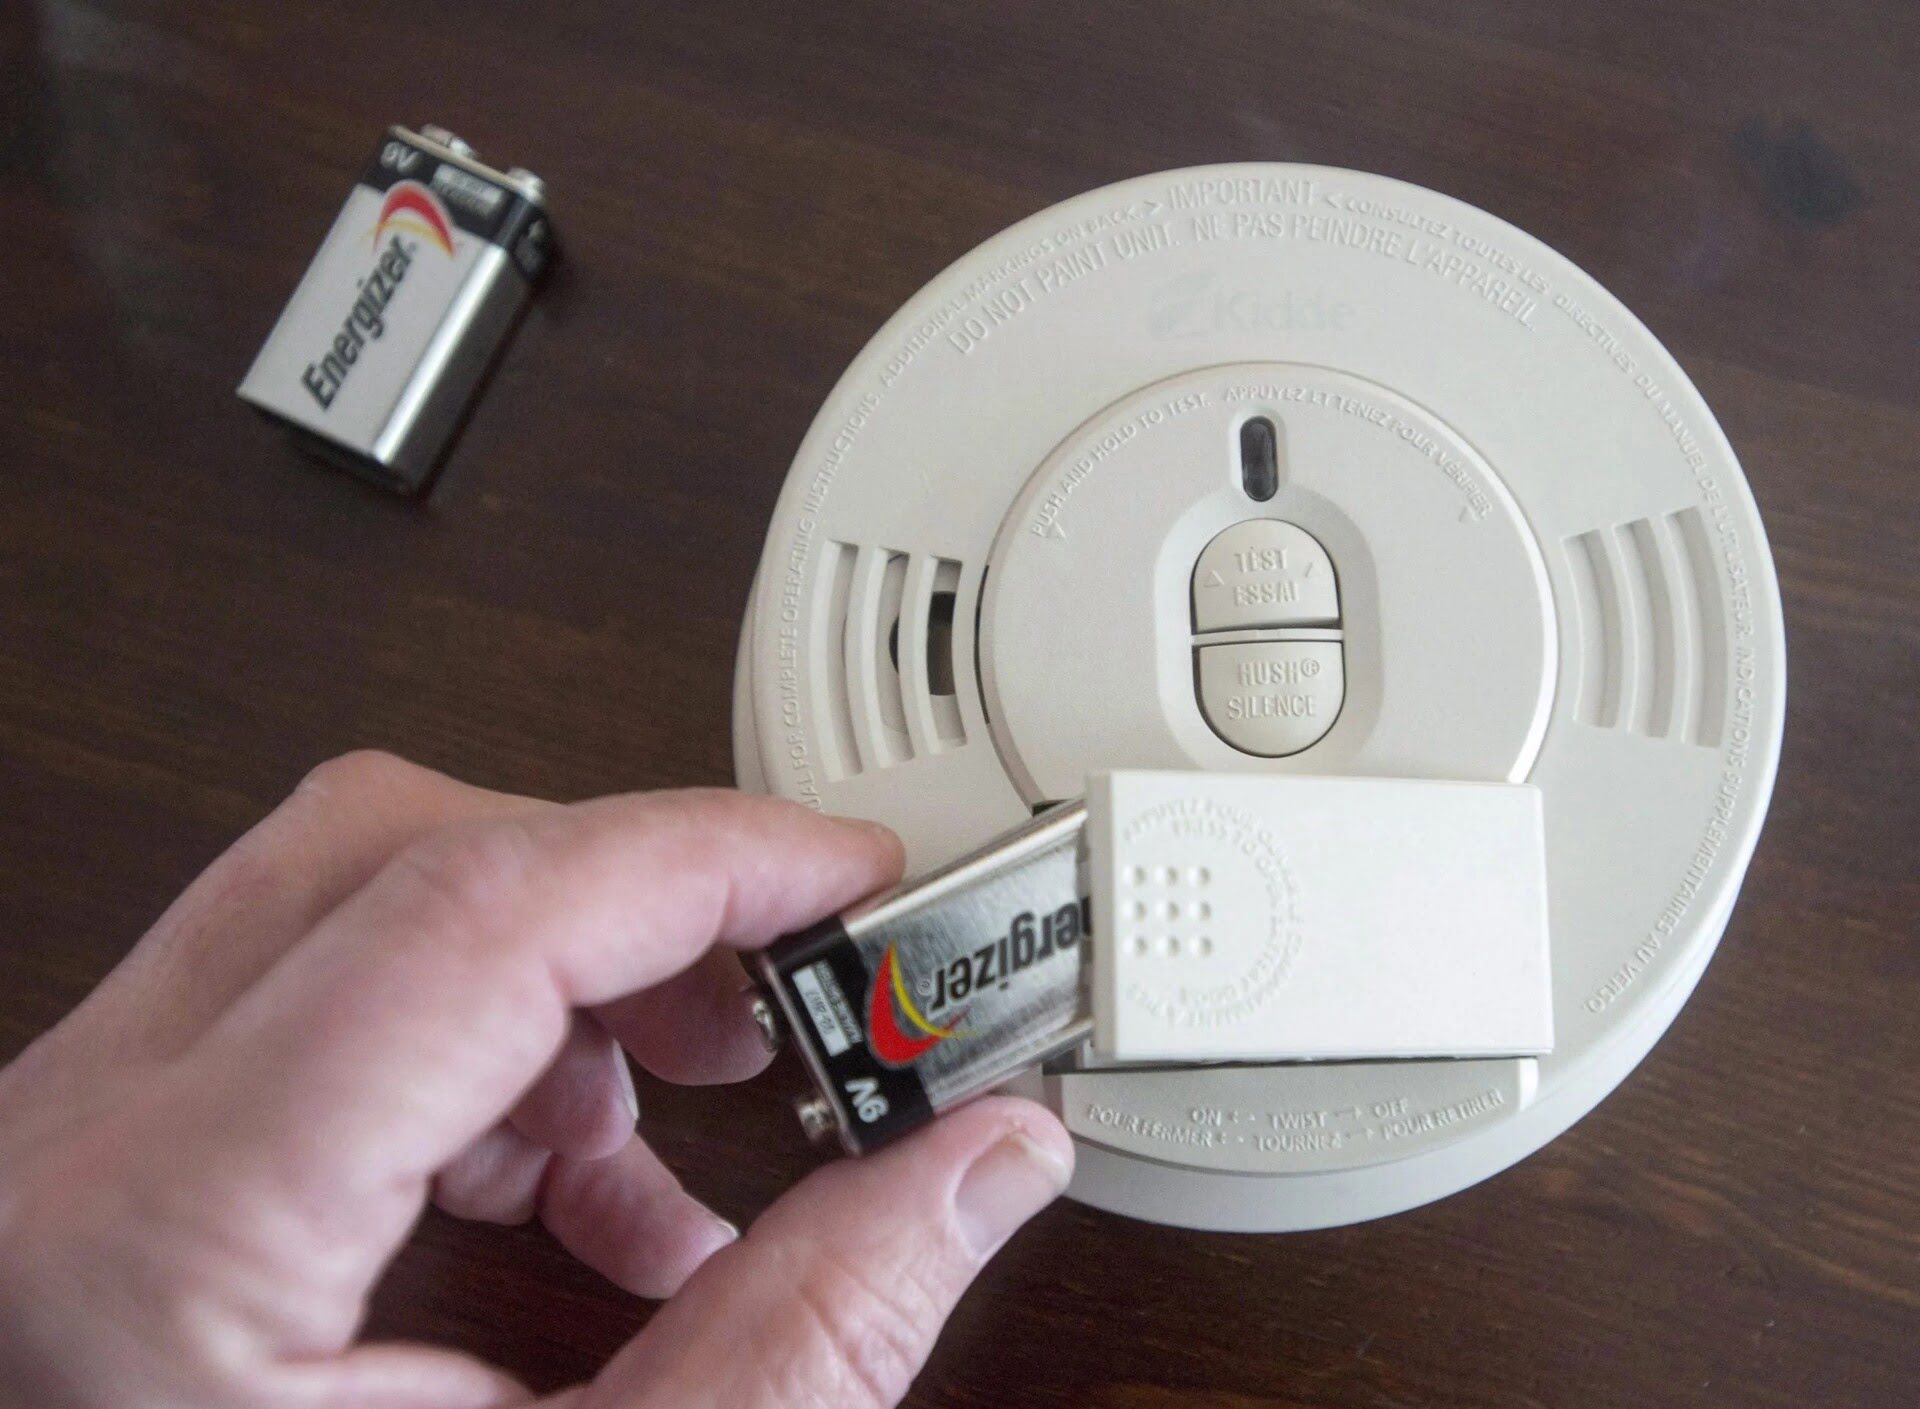
When replacing the battery in an ADT motion detector, make sure to use the correct type of battery specified by the manufacturer. Open the detector, remove the old battery, and insert the new one, making sure to observe the correct polarity. Close the detector and test to ensure it is functioning properly.
Step 5: Insert the new battery
Now that you have successfully removed the old battery, it is time to insert the new battery into your ADT Motion Detector. Follow these steps:
- Check the compatibility of the new battery. Ensure that the new battery you have is compatible with your specific ADT Motion Detector model. Refer to the user manual or check the specifications provided by the manufacturer.
- Position the new battery correctly. Check the polarity markings on the battery and align them with the corresponding markings within the battery compartment. The positive (+) terminal should align with the positive (+) marking, and the negative (-) terminal should align with the negative (-) marking.
- Insert the new battery into the battery compartment. Gently place the new battery into the compartment, making sure it fits snugly in place. Be careful not to force it or insert it in the wrong direction.
- Double-check the battery placement. Confirm that the battery is securely inserted and positioned correctly within the compartment. Ensure that there is proper contact between the battery terminals and the corresponding connectors in the motion detector.
Once you have successfully inserted the new battery, you are one step closer to having your ADT Motion Detector fully operational again. Let’s move on to the next step to complete the battery replacement process.
Step 6: Close the battery compartment
Now that you have inserted the new battery into your ADT Motion Detector, it is time to close the battery compartment. Follow these steps:
- Ensure the battery is properly positioned. Before closing the compartment, double-check that the new battery is securely in place, with the correct polarity alignment.
- Align the compartment cover. If the battery compartment has a removable cover, align it with the corresponding slots or hinges on the motion detector. Make sure it fits snugly before proceeding.
- Press firmly to close the compartment. Apply gentle pressure to the compartment cover to snap it back into place. You may hear a clicking sound when the cover is properly secured.
- Test the closure. Give the battery compartment a slight tug or shake to ensure it is securely closed. If there is any movement or if it feels loose, reopen the compartment and realign the cover before trying again.
By properly closing the battery compartment, you have completed the final step of the battery replacement process for your ADT Motion Detector. Now let’s move on to the next and final step: testing the motion detector to ensure everything is functioning correctly.
Step 7: Test the motion detector
After replacing the battery and closing the battery compartment of your ADT Motion Detector, it is important to test its functionality to ensure that everything is working as expected. Here are the steps to test the motion detector:
- Enable the motion detector. Re-enable the motion detector through your home security system’s control panel. Follow the instructions provided by your system to activate the motion detector again.
- Arm the security system. Put your security system in the armed mode, either by using the control panel or any accompanying mobile app. This will activate the motion detector and allow it to monitor its surroundings.
- Trigger a test event. Create movement within the detection range of the motion detector to test its functionality. This can be done by walking or waving your hand in front of the sensor. Take note of any audible sounds or visual feedback from the system indicating the detection of motion.
- Check the system response. Verify that the home security system recognizes the motion and responds accordingly. This can include triggering an alarm, sending a notification to your mobile device, or contacting the central monitoring station.
- Repeat the test if necessary. If the motion detector seems to be functioning correctly, repeat the test event a few more times to ensure consistent performance. If any issues are detected, refer to the user manual or contact ADT customer support for assistance.
By testing the motion detector, you can verify that the battery replacement was successful and that your ADT Motion Detector is fully operational. This step provides peace of mind, knowing that your home security system is working effectively. Now, you can rest assured that your home is well-protected.
Conclusion
Replacing the battery in your ADT Motion Detector is an essential maintenance task to ensure the reliable operation of your home security system. By following the step-by-step guide provided in this article, you can easily replace the battery and keep your motion detector functioning optimally.
Remember to gather the necessary tools and supplies before starting, prepare the motion detector by disabling it and finding a suitable work area, and carefully open the battery compartment. Remove the old battery with caution, insert the new battery following the correct polarity markings, and securely close the battery compartment.
Once the battery replacement is complete, it is crucial to test the motion detector to ensure that it is working as expected. By enabling the motion detector, arming the security system, and triggering a test event, you can verify its functionality and responsiveness. Repeat the test if necessary and contact customer support if any issues arise.
Regularly replacing the battery in your ADT Motion Detector will help maintain the integrity of your home security system, providing you with peace of mind and the assurance that your family and belongings are protected. Make it a routine to check and replace the battery according to the manufacturer’s recommendations or whenever you notice a decline in performance.
We hope this guide has been helpful in guiding you through the process of replacing the battery in your ADT Motion Detector. Take proactive steps to keep your home security system in top shape, and enjoy the peace of mind that comes with a properly functioning motion detector.
Now that you've got the know-how to keep your ADT motion detector running smoothly, why stop there? Home security is a vital part of maintaining safety and peace of mind. Whether you're looking to deter intruders or simply keep an eye on your property while you're away, understanding the essentials of home protection is key. Dive into our detailed discussion on why robust security measures are indispensable for every household. Don’t miss out on practical tips that could safeguard your residence against potential threats.
Frequently Asked Questions about How To Replace The Battery In An ADT Motion Detector
Was this page helpful?
At Storables.com, we guarantee accurate and reliable information. Our content, validated by Expert Board Contributors, is crafted following stringent Editorial Policies. We're committed to providing you with well-researched, expert-backed insights for all your informational needs.