Furniture
How To Change Chandelier Light Fixture
Modified: August 16, 2024
Learn how to change your chandelier light fixture and create a stunning focal point in your home. Upgrade your furniture with this simple DIY project.
(Many of the links in this article redirect to a specific reviewed product. Your purchase of these products through affiliate links helps to generate commission for Storables.com, at no extra cost. Learn more)
Introduction
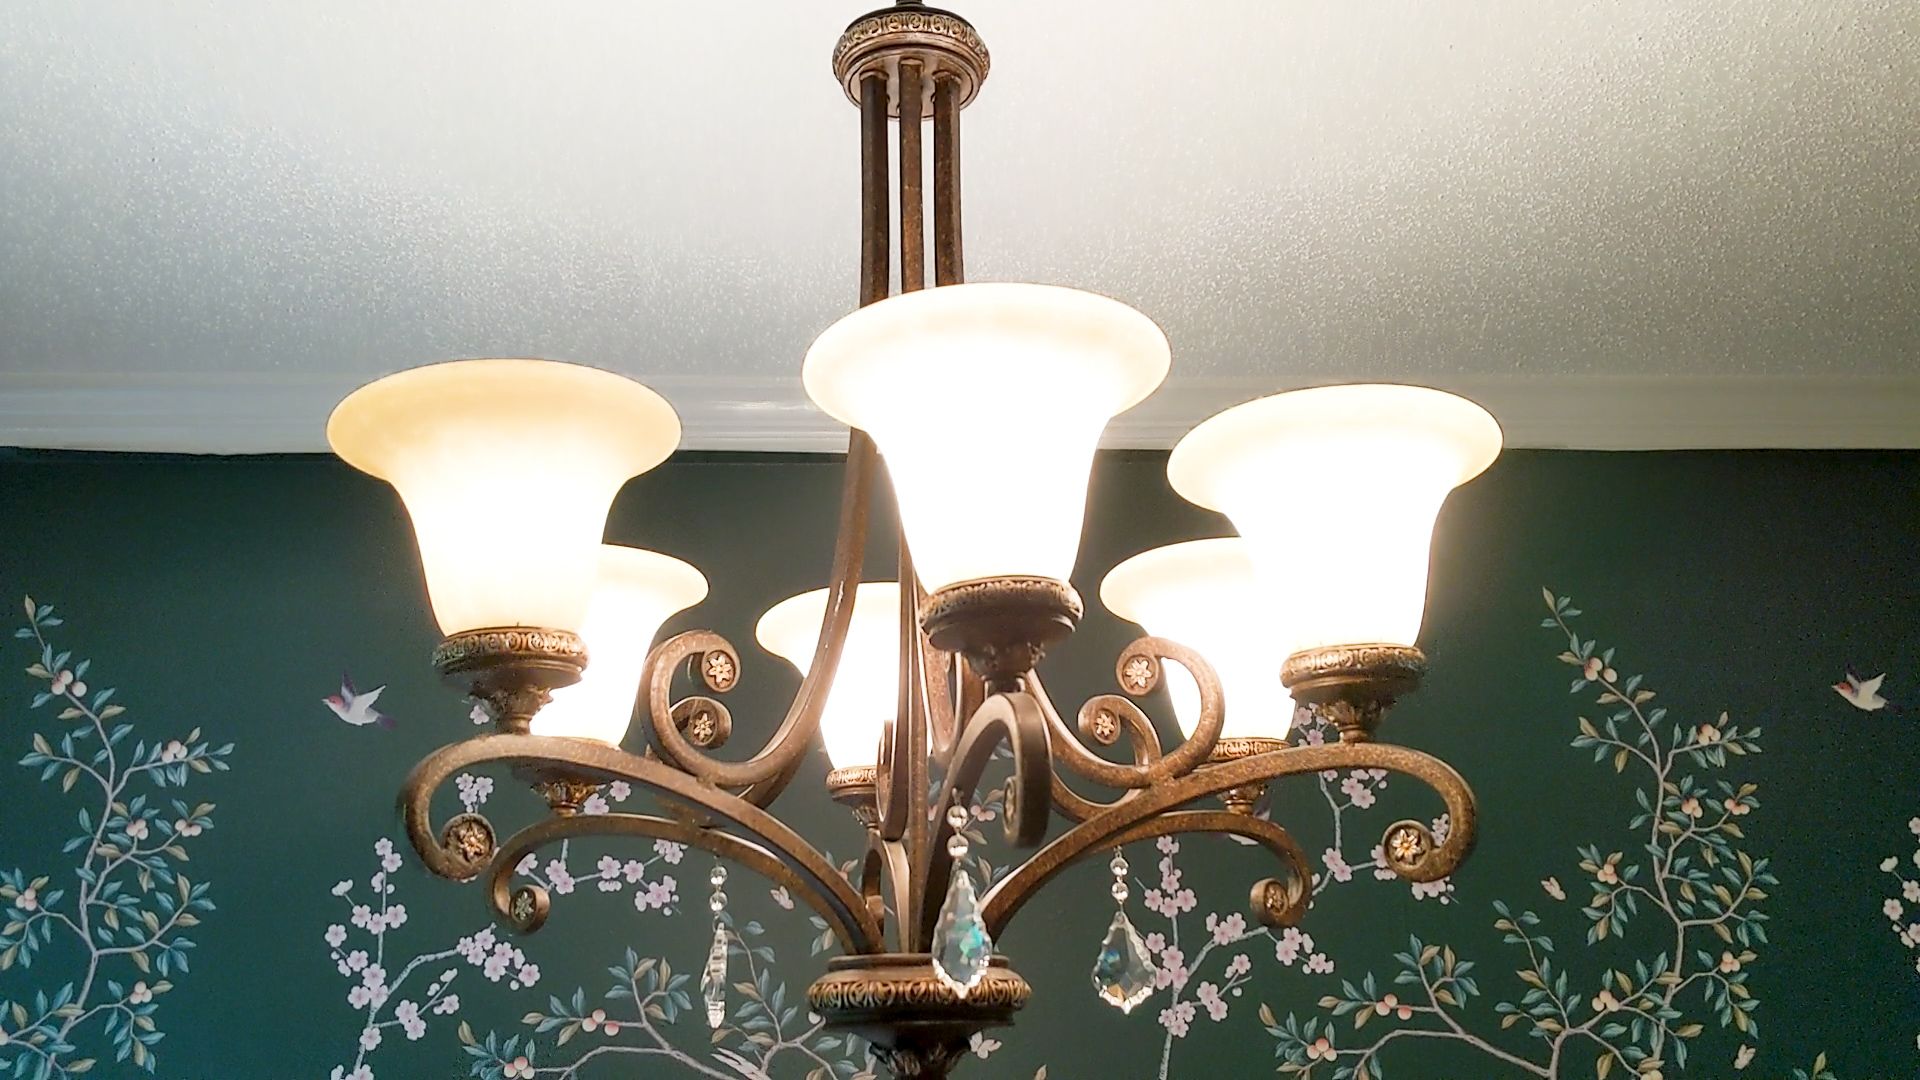
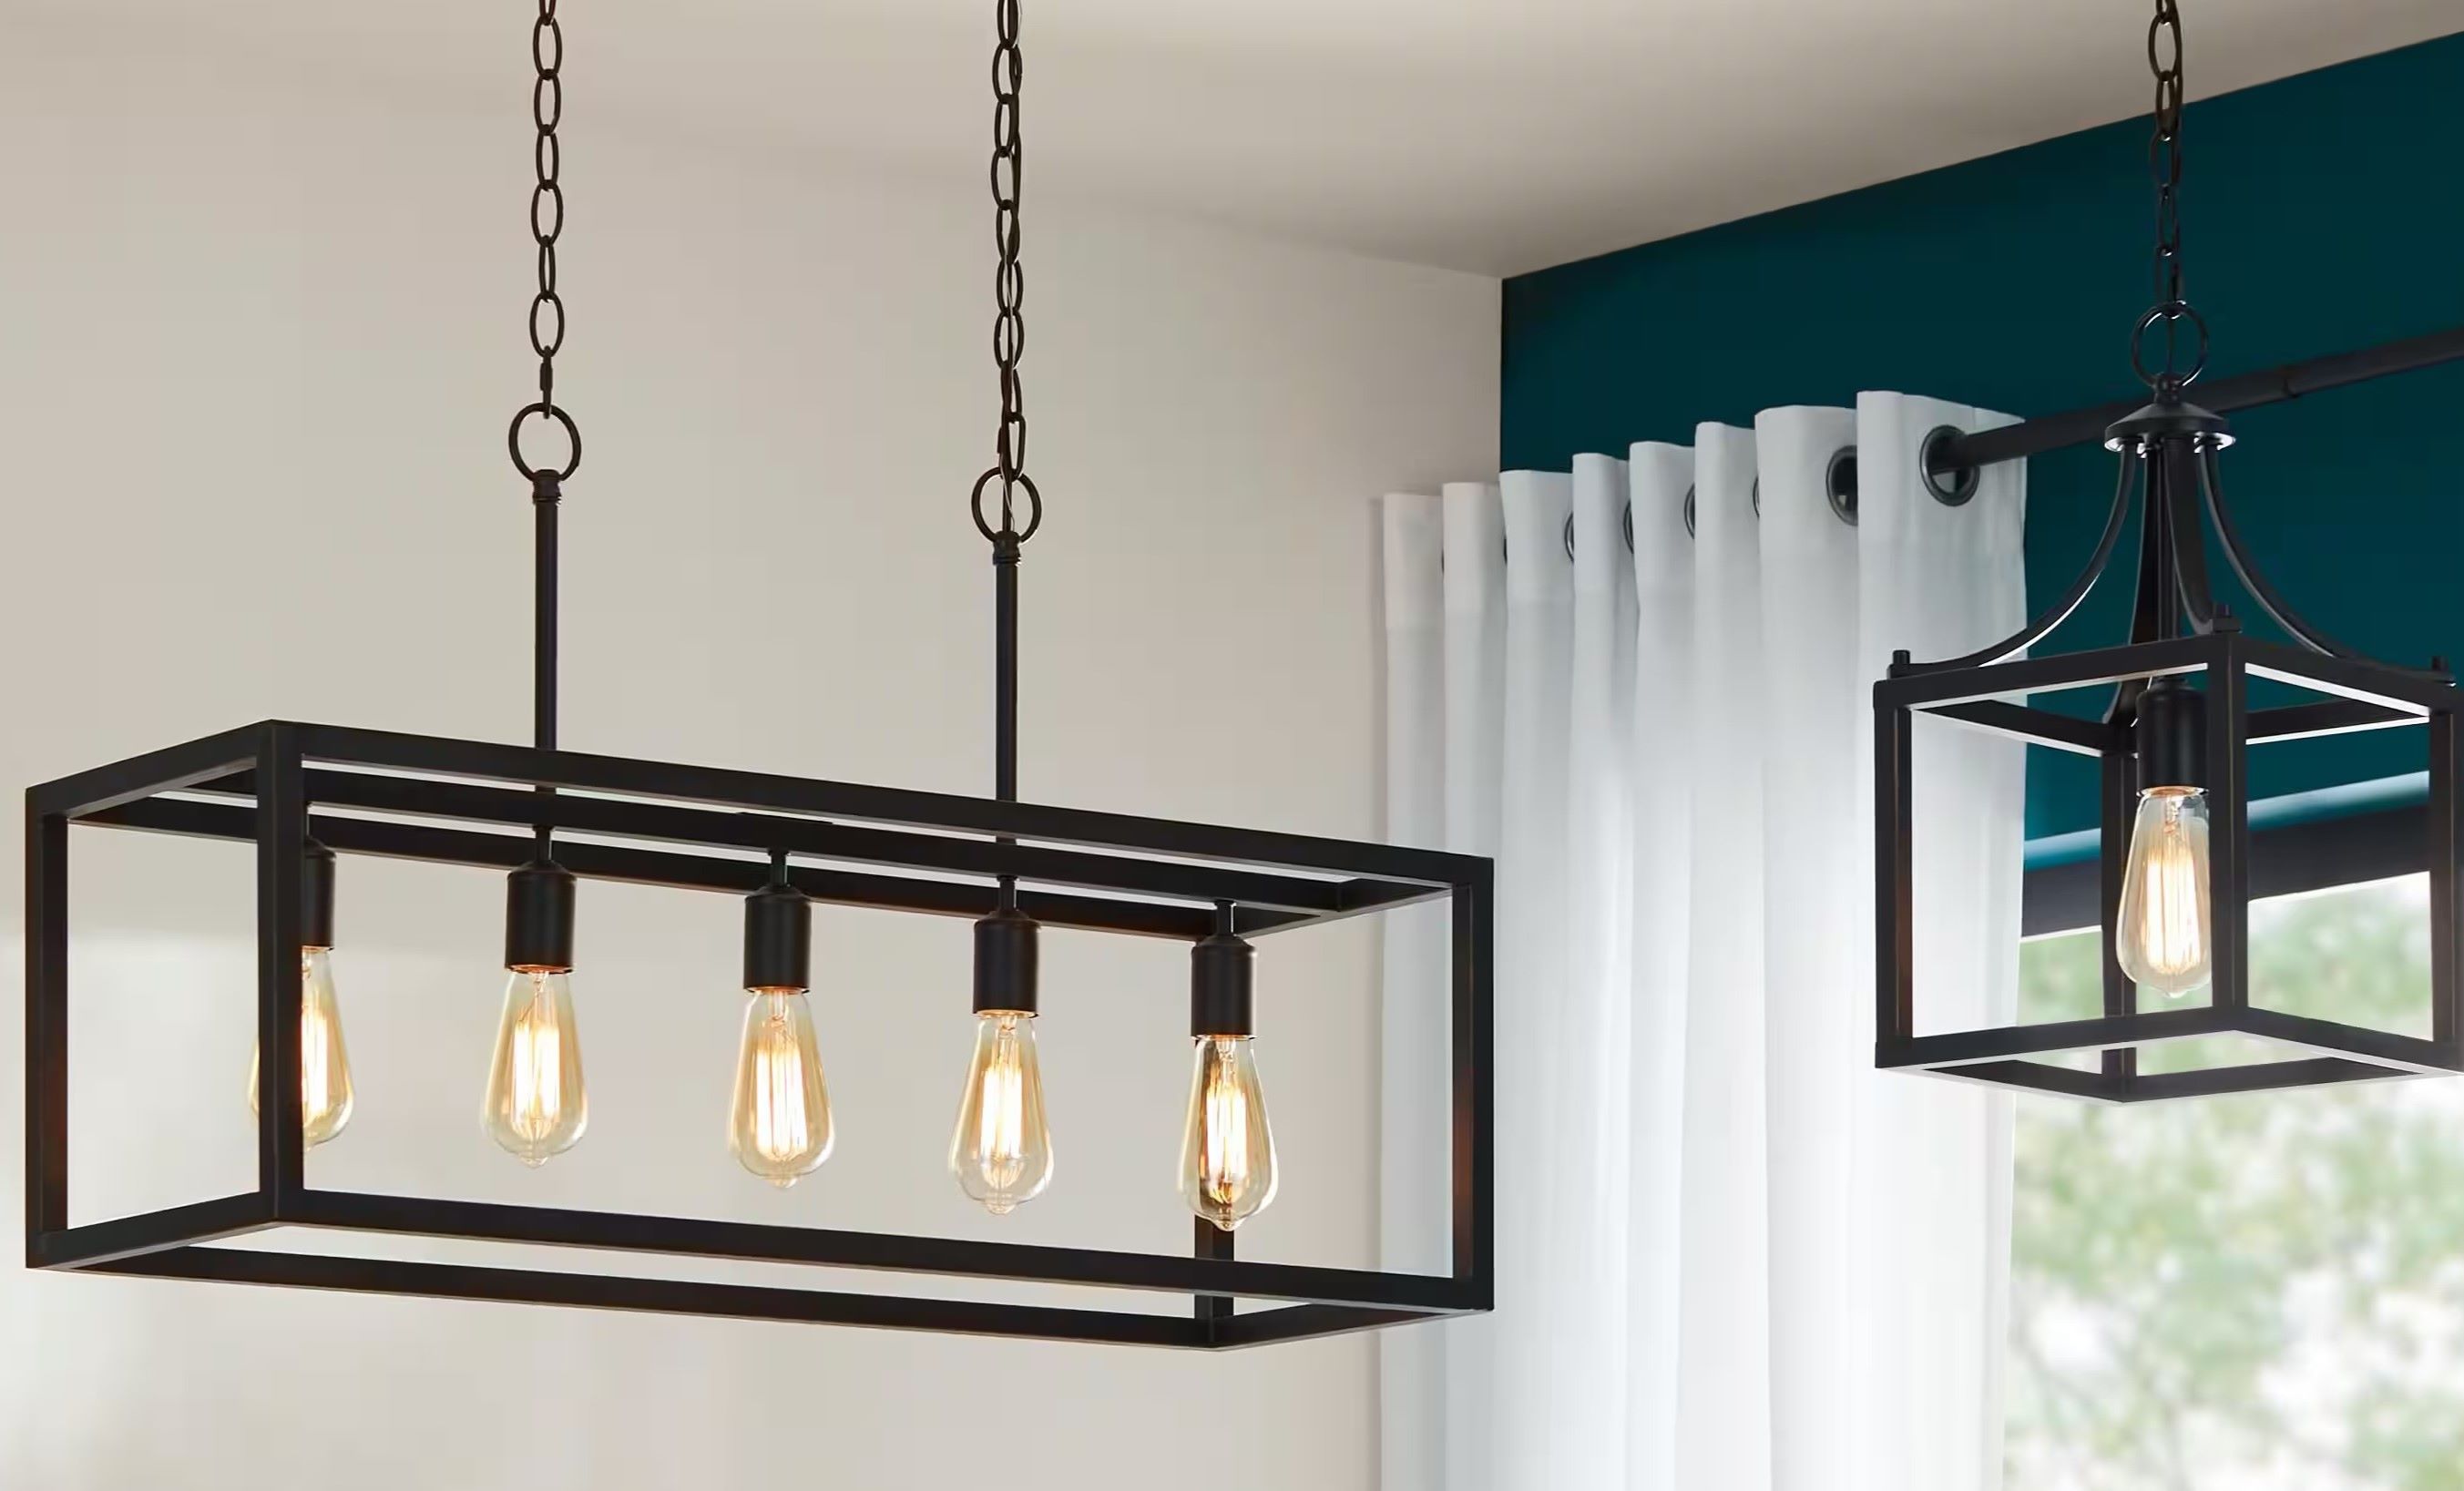
Changing a chandelier light fixture is a great way to update the look and feel of a room. Whether you’re replacing an outdated chandelier or simply want to switch to a new style, this project can transform the ambiance and aesthetics of your space. While it may seem intimidating at first, with the right tools and a step-by-step approach, you can easily tackle this task and enjoy the satisfaction of a beautifully lit room.
In this article, we will guide you through the process of changing a chandelier light fixture, from gathering the necessary tools and materials to installing the new fixture. By following our step-by-step instructions, you’ll be able to complete the project safely and efficiently, even if you have limited experience with electrical work.
Before we dive into the detailed steps, it’s important to note that working with electricity can be dangerous if not done properly. We highly recommend turning off the power to the area where you’ll be working and consulting a professional if you’re unsure about any aspect of the process.
Now, let’s gather the tools and materials you’ll need before you begin your chandelier light fixture change.
Key Takeaways:
- Transform the ambiance of your space by changing a chandelier light fixture. Prioritize safety, gather the right tools, and follow step-by-step instructions for a rewarding and beautifully lit room.
- Enjoy the satisfaction of a beautifully lit room by safely and efficiently changing a chandelier light fixture. Gather necessary tools, turn off power, and follow detailed steps for a successful transformation.
Read more: How To Change A Ceiling Light Fixture
Step 1: Gather necessary tools and materials
Before you start changing your chandelier light fixture, it’s essential to gather all the required tools and materials to ensure a smooth and efficient process. Having everything you need on hand will help you avoid delays and frustration during the installation. Here’s a list of the items you’ll need:
- Replacement chandelier light fixture
- Screwdriver (flathead and Phillips)
- Wire strippers
- Voltage tester
- Electrical tape
- Wire nuts
- Ladder or step stool
- Work gloves
- Safety goggles
- Optional: Helper (for extra support when removing and installing the chandelier)
Ensure that you have the appropriate replacement chandelier light fixture for your room. Consider the size, design, and compatibility with your existing electrical setup. It’s a good idea to measure the height and width of your current fixture to ensure the new one will fit properly. Additionally, check the weight limit of your ceiling box to ensure it can support the new chandelier.
The screwdriver will be used to remove the existing chandelier and install the new one. Make sure you have both a flathead and Phillips head screwdriver to accommodate different types of screws.
Wire strippers are necessary to remove the insulation from the electrical wires, allowing for proper connection with the new fixture. A voltage tester is crucial for verifying that the power is off before you begin working on the chandelier. It will help prevent electrical shocks or accidents.
Electrical tape is used to secure and insulate the wire connections. Wire nuts are small plastic caps that twist onto the exposed wires to join them together securely. These are essential for safe and reliable electrical connections.
A ladder or step stool is necessary to reach the chandelier safely. Ensure it is stable and in good condition to avoid accidents. Work gloves will protect your hands from sharp edges and potential electrical shocks. Safety goggles are recommended to protect your eyes from falling debris and dust.
Having an extra set of hands can be helpful when removing and installing a chandelier, as it can be heavy and cumbersome. If possible, enlist the help of a friend or family member to make the process more manageable.
Step 2: Turn off the power
Before you begin removing the existing chandelier, it’s crucial to turn off the power to the fixture. This step is essential for your safety and to avoid any electrical mishaps. Follow these steps to ensure the power is completely shut off:
- Locate the electrical circuit breaker panel in your home. It is typically found in the basement, utility room, or garage.
- Open the circuit breaker panel door. Inside, you will find rows of switches or circuit breakers.
- Look for the breaker or switch that controls the power to your chandelier. Most likely, it will be labeled as “chandelier” or “dining room light”. If the specific breaker is not labeled, you can identify it by a process of elimination. Turn on the chandelier and observe which breaker or switch causes it to turn off when flipped.
- Once you have identified the correct breaker or switch, flip it to the “off” position. This will cut off the power supply to the chandelier.
- To verify that the power is indeed off, use a voltage tester. Simply insert the tester into the chandelier’s wires and ensure that there is no electrical current flowing. If the tester does not detect any voltage, you’re ready to proceed to the next step. However, if there is still power, double-check your breaker connections or consult a professional electrician.
Turning off the power is crucial for your safety while working with electrical fixtures. Never attempt to remove or install a chandelier without first ensuring that the power is off. It’s also recommended to place a piece of electrical tape over the wall switch to remind others not to turn it on while you’re working.
Now that you’ve safely turned off the power, you’re ready to move on to the next step: removing the existing chandelier.
Step 3: Remove the existing chandelier
Now that you’ve turned off the power, it’s time to remove the existing chandelier from the ceiling. Follow these steps to ensure a safe and successful removal:
- Put on your work gloves and safety goggles for protection.
- If the chandelier has any light bulbs, remove them carefully and set them aside in a safe place.
- Locate the mounting bracket or canopy cover that holds the chandelier to the ceiling. This is typically a decorative plate that covers the electrical box.
- Using a screwdriver, remove the screws or bolts that secure the mounting bracket or canopy cover to the ceiling.
- Once the mounting bracket or canopy cover is free, gently lower the chandelier down, supporting its weight with your free hand or a helper if necessary.
- Disconnect the wiring connections between the chandelier and the electrical box by unscrewing the wire nuts. Take note of the wire colors for reference when installing the new fixture.
- Carefully remove any additional supporting screws or brackets that may be holding the chandelier in place.
- Once the chandelier is completely detached, lower it down and set it aside.
It’s important to handle the chandelier with care during removal to avoid any damage or injury. If the chandelier is heavy or awkwardly shaped, it’s advisable to have a helper assist you. Keep in mind that some chandeliers may have specific instructions or additional steps for removal, so consult the manufacturer’s guide if available.
Take this opportunity to inspect the electrical box for any signs of damage or wear. If necessary, replace the electrical box before installing the new chandelier.
With the existing chandelier successfully removed, you’re ready to move on to the next step: preparing the new light fixture.
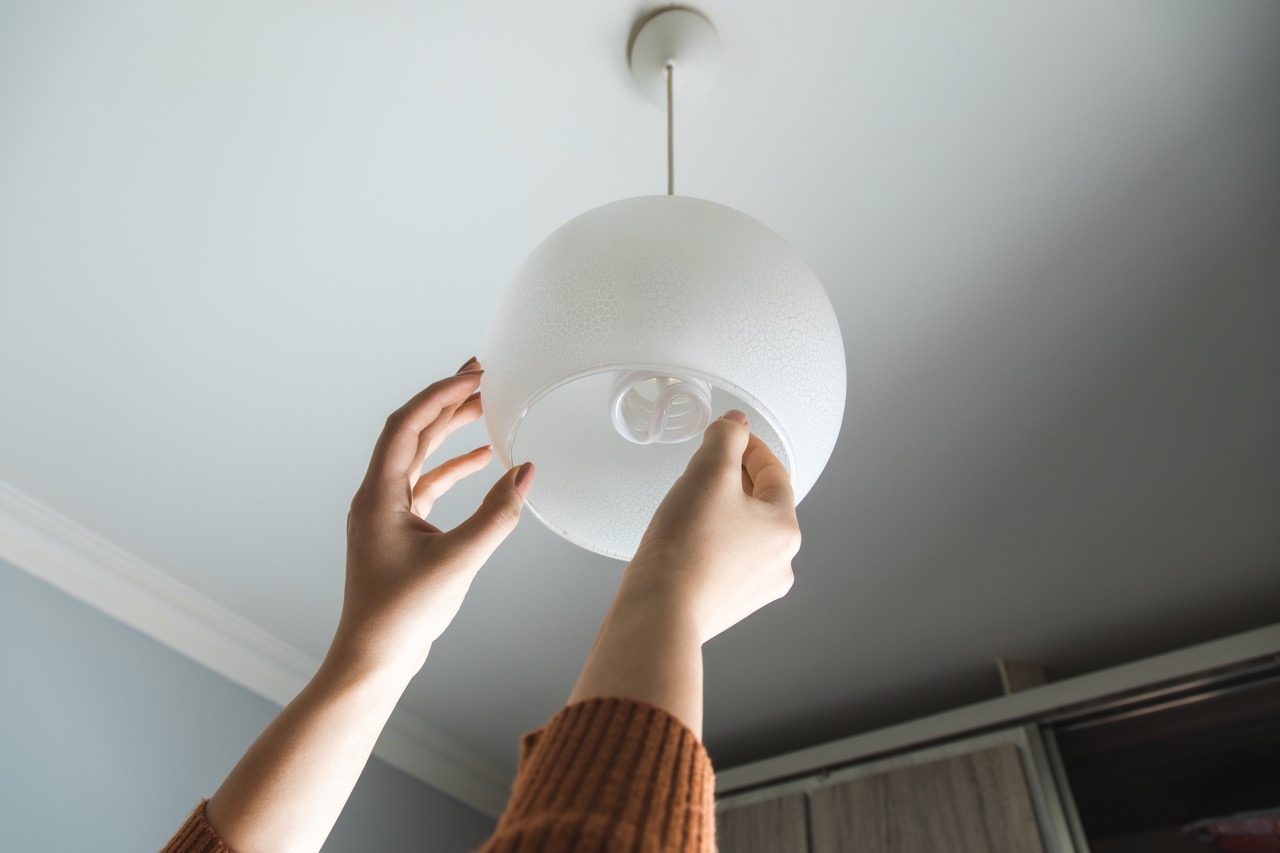
Step 4: Prepare the new light fixture
Now that you’ve removed the existing chandelier, it’s time to prepare the new light fixture for installation. Follow these steps to ensure a smooth and efficient installation:
- Take out the new light fixture from its packaging and carefully inspect it for any damage or missing parts. Ensure that it matches your desired style and specifications.
- Read the manufacturer’s instructions and familiarize yourself with the specific installation steps and requirements for your new light fixture. This will help you understand any unique features or considerations that need to be taken into account during the installation process.
- If necessary, assemble any components of the light fixture according to the instructions. This may include attaching mounting brackets, connecting arms or branches, or installing decorative elements.
- Check the wiring of the new light fixture. Ensure that the wires are in good condition and free of any fraying or damage. If needed, trim the wires to a suitable length, leaving enough slack for easy connection.
- Strip the ends of the wires to expose about half an inch of bare copper. Use wire strippers to carefully remove the insulation from the ends of the wires.
- If your new light fixture has grounding wires, ensure that they are properly connected. This usually involves attaching the grounding wire from the fixture to the grounding wire in the electrical box using a wire nut or grounding clip. Refer to the manufacturer’s instructions for specific guidance.
- If your new light fixture requires light bulbs, insert them into the sockets following the manufacturer’s recommendations. Ensure that you are using bulbs of the correct wattage and type for the fixture.
Preparation is key to a successful installation. Taking the time to carefully inspect and assemble your new light fixture will ensure that it is ready for installation and will function properly once installed. By familiarizing yourself with the manufacturer’s instructions and making any necessary adjustments or connections, you will be well-prepared for the next step: connecting the wiring.
When changing a chandelier light fixture, always turn off the power at the circuit breaker before starting. Use a voltage tester to ensure the power is off before touching any wires.
Read more: How To Change Bulb In Outdoor Light Fixture
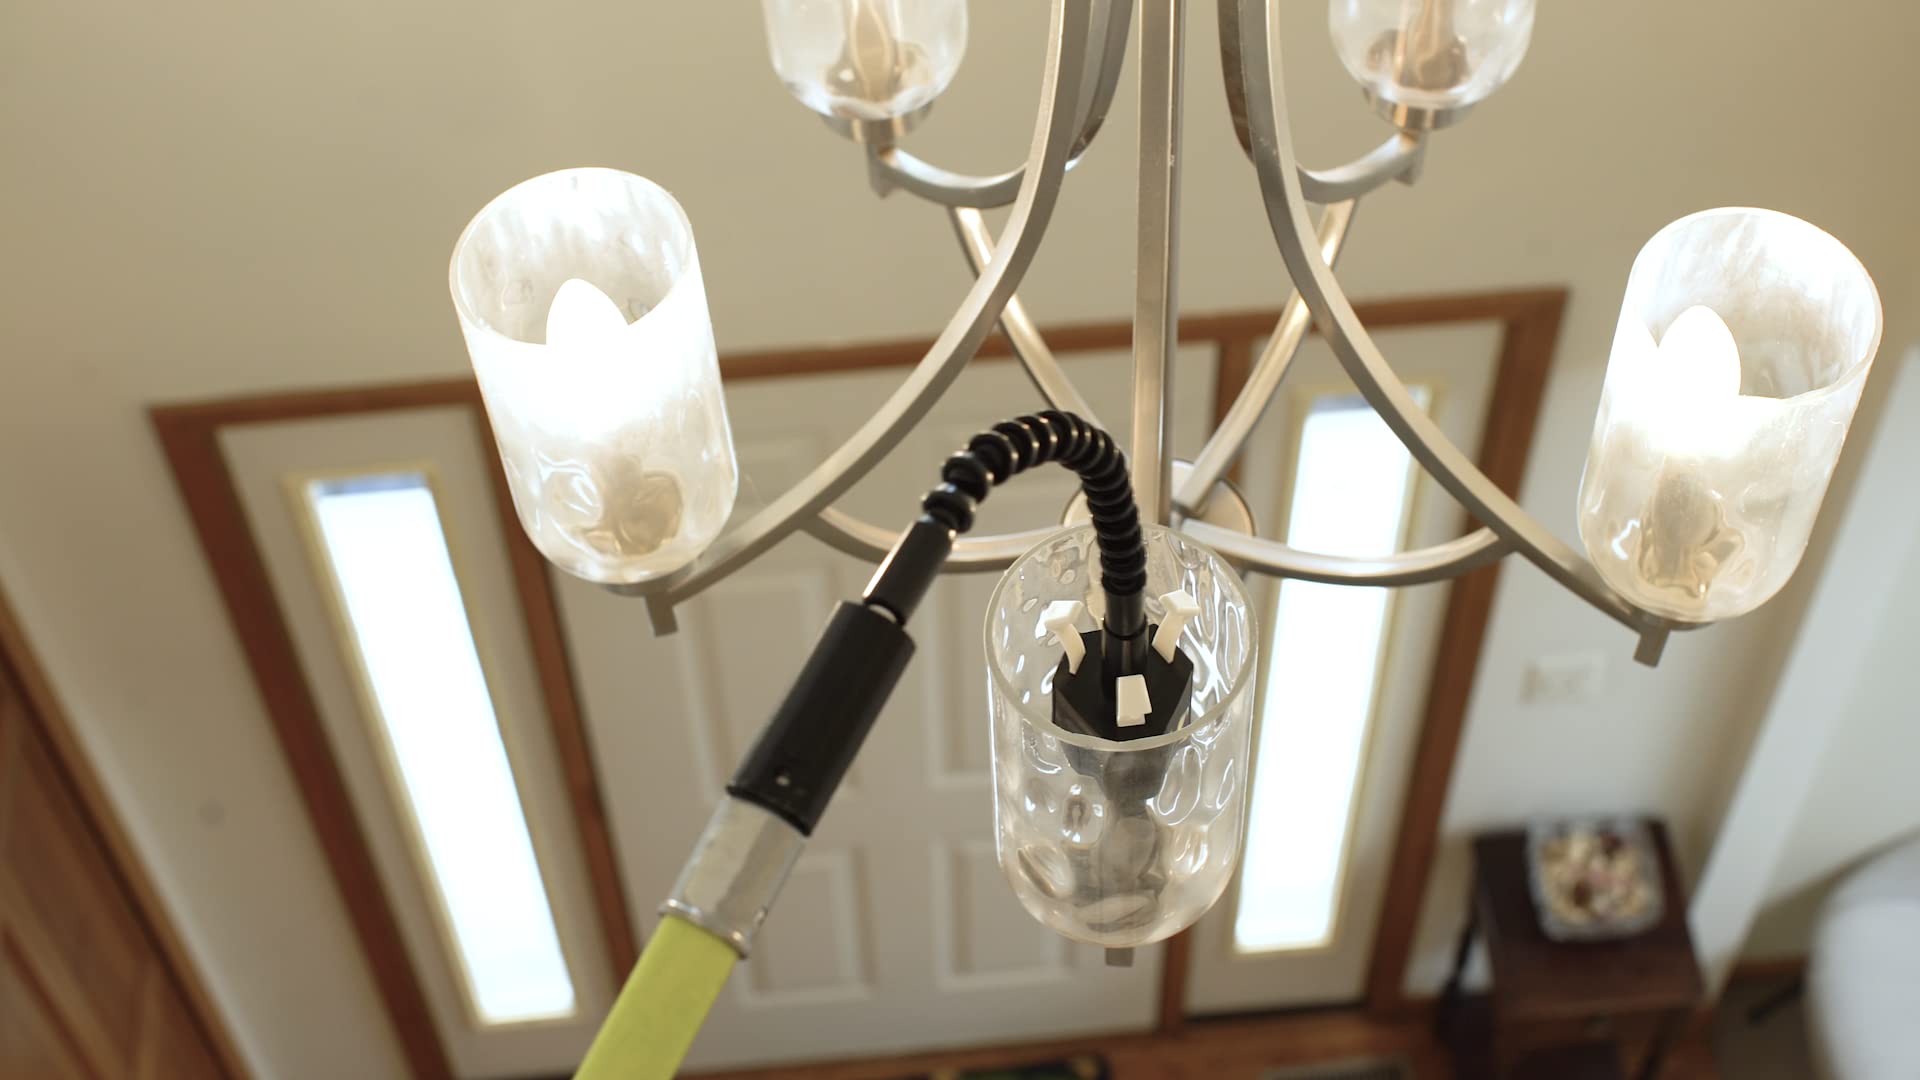
Step 5: Connect the wiring
With the new light fixture prepared, it’s time to connect the wiring to ensure proper functionality. Follow these steps to safely and securely connect the wires for your new chandelier:
- First, turn off the power to the area by flipping the corresponding circuit breaker in your electrical panel. Use a voltage tester to verify that there is no electrical current flowing to the wires.
- If the existing chandelier wires are still connected to the electrical box, untwist the wire nuts and separate the wires. If they have already been disconnected, proceed to the next step.
- Take note of the wire colors on your new light fixture: typically black or red for the hot wire, white for the neutral wire, and green or bare copper for the grounding wire. If your new fixture has different wire colors, refer to the manufacturer’s instructions.
- Hold the new fixture near the electrical box and match the corresponding wires. Twist the exposed ends of the black or red wires from the fixture with the black or red wires from the electrical box together in a clockwise direction. Secure the connection by twisting a wire nut over the joined wires.
- Repeat the same process for connecting the white wires (neutral) and the grounding wires, if applicable. It’s important to ensure that all connections are secure and tight to prevent any loose or exposed wires.
- After connecting each set of wires, gently tuck them back into the electrical box. Ensure that there is enough space for the new fixture to fit comfortably.
- Once all the wiring is securely connected, carefully raise the new light fixture towards the ceiling, aligning it with the mounting bracket or canopy cover.
- Follow the manufacturer’s instructions for attaching the new light fixture to the mounting bracket or canopy cover. This may involve securing matching screws or locking mechanisms.
Pay close attention to the wiring connections as they are crucial for the proper functioning of your new chandelier. Double-check that all wires are securely connected and insulated with wire nuts. If any wires are frayed or damaged, replace them before proceeding with the installation.
With the wiring successfully connected, you’re ready to move on to the next step: attaching the new chandelier.
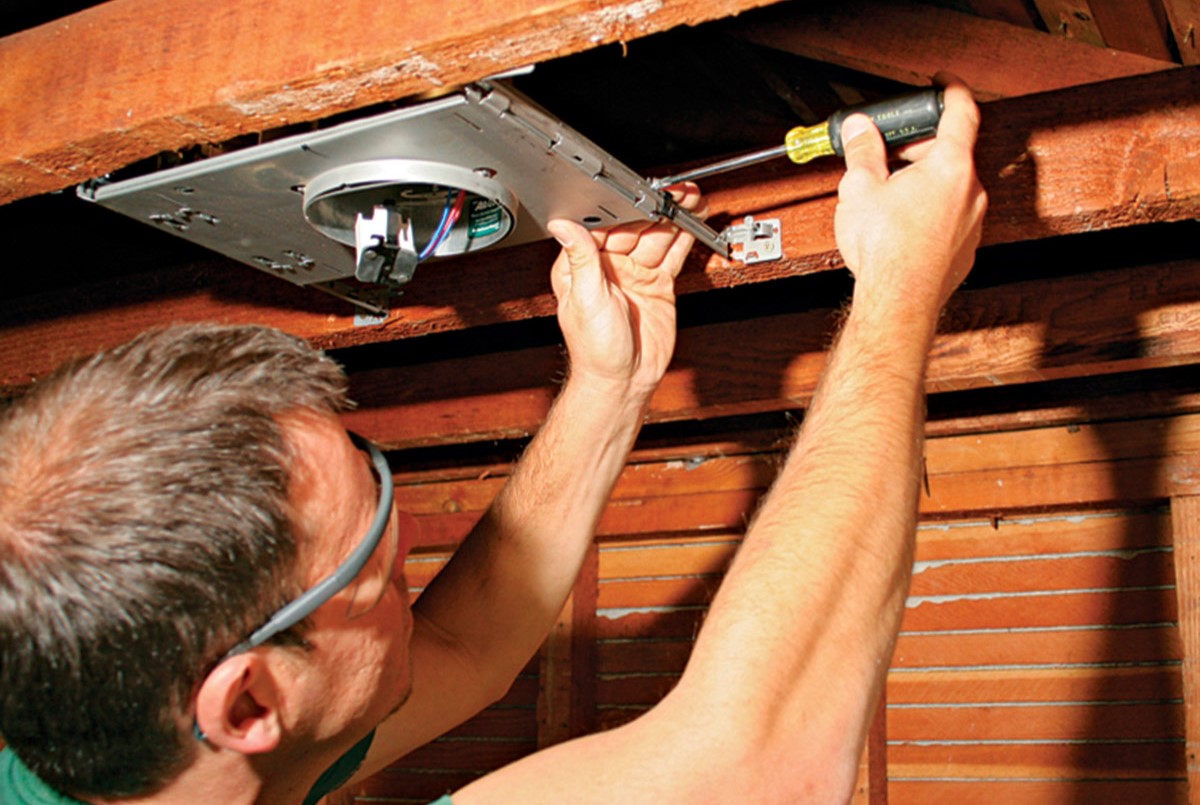
Step 6: Attach the new fixture
With the wiring securely connected, it’s time to attach the new light fixture to the ceiling. Follow these steps to ensure a proper and stable installation:
- Start by aligning the mounting bracket or canopy cover on the new light fixture with the corresponding bracket on the ceiling. The bracket should slide or twist into place, securing the fixture against the ceiling.
- Using a screwdriver, tighten the screws or bolts on the mounting bracket or canopy cover, ensuring that the fixture is held securely in place.
- If your new light fixture has decorative elements or shades that need to be attached, follow the manufacturer’s instructions to do so. This may involve twisting or locking the elements into place.
- Give the new fixture a gentle tug or shake to ensure that it is securely attached to the ceiling and won’t move or fall loose.
It’s important to ensure that the new chandelier is properly attached to the ceiling to prevent any accidents or instability. Take your time to ensure that all screws and bolts are tightened securely, and that any decorative elements or shades are properly attached. If you encounter any difficulties or uncertainties during this step, consult the manufacturer’s instructions or seek professional assistance.
Once the new fixture is securely attached, you’re ready to move on to the next step: testing the new chandelier.
Step 7: Test the new chandelier
After successfully installing the new chandelier, it’s important to test it to ensure that it’s functioning properly and providing the desired lighting effect. Follow these steps to test your new chandelier:
- Turn on the power to the chandelier by flipping the corresponding circuit breaker in your electrical panel.
- Make sure the wall switch connected to the chandelier is in the on position.
- Step back and observe if the chandelier lights up as expected. Check if all bulbs are functioning and providing the desired amount and quality of light.
- If there are any issues with the lighting, turn off the power at the circuit breaker and inspect the wiring connections. Make sure all wires are securely connected and that there are no loose or exposed wires.
- If necessary, replace any faulty bulbs with new ones of the correct wattage and type.
- Adjust any dimmer switches or lighting controls connected to the chandelier to achieve the desired brightness or ambiance.
- Take the opportunity to observe the chandelier from different angles and positions in the room to ensure that it is well balanced and visually pleasing.
Testing the new chandelier will ensure that it is installed correctly and functioning as intended. It will also allow you to address any issues or make any necessary adjustments before completing the installation process. If you encounter any difficulties during testing or notice any concerns with the chandelier’s performance, consult the manufacturer’s instructions or seek professional assistance.
With the new chandelier successfully tested and functioning, you’re almost done. Just a few more steps to go to complete the process!
Step 8: Clean up and finish
Now that you’ve successfully installed and tested your new chandelier, it’s time to clean up and put the finishing touches to complete the process. Follow these steps to ensure a clean and polished final result:
- Turn off the power to the chandelier by flipping the corresponding circuit breaker in your electrical panel.
- Make sure the chandelier has had sufficient time to cool down before handling any parts or cleaning.
- Remove any protective covering or plastic wrap from the chandelier or its components.
- Use a microfiber cloth or a soft cloth to gently wipe down the chandelier, removing any dust or debris that may have accumulated during installation.
- If the chandelier has glass or crystal components, use a glass cleaner or a mixture of mild soap and warm water to clean them. Gently wipe them dry to prevent water spots or streaks.
- Dispose of any packaging materials, such as boxes or plastic wraps, in an appropriate manner.
- Remove any ladders, step stools, or tools that were used during the installation and store them in a safe place.
- Inspect the area around the chandelier for any visible damage or issues. If you notice any problems, such as cracks in the ceiling or loose screws, address them promptly or seek professional assistance if necessary.
- Finally, turn on the power to the chandelier by flipping the corresponding circuit breaker in your electrical panel and admire the new chandelier in all its well-lit glory!
By taking the time to clean up and ensure that everything is in order, you can complete the installation process with a polished and professional finish. Properly cleaning and maintaining your chandelier will help prolong its lifespan and keep it looking its best.
Congratulations! You’ve successfully changed your chandelier light fixture and transformed the ambiance of your space. Enjoy the beauty and functionality of your new chandelier for years to come!
Note: If you’re unsure about any aspect of the installation or encounter any difficulties during the process, it’s always recommended to consult a professional electrician for assistance to ensure safety and proper installation.
Read more: How To Change Bathtub Fixtures
Conclusion
Changing a chandelier light fixture can have a significant impact on the overall look and feel of a room. By following the step-by-step process outlined in this article, you can successfully replace your existing chandelier with a new one, enhancing the ambiance and aesthetic appeal of your space.
Throughout the process, it’s important to prioritize safety. Always turn off the power to the area where you’ll be working and use caution when handling electrical components. If you’re unsure about any step or encounter any difficulties, it’s best to consult a professional electrician for assistance.
Gathering the necessary tools and materials before starting the project is key to a smooth installation. Having the right equipment on hand will help you avoid delays and frustration along the way. Additionally, taking the time to prepare the new light fixture and connect the wiring properly is crucial for the chandelier’s functionality and longevity.
Once the new fixture is securely attached and the wiring is properly connected, it’s time to test the chandelier to ensure it’s functioning as expected. Make any necessary adjustments or replacements, if needed, to achieve the desired lighting effect.
After completing the installation and testing, it’s important to clean up the area and put the finishing touches. Take the time to wipe down the chandelier, dispose of any packaging materials, and inspect the area for any damage or issues. By doing so, you’ll have a clean and polished final result.
Changing a chandelier light fixture may seem like a daunting task, but with the right tools, knowledge, and attention to detail, it can be a rewarding project. Enjoy the beautiful illumination and ambiance that your new chandelier brings to your space, knowing that you successfully completed the task with safety and precision.
Remember, if you’re unsure about any aspect of the installation or encounter any difficulties, it’s always best to seek professional assistance. Safety should always be the top priority. Now, go and enjoy your newly installed chandelier!
Frequently Asked Questions about How To Change Chandelier Light Fixture
Was this page helpful?
At Storables.com, we guarantee accurate and reliable information. Our content, validated by Expert Board Contributors, is crafted following stringent Editorial Policies. We're committed to providing you with well-researched, expert-backed insights for all your informational needs.


0 thoughts on “How To Change Chandelier Light Fixture”