Home>Renovation & DIY>Home Renovation Guides>How To Clean Glass Backsplash Tiles
Home Renovation Guides
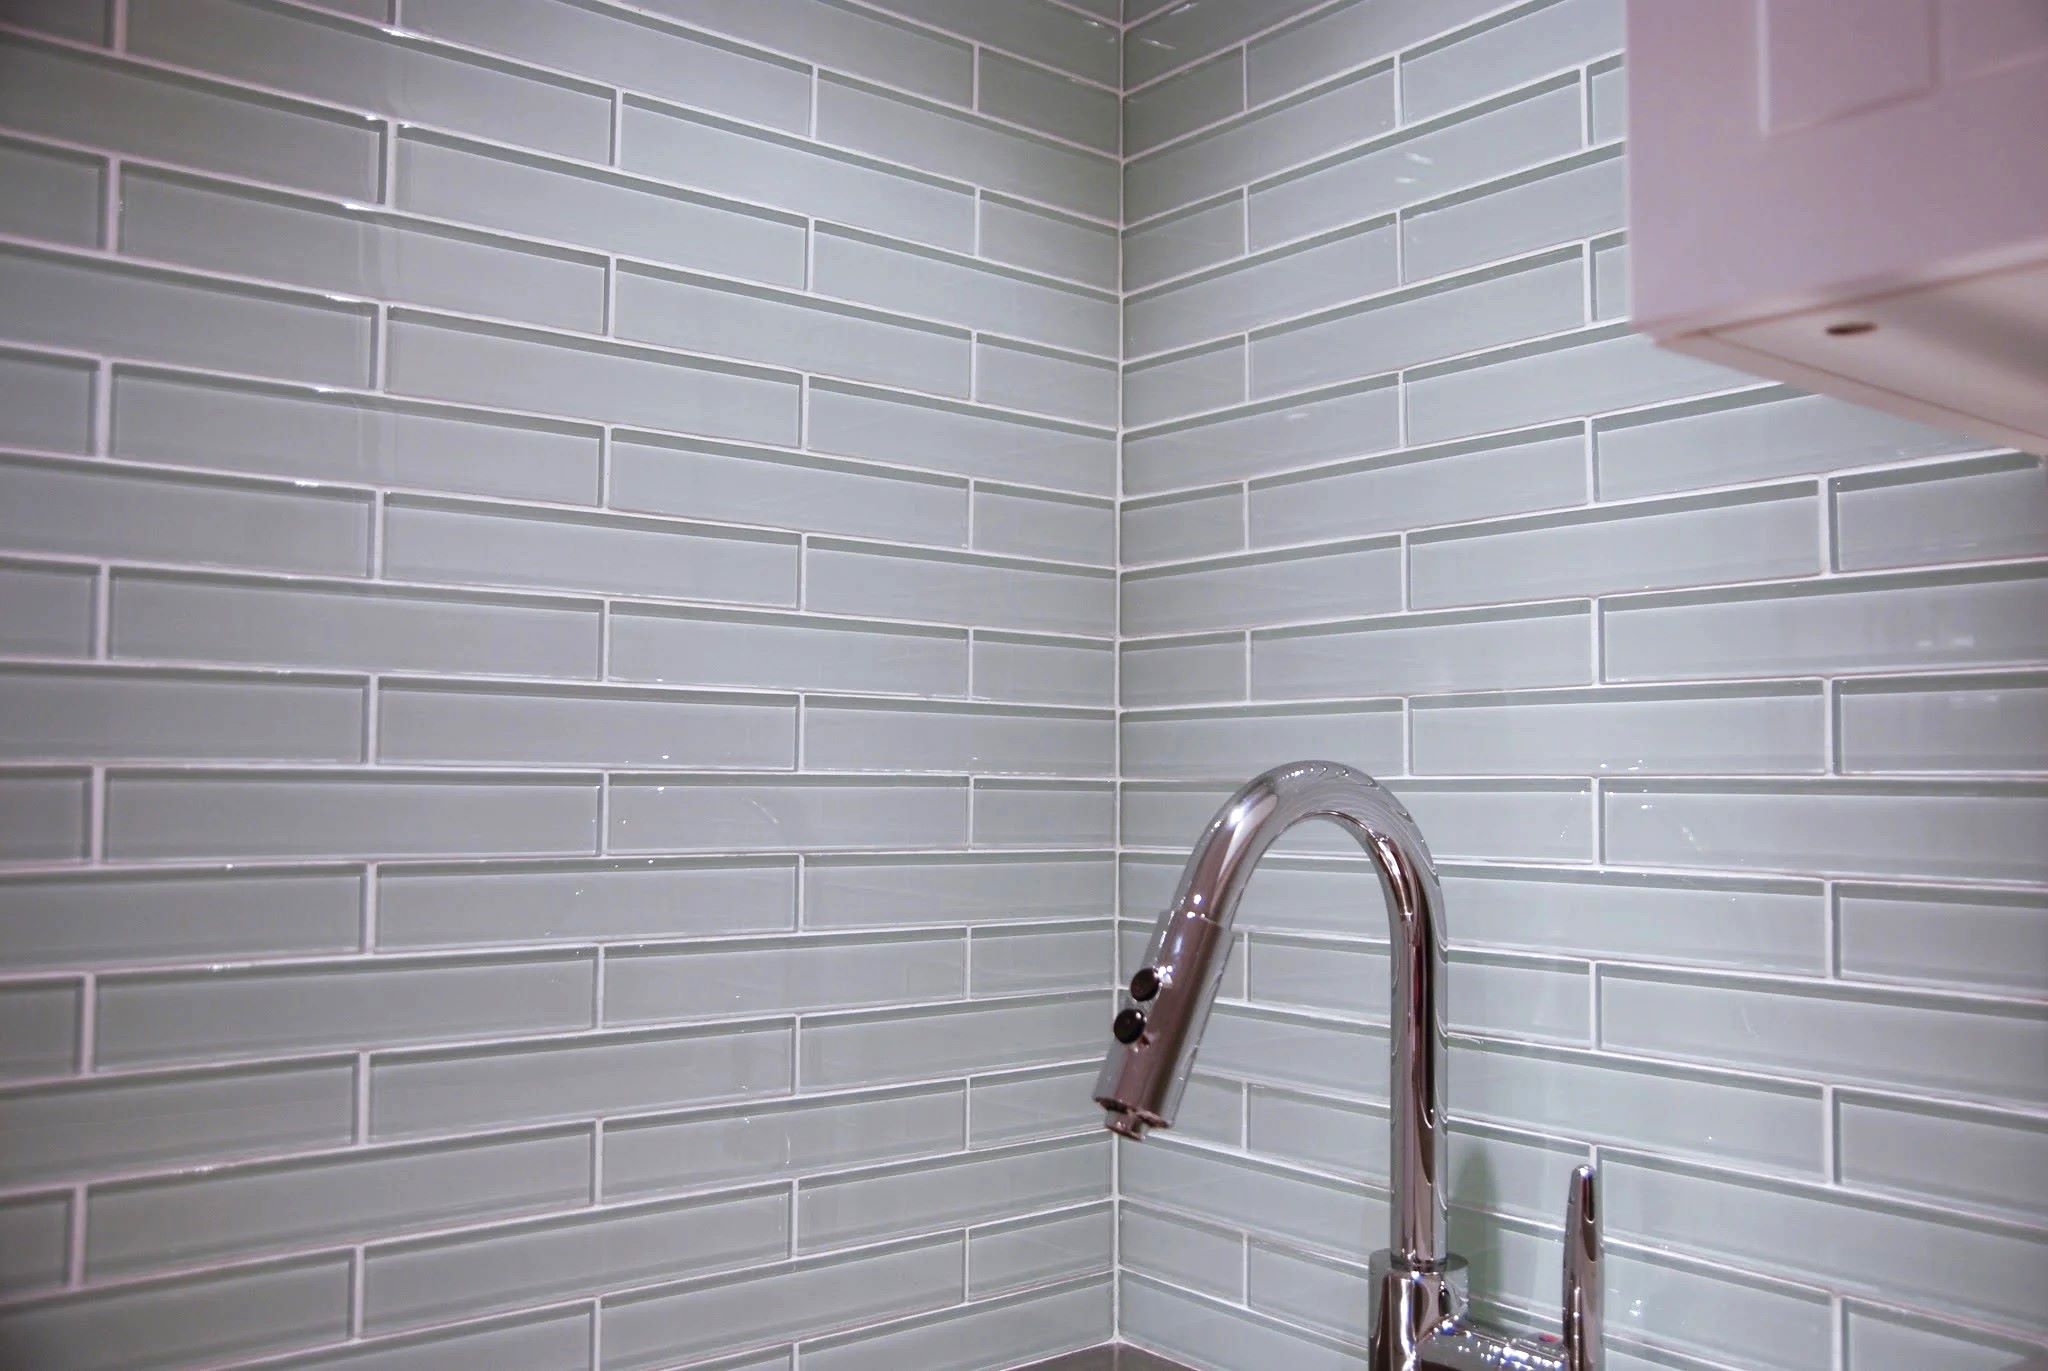
How To Clean Glass Backsplash Tiles
Modified: October 20, 2024
Learn how to clean glass backsplash tiles with our comprehensive home renovation guide. Keep your kitchen looking pristine and beautiful.
(Many of the links in this article redirect to a specific reviewed product. Your purchase of these products through affiliate links helps to generate commission for Storables.com, at no extra cost. Learn more)
Introduction
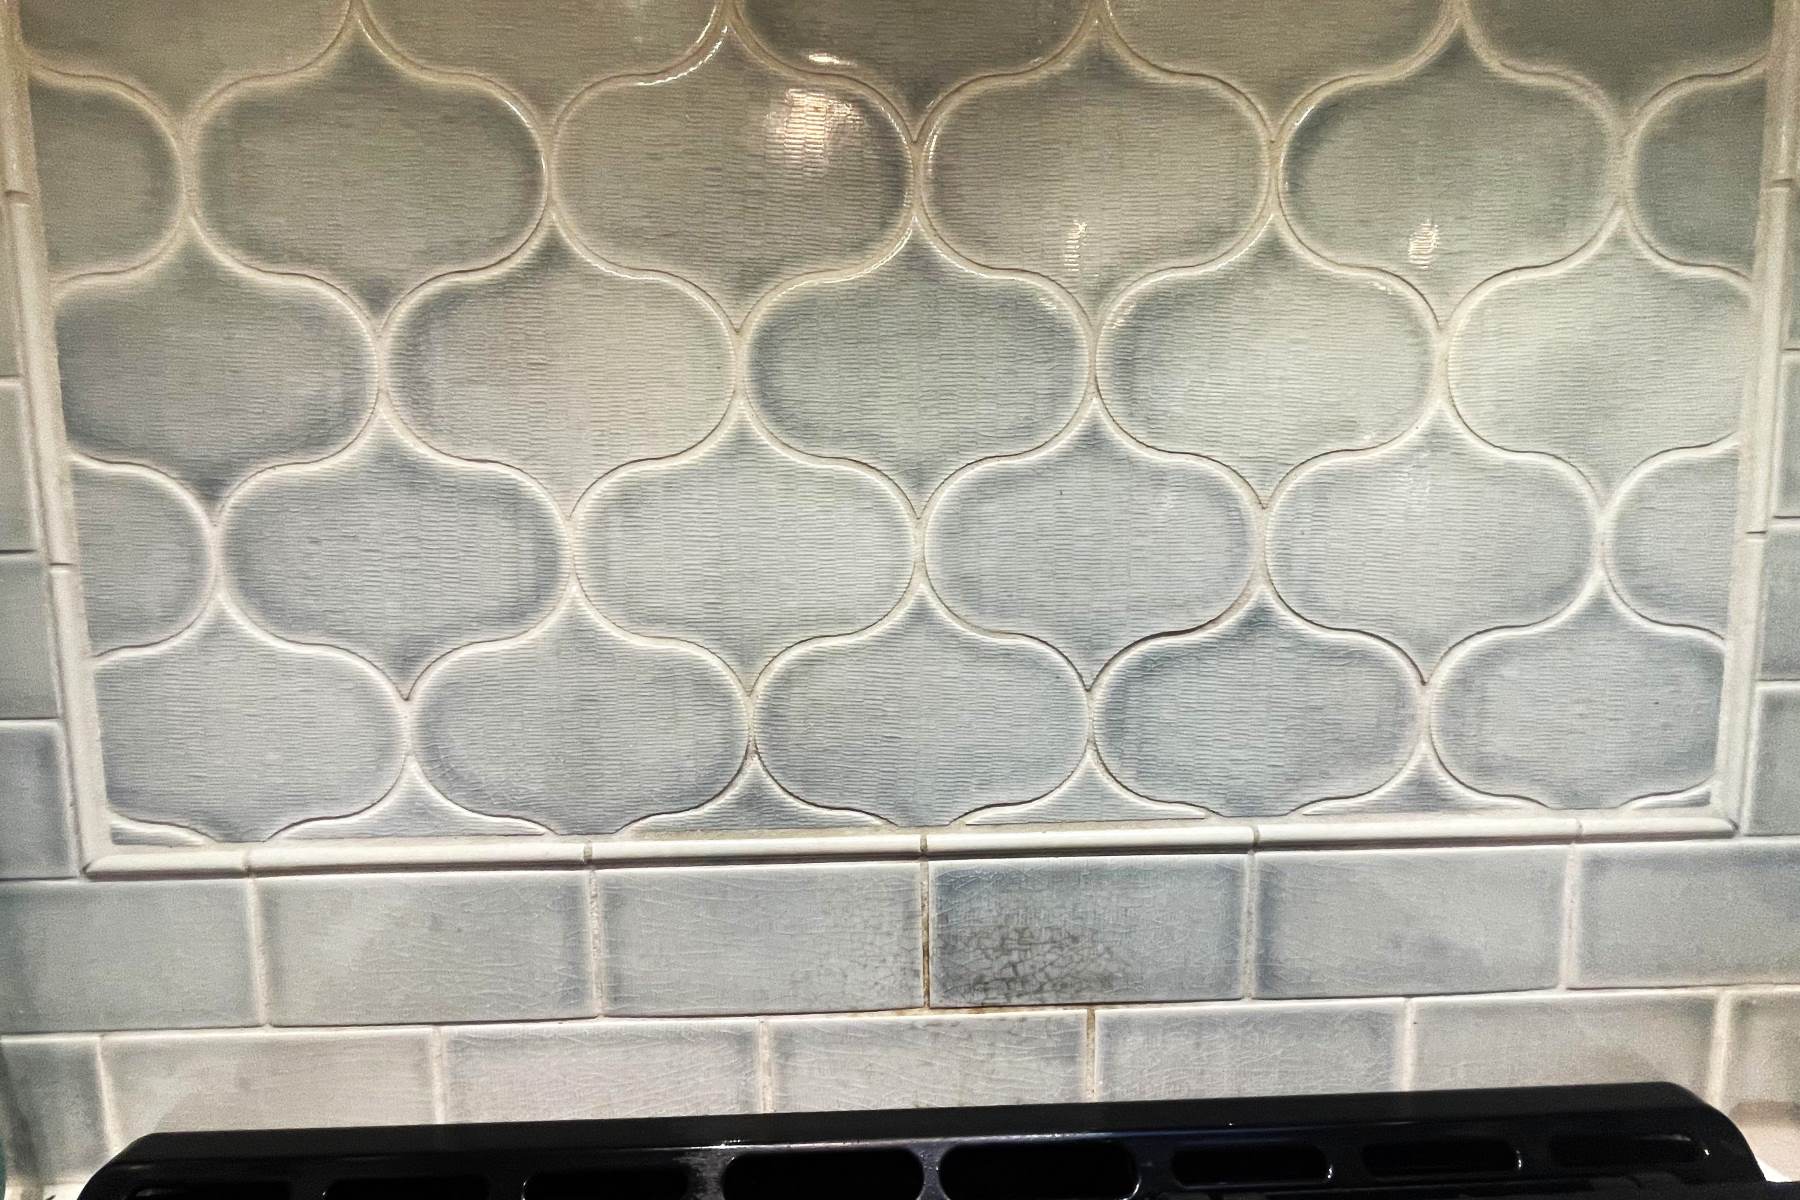
Cleaning glass backsplash tiles is an essential part of maintaining the beauty and functionality of your kitchen or bathroom. Over time, these sleek and reflective surfaces can accumulate dirt, grease, and grime, diminishing their luster and detracting from the overall aesthetic of the space. However, with the right techniques and a bit of elbow grease, you can restore your glass backsplash to its original brilliance.
In this comprehensive guide, we will walk you through the step-by-step process of cleaning glass backsplash tiles effectively. Whether you're dealing with a few stubborn smudges or a layer of built-up residue, this guide will equip you with the knowledge and tools needed to achieve a sparkling, streak-free finish. By following these simple yet effective methods, you can revitalize your glass backsplash and elevate the visual appeal of your kitchen or bathroom.
A clean glass backsplash not only enhances the aesthetics of the room but also contributes to a hygienic environment. Given that backsplashes are often located near cooking areas, they are prone to accumulating grease, food splatters, and other residues. Regular cleaning not only ensures a pristine appearance but also promotes a healthy and sanitary living space for you and your family.
Without further ado, let's delve into the step-by-step process of cleaning your glass backsplash tiles, allowing you to enjoy a gleaming and inviting space that reflects your attention to detail and care for your home.
Key Takeaways:
- Keep your glass backsplash sparkling by gathering supplies like mild dish soap, vinegar, and a squeegee. Prepare the surface, clean gently, rinse, and polish for a streak-free finish.
- Maintain a hygienic and inviting kitchen or bathroom by following the step-by-step process to clean glass backsplash tiles. Enjoy a gleaming space that reflects your care for your home.
Read more: How To Remove Glass Tile Backsplash
Step 1: Gather Your Supplies
Before embarking on the task of cleaning your glass backsplash tiles, it's essential to gather the necessary supplies to ensure a thorough and effective cleaning process. Having the right tools at your disposal will streamline the task and help you achieve optimal results. Here's a comprehensive list of supplies you'll need:
-
Mild Dish Soap: Opt for a gentle, non-abrasive dish soap that is suitable for cleaning glass surfaces. This will serve as the primary cleaning agent for removing grease, grime, and other residues from the backsplash.
-
White Vinegar: Vinegar is a versatile and effective natural cleaner that can help dissolve tough stains and mineral deposits on glass surfaces. It's an excellent alternative to chemical-based cleaners and is safe to use in food preparation areas.
-
Spray Bottle: A clean spray bottle will be used to create a diluted vinegar solution for cleaning the glass backsplash. This will allow for easy application and distribution of the cleaning solution onto the surface.
-
Microfiber Cloth or Soft Sponge: Choose a non-abrasive cleaning tool such as a microfiber cloth or a soft sponge to avoid scratching or damaging the glass surface. These materials are gentle yet effective at lifting and removing dirt and grime.
-
Squeegee: A squeegee is a handy tool for drying the glass backsplash after cleaning. It helps to remove excess water and minimize streaking, leaving the surface with a polished finish.
-
Rubbing Alcohol: Rubbing alcohol is useful for tackling stubborn residues and streaks on the glass surface. It evaporates quickly and leaves the glass sparkling clean.
-
Lint-Free Towels: Opt for lint-free towels or cloths to dry the glass backsplash without leaving behind any fibers or lint, which can detract from the pristine appearance of the surface.
-
Protective Gloves: While not directly related to the cleaning process, wearing protective gloves is advisable, especially if you have sensitive skin or are using cleaning solutions. This simple precaution can help safeguard your hands during the cleaning process.
By ensuring that you have all these supplies on hand, you'll be well-prepared to tackle the task of cleaning your glass backsplash tiles with confidence and efficiency. With the right tools at your disposal, you can proceed to the next step of preparing the surface for cleaning, setting the stage for a successful cleaning endeavor.
Step 2: Prepare the Surface
Before diving into the actual cleaning process, it's crucial to prepare the glass backsplash surface to ensure that the cleaning efforts yield optimal results. Proper preparation sets the stage for effective dirt and grime removal, ultimately leading to a sparkling and streak-free finish. Here's a detailed breakdown of the essential steps involved in preparing the surface for cleaning:
Clear the Area
Begin by clearing the immediate area around the glass backsplash. Remove any decorative items, kitchen utensils, or other objects that may obstruct access to the backsplash. Clearing the area not only provides unobstructed access to the entire surface but also prevents accidental splashing of cleaning solutions onto nearby items.
Ventilation
Proper ventilation is key to creating a comfortable and safe environment for the cleaning process. Open windows and turn on exhaust fans to ensure adequate airflow. This helps dissipate any fumes from cleaning solutions and promotes a fresh atmosphere, especially when using vinegar or other cleaning agents.
Read more: How To Install Glass Tile Backsplash
Protect Surrounding Surfaces
To safeguard adjacent surfaces from potential splashes or spills during the cleaning process, consider placing protective coverings or towels over countertops, appliances, and any other nearby areas. This precautionary measure helps prevent the spread of cleaning solutions and minimizes the need for additional cleaning after the glass backsplash is cleaned.
Test Cleaning Solutions
Before applying any cleaning solution to the entire glass backsplash, it's advisable to conduct a small patch test in an inconspicuous area. This allows you to assess the compatibility of the cleaning solution with the glass surface and ensures that it does not cause any adverse effects such as discoloration or damage. Once the test confirms the suitability of the cleaning solution, you can proceed with confidence.
Inspect for Stubborn Stains
Take a close look at the glass surface to identify any stubborn stains, dried-on food particles, or residues that may require extra attention during the cleaning process. By identifying problem areas beforehand, you can tailor your cleaning approach to effectively address these specific areas, ensuring a thorough and comprehensive cleaning outcome.
By meticulously preparing the surface for cleaning, you lay the groundwork for a successful and efficient cleaning process. These preparatory steps not only contribute to the overall effectiveness of the cleaning endeavor but also help minimize potential issues and ensure a smooth transition to the subsequent cleaning stages. With the surface adequately prepared, you are now ready to proceed to the next step of cleaning the glass backsplash with precision and confidence.
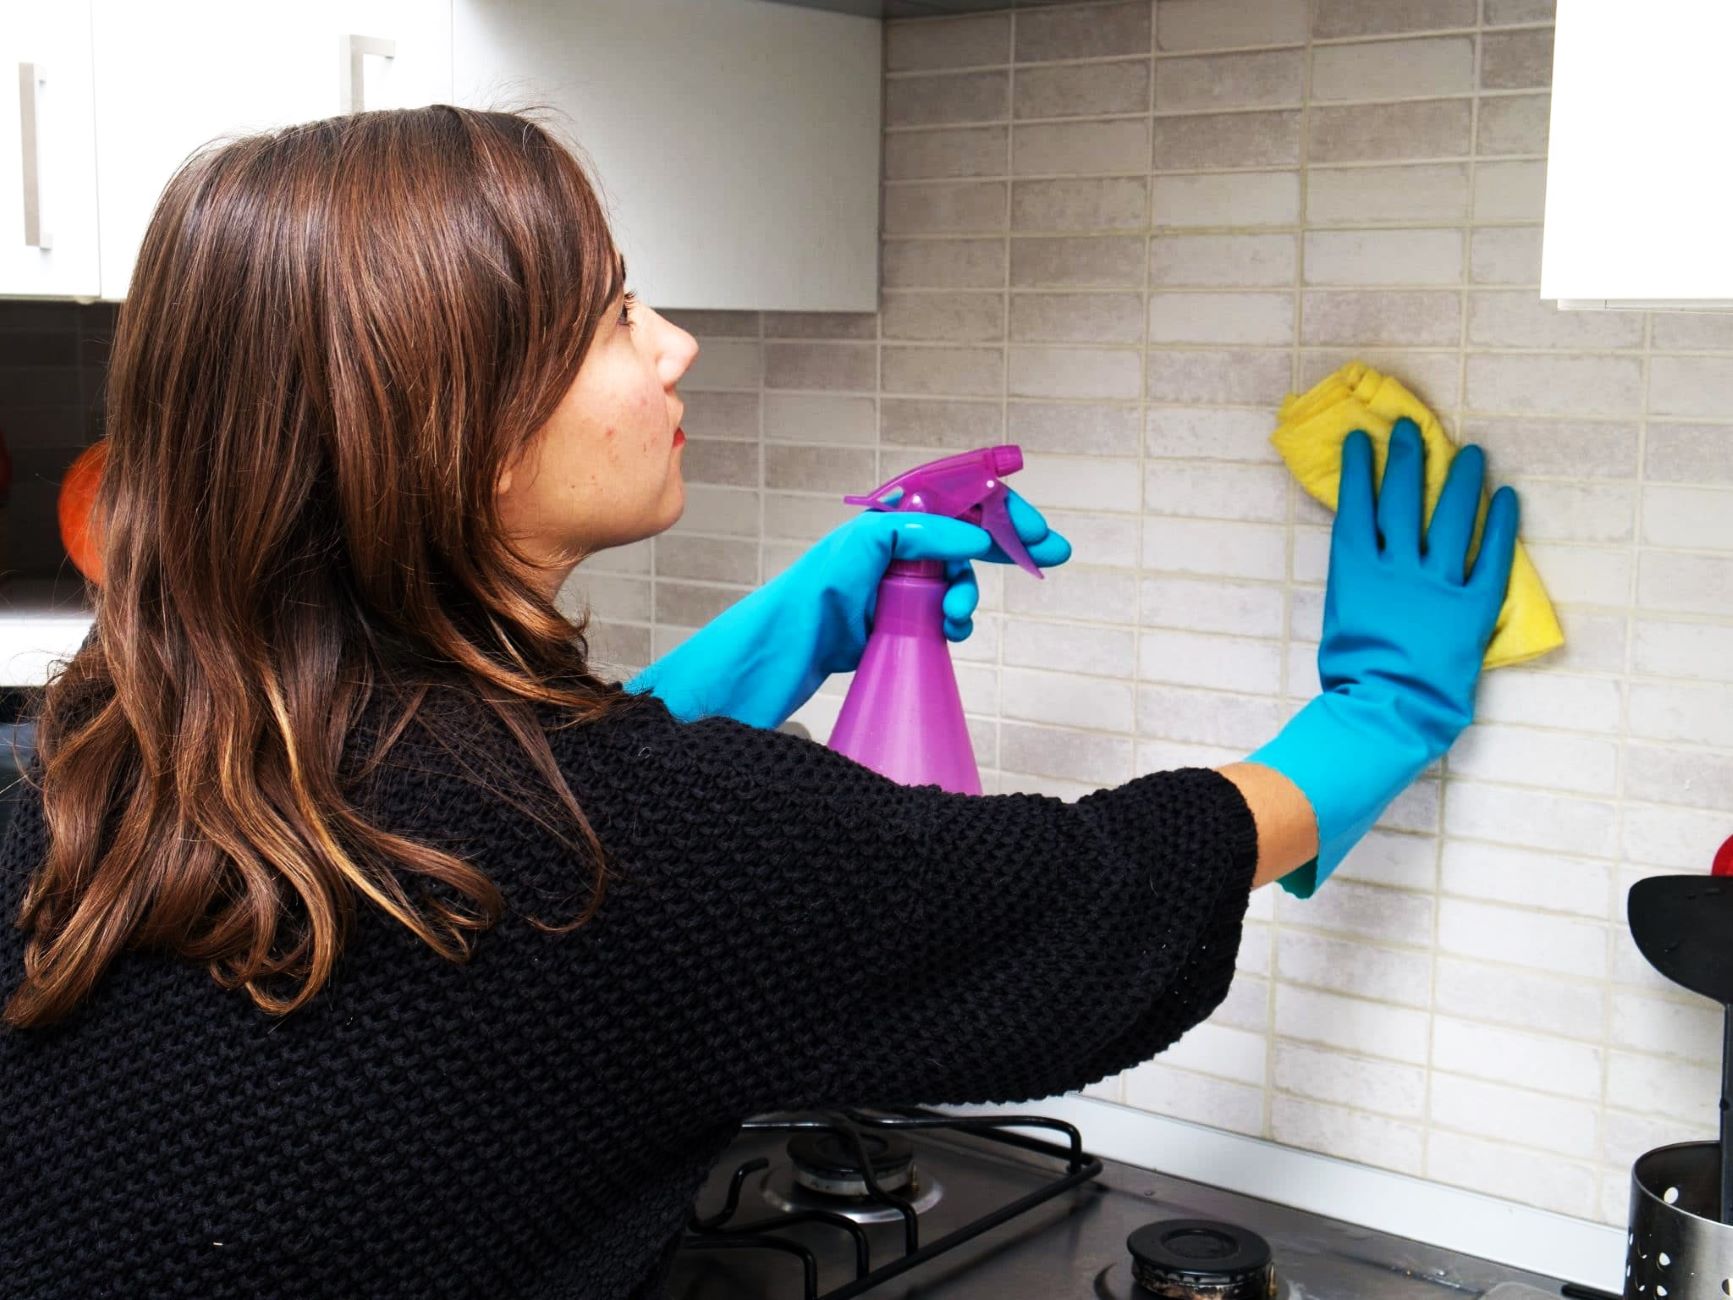
Step 3: Clean with a Gentle Cleaner
Cleaning glass backsplash tiles with a gentle yet effective cleaner is crucial for removing accumulated grime, grease, and other residues without causing damage to the delicate surface. The choice of cleaner plays a pivotal role in achieving a sparkling, streak-free finish while preserving the pristine appearance of the glass. Here's a detailed breakdown of the process for cleaning the glass backsplash with a gentle cleaner:
Read more: How To Put Up A Backsplash With Glass Tiles
Dilute the Cleaning Solution
Begin by preparing a gentle cleaning solution using mild dish soap and warm water. In a clean spray bottle, combine a few drops of dish soap with warm water, ensuring that the solution is well-diluted. The mild dish soap serves as an effective yet non-abrasive cleaner, ideal for lifting and removing grease and grime from the glass surface without causing damage or leaving behind residue.
Apply the Cleaning Solution
Spray the diluted cleaning solution onto the glass backsplash, ensuring even coverage across the entire surface. The spray bottle allows for precise application and helps distribute the cleaning solution effectively. Be generous with the application, especially in areas with visible residues or stubborn stains, to ensure thorough cleaning.
Gentle Scrubbing
Using a soft sponge or microfiber cloth, gently scrub the glass surface in circular motions, focusing on areas with noticeable buildup or residues. The gentle scrubbing action helps dislodge and lift dirt and grime from the surface without scratching or damaging the glass. Pay particular attention to corners and edges where residues tend to accumulate.
Address Stubborn Stains
For stubborn stains or dried-on residues, apply a bit of extra cleaning solution directly to the affected areas. Allow the solution to sit for a few minutes to loosen the stubborn stains before gently scrubbing the area again. This targeted approach helps tackle tough stains effectively without the need for harsh abrasives or chemicals.
Rinse Thoroughly
Once the glass backsplash is thoroughly scrubbed and the residues have been lifted, rinse the surface with clean water to remove any remaining cleaning solution and loosened dirt. Use a clean, damp microfiber cloth to wipe down the surface, ensuring that all traces of the cleaning solution are removed.
By following these steps and cleaning the glass backsplash with a gentle yet effective cleaner, you can effectively remove dirt, grease, and residues while preserving the pristine appearance of the glass surface. This meticulous cleaning process sets the stage for the subsequent steps, ensuring that the glass backsplash is thoroughly cleaned and ready for the final polishing stage.
Step 4: Rinse and Dry
After the meticulous cleaning process, it's essential to proceed with the rinsing and drying stage to ensure that the glass backsplash achieves a streak-free and polished finish. This critical step not only removes any remaining cleaning solution and loosened dirt but also sets the stage for the final polishing, leaving the glass surface gleaming and pristine.
Thorough Rinsing
Begin by thoroughly rinsing the glass backsplash with clean water. Using a spray bottle or a clean damp cloth, carefully rinse the entire surface, ensuring that all traces of the cleaning solution and dislodged residues are effectively removed. Pay close attention to corners, edges, and any intricate patterns on the glass surface to ensure comprehensive rinsing.
Squeegee for a Streak-Free Finish
Once the glass backsplash is rinsed, use a squeegee to remove excess water from the surface. Starting from the top, gently pull the squeegee down the glass in a smooth, overlapping motion, gradually working your way across the entire surface. The squeegee effectively removes water and minimizes streaking, leaving the glass surface with a polished and streak-free finish.
Drying with Lint-Free Towels
After using the squeegee, use lint-free towels or microfiber cloths to dry the glass backsplash thoroughly. Wipe the surface in a circular motion, ensuring that all moisture is absorbed, and no streaks or water spots remain. Pay attention to any remaining moisture in corners or along the edges, ensuring that the entire surface is impeccably dry.
Final Inspection
Once the glass backsplash is rinsed and dried, take a moment to inspect the surface for any lingering streaks or water spots. If any areas require additional attention, use a clean, dry microfiber cloth to gently buff the surface, ensuring a flawless and streak-free finish.
By meticulously rinsing and drying the glass backsplash, you set the stage for the final polishing, ensuring that the surface achieves a pristine and gleaming appearance. This crucial step not only enhances the visual appeal of the glass backsplash but also ensures that the cleaning process is completed with precision and attention to detail. With the surface thoroughly rinsed and dried, you are now ready to proceed to the final step of polishing the glass backsplash to perfection.
Step 5: Polish for a Streak-Free Finish
Polishing the glass backsplash is the final step in achieving a flawless, streak-free finish that enhances the overall aesthetic of your kitchen or bathroom. This crucial stage not only adds a brilliant luster to the glass surface but also ensures that the cleaning process culminates in a pristine and inviting space.
Use Rubbing Alcohol for a Sparkling Shine
To begin the polishing process, apply a small amount of rubbing alcohol to a clean microfiber cloth. The rubbing alcohol serves as a powerful yet gentle agent for achieving a sparkling shine on the glass surface. Its rapid evaporation properties ensure that the glass is left streak-free and immaculately clean.
Read more: How To Cut Backsplash Tiles
Buffing for Brilliance
Gently buff the glass backsplash with the rubbing alcohol-dampened microfiber cloth, using circular motions to ensure even coverage and a brilliant shine. Pay particular attention to any remaining water spots or streaks, as the rubbing alcohol effectively eliminates these imperfections, leaving the glass surface with a flawless and reflective finish.
Final Inspection and Touch-Ups
After the initial buffing, take a moment to inspect the glass backsplash for any lingering streaks or water spots. If necessary, perform any additional touch-ups using the rubbing alcohol and a clean, dry microfiber cloth. This meticulous approach ensures that the glass surface achieves a consistent and streak-free brilliance, elevating the visual appeal of the entire space.
Revel in the Pristine Brilliance
Once the polishing process is complete, step back and admire the pristine brilliance of your glass backsplash. The reflective surface exudes a sense of cleanliness and sophistication, enhancing the overall ambiance of the kitchen or bathroom. The streak-free finish not only showcases your attention to detail but also creates a welcoming and visually stunning focal point within the space.
By following these steps and polishing the glass backsplash to perfection, you can revel in the transformative impact of a gleaming and streak-free surface. This final touch not only completes the cleaning process with finesse but also ensures that your glass backsplash radiates a captivating allure that reflects your dedication to maintaining a beautiful and inviting home.
Conclusion
In conclusion, the process of cleaning glass backsplash tiles is not only a practical endeavor but also a transformative ritual that revitalizes the aesthetic appeal of your kitchen or bathroom. By following the comprehensive steps outlined in this guide, you can achieve a sparkling, streak-free finish that elevates the overall ambiance of the space. From gathering the necessary supplies to meticulously polishing the glass surface, each step contributes to the restoration of the backsplash's pristine brilliance.
A clean glass backsplash not only enhances the visual allure of the room but also contributes to a hygienic and inviting environment. By removing accumulated grime, grease, and residues, you create a space that exudes cleanliness and sophistication, reflecting your commitment to maintaining a beautiful home.
Furthermore, the meticulous preparation of the surface, the gentle yet effective cleaning process, and the final polishing stage ensure that the glass backsplash becomes a captivating focal point within the room. The reflective surface not only amplifies natural light but also creates a sense of spaciousness and elegance, enhancing the overall aesthetic of the space.
By embracing the art of glass backsplash cleaning, you not only preserve the integrity of the surface but also infuse your living space with a renewed sense of vibrancy and allure. The transformative impact of a gleaming glass backsplash extends beyond mere cleanliness, resonating with the essence of a well-maintained and inviting home.
In essence, the process of cleaning glass backsplash tiles transcends the realm of practical maintenance, evolving into a ritual of rejuvenation and revitalization. It is a testament to the care and attention you invest in your living space, creating an environment that exudes warmth, cleanliness, and timeless elegance.
As you admire the pristine brilliance of your glass backsplash, take pride in the transformative journey that has unfolded, culminating in a space that reflects your dedication to creating a beautiful and inviting home. Embrace the radiance of your revitalized glass backsplash, knowing that it stands as a testament to your commitment to maintaining a space that exudes charm, sophistication, and enduring allure.
Frequently Asked Questions about How To Clean Glass Backsplash Tiles
Was this page helpful?
At Storables.com, we guarantee accurate and reliable information. Our content, validated by Expert Board Contributors, is crafted following stringent Editorial Policies. We're committed to providing you with well-researched, expert-backed insights for all your informational needs.


0 thoughts on “How To Clean Glass Backsplash Tiles”