Home>diy>Home Improvement>How To Clean Tiles After A Renovation
Home Improvement
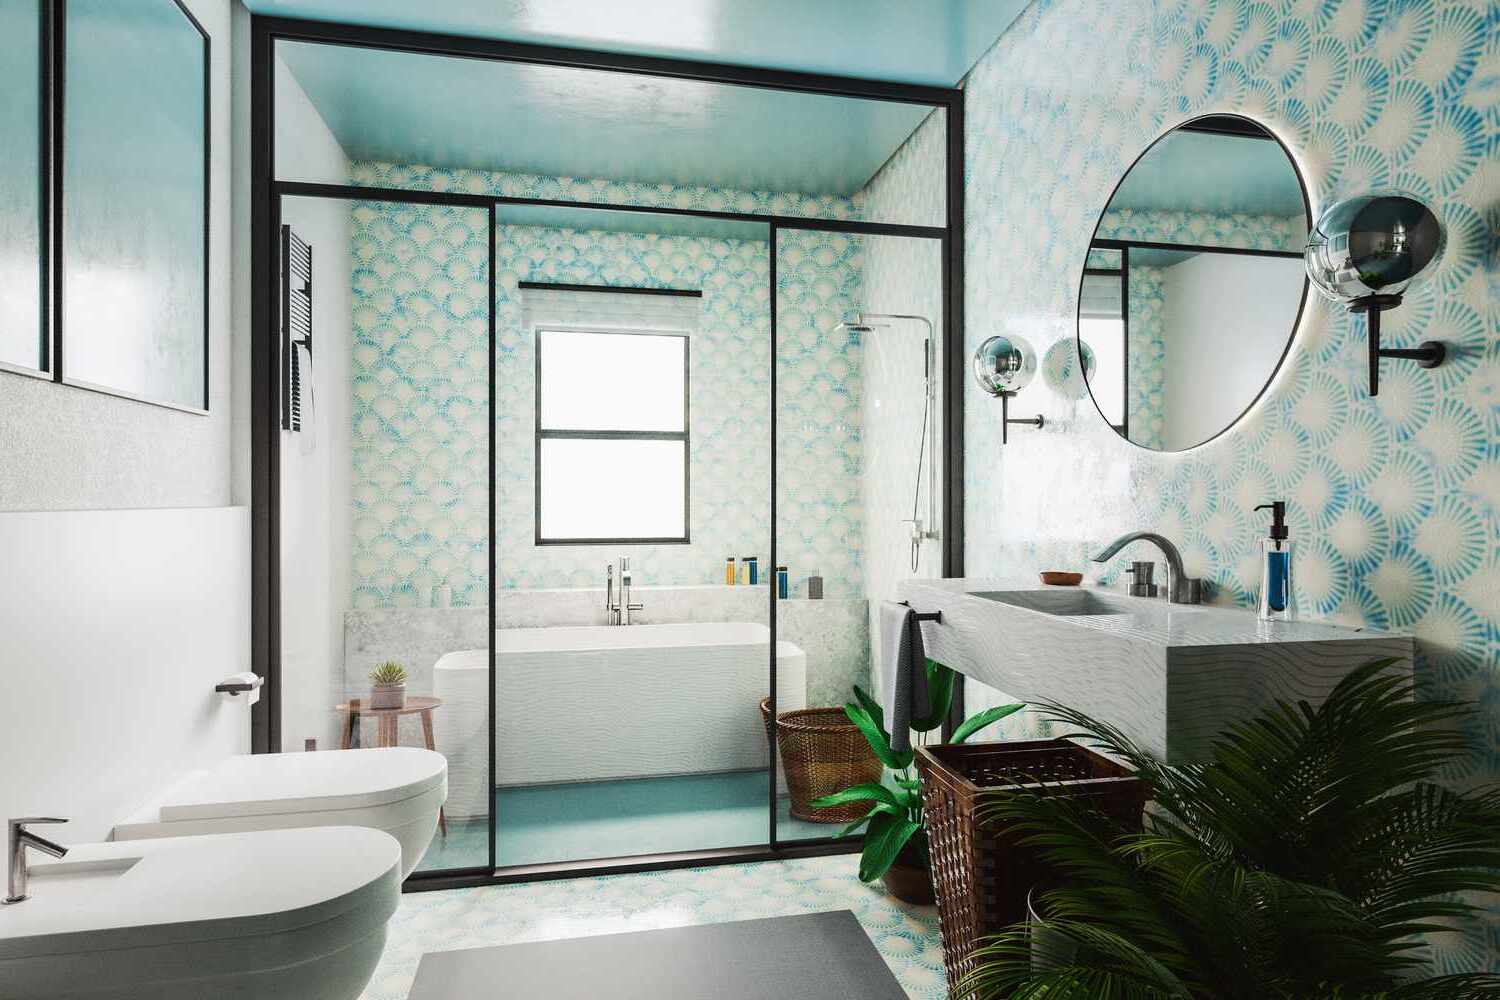
How To Clean Tiles After A Renovation
Modified: August 17, 2024
Learn the best and most effective home-improvement tips for cleaning tiles after a renovation. Restore your tiles to their former glory with our expert advice and step-by-step instructions.
(Many of the links in this article redirect to a specific reviewed product. Your purchase of these products through affiliate links helps to generate commission for Storables.com, at no extra cost. Learn more)
Introduction
Congratulations! You’ve just completed a wonderful renovation project in your home, and now it’s time to revel in the beauty of your newly installed tiles. However, before you can fully enjoy the fruits of your labor, there’s one important step you shouldn’t overlook: cleaning your tiles after the renovation. This crucial task ensures that you remove any construction debris, grout residue, and stains that might have accumulated during the renovation process. By following the right cleaning techniques, you’ll not only restore the luster of your tiles but also prolong their lifespan.
In this comprehensive guide, we’ll walk you through the step-by-step process of cleaning your tiles after a renovation. We’ll cover everything from preparing the area for cleaning to removing construction debris, grout residue, and stubborn stains. So, put on your cleaning gloves and let’s get started!
Key Takeaways:
- Ensure thorough preparation by gathering supplies, clearing the area, protecting adjacent surfaces, and ventilating the space before cleaning your tiles post-renovation. Proper preparation sets the stage for effective and efficient tile cleaning.
- Regular cleaning, prompt stain removal, and periodic sealing are essential for preserving the longevity and beauty of your tiles. Follow manufacturer recommendations and use appropriate cleaning products and tools for optimal tile maintenance.
Read more: How To Clean Tiles After Construction
Preparation
Before you dive into the tile cleaning process, it’s important to make some preliminary preparations to ensure a smooth and effective cleaning experience. Here’s what you need to do:
- Gather the necessary supplies: To clean your tiles effectively, you’ll need a few essential supplies. These include a broom, a vacuum cleaner, a mop, a bucket, mild detergent or a tile cleaner, a soft sponge or brush, clean towels, and protective gloves.
- Clear the area: Remove any furniture, rugs, or obstacles from the tiled area to allow for easy access and thorough cleaning. This will also prevent any potential damage to your belongings during the cleaning process.
- Protect adjacent surfaces: Cover any adjacent surfaces, such as countertops or cabinets, with plastic sheeting or drop cloths. This will prevent any cleaning solutions or debris from damaging these surfaces.
- Ventilate the area: Open windows or turn on fans to ensure proper ventilation during the cleaning process. This will help dissipate any fumes from cleaning solutions and ensure a fresh airflow.
Once you’ve gathered your supplies and prepared the area, you’re ready to move on to the next step: removing construction debris from your tiles.
Removing Construction Debris
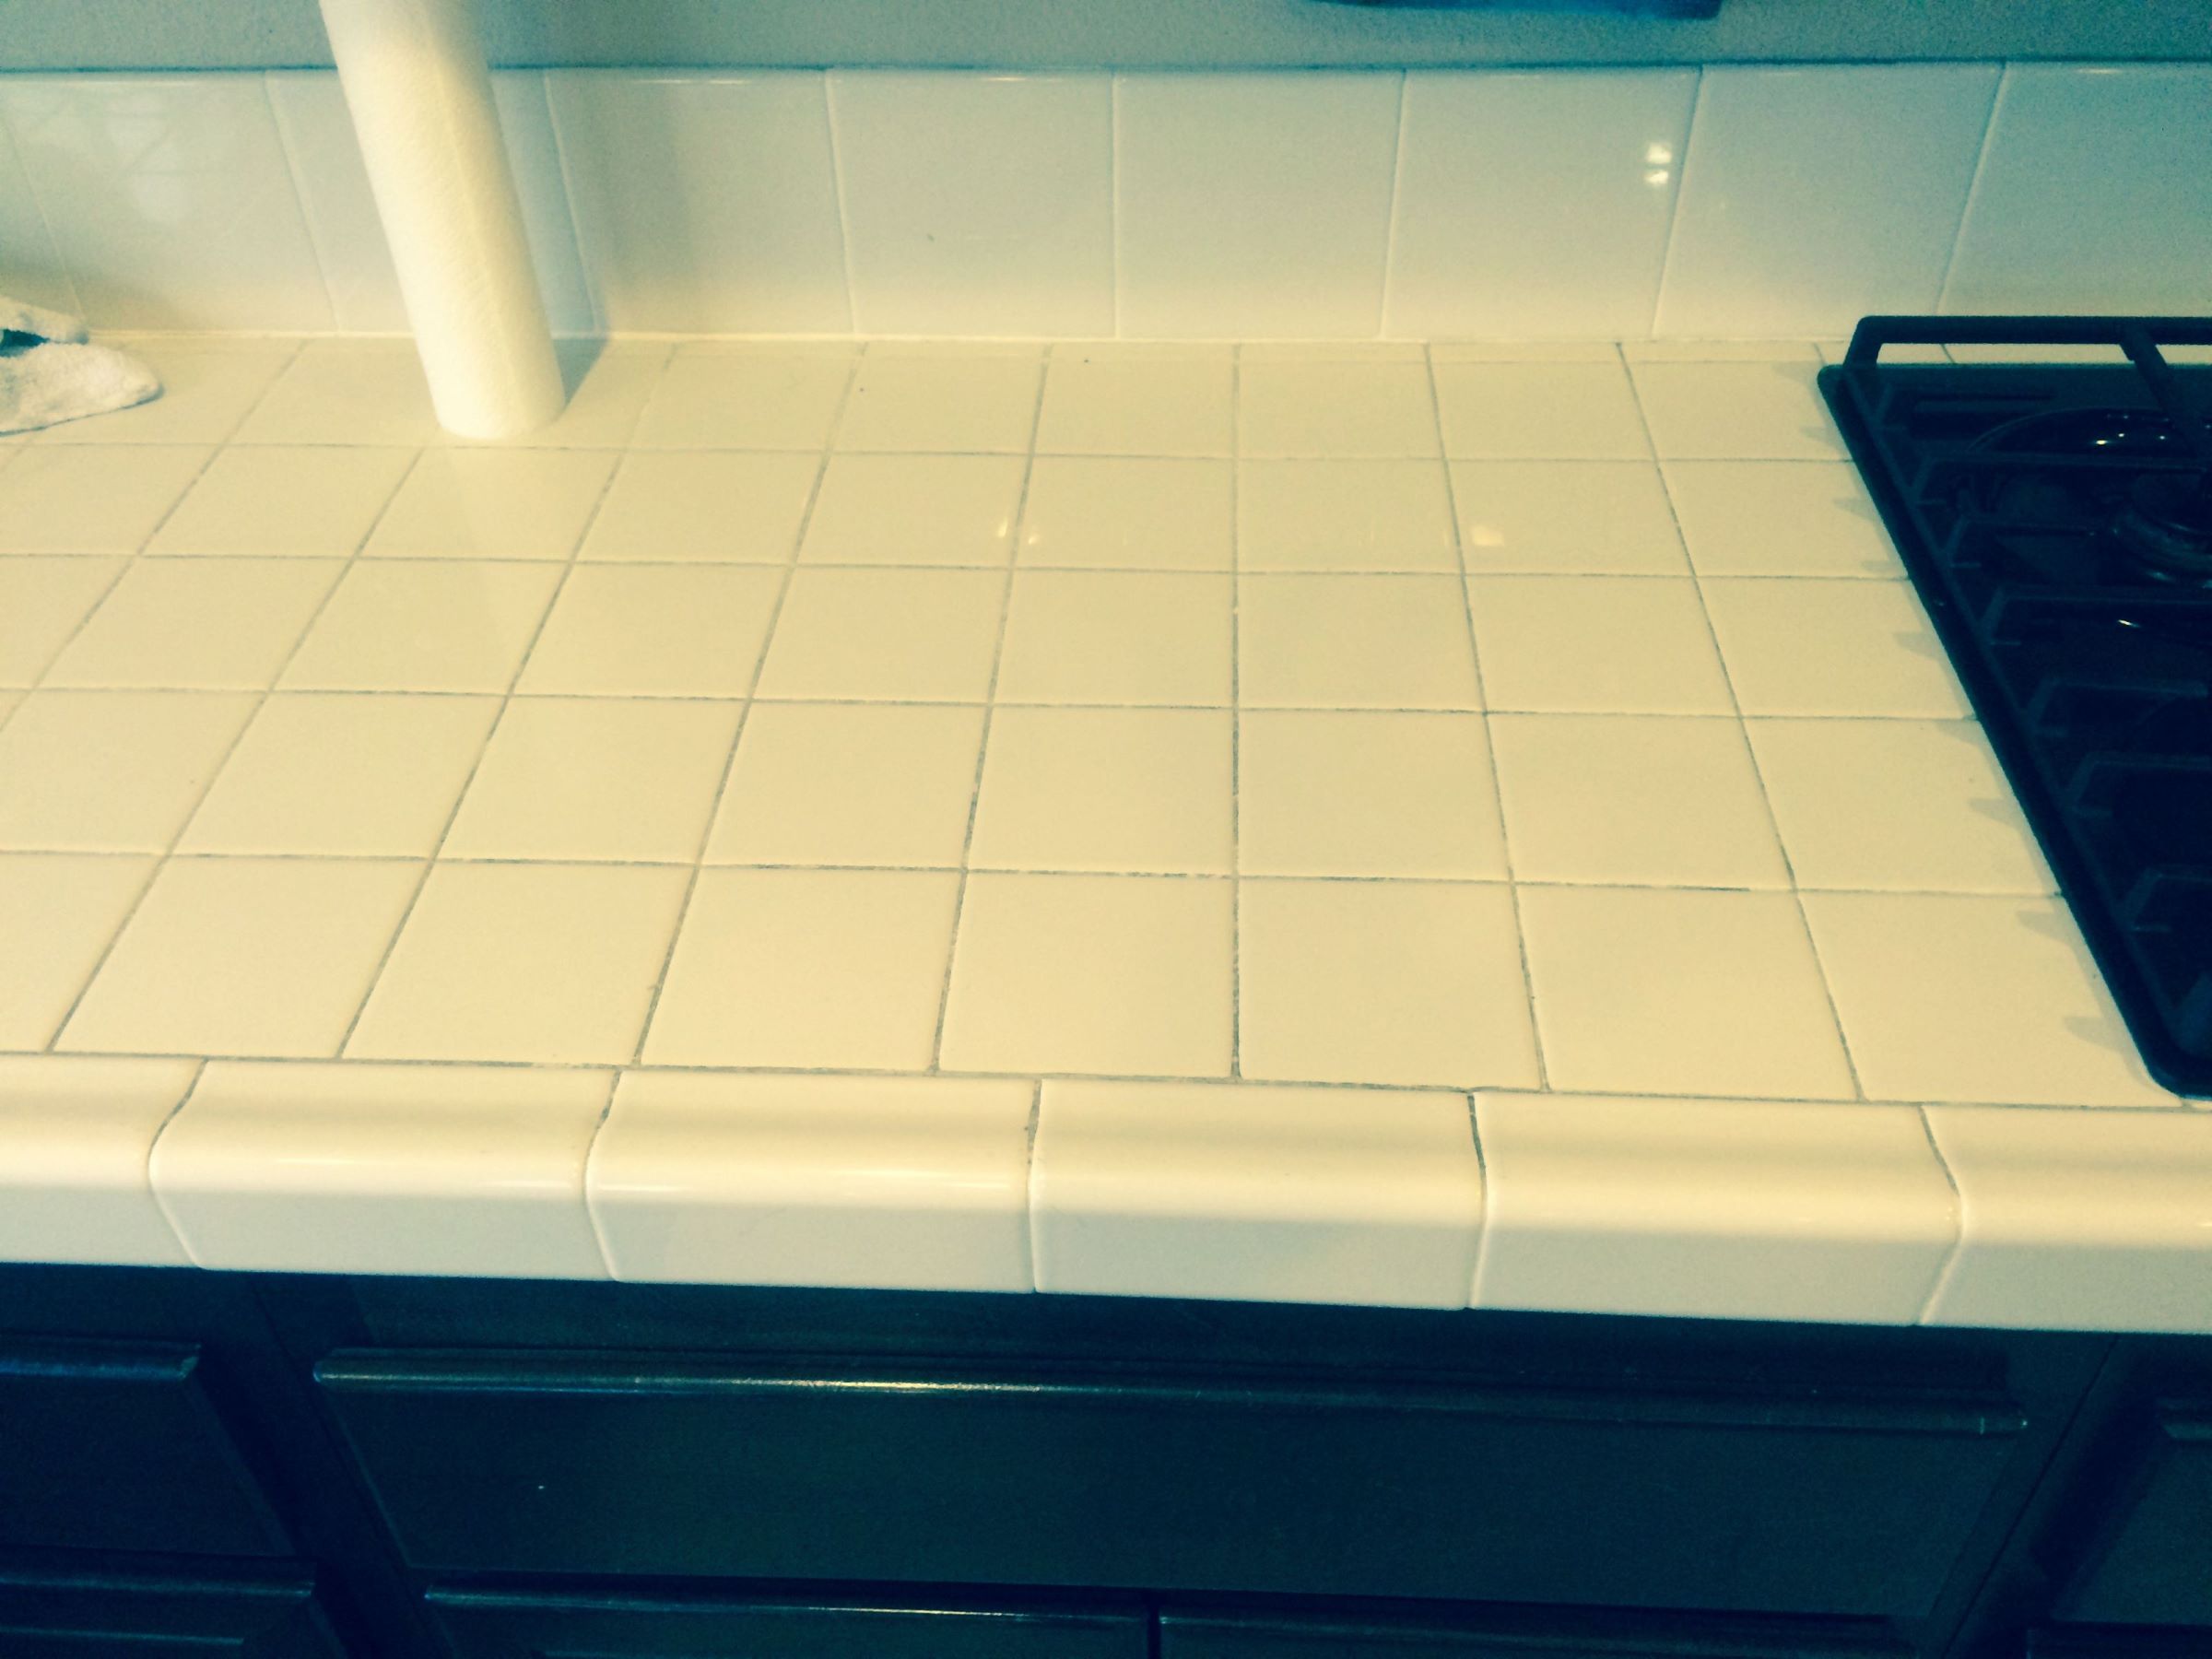
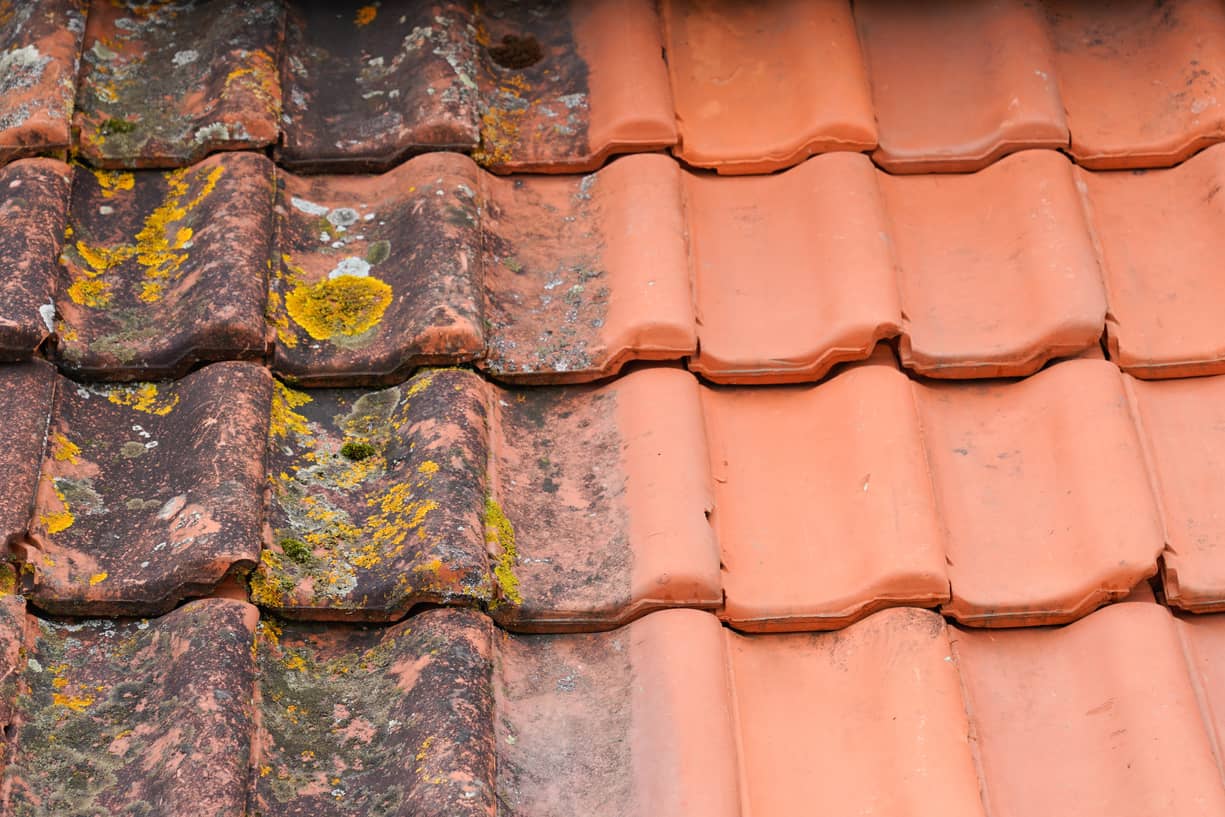
After a renovation, it’s common to find construction debris like dust, dirt, plaster, and paint splatters on your newly installed tiles. These residues can dull the appearance of your tiles and make them look less pristine. Here’s how to effectively remove construction debris from your tiles:
- Sweep or vacuum: Start by sweeping or vacuuming the tiled area to remove loose debris and dust. Use a soft-bristle broom or a vacuum cleaner with a brush attachment to avoid scratching the tiles. Pay extra attention to corners and edges where debris tends to accumulate.
- Use a damp cloth: Next, dampen a clean cloth with warm water and gently wipe the tiles to remove any remaining dust or dirt. Make sure the cloth is only slightly damp to avoid excessive moisture on the tiles.
- Spot clean stubborn debris: For stubborn debris or dried paint splatters, you may need to use a mild cleaner specifically formulated for tile surfaces. Apply a small amount of cleaner to the affected area and gently scrub with a soft sponge or brush. Rinse with water and wipe dry.
- Check for grout residue: During the renovation, it’s not uncommon for grout residue to end up on your tiles. Grout haze can leave a cloudy film on the surface, making your tiles appear dull. If you notice any grout residue, don’t worry; we’ll cover how to remove it in the next section.
By thoroughly removing construction debris from your tiles, you’ll set the stage for the next steps of the cleaning process. Now, let’s tackle the grout residue and reveal the true beauty of your tiles.
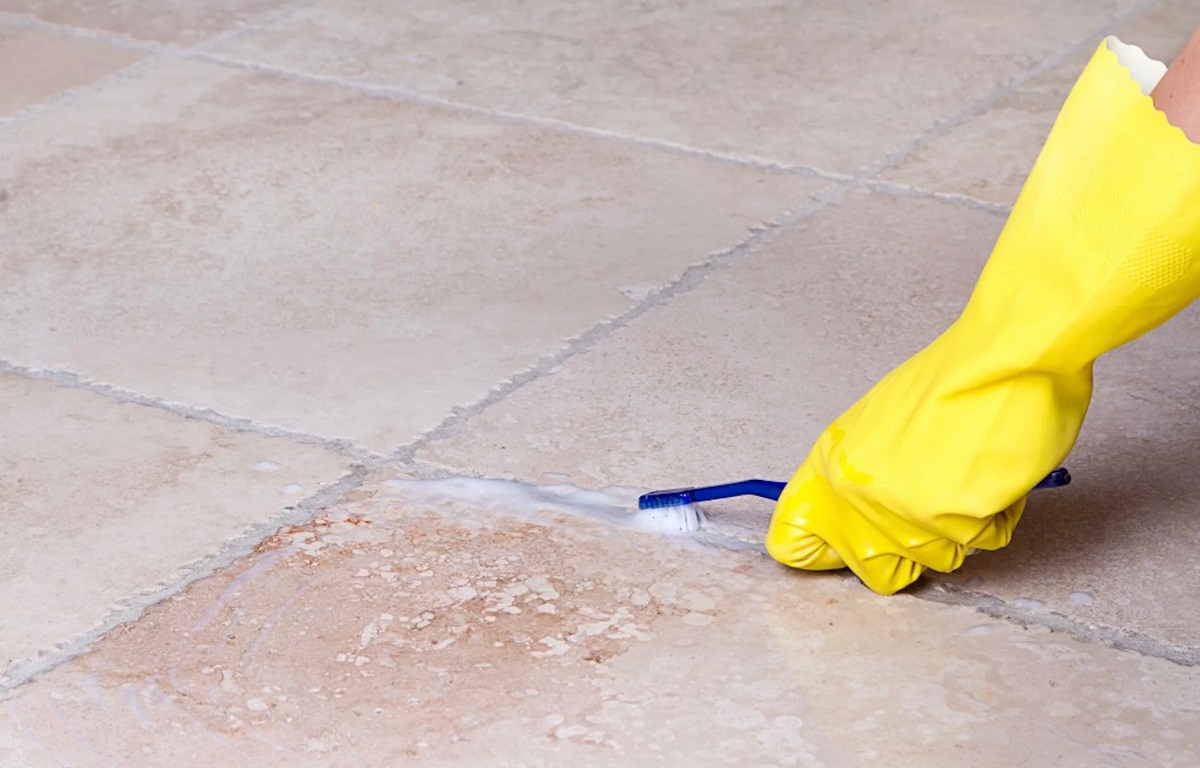
Removing Grout Residue
Grout residue is a common issue that occurs after tile installation or renovation. It can leave a hazy film on the surface of your tiles, diminishing their shine and beauty. Here’s a step-by-step guide on how to effectively remove grout residue from your tiles:
- Moisten the tiles: Before you begin removing grout residue, dampen the tiles with water. This will help soften the residue and make it easier to remove.
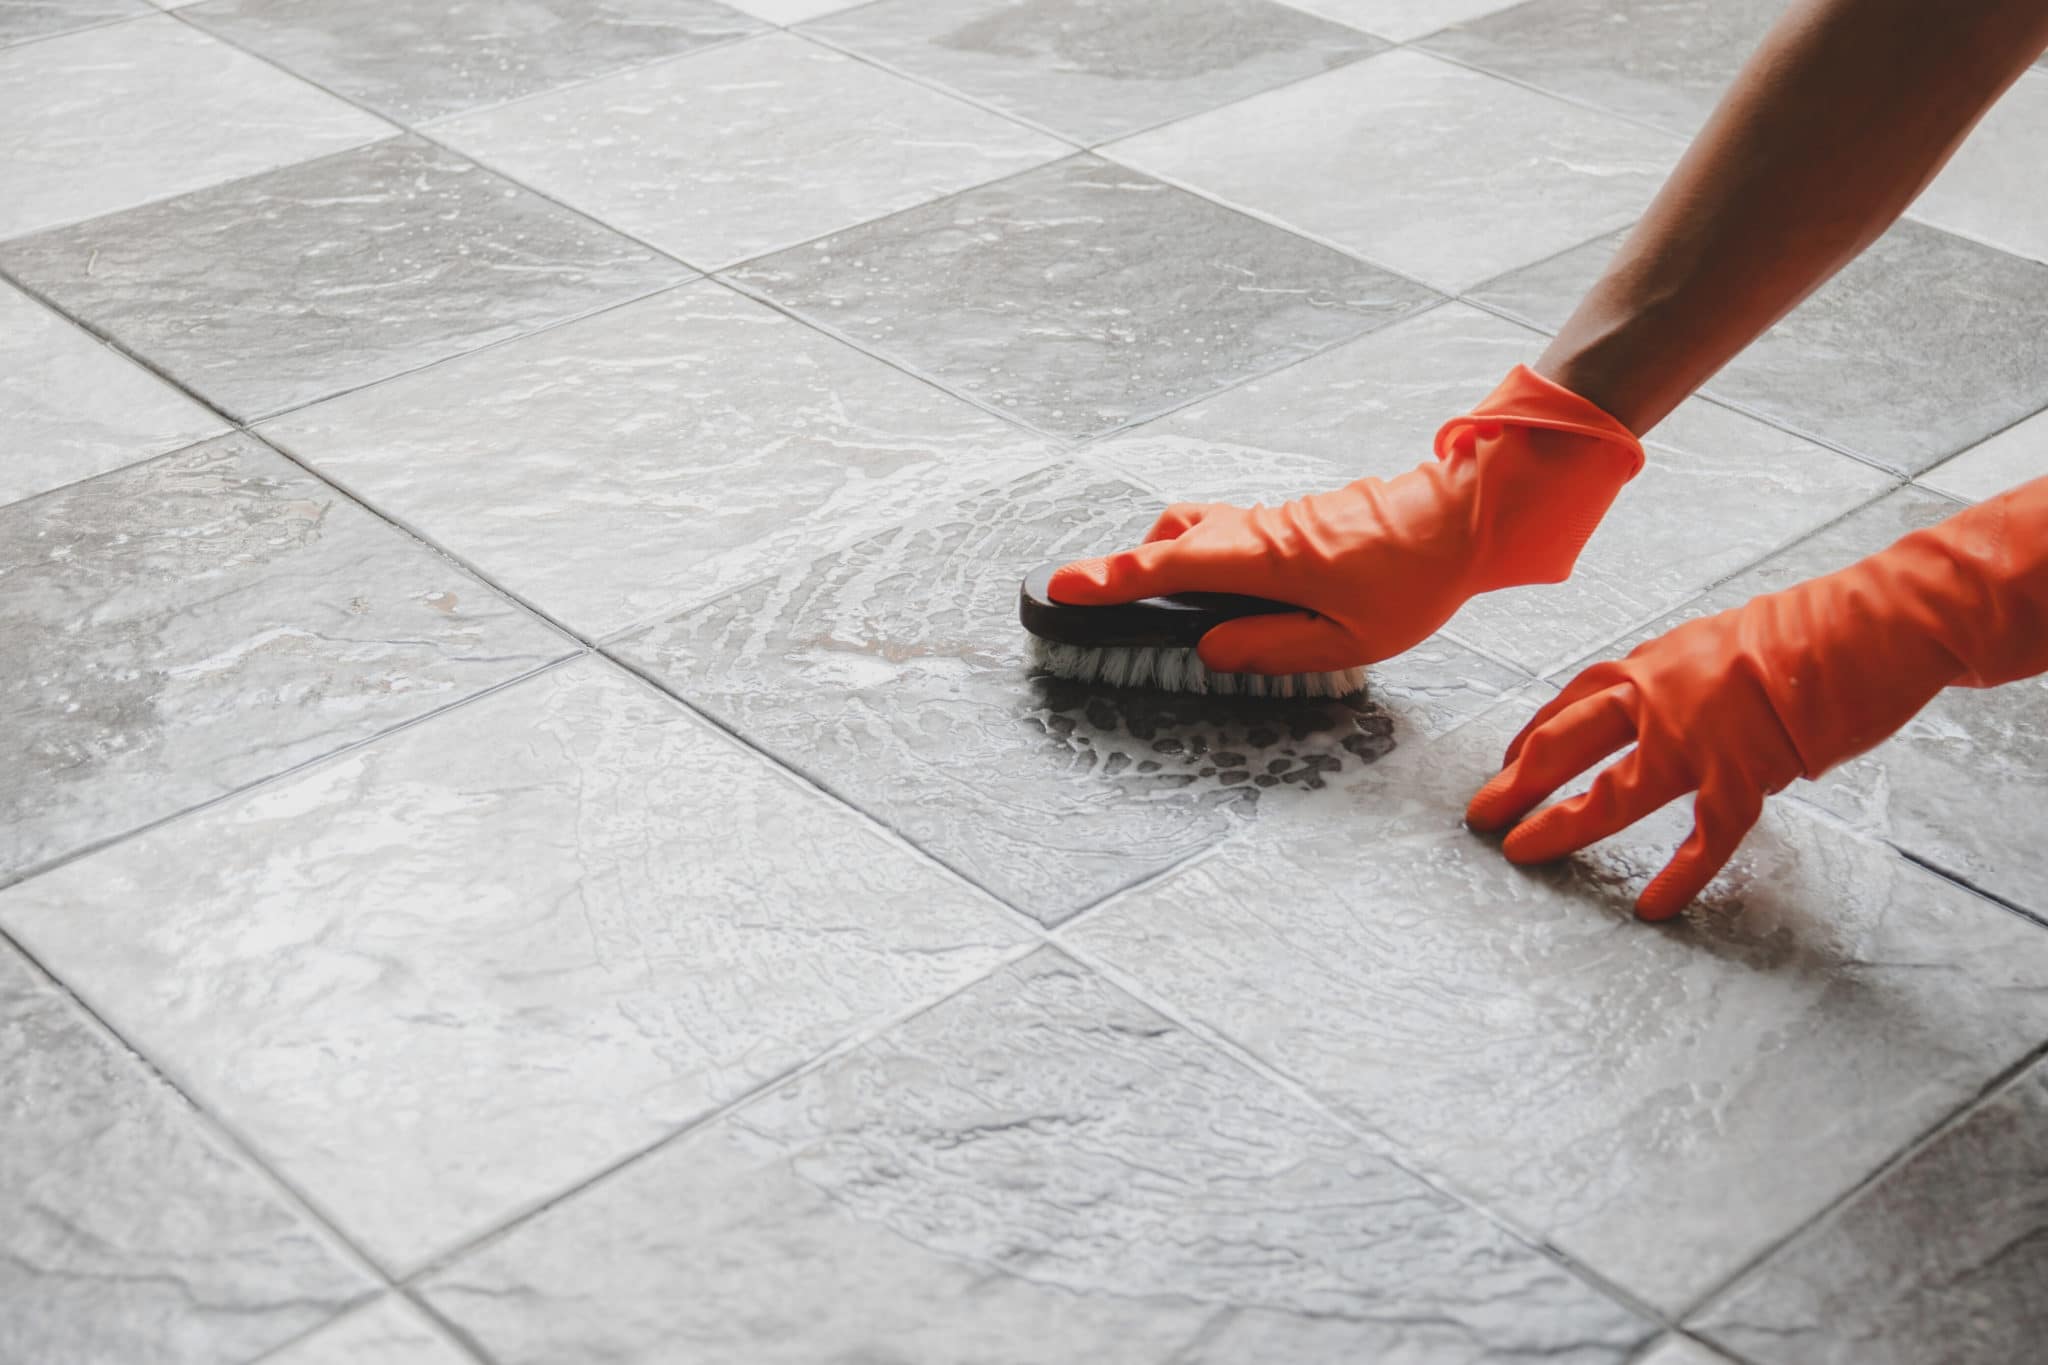
- Use a grout residue remover: There are various grout residue removers available in the market, specifically designed to dissolve grout haze. Read the instructions on the product carefully and apply the remover to the affected areas. Use a soft sponge or scrub brush to scrub the residue gently. Avoid using abrasive materials that may scratch the tile surface.
- Rinse and wipe: Once you have scrubbed away the grout residue, thoroughly rinse the tiles with clean water. Wipe dry with a clean towel to remove any remaining residue or excess moisture.
- Check for any remaining residue: After the initial cleaning, inspect the tiles for any remaining grout haze. If you notice any, repeat the cleaning process as necessary until the tiles are free from residue.
Removing grout residue can be a bit time-consuming, but it’s a crucial step in restoring the shine and clarity of your tiles. Once you have successfully eliminated the grout haze, it’s time to move on to cleaning the tile surfaces themselves.
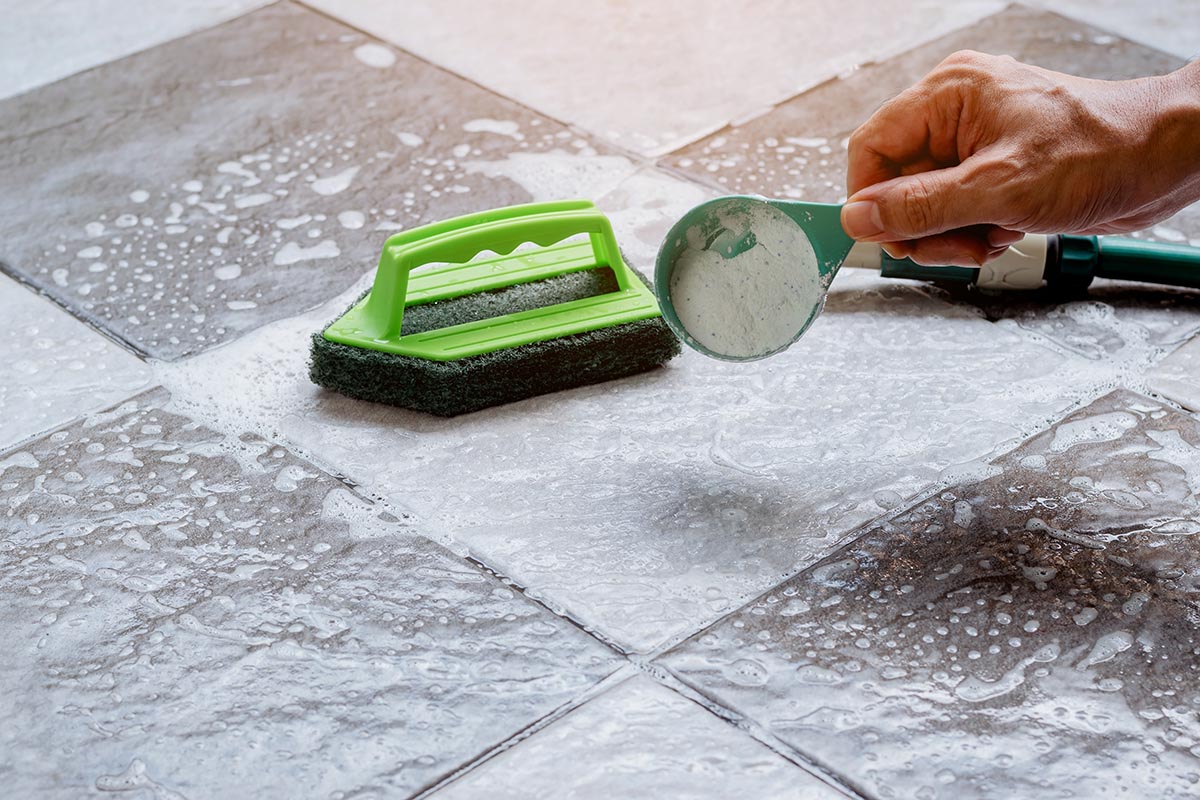
After a renovation, clean tiles by first sweeping or vacuuming up any debris, then using a mixture of water and mild detergent to scrub the tiles with a soft brush or sponge. Rinse thoroughly with clean water and dry with a clean towel to prevent water spots.
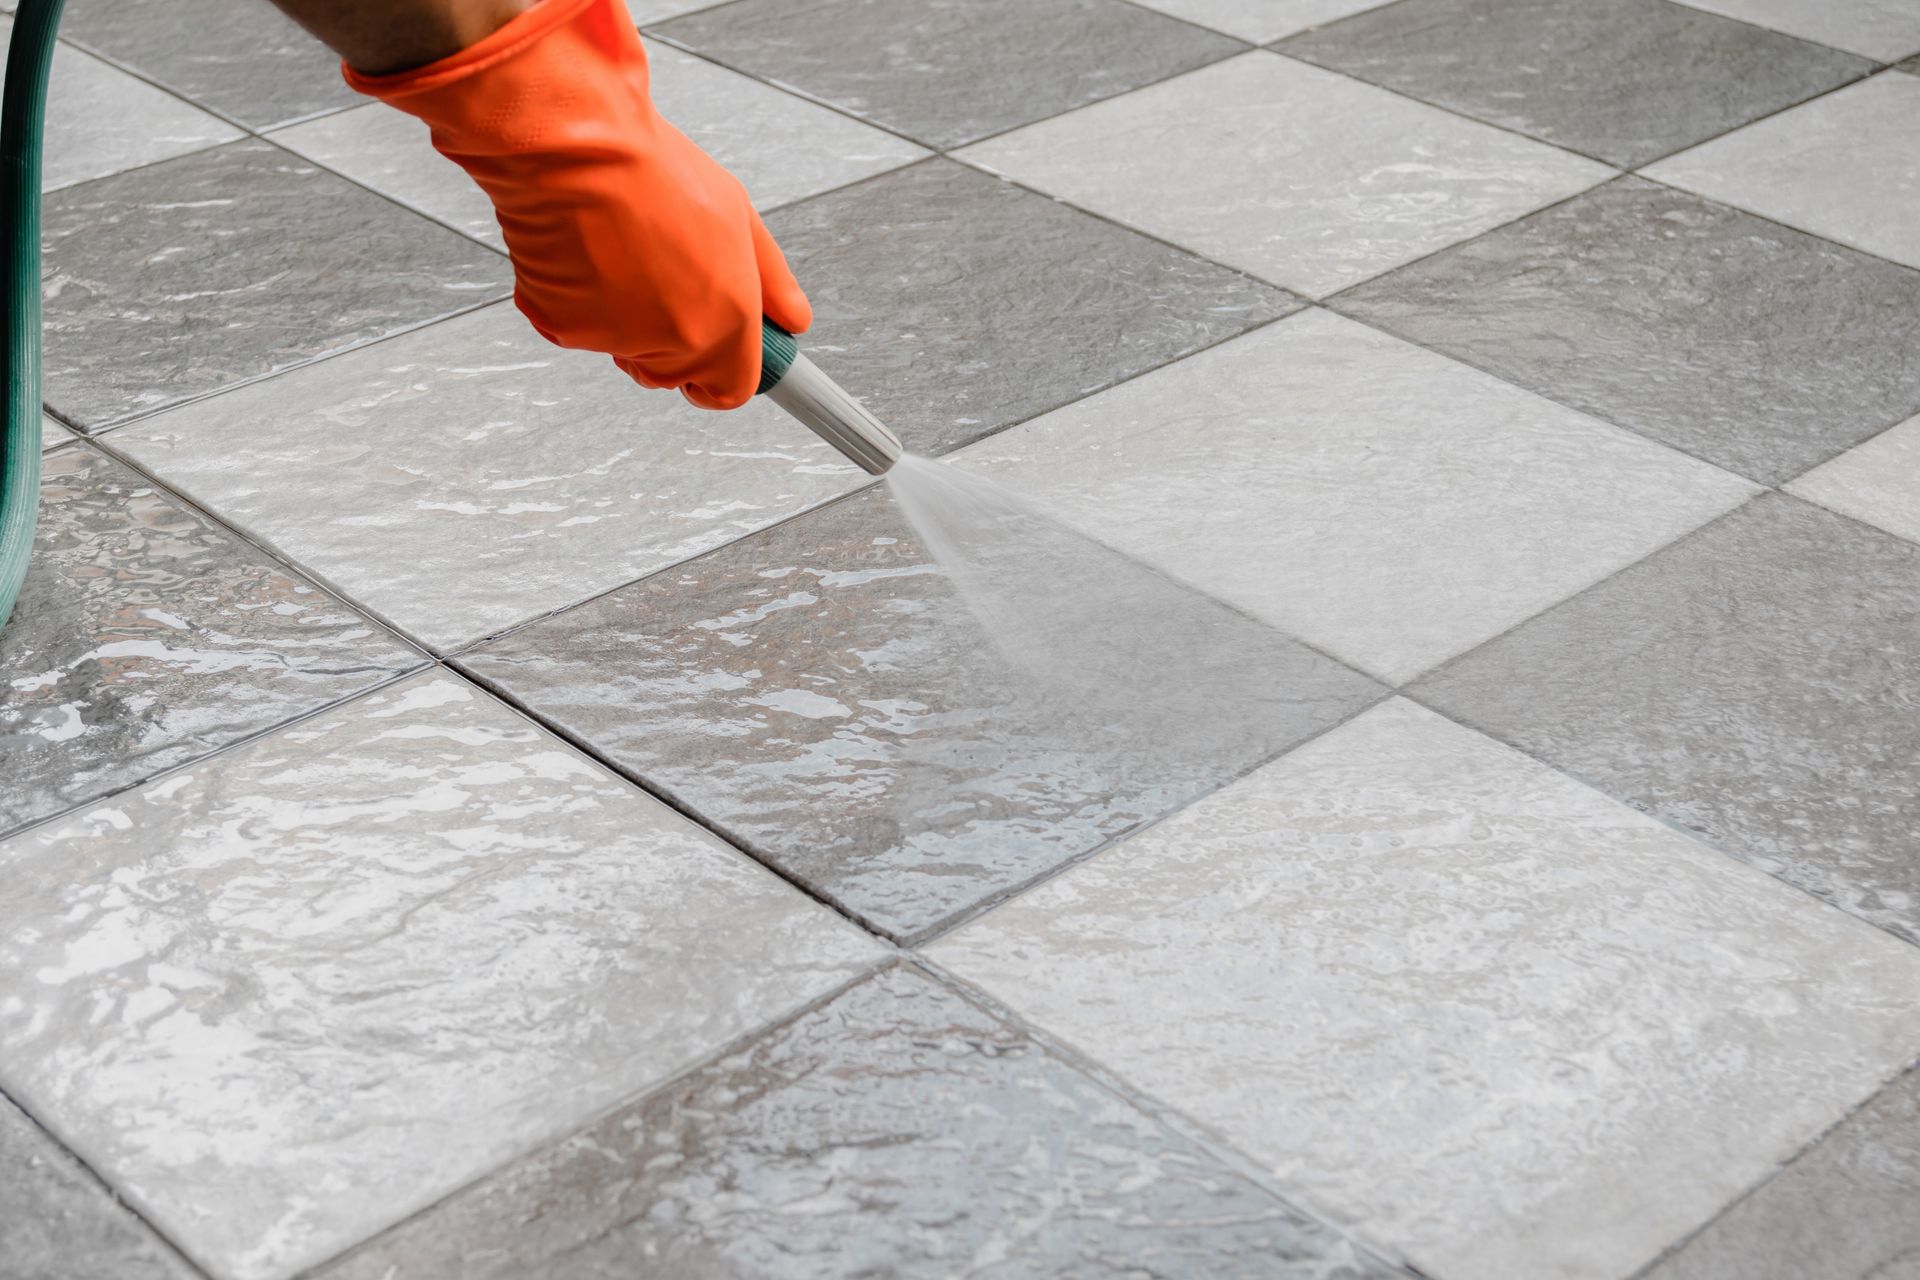
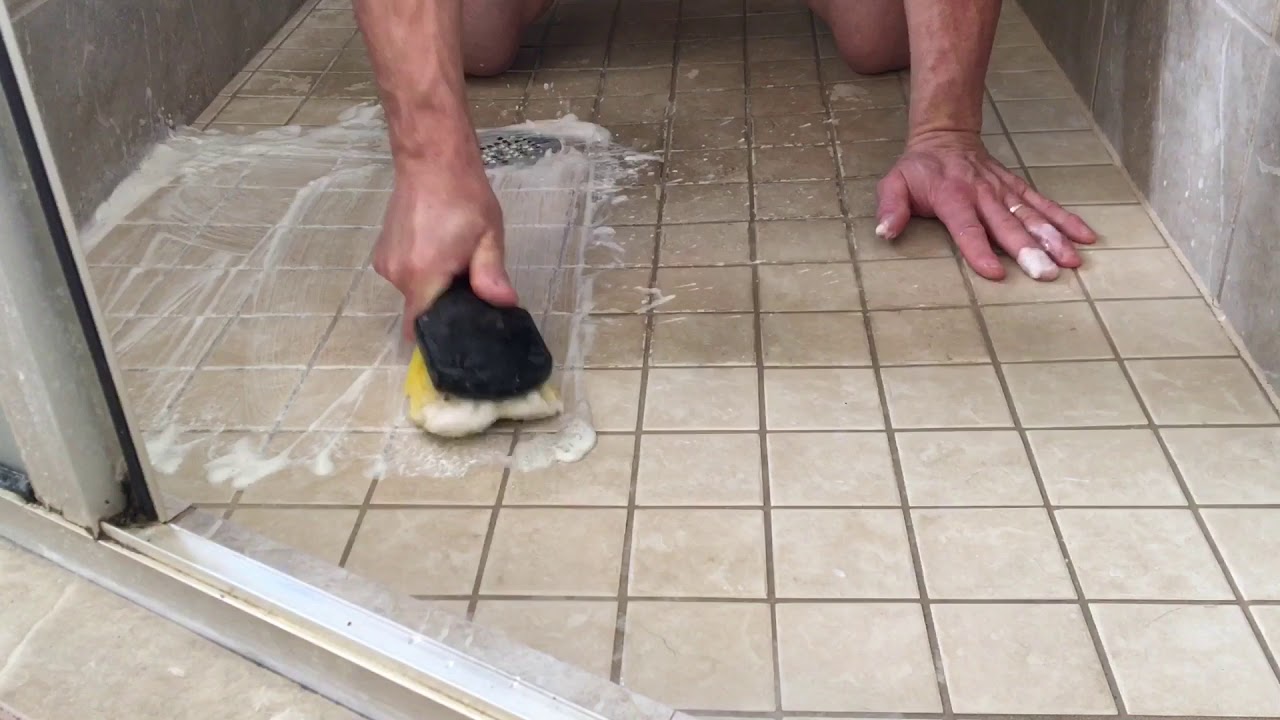
Cleaning Tile Surfaces
Now that you have removed construction debris and grout residue, it’s time to focus on cleaning the tile surfaces themselves. Regular cleaning helps maintain the beauty and longevity of your tiles. Here’s how to effectively clean your tile surfaces:
- Prepare a cleaning solution: Mix a mild detergent or a tile cleaner with warm water in a bucket according to the manufacturer’s instructions. Avoid using harsh chemicals or abrasive cleaners that can damage the tiles.
- Dip a mop or sponge into the cleaning solution: Submerge a mop or sponge into the cleaning solution, squeezing out any excess liquid. It’s important not to make the mop or sponge too wet, as excessive moisture can seep into the grout lines and cause damage over time.
- Mop or wipe the tiles: Starting from one end of the tiled surface, mop or wipe the tiles in a gentle back-and-forth motion. Ensure that the cleaning solution covers the entire area evenly. For small or intricate tile patterns, you may need to use a soft brush or a toothbrush to reach into the grout lines and remove any dirt or stains.
- Rinse the tiles: Fill a clean bucket with warm water and use a clean mop or sponge to rinse the tiles. This step is important to remove any residual cleaning solution that may leave a film on the tiles.
- Dry the tiles: After rinsing, use a clean, dry towel or mop to remove any excess water from the tile surfaces. Leaving the tiles wet can lead to water spots or streaks. For larger areas, you may need to use a dry mop or a fan to speed up the drying process.
Regular cleaning of your tile surfaces will help maintain their shine and prevent the buildup of dirt or grime. However, there may be instances where stubborn stains require a little extra attention. Let’s explore how to remove stains from your tiles in the next section.
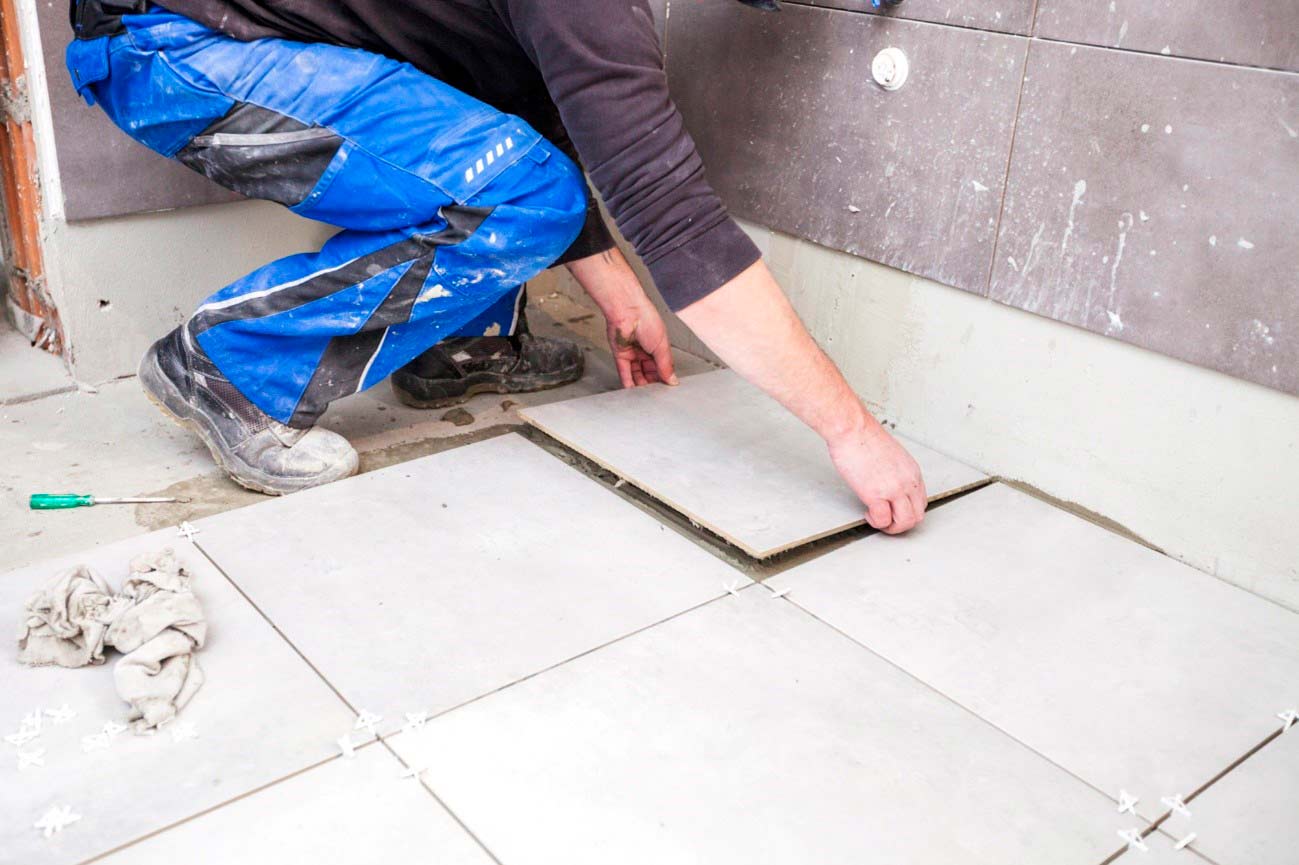
Read more: DIY Guide To Installing A Tile Shower
Removing Stains
Stains can be a frustrating sight on your beautiful tiles, but don’t worry! With the right approach, you can effectively remove stains and restore the pristine appearance of your tiles. Here’s a step-by-step guide on how to tackle different types of stains on your tiles:
- Identify the stain: The first step in removing stains is to identify the specific type of stain you’re dealing with. Common types of stains include food and beverage spills, grease or oil stains, rust stains, and hard water stains. Different stains may require different cleaning methods.
- Pre-treat the stain: Depending on the type of stain, there are a variety of pre-treatment options available. For food or beverage stains, create a paste using baking soda and water, apply it to the stained area, and let it sit for a few minutes before scrubbing gently. For grease or oil stains, use a degreasing agent or a mixture of vinegar and water. Apply the solution directly to the stain and let it sit for a few minutes before scrubbing.
- Scrub the stain: After pre-treating the stain, use a soft brush or a sponge to scrub the area gently. Avoid using abrasive materials that can scratch the tiles. For stubborn stains, you may need to repeat this step multiple times or use a commercial tile stain remover. Always follow the manufacturer’s instructions when using specialized stain removers.
- Rinse the area: Once the stain has been removed, rinse the area with clean water to remove any residual cleaning solution or residue.
- Dry the tiles: Finally, use a clean towel or mop to remove excess moisture and dry the tiles thoroughly. This will prevent any water spots or streaks from forming.
Remember that prevention is key when it comes to stains. Clean up spills immediately, use mats or coasters to protect the tiles, and avoid using harsh chemicals or abrasive materials that can cause damage. With proper care and maintenance, you can keep your tiles looking pristine for years to come.
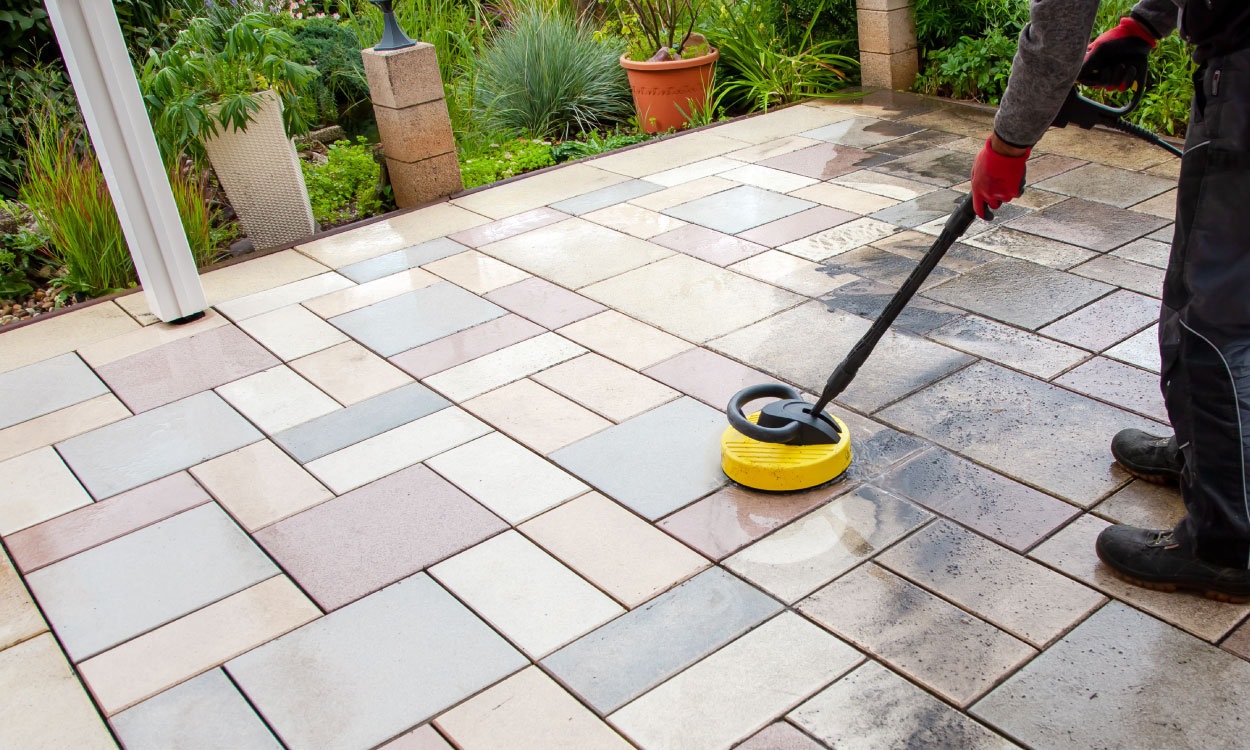
Final Cleaning and Sealing
After removing construction debris, grout residue, and stains from your tiles, it’s essential to give them a final cleaning and consider sealing them. This final step will not only add an extra layer of protection but also enhance the longevity and beauty of your tiles. Here’s how to complete the process:
- Prepare a final cleaning solution: Mix a mild detergent or a tile cleaner with warm water, following the manufacturer’s instructions. This solution will help remove any remaining residue and leave your tiles sparkling clean.
- Apply the cleaning solution: Dip a clean mop or sponge into the cleaning solution and gently mop or wipe the tiles, ensuring that the entire surface is covered. Pay attention to grout lines and any stubborn or hard-to-reach areas.
- Rinse the tiles: Fill a bucket with clean water and use a clean mop or sponge to rinse the tiles thoroughly. This step is crucial to remove any residual cleaning solution and prevent it from dulling the tiles’ appearance.
- Dry the tiles: After rinsing, use a dry towel or mop to remove excess water and dry the tiles. Ensure that there are no water spots or streaks left behind.
- Consider sealing: Depending on the type of tiles you have, you may want to consider applying a sealer. Sealing your tiles can provide an additional layer of protection against stains and moisture. Consult the manufacturer’s recommendations or seek professional advice to determine if your tiles require sealing and the appropriate sealer to use.
- Follow the sealing instructions: If you decide to seal your tiles, carefully read and follow the instructions provided by the sealer manufacturer. Apply the sealer to the tiles and grout lines with a clean applicator, ensuring even coverage. Allow the sealer to dry completely before using the tiled area.
By performing a final cleaning and considering sealing, you’ll give your tiles the ultimate care and protection they need after a renovation. This step will help maintain their beauty and durability in the long run.
Conclusion
Congratulations! You’ve successfully cleaned your tiles after a renovation and restored them to their original beauty. By following the step-by-step process outlined in this guide, you’ve learned how to remove construction debris, grout residue, stains, and thoroughly clean your tile surfaces. This diligent cleaning not only enhances the appearance of your tiles but also helps maintain their durability and lifespan.
Remember, proper cleaning and maintenance are essential in preserving the longevity and beauty of your tiles. Regular cleaning, prompt stain removal, and periodic sealing (if recommended) will go a long way in preventing damage and keeping your tiles looking their best for years to come.
Additionally, it’s important to follow manufacturer recommendations and use appropriate cleaning products and tools for your specific type of tiles. Avoid using harsh chemicals, abrasive materials, or improper cleaning techniques that may cause damage.
So, sit back, relax, and enjoy the stunning results of your renovated space. With clean and well-maintained tiles, you can truly appreciate the transformation you have achieved. If you ever need to refresh your tiles in the future, refer back to this guide as a handy reference.
Thank you for taking the time to learn how to properly clean and maintain your tiles after a renovation. Happy cleaning!
Frequently Asked Questions about How To Clean Tiles After A Renovation
Was this page helpful?
At Storables.com, we guarantee accurate and reliable information. Our content, validated by Expert Board Contributors, is crafted following stringent Editorial Policies. We're committed to providing you with well-researched, expert-backed insights for all your informational needs.

0 thoughts on “How To Clean Tiles After A Renovation”