Articles
How To Vent A Dryer Through The Roof
Modified: October 20, 2024
Learn how to properly vent a dryer through your roof with these informative articles.
(Many of the links in this article redirect to a specific reviewed product. Your purchase of these products through affiliate links helps to generate commission for Storables.com, at no extra cost. Learn more)
Introduction
Proper ventilation is essential for any dryer to function efficiently and safely. When it comes to venting a dryer, one of the common options is to vent it through the roof. By venting the dryer through the roof, the exhaust gases and moisture are directed outside, preventing potential hazards and damage to the house. This article will guide you through the process of venting a dryer through the roof, ensuring that you have a safe and effective ventilation system.
Venting a dryer through the roof requires careful planning, accurate measurements, and the use of the right tools and materials. It is important to follow proper installation techniques to ensure the longevity and effectiveness of the venting system.
Before you begin the process, it is crucial to assess the condition of the roof. Ensure that the roof is in good shape and free from leaks or damage. If you suspect any issues with your roof, it is recommended to fix them before proceeding with the dryer vent installation.
Determining the ideal vent location is another critical step. The vent should be placed in an area that allows for easy access, while keeping in mind factors such as the proximity to windows, doors, and other vents. Additionally, it’s essential to consider the aesthetic aspect and choose a location that blends seamlessly with the overall design of your home.
Now, let’s take a look at the tools and materials you will need to complete the installation. Make sure you have the following items on hand:
- Vent pipe
- Roof flashing
- Drill
- Screws
- Sealant
- Insulation
- Roofing nails
- Tape measure
- Level
- Hacksaw
- Screwdriver
Once you have gathered all the necessary components, you’re ready to begin the installation process. The next sections will provide a step-by-step guide to help you successfully vent your dryer through the roof.
Key Takeaways:
- Proper dryer ventilation through the roof is essential for safety and efficiency, preventing fire hazards, improving energy efficiency, and extending the lifespan of the dryer.
- Careful planning, accurate measurements, and adherence to local building codes are crucial for a successful dryer vent installation through the roof, ensuring safe and effective ventilation.
Read more: How To Install A Dryer Vent Through The Roof
Importance of Proper Dryer Ventilation
Proper dryer ventilation is crucial for several reasons. Not only does it help in maintaining the efficiency and performance of the dryer, but it also ensures the safety of your home and family. Here are some key reasons why proper dryer ventilation is essential:
- Preventing Fire Hazards: When a dryer is in use, it produces heat, lint, and moisture. If the dryer vent is not properly installed or maintained, it can become clogged with lint buildup. This lint is highly flammable and can easily ignite, leading to a dryer fire. Proper ventilation allows for the safe expulsion of lint and reduces the risk of fire.
- Improving Energy Efficiency: When the dryer vent is blocked or restricted, it forces the dryer to work harder to remove moisture from the clothes. This results in increased energy consumption and higher utility bills. By ensuring proper ventilation, the dryer can operate efficiently, saving energy and reducing costs.
- Preventing Mold and Mildew: If moist air from the dryer is not properly ventilated, it can lead to the buildup of mold and mildew. These fungal growths can be harmful to your health and cause damage to your home’s infrastructure. Proper ventilation removes the humid air from the dryer, preventing the growth of mold and mildew.
- Extending the Lifespan of the Dryer: When a dryer is not properly vented, it can cause excessive heat buildup, which puts a strain on the dryer’s components. This can lead to premature wear and tear of the appliance, resulting in costly repairs or the need for a replacement. Proper ventilation helps to maintain optimal operating conditions, thus extending the lifespan of the dryer.
- Improving Indoor Air Quality: If the dryer vent is blocked, the moisture and lint that are not expelled properly can end up circulating back into the house. This can negatively impact indoor air quality, leading to respiratory issues, allergies, and other health problems. Proper ventilation ensures the expulsion of contaminants, improving the air quality inside your home.
It is important to note that regular maintenance of the dryer vent is essential to ensure proper ventilation. Cleaning the vent regularly, checking for blockages, and ensuring that the venting system is in good condition should be a part of your home maintenance routine.
By understanding the importance of proper dryer ventilation and taking the necessary steps to ensure it, you can enjoy the benefits of a safe, efficient, and long-lasting dryer while safeguarding your home and family.
Assessing the Roof Condition
Before you start venting your dryer through the roof, it is essential to assess the condition of your roof. This step ensures that your roof is in good shape and free from any leaks or damages that could potentially cause issues down the line. Here’s how to assess the roof condition:
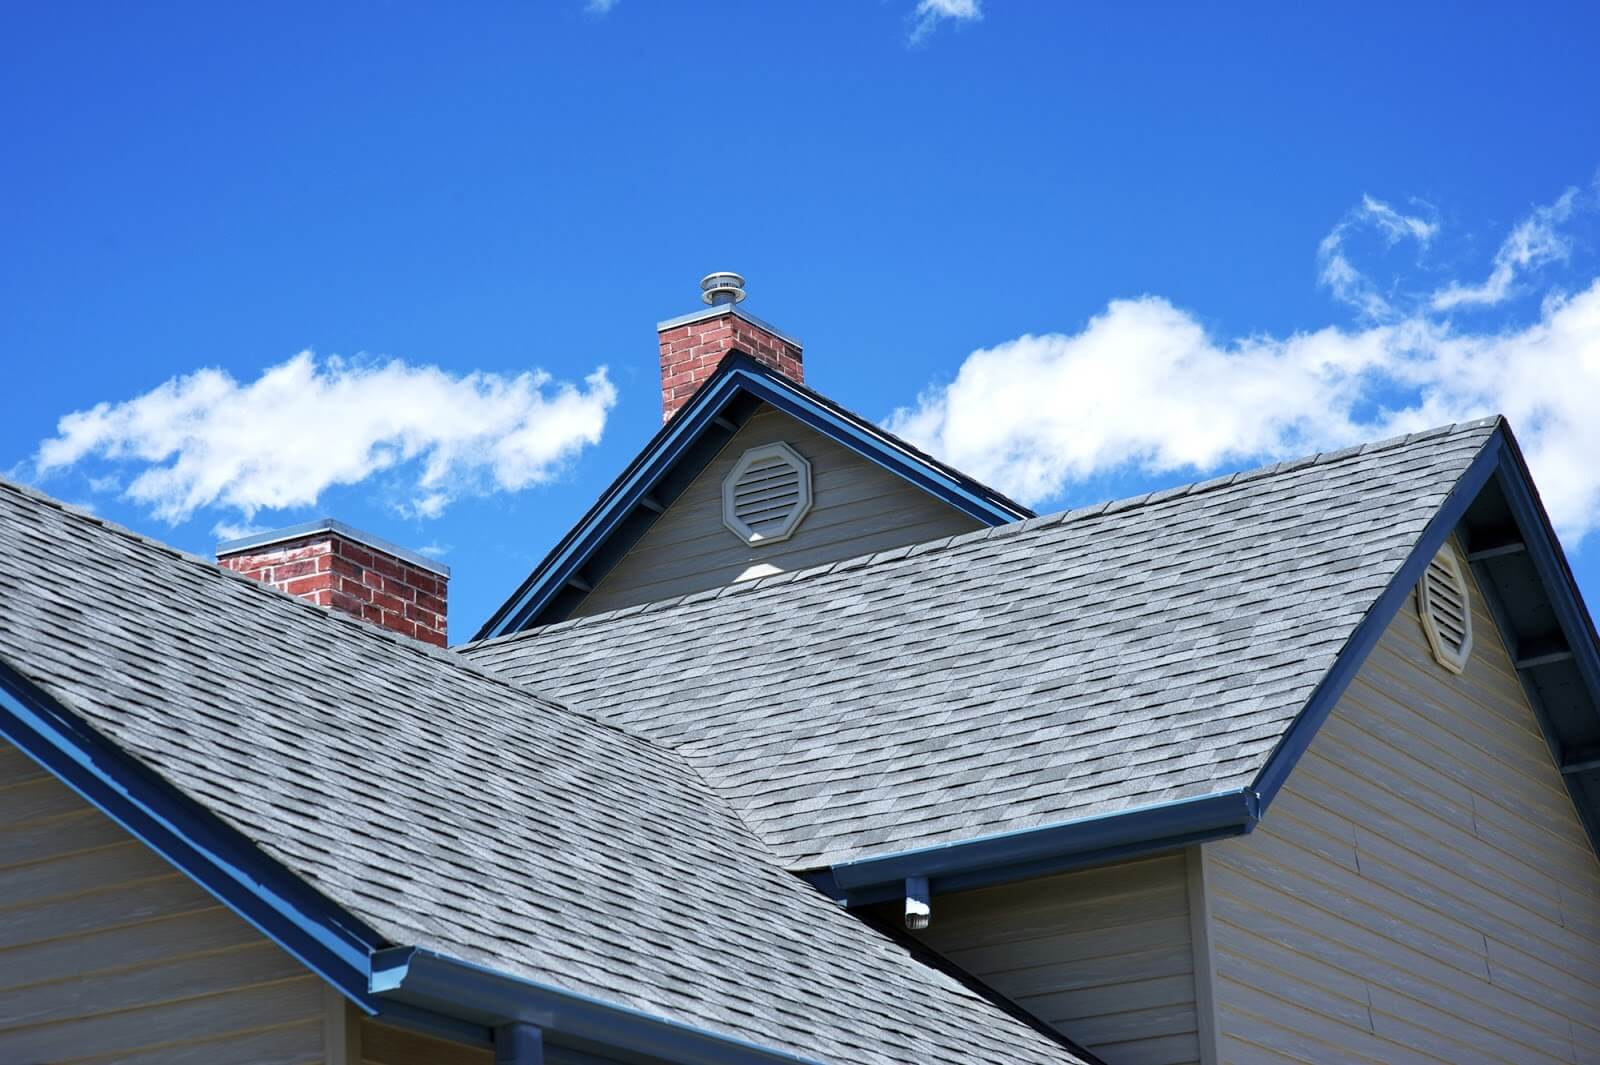
- Inspect the Shingles: Start by visually inspecting the roof shingles. Look for any missing, cracked, or damaged shingles. These can allow water to seep into your home and cause leaks. If you notice any issues, it’s important to address them before proceeding.
- Check for Leaks: Look inside your home for signs of water stains or water damage on the ceiling or walls. These can indicate leaks in the roof. If you find any signs of water infiltration, it’s crucial to fix the leaks before installing the dryer vent.
- Assess the Roof’s Age: Consider the age of your roof. Typically, asphalt shingle roofs have a lifespan of 15-20 years. If your roof is nearing the end of its lifespan, it may be wise to have a professional roofing inspection done to ensure its overall condition.
- Check for Structural Issues: Look for any signs of sagging or structural issues with your roof. These can indicate underlying problems that need to be addressed before proceeding with the dryer vent installation.
- Inspect the Attic: Examine the attic area directly beneath the proposed vent location. Look for any signs of water stains, mold growth, or dampness. These can indicate ventilation issues or leaks in the roof.
If you notice any significant issues during the roof assessment, it is recommended to consult with a professional roofer to address the problems. Taking care of any necessary repairs or maintenance before installing the dryer vent will ensure the integrity and longevity of your roof.
Remember, a solid and well-maintained roof is essential for protecting your home from the elements and ensuring a successful dryer vent installation. By evaluating the roof condition before venting the dryer, you can address any potential issues and proceed with confidence.
Determining the Ideal Vent Location
Choosing the right location for your dryer vent is a crucial step in ensuring proper ventilation and a seamless installation. The ideal vent location should provide easy access for maintenance and cleaning while keeping in mind factors such as the proximity to windows, doors, and other vents. Here are some important considerations for determining the ideal vent location:
- Shortest Distance: The dryer vent should be as short and straight as possible. The longer and more convoluted the vent path, the higher the chances of lint accumulation and reduced airflow. Choose a location that allows for a direct and short path to the outside of your home.
- Avoiding Obstructions: Make sure the vent is clear of any obstructions such as trees, bushes, or other structures. This helps in preventing blockages, airflow restrictions, and potential fire hazards.
- Proximity to Exits: Place the vent closer to an exit point on your roof to minimize the distance and reduce the chances of lint buildup. This also allows for easy access for maintenance and cleaning.
- Maintaining Aesthetics: Consider the aesthetic aspect of your vent location. Choose a spot that blends well with the overall design of your home and is aesthetically pleasing. This will help maintain the visual appeal of your roofline.
- Proximity to Living Spaces: While it’s important to have a short vent path, it’s also crucial to consider the proximity to living spaces. Avoid placing the vent near windows, doors, or outdoor seating areas to prevent the vented air from entering these areas.
- Securing the Vent: Ensure that the vent location provides a secure and stable surface for the vent pipe and flashing. It should be able to withstand weather conditions and prevent any potential leaks or damage.
It is advisable to consult local building codes and regulations regarding dryer vent installation. Some areas may have specific guidelines on the distance from windows, doors, or other vents that you need to adhere to.
By carefully considering these factors, you can determine the ideal vent location that ensures proper airflow, easy maintenance, and a visually appealing installation. Take the time to plan and select the best spot before proceeding with the dryer vent installation.
Tools and Materials Required
Before you begin the installation process, it is important to gather all the necessary tools and materials. Having everything on hand will make the process smoother and more efficient. Here are the essential tools and materials you will need to vent your dryer through the roof:
Tools:
- Screwdriver
- Drill
- Hacksaw
- Tape Measure
- Level
- Roofing Nails
- Utility Knife
- Stepladder
- Stud Finder (if needed)
Materials:
- Vent Pipe: Choose a rigid metal vent pipe, such as aluminum or galvanized steel. Avoid using flexible plastic or foil venting, as these can restrict airflow and pose a fire hazard.
- Roof Flashing: The flashing seals the hole in the roof and prevents water from leaking in. Ensure that you have the appropriate roof flashing for your roof type.
- Screws: Use screws that are appropriate for both the vent pipe and roof flashing material. These will secure the components in place.
- Sealant: Use a high-quality roof sealant or roofing cement to create a watertight seal between the flashing and the roof. This helps prevent leaks and water damage.
- Insulation: Choose insulation with a high R-value to prevent condensation and heat loss through the vent pipe.
Make sure to gather all the necessary materials and double-check that you have the correct sizes and quantities. It is always better to have some extra materials on hand in case of any unexpected issues or changes during the installation process.
Additionally, ensure that you have access to a stepladder or a ladder that allows you to safely reach the roof. Safety should always be a top priority when working at heights.
By having the right tools and materials readily available, you can proceed with the installation process smoothly and efficiently. Prepare and organize everything beforehand to make venting your dryer through the roof a successful project.
Read more: How To Run A Dryer Vent Through The Attic
Step 1: Gathering Required Components
Before you begin venting your dryer through the roof, you need to gather all the necessary components. Having everything ready will ensure a smoother and more efficient installation process. Here’s a breakdown of the components you will need:
- Vent Pipe: Choose a rigid metal vent pipe, such as aluminum or galvanized steel. Avoid using flexible plastic or foil venting, as they can restrict airflow and pose a fire hazard. The diameter of the vent pipe should match the outlet on your dryer.
- Roof Flashing: The roof flashing is a crucial component that seals the hole in the roof and prevents water from leaking in. Ensure that you select the appropriate flashing material and size for your roof type.
- Screws: You will need screws to secure the vent pipe and the roof flashing in place. Use screws that are suitable for both the vent pipe and the flashing material. Make sure they are corrosion-resistant to withstand outdoor conditions.
- Sealant: Choose a high-quality roof sealant or roofing cement to create a watertight seal between the flashing and the roof. This helps prevent leaks and water damage. Make sure the sealant is compatible with the materials you are working with.
- Insulation: Insulating the vent pipe helps prevent condensation and heat loss. Select insulation with a high R-value to ensure optimal efficiency. It should fit tightly around the vent pipe and be appropriate for the climate in your area.
- Tape Measure: A tape measure will come in handy for measuring distances and ensuring accurate placement of the vent and the flashing.
- Drill: You will need a drill to create holes for the screws during the installation process.
- Hacksaw: A hacksaw is necessary for cutting the vent pipe to the appropriate length. Make sure it is sharp and suitable for cutting metal.
- Level: A level will help ensure that the vent pipe is properly aligned and positioned during installation.
- Roofing Nails: Roofing nails are necessary for securing the roof flashing in place. Choose corrosion-resistant nails that are appropriate for your roof type.
- Utility Knife: A utility knife will be useful for cutting and trimming materials as needed.
- Stepladder: You will need a stepladder or ladder to safely access the roof and perform the installation. Ensure that it is stable and suitable for working at heights.
Double-check that you have all the necessary components and tools before starting the installation process. Having everything ready in advance will make the process smoother and help avoid delays or interruptions. It’s always a good idea to have some extra screws, sealant, and insulation on hand in case they are needed during installation.
With all the required components gathered and organized, you are now ready to proceed to the next steps of venting your dryer through the roof.
Step 2: Accessing the Roof
Before you start installing the dryer vent, you need to safely access the roof. Proper precautions should be taken to ensure your safety throughout the process. Here is a step-by-step guide for accessing the roof:
- Choose the Right Time: Pick a day when the weather is calm and dry. Avoid working on the roof during rainy or windy conditions, as it can be unsafe.
- Use a Stepladder or Ladder: Set up a stepladder or ladder in a stable and secure manner. Make sure it is at a suitable height to reach the roof comfortably. Ensure that the ladder is placed on a level surface and is securely positioned against the roof edge.
- Check Ladder Safety: Inspect the ladder for any damages or defects before using it. Ensure that all rungs are secure, and the ladder is not wobbly or unstable.
- Wear Proper Safety Gear: Put on appropriate safety gear, including a hard hat, safety goggles, and non-slip shoes with good grip. It is also a good idea to wear work gloves to protect your hands.
- Take Precautions: Be cautious and aware of your surroundings while climbing up the ladder and walking on the roof. Watch for any loose or slippery areas and avoid stepping on them.
- Use Fall Protection: If your roof has a steep pitch or if you are uncomfortable working at heights, consider using fall protection equipment such as a safety harness and anchor. This will provide an added layer of safety during the installation process.
- Have a Spotter: If possible, have someone on the ground to assist you or keep an eye on you while you are working on the roof. They can provide support and help in case of any emergencies.
Remember, safety should always be the top priority when working on the roof. If you are unsure about accessing the roof or feel uncomfortable with the task, it is advisable to seek professional assistance. Professionals have the expertise and experience to undertake the job safely and effectively.
By following these steps and taking the necessary precautions, you can access the roof safely and be ready to proceed with the installation of the dryer vent.
Step 3: Marking the Vent Location
Once you have safely accessed the roof, the next step is to mark the location where the dryer vent will be installed. Properly marking the vent location ensures accurate placement and alignment during the installation process. Here’s how to mark the vent location:
- Refer to Dryer Manufacturer’s Instructions: Check the manufacturer’s instructions for specific guidelines on the recommended distance and position for the vent. They may provide specific measurements or requirements that you need to follow.
- Choose an Appropriate Location: Select a suitable spot on the roof for the vent. Consider factors such as the proximity to windows, doors, or other vents, as well as the overall aesthetics of your home.
- Measure and Mark: Use a tape measure to measure and mark the exact location where the vent will be installed. Ensure that the markings are level and centered according to the intended vent placement.
- Consider Clearance: Make sure there is enough clearance around the vent location. It should be free from any obstructions such as trees, bushes, or other structures that could hinder proper airflow.
- Account for Roof Pitch: Take into account the pitch or slope of your roof when marking the vent location. The vent should be positioned on a flatter area of the roof to prevent water pooling or leakage.
- Double-Check Measurements: Verify your measurements to ensure accuracy before proceeding with the installation. It’s better to take the time to double-check than to encounter problems later.
Before making any cuts or penetrations, it’s a good idea to verify that the marked vent location aligns properly with the dryer’s exhaust outlet inside your home. This will help ensure a seamless connection between the dryer and the vent pipe.
Remember, it’s important to adhere to any local building codes and regulations regarding venting installations. Some areas may have specific requirements on vent distances from windows, doors, or other vents that you need to follow.
By accurately marking the vent location, you can proceed confidently to the next steps of the dryer vent installation, ensuring a successful and properly aligned venting system.
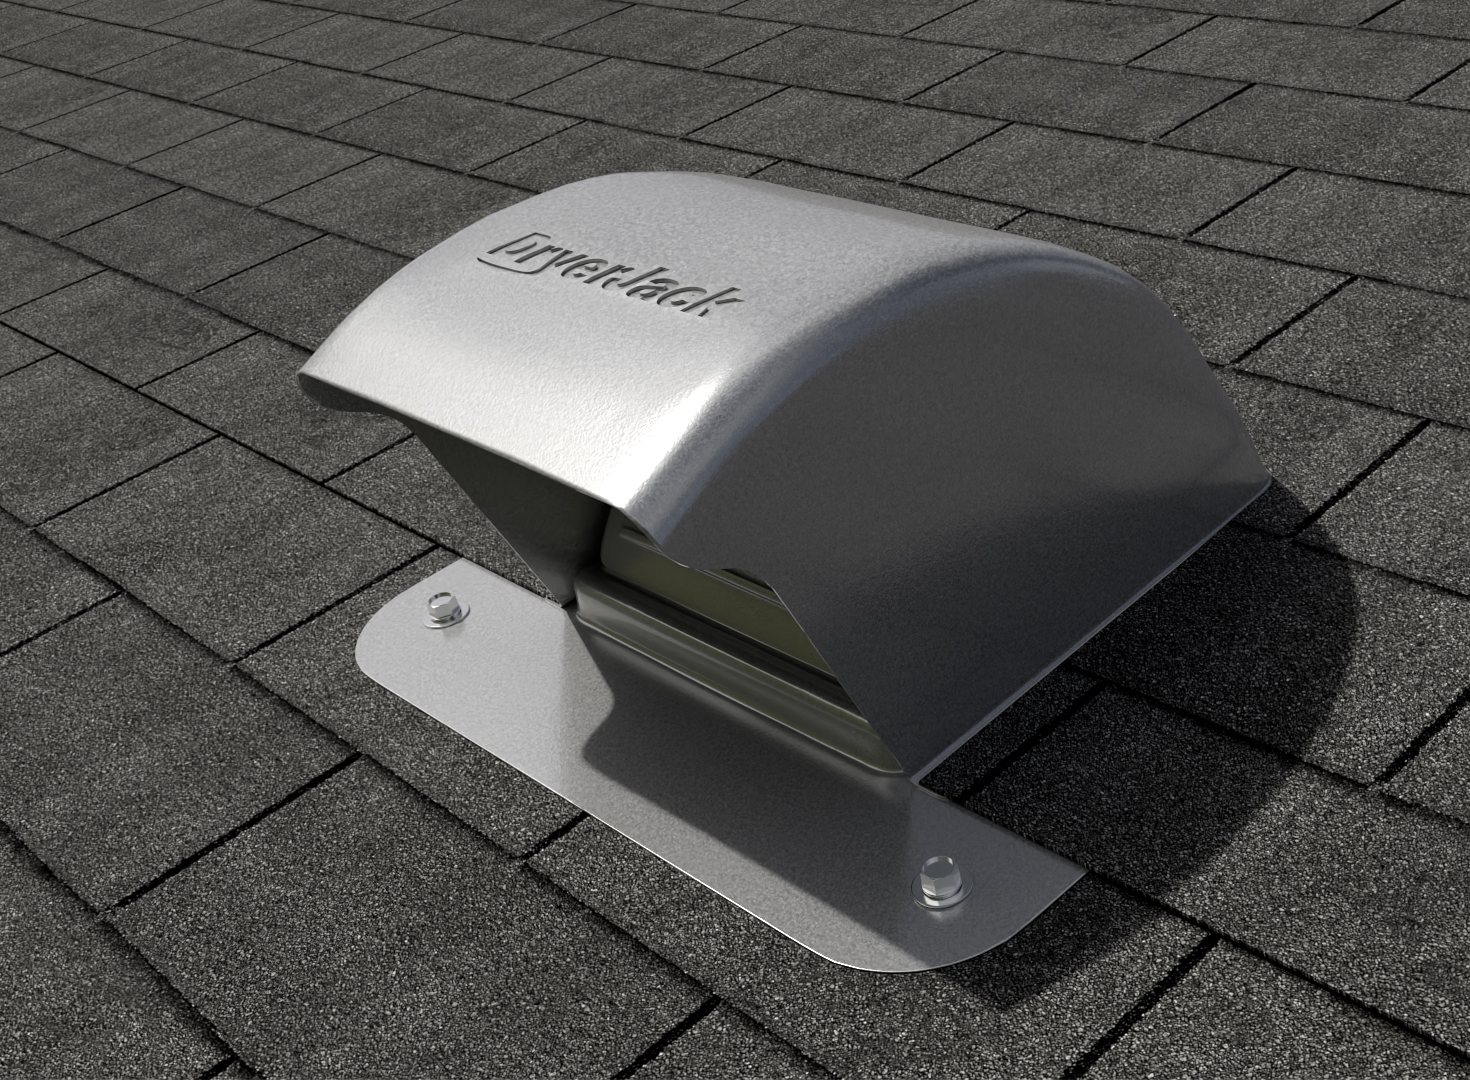
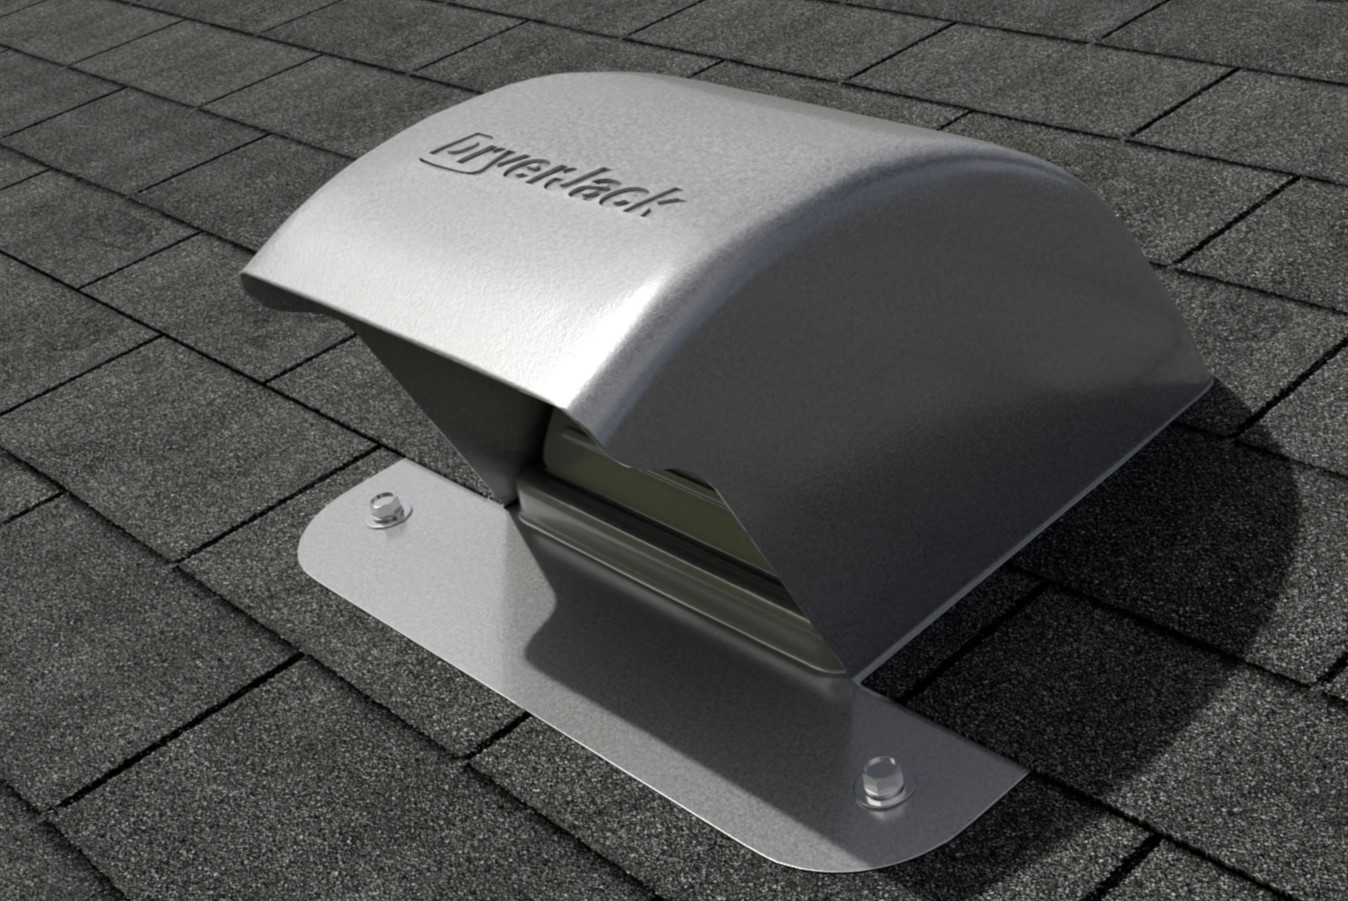
Make sure to use a roof vent with a damper to prevent backdraft and keep pests out. Use a metal duct to reduce the risk of lint buildup and fire hazard.
Step 4: Preparing the Vent Hole
After marking the vent location on the roof, the next step is to prepare the vent hole. This involves creating an opening in the roof for the vent pipe to pass through. Here’s a step-by-step guide on how to prepare the vent hole:
- Gather the Necessary Tools: Before starting, ensure that you have all the required tools and materials, including a drill, hole saw, and utility knife.
- Position the Drill: Position the drill at the center of the marked vent location on the roof.
- Select the Appropriate Hole Saw Size: Choose a hole saw that matches the diameter of the vent pipe you are using. This will allow for a precise and clean cut.
- Start Drilling: Slowly and steadily drill through the roof, applying gentle pressure. Use a circular motion to cut through the roofing material. Take care not to apply excessive force or damage the surrounding area.
- Complete the Cut: Continue drilling until the hole saw cuts through the roofing material and creates a neat, circular hole. Remove the cut circular piece of roofing material.
- Check for Roof Reinforcements: Sometimes, roof structures may have reinforcements such as trusses or beams underneath. Take caution and be aware of any structural elements that might obstruct the vent hole. If you encounter any obstacles, adjust the position of the hole accordingly.
- Trim Excess Roofing Material: Use a utility knife to trim any excess roofing material around the vent hole. This will ensure a clean and finished appearance.
It’s essential to be mindful of safety while working on the roof. Take precautions to protect yourself from falls or accidents by wearing appropriate safety gear and working with caution.
After preparing the vent hole, inspect it to ensure that it aligns properly with the marked vent location and provides enough space for the vent pipe. This will help ensure a smooth and efficient installation process.
With the vent hole prepared, you are now ready to move on to the next steps of installing the roof flashing and connecting the vent pipe.
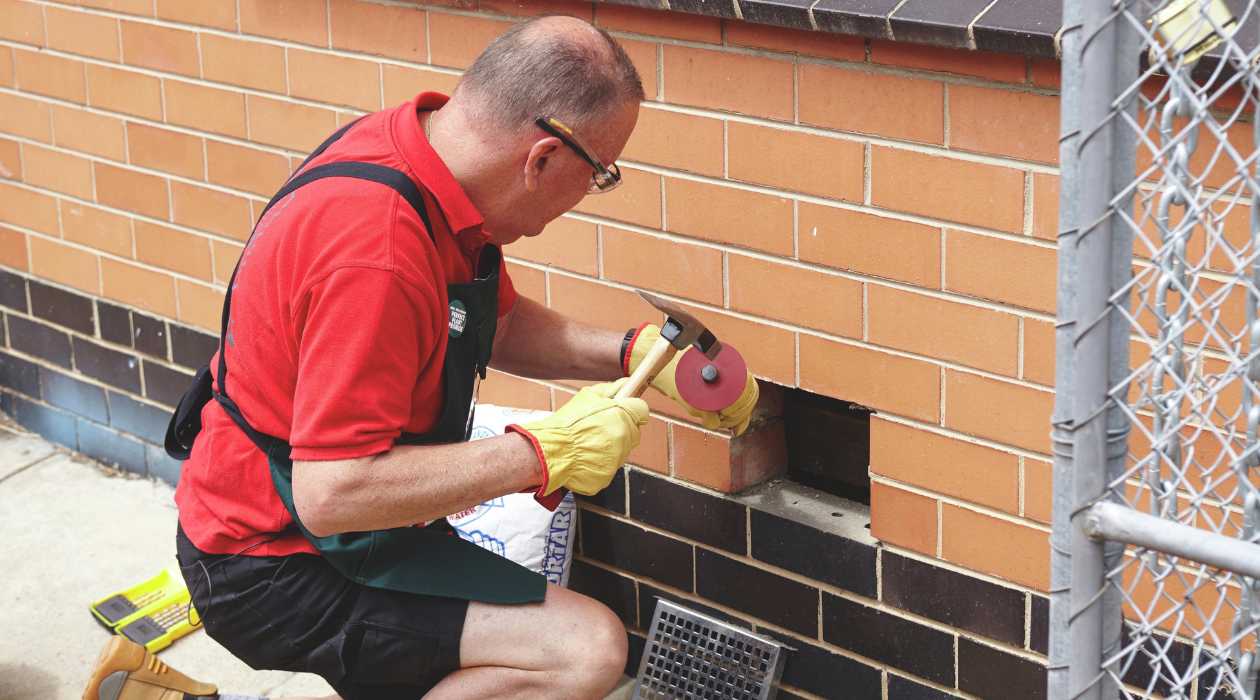
Read more: How To Install A Dryer Vent Through Brick
Step 5: Installing the Roof Flashing
Installing the roof flashing is an important step in venting your dryer through the roof. The flashing creates a watertight seal around the vent hole, preventing water from entering your home. Here is a step-by-step guide on how to install the roof flashing:
- Gather the Necessary Materials: Before starting, make sure you have the roof flashing, screws, and a sealant or roofing cement suitable for your roof type.
- Position the Roof Flashing: Place the roof flashing over the vent hole, ensuring that it covers the entire opening. Make sure the flashing is centered and aligned with the vent hole.
- Secure the Flashing: Use roofing screws to secure the flashing in place. Place the screws evenly around the perimeter of the flashing, ensuring a secure attachment to the roof.
- Apply Sealant: Apply a generous amount of sealant or roofing cement around the edges of the flashing. This will create a watertight seal between the flashing and the roof, preventing any water infiltration.
- Smooth the Sealant: Use a putty knife or your finger to smooth and spread the sealant evenly. This will create a neat and effective seal.
- Inspect the Flashing: Carefully inspect the installed flashing to ensure that it is secure and properly sealed. Check for any gaps or areas that require additional sealant.
It’s important to follow the manufacturer’s instructions when installing the roof flashing, as different flashing types may have specific installation guidelines. Adhering to these instructions will help ensure a proper and effective seal.
Remember to work carefully and take precautions to prevent any damage to the roof or yourself. Use appropriate safety gear and exercise caution when handling the flashing and working at heights.
With the roof flashing securely installed, you can proceed to the next step of connecting the vent pipe and completing the dryer vent installation.
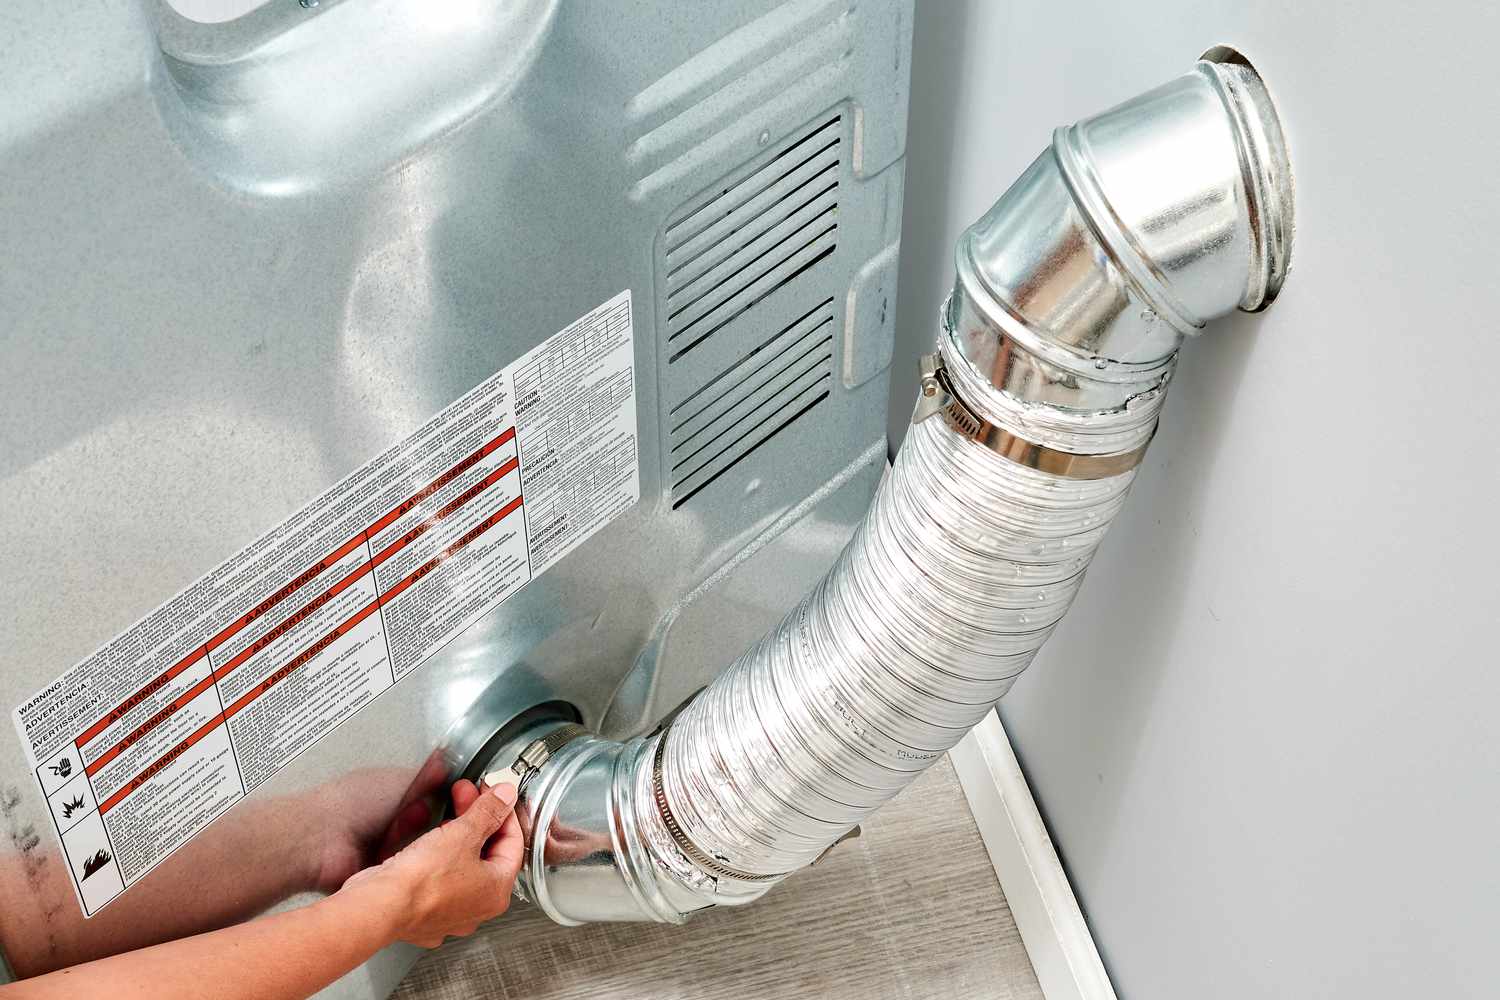
Step 6: Connecting the Vent Pipe
Once the roof flashing is securely in place, the next step is to connect the vent pipe to the dryer and the roof opening. Properly connecting the vent pipe ensures a tight and efficient seal, allowing for the safe ventilation of your dryer. Here’s a step-by-step guide on how to connect the vent pipe:
- Gather the Necessary Materials: Before starting, make sure you have the rigid metal vent pipe, screws, and a screwdriver suitable for the screws.
- Measure and Cut the Vent Pipe: Using a tape measure, measure the required length of the vent pipe. Use a hacksaw to cut the vent pipe to the appropriate size. Ensure that the cut is clean and smooth.
- Attach the Elbow or Connector: If necessary, attach an elbow or connector to the end of the vent pipe that will connect to the dryer. This will allow for a smooth transition and secure connection.
- Secure the Vent Pipe to the Dryer: Connect the vent pipe to the dryer exhaust outlet. Use screws and a screwdriver to secure the pipe to the dryer securely. Make sure the connection is tight and properly aligned.
- Bring the Vent Pipe Through the Roof Opening: Insert the other end of the vent pipe through the roof opening. Align the pipe with the flashing and ensure it fits snugly into the opening. The pipe should extend a few inches beyond the roof opening to ensure proper airflow.
- Secure the Vent Pipe to the Roof Flashing: Use screws and a screwdriver to secure the vent pipe to the roof flashing. Place the screws evenly around the perimeter of the pipe to ensure a secure attachment.
- Apply Sealant: Apply a generous amount of sealant or roofing cement around the joint between the vent pipe and the roof flashing. This will create a watertight seal and prevent any water from seeping into your home.
Ensure that all connections are secure and properly aligned. Loose or misaligned connections can lead to air leakage and reduced ventilation efficiency. Double-check the connections to ensure they are tight and properly fitted.
Take precautions to work safely and protect yourself from any potential injuries. Use appropriate safety gear, such as gloves and goggles, when handling the vent pipe and tools.
With the vent pipe securely connected to both the dryer and the roof opening, you are now ready to move on to the next steps of securing the vent pipe and completing the dryer vent installation.
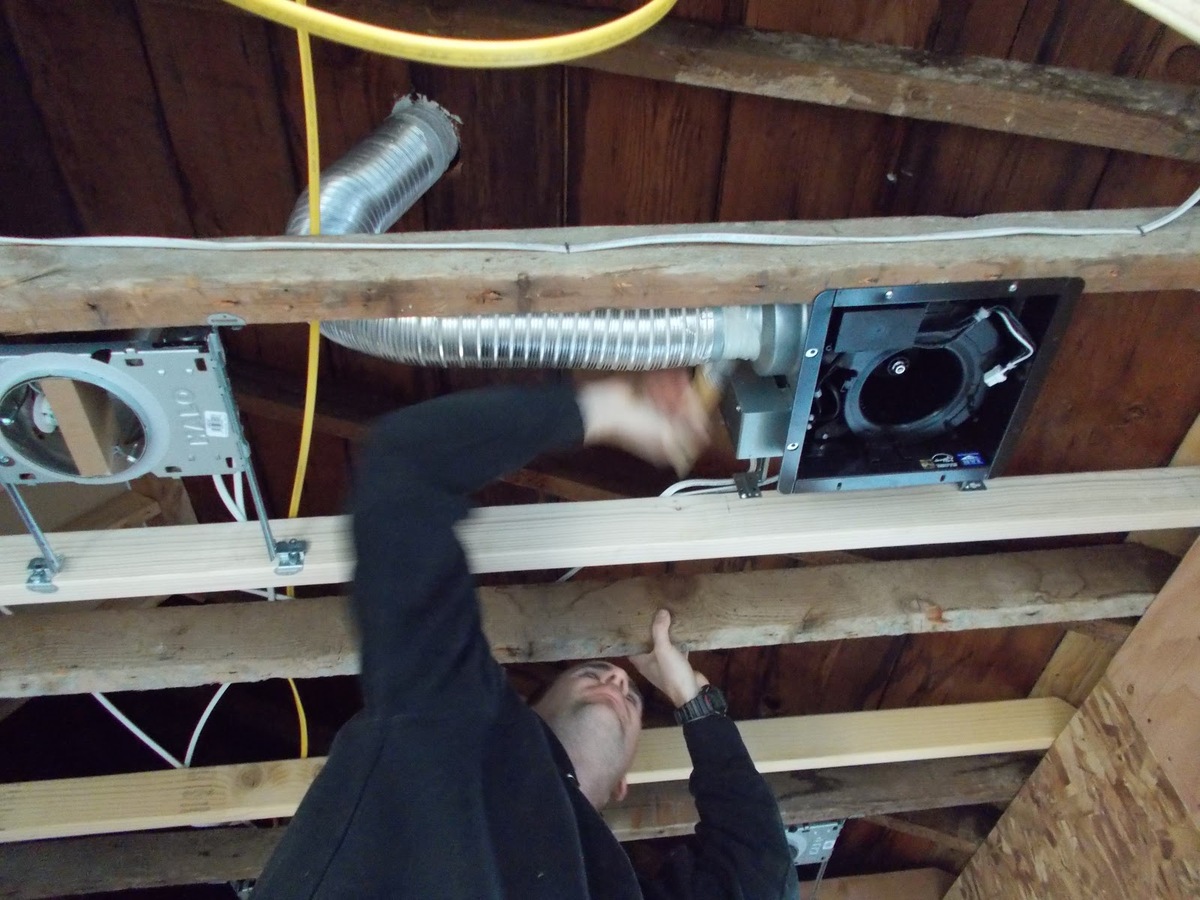
Step 7: Securing the Vent Pipe
Once the vent pipe is connected to both the dryer and the roof opening, the next step is to secure the vent pipe in place. Properly securing the vent pipe ensures stability and prevents any movement or dislodging during use. Here’s a step-by-step guide on how to secure the vent pipe:
- Gather the Necessary Materials: Before starting, make sure you have the necessary materials to secure the vent pipe. This may include brackets, clamps, or straps.
- Position the Brackets, Clamps, or Straps: Determine the appropriate locations along the vent pipe to secure it. Use brackets, clamps, or straps to hold the vent pipe securely to walls, rafters, or other stable structures.
- Mark the Mounting Locations: Use a pencil or marker to mark the locations for the brackets, clamps, or straps. Ensure that the markings are evenly spaced and aligned with the pipe.
- Install the Mounting Hardware: Using screws and a screwdriver, attach the brackets, clamps, or straps to the marked locations. Make sure the hardware is securely fastened and provides ample support for the vent pipe.
- Adjust as Needed: Ensure that the vent pipe is properly aligned and level. Make any necessary adjustments to the positioning of the brackets, clamps, or straps to achieve a secure and balanced installation.
It’s important to follow the manufacturer’s instructions when installing the brackets, clamps, or straps. Different vent pipe types may require specific hardware or installation techniques. Adhering to these instructions will help ensure a stable and secure vent pipe installation.
Double-check the connections and the overall stability of the vent pipe. Ensure that all hardware is tightened securely and that there is no movement or play in the vent pipe. Any loose connection can result in reduced airflow efficiency and potential hazards.
Take necessary precautions to work safely and avoid any injuries. Use appropriate safety gear, such as gloves and goggles, when installing the mounting hardware for the vent pipe.
With the vent pipe securely in place, you are now ready to move on to the next steps of sealing and insulating the vent to ensure optimal performance and efficiency.
Step 8: Sealing and Insulating the Vent
After securing the vent pipe, the next step is to seal and insulate the vent to ensure optimal performance and efficiency. Proper sealing prevents air leaks and water infiltration, while insulation helps prevent condensation and heat loss. Here’s a step-by-step guide on how to seal and insulate the vent:
- Gather the Necessary Materials: Before starting, make sure you have sealant or foil tape, insulation material, and any relevant tools such as a putty knife or scissors.
- Seal the Joints: Apply a generous amount of sealant or use foil tape to seal the joints between the different sections of the vent pipe. This will prevent air leaks and ensure a tight and secure connection.
- Seal the Roof Flashing Joint: Apply sealant or roofing cement around the joint between the vent pipe and the roof flashing. Ensure that there are no gaps or openings that could allow water to seep into your home.
- Insulate the Vent Pipe: Wrap insulation material around the vent pipe to prevent condensation and heat loss. Make sure the insulation fits tightly and covers the entire length of the vent pipe.
- Secure the Insulation: Use foil tape or insulation fasteners to secure the insulation in place. This will ensure that it remains securely wrapped around the vent pipe over time.
- Trim any Excess Insulation: Trim any excess insulation material using scissors or a utility knife. Ensure a neat and clean appearance while maintaining proper coverage of the vent pipe.
It’s important to choose insulation material with a suitable R-value for your climate. This will help maximize energy efficiency and prevent condensation accumulation inside the vent pipe.
Take the necessary precautions to work safely and protect yourself from any potential injuries. Use appropriate safety gear, such as gloves and goggles, when handling the sealant, insulation, or tools.
Inspect the sealed and insulated vent pipe to ensure there are no gaps or areas that require additional attention. Proper sealing and insulation play a vital role in the overall performance and efficiency of your dryer vent system.
With the vent pipe sealed and insulated, you are now ready to move on to the next step of rechecking the installation and ensuring everything is in proper working order.
Step 9: Rechecking the Installation
After completing the installation of the dryer vent through the roof, it is crucial to recheck the entire setup to ensure that everything is properly installed and in proper working order. This step helps to identify any potential issues or areas that may require adjustments. Here’s a step-by-step guide on how to recheck the installation:
- Inspect the Vent Connections: Verify that all connections between the dryer, vent pipe, and roof opening are secure and properly aligned. Ensure that there are no gaps or loose fittings that could cause air leaks.
- Examine the Roof Flashing: Inspect the roof flashing to confirm that it is securely attached to the roof and forms a watertight seal. Check for any signs of damage, such as cracks or gaps, that may allow water to penetrate.
- Check for Proper Ventilation: Turn on the dryer and monitor the airflow through the vent. Ensure that there is a steady, strong airflow coming out of the vent outside the house. This indicates that the venting system is working effectively.
- Verify the Functionality of the Dryer: Run a test cycle on the dryer to ensure that it is operating properly. Check for any unusual sounds, vibrations, or issues with drying performance.
- Inspect for Any Leakage or Condensation: Examine the vent pipe, connections, and surrounding areas for any signs of water leakage or condensation. Address any leaks or excessive moisture buildup immediately.
- Conduct a Thorough Cleanup: Remove any debris or dirt that may have accumulated during the installation process. Clean the area around the vent opening and ensure that there are no obstructions that could impede airflow.
During the rechecking process, if you come across any issues or concerns, it is important to address them promptly. Consult with a professional if needed to ensure that any necessary adjustments or repairs are done correctly.
Remember to prioritize safety and exercise caution when performing the recheck. Watch for any sharp edges or unstable surfaces while inspecting the installation.
By thoroughly rechecking the installation, you can confirm that your dryer vent through the roof is functioning safely and effectively. This will help prevent any potential hazards and ensure the longevity and performance of your dryer venting system.
Step 10: Finalizing the Installation
After ensuring that the dryer vent installation is properly set up and in optimal working condition, it’s time to finalize the installation process. This step involves a final inspection and taking necessary measures to protect the vent and maintain its efficiency. Here’s a step-by-step guide on how to finalize the installation:
- Double-Check the Entire Venting System: Take another thorough look at the entire venting system, including the vent pipe, roof flashing, and connections. Ensure that everything is secure, aligned correctly, and free from any damage.
- Secure Loose Wires or Hoses: Make sure that any loose wires or hoses are properly secured and out of the way. Keep them clear of the vent pipe to prevent interference or potential damage.
- Remove any Debris or Obstructions: Check the area around the vent opening both inside and outside the house. Remove any debris, lint, or other obstructions that may impede proper airflow.
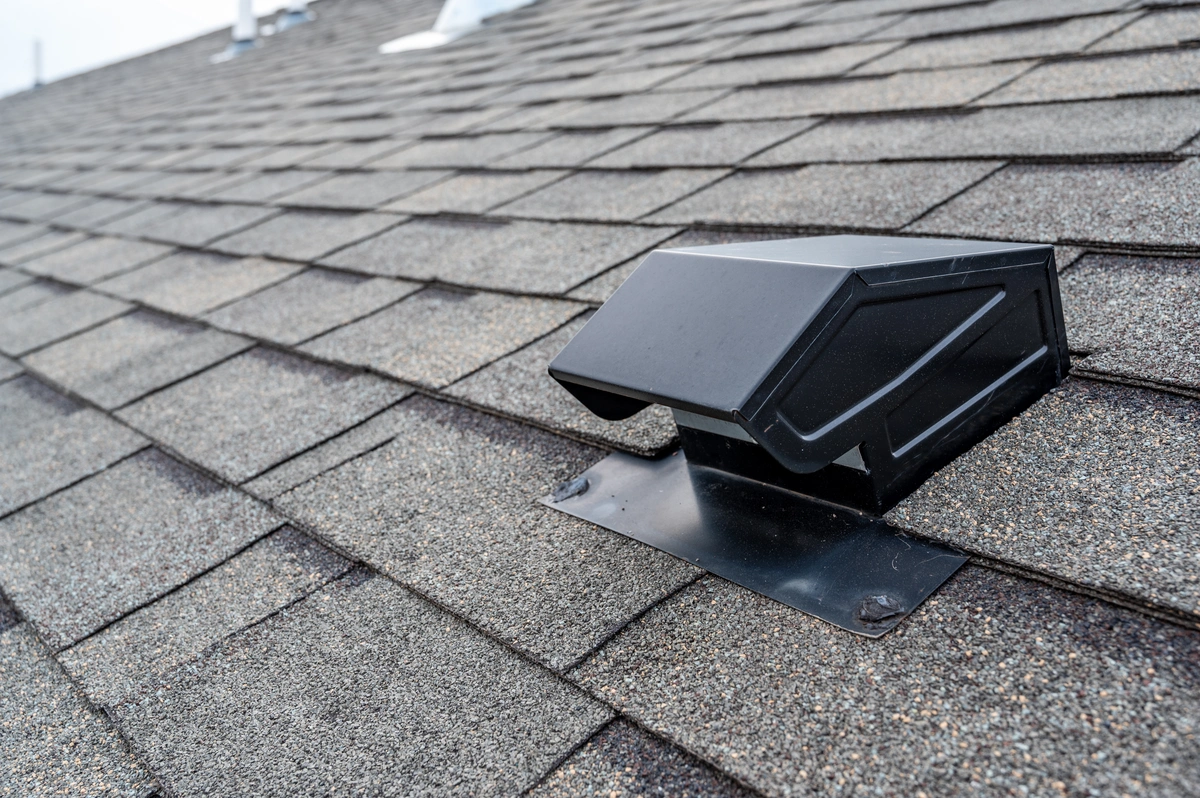
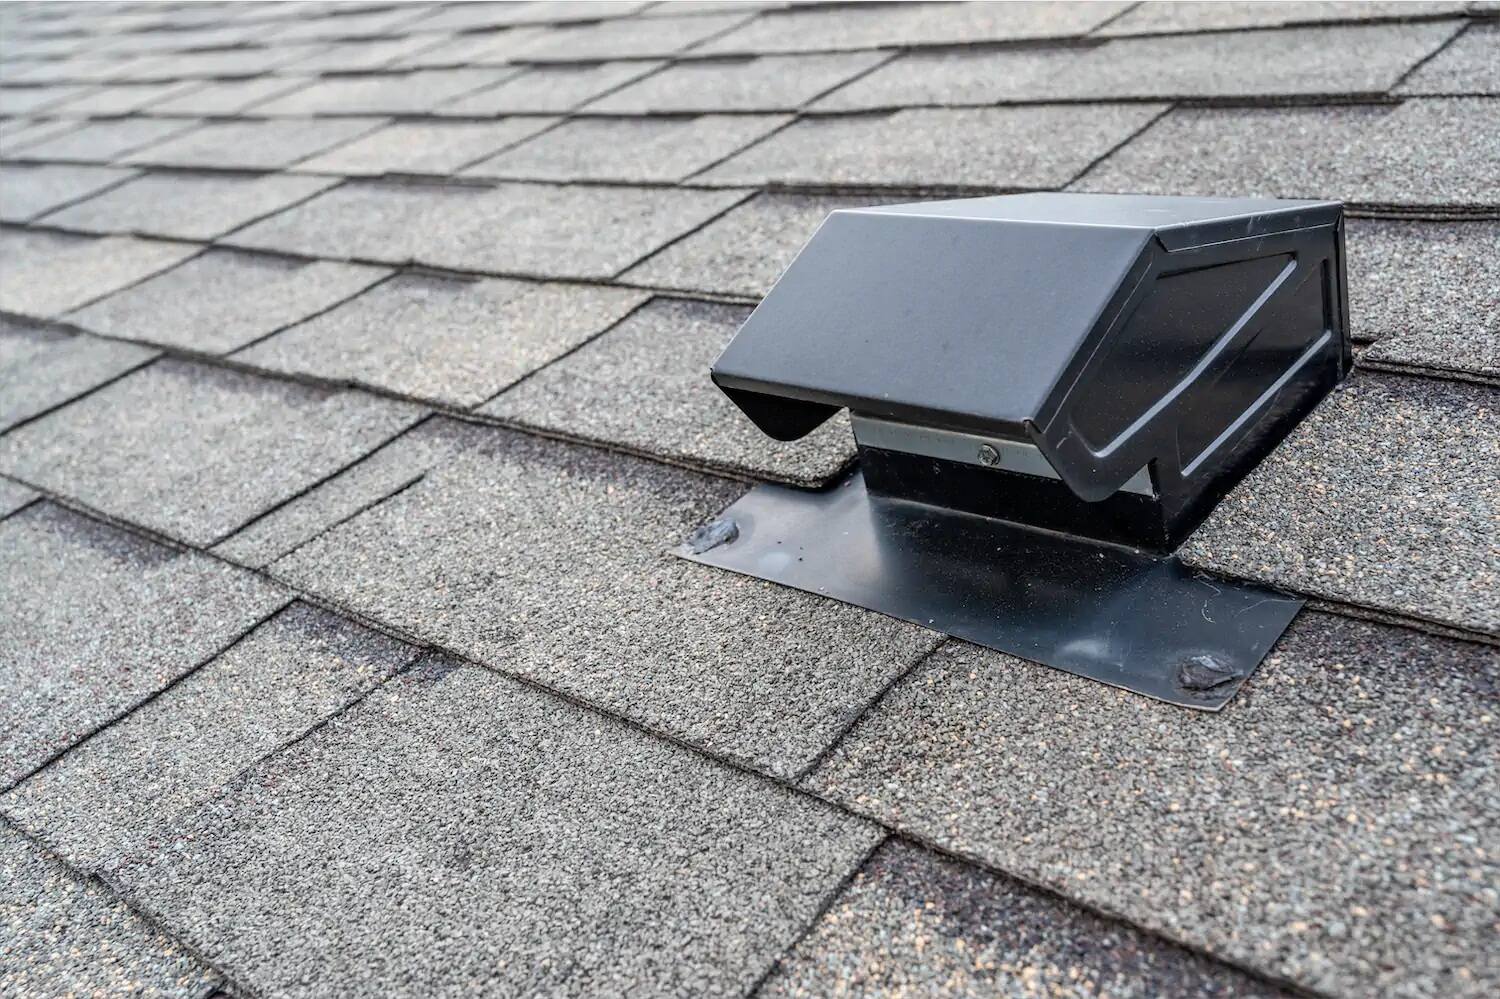
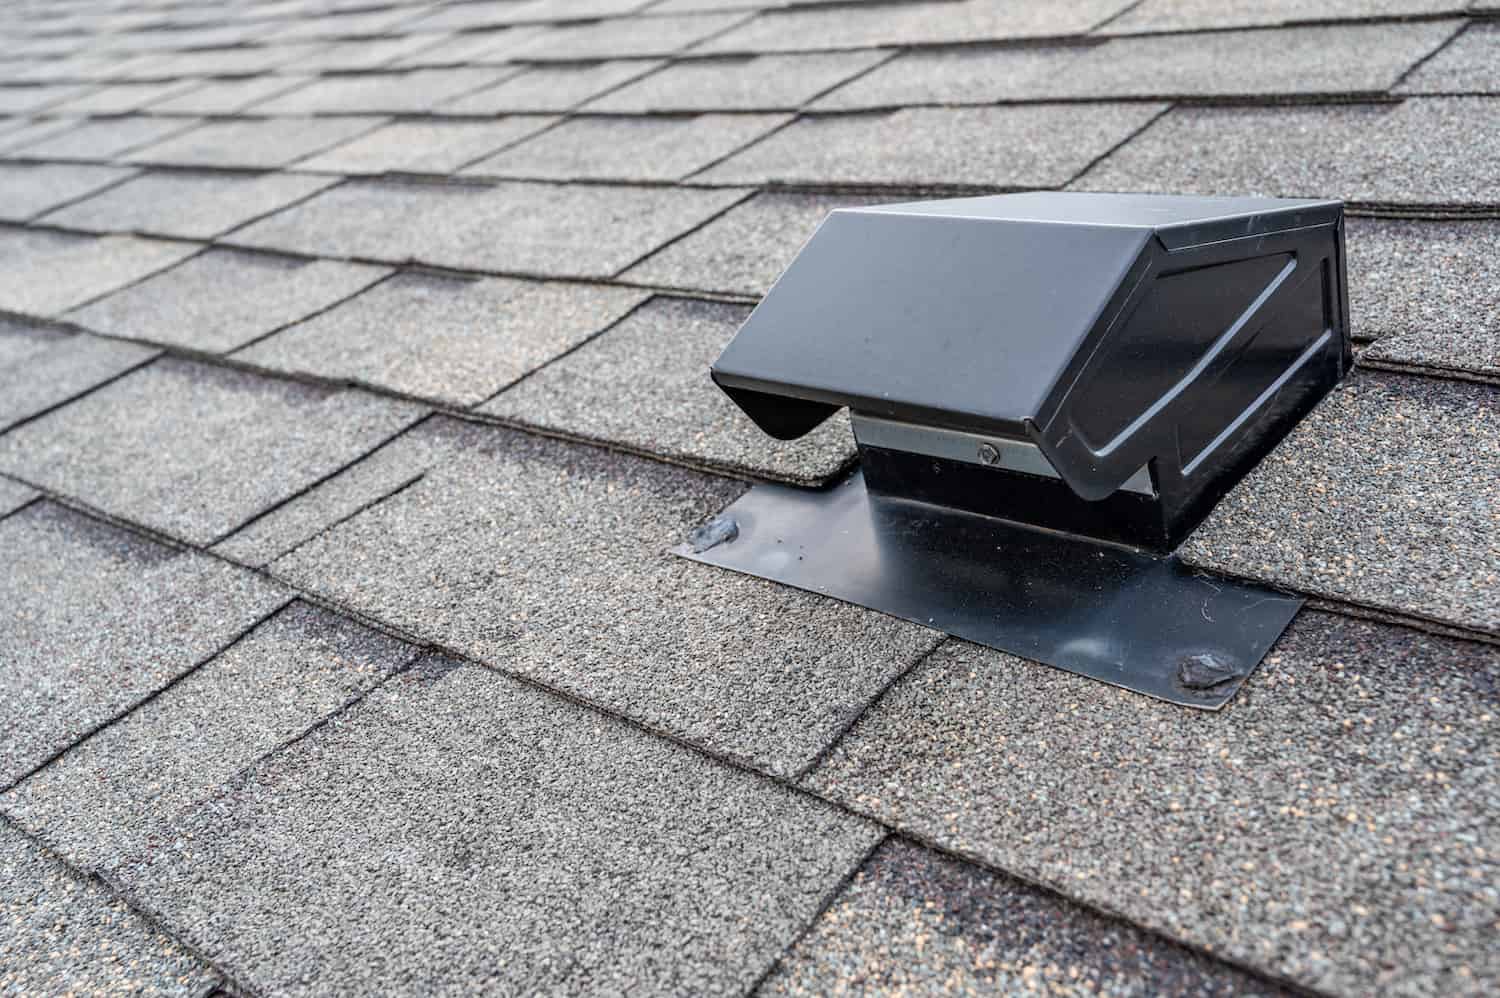
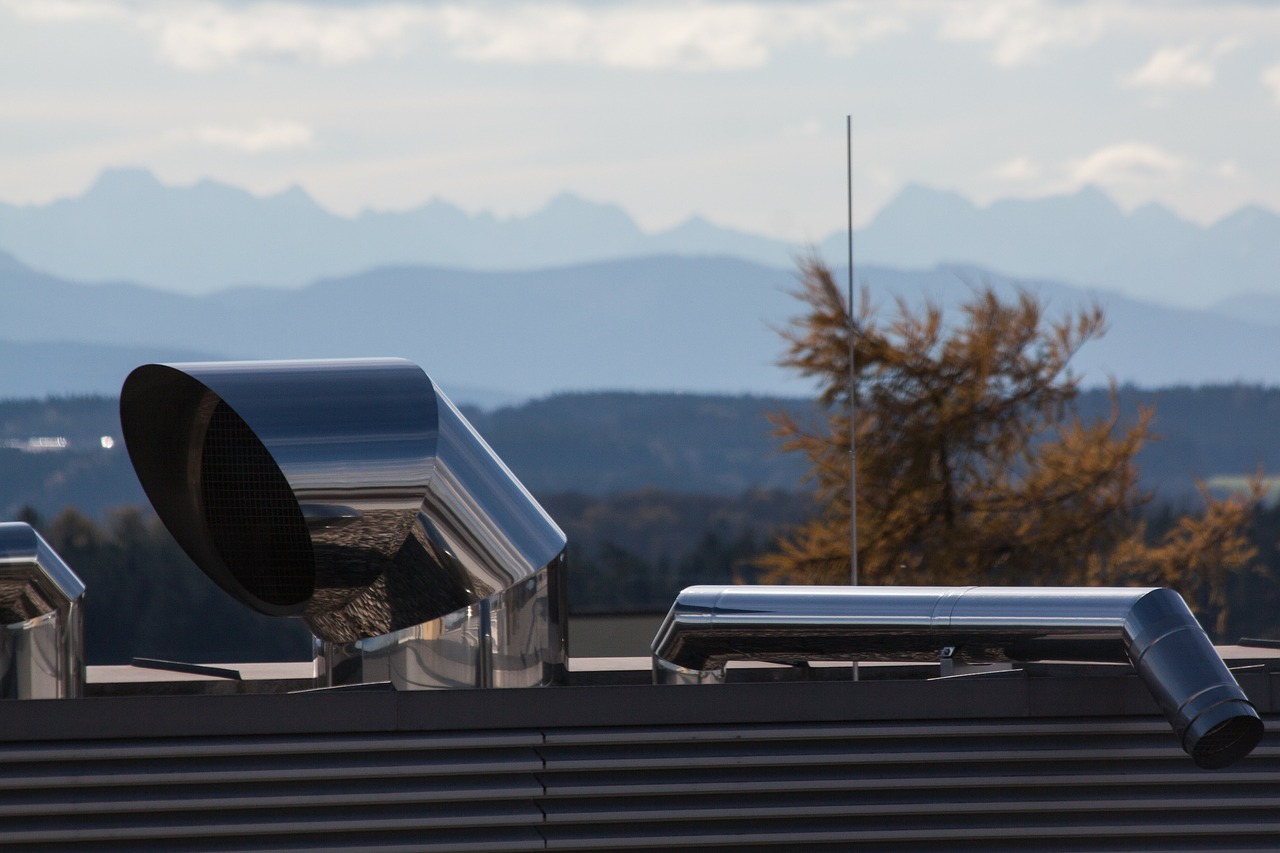
- Inspect the Vent Cover: Examine the vent cover outside the house to ensure it is clean and free from any blockages or damage. The vent cover should open easily and allow for proper ventilation.
- Apply Protective Measures: Consider using a mesh or bird guard over the vent opening to prevent birds or small animals from entering. This can help protect the vent and maintain its efficiency.
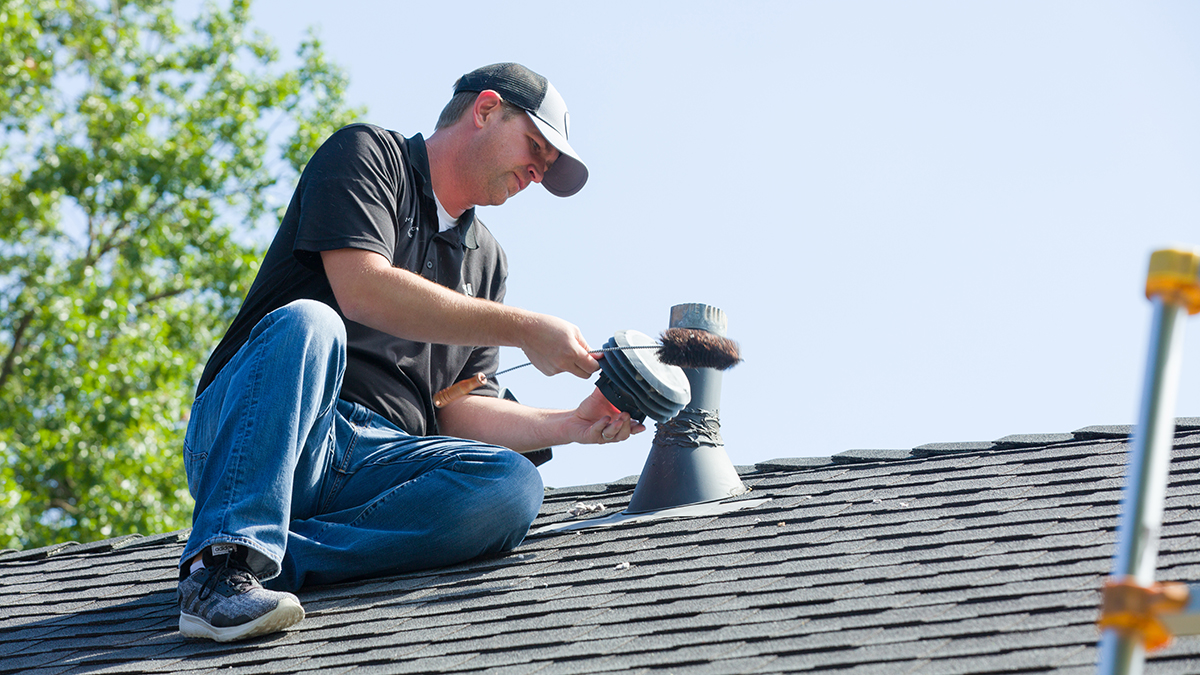
- Conduct Regular Maintenance: Implement a routine maintenance schedule for your dryer vent. Regularly clean the vent pipe, remove lint buildup, and inspect for any signs of damage. This will help prolong the lifespan of the venting system and prevent potential issues.
- Document Installation Details: Keep a record of the installation, including the date, materials used, and any specific instructions or considerations for future reference. This information will be helpful for future maintenance or repairs.
Throughout the finalization process, be mindful of safety precautions. Avoid working on the roof or near the vent during adverse weather conditions or when the roof is wet or slippery. Use appropriate safety gear, such as gloves and goggles, when handling the vent or performing any maintenance tasks.
By finalizing the installation, you can rest assured that your dryer vent through the roof is properly set up, functioning efficiently, and allows for safe and effective ventilation of your dryer.
Follow the manufacturer’s instructions and consult with professionals if needed to ensure ongoing maintenance and compliance with recommended practices.
With the installation process complete, you can now enjoy the benefits of a well-vented dryer while providing a safe and efficient airflow for your home.
Conclusion
Venting a dryer through the roof is a crucial step in ensuring the proper and safe operation of the appliance. By following the steps outlined in this guide, you can successfully install a dryer vent through your roof, providing effective ventilation while minimizing the risk of fire hazards, mold growth, and other issues associated with improper venting.
Throughout the installation process, it is essential to prioritize safety and adhere to local building codes and regulations. Taking the time to assess the roof condition, determine the ideal vent location, gather the necessary tools and materials, and follow step-by-step instructions will result in a well-installed and efficient dryer venting system.
Proper preparation, such as marking the vent location, preparing the vent hole, and installing the roof flashing, sets the foundation for a successful installation. Connecting the vent pipe securely, sealing and insulating the vent, and double-checking the entire setup ensures optimal performance and efficiency.
Finalizing the installation by conducting a thorough inspection, addressing any concerns, and implementing maintenance measures helps to maintain the longevity and effectiveness of the dryer vent system. Regular maintenance and upkeep are essential to prevent lint buildup, minimize the risk of obstructions, and ensure continuous airflow.
Remember to periodically check and clean the vent pipe, inspect the vent cover, and address any damage or blockages that may arise. By doing so, you can ensure the safe and efficient operation of your dryer and reduce the risk of potential hazards.
Venting your dryer through the roof might require some time, effort, and attention to detail, but it is worth it to protect your home, maintain energy efficiency, and prolong the life of your dryer. If you are unsure about any aspect of the installation or prefer professional help, do not hesitate to consult with experts who can provide guidance and assistance.
By following the steps outlined in this guide and implementing the necessary precautions, you can successfully vent your dryer through the roof, providing a safe and effective ventilation solution for your home.
Frequently Asked Questions about How To Vent A Dryer Through The Roof
Was this page helpful?
At Storables.com, we guarantee accurate and reliable information. Our content, validated by Expert Board Contributors, is crafted following stringent Editorial Policies. We're committed to providing you with well-researched, expert-backed insights for all your informational needs.

0 thoughts on “How To Vent A Dryer Through The Roof”