Home>Articles>How To Remove Recessed Light Fixture From Ceiling
Articles
How To Remove Recessed Light Fixture From Ceiling
Modified: August 26, 2024
Learn how to remove a recessed light fixture from your ceiling with our informative articles. Find step-by-step instructions and helpful tips to complete this DIY project.
(Many of the links in this article redirect to a specific reviewed product. Your purchase of these products through affiliate links helps to generate commission for Storables.com, at no extra cost. Learn more)
Introduction
Removing a recessed light fixture from the ceiling may seem like a daunting task, but with the right steps and precautions, it can be a straightforward process. Whether you’re replacing the fixture, cleaning it, or undertaking a home improvement project, knowing how to safely remove a recessed light fixture is essential.
In this article, we will guide you through the step-by-step process of removing a recessed light fixture from the ceiling. From turning off the power to disconnecting the wires, we have you covered. So, let’s dive in!
Key Takeaways:
- Safety first! Always turn off the power and double-check for electricity before removing a recessed light fixture. Take your time and follow the steps to ensure a smooth and safe process.
- Patching the ceiling after removing the fixture can enhance the room’s appearance. Follow the optional step for a seamless finish and professional-looking results.
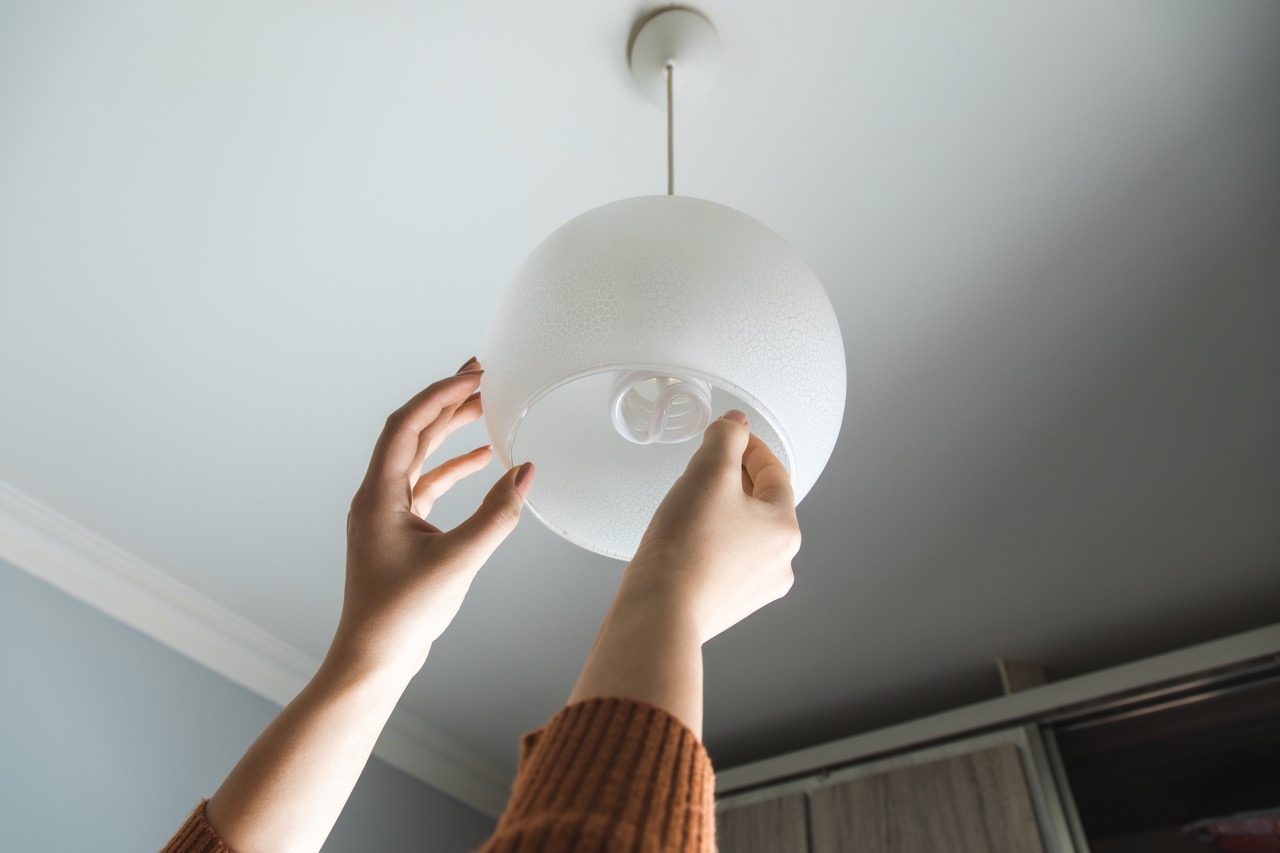
Read more: How To Remove Glass Globe From Light Fixture
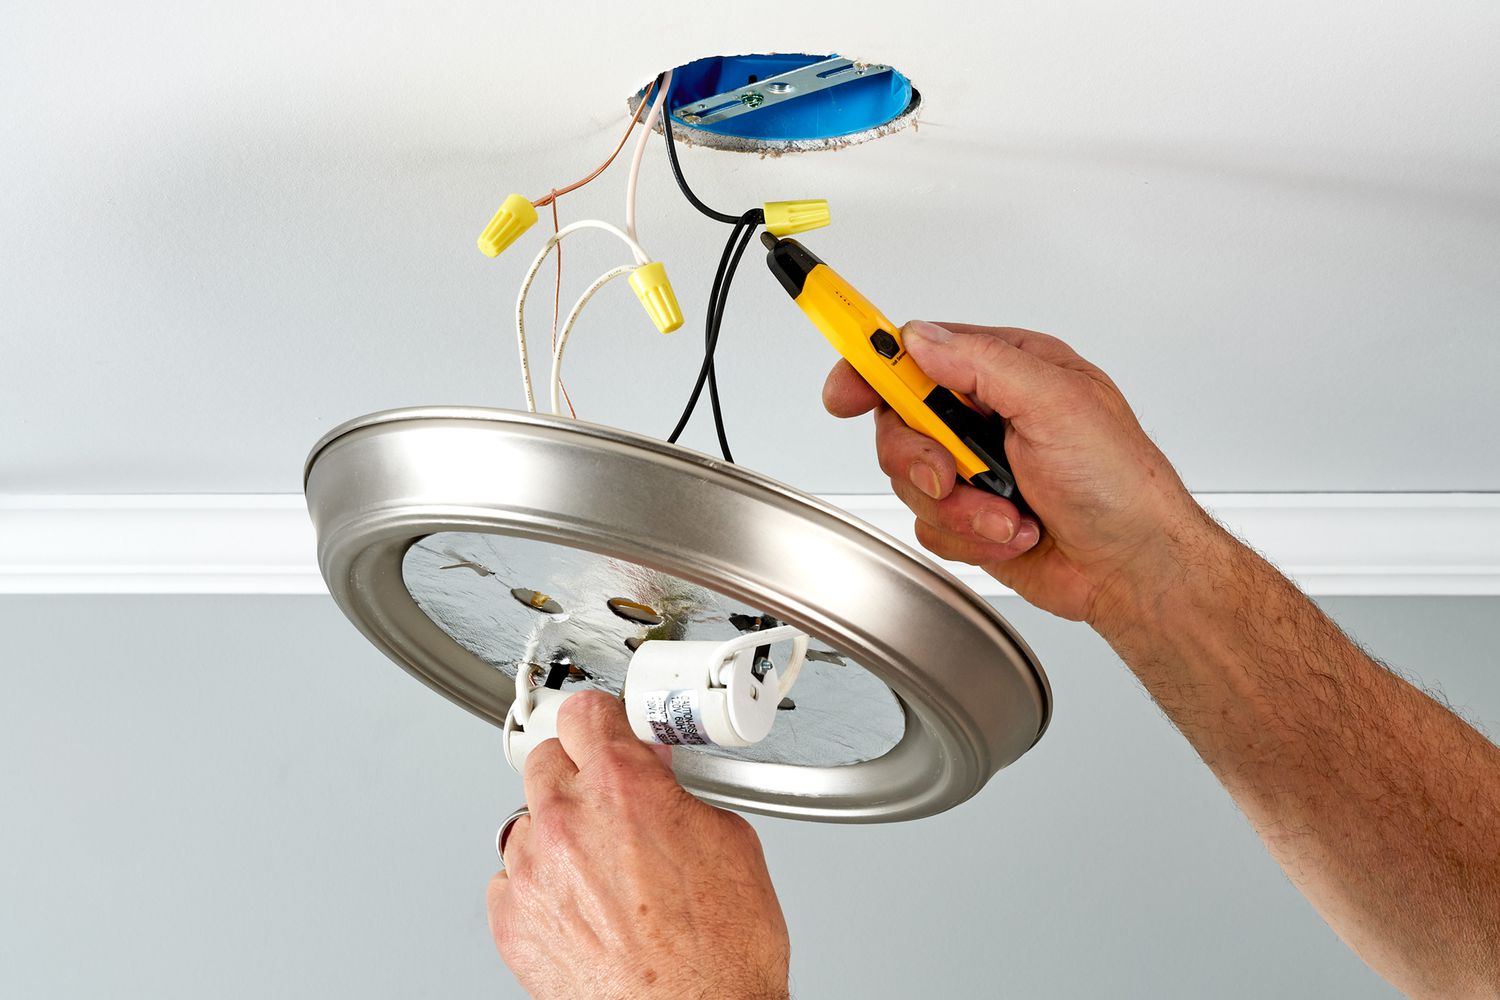
Step 1: Turn off the power
Before you start working on removing the recessed light fixture, it is imperative to turn off the power to ensure your safety. Follow these steps:
- Locate the electrical panel in your home. It is usually found in the basement, garage, or utility room.
- Open the electrical panel door and look for the circuit breaker that controls the fixture. It may be labeled as the room or area where the fixture is located.
- Flip the switch that corresponds to the circuit breaker, turning off the power to the fixture. You can ensure that the power is off by flipping the light switch on and off.
- Use a non-contact voltage tester to double-check that there is no electricity flowing to the fixture. Simply hold the tester against the wires or any exposed metal parts of the fixture. If the tester does not detect any voltage, it is safe to proceed.
Remember, safety should always be your top priority when working with electrical fixtures. Take the necessary precautions and double-check that the power is off before proceeding to the next steps.
Step 2: Remove the light bulb
Once you have ensured that the power is off, you can proceed to remove the light bulb from the recessed fixture. Follow these steps:
- Gently press the light bulb and twist it counterclockwise to release it from the socket.
- If the bulb is difficult to remove, you can try wearing a pair of gloves to get a better grip.
- Once the bulb is loose, carefully pull it out of the socket and set it aside in a safe place.
Removing the light bulb first will make it easier to access and remove the remaining parts of the recessed light fixture.
Please note that if the light bulb is still hot after being turned off, allow it to cool down completely before attempting to remove it to avoid any risk of burns.
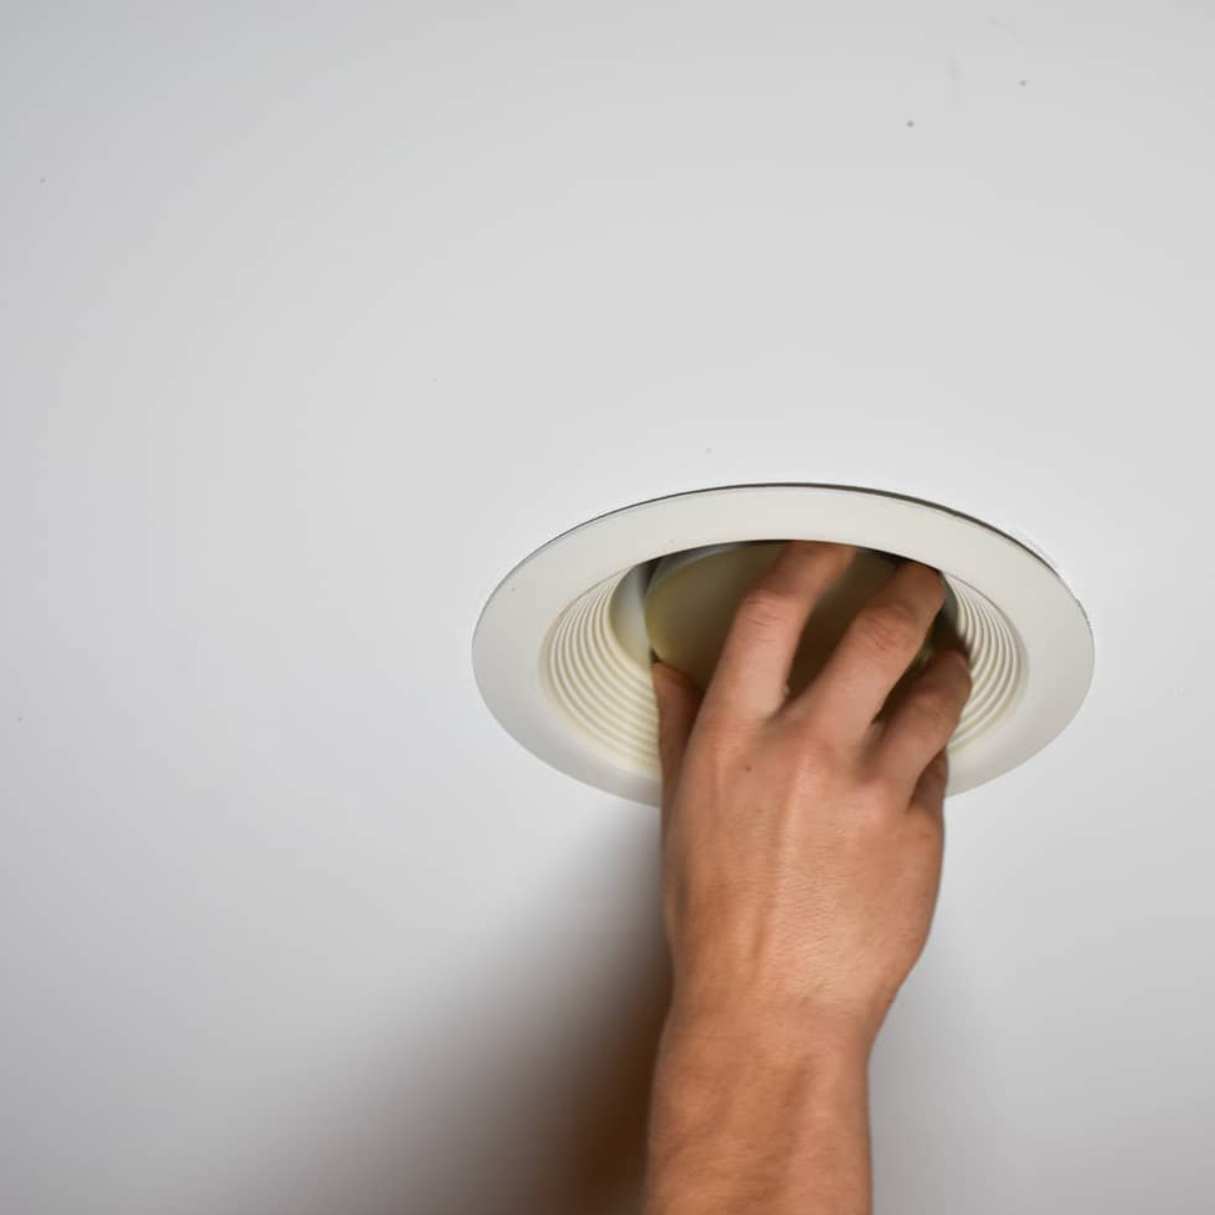
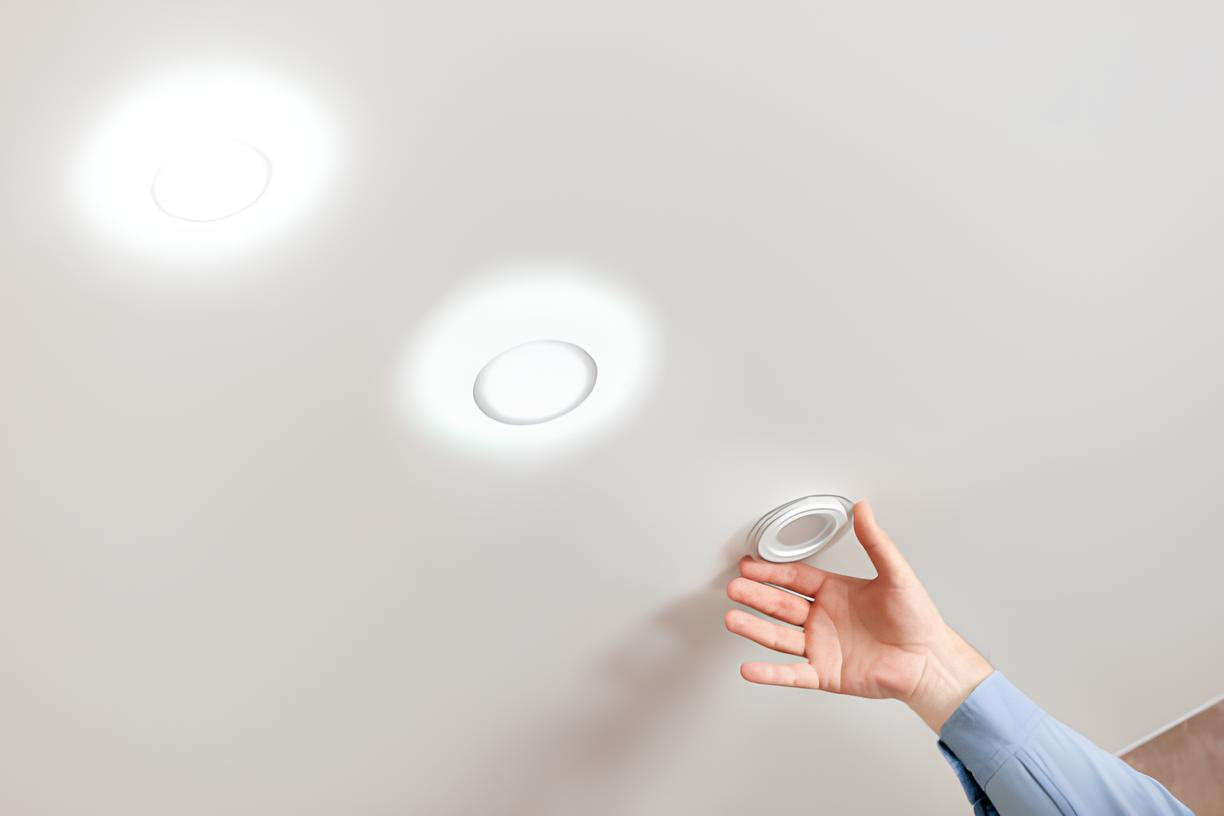
Step 3: Remove the trim ring
After removing the light bulb, the next step is to remove the trim ring of the recessed light fixture. The trim ring is the decorative piece that surrounds the bulb and provides a finished appearance to the fixture. Here’s how you can remove it:
- Inspect the trim ring to determine how it is attached. Most trim rings have either spring clips or screws holding them in place.
- If your trim ring has spring clips, gently push them inward and downward to release them from the housing.
- If your trim ring is secured with screws, use a screwdriver to carefully remove the screws. Set the screws aside in a safe place, as you will need them for reassembly later.
- Once the spring clips or screws have been released, gently pull the trim ring away from the fixture. Be cautious not to force it or use excessive pressure, as this may damage the trim ring or the housing.
Removing the trim ring will expose the housing and allow you to access the next components of the recessed light fixture for removal.
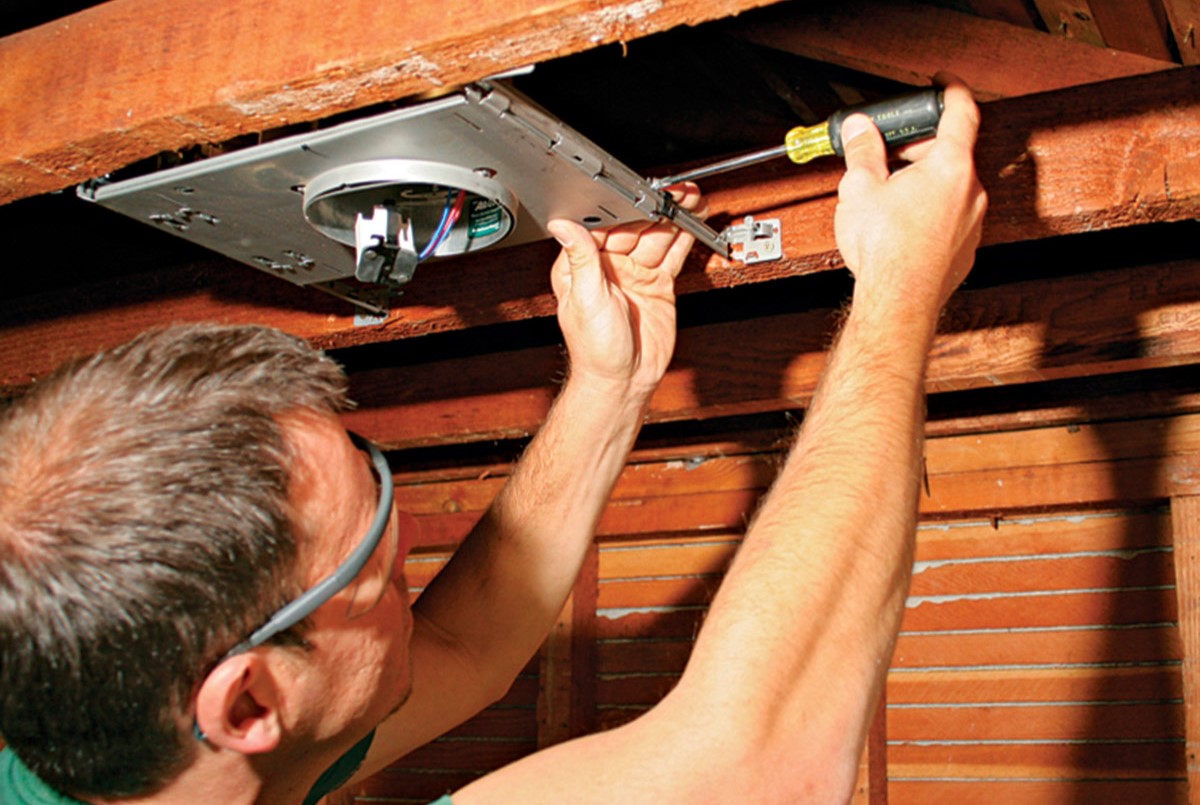
Step 4: Unscrew the mounting screws
With the trim ring removed, you can now proceed to unscrewing the mounting screws that secure the recessed light fixture to the ceiling. Follow these steps:
- Using a screwdriver or a drill with the appropriate bit, locate the mounting screws on the sides of the housing.
- Gently loosen and remove the screws, being careful not to strip or damage them.
- Set the screws aside in a safe place, as you will need them for reinstallation or when installing a new fixture.
- Once the screws are removed, the housing should be loose and detached from the ceiling.
It is worth noting that some recessed light fixtures may have additional screws or fasteners holding them in place. If you encounter any extra screws or clips during this step, be sure to remove them as well.
Ensure that you have a firm grip on the fixture while removing the mounting screws to prevent it from falling or causing any damage to the ceiling or yourself.
Turn off the power to the fixture at the circuit breaker. Use a screwdriver to remove the trim and light bulb. Unscrew the mounting screws and carefully lower the fixture from the ceiling. Disconnect the wires and remove the fixture.
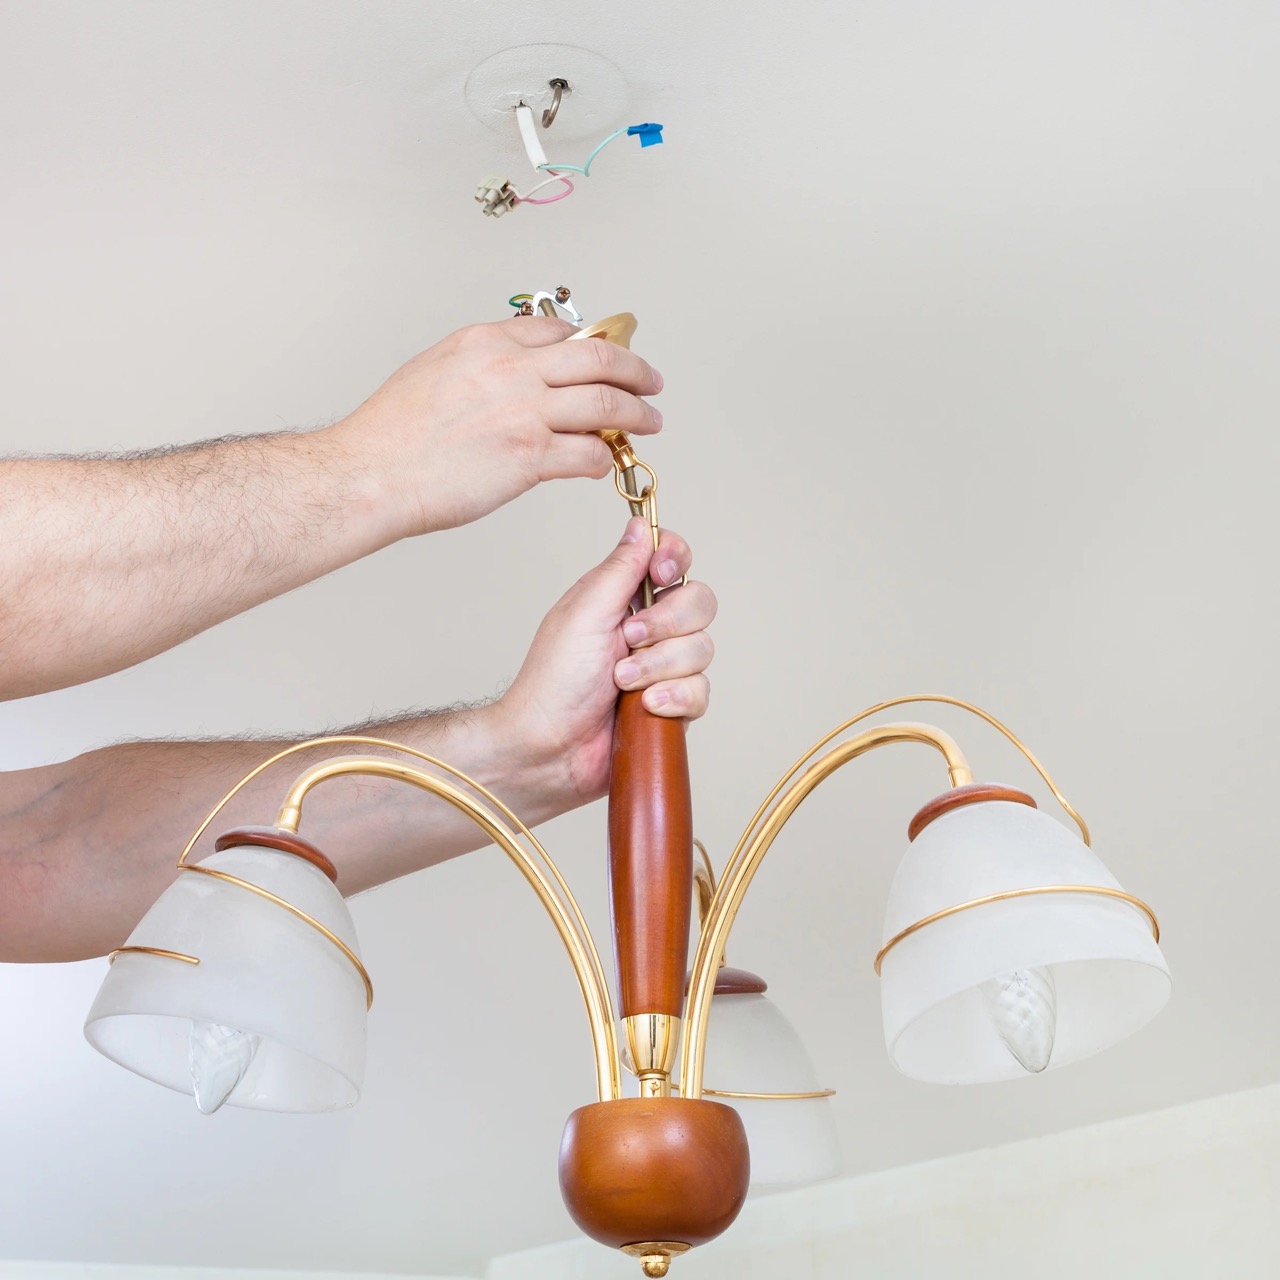
Step 5: Disconnect the wires
With the mounting screws removed, the next step is to disconnect the wires that are connected to the recessed light fixture. Follow these steps:
- Look inside the housing of the fixture and locate the wire connections.
- Identify the wire nuts or connectors that are securing the wires together.
- Using a pair of pliers or wire strippers, gently twist and loosen the wire nuts in a counterclockwise direction.
- Once the wire nuts are loose, carefully separate the connected wires by pulling them apart.
- Take note of the wire colors and their respective connections. It’s helpful to document or take a photo of the wire connections for reference during reinstallation.
- If there are any additional wires attached to the fixture, such as grounding wires, disconnect them in a similar manner.
Make sure to handle the wires with care and avoid pulling or tugging on them forcefully. Taking your time during this step will help prevent any accidental damage to the wiring.
Once the wires are disconnected, you can proceed to the next step of removing the recessed light fixture from the ceiling.
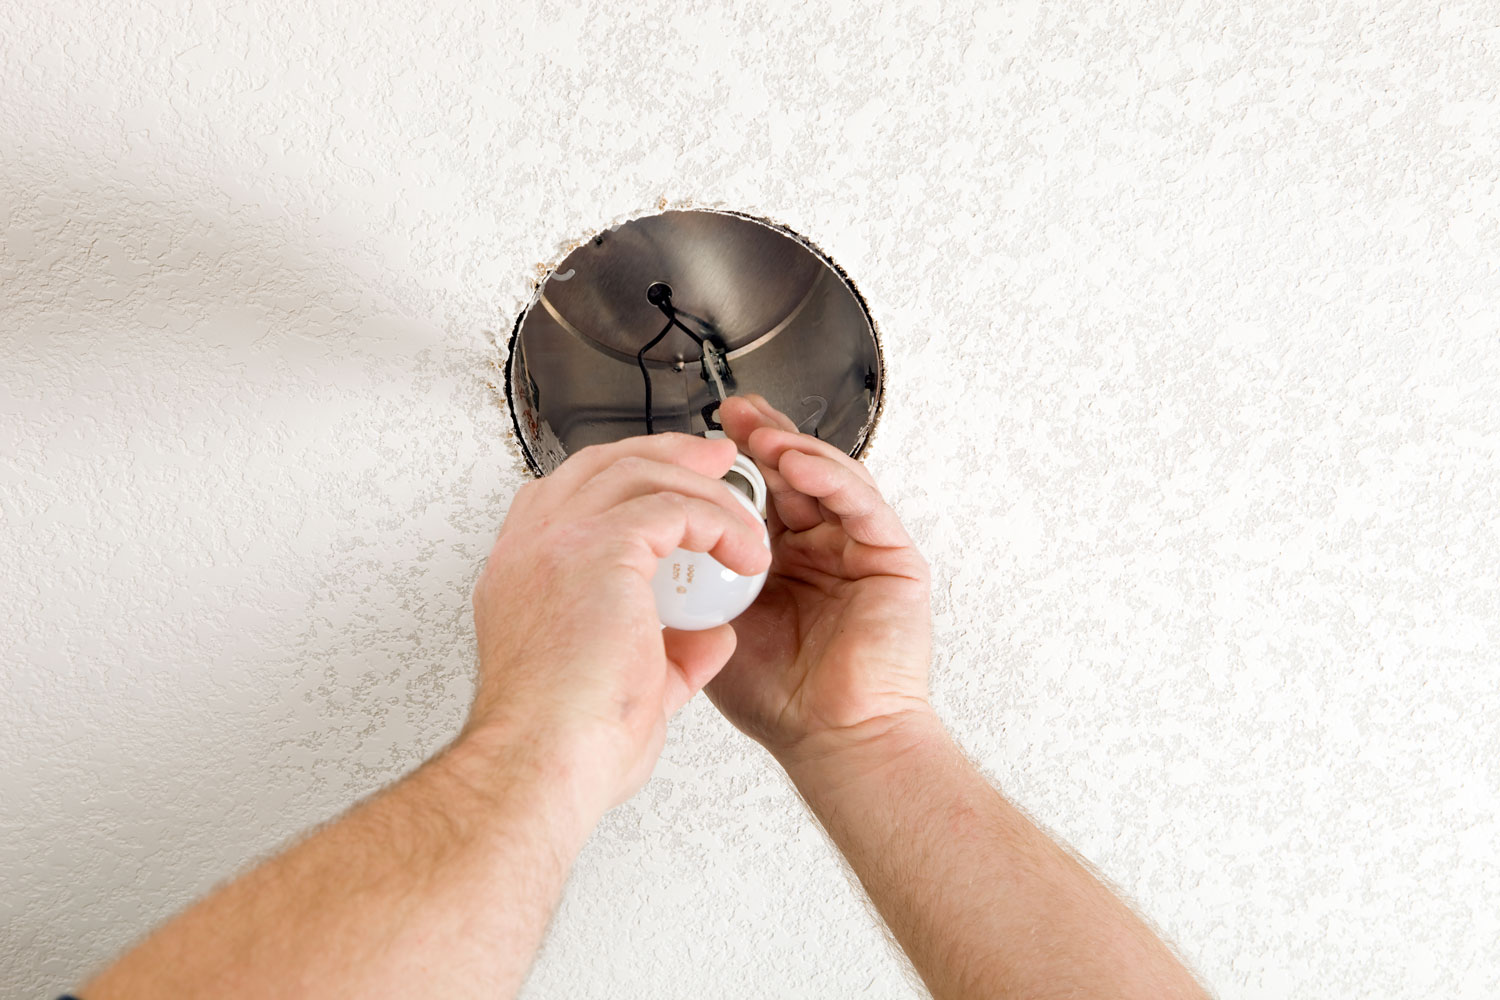
Step 6: Remove the recessed light fixture
Now that all the necessary preparations have been made, it is time to remove the recessed light fixture from the ceiling. Follow these steps:
- Gently grasp the sides of the housing of the fixture.
- Slowly and carefully pull the fixture down from the ceiling.
- If the fixture is held in place by clips, release them by squeezing them together as you pull the fixture down.
- If the fixture is attached by a tension spring, compress the spring by pressing it inward and downwards.
- Continue pulling the fixture down until it is completely out of the ceiling.
Be mindful of any insulation or debris that may be present inside the ceiling cavity. Gradually remove the fixture to avoid any damage to the surrounding area or injury to yourself.
Once the fixture is successfully removed, set it aside in a safe place or dispose of it accordingly, depending on your needs.
Now that you have successfully removed the recessed light fixture, you can proceed to the optional step of patching the ceiling or move on to the next steps of your project.
Step 7: Patch the ceiling (optional)
After removing the recessed light fixture, you may find that there is an open hole or gap in the ceiling where the fixture was installed. Patching the ceiling is an optional step to ensure a seamless and finished appearance. Follow these steps:
- Inspect the hole or gap in the ceiling to determine the size and condition.
- If the hole is small, you can use spackle or a lightweight joint compound to fill it in. Apply the compound using a putty knife, spreading it evenly and smoothly over the area. Allow it to dry according to the product instructions, and then sand it lightly to create a smooth surface.
- If the hole is larger, you may need to use a patch or repair kit designed specifically for ceiling holes. Follow the instructions provided with the kit to cut and install the patch, and then apply joint compound over it. Again, allow it to dry and sand it as needed.
- Once the patching compound is dry and the surface is smooth, you can prime and paint the patched area to match the surrounding ceiling.
Remember to follow the manufacturer’s instructions on all patching and painting products used, and allow ample drying time between each step to achieve the best results.
While patching the ceiling is optional, it can significantly enhance the aesthetic appeal of the room and create a seamless finish after removing the recessed light fixture.
Conclusion
Removing a recessed light fixture from the ceiling may initially seem like a complicated task, but by following the proper steps and taking the necessary precautions, it can be a manageable DIY project. Throughout this guide, we have outlined the step-by-step process for safely removing a recessed light fixture.
Remember to always prioritize safety by turning off the power and double-checking that there is no electricity flowing to the fixture. Take your time when removing the components, such as the light bulb, trim ring, mounting screws, and wire connections. And if you choose to patch the ceiling, follow the appropriate techniques for a professional finish.
Whether you are replacing the fixture, cleaning it, or upgrading your lighting, having the knowledge to remove a recessed light fixture can be incredibly useful. It allows you to accomplish various tasks without the need for professional assistance, saving both time and money.
However, if you are unsure or uncomfortable with any aspect of the process, it is always wise to consult a licensed electrician for guidance. They can ensure that the necessary steps are taken and that the installation is carried out correctly.
We hope that this guide has provided you with the necessary information to confidently remove a recessed light fixture from your ceiling. With the right tools, precautions, and know-how, you can successfully complete this task and continue with your home improvement projects.
Now that you've mastered removing recessed light fixtures, why not broaden your DIY skills even further? Home maintenance involves various tasks that can save you money and improve your living space. Our comprehensive guide on home repair covers essential techniques and smart tips to tackle just about any challenge your house might throw your way. From fixing leaky faucets to patching drywall, get ready to boost your handyperson skills with our easy-to-follow instructions.
Frequently Asked Questions about How To Remove Recessed Light Fixture From Ceiling
Was this page helpful?
At Storables.com, we guarantee accurate and reliable information. Our content, validated by Expert Board Contributors, is crafted following stringent Editorial Policies. We're committed to providing you with well-researched, expert-backed insights for all your informational needs.


0 thoughts on “How To Remove Recessed Light Fixture From Ceiling”