Home>Home Security and Surveillance>How To Install Outdoor Camera From A Light Fixture
Home Security and Surveillance
How To Install Outdoor Camera From A Light Fixture
Modified: October 19, 2024
Learn how to easily install an outdoor camera from a light fixture for enhanced home security and surveillance. Step-by-step guide and expert tips!
(Many of the links in this article redirect to a specific reviewed product. Your purchase of these products through affiliate links helps to generate commission for Storables.com, at no extra cost. Learn more)
Introduction
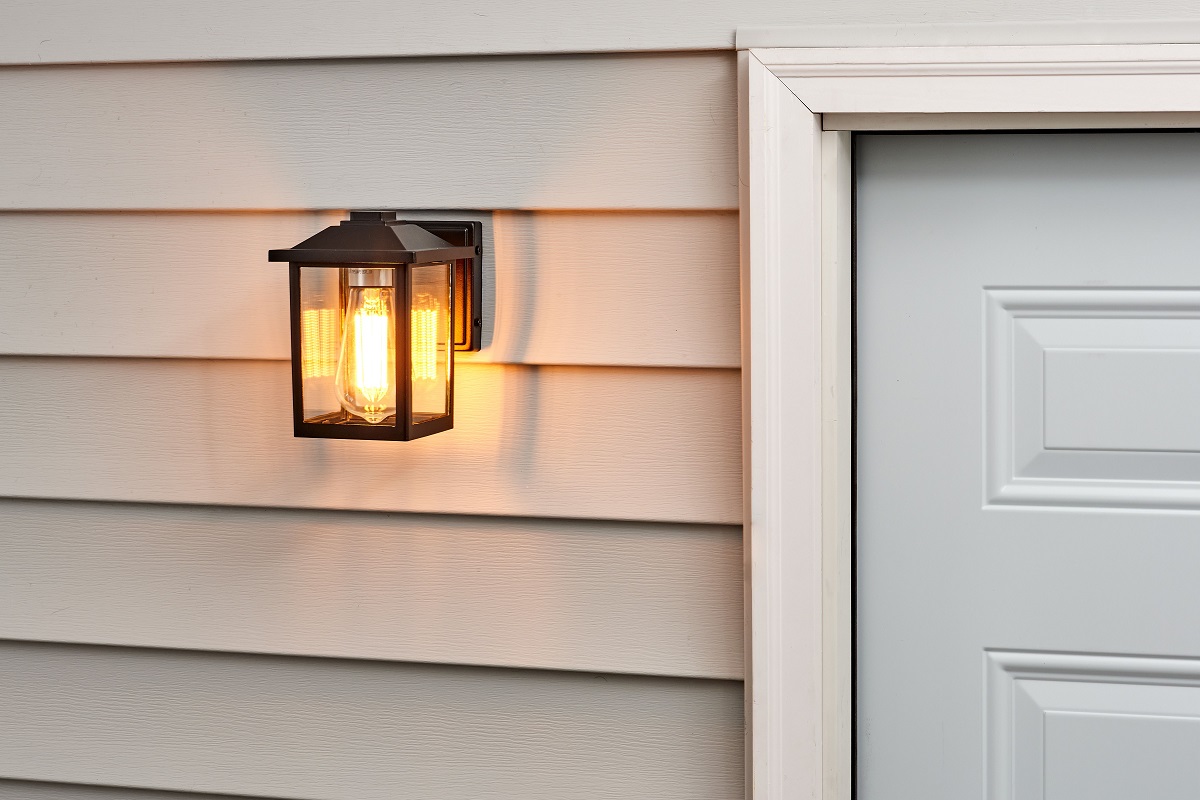
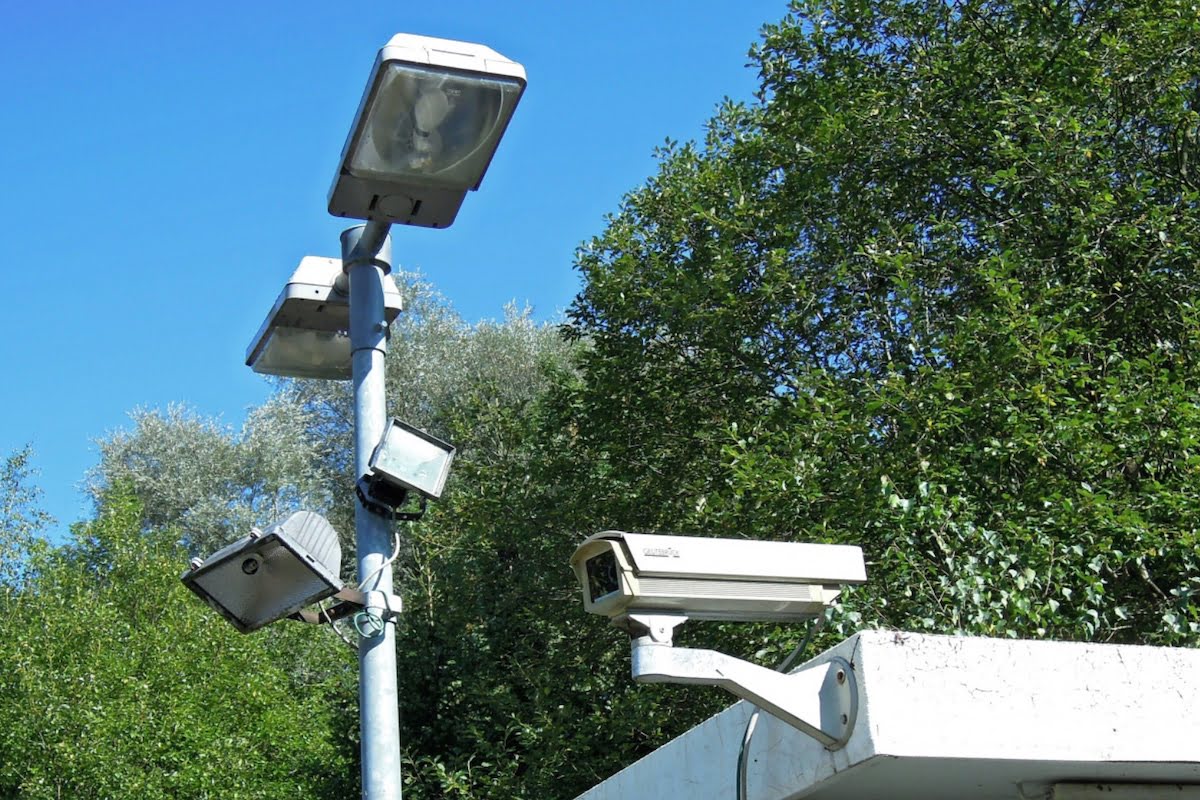
Installing an outdoor camera from a light fixture is a smart and effective way to enhance your home security and surveillance. With advancements in technology, outdoor cameras have become more affordable and accessible, allowing homeowners to keep an eye on their property and deter potential intruders.
Having an outdoor camera offers numerous benefits, including providing visual evidence in case of a break-in, deterring criminals, and giving you peace of mind knowing that your home is being monitored. By repurposing an existing light fixture, you can easily install an outdoor camera without the need for additional wiring or complex installation processes.
In this article, we will guide you through the step-by-step process of installing an outdoor camera from a light fixture. We will cover everything from gathering the necessary tools and materials, to choosing the ideal placement for the camera, to connecting the camera wiring to the power supply. By following these instructions, you will be able to set up your outdoor camera in no time.
Before getting started, it’s important to note that while we will provide general instructions, the specific steps may vary depending on the model and brand of your camera. Always refer to the manufacturer’s instructions for your particular camera to ensure proper installation.
Now, let’s dive into the step-by-step process of installing an outdoor camera from a light fixture and enhance the security of your home.
Key Takeaways:
- Installing an outdoor camera from a light fixture is a practical and affordable way to boost home security. It’s a DIY project that requires gathering tools, choosing the right placement, and connecting the wiring to the power supply.
- By following the step-by-step process and prioritizing safety, homeowners can easily install an outdoor camera for added peace of mind. Regular maintenance ensures the camera continues to provide reliable surveillance.
Step 1: Gather the Required Tools and Materials
Before you begin installing an outdoor camera from a light fixture, it’s crucial to gather all the necessary tools and materials. Having everything prepared will save you time and ensure a smooth installation process. Here are the tools and materials you will need:
1. Outdoor Camera: Choose a camera that suits your needs, whether it’s a wired or wireless camera. Consider factors such as image quality, field of view, night vision capabilities, and weather resistance.
2. Mounting Bracket: Depending on your camera model, you may need a mounting bracket to secure the camera in place. Check the camera specifications or consult the manufacturer’s instructions to determine if a mounting bracket is required.
3. Screwdriver: A Phillips screwdriver is typically needed to remove the existing light fixture and attach the mounting bracket and camera.
4. Wire Strippers: If you are dealing with a wired camera, wire strippers will be required to remove the insulation from the camera wiring for proper connection.
5. Electrical Tape: Electrical tape is useful for securing and insulating the camera wiring to prevent any loose connections.
6. Wire Nuts: Wire nuts are used to connect the camera wiring with the power supply or existing electrical wires securely. Ensure you have the appropriate size wire nuts for the gauge of the wires.
7. Ladder or Step Stool: Depending on the height of the light fixture, you may need a ladder or step stool to access and install the camera.
8. Safety Gear: It’s always important to prioritize safety while working, especially when dealing with electrical components. Make sure you have safety glasses and gloves to protect your eyes and hands during the installation process.
9. Optional: Drill and Drill Bits: If necessary, a drill and drill bits may be needed to create holes for the mounting bracket or to secure the camera in place.
Once you have gathered all the necessary tools and materials, you are ready to move on to the next step: choosing the ideal placement for your outdoor camera.
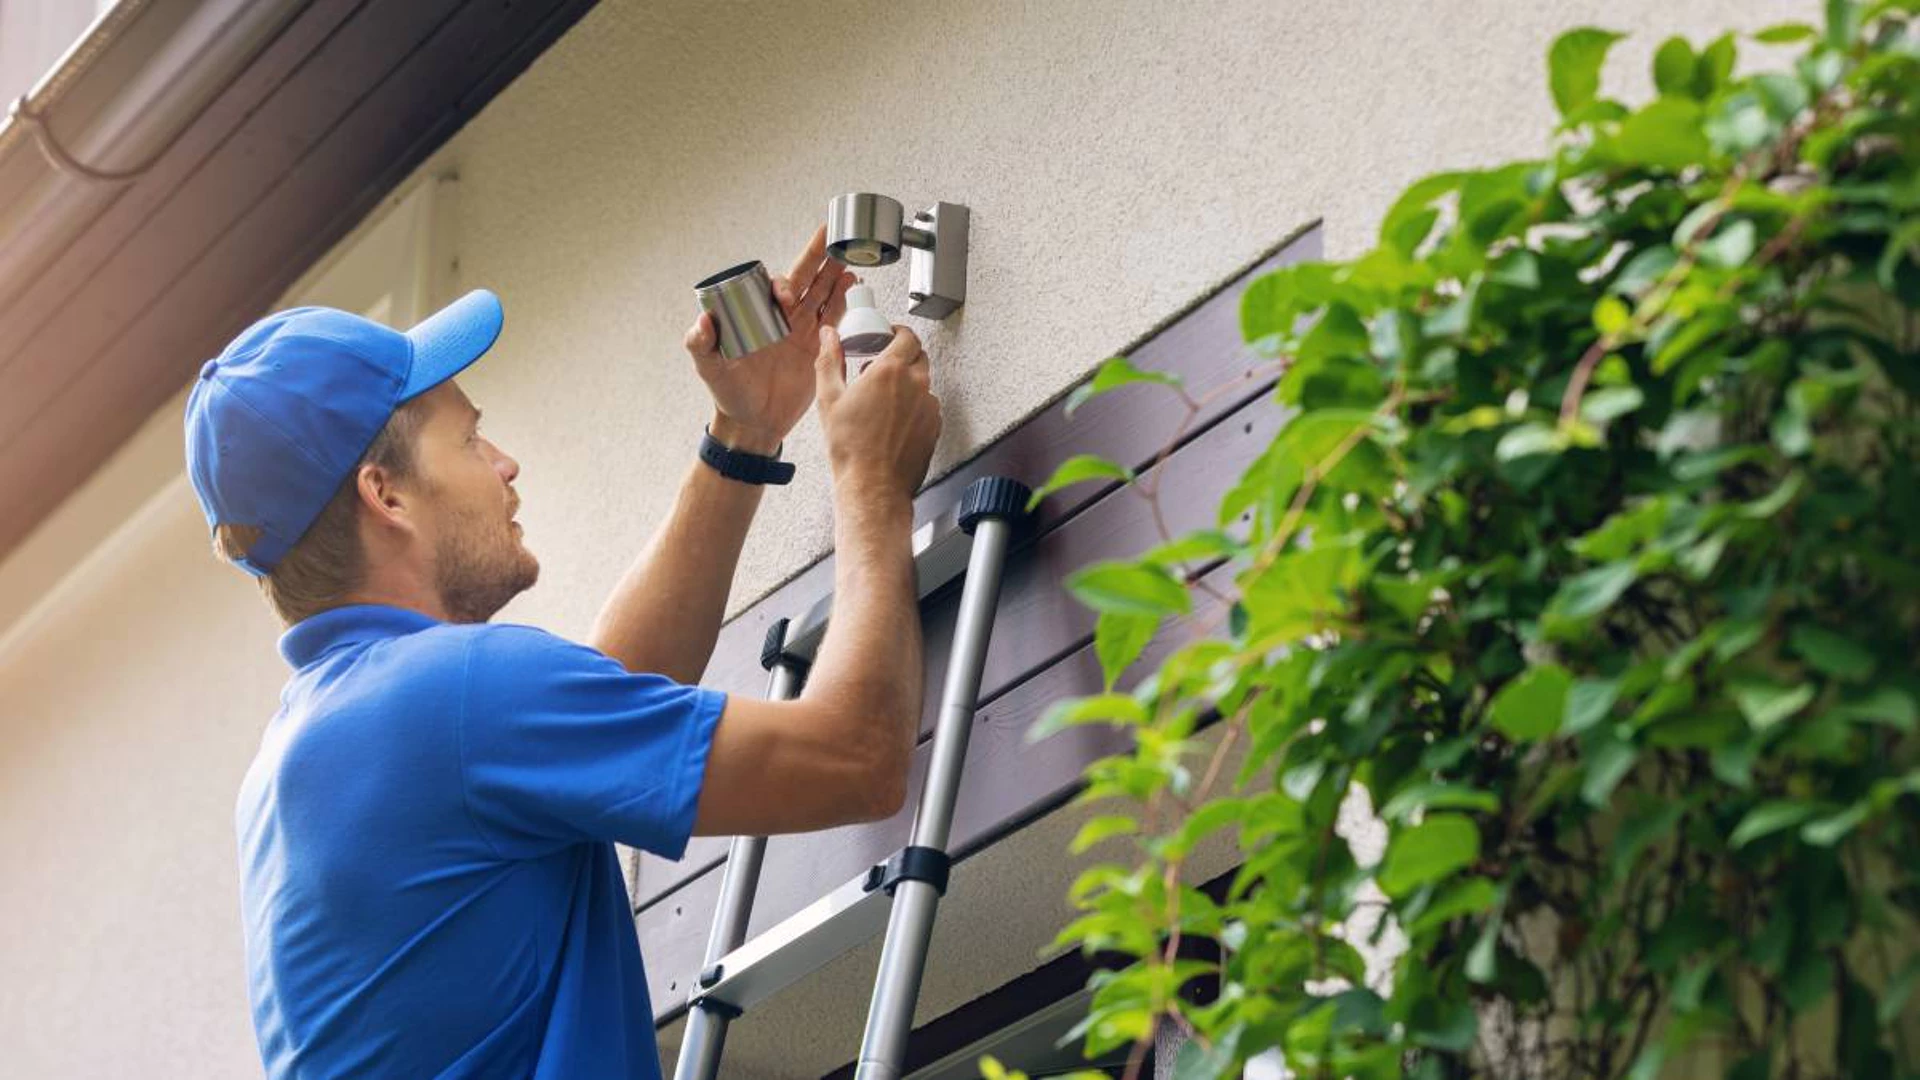
Step 2: Choose the Ideal Placement for the Outdoor Camera
Choosing the right placement for your outdoor camera is crucial to maximize its effectiveness in monitoring and securing your property. Here are some factors to consider when selecting the ideal location:
1. Field of View: Determine the areas you want the camera to cover. Consider the field of view of the camera and ensure it can capture the desired surveillance area. This may include the front door, driveway, backyard, or any vulnerable entry points.
2. Height and Angle: Installing the camera at an appropriate height and angle is important. Aim for a height that provides a clear view of the area while also keeping it out of reach from potential tampering. Angling the camera slightly downward can help capture a better view of people’s faces or license plates.
3. Weather Resistance: Ensure the camera is designed to withstand outdoor conditions. Look for cameras with an IP65 or higher rating, which indicates resistance to dust, rain, and extreme temperatures. This will ensure the camera functions optimally regardless of the weather.
4. Accessibility to Power Supply: Consider the proximity to a power source or electrical outlet. If your camera requires a wired connection, ensure there is a nearby power supply or plan for the installation of an outdoor electrical outlet if needed.
5. Avoid Obstructions: Avoid placing the camera in areas with obstructions that may hinder the camera’s view, such as overgrown bushes, trees, or other structures. Clear any obstacles that may obstruct the camera’s line of sight.
6. Tamper-Proof: Position the camera in a way that makes it difficult for potential intruders to tamper with or disable it. Ensure the camera is securely attached to the mounting bracket and that the wiring is safely hidden and protected.
7. Wi-Fi Signal Strength: If you are using a wireless camera, make sure the chosen location has a strong and reliable Wi-Fi signal. Weak signals can result in lagging video feeds or disconnections. Consider using a Wi-Fi extender or positioning the camera within the range of a strong signal.
Take your time to evaluate your property and assess the best locations for the camera. Consider multiple angles and viewpoints to maximize coverage. Once you have determined the ideal placement, you are ready to proceed to the next step: turning off the power supply to the light fixture.
Step 3: Turn Off the Power Supply to the Light Fixture
Before you begin any electrical work, it is essential to turn off the power supply to the light fixture you’ll be replacing with the outdoor camera. Here’s how you can safely turn off the power:
1. Locate the Circuit Breaker: Identify the circuit breaker that controls the power to the light fixture. Typically, circuit breakers are labeled with corresponding areas or rooms of the house. Find the one that controls the specific area where the light fixture is installed.
2. Turn Off the Circuit Breaker: Once you have located the circuit breaker, flip the switch to the “Off” position. This will shut off the power supply to the light fixture and eliminate any risk of electrical shock while you work.
3. Double-Check the Power: To be absolutely certain that the power is turned off, use a non-contact voltage tester. Hold the tester near the light fixture’s wires to ensure no electrical current is present. If the tester does not detect any voltage, you can proceed safely. If voltage is detected, double-check your circuit breaker and consult a professional if necessary.
4. Notify Household Members: It’s a good idea to inform anyone in the household that you are working on the electrical system and that the power is temporarily shut off. This ensures that nobody accidentally turns on the power during the installation process.
5. Extra Precautions: In addition to turning off the power supply, it’s always a good idea to take extra precautions by using gloves and safety goggles for added protection.
Remember, electrical work should only be performed by those with proper knowledge and experience. If you are not confident or comfortable working with electrical systems, it’s best to seek the assistance of a qualified electrician.
With the power supply turned off and safety measures in place, you are ready to move on to the next step: removing the existing light fixture.
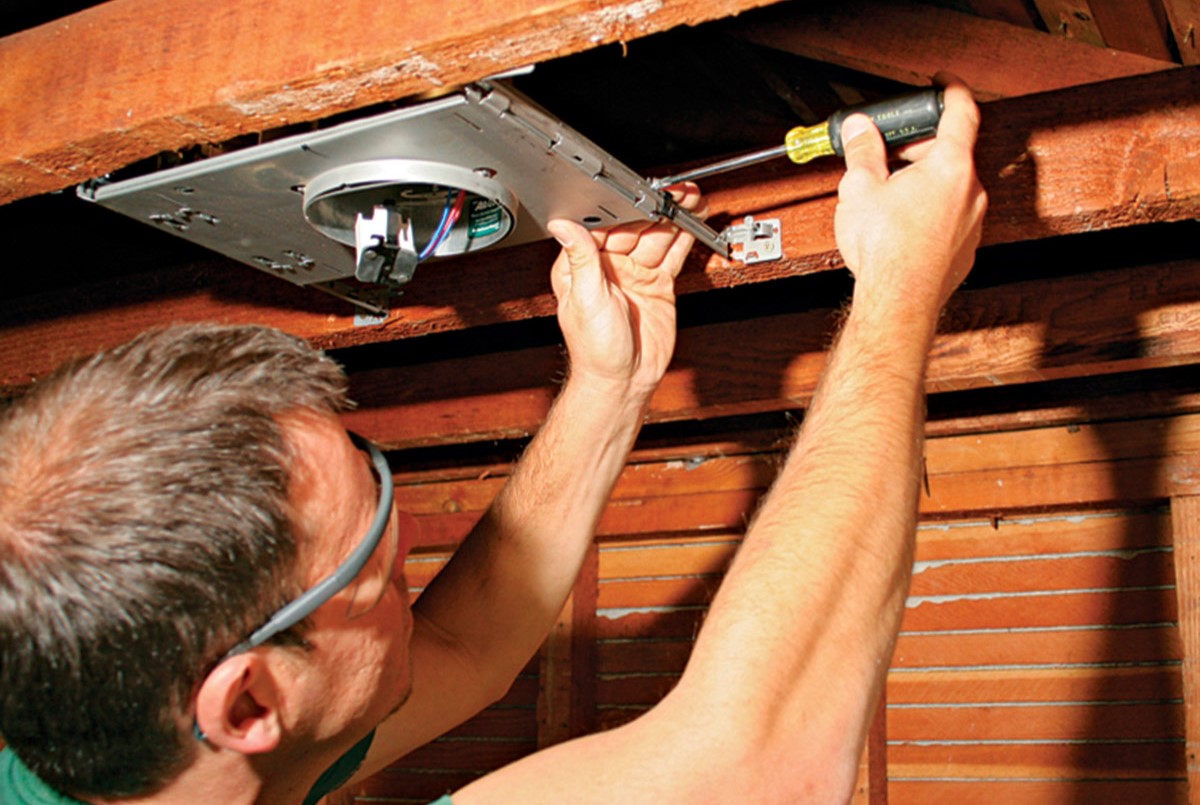
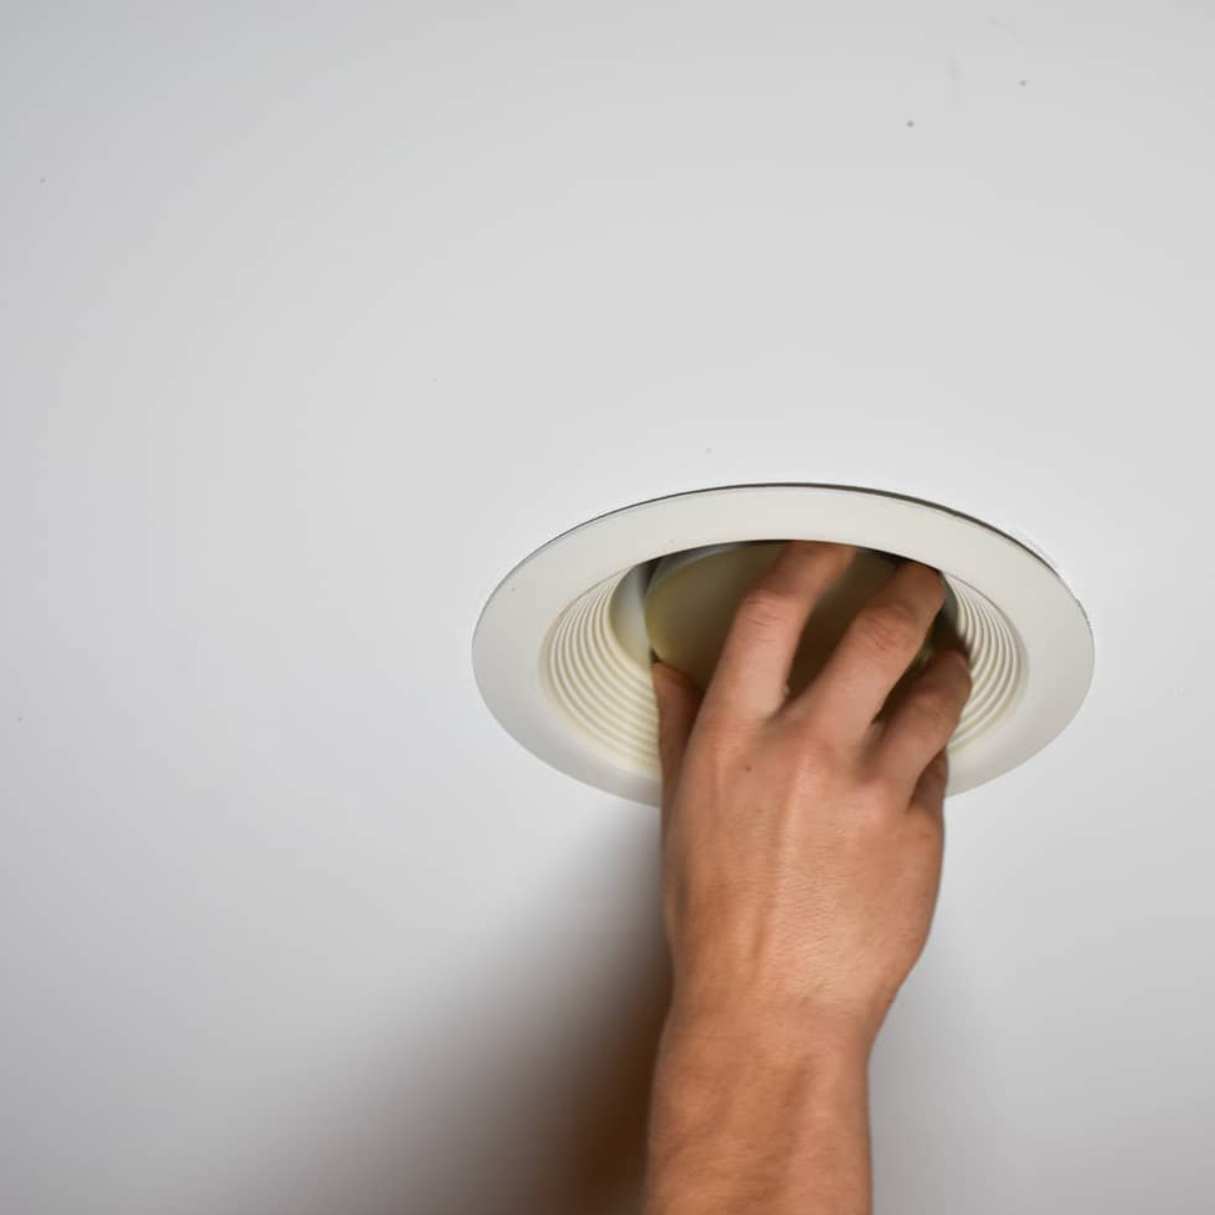
Step 4: Remove the Existing Light Fixture
Now that you have turned off the power supply and taken necessary safety precautions, it’s time to remove the existing light fixture in preparation for installing the outdoor camera. Here’s how you can remove the light fixture:
1. Remove the Light Bulbs: Unscrew and remove any light bulbs that are currently installed in the light fixture. This will prevent them from getting damaged during the removal process.
2. Remove the Fixture Cover or Globe: If your light fixture has a cover or globe, carefully remove it by unscrewing any screws or twisting it counterclockwise. Take caution not to drop or break the cover, as it may still be fragile.
3. Disconnect the Wiring: Inside the light fixture, you will find a set of wires connected to the electrical box. There may be wire nuts securing the connections. Carefully unscrew the wire nuts to disconnect the wires. Take note of the wire colors and how they are connected, as this will be helpful when connecting the camera later.
4. Remove the Mounting Bracket: After disconnecting the wiring, you can remove the mounting bracket that is attached to the electrical box. Usually, the bracket is held in place by a few screws. Use a screwdriver to loosen and remove these screws, allowing the bracket to come off.
5. Inspect the Electrical Box: Once the mounting bracket is removed, take a moment to inspect the electrical box. Ensure that it is secure and in good condition. Check for any loose wires or damage. If necessary, make any repairs or adjustments before proceeding.
6. Clean the Area: With the light fixture and mounting bracket removed, clean the area around the electrical box. Remove any debris, dirt, or cobwebs to create a clean and suitable surface for installing the outdoor camera.
By following these steps, you will successfully remove the existing light fixture and be one step closer to installing your outdoor camera. Remember to handle the light fixture with care and dispose of it properly. Now, you can move on to the next step: installing the mounting bracket for the outdoor camera.
Read more: How To Seal Outdoor Light Fixture
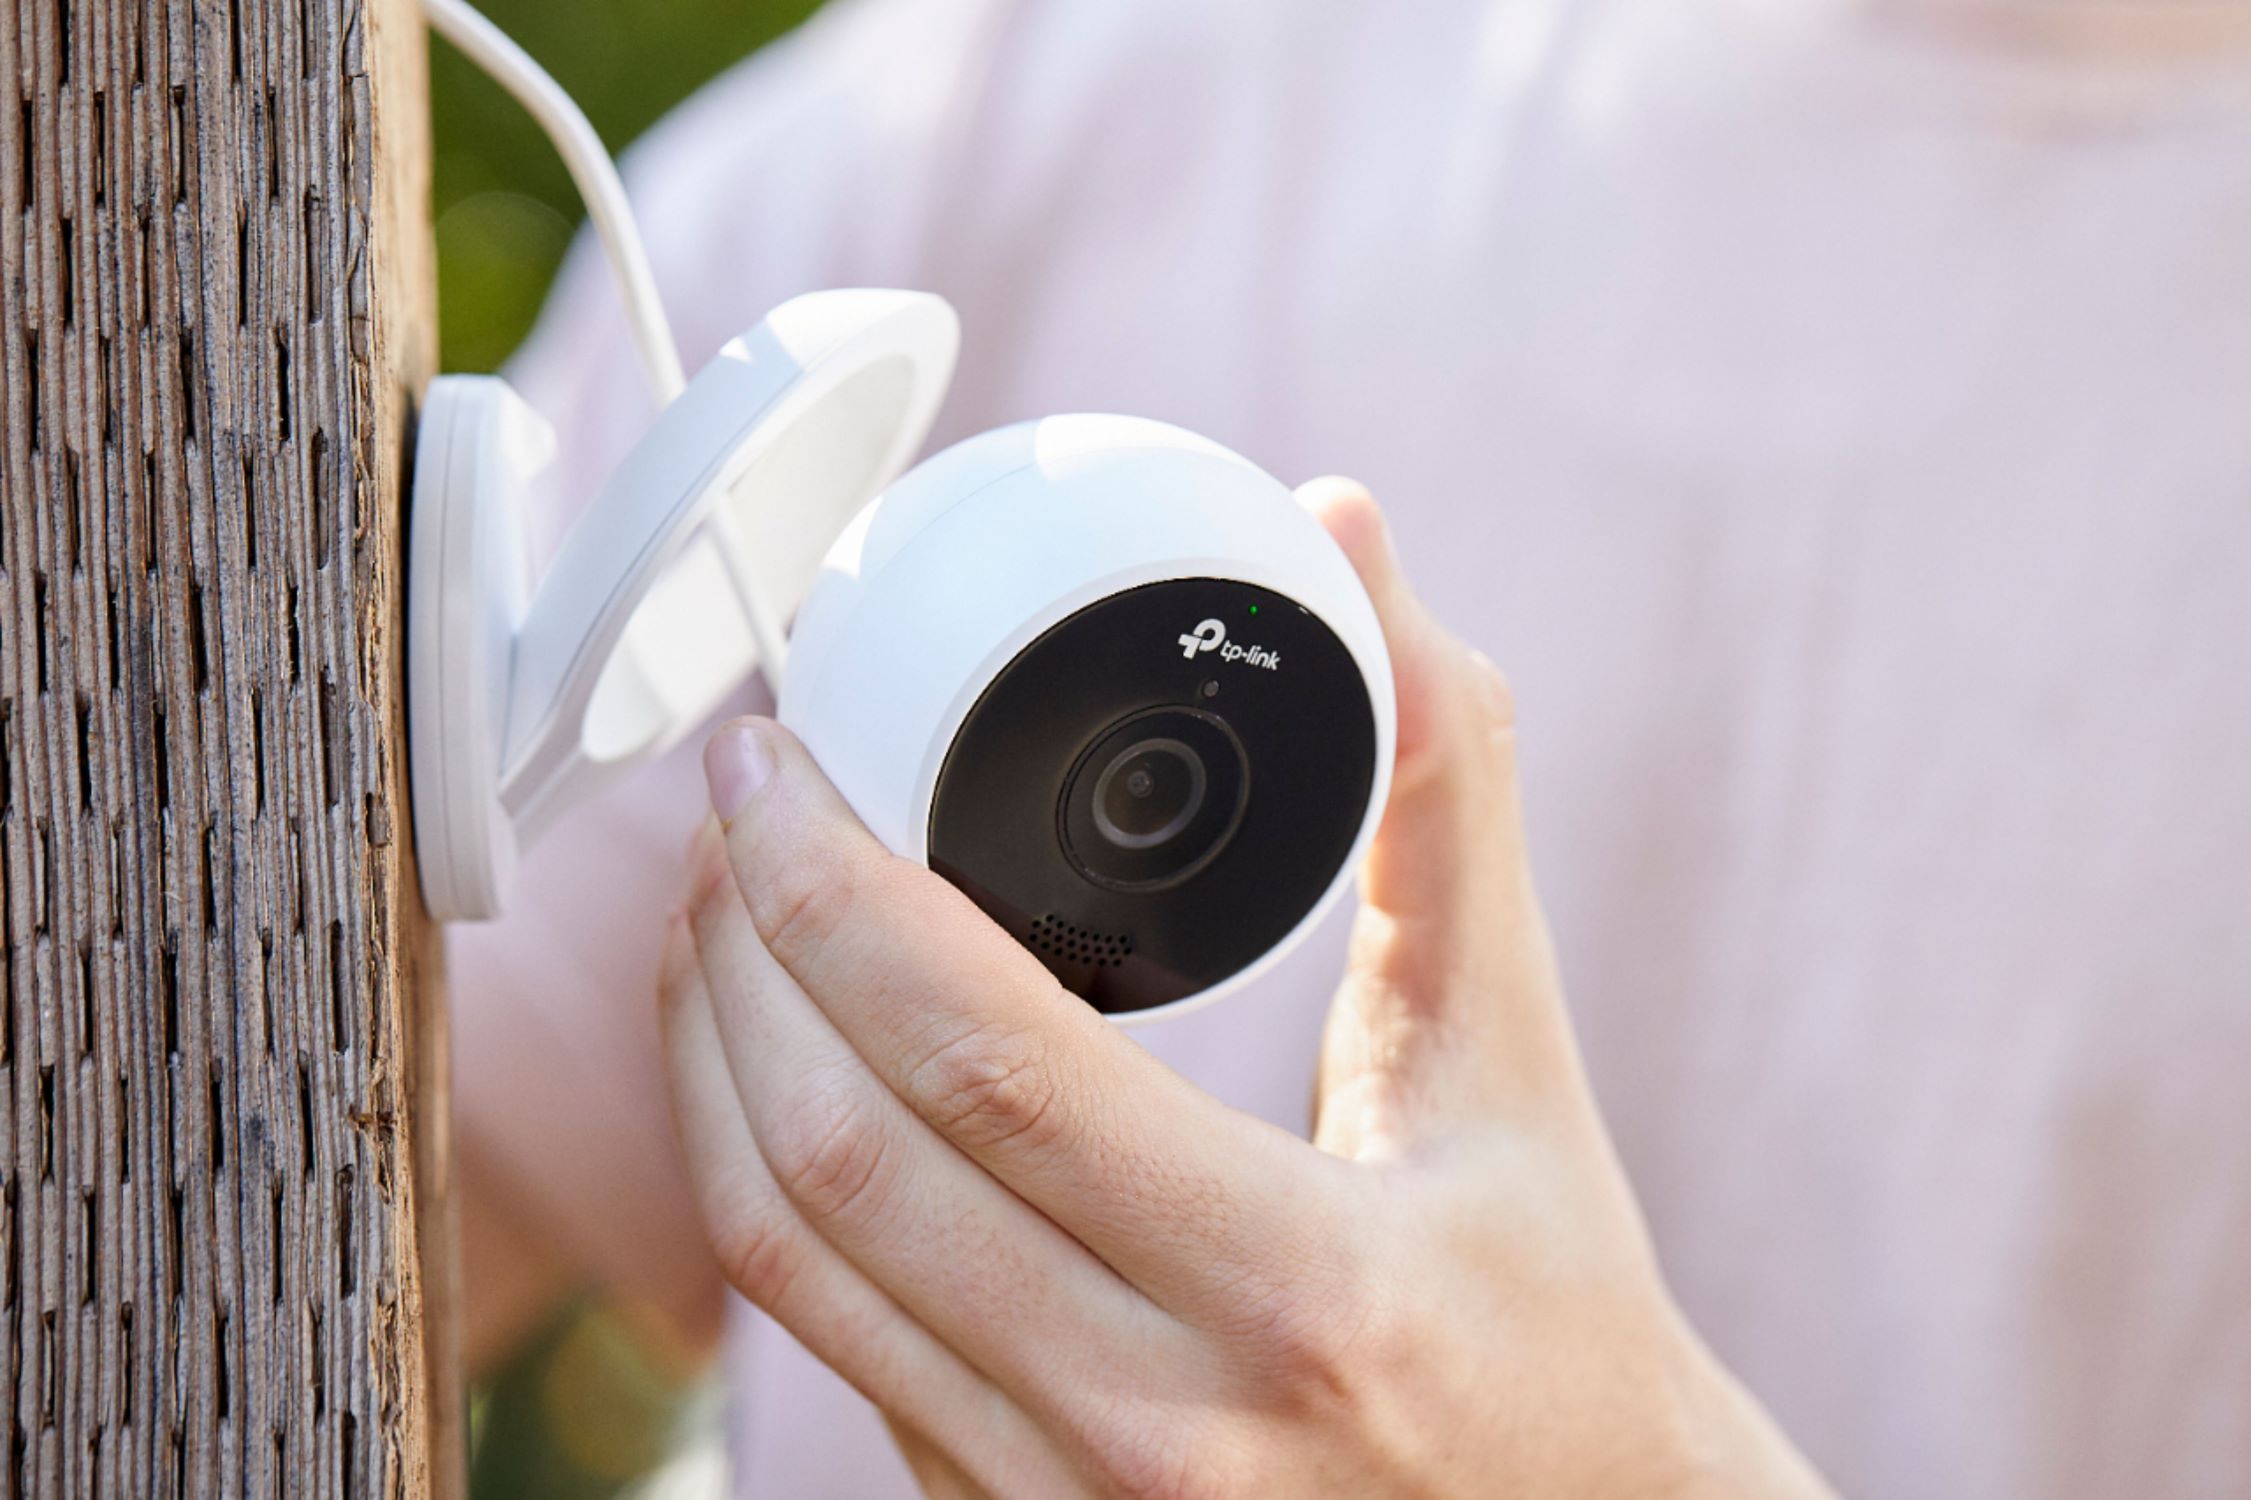
Step 5: Install the Mounting Bracket for the Outdoor Camera
With the existing light fixture removed, it’s time to install the mounting bracket for the outdoor camera. The mounting bracket serves as the base upon which the camera will be attached securely. Here’s how you can install the mounting bracket:
1. Align the Bracket: Begin by aligning the screw holes in the mounting bracket with the screw holes on the electrical box. Ensure that the bracket is level and positioned correctly.
2. Attach the Bracket: Once aligned, use screws and a screwdriver to secure the mounting bracket to the electrical box. Make sure the screws are tight enough to hold the bracket firmly in place.
3. Check the Stability: After attaching the bracket, give it a gentle tug to ensure that it is stable and securely fastened. If it feels loose, double-check the screws and make any necessary adjustments to ensure a secure installation.
4. Verify Alignment: Take a moment to verify that the mounting bracket is aligned properly and level. Use a spirit level to ensure that the bracket is straight and not crooked.
5. Consider Cable Entry: Depending on the design of the mounting bracket and your camera’s wiring, you may need to consider cable entry points. Some mounting brackets come with built-in cable management systems or conduits. Ensure that you position the bracket to allow easy access for routing the camera’s wiring.
6. Double-Check Stability: Once the mounting bracket is securely installed, give it another gentle test to ensure it is stable and will support the weight of the camera. This step is crucial in preventing any accidents or damage to the camera in the future.
By following these steps, you will successfully install the mounting bracket for your outdoor camera. Now that the bracket is in place, you are ready to move on to the next step: connecting the camera wiring to the power supply.
Before installing an outdoor camera from a light fixture, make sure to turn off the power to the fixture at the circuit breaker. This will prevent any accidents while working with the wiring.
Step 6: Connect the Camera Wiring to the Power Supply
With the mounting bracket securely installed, it’s time to connect the camera wiring to the power supply. The specific wiring setup may vary depending on the camera model and specifications. Here’s a general guide on how to connect the camera wiring:
1. Prepare the Camera Wiring: If your camera comes with pre-cut wiring, ensure that it is the appropriate length to reach the power supply or existing electrical wires. If needed, use wire strippers to remove a small section of insulation from the ends of the camera wiring.
2. Identify the Power Supply Wires: Locate the power supply wires, typically black (hot) and white (neutral) in color, inside the electrical box. These wires may be coming from the circuit breaker or an existing electrical connection.
3. Connect the Camera Wiring: Depending on your camera’s specifications, you may connect the camera wiring directly to the existing power supply wires using wire nuts or other connectors. Match the colors of the wires (black to black, white to white) and securely fasten them together.
4. Insulate the Connections: After connecting the camera wiring to the power supply wires, use electrical tape to wrap and insulate the wire nuts or connectors. This will protect the connections from potential damage or accidental contact.
5. Test the Connections: Once the connections are made and insulated, it’s essential to test them to ensure everything is working properly. You can temporarily restore power to the circuit breaker, turn on the light switch (if applicable), and verify that the camera has power and is functioning correctly. Be cautious during this step and follow all safety precautions.
6. Secure the Wiring: With the connections tested and confirmed, carefully tuck and secure any excess wiring using cable ties or clips. This will help keep the wiring neat and prevent any interference or accidental damage in the future.
7. Consider Waterproofing: If your camera will be exposed to outdoor elements, it’s crucial to take additional measures to protect the connections from moisture and water damage. Consider using waterproof connectors or wrapping the connections with electrical tape to create a water-resistant seal.
Always refer to the camera manufacturer’s instructions for specific wiring requirements and recommendations. If you are unsure about any aspect of the wiring process, it’s best to consult a professional electrician to ensure a safe and proper installation.
By following these steps, you will successfully connect the camera wiring to the power supply. With the camera powered up, you are ready to move on to the next step: attaching the outdoor camera to the mounting bracket.
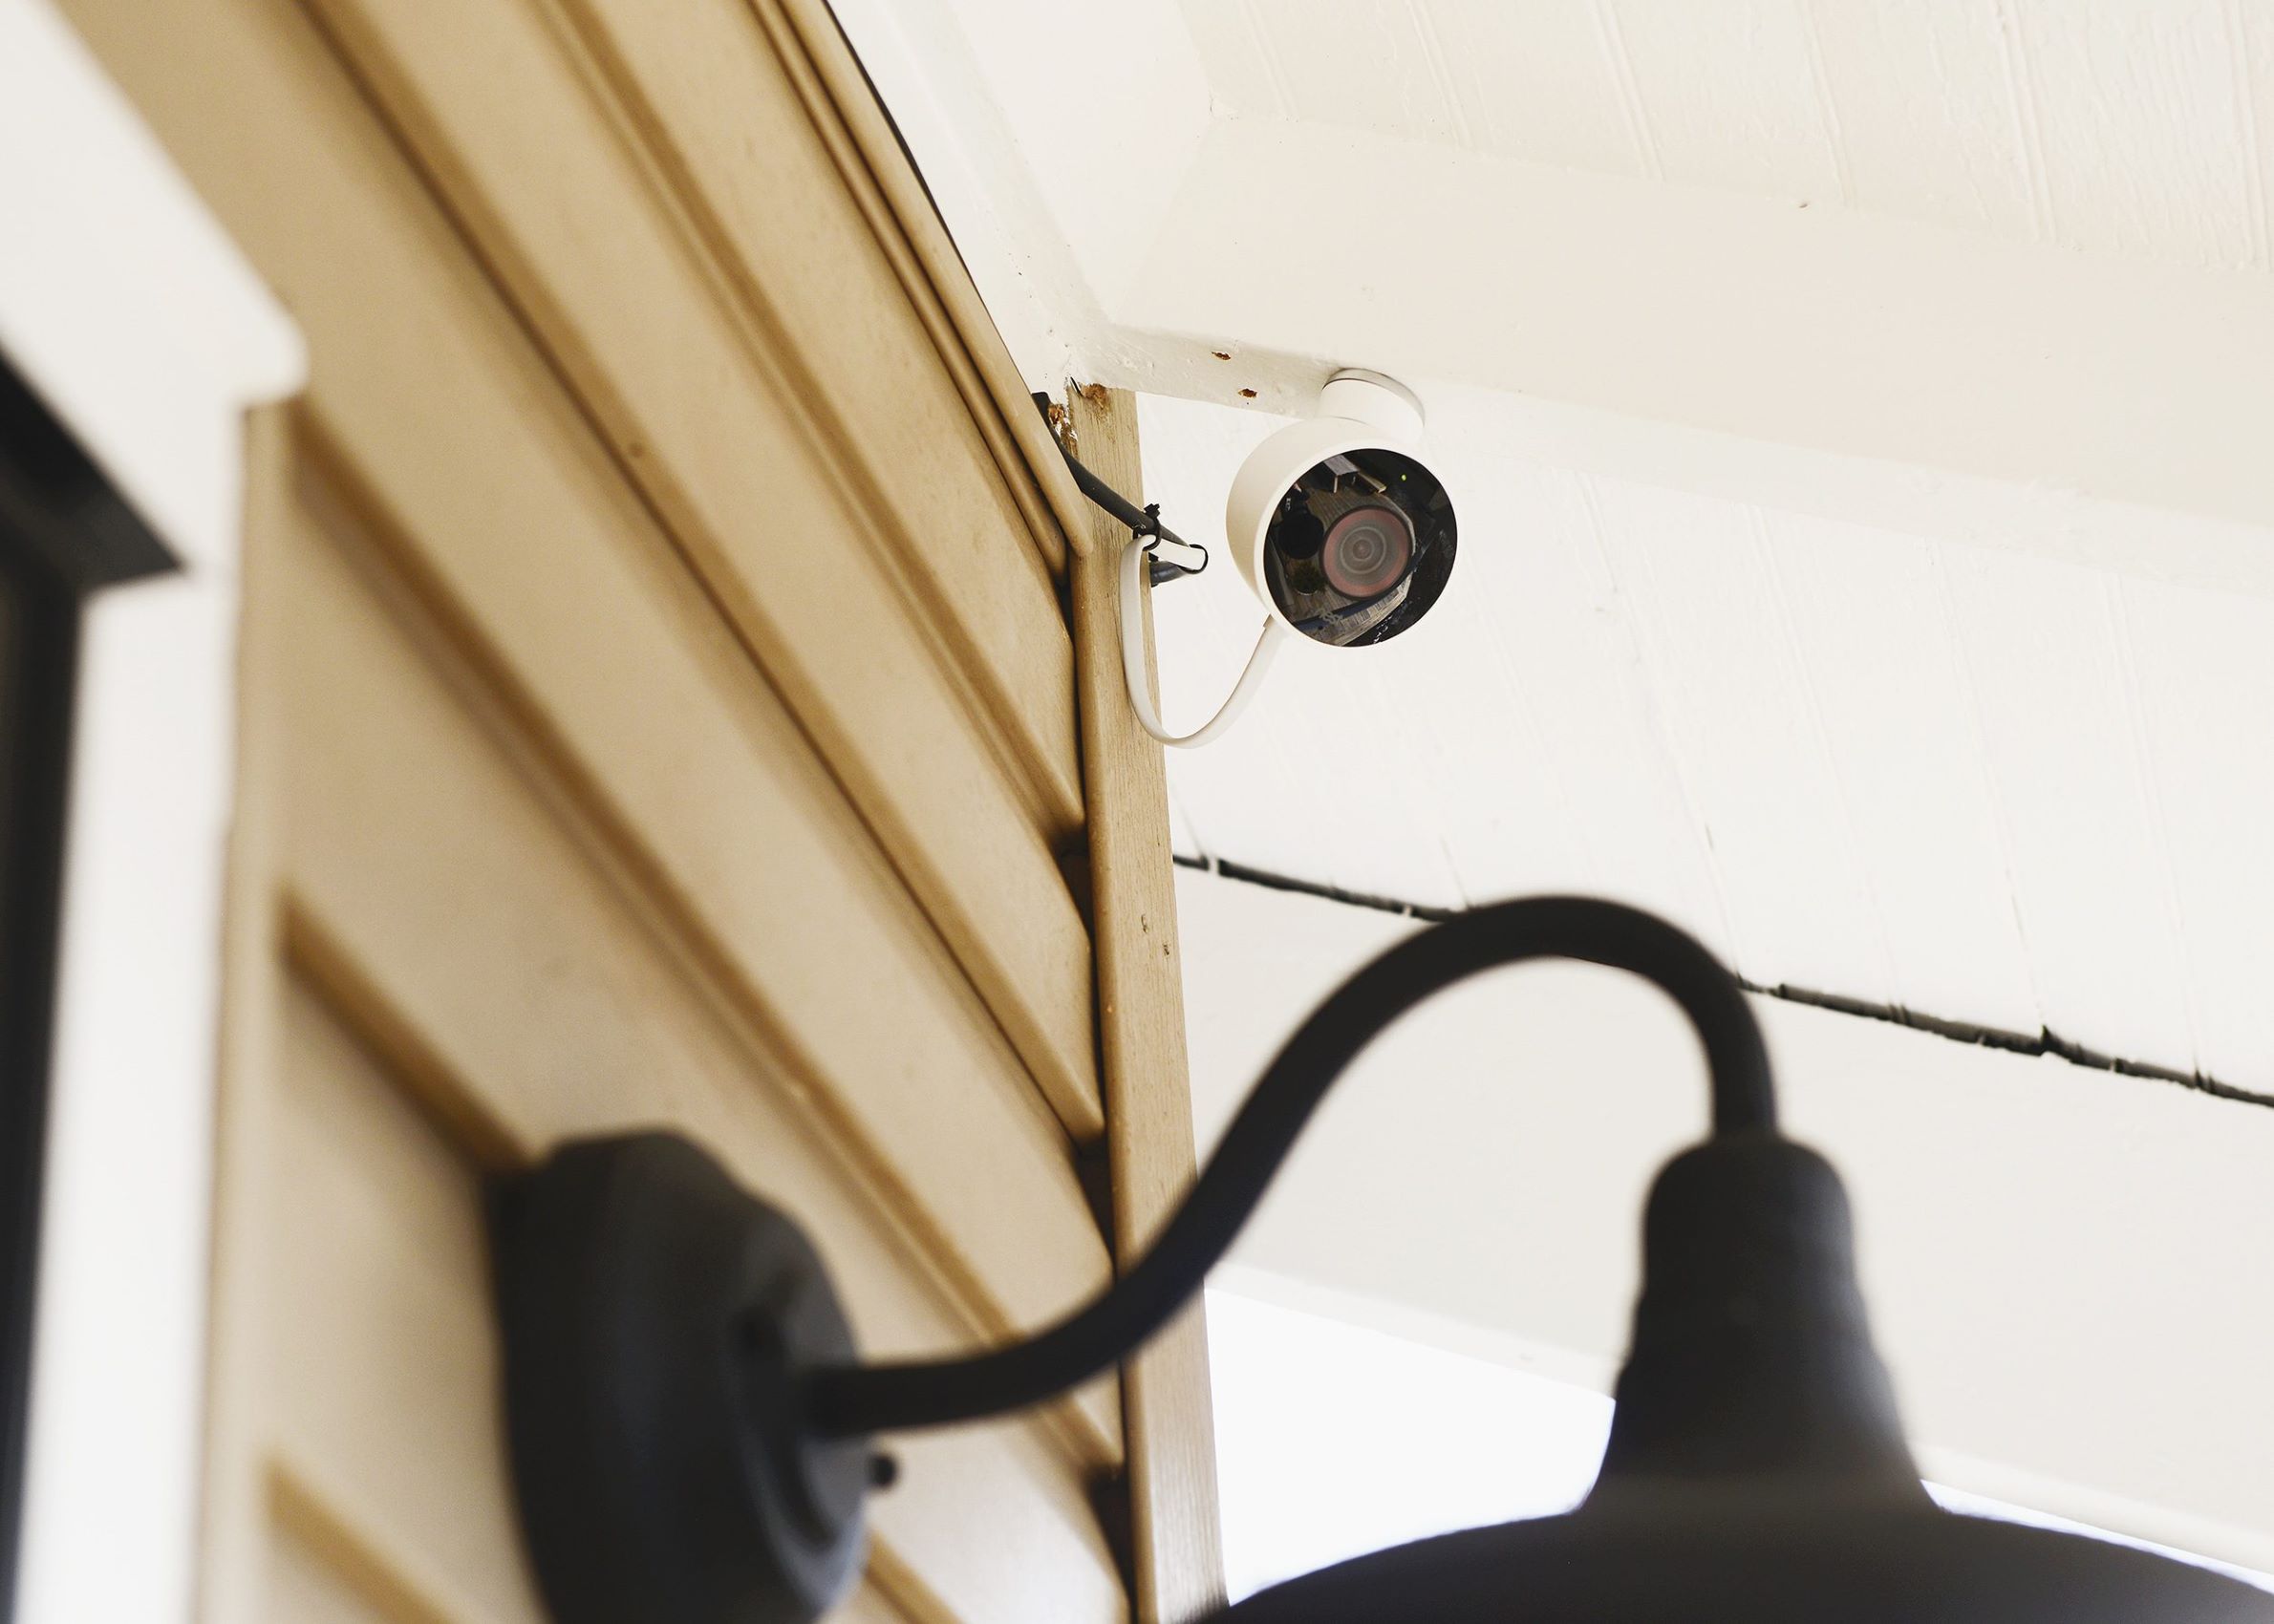
Step 7: Attach the Outdoor Camera to the Mounting Bracket
Now that the camera wiring is connected to the power supply, it’s time to attach the outdoor camera to the mounting bracket. Here’s how you can securely attach the camera:
1. Position the Camera: Carefully position the camera on the mounting bracket, ensuring that it lines up with the screw holes on the bracket. Take note of any alignment marks or indicators on the camera or mounting bracket to ensure proper positioning.
2. Attach the Camera: Once aligned, use the provided screws or mounting hardware to secure the camera to the mounting bracket. Use a screwdriver to tighten the screws, but be careful not to over-tighten and risk damaging the camera or mounting bracket.
3. Verify Stability: After attaching the camera, give it a gentle shake or test to ensure that it is securely fastened to the mounting bracket. This step is essential to prevent any unintentional movement or accidental dislodging of the camera.
4. Adjust the Camera Position: Depending on your camera’s capabilities, you may have the option to adjust the position or angle of the camera lens. Take advantage of this feature to optimize the camera’s field of view and ensure it captures the desired surveillance area.
5. Double-Check Alignment: Once the camera is attached and adjusted, step back and visually confirm that it is in the desired position. Make any necessary adjustments to the camera’s angle or position to achieve the desired field of view and surveillance coverage.
6. Test Camera Functionality: With the camera securely attached, restore power to the light fixture circuit by turning on the circuit breaker. Test the camera’s functionality by accessing the camera’s software or app and verifying that the live video feed is working correctly. Confirm that the camera captures clear images and video, and adjust any settings or configurations as needed.
Remember to refer to the camera manufacturer’s instructions for any specific guidelines or recommendations regarding the attachment and adjustment process.
By following these steps, you will successfully attach the outdoor camera to the mounting bracket. With the camera in place, it’s time to move on to the next step: adjusting and securing the camera position.
Step 8: Adjust and Secure the Camera Position
After attaching the outdoor camera to the mounting bracket, it’s important to adjust and secure its position to optimize its surveillance capabilities. Here are the steps to adjust and secure the camera:
1. Test the Camera View: Access the live video feed of the camera through the software or app to assess the current view. Take note of any areas that may be out of frame or need better coverage.
2. Rotate or Tilt the Camera: If your camera allows for rotation or tilting, adjust the camera angle to capture the desired surveillance area. Use the controls in the camera’s software or app to remotely adjust the view until you are satisfied with the camera’s position.
3. Fine-Tune the Camera Alignment: If the camera view is slightly off-centered or not level, gently rotate or tilt the camera as needed to ensure it is aligned. This will help to eliminate any distortion and provide a clear and accurate view.
4. Secure the Camera Position: Once you have achieved the desired camera position, use the provided locking mechanism (if available) to secure the camera in place. This will prevent any unintentional movement or tampering with the camera’s position.
5. Consider Tamper-Proofing: To enhance the security of the camera installation, consider using tamper-proof features or accessories. This may include installing a protective cover or housing to prevent tampering and keep the camera secure.
6. Test the Camera Functionality: After adjusting and securing the camera position, test the camera’s functionality once again. Ensure that the live video feed is clear, and the camera captures the desired surveillance area effectively. Make any additional adjustments or refinements as necessary.
7. Document the Camera Positioning: It is helpful to document the camera’s position, angle, and other settings for future reference. Take note of the specific details, such as the camera’s location, mounting angle, and any unique configurations. This way, if you need to readjust or reinstall the camera in the future, you’ll have a reference for its original positioning.
By following these steps, you will successfully adjust and secure the camera’s position for optimal surveillance coverage. With the camera in the ideal position, you are ready to move on to the next step: restoring power supply and testing the camera.
Read more: How To Test An Outdoor Light Fixture
Step 9: Restore Power Supply and Test the Camera
After completing the installation and adjusting the camera’s position, it’s time to restore the power supply and test the camera to ensure it is functioning correctly. Follow these steps to complete the installation process:
1. Double-Check Connections: Before restoring the power supply, visually inspect the camera wiring connections and make sure they are securely fastened. Ensure that there are no exposed wires or loose connections that could pose a safety hazard.
2. Restore Power: Return to the circuit breaker panel and flip the switch for the circuit that supplies power to the outdoor camera’s location. This will restore the power supply to the camera.
3. Check the Camera Display: Monitor the camera display, either through the software or app, or on a connected monitor or device. Verify that the camera is receiving power and that the live video feed is active and clear.
4. Test Camera Functions: Explore the camera’s features and functions to ensure they are working as expected. Take advantage of features such as pan, tilt, and zoom (if available) to verify their functionality. Test any motion detection or night vision capabilities to ensure they are responding correctly.
5. Verify Recording and Storage: If your camera is equipped with recording capabilities, confirm that it is recording and storing the footage as intended. Check the storage settings and ensure that you are receiving the desired storage capacity.
6. Perform a Test Run: To ensure the camera provides adequate surveillance coverage, perform a test run by walking through the monitored area. Verify that the camera captures your movement and that the footage is clear and identifiable.
7. Adjust Settings as Needed: If you encounter any issues or notice areas that require fine-tuning, adjust the camera settings accordingly. This may include sensitivity levels, motion detection zones, or recording preferences. Make necessary changes to optimize the camera’s performance.
8. Perform Regular Maintenance: Lastly, establish a regular maintenance routine for your outdoor camera. This may involve periodically cleaning the lens, checking for any loose connections, and updating firmware or software as needed. Regular maintenance will help ensure the camera continues to operate effectively over time.
By following these steps, you will complete the installation of your outdoor camera and ensure it is operational. Regularly monitor the camera’s performance and perform any necessary updates or adjustments to maintain its effectiveness in enhancing your home security.
Congratulations on successfully installing your outdoor camera and taking a proactive approach to securing your property!
Conclusion
Installing an outdoor camera from a light fixture is a practical and efficient way to enhance your home security and surveillance capabilities. By repurposing an existing light fixture, you can easily add an extra layer of protection to your property without the need for complex wiring or installation processes. Throughout this guide, we have walked you through the step-by-step process of installing an outdoor camera from a light fixture.
From gathering the required tools and materials, to choosing the ideal placement for the camera, to connecting the camera wiring to the power supply, we’ve covered each crucial step in detail. By following these instructions and referring to the manufacturer’s guidelines, you can successfully install an outdoor camera and enjoy the benefits of enhanced security and peace of mind.
Remember, the specific steps and requirements may vary depending on your camera model and brand. Always consult the manufacturer’s instructions for your specific camera to ensure proper installation and functionality.
Maintaining your outdoor camera is also important. Regularly check and clean the camera lens, ensure the connections are secure, and update firmware or software as needed. By performing these simple maintenance tasks, you can ensure that your camera continues to provide reliable surveillance footage.
Having an outdoor camera not only deters potential intruders, but it also provides valuable evidence in case of any security incidents. It allows you to keep an eye on your property whether you are at home or away, giving you peace of mind and a sense of control over your home security.
By following the steps outlined in this guide, you have taken an important step towards enhancing the security and surveillance of your home. Investing in an outdoor camera from a light fixture is a practical and effective way to protect your property and loved ones.
Remember to always prioritize safety during the installation process. If you are not confident in your electrical skills, it is recommended to seek the assistance of a professional electrician to ensure a safe and proper installation.
Now it’s time to put your newfound knowledge into action and enjoy the added security and peace of mind provided by your outdoor camera. Stay vigilant and be proactive in keeping your home safe.
Frequently Asked Questions about How To Install Outdoor Camera From A Light Fixture
Was this page helpful?
At Storables.com, we guarantee accurate and reliable information. Our content, validated by Expert Board Contributors, is crafted following stringent Editorial Policies. We're committed to providing you with well-researched, expert-backed insights for all your informational needs.