Home>Furniture & Design>Interior Design Trends>How To Remove Glass Panel From Storm Door
Interior Design Trends
How To Remove Glass Panel From Storm Door
Modified: February 18, 2024
Learn how to remove the glass panel from your storm door with our expert interior design trends guide. Upgrade your home with ease!
(Many of the links in this article redirect to a specific reviewed product. Your purchase of these products through affiliate links helps to generate commission for Storables.com, at no extra cost. Learn more)
Introduction
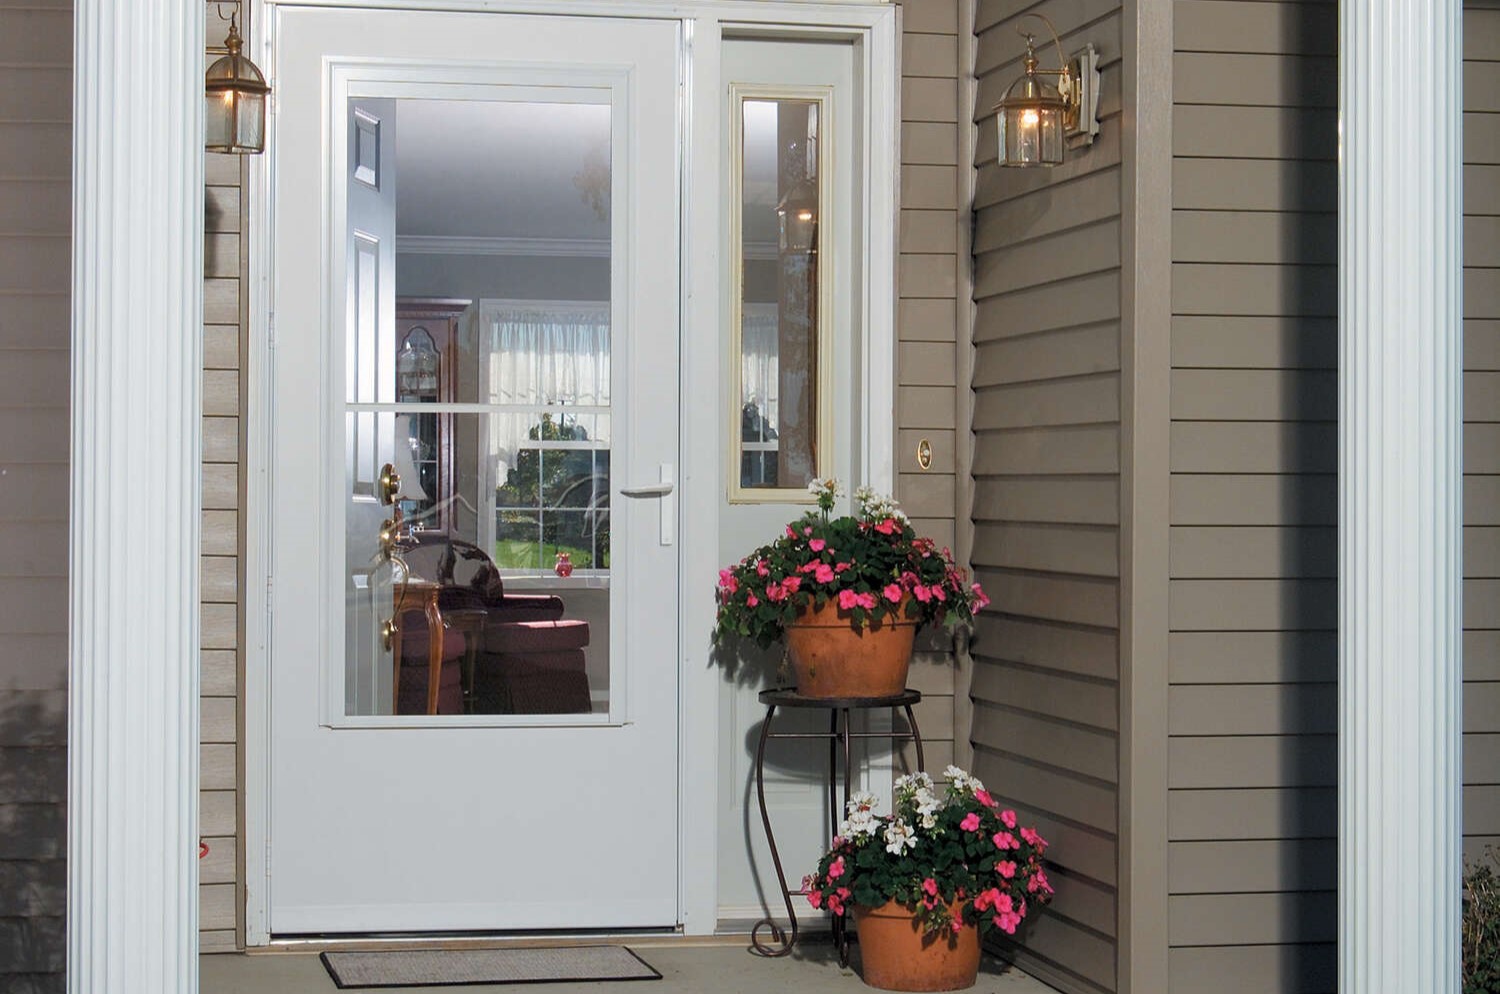
Removing the glass panel from a storm door may seem like a daunting task, but with the right tools and a systematic approach, it can be a straightforward process. Whether you need to replace a damaged glass panel, clean it thoroughly, or simply want to enjoy the open air without the obstruction of glass, this guide will walk you through the necessary steps to accomplish this task with ease.
By following the steps outlined in this article, you can gain the confidence to tackle this DIY project and enhance the functionality and aesthetics of your storm door. With a clear understanding of the process, you'll be able to maintain and customize your storm door to suit your specific needs and preferences.
Now, let's gather the essential tools and materials needed to begin the glass panel removal process.
Key Takeaways:
- Removing the glass panel from a storm door is a manageable DIY project that enhances the door’s functionality. With the right tools and careful steps, homeowners can confidently tackle this task and customize their living spaces.
- By preparing the work area, removing the retainer strips with care, and safely taking out the glass panel, homeowners can maintain and customize their storm doors. Cleaning and storing the glass panel ensures its optimal condition for future use.
Read more: How To Remove Screen From A Storm Door
Tools and Materials Needed
Before embarking on the task of removing the glass panel from your storm door, it's crucial to gather the necessary tools and materials to ensure a smooth and efficient process. Here's a comprehensive list of what you'll need:
Tools:
- Screwdriver: A Phillips or flat-head screwdriver, depending on the type of screws used to secure the retainer strips.
- Utility Knife: To carefully cut through any caulking or adhesive securing the glass panel.
- Protective Gloves: To safeguard your hands from any sharp edges or debris during the removal process.
- Safety Glasses: Essential for eye protection while handling glass panels.
- Putty Knife: Useful for prying and removing the retainer strips without damaging the door frame or glass.
Materials:
- Replacement Glass Panel (if necessary): If you're removing the glass panel for replacement, ensure you have the new panel ready.
- Cleaning Supplies: A mild glass cleaner and a soft, lint-free cloth for cleaning the glass panel and the door frame.
- Caulk or Adhesive (if necessary): If the glass panel was originally secured with caulk or adhesive, you may need to reapply it when installing the new panel.
- Storage Materials: To safely store the glass panel during and after removal, consider having a soft blanket or foam padding to protect it from damage.
By having these tools and materials at your disposal, you'll be well-prepared to proceed with the glass panel removal process. With the right equipment in hand, you can approach each step confidently, knowing that you have everything you need to successfully complete the task.
Step 1: Prepare the Work Area
Before diving into the process of removing the glass panel from your storm door, it's essential to prepare the work area to ensure safety and efficiency. By taking the time to set up the space properly, you can minimize potential hazards and create an environment conducive to a smooth removal process.
Begin by clearing the area around the storm door, removing any obstacles or debris that could impede your movement or cause accidents. This includes relocating any furniture, potted plants, or other items near the door to create ample space for maneuvering.
Next, ensure adequate lighting in the work area to have a clear view of the door and its components. Natural light is ideal, but if necessary, supplement it with portable lighting to illuminate the door's exterior and interior.
It's crucial to wear protective gear, including gloves and safety glasses, before initiating the glass panel removal. These items will shield your hands and eyes from potential injuries caused by sharp edges or glass shards.
Additionally, lay down a soft blanket or foam padding near the door to serve as a temporary workstation and a safe surface for placing the glass panel once it's removed. This precautionary measure will help prevent accidental damage to the glass and provide a cushioned area for handling and cleaning the panel.
Lastly, if there are any pets or young children in the vicinity, ensure they are safely away from the work area to avoid any accidents or injuries during the glass panel removal process.
By meticulously preparing the work area, you can create a safe and organized space for undertaking the task of removing the glass panel from your storm door. This thoughtful approach sets the stage for a successful and stress-free removal process, allowing you to focus on each step with confidence and precision.
Read more: How To Remove A Storm Door
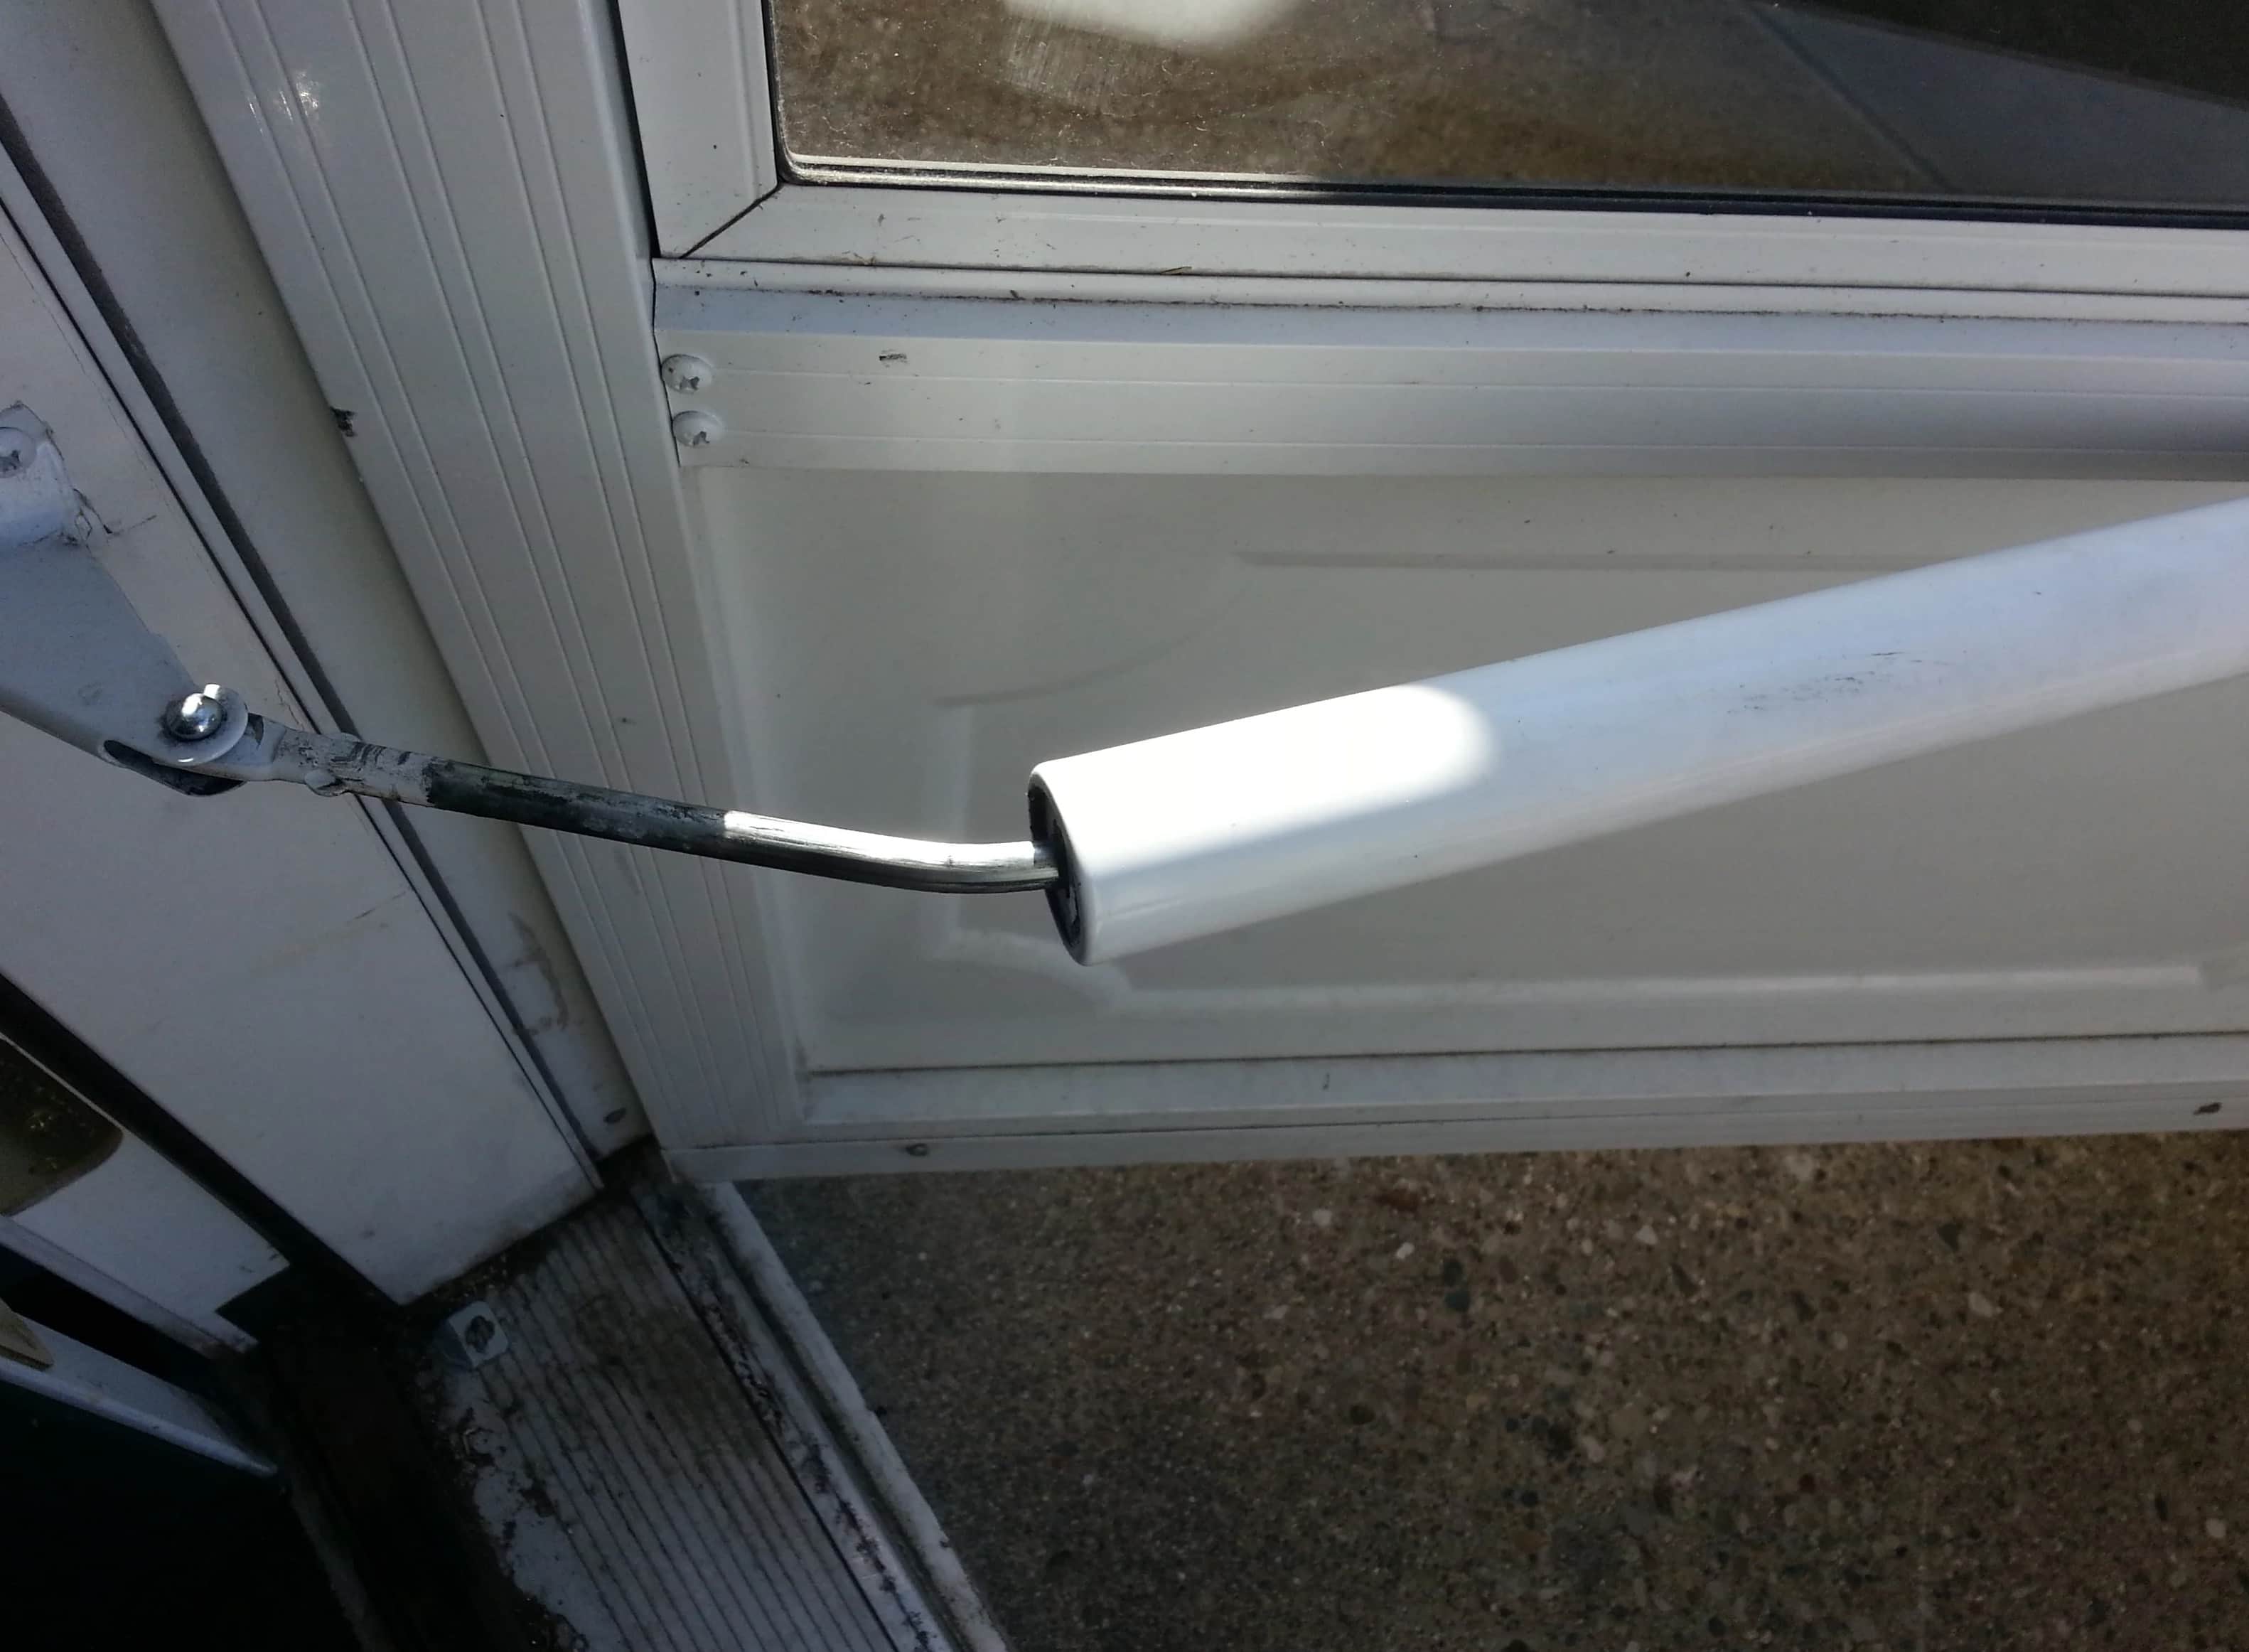
Step 2: Remove the Retainer Strips
Removing the retainer strips is a crucial step in the process of taking out the glass panel from your storm door. These strips secure the glass in place and must be carefully detached to ensure the safe removal of the panel. Here's a detailed guide on how to remove the retainer strips effectively:
-
Identify the Retainer Strips: Inspect the edges of the storm door to locate the retainer strips. These strips are typically made of metal or plastic and run along the perimeter of the glass panel. They may be held in place by screws or clips, depending on the door's design.
-
Loosen the Screws or Clips: If the retainer strips are secured with screws, use the appropriate screwdriver to carefully loosen and remove them. Keep the screws in a secure place to prevent misplacement. In the case of clips, gently pry them open using a putty knife or a similar tool to release the retainer strips.
-
Handle with Care: As you work on removing the retainer strips, exercise caution to avoid bending or damaging them. Apply gentle and even pressure to gradually release the strips from their position. If resistance is encountered, reassess the attachment points to ensure all fasteners are adequately loosened.
-
Support the Glass Panel: While removing the retainer strips, it's essential to provide support to the glass panel to prevent it from shifting or falling. Place one hand on the glass to stabilize it as the retainer strips are being detached. This extra support minimizes the risk of accidental breakage or displacement of the panel.
-
Set Aside the Retainer Strips: Once the retainer strips are removed, set them aside in a secure location. Organize and label the hardware if necessary, ensuring that all components are accounted for and easily accessible when reassembling the door.
By following these steps, you can effectively remove the retainer strips without compromising the integrity of the glass panel or the door itself. This meticulous approach sets the stage for the subsequent removal of the glass panel, allowing you to proceed with confidence and precision.
Step 3: Take Out the Glass Panel
With the retainer strips successfully removed, the next step is to carefully take out the glass panel from the storm door. This process requires attention to detail and a gentle touch to ensure the safe extraction of the panel. Follow these steps to effectively remove the glass panel:
-
Assess the Panel's Position: Before proceeding, evaluate the positioning of the glass panel within the door frame. Determine if any adhesive or caulking is securing the panel in place. If so, use a utility knife to carefully cut through the sealant, ensuring that the panel can be lifted out smoothly.
-
Lift the Glass Panel: With the retainer strips removed and any sealant cut, gently lift the glass panel from the door frame. Use both hands to support the panel evenly, maintaining a firm but gentle grip to prevent any sudden movements that could lead to breakage.
-
Place the Panel in a Safe Location: Once the glass panel is lifted out, carefully set it down on the prepared surface, such as a soft blanket or foam padding. Ensure that the panel is placed flat to prevent any tilting or sliding. Take caution to avoid placing it near the edge of the surface to prevent accidental falls.
-
Inspect the Door Frame: With the glass panel removed, take a moment to inspect the door frame for any debris, remaining sealant, or other obstructions. Clean the frame using a mild glass cleaner and a soft, lint-free cloth to ensure a smooth and debris-free surface for reinstallation or further maintenance.
-
Store the Glass Panel Safely: If the glass panel is being replaced, store it in a secure location away from the work area to prevent accidental damage. Use the protective blanket or foam padding to cushion the panel and shield it from potential impacts or scratches.
By following these steps, you can safely and effectively take out the glass panel from your storm door. This meticulous approach ensures that the panel is removed without any damage or mishaps, setting the stage for any necessary cleaning, replacement, or maintenance tasks. With the glass panel successfully removed, you can proceed with the next steps, whether it involves cleaning and reinstalling the panel or preparing for the installation of a new one.
To remove the glass panel from a storm door, first, locate the screws or clips holding it in place. Use a screwdriver to remove them, then carefully lift the glass out of the frame. Be sure to handle the glass with care to avoid injury.
Step 4: Clean and Store the Glass Panel
After successfully removing the glass panel from your storm door, it's essential to proceed with the cleaning and proper storage of the panel. This step ensures that the glass remains in optimal condition and is ready for reinstallation or safekeeping. Follow these detailed guidelines to effectively clean and store the glass panel:
-
Cleaning the Glass Panel: Begin by inspecting the glass for any dirt, smudges, or residue that may have accumulated during its time in the door. Using a mild glass cleaner and a soft, lint-free cloth, gently wipe the entire surface of the glass to remove any grime or marks. Take care to use gentle, circular motions to avoid leaving streaks or scratches on the glass. Pay particular attention to the edges and corners, ensuring that all areas are thoroughly cleaned.
-
Drying the Glass: Once the glass panel is cleaned, use a dry, lint-free cloth to carefully dry the surface. This step helps to eliminate any remaining moisture or cleaner residue, leaving the glass sparkling and free from streaks. Ensure that the glass is completely dry before proceeding to the next step to prevent water spots or smudges from forming.
-
Inspecting for Damage: While cleaning the glass panel, take the opportunity to inspect it for any signs of damage, such as chips, cracks, or scratches. If any damage is detected, take note of its location and severity. This assessment will be valuable if you plan to repair the glass or seek a replacement. Additionally, if the glass is being stored for an extended period, identifying any existing damage will help prevent further deterioration.
-
Storing the Glass Panel: To store the glass panel safely, place it in a secure location away from high-traffic areas and potential hazards. Use the soft blanket or foam padding to cushion the panel and protect it from accidental impacts or scratches. If the panel is being stored for an extended period, consider covering it with an additional layer of protective material to shield it from dust and debris.
-
Labeling and Documentation: If the glass panel is being stored for future use or replacement, consider labeling it with relevant information, such as the date it was removed, any existing damage, and its intended purpose. This documentation will serve as a helpful reference when re-installing the panel or seeking a replacement, ensuring that you have all the necessary details at hand.
By meticulously cleaning and storing the glass panel, you can preserve its condition and prepare it for reinstallation or safekeeping. This careful approach ensures that the glass remains in optimal condition, ready to be utilized when needed. Whether you're planning to re-install the cleaned panel or store it for future use, this step sets the stage for maintaining the functionality and aesthetics of your storm door.
Conclusion
In conclusion, the process of removing the glass panel from a storm door is a manageable task that can be accomplished with the right tools, attention to detail, and a systematic approach. By following the steps outlined in this guide, you can confidently undertake this DIY project and enhance the functionality and aesthetics of your storm door.
The initial preparation of the work area sets the stage for a safe and organized removal process. Clearing the space around the door, ensuring adequate lighting, and wearing protective gear are essential steps that contribute to a smooth and hazard-free experience.
The careful removal of the retainer strips is a critical phase in the process, as these components secure the glass panel in place. By identifying, loosening, and handling the retainer strips with care, you can effectively prepare the door for the extraction of the glass panel.
Taking out the glass panel requires a gentle touch and attention to detail to ensure the safe removal of the panel from the door frame. By assessing the panel's position, lifting it out with care, and inspecting the door frame, you can successfully extract the glass panel without compromising its integrity.
Once the glass panel is removed, the cleaning and proper storage of the panel are essential to maintain its condition. Thoroughly cleaning the glass, inspecting it for damage, and storing it in a secure location with appropriate labeling and documentation ensure that the panel remains in optimal condition for future use.
In essence, the process of removing the glass panel from a storm door empowers homeowners to maintain and customize their doors according to their specific needs and preferences. Whether it involves replacing a damaged panel, cleaning the glass thoroughly, or enjoying the open air without obstruction, this DIY project offers a sense of accomplishment and the opportunity to enhance the overall appeal of the storm door.
By following the comprehensive steps outlined in this guide and being mindful of safety measures, homeowners can confidently tackle the task of removing the glass panel from their storm doors, ultimately contributing to the maintenance and customization of their living spaces.
Frequently Asked Questions about How To Remove Glass Panel From Storm Door
Was this page helpful?
At Storables.com, we guarantee accurate and reliable information. Our content, validated by Expert Board Contributors, is crafted following stringent Editorial Policies. We're committed to providing you with well-researched, expert-backed insights for all your informational needs.


0 thoughts on “How To Remove Glass Panel From Storm Door”