Home>Renovation & DIY>Home Renovation Guides>How To Replace A Storm Door Glass
Home Renovation Guides
How To Replace A Storm Door Glass
Modified: February 18, 2024
Learn how to replace a storm door glass with our comprehensive home renovation guide. Follow our step-by-step instructions for a seamless DIY project.
(Many of the links in this article redirect to a specific reviewed product. Your purchase of these products through affiliate links helps to generate commission for Storables.com, at no extra cost. Learn more)
Introduction
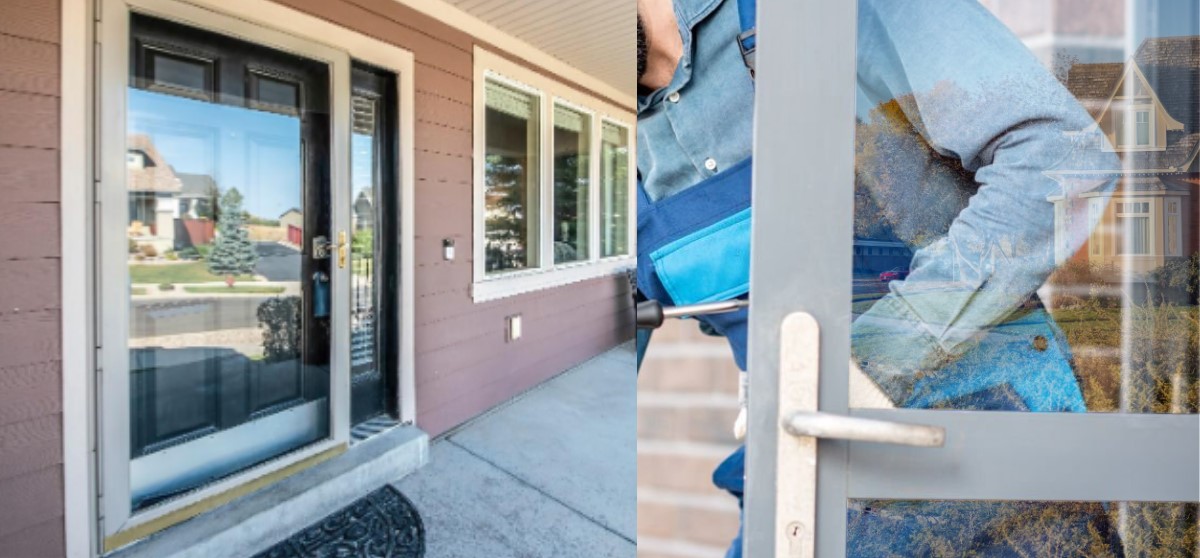
Replacing a storm door glass may seem like a daunting task, but with the right tools and a clear understanding of the process, it can be a manageable and rewarding home improvement project. Whether your storm door glass has been damaged or you simply want to upgrade to a more energy-efficient option, this guide will walk you through the steps to successfully replace the glass in your storm door.
By following these instructions, you can not only enhance the appearance and functionality of your storm door but also potentially increase the energy efficiency of your home. With a bit of patience and attention to detail, you can tackle this project with confidence, knowing that you are taking a proactive step in maintaining and improving your living space.
Before diving into the specific steps of replacing your storm door glass, it's essential to gather the necessary tools and materials. Having everything on hand will streamline the process and ensure a smoother experience from start to finish. So let's take a look at what you'll need to get started.
Key Takeaways:
- Replacing a storm door glass is a manageable project that enhances home appearance and energy efficiency. Safety, accurate measurements, and careful installation are key for success.
- By following steps to remove, measure, order, and install the new glass, you can rejuvenate your storm door and contribute to your home’s energy efficiency.
Read more: How To Replace Glass In Storm Door
Tools and Materials Needed
Before you begin replacing the glass in your storm door, it’s important to gather the following tools and materials:
Tools:
- Flathead screwdriver
- Phillips screwdriver
- Tape measure
- Utility knife
- Safety goggles
- Gloves
Materials:
- Replacement glass panel
- Replacement gasket or sealant
- Replacement screws (if necessary)
- Caulk
- Paint (if needed to touch up the door frame)
- Screw hole plugs (if applicable)
Having these tools and materials readily available will help facilitate a smooth and efficient glass replacement process. Additionally, it’s important to prioritize safety by wearing goggles and gloves when handling glass and using the utility knife. With these items at your disposal, you’ll be well-prepared to proceed with removing the old glass from your storm door.
Removing the Old Glass
Before you can install the new glass panel, you’ll need to carefully remove the old one. Follow these steps to ensure a safe and effective removal process:
- Prepare the Work Area: Lay down a drop cloth or old towels to catch any glass shards or debris that may fall during the removal process. This will help protect your floor and make cleanup easier.
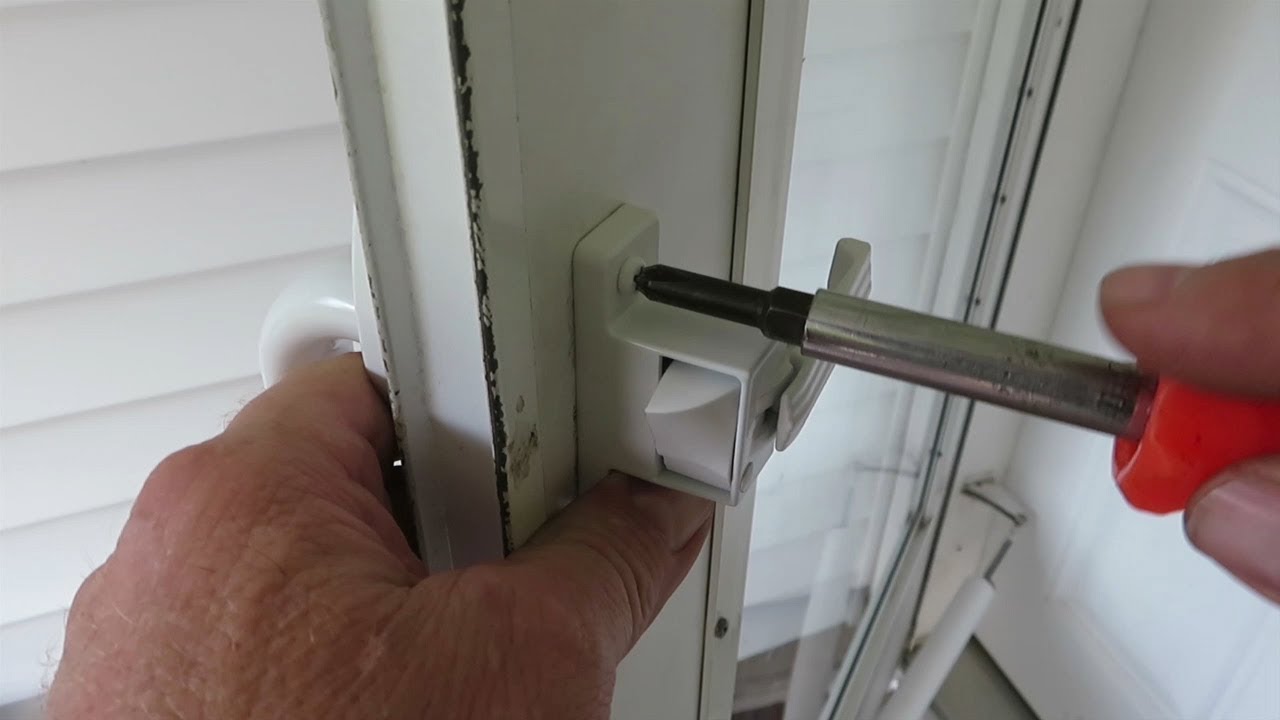
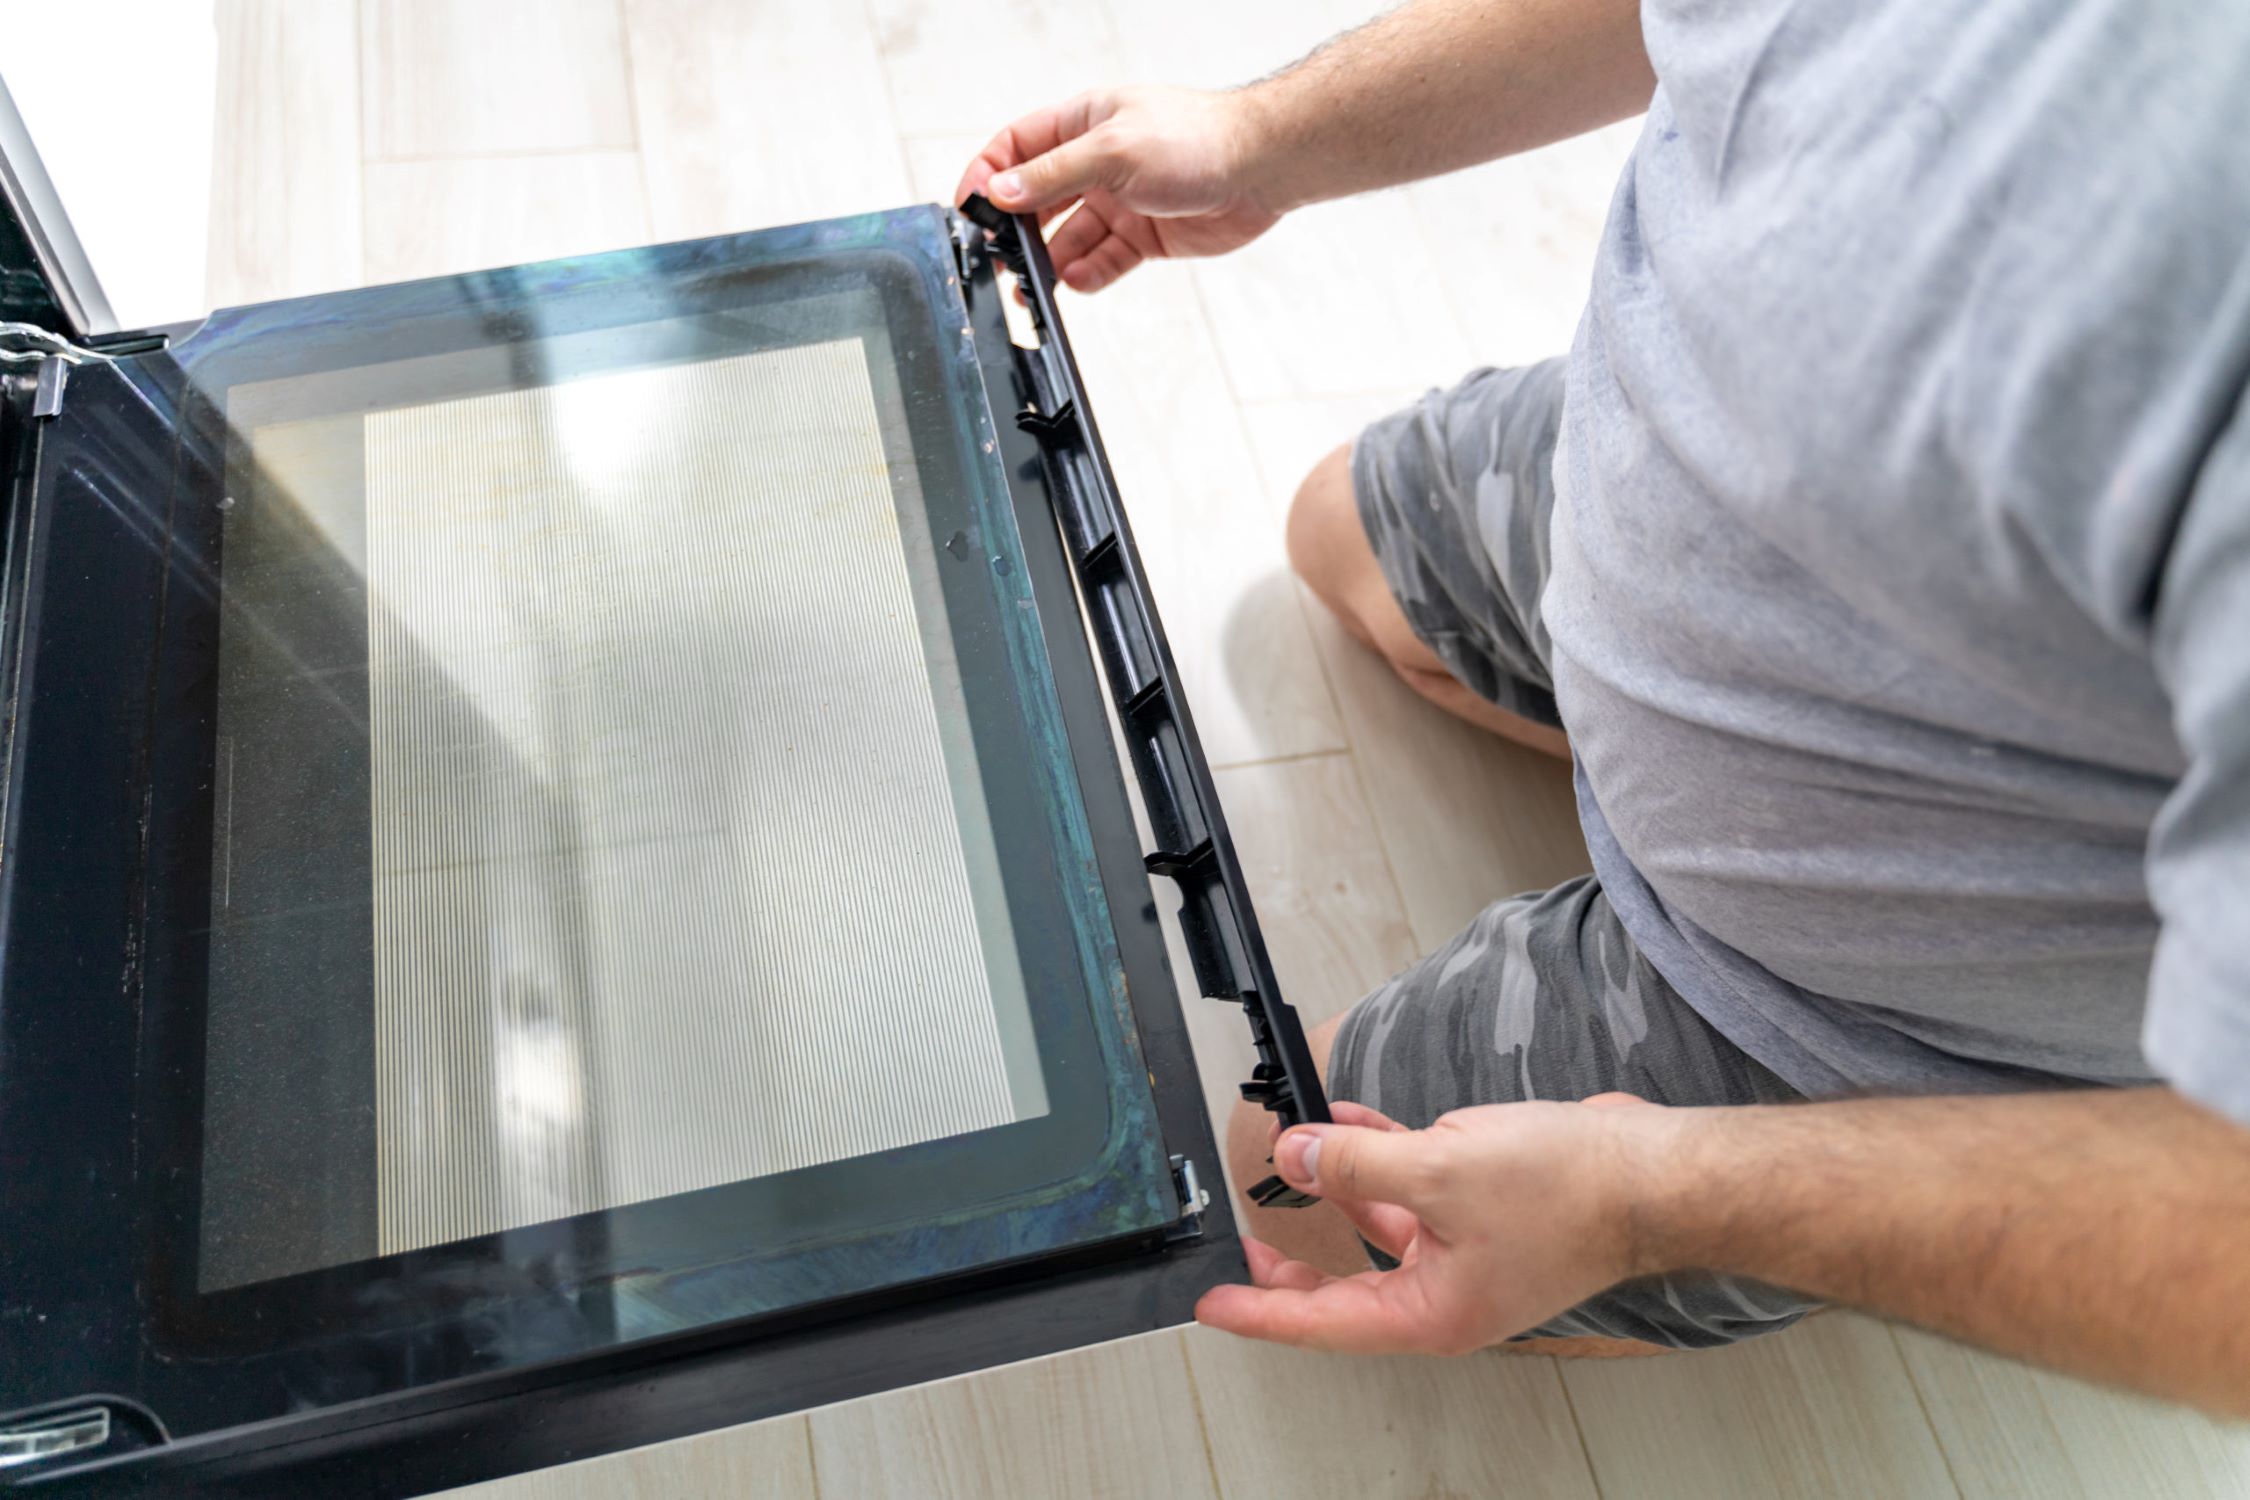
- Remove the Retainer Strips: Using a flathead screwdriver, carefully pry off the retainer strips that hold the glass in place. Start at one corner and work your way around the perimeter of the glass panel. Be gentle to avoid bending or damaging the retainer strips.
- Discard the Old Glass: Once the retainer strips are removed, carefully lift out the old glass panel and set it aside in a safe location. Be mindful of any sharp edges and handle the glass with caution to prevent injury.
- Clean the Frame: Take this opportunity to clean any dirt, debris, or old sealant from the frame of the storm door. A damp cloth or mild cleaning solution can be used to wipe down the frame and ensure a clean surface for the new glass installation.
- Inspect the Frame: While the old glass is removed, inspect the frame for any signs of damage or wear. This is a good time to address any issues with the frame before installing the new glass panel.
By following these steps, you can safely and effectively remove the old glass from your storm door, preparing the frame for the installation of the new glass panel. With the old glass out of the way, you can proceed to the next crucial step in the replacement process: measuring and ordering the new glass.
Read more: How To Replace Screen In A Storm Door
Measuring and Ordering the New Glass
Accurate measurements are essential when ordering a replacement glass panel for your storm door. Follow these steps to ensure that you obtain the correct measurements and successfully order the new glass:
- Measure the Frame: Use a tape measure to determine the exact height and width of the opening in the storm door frame where the glass panel will be installed. Measure both the height and width at multiple points to account for any variations in the frame.
- Consider Glass Thickness: Take note of the thickness of the old glass panel, as this will impact the fit within the frame. If the original glass was a standard size, it’s advisable to replace it with the same thickness to ensure a proper fit.
- Check for Special Features: Some storm doors may have unique features or design elements that require specific customization for the glass panel. Be mindful of any special requirements and communicate these details when ordering the replacement glass.
- Order the Replacement: Once you have gathered accurate measurements and considered any special features, proceed to order the replacement glass panel from a reputable supplier or manufacturer. Provide the precise measurements and any relevant specifications to ensure that the new glass is tailored to fit your storm door.
By taking the time to measure the frame accurately and order the appropriate replacement glass, you can avoid potential fitting issues and ensure a seamless installation process. With the new glass panel on its way, you can prepare to complete the final steps of the replacement process: installing the new glass and putting the finishing touches on your storm door.
When replacing a storm door glass, make sure to measure the dimensions accurately before purchasing a new piece of glass. It’s important to wear gloves and safety goggles while removing the old glass to avoid injury.
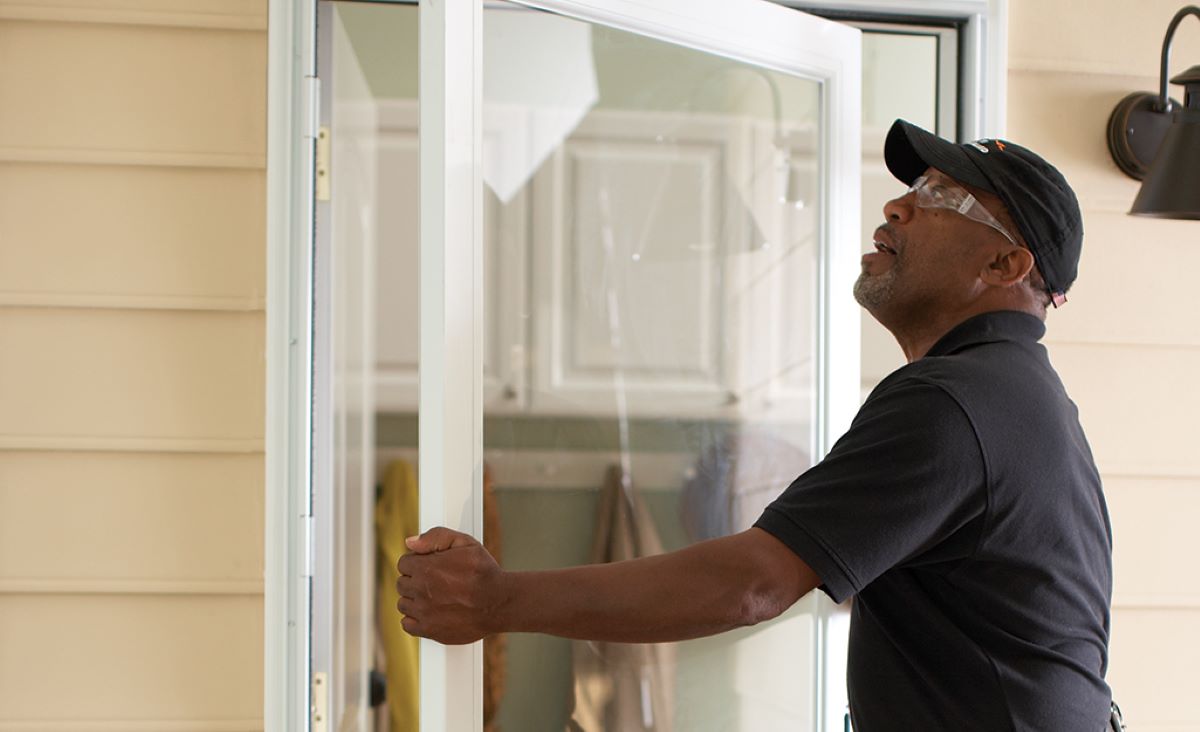
Installing the New Glass
With the new glass panel in hand, you’re ready to proceed with the installation process. Follow these steps to ensure a successful and secure placement of the replacement glass in your storm door:
- Apply Sealant or Gasket: Depending on the design of your storm door, you may need to apply a sealant or gasket around the perimeter of the frame where the glass will be installed. This will help create a weather-tight seal and secure the glass in place.
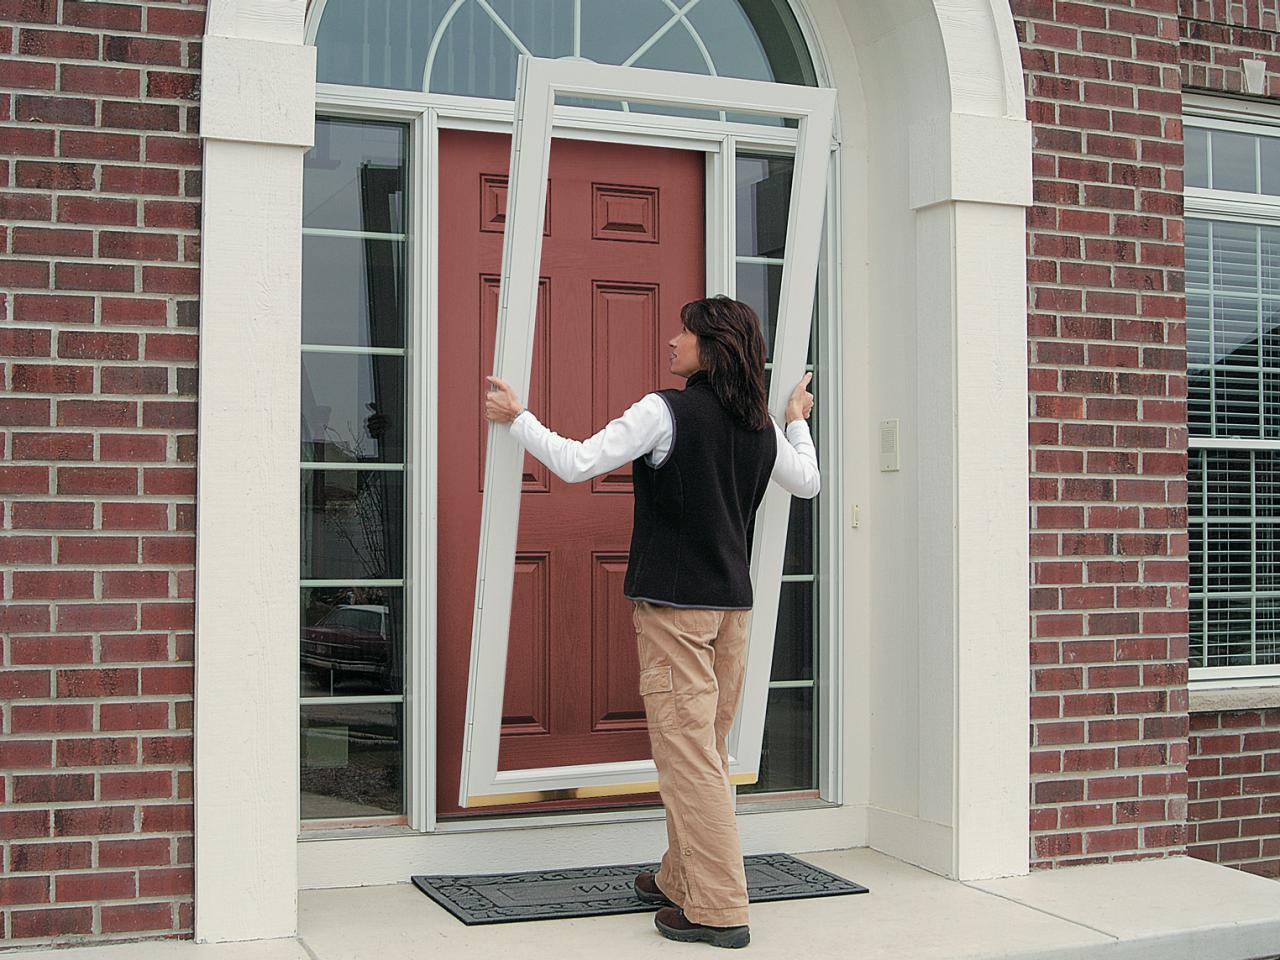
- Position the Glass: Carefully place the new glass panel into the frame, ensuring that it fits snugly and aligns properly within the opening. Take your time to position the glass accurately before proceeding to the next step.
- Secure with Retainer Strips: Once the glass is in place, carefully reattach the retainer strips around the perimeter of the frame to hold the glass securely in place. Use a gentle but firm touch to ensure that the retainer strips are properly seated and provide adequate support for the glass.
- Inspect and Test: After securing the glass with the retainer strips, inspect the installation to ensure that the glass is secure and properly aligned. Open and close the storm door to verify that the glass panel does not shift or rattle within the frame.
- Apply Finishing Touches: If necessary, apply a bead of caulk around the outer edge of the frame to further seal the glass and prevent any potential drafts or moisture infiltration. Additionally, touch up the frame with paint if needed to restore its appearance.
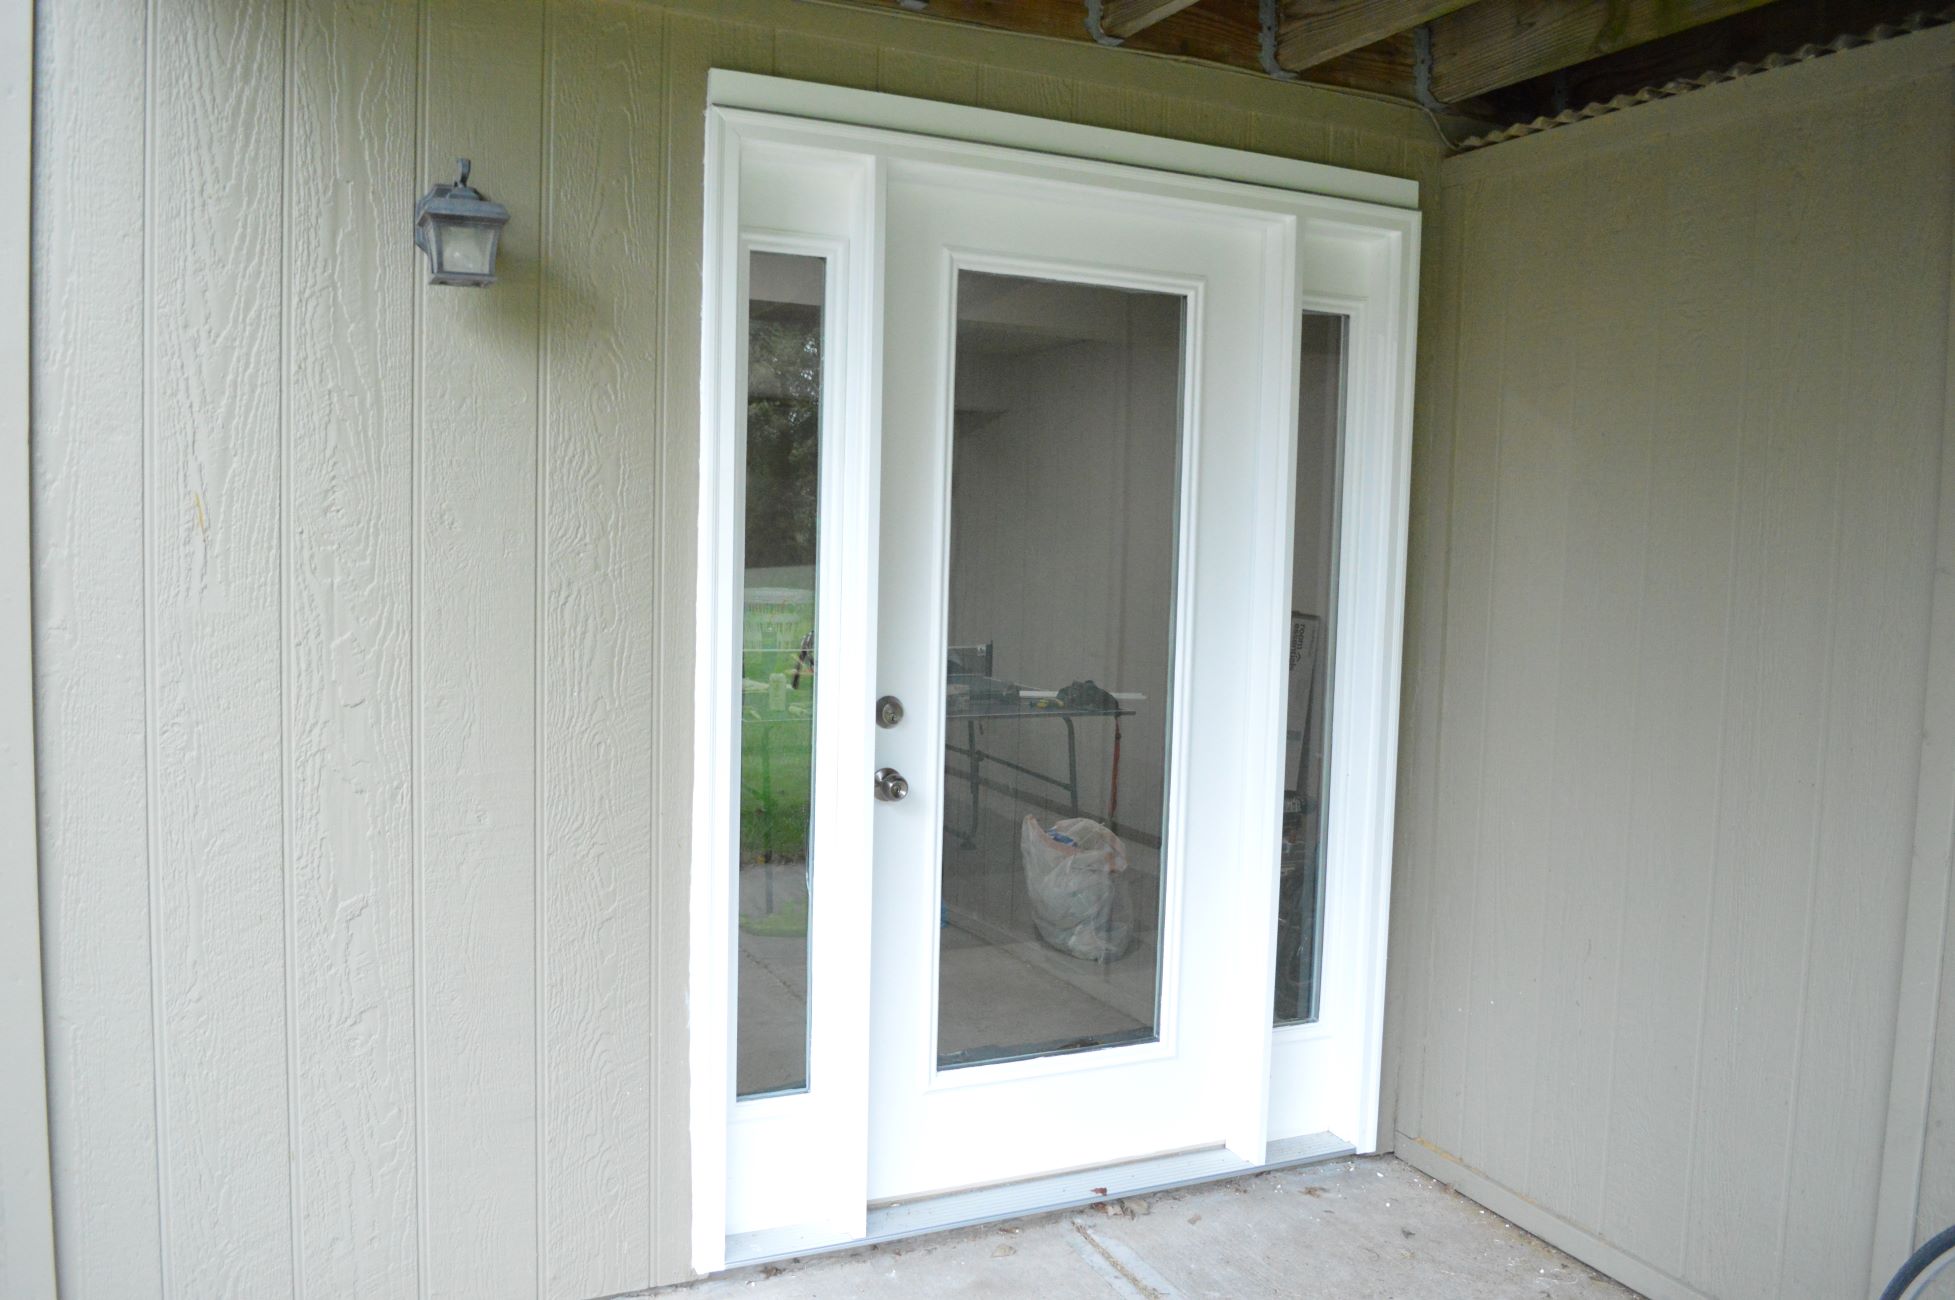
By following these steps, you can effectively install the new glass panel in your storm door, completing the replacement process and rejuvenating the functionality and aesthetics of your entryway. With the new glass securely in place, take a moment to admire your handiwork and appreciate the enhanced appeal and functionality of your storm door.
Conclusion
Replacing the glass in your storm door is a rewarding home improvement project that can enhance both the appearance and functionality of your entryway. By following the steps outlined in this guide, you have taken a proactive approach to maintaining and improving your living space. Here’s a quick recap of the key points:
- Prepare the work area and gather the necessary tools and materials before beginning the glass replacement process.
- Carefully remove the old glass, clean the frame, and inspect for any damage or wear that may need attention.
- Accurately measure the frame and order the appropriate replacement glass panel, considering any special features or requirements.
- Install the new glass with care, ensuring a secure fit and making any necessary adjustments to create a weather-tight seal.
With the new glass panel in place, take a moment to appreciate the improved aesthetics and functionality of your storm door. Not only have you successfully completed a home improvement project, but you have also contributed to the overall energy efficiency and comfort of your living space.
Remember, safety should always be a priority when working with glass and tools. By wearing protective gear and handling materials with care, you can minimize the risk of accidents and enjoy a smooth and satisfying replacement process.
Whether you embarked on this project to address a damaged glass panel or simply to refresh the appearance of your storm door, your efforts have made a positive impact on your home. As you step back and admire the results of your hard work, take pride in knowing that you have successfully replaced the glass in your storm door, adding both value and charm to your living environment.
Congratulations on completing this home improvement project, and may your newly rejuvenated storm door continue to welcome you and your guests with style and functionality for years to come.
Frequently Asked Questions about How To Replace A Storm Door Glass
Was this page helpful?
At Storables.com, we guarantee accurate and reliable information. Our content, validated by Expert Board Contributors, is crafted following stringent Editorial Policies. We're committed to providing you with well-researched, expert-backed insights for all your informational needs.


0 thoughts on “How To Replace A Storm Door Glass”