Home>Renovation & DIY>Home Renovation Guides>How To Remove Screen From A Storm Door
Home Renovation Guides
How To Remove Screen From A Storm Door
Modified: February 18, 2024
Learn how to remove a screen from a storm door with our comprehensive home renovation guide. Follow our step-by-step instructions for a hassle-free process.
(Many of the links in this article redirect to a specific reviewed product. Your purchase of these products through affiliate links helps to generate commission for Storables.com, at no extra cost. Learn more)
Introduction
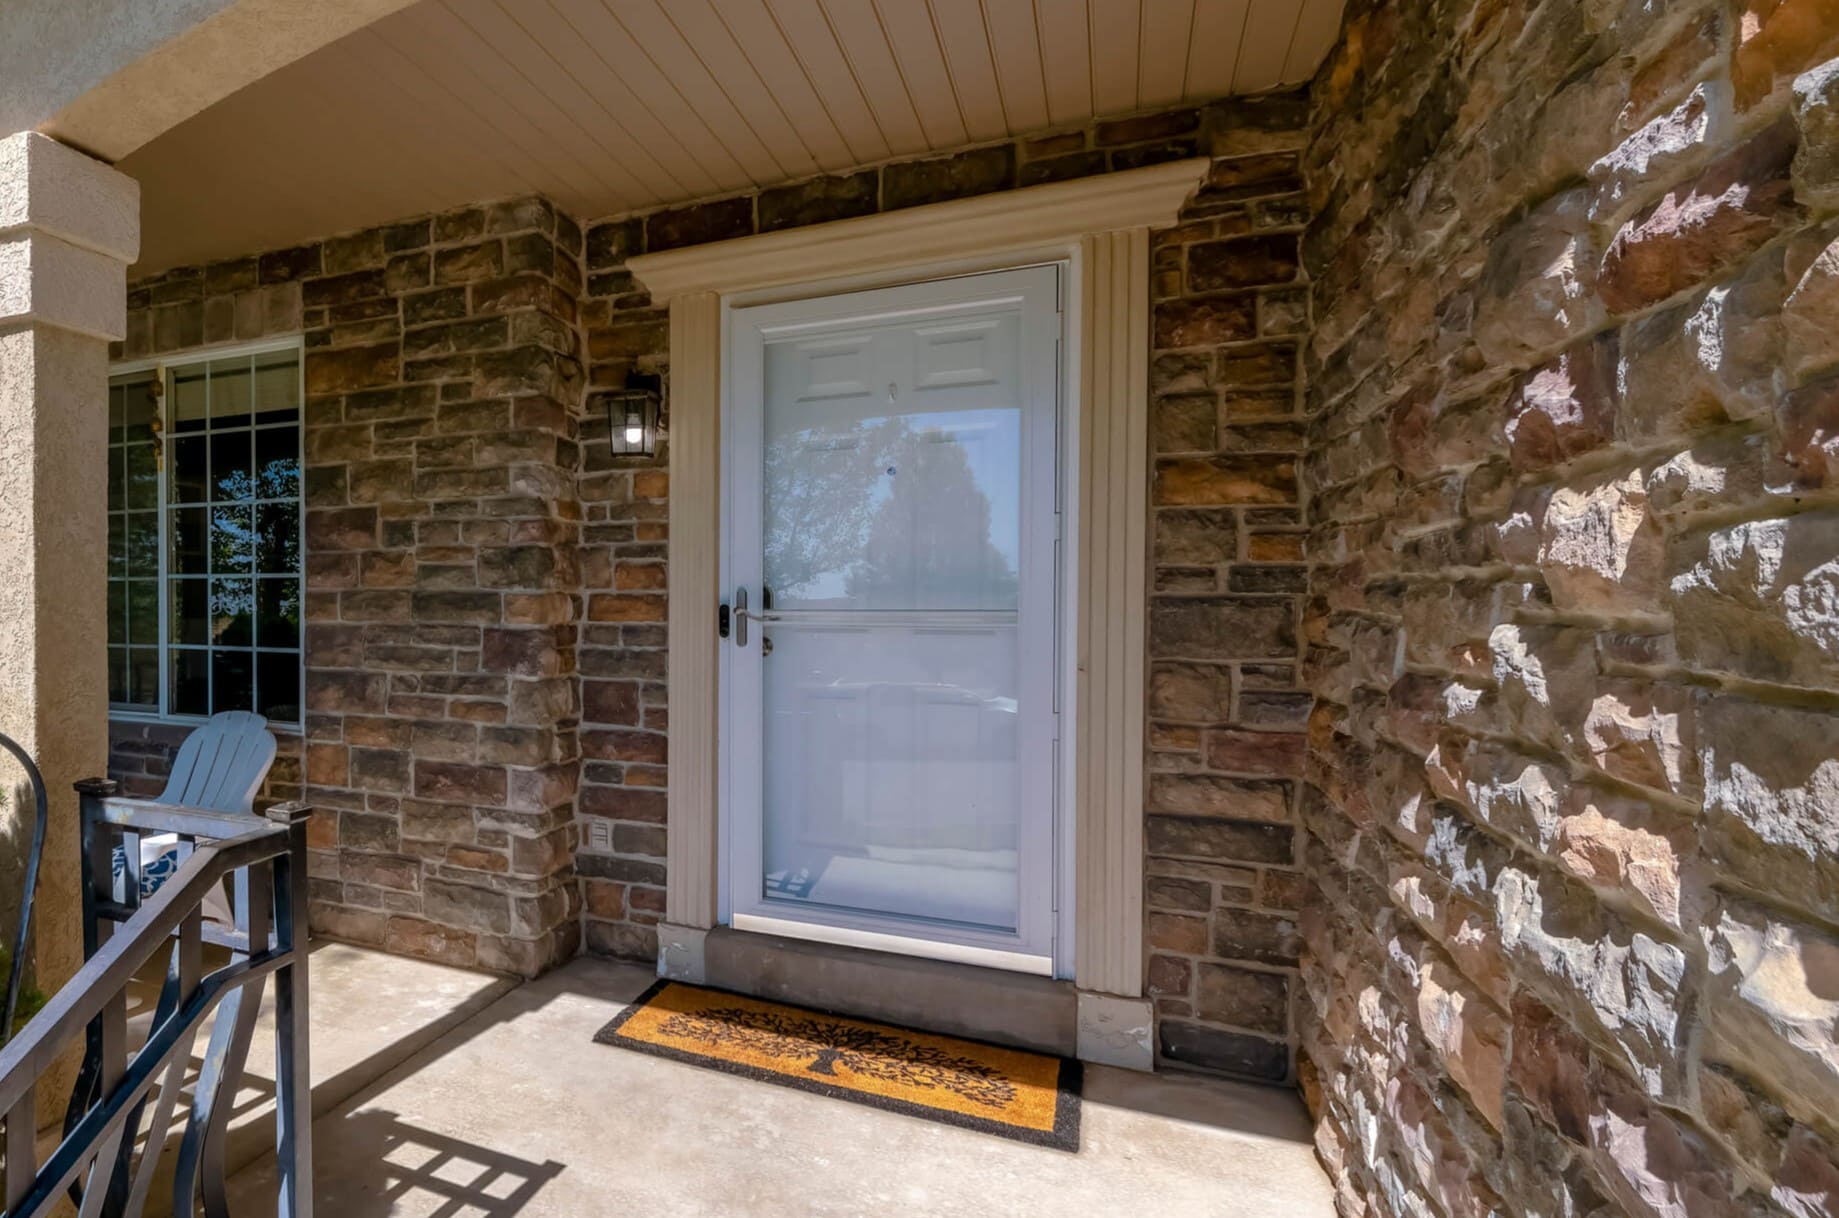
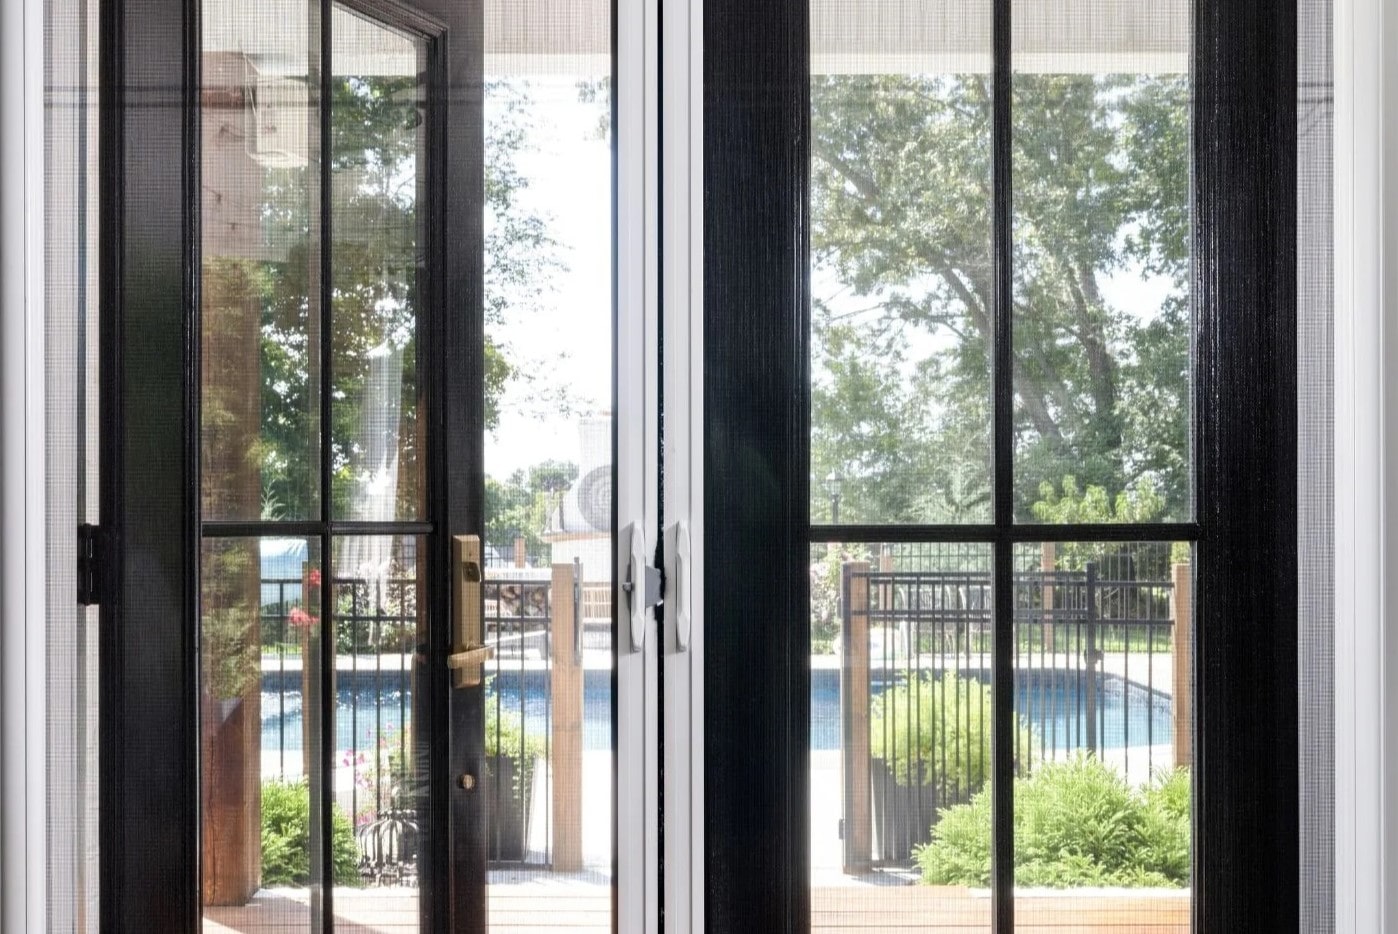
Removing the screen from a storm door is a straightforward task that can enhance your home's ventilation and aesthetic appeal. Whether you're preparing for the warmer months or need to replace a damaged screen, this guide will walk you through the process step by step. By following these instructions and using the right tools, you can easily accomplish this home maintenance task.
Taking on the removal of a storm door screen not only allows for thorough cleaning and maintenance but also provides an opportunity to inspect the door for any signs of wear and tear. This simple DIY project can help you keep your home looking its best while ensuring that your storm door functions optimally.
In the following sections, we will discuss the tools and materials needed for the task, followed by a detailed breakdown of the steps involved in removing the screen from a storm door. Whether you are a seasoned DIY enthusiast or a novice homeowner looking to tackle your first home improvement project, this guide will equip you with the knowledge and confidence to complete the task efficiently.
Let's gather the necessary tools and get ready to transform your storm door by removing its screen!
Key Takeaways:
- Easily remove and replace your storm door screen using simple tools like a screwdriver and utility knife. Keep your home looking its best and ensure optimal ventilation with this DIY project.
- By following step-by-step instructions, you can confidently clean, inspect, and reinstall your storm door screen, enhancing your home’s appearance and functionality. Gain valuable DIY experience and maintain a comfortable living space.
Read more: How To Replace Screen In A Storm Door
Tools and Materials Needed
Before embarking on the task of removing the screen from your storm door, it’s essential to gather the necessary tools and materials. Having the right equipment at hand will streamline the process and ensure a successful outcome. Here’s what you’ll need:
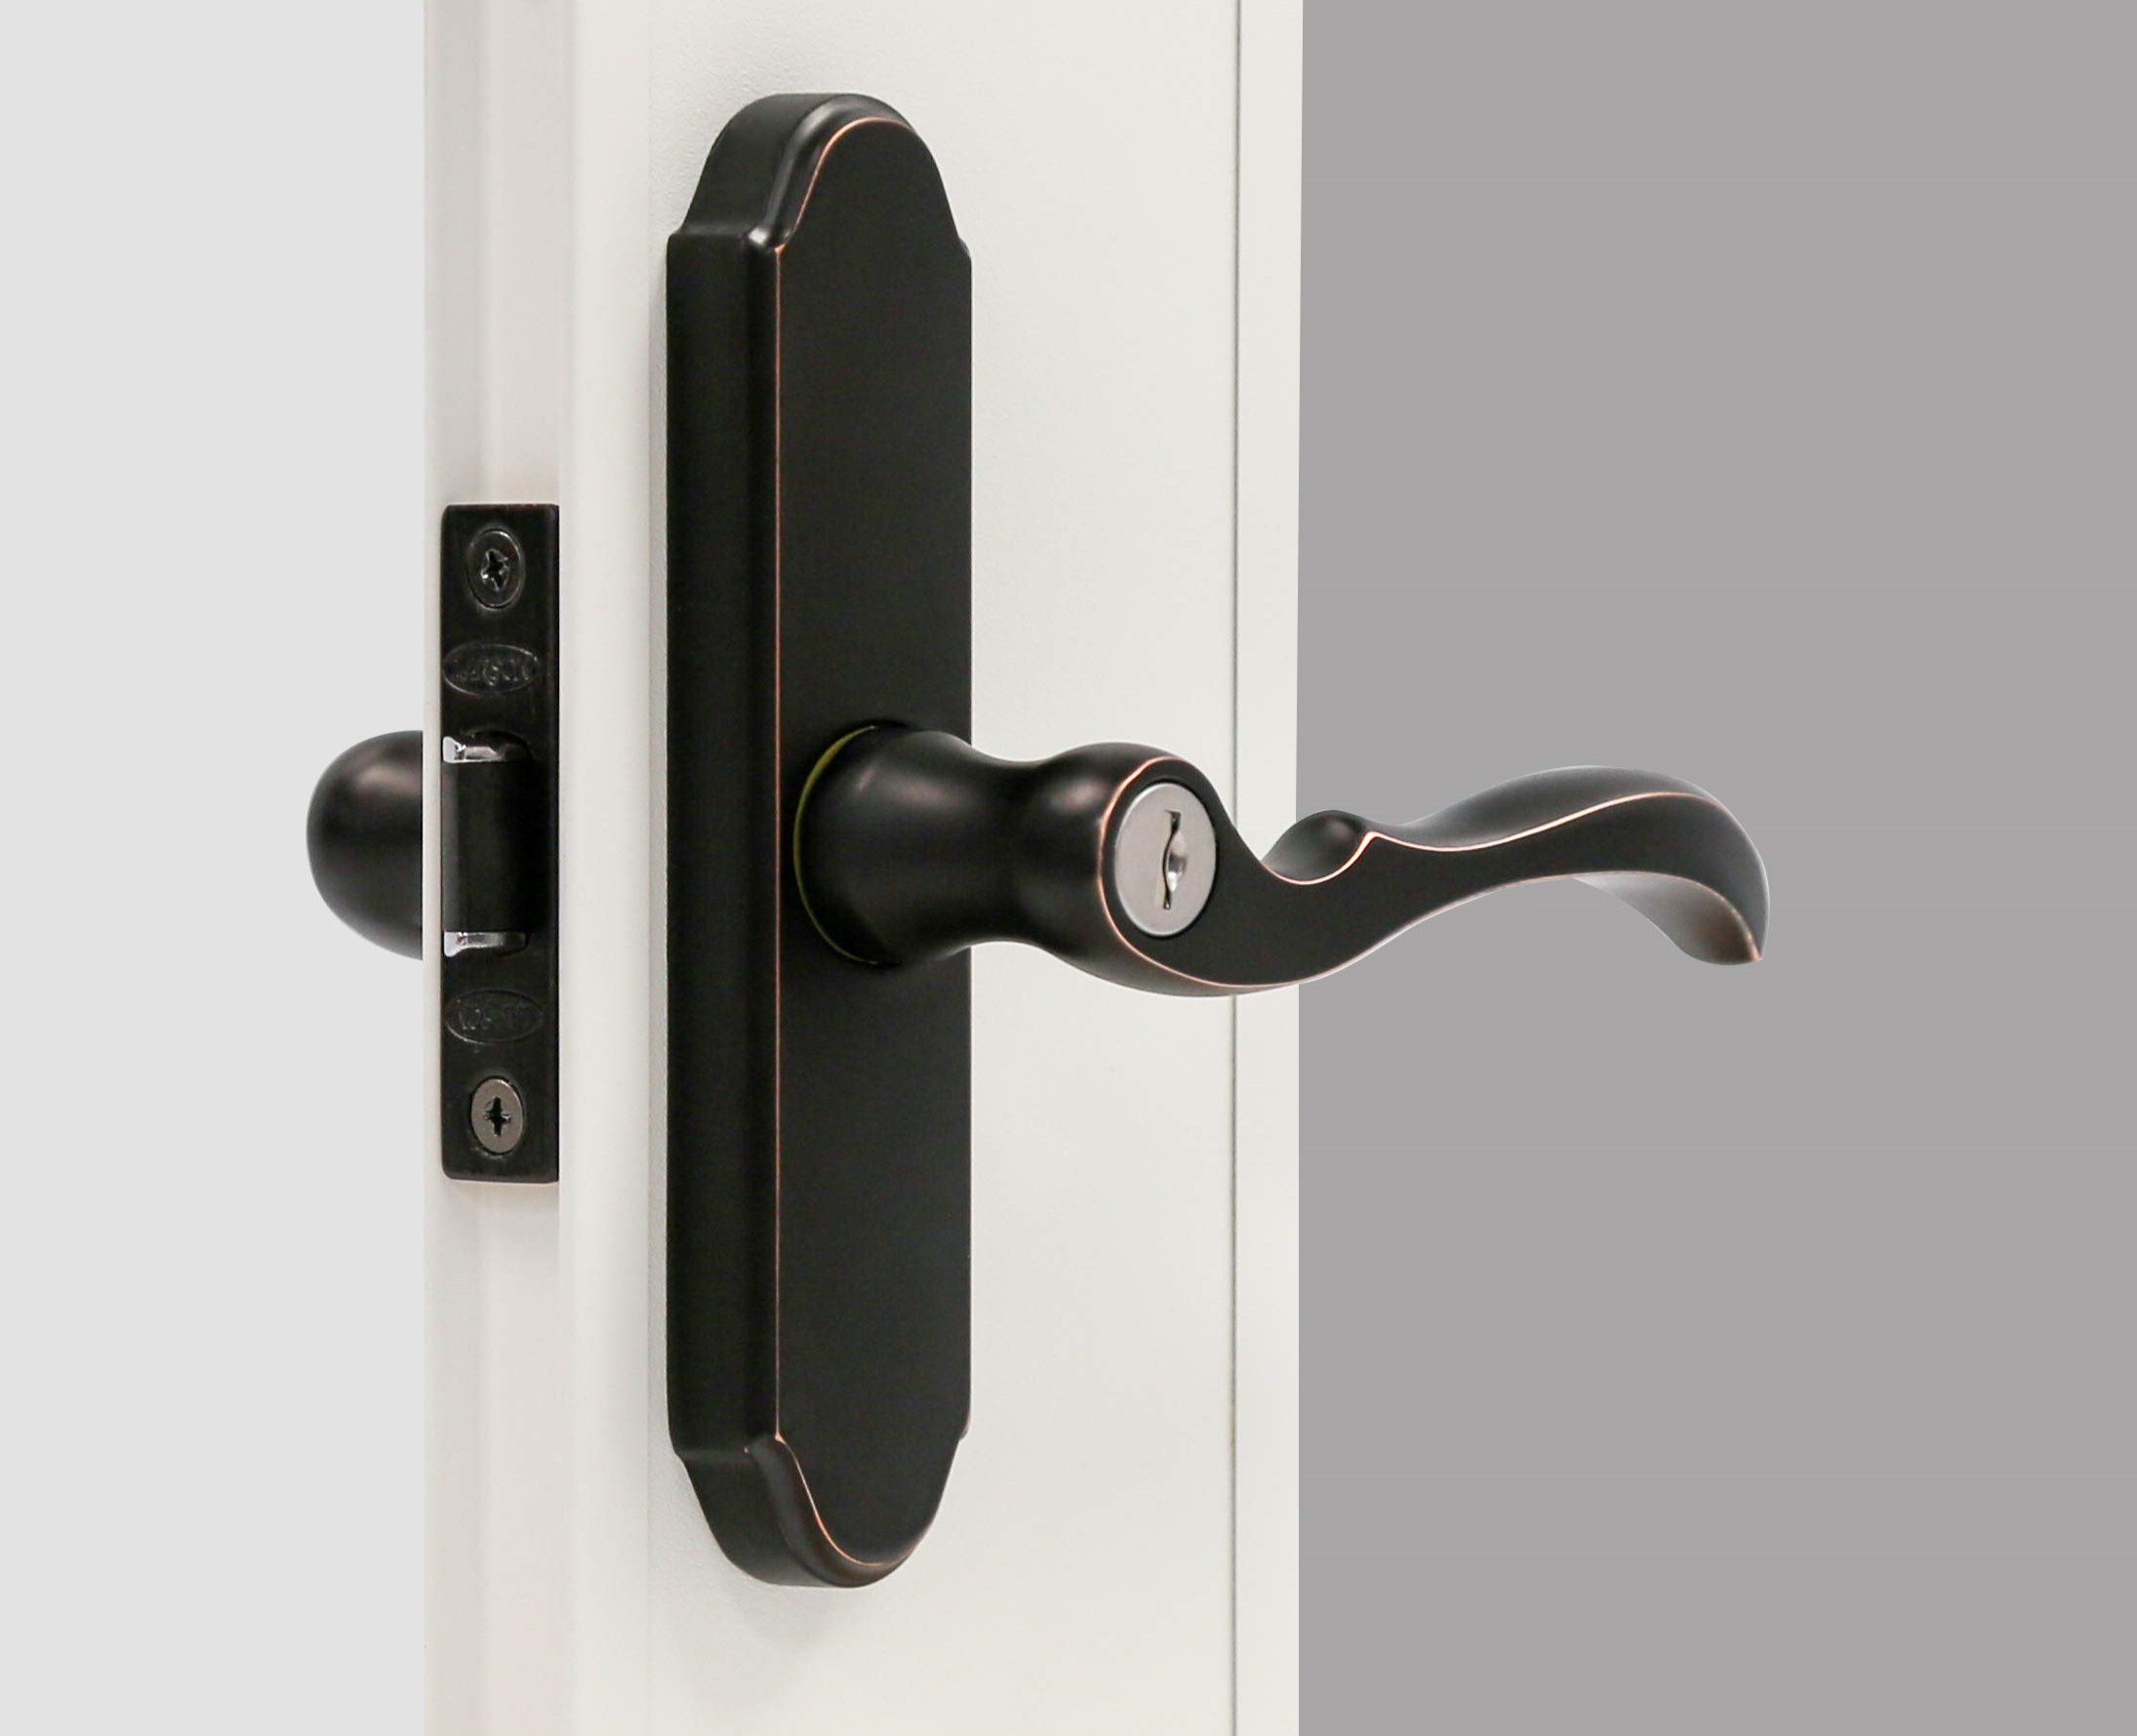
- Screwdriver: A screwdriver, typically a Phillips or flat-head, will be necessary for removing screws holding the screen in place.
- Utility Knife: A utility knife will come in handy for cutting away any adhesive or sealant securing the screen to the frame.
- Work Gloves: Protect your hands with a pair of work gloves to avoid any sharp edges or potential injury during the removal process.
- Cleaning Supplies: Prepare a bucket of soapy water, a sponge, and a clean cloth for wiping down the door frame and screen.
- Replacement Screen (Optional): If you plan to replace the existing screen, ensure you have the new screen material and spline ready for installation.
- Vacuum Cleaner: A vacuum will help in cleaning any debris or dirt that may have accumulated around the screen and frame.
- Safety Glasses: It’s advisable to wear safety glasses to protect your eyes from any debris or dust particles that may dislodge during the removal process.
With these tools and materials at your disposal, you’ll be well-prepared to proceed with the screen removal process. Once you have everything organized, you can move on to the next steps, confident in your ability to complete the task effectively.
Step 1: Gather Your Tools
Before you begin removing the screen from your storm door, it’s crucial to gather all the necessary tools and materials. By having everything at hand, you’ll streamline the process and minimize interruptions during the task. Here’s a detailed breakdown of the tools and materials you’ll need:
- Screwdriver: Start by ensuring you have a suitable screwdriver, either Phillips or flat-head, depending on the type of screws securing the screen in place. Having the right screwdriver will make the process of removing the screws much more manageable.
- Utility Knife: A utility knife will be essential for cutting through any adhesive or sealant that may be holding the screen in place. This tool will allow you to carefully detach the screen from the frame without causing damage.
- Work Gloves: Protect your hands with a sturdy pair of work gloves. They will shield your skin from any sharp edges or potential injury during the removal process, ensuring your safety throughout the task.
- Cleaning Supplies: Prepare a bucket of warm, soapy water, a sponge, and a clean cloth. These items will be used to wipe down the door frame and clean the screen, leaving the area spotless once the screen is removed.
- Replacement Screen (Optional): If you intend to replace the existing screen, ensure you have the new screen material and spline ready for installation. Having the replacement screen on hand will allow you to seamlessly transition from removing the old screen to installing the new one.
- Vacuum Cleaner: A vacuum cleaner will be handy for cleaning any debris or dirt that may have accumulated around the screen and frame. Use the vacuum to ensure that the surrounding area is free of any loose particles before and after removing the screen.
- Safety Glasses: It’s advisable to wear safety glasses while working on this task. Safety glasses will protect your eyes from any debris or dust particles that may dislodge during the screen removal process, ensuring your safety throughout the project.
By ensuring you have all the necessary tools and materials ready, you’ll be well-prepared to proceed with the screen removal process. With everything organized and within reach, you can move on to the next steps confidently, knowing that you have everything you need to successfully complete the task.
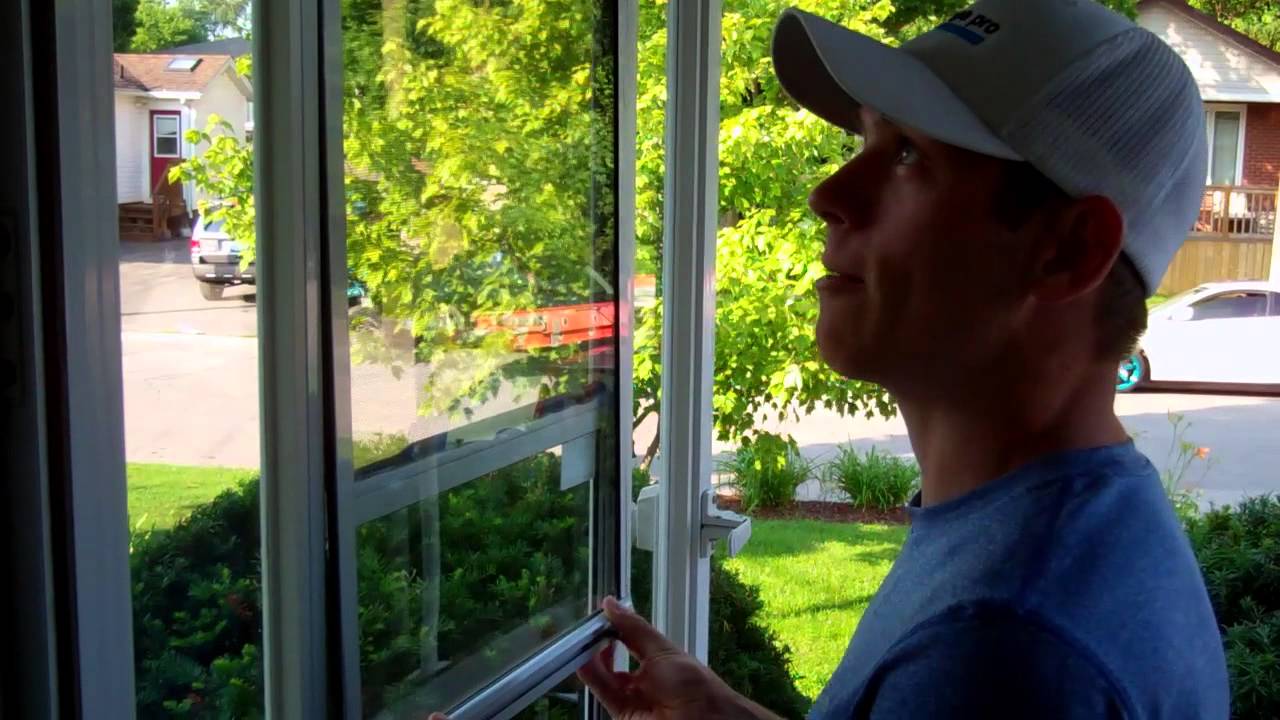
Step 2: Remove the Hinges
With your tools and materials gathered, it’s time to begin the process of removing the screen from your storm door. The first step in this undertaking involves removing the hinges that secure the door to the frame. Follow these detailed instructions to successfully detach the hinges:
- Secure the Door: Start by ensuring that the storm door is securely propped open or held in place. This will prevent any unexpected movement or accidents while working on the hinges.
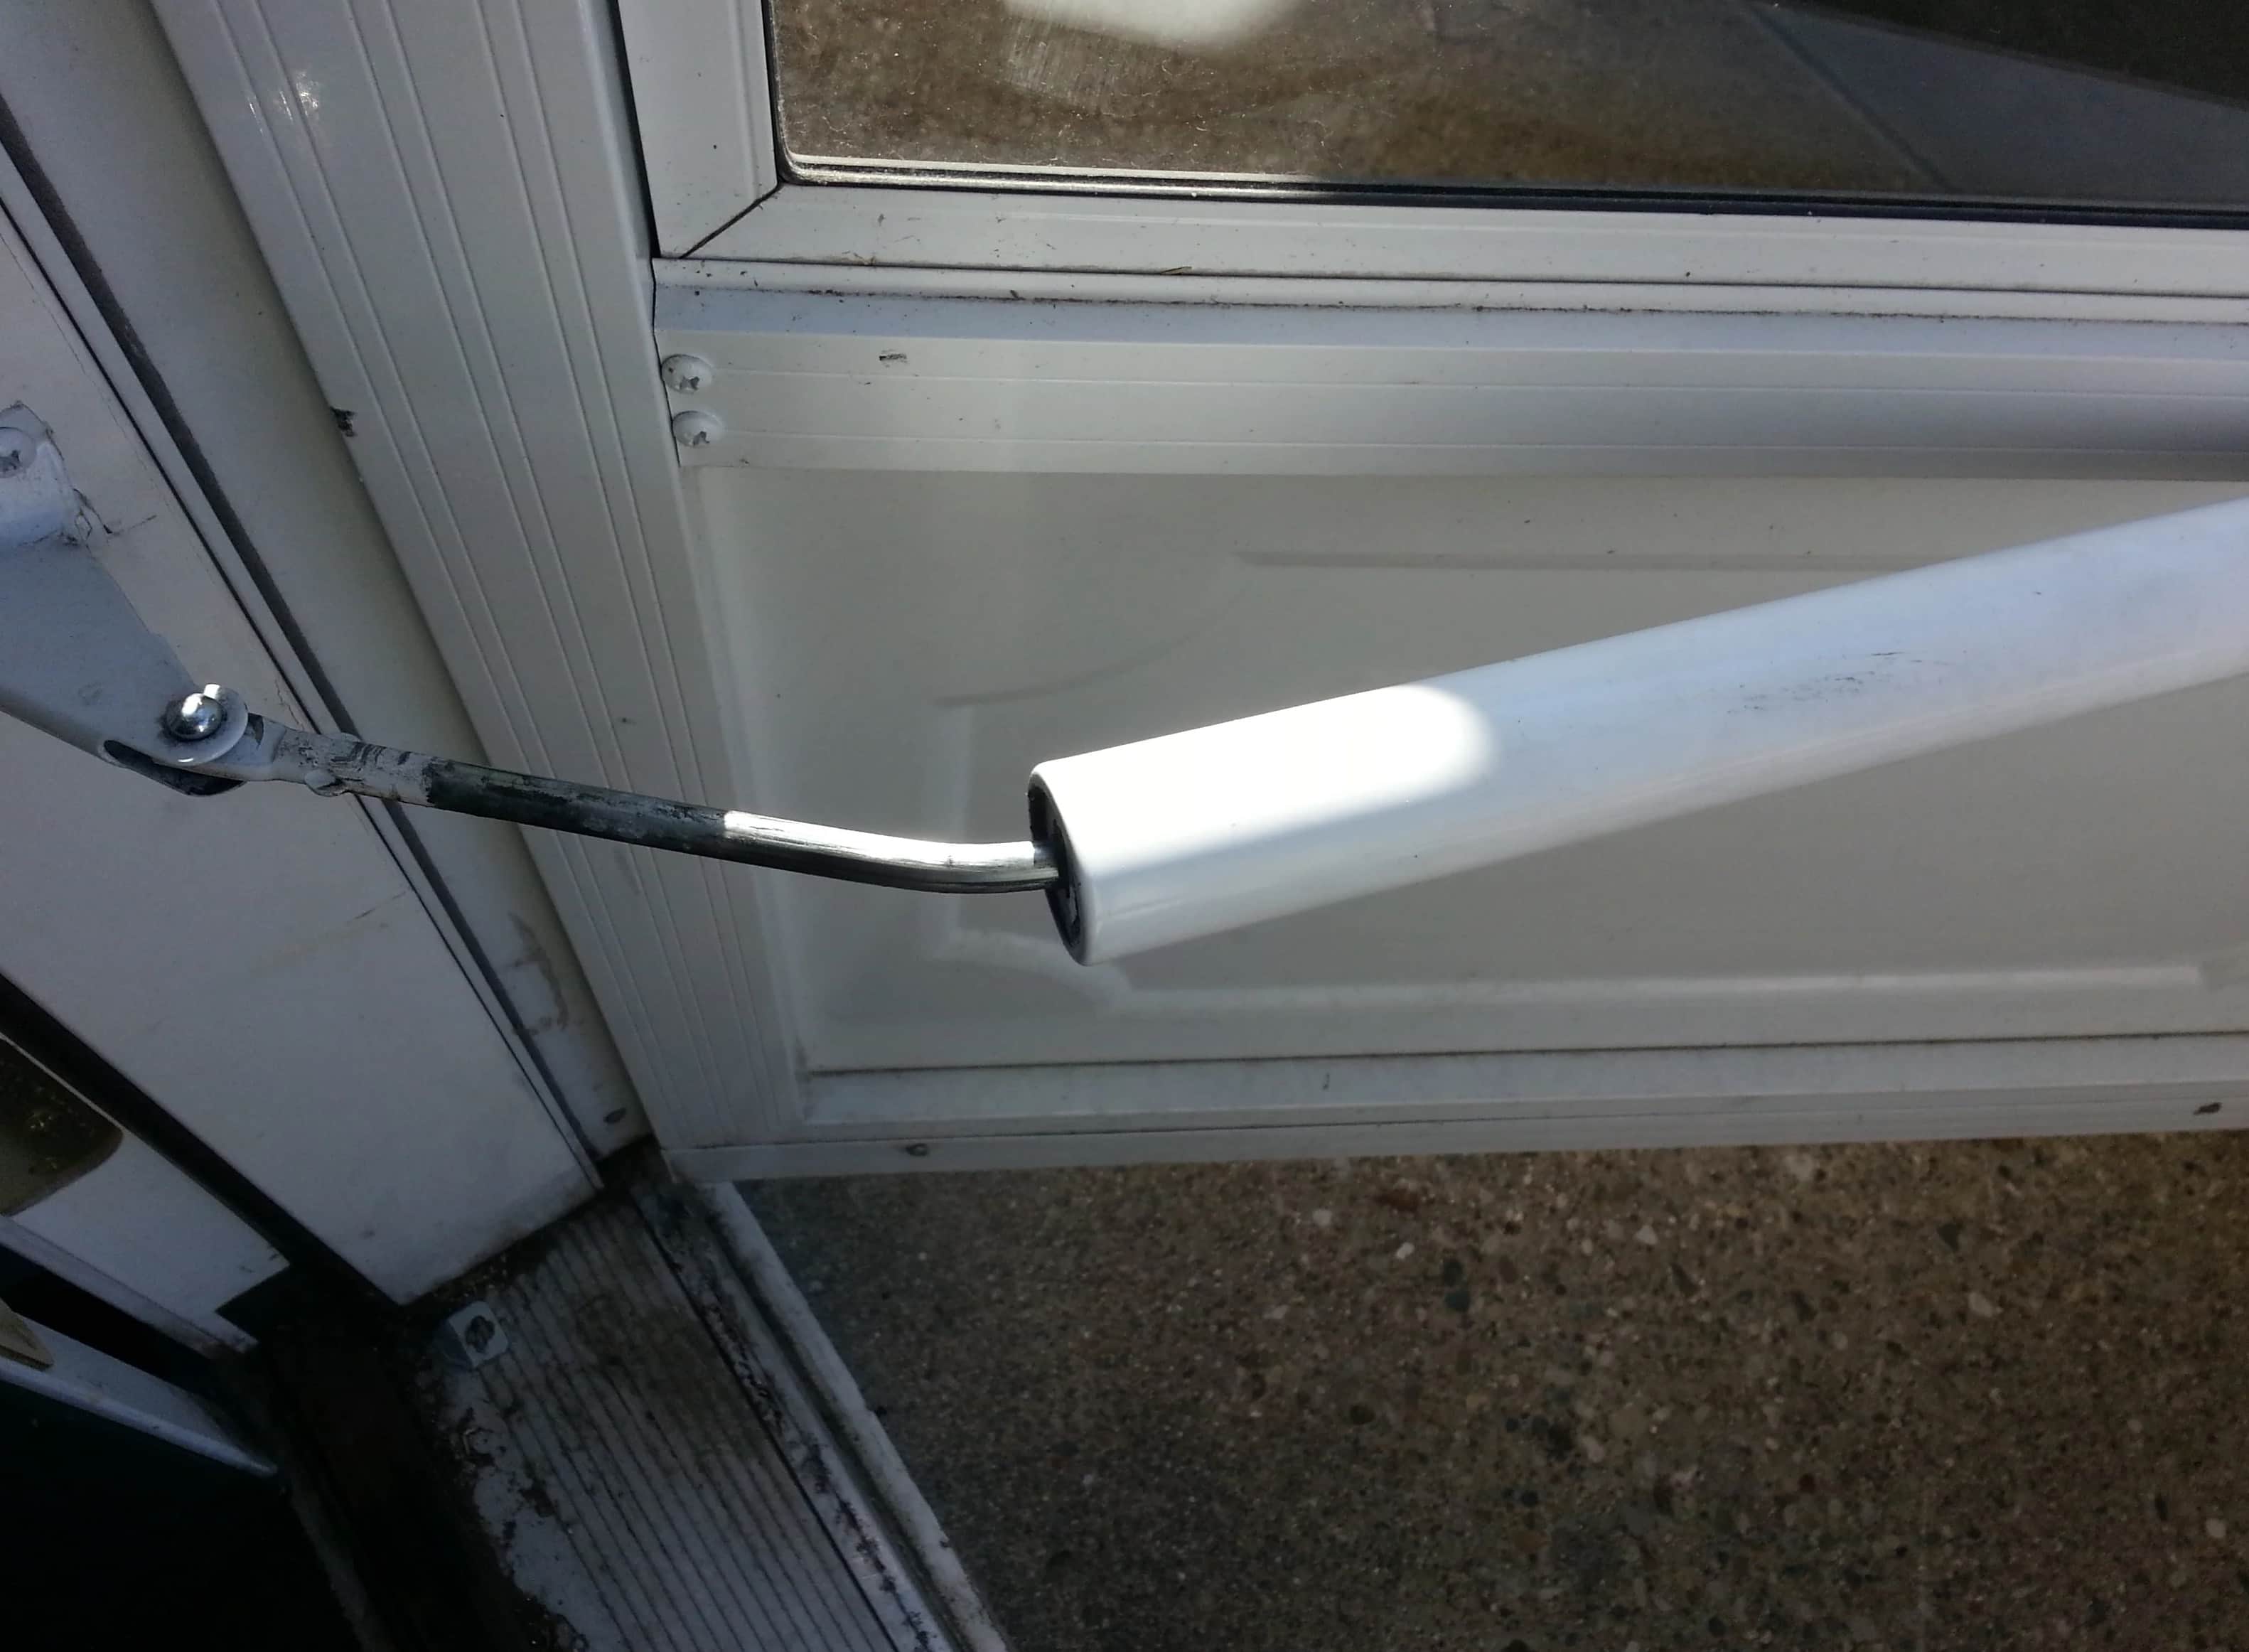
- Identify the Hinge Pins: Locate the hinge pins that hold the storm door in place. These are typically located at the top and bottom of the door, connecting it to the frame.
- Support the Door: While standing on the inside of the door, ask for assistance or use a door support to hold the door in place. This will prevent the door from falling when the hinges are removed.
- Remove the Pins: Using a screwdriver or a suitable tool, carefully tap the hinge pins upward to release them from the hinges. It may be necessary to gently tap the pins with a hammer to loosen them before pulling them out completely.
- Set Aside the Door: Once the hinge pins are removed, carefully lift the storm door off the hinges and set it aside in a safe and secure location. Be mindful of the door’s weight and seek assistance if needed to prevent any accidents or damage.
By following these steps, you will successfully remove the hinges and detach the storm door from the frame, allowing you to proceed with the next phase of the screen removal process. With the door safely removed, you can now focus on accessing and removing the screen from the door frame with ease.
With the hinges removed and the door set aside, you’re ready to move on to the next crucial step in the screen removal process.
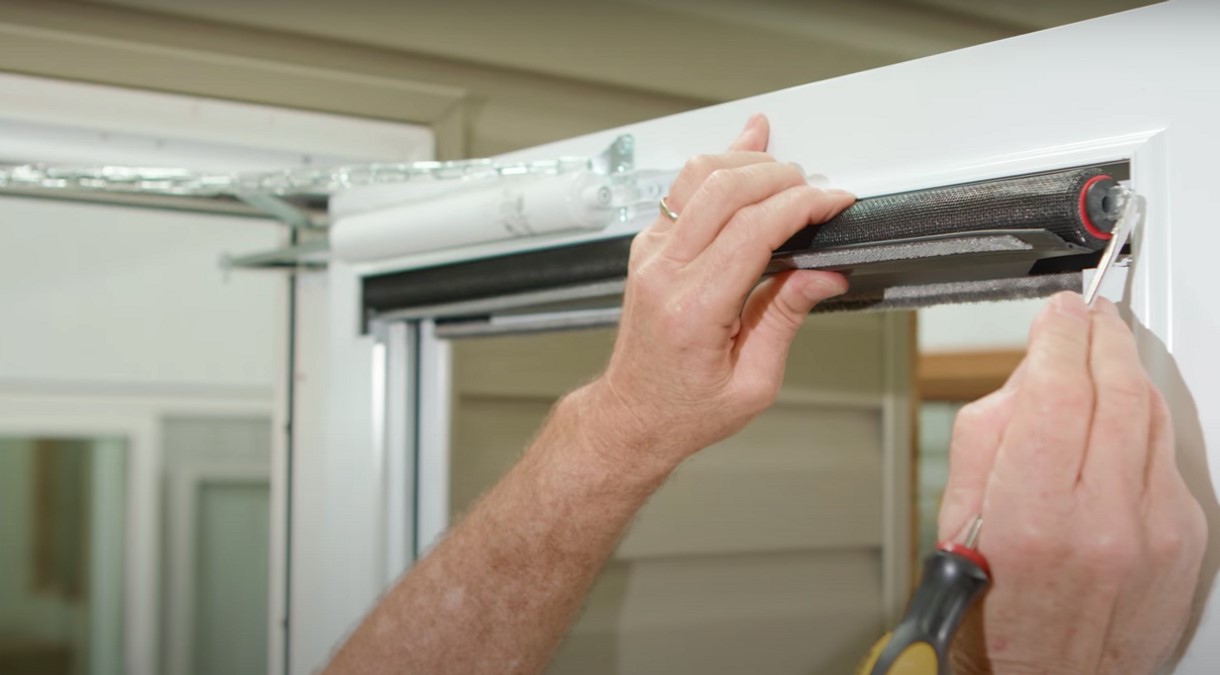
Use a screwdriver to remove the screws holding the screen in place. Once the screws are removed, carefully lift the screen out of the door frame. Be gentle to avoid damaging the screen or door.
Step 3: Remove the Screen
With the storm door safely detached from the frame, the next critical step in the screen removal process is to carefully detach the screen itself. Follow these detailed instructions to ensure a smooth and successful removal:
- Inspect the Screen Frame: Take a close look at the screen frame to identify any screws, staples, or fasteners securing the screen in place. Use a screwdriver or appropriate tool to remove any fasteners holding the screen in position.
- Cut the Screen (If Necessary): In some cases, the screen may be secured using adhesive or sealant. Use a utility knife to carefully cut through any adhesive or sealant, ensuring that the screen can be removed without causing damage to the frame.
- Gently Pry the Screen: Once any fasteners or adhesive are removed, gently pry the screen away from the frame. Take care to avoid bending or damaging the screen during this process, as it may be reused or replaced.
- Remove the Screen: Slowly and methodically work your way around the frame, pulling the screen away as you go. Ensure that the entire screen is detached from the frame before setting it aside for cleaning or replacement.
- Clean the Frame: With the screen removed, take the opportunity to clean the frame thoroughly. Use a vacuum to remove any debris or dirt, followed by a damp cloth to wipe down the frame and ensure it is ready for the next steps.
By following these steps, you will successfully remove the screen from the storm door, allowing you to proceed with any necessary cleaning, maintenance, or replacement. With the screen detached and the frame cleaned, you are ready to move on to the next phase of this home maintenance task.
With the screen removed and the frame cleaned, you’re now prepared to advance to the subsequent steps in the screen removal process.
Read more: How To Remove A Storm Door
Step 4: Clean the Frame
With the screen successfully removed from the storm door, it’s essential to take the time to clean the frame thoroughly. This step is crucial for maintaining the door’s appearance and ensuring that it functions optimally. Follow these detailed instructions to clean the frame effectively:
- Remove Debris: Begin by using a vacuum cleaner to remove any loose debris, dirt, or dust from the frame. Pay close attention to the corners and crevices, ensuring that all accumulated debris is thoroughly vacuumed.
- Wipe Down the Frame: Dampen a clean cloth with a mild soapy solution and wipe down the entire frame. This will help remove any remaining dirt or grime, restoring the frame to a clean and presentable state.
- Inspect for Damage: While cleaning the frame, take the opportunity to inspect it for any signs of damage, wear, or deterioration. Look for dents, scratches, or areas that may require repair or touch-up painting.
- Dry the Frame: Once the frame is thoroughly cleaned, use a dry cloth to wipe away any excess moisture. Ensure that the frame is completely dry before proceeding with the reinstallation of the screen or any further maintenance.
By following these steps, you will effectively clean the frame of the storm door, preparing it for the reinstallation of the screen or any additional maintenance tasks. A clean and well-maintained frame not only enhances the appearance of the door but also contributes to its longevity and functionality.
With the frame cleaned and inspected, you’re now ready to move on to the next phase of the screen removal process, confident in the knowledge that the door is in optimal condition for the next steps.
Step 5: Reinstall the Screen
With the storm door frame cleaned and prepped, it’s time to proceed with the reinstallation of the screen. Whether you are replacing the existing screen or simply reattaching the cleaned screen, this final step is crucial to completing the maintenance process. Follow these detailed instructions to ensure a successful screen reinstallation:
- Prepare the New Screen (If Applicable): If you are installing a new screen, ensure that it is cut to the appropriate size to fit the door frame. Trim the screen material to match the dimensions of the frame, leaving a slight overlap to accommodate the installation process.
- Position the Screen: Carefully position the screen over the frame, ensuring that it is aligned and centered for a proper fit. Take your time to adjust the screen as needed, ensuring that it covers the entire frame adequately.
- Secure the Screen: Using the appropriate fasteners, such as staples or screen spline, secure the screen in place along the edges of the frame. Work methodically around the frame, evenly distributing the tension to ensure a snug and secure fit.
- Trim Excess Screen (If Applicable): If there is excess screen material protruding from the edges of the frame, carefully trim it using a utility knife or scissors. Take care to trim the excess material evenly, leaving a neat and tidy finish.
- Inspect and Test: Once the screen is secured in place, inspect the installation carefully, ensuring that the screen is taut and free of any wrinkles or sagging. Test the door to ensure that it opens and closes smoothly without any obstruction from the newly installed screen.
By following these steps, you will successfully reinstall the screen onto the storm door, completing the maintenance process and ensuring that your door is ready to provide ventilation and protection for your home. A securely installed screen enhances the functionality and visual appeal of the door, contributing to the overall comfort and aesthetics of your living space.
With the screen successfully reinstalled and the door tested for smooth operation, you have completed the screen removal and reinstallation process, accomplishing a crucial home maintenance task with confidence and precision.
Conclusion
Removing the screen from a storm door is a valuable home maintenance task that allows for thorough cleaning, inspection, and potential replacement of the screen material. By following the detailed steps outlined in this guide and utilizing the necessary tools and materials, you can successfully accomplish this undertaking with confidence and precision.
Throughout the process, you’ve learned how to gather the essential tools and materials, remove the hinges to detach the door, carefully remove the screen, clean the frame, and reattach or replace the screen as needed. This comprehensive approach ensures that your storm door remains in optimal condition, providing ventilation and protection for your home.
By taking the time to clean and inspect the frame, you contribute to the longevity and functionality of the door, ensuring that it continues to enhance your home’s appearance and functionality. Whether you’re preparing for the changing seasons or addressing damaged screen material, this maintenance task is a valuable addition to your home improvement repertoire.
With the completion of this process, you have not only achieved a cleaner and well-maintained storm door but also gained valuable experience in DIY home maintenance. By mastering this task, you are better equipped to tackle future home improvement projects with confidence and skill.
Now that you’ve successfully removed, cleaned, and reinstalled the screen in your storm door, take a moment to appreciate the enhanced functionality and refreshed appearance of this essential home feature. Your proactive approach to home maintenance contributes to the overall comfort and appeal of your living space, ensuring that your storm door remains a reliable and attractive asset for years to come.
Frequently Asked Questions about How To Remove Screen From A Storm Door
Was this page helpful?
At Storables.com, we guarantee accurate and reliable information. Our content, validated by Expert Board Contributors, is crafted following stringent Editorial Policies. We're committed to providing you with well-researched, expert-backed insights for all your informational needs.


0 thoughts on “How To Remove Screen From A Storm Door”