Home>Furniture & Design>Kitchen Furniture>How To Build A Lazy Susan Cabinet

Kitchen Furniture
How To Build A Lazy Susan Cabinet
Modified: August 24, 2024
Learn how to optimize your kitchen space with a custom-built lazy susan cabinet. Discover innovative kitchen furniture and design ideas for an efficient and stylish home.
(Many of the links in this article redirect to a specific reviewed product. Your purchase of these products through affiliate links helps to generate commission for Storables.com, at no extra cost. Learn more)
Introduction
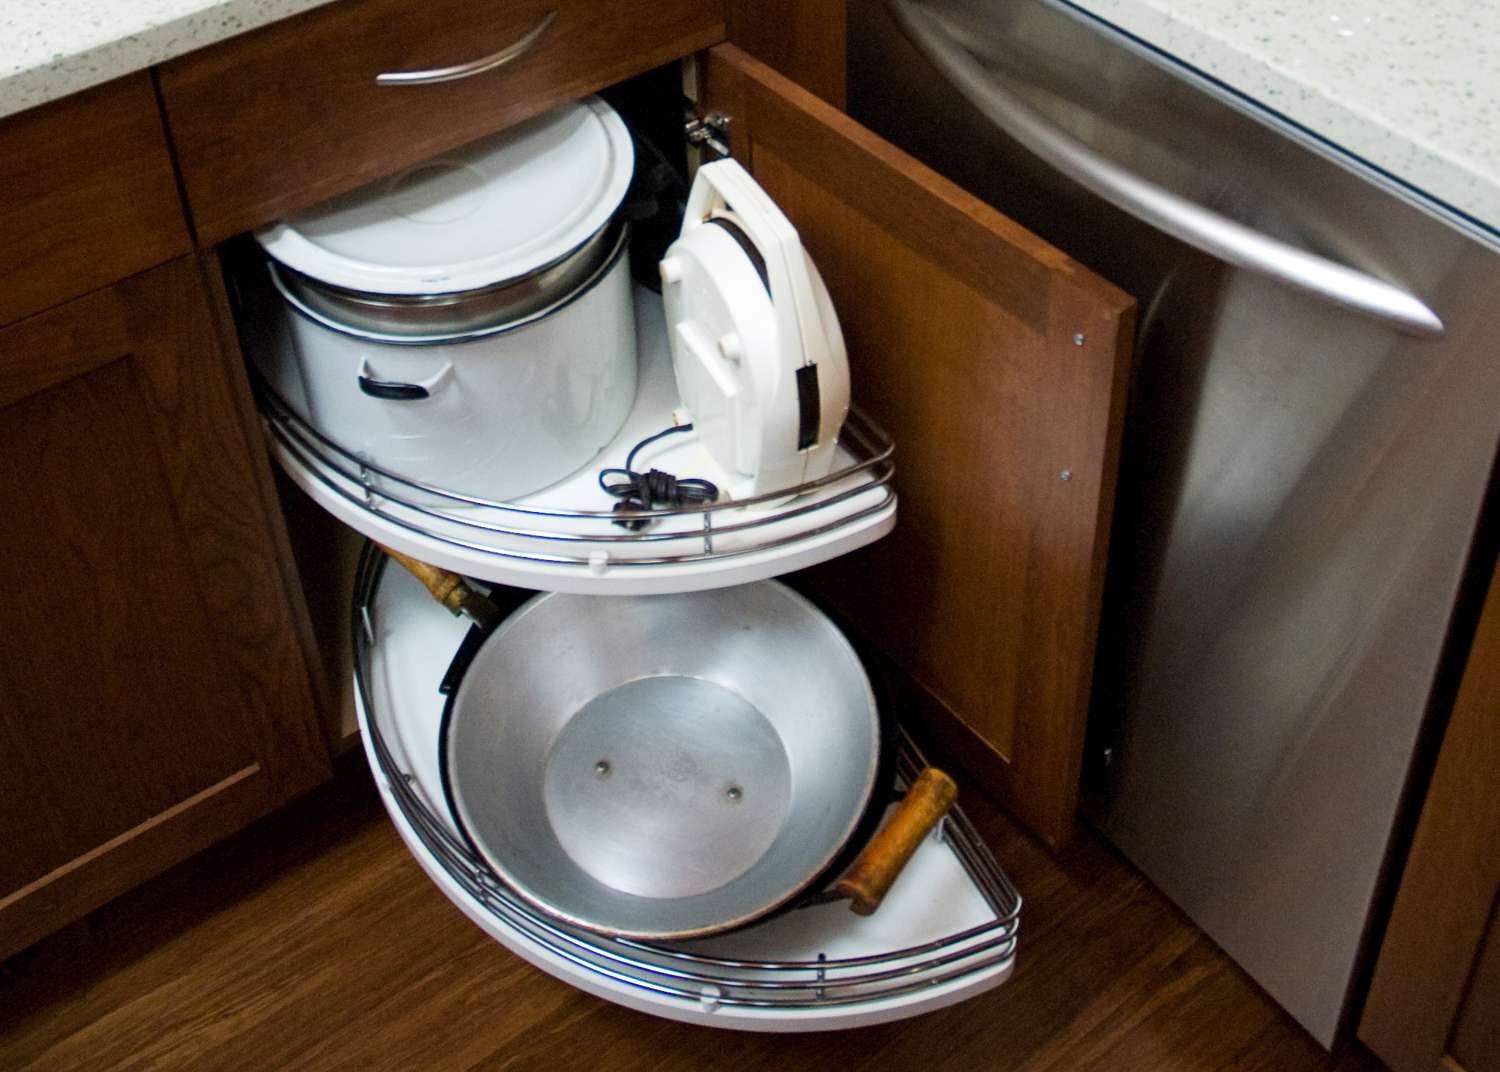
Welcome to the world of kitchen organization! If you've ever struggled to reach items tucked away in the back of your kitchen cabinets, a lazy Susan cabinet might just be the solution you need. This ingenious storage solution allows for easy access to items in the deepest corners of your cabinets, making it a popular choice for maximizing storage and minimizing clutter in the kitchen.
In this guide, we will walk you through the process of building a lazy Susan cabinet, providing you with the knowledge and confidence to tackle this project with ease. Whether you're a seasoned DIY enthusiast or a beginner looking to expand your skills, building a lazy Susan cabinet is a rewarding endeavor that can significantly enhance the functionality of your kitchen space.
By the end of this tutorial, you'll have a comprehensive understanding of the materials and tools needed, as well as a step-by-step walkthrough of the construction process. So, roll up your sleeves, gather your supplies, and let's embark on this exciting journey to create a more organized and efficient kitchen!
Key Takeaways:
- Building a lazy Susan cabinet is a fun and rewarding DIY project that can enhance your kitchen’s organization and accessibility, making meal preparation more enjoyable.
- By carefully measuring, assembling, and testing the lazy Susan hardware, you can create a stylish and functional storage solution that maximizes space and minimizes clutter in your kitchen.
Read more: How Big Is A Lazy Susan Cabinet
Materials Needed
Before diving into the construction of your lazy Susan cabinet, it’s essential to gather all the necessary materials. Here’s a comprehensive list to ensure you have everything on hand:
- 3/4-inch thick plywood or MDF sheets
- Lazy Susan hardware kit (including a rotating mechanism and shelf supports)
- Wood screws
- Wood glue
- Sandpaper (medium and fine grit)
- Primer
- Paint or stain
- Protective finish (polyurethane or varnish)
- Painter’s tape
- Newspaper or drop cloth for painting
- Cabinet door and hinges (if creating a full cabinet)
These materials will form the foundation of your lazy Susan cabinet, ensuring that you have everything required to complete the project successfully. Now that you have your materials ready, it’s time to move on to the tools needed for the construction process.
Tools Needed
Equipping yourself with the right tools is crucial for the efficient and precise construction of a lazy Susan cabinet. Here’s a list of essential tools that you’ll need for this project:
- Measuring tape
- Circular saw or table saw
- Electric drill
- Countersink bit
- Screwdriver
- Clamps
- Sandpaper block or orbital sander
- Paintbrushes or foam rollers
- Safety goggles
- Protective gloves
These tools will enable you to accurately measure, cut, assemble, and finish your lazy Susan cabinet with precision and finesse. As you gather your materials and tools, you’re one step closer to transforming your kitchen storage with a functional and stylish lazy Susan cabinet.
Step 1: Measure and Cut the Shelves
Before diving into the construction process, it’s crucial to start with accurate measurements to ensure that your lazy Susan cabinet fits seamlessly into your kitchen space. Follow these steps to measure and cut the shelves for your cabinet:
- Measure the Cabinet Space: Begin by measuring the inside dimensions of the cabinet where the lazy Susan will be installed. Take precise measurements of the width and depth, accounting for any obstructions such as hinges or other hardware.
- Calculate Shelf Sizes: Based on your measurements, calculate the shelf sizes needed for the lazy Susan. The shelves will typically be circular or pie-shaped to fit the cabinet’s corner space. Ensure that the shelves are slightly smaller than the cabinet’s interior dimensions to allow for smooth rotation.
- Cut the Shelves: Using a circular saw or table saw, carefully cut the plywood or MDF sheets to create the circular or pie-shaped shelves. Double-check your measurements before making any cuts to ensure precision.
- Sand the Edges: After cutting the shelves, use medium and fine-grit sandpaper to smooth the edges and remove any splinters. This step is essential for creating clean and safe surfaces for your lazy Susan shelves.
By meticulously measuring and cutting the shelves, you’ll set the stage for a seamless and well-fitted lazy Susan cabinet. With this crucial step complete, you’re ready to move on to assembling the lazy Susan hardware, bringing your vision of an organized and accessible kitchen storage solution closer to reality.
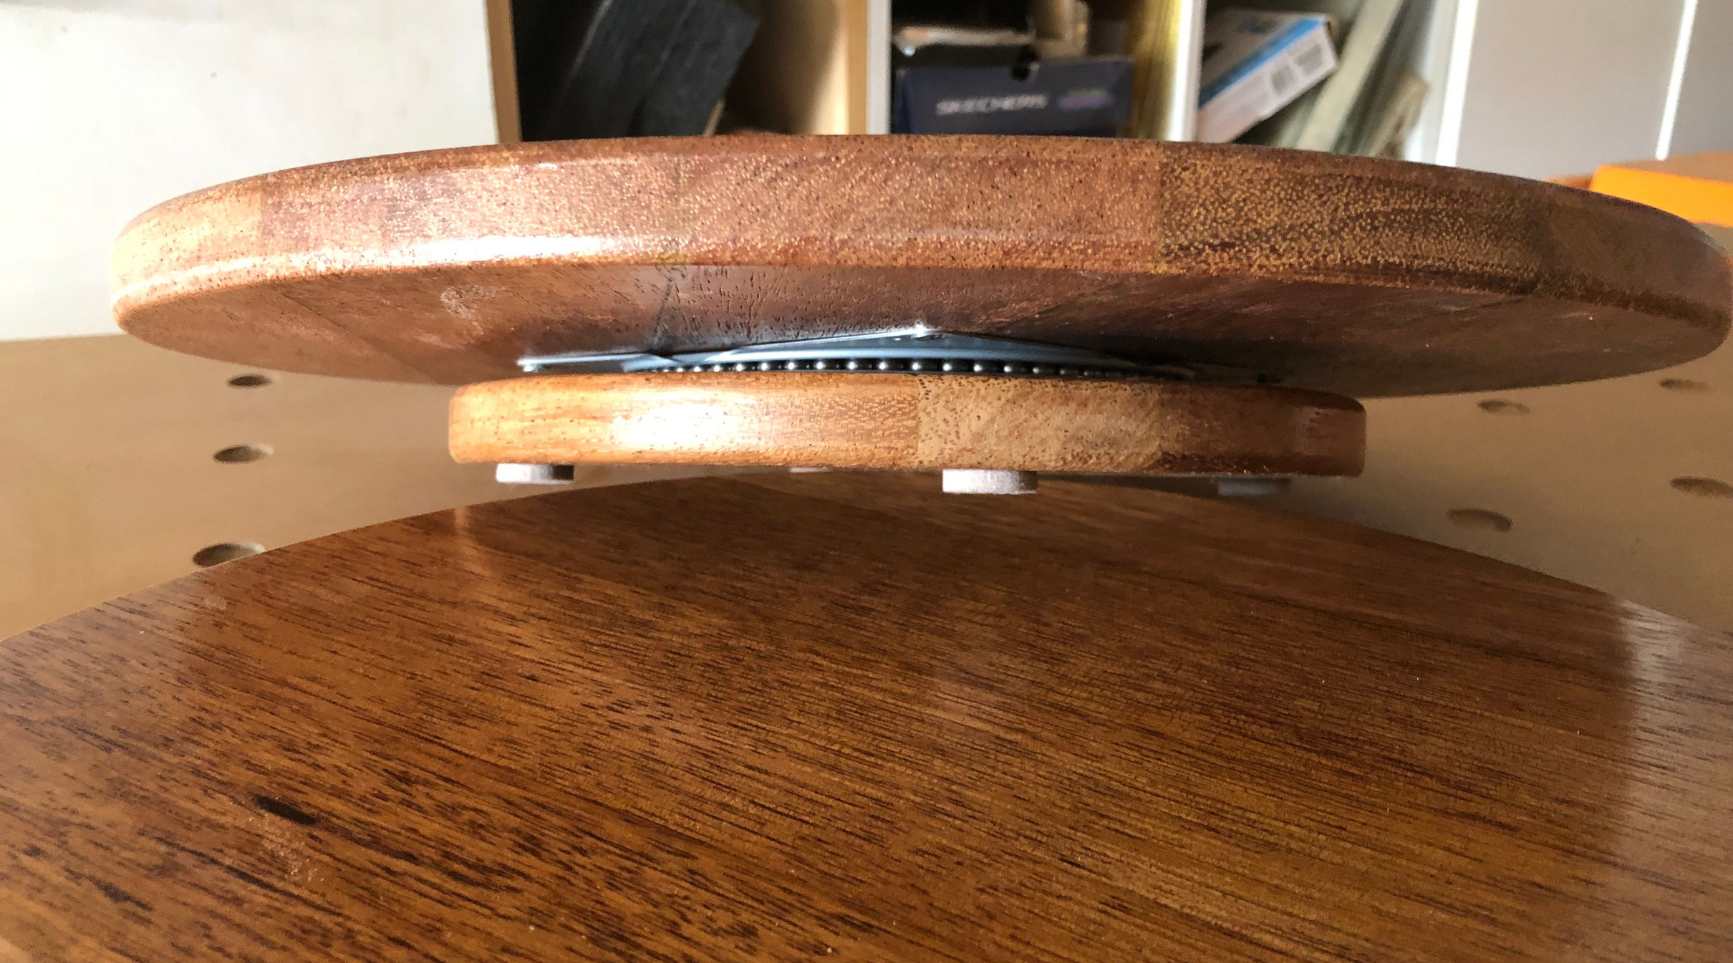
Step 2: Assemble the Lazy Susan Hardware
Assembling the lazy Susan hardware is a pivotal step in bringing your cabinet to life. This hardware is designed to facilitate smooth rotation and accessibility within the cabinet, making it an essential component of the project. Follow these steps to assemble the lazy Susan hardware:
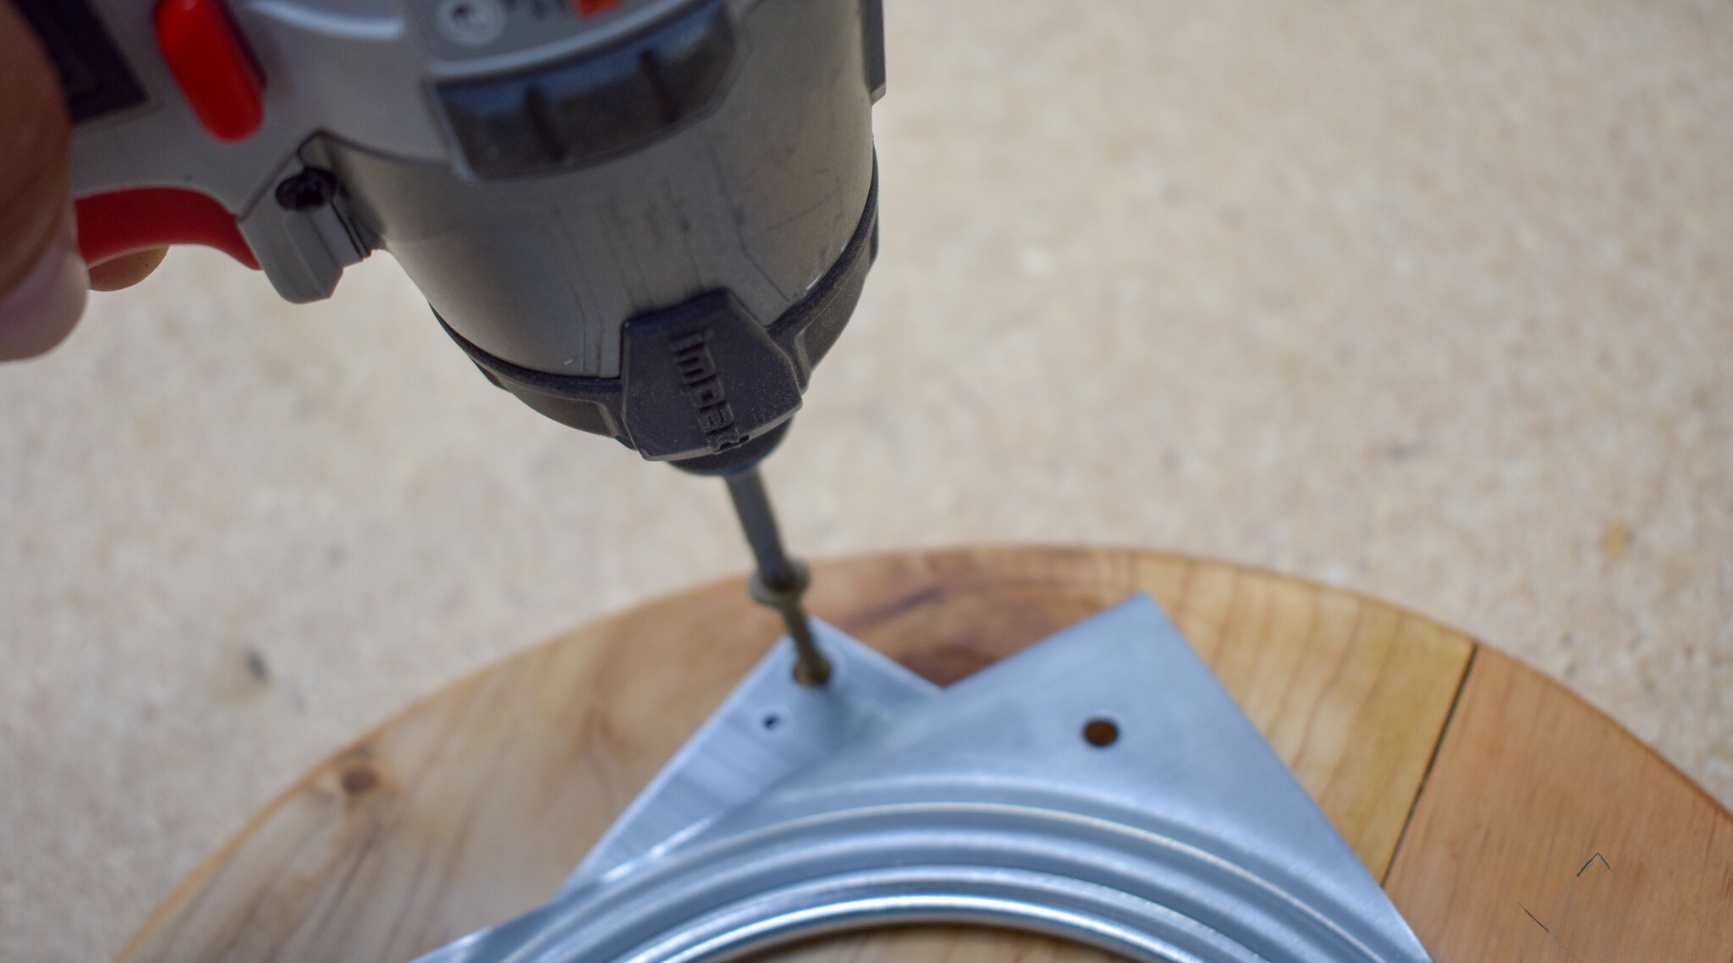
- Prepare the Rotating Mechanism: Begin by unpacking the lazy Susan hardware kit and familiarizing yourself with its components. The rotating mechanism typically consists of a base plate, a swivel bearing, and attaching hardware. Ensure that all parts are included and in good condition.
- Attach the Swivel Bearing: Position the swivel bearing at the center of the bottom shelf, following the manufacturer’s instructions. Use wood screws to secure the swivel bearing to the shelf, ensuring that it is centered and level for optimal performance.
- Install Shelf Supports: Depending on the design of your lazy Susan hardware, install the shelf supports or brackets onto the cabinet walls. These supports will hold the shelves in place while allowing them to rotate smoothly. Follow the provided instructions for precise installation.
- Test the Rotation: Once the hardware is assembled, place the shelves onto the swivel bearing and test the rotation. Ensure that the shelves move smoothly and without obstruction. Make any necessary adjustments to the hardware to guarantee seamless rotation.
By carefully assembling the lazy Susan hardware, you’re setting the stage for a functional and efficient storage solution in your kitchen. With the hardware in place, you’re now ready to move on to the next step: installing the lazy Susan shelves within the cabinet.
When building a lazy susan cabinet, make sure to measure the space accurately to ensure a proper fit. Also, use quality materials to ensure durability and smooth rotation.
Read more: How To Install Lazy Susan Cabinet
Step 3: Install the Lazy Susan Shelves
With the lazy Susan hardware assembled, it’s time to install the shelves within the cabinet. This step brings your project one step closer to fruition, providing a functional and organized storage solution for your kitchen. Follow these steps to install the lazy Susan shelves:
- Position the Bottom Shelf: Place the bottom shelf, which is equipped with the swivel bearing, at the base of the cabinet. Ensure that it is centered and level, resting securely on the shelf supports or brackets installed in the previous step.
- Add Additional Shelves: If your lazy Susan cabinet includes multiple rotating shelves, carefully position and stack them on top of the bottom shelf. Ensure that each shelf rests securely on the swivel bearing and aligns with the shelf supports to facilitate smooth rotation.
- Secure the Shelves: Once the shelves are positioned correctly, use wood screws to secure them to the swivel bearing. This step ensures that the shelves remain stable and rotate as a cohesive unit within the cabinet.
- Test the Rotation: After securing the shelves, test the rotation to ensure that they move smoothly and without resistance. Verify that the shelves are properly aligned and that there are no obstructions hindering their movement.
With the lazy Susan shelves installed, your cabinet is taking shape as a versatile and accessible storage solution. The careful positioning and securing of the shelves set the stage for the final steps of attaching the lazy Susan to the cabinet and ensuring its optimal functionality.
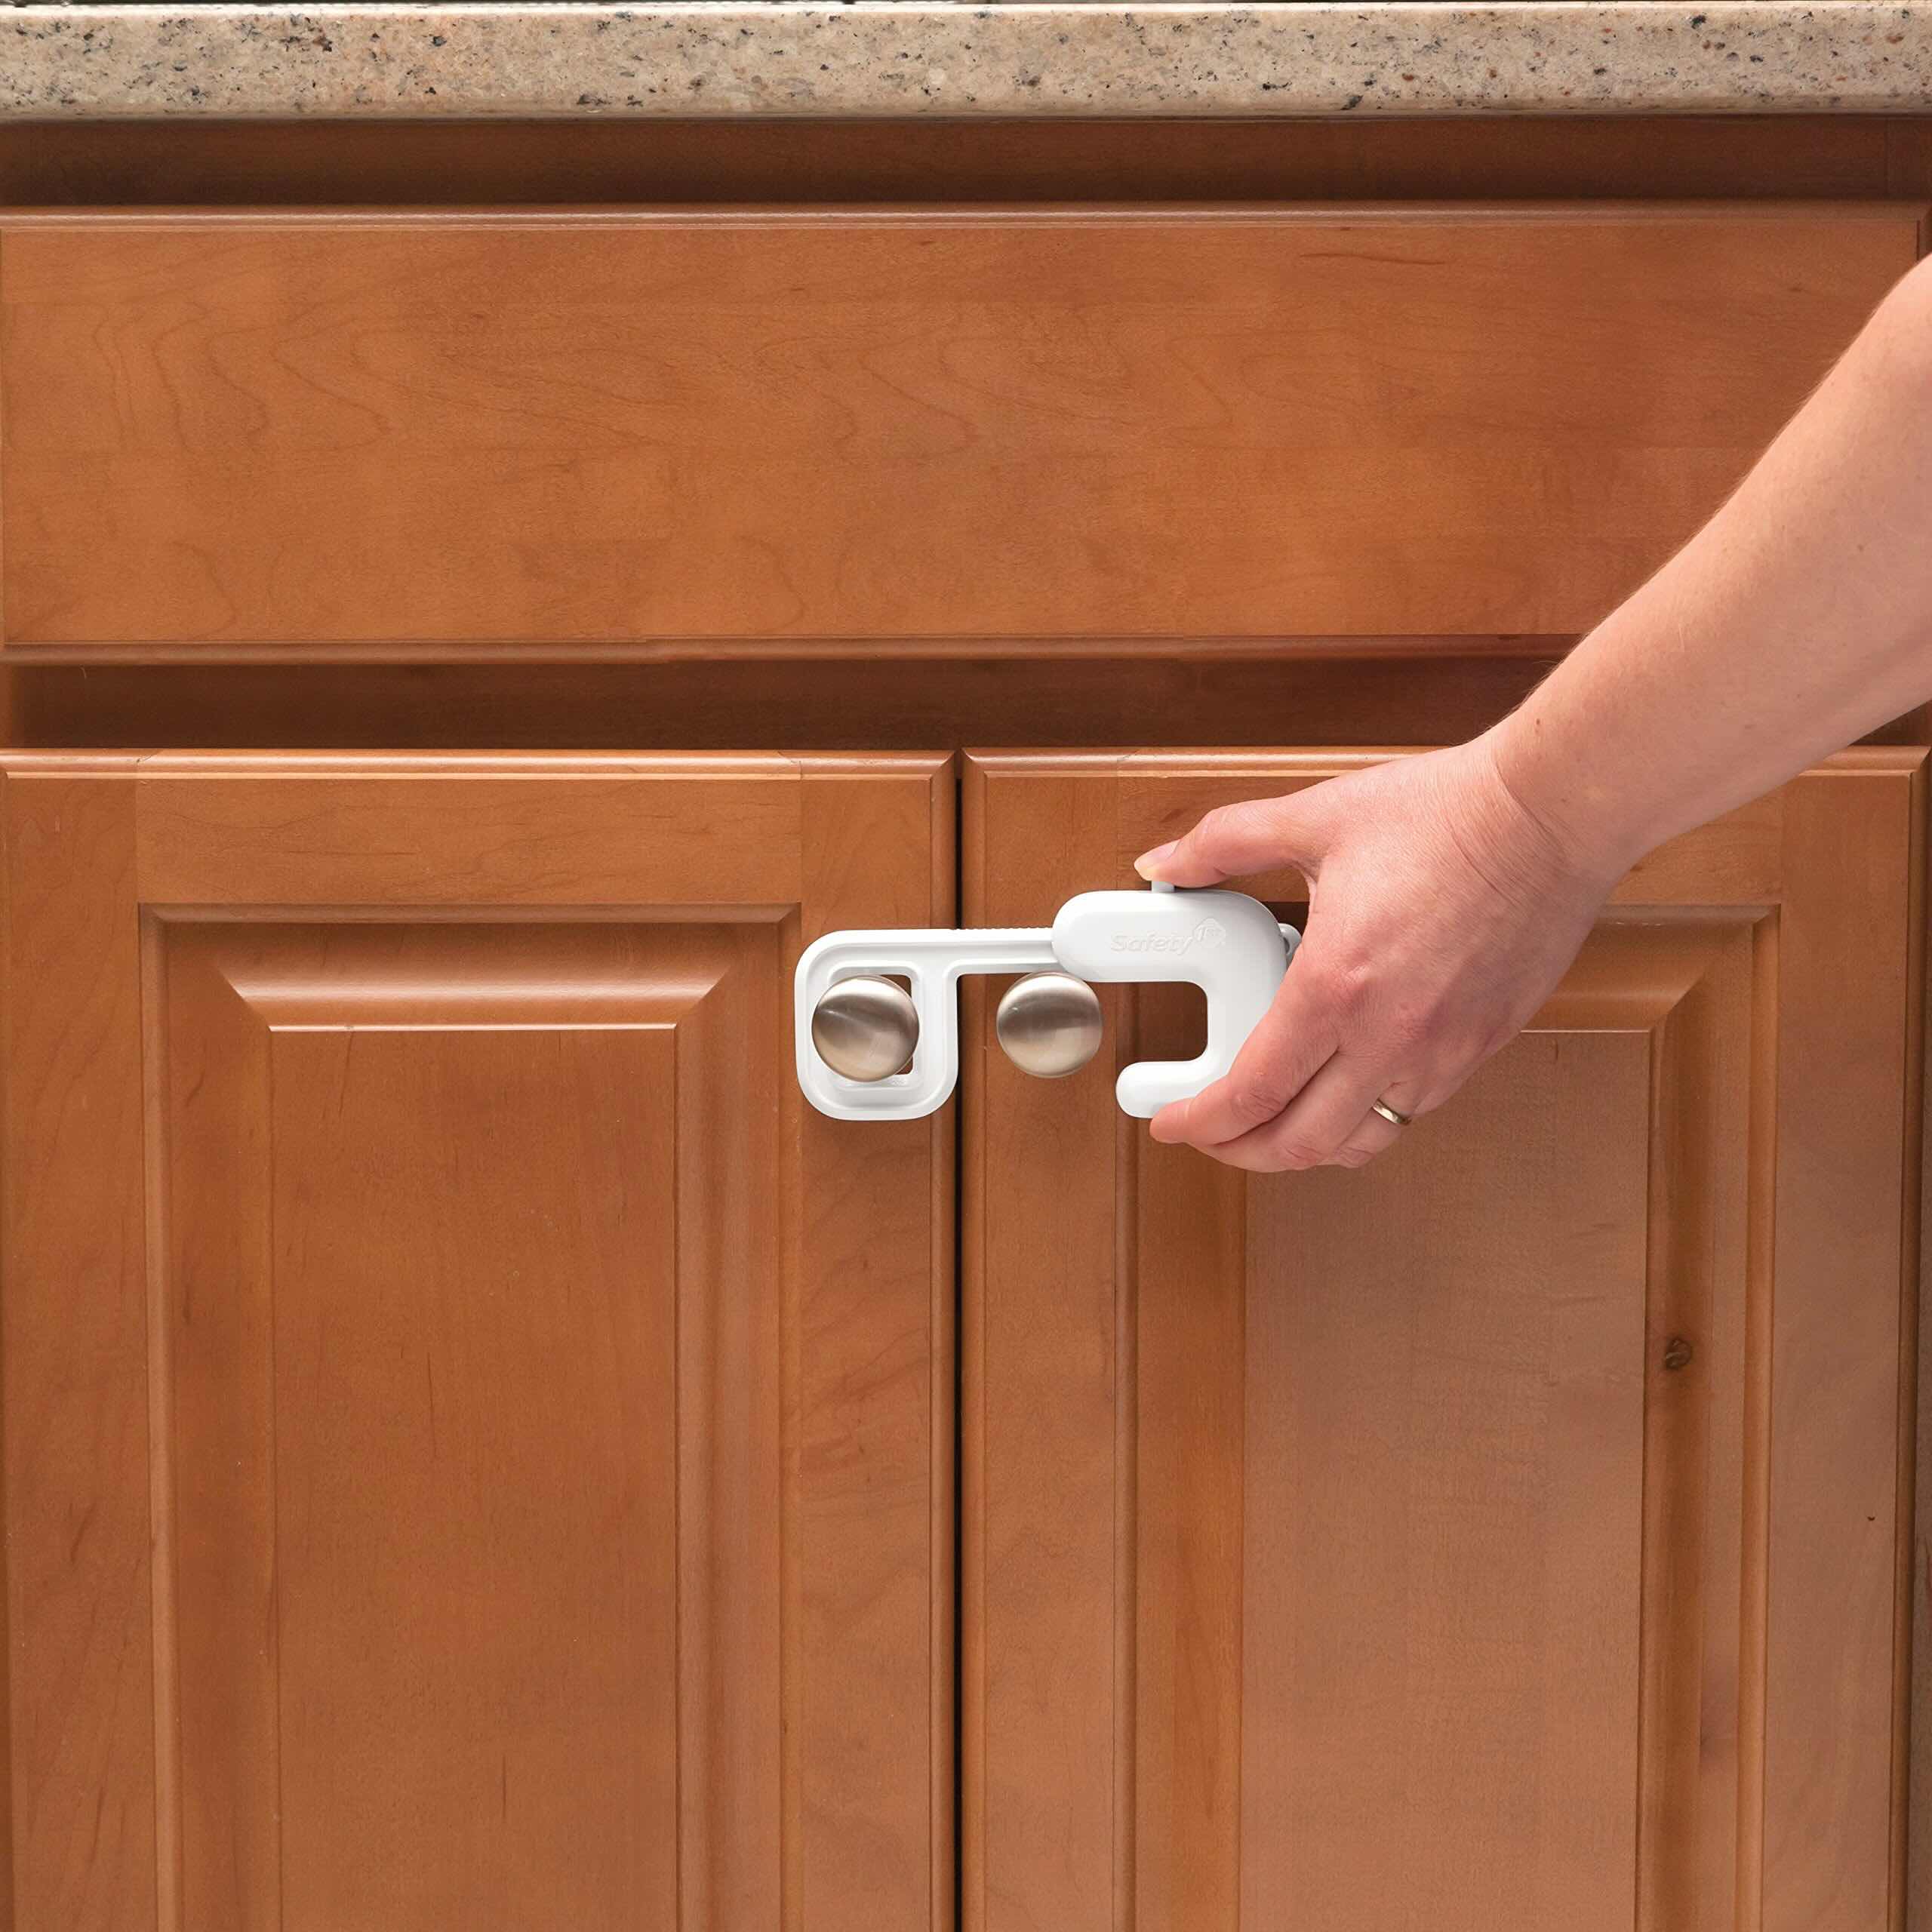
Step 4: Attach the Lazy Susan to the Cabinet
As you near the completion of your lazy Susan cabinet project, it’s time to secure the rotating mechanism within the cabinet, ensuring stability and functionality. Follow these steps to attach the lazy Susan to the cabinet:
- Position the Lazy Susan: Carefully lift the assembled lazy Susan, complete with shelves and hardware, and position it within the designated cabinet space. Ensure that it is centered and aligned with the cabinet’s interior walls, allowing for smooth rotation without any obstructions.
- Secure the Base Plate: Using wood screws, secure the base plate of the rotating mechanism to the base of the cabinet. Ensure that the base plate is firmly attached, providing a stable foundation for the lazy Susan to rotate upon.
- Check for Level and Stability: Once the lazy Susan is secured, check for levelness and stability. Gently rotate the shelves to confirm that they move freely and without wobbling. Make any necessary adjustments to ensure a stable and balanced installation.
- Attach the Cabinet Door (If Applicable): If your lazy Susan cabinet includes a door, attach the door to the cabinet using hinges. Ensure that the door opens and closes smoothly, providing easy access to the rotating shelves within.
By attaching the lazy Susan to the cabinet, you’re bringing the project to its final stages, setting the foundation for a fully functional and seamlessly integrated storage solution in your kitchen. With the hardware securely in place, it’s time to move on to the final step: testing and adjusting the lazy Susan to ensure optimal performance.
Step 5: Test and Adjust the Lazy Susan
As the construction of your lazy Susan cabinet nears completion, it’s essential to thoroughly test and fine-tune the functionality of the rotating shelves. This step ensures that your cabinet operates smoothly and efficiently, providing easy access to items stored within. Follow these steps to test and adjust the lazy Susan:
- Test Rotation and Accessibility: Rotate the shelves within the cabinet to ensure that they move smoothly and without resistance. Test the accessibility of items stored on the shelves, confirming that the lazy Susan provides convenient access to all stored items, even those tucked in the farthest corners of the cabinet.
- Make Necessary Adjustments: If you encounter any issues with the rotation or stability of the lazy Susan, make the necessary adjustments. This may include tightening screws, realigning shelves, or addressing any obstructions that hinder smooth rotation.
- Apply Protective Finish (Optional): If desired, apply a protective finish such as polyurethane or varnish to the shelves and cabinet interior. This step adds durability and enhances the visual appeal of your newly constructed lazy Susan cabinet.
- Celebrate Your Achievement: Once you’re satisfied with the functionality and appearance of your lazy Susan cabinet, take a moment to celebrate your achievement. Admire the organized and efficient storage solution you’ve created, knowing that it will bring convenience and order to your kitchen for years to come.
By thoroughly testing and adjusting the lazy Susan, you’re ensuring that it operates at its best, providing a seamless and user-friendly storage solution in your kitchen. With the final adjustments made, your journey to build a lazy Susan cabinet is complete, and you can revel in the satisfaction of a successful DIY project.
Conclusion
Congratulations on successfully completing the construction of your very own lazy Susan cabinet! By embarking on this DIY endeavor, you’ve not only added a practical and efficient storage solution to your kitchen but also honed your woodworking skills and creativity. As you stand back and admire your newly constructed cabinet, it’s evident that the effort and attention to detail have resulted in a functional and stylish addition to your home.
With the careful selection of materials, precise measurements, and strategic assembly of the lazy Susan hardware, you’ve transformed a corner of your kitchen into a space that is both organized and easily accessible. The seamless rotation of the shelves and the thoughtful integration of the cabinet door, if applicable, exemplify the meticulous craftsmanship that went into this project.
As you use your new lazy Susan cabinet, take pride in the fact that you’ve not only built a piece of furniture but also created a solution that enhances the daily functionality of your kitchen. The ability to effortlessly access items stored within the cabinet, even those tucked away in the deepest corners, reflects the ingenuity and practicality of this storage solution.
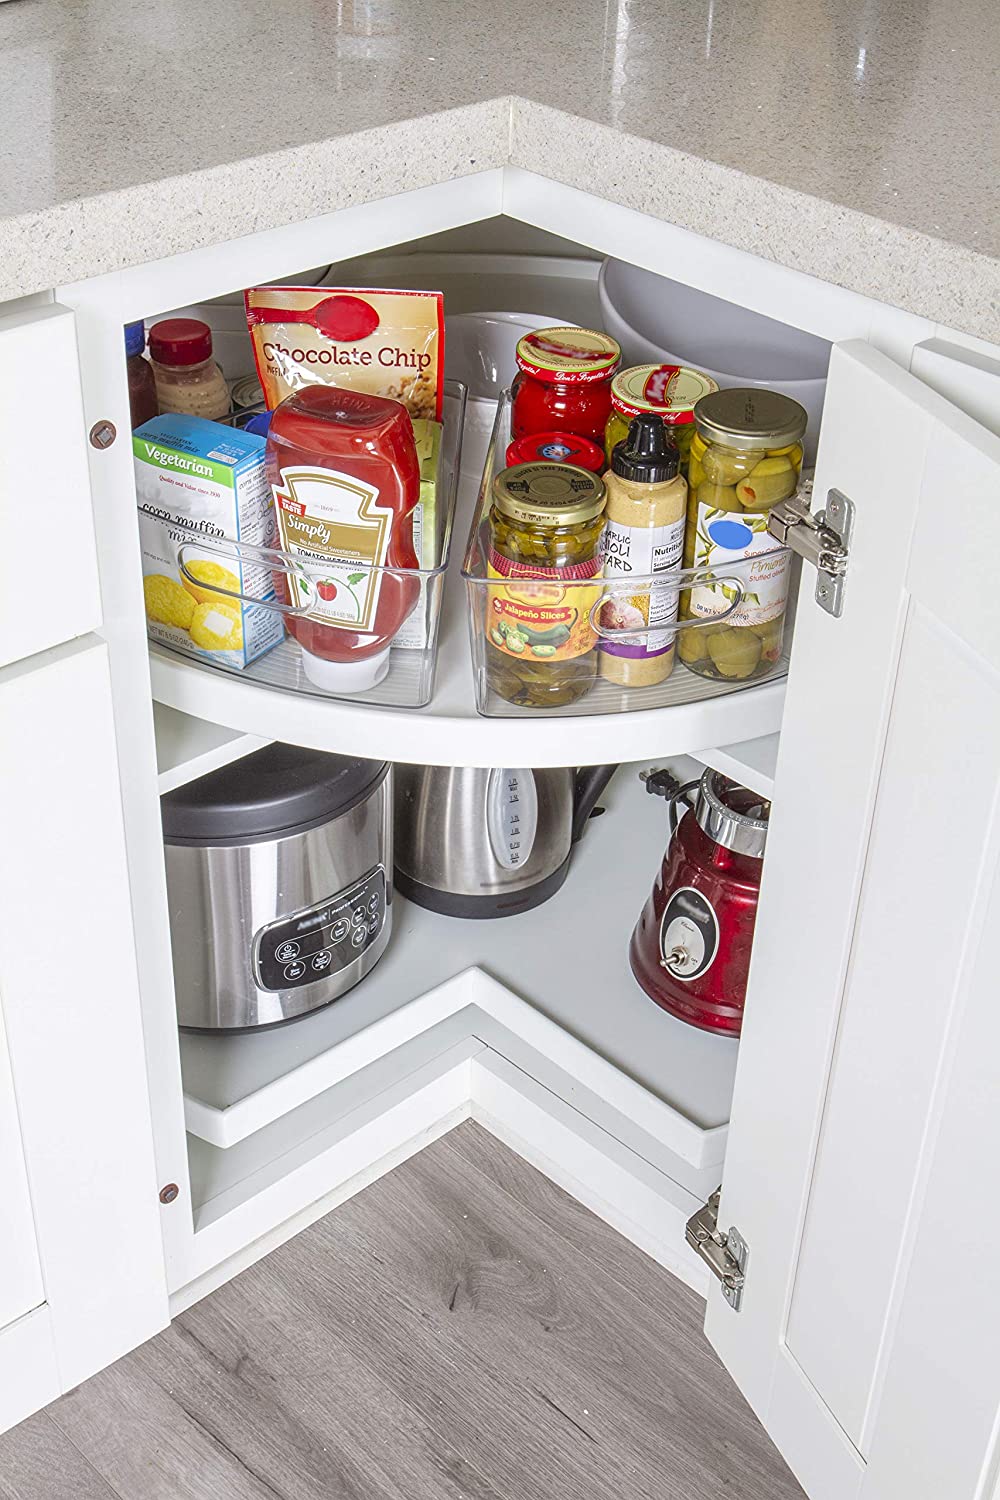
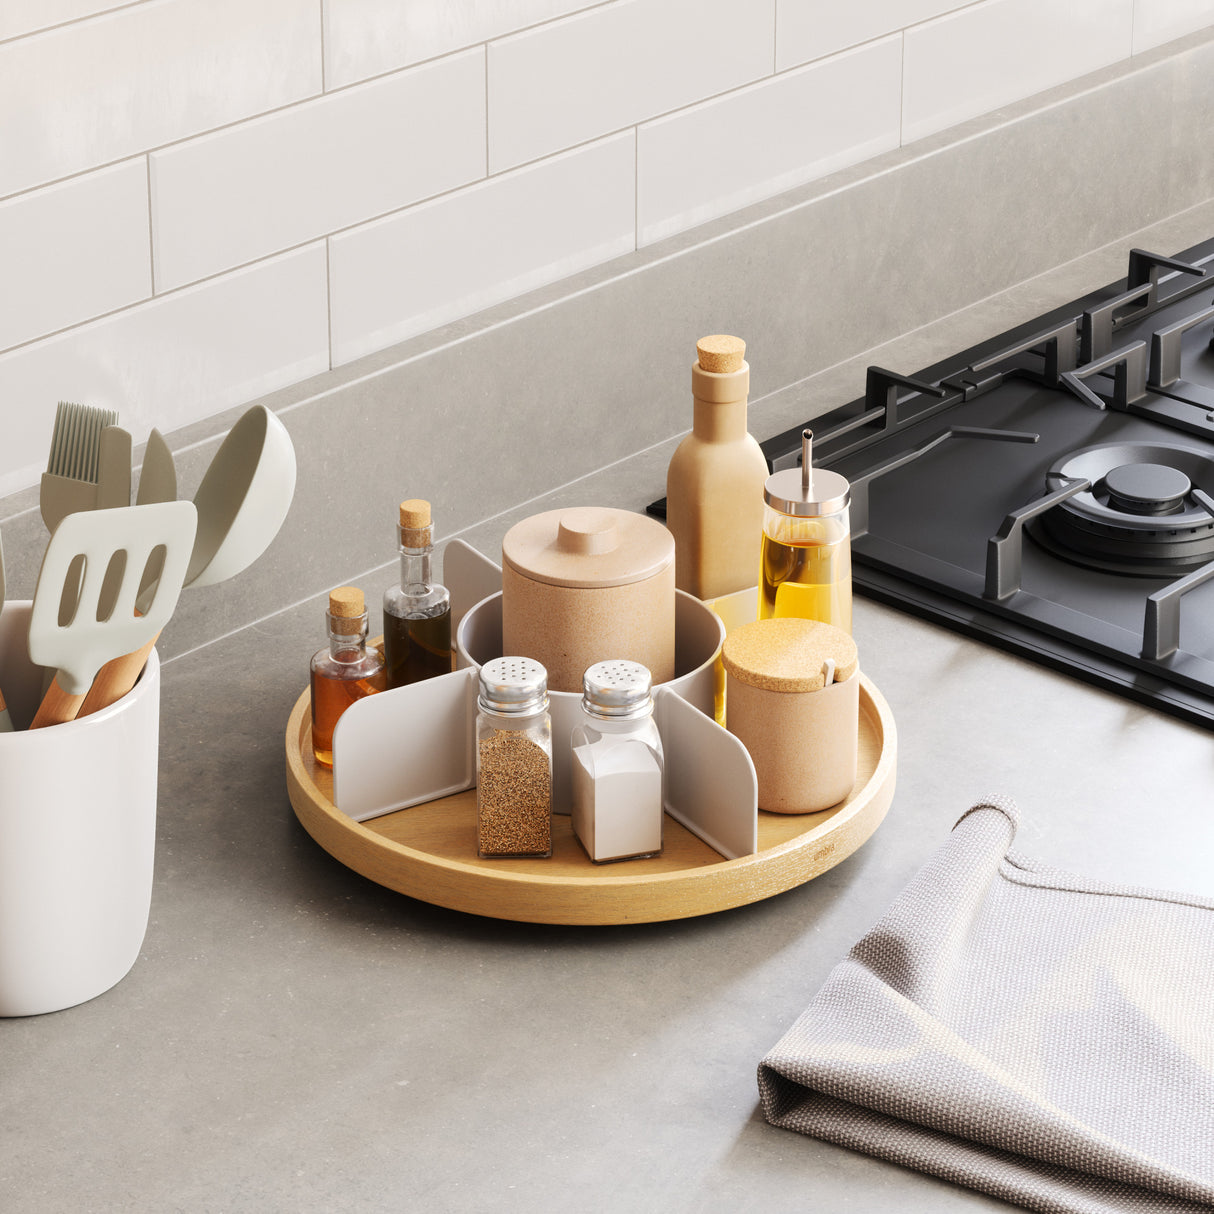
Whether you’re storing spices, condiments, or cookware, the convenience and efficiency of the lazy Susan cabinet will undoubtedly streamline your kitchen activities, making meal preparation and cooking a more enjoyable experience. The smooth rotation of the shelves, coupled with the stability and durability of the cabinet, exemplify the attention to detail and craftsmanship that define this DIY project.
As you bask in the satisfaction of a job well done, remember that your newly constructed lazy Susan cabinet is a testament to your creativity, resourcefulness, and dedication to enhancing your living space. It’s a tangible representation of your ability to transform raw materials into a functional and aesthetically pleasing piece of furniture.
So, as you enjoy the seamless rotation and easy access provided by your new lazy Susan cabinet, take a moment to appreciate the craftsmanship and practicality that have merged to create a truly remarkable addition to your kitchen. Your DIY journey has culminated in a storage solution that embodies both functionality and style, enriching your home and daily life in a meaningful way.
Frequently Asked Questions about How To Build A Lazy Susan Cabinet
Was this page helpful?
At Storables.com, we guarantee accurate and reliable information. Our content, validated by Expert Board Contributors, is crafted following stringent Editorial Policies. We're committed to providing you with well-researched, expert-backed insights for all your informational needs.


0 thoughts on “How To Build A Lazy Susan Cabinet”