Home>Furniture & Design>Kitchen Furniture>How To Measure A Lazy Susan
Kitchen Furniture
How To Measure A Lazy Susan
Modified: January 25, 2024
Learn how to properly measure a Lazy Susan for your kitchen furniture and design needs. Get expert tips and advice for a perfect fit.
(Many of the links in this article redirect to a specific reviewed product. Your purchase of these products through affiliate links helps to generate commission for Storables.com, at no extra cost. Learn more)
Introduction
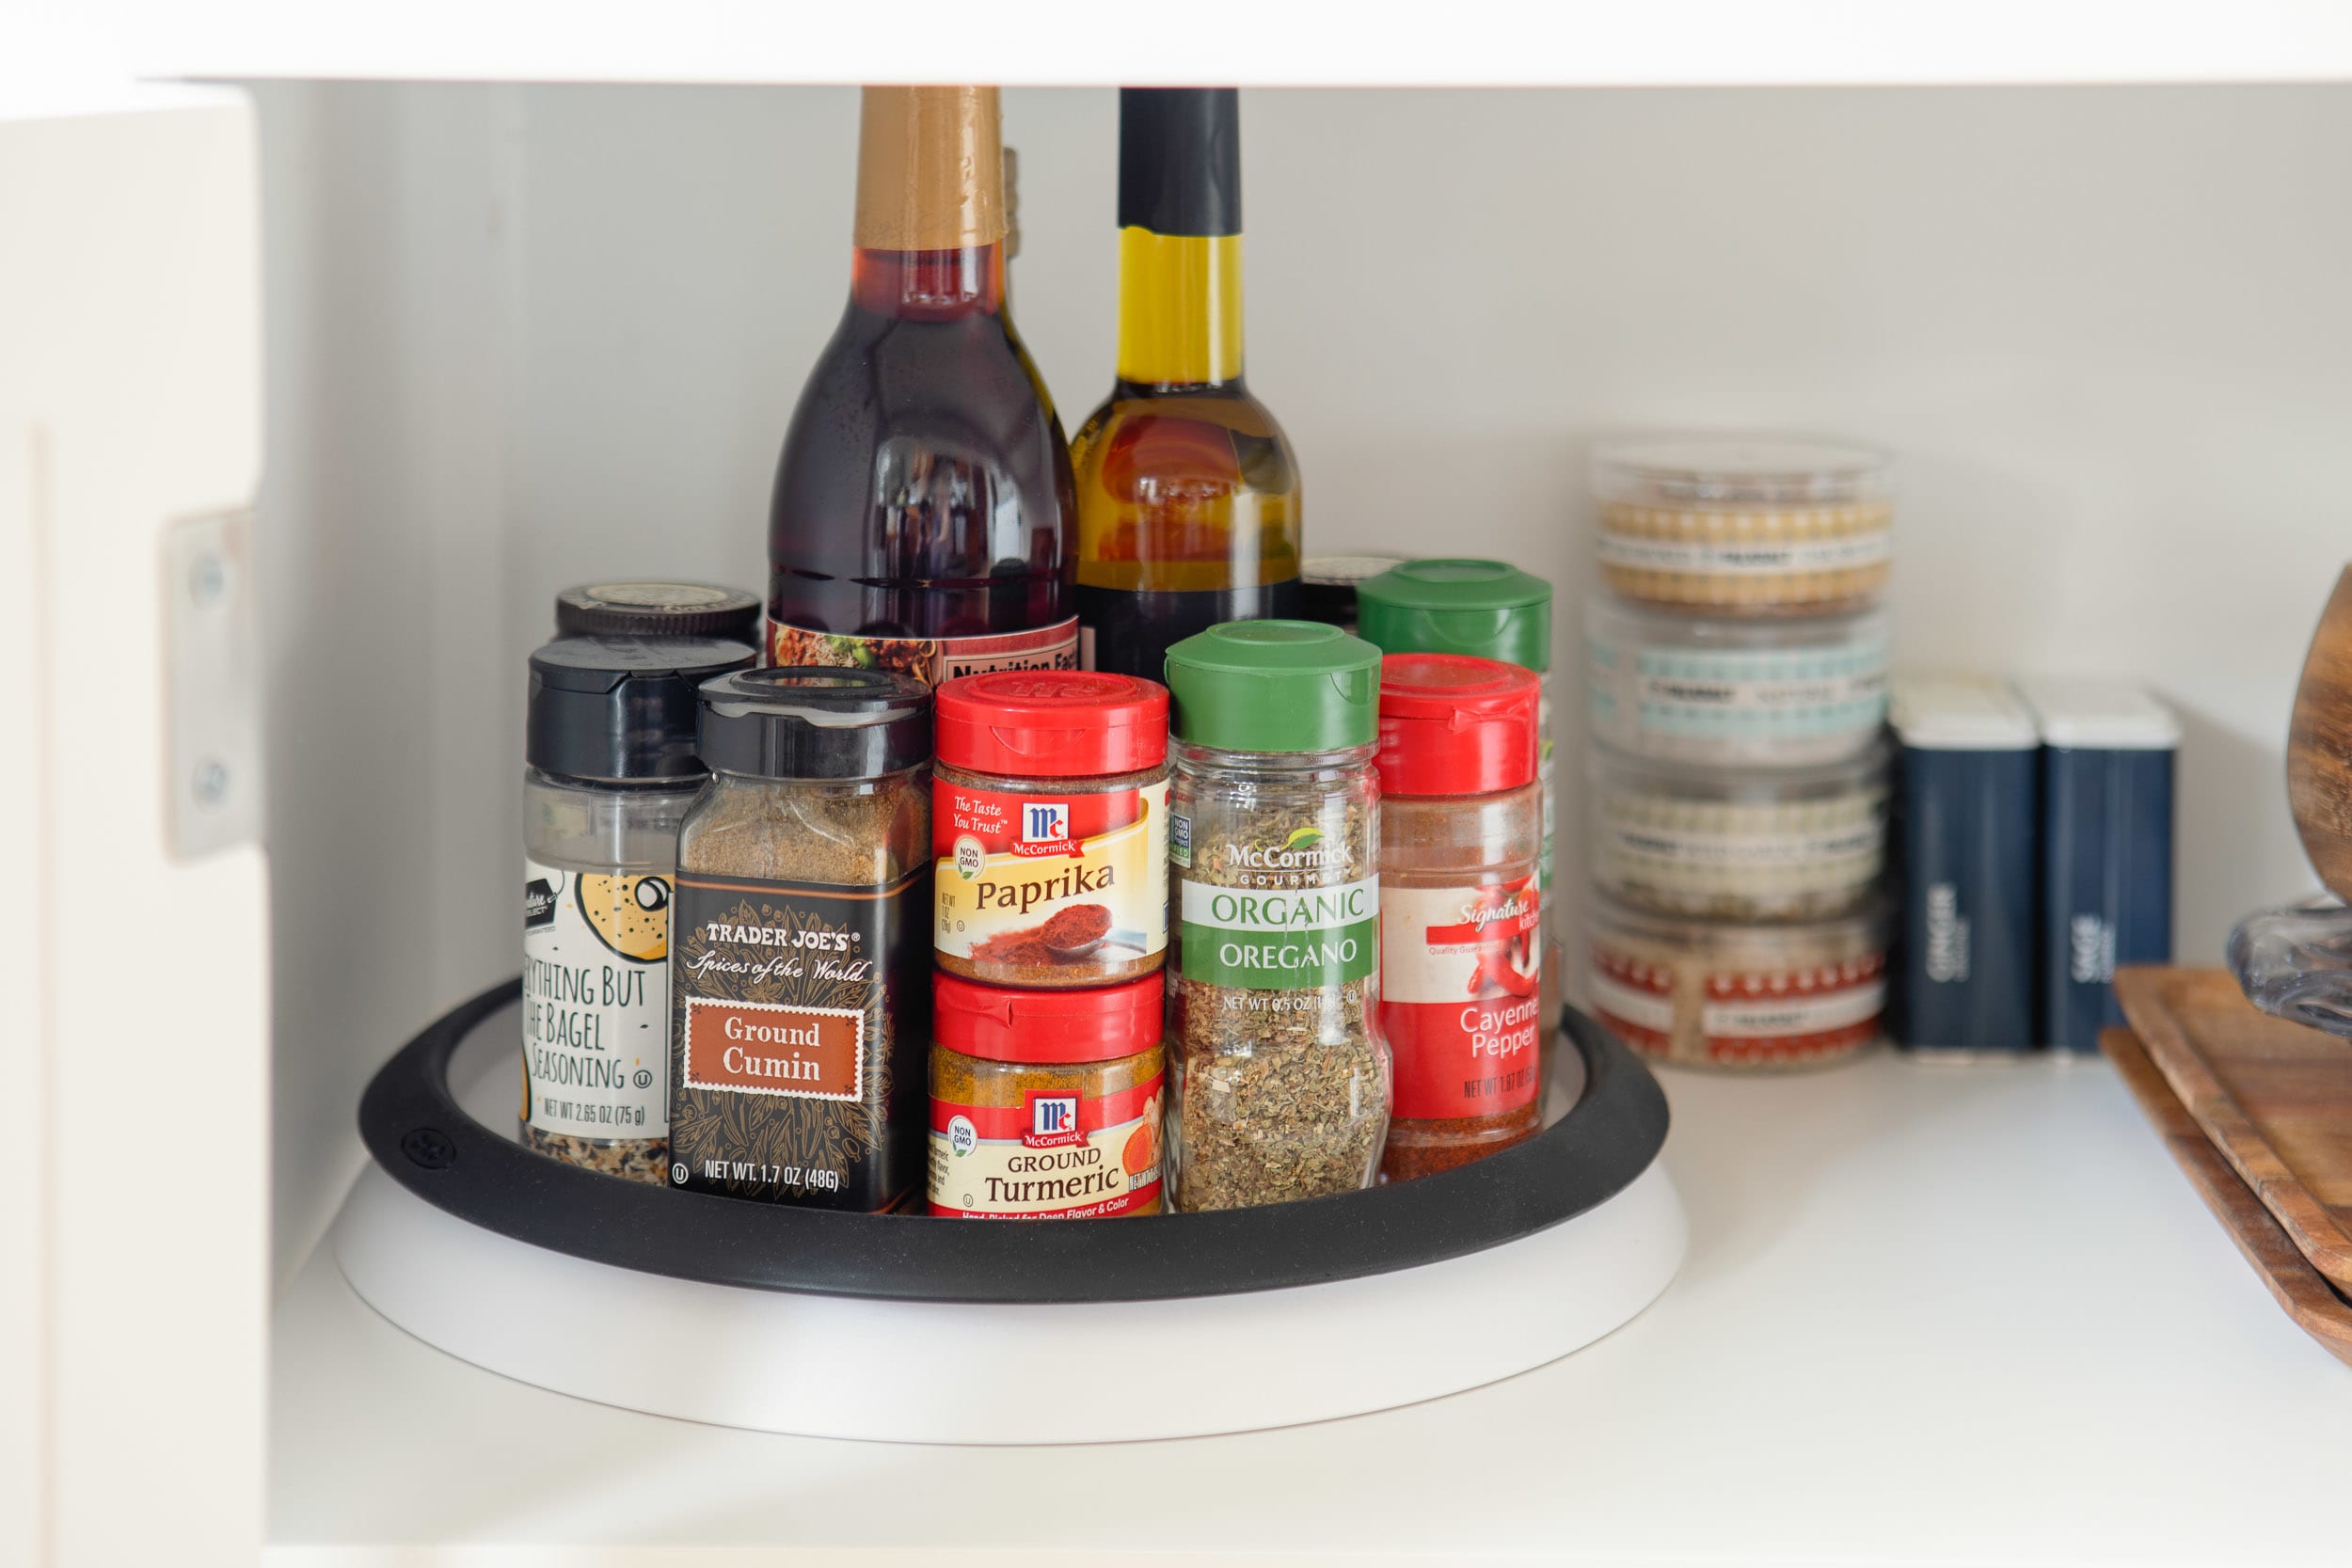
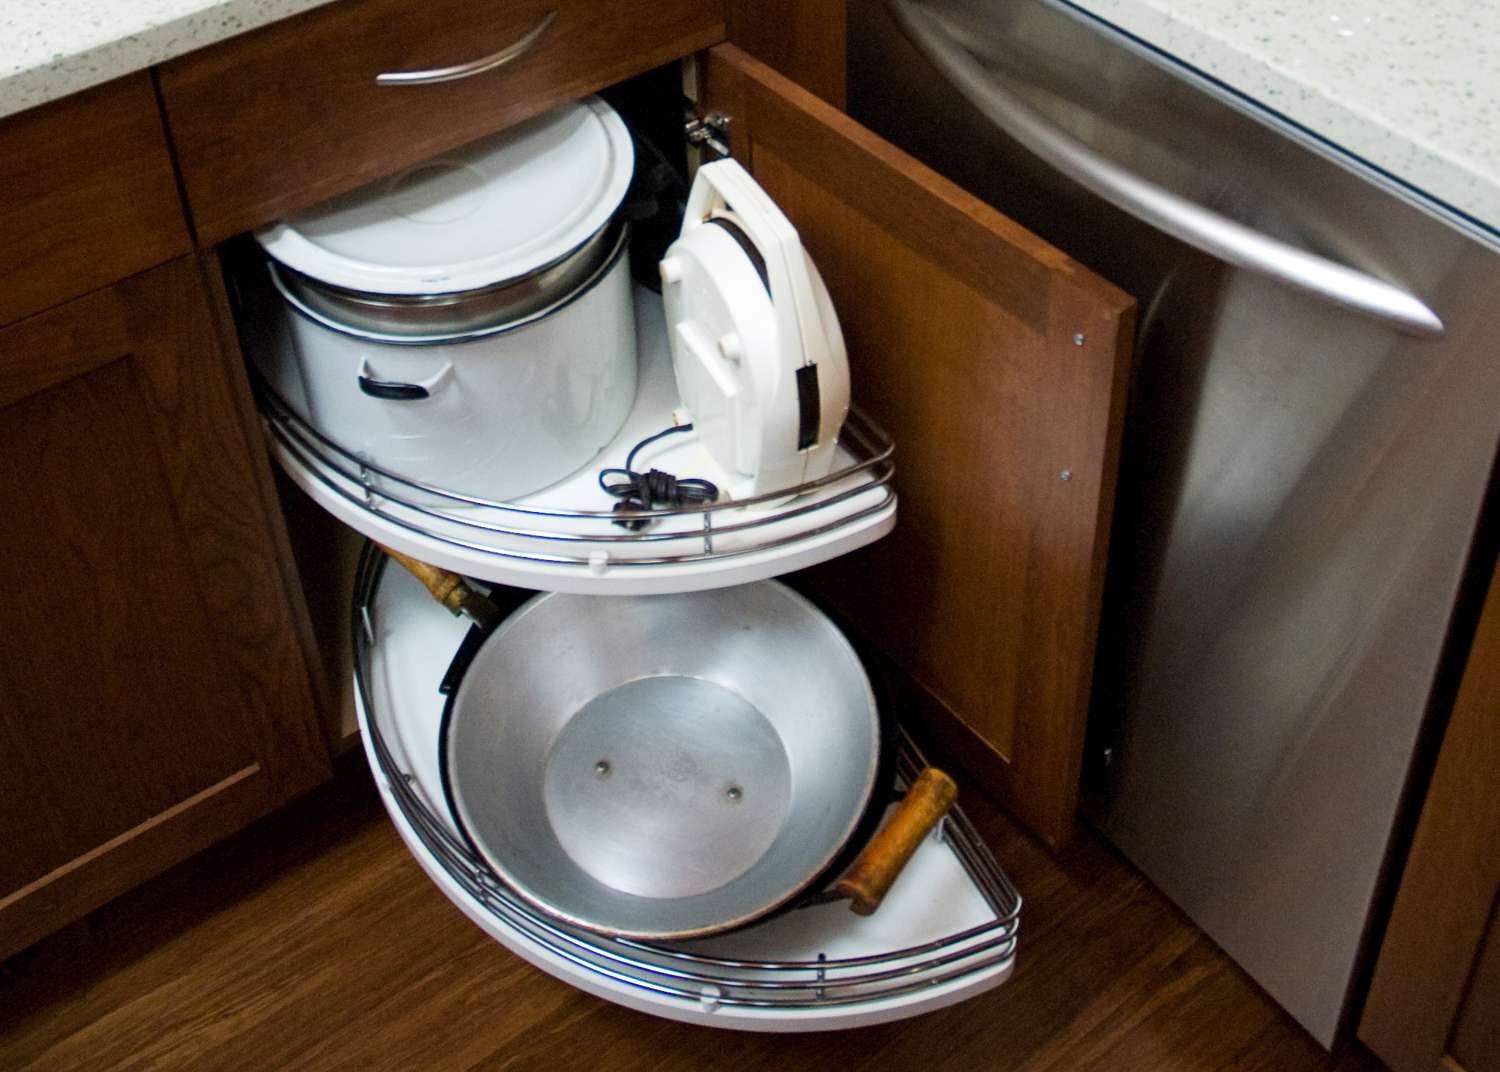
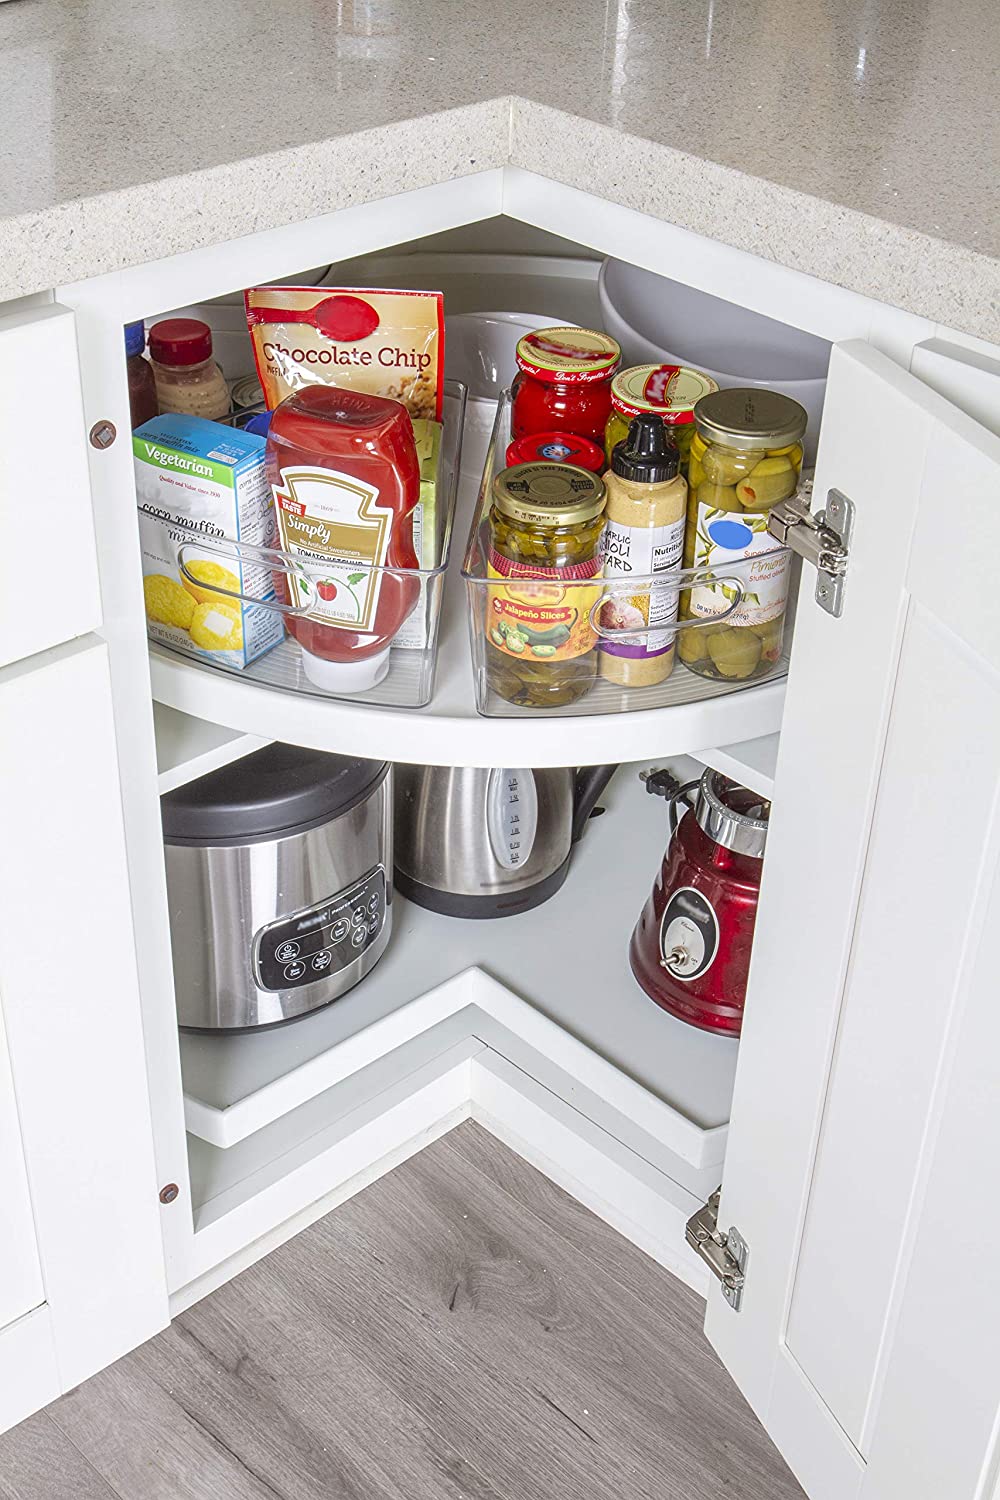
Welcome to the world of kitchen design and furniture! If you're considering adding a Lazy Susan to your kitchen, you're in for a treat. The Lazy Susan is a brilliant invention that maximizes storage and accessibility in corner cabinets, making it a popular choice for modern kitchens. However, before you can enjoy the convenience of a Lazy Susan, you need to ensure that you measure it correctly to fit your cabinet space.
In this comprehensive guide, we'll walk you through the essential steps to measure a Lazy Susan accurately. Whether you're a seasoned DIY enthusiast or a novice in the world of kitchen renovations, this article will equip you with the knowledge and confidence to tackle this task with ease.
So, grab your measuring tape and let's dive into the fascinating realm of Lazy Susans!
Key Takeaways:
- Measure the diameter and height of a Lazy Susan accurately to ensure it fits your cabinet space. Clear the area, use a measuring tape, and record measurements for a seamless fit.
- Calculate the surface area of the Lazy Susan to understand its storage capacity and organization potential. Consider vertical clearance for taller items to optimize functionality.
Read more: How To Attach A Lazy Susan
Tools and Materials Needed
Before you embark on the journey of measuring your Lazy Susan, it’s important to gather the necessary tools and materials. Here’s what you’ll need:
- Measuring tape: A reliable measuring tape is essential for obtaining accurate dimensions of the Lazy Susan.
- Pencil and paper: These basic tools will come in handy for jotting down measurements and making notes.
- Calculator: To calculate the surface area of the Lazy Susan, a calculator will be useful for accurate results.
- Step stool: If the Lazy Susan is located in an upper cabinet, a step stool will help you access the area comfortably.
- Assistance: Depending on the size and weight of the Lazy Susan, having an extra pair of hands to assist you may be beneficial.
With these tools and materials at your disposal, you’ll be well-prepared to tackle the task of measuring your Lazy Susan effectively.
Step 1: Measure the Diameter
Measuring the diameter of your Lazy Susan is the first crucial step in ensuring a proper fit within your cabinet space. Follow these simple yet essential guidelines to obtain an accurate measurement:
- Clear the Space: Before taking measurements, ensure that the area around the Lazy Susan is free from any obstructions. This will allow you to maneuver the measuring tape around the entire circumference without any hindrances.
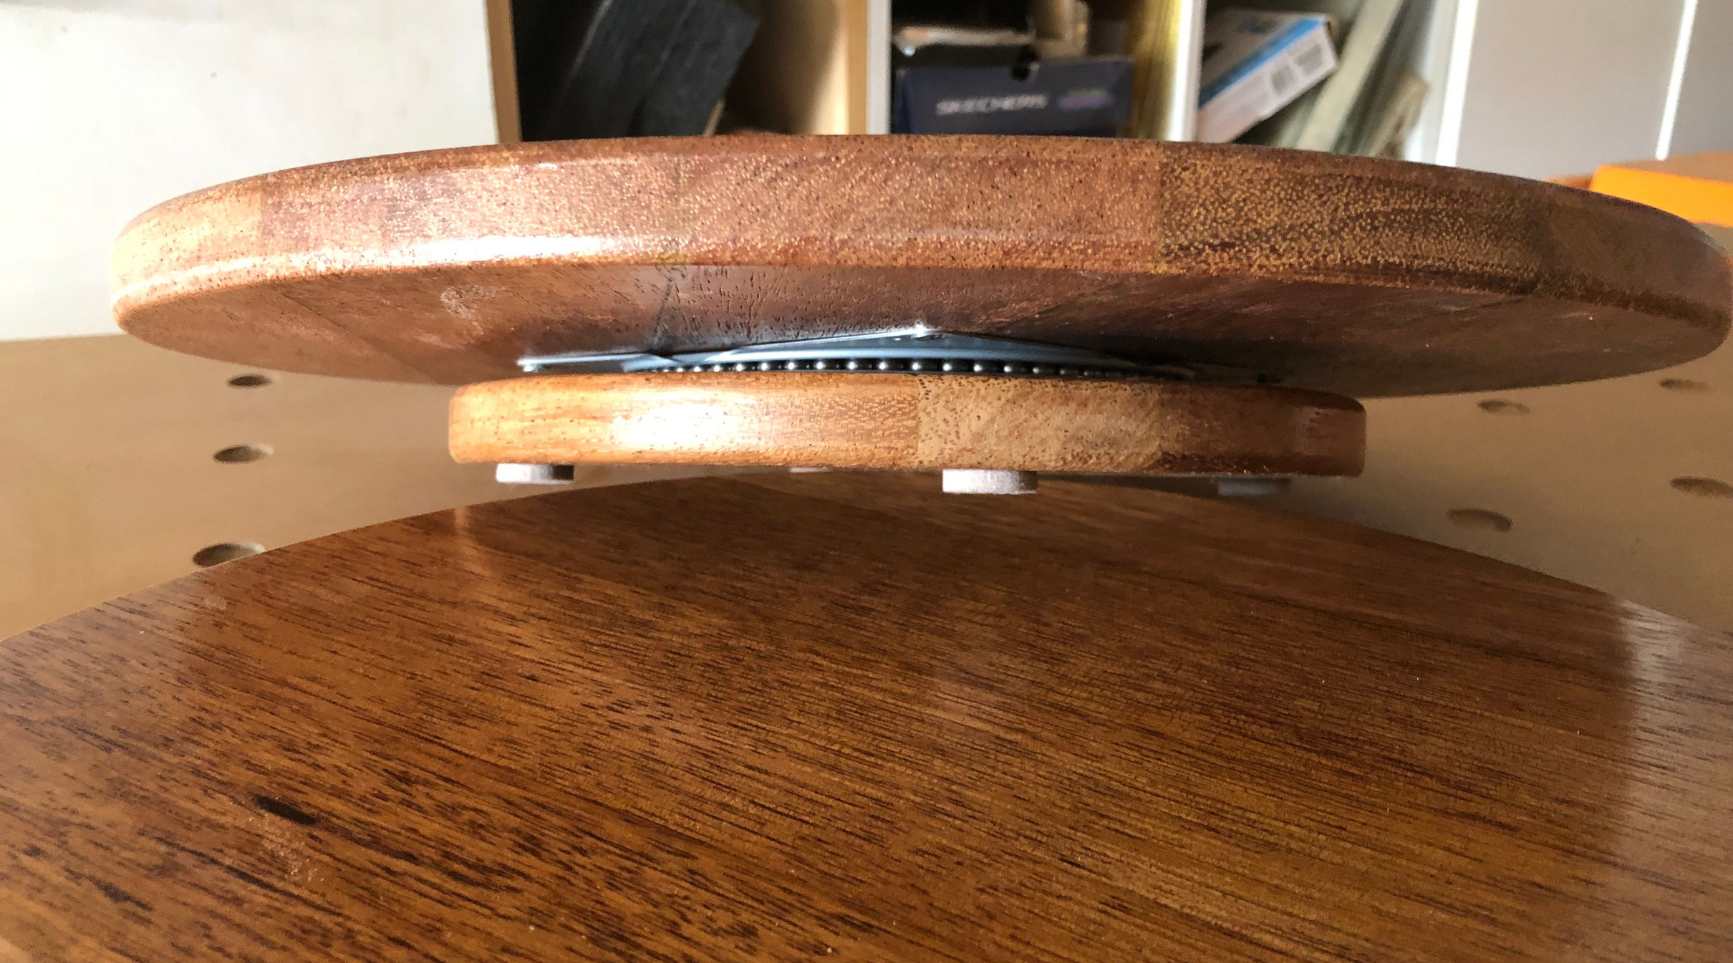
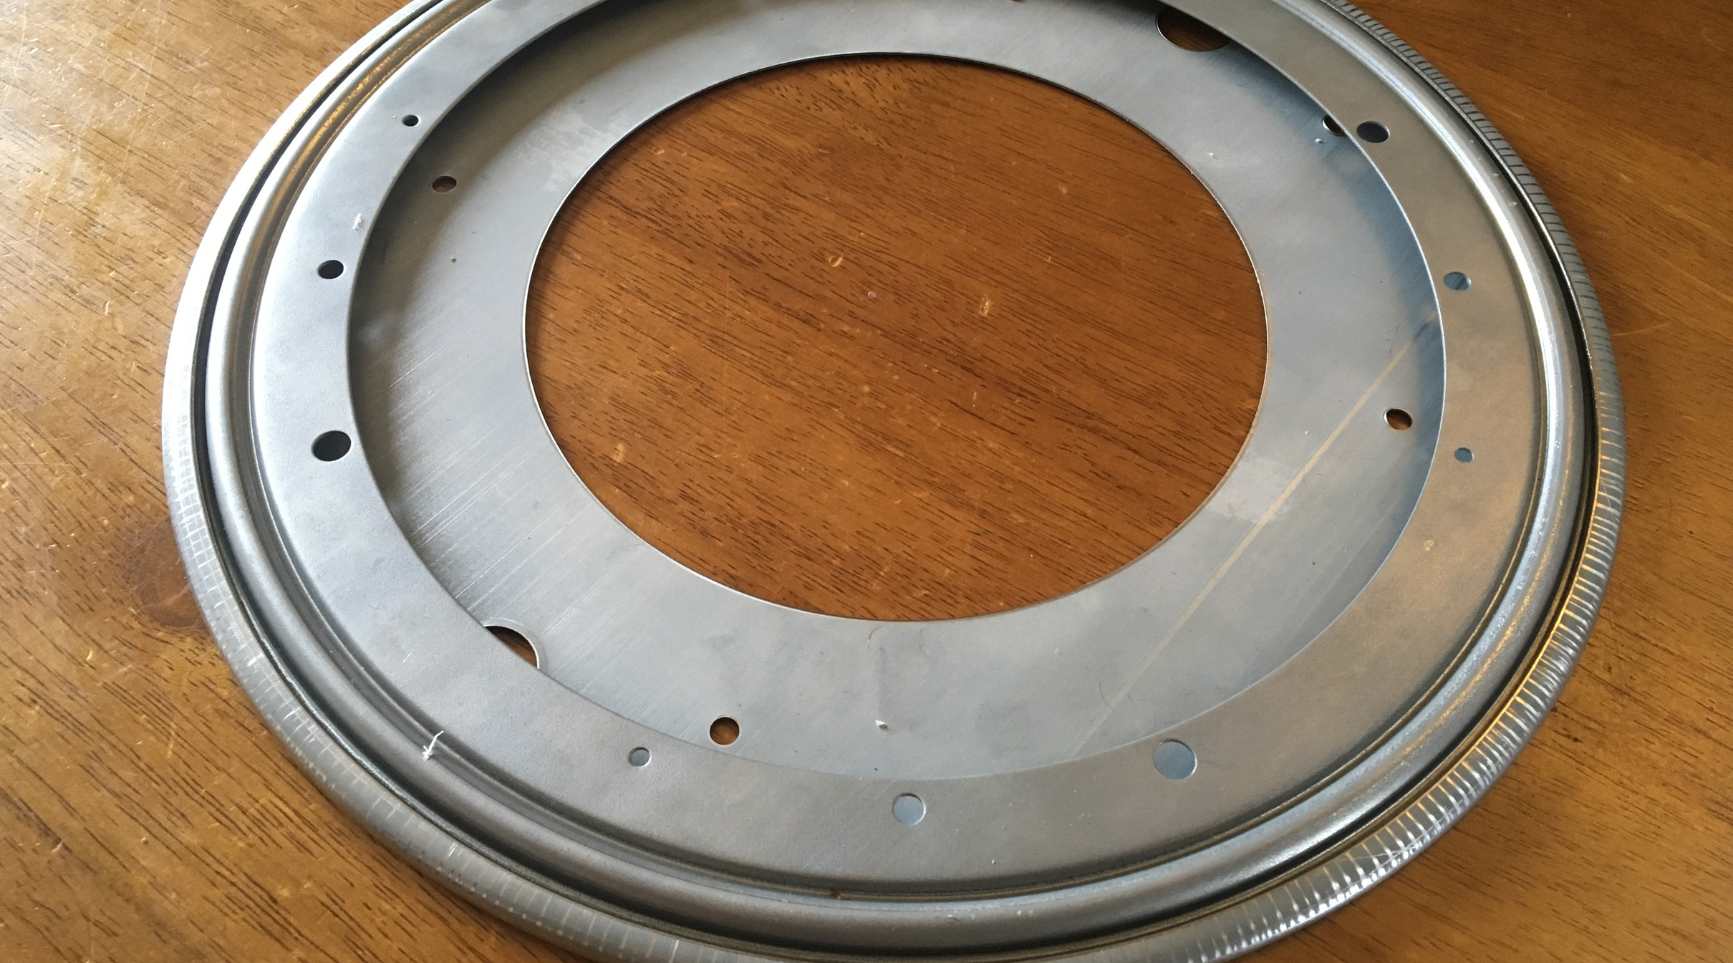
- Locate the Center: Identify the center of the Lazy Susan. This can be done by locating the point where the rotating mechanism is attached to the base of the unit.
- Position the Measuring Tape: Starting from the center point, extend the measuring tape to the outer edge of the Lazy Susan. Ensure that the tape is positioned in a straight line and rests firmly against the edge for an accurate measurement.
- Record the Measurement: Once you’ve obtained the measurement from one edge to the opposite edge, take note of the diameter. It’s crucial to record this measurement accurately, as it will determine the size of the Lazy Susan that will fit comfortably within your cabinet.
By following these steps meticulously, you’ll have successfully measured the diameter of your Lazy Susan, bringing you one step closer to optimizing your kitchen storage with this ingenious accessory.
When measuring a lazy susan, measure the diameter of the circular base to ensure you get the right size for your cabinet or table. Use a tape measure to get an accurate measurement.
Step 2: Measure the Height
Once you’ve determined the diameter of your Lazy Susan, the next vital measurement to take is the height. This measurement is crucial for ensuring that the Lazy Susan fits comfortably within the vertical space of your cabinet. Here’s how to measure the height accurately:
- Clear the Surrounding Area: As with measuring the diameter, it’s essential to clear the space around the Lazy Susan to facilitate unobstructed measurement.
- Position the Measuring Tape: Starting from the base of the Lazy Susan, extend the measuring tape vertically to the highest point of the unit. Ensure that the tape is aligned parallel to the edge of the Lazy Susan to obtain an accurate measurement.
- Record the Measurement: Once you’ve obtained the height measurement, make a note of the exact distance from the base to the highest point of the Lazy Susan. This measurement will determine the vertical clearance required within your cabinet for the Lazy Susan to function optimally.
By accurately measuring the height of your Lazy Susan, you’ll be equipped with the essential dimensions needed to ensure a seamless fit within your cabinet, allowing you to make the most of this innovative storage solution.
Step 3: Calculate the Surface Area
Now that you have obtained the measurements for the diameter and height of your Lazy Susan, it’s time to calculate the surface area. This step is crucial for determining the amount of storage space the Lazy Susan will provide and ensuring that it aligns with your organizational needs. Follow these steps to calculate the surface area accurately:
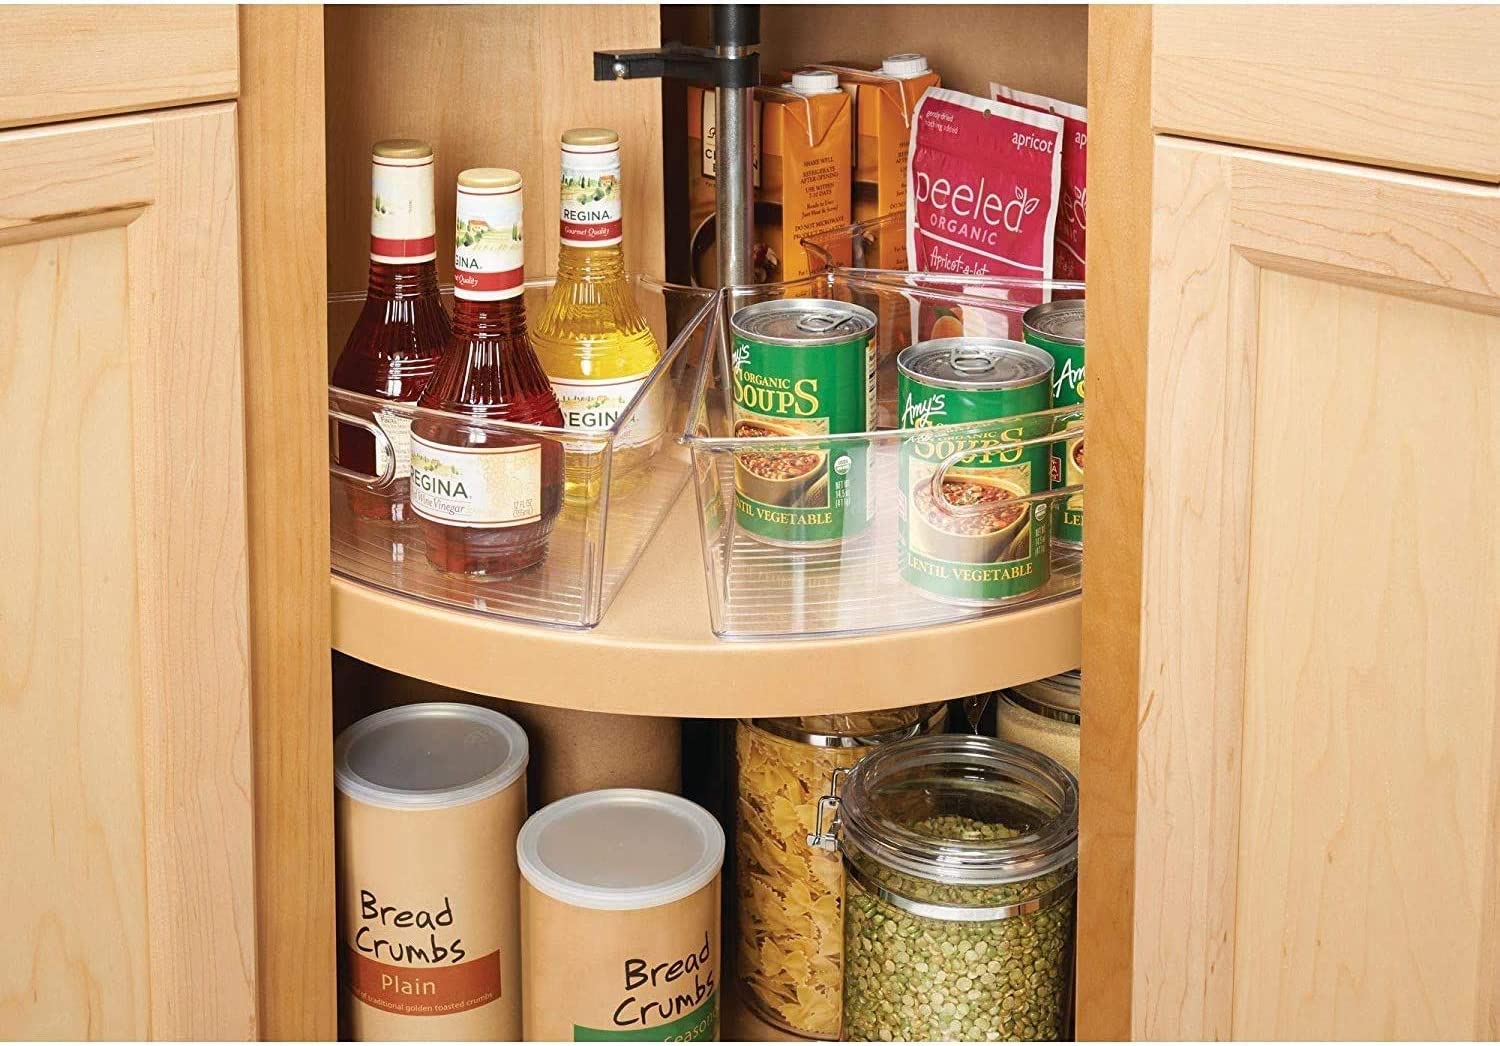
- Calculate the Area of the Circular Shelves: If your Lazy Susan consists of multiple circular shelves, calculate the area of each shelf separately. Use the formula A = πr2 (where A is the area and r is the radius) to determine the surface area of each individual shelf.
- Sum the Total Surface Area: Once you have calculated the surface area of each shelf, sum these values to obtain the total surface area of the Lazy Susan. This comprehensive measurement will provide insight into the storage capacity and organization potential of the unit.
- Consider the Vertical Clearance: In addition to the horizontal surface area, consider the vertical clearance between shelves. This dimension is essential for accommodating taller items and optimizing the overall functionality of the Lazy Susan.
By meticulously calculating the surface area of your Lazy Susan, you’ll gain a comprehensive understanding of its storage capabilities, allowing you to envision how it will enhance the efficiency and accessibility of your kitchen storage.
Read more: How Big Is A Lazy Susan Cabinet
Conclusion
Congratulations! You’ve successfully navigated the process of measuring a Lazy Susan, equipping yourself with the essential dimensions needed to ensure a seamless fit within your cabinet space. By following the steps outlined in this guide, you’ve gained valuable insights into the intricate measurements required to optimize your kitchen storage with this innovative accessory.
Remember, accurate measurements are the cornerstone of a successful installation, ensuring that your Lazy Susan not only fits snugly within your cabinet but also enhances the accessibility and organization of your kitchen essentials.
As you embark on your journey to integrate a Lazy Susan into your kitchen, armed with precise measurements, envision the convenience and functionality it will bring to your daily culinary endeavors. Whether it’s effortlessly accessing pots and pans or neatly organizing pantry items, the Lazy Susan is poised to revolutionize your kitchen storage experience.
With your measuring tape, pencil, and newfound knowledge in hand, you’re ready to embark on the next phase of your kitchen renovation journey. Embrace the possibilities that await as you bring the innovative design and practicality of the Lazy Susan into your culinary domain.
Happy measuring and may your kitchen transformation be nothing short of extraordinary!
Frequently Asked Questions about How To Measure A Lazy Susan
Was this page helpful?
At Storables.com, we guarantee accurate and reliable information. Our content, validated by Expert Board Contributors, is crafted following stringent Editorial Policies. We're committed to providing you with well-researched, expert-backed insights for all your informational needs.


0 thoughts on “How To Measure A Lazy Susan”