Home>Furniture & Design>Kitchen Furniture>How To Adjust A Lazy Susan

Kitchen Furniture
How To Adjust A Lazy Susan
Modified: February 29, 2024
Learn how to adjust a Lazy Susan in your kitchen furniture and design. Get tips for maintaining and troubleshooting your kitchen furniture.
(Many of the links in this article redirect to a specific reviewed product. Your purchase of these products through affiliate links helps to generate commission for Storables.com, at no extra cost. Learn more)
Introduction
Welcome to the world of kitchen organization and convenience! If you've ever struggled with accessing items in the back of your kitchen cabinets, the Lazy Susan is a game-changer. This ingenious rotating shelf system allows for easy access to all your kitchen essentials, from spices and condiments to pots and pans. However, like any mechanical component, a Lazy Susan may require adjustments over time to ensure smooth operation.
In this guide, we'll delve into the art of adjusting a Lazy Susan, equipping you with the knowledge and skills needed to keep this indispensable kitchen feature functioning flawlessly. Whether you're a homeowner looking to optimize your kitchen's storage or a professional in the realm of interior design, understanding the inner workings of a Lazy Susan will elevate your expertise and benefit your clients.
Let's embark on a journey to uncover the secrets of this beloved kitchen innovation, exploring the tools and techniques essential for maintaining and adjusting a Lazy Susan. By the end of this guide, you'll be equipped with the confidence and expertise to tackle Lazy Susan adjustments with ease, ensuring that your kitchen remains an efficient and well-organized space for years to come. So, let's roll up our sleeves and delve into the realm of Lazy Susans, unlocking the potential for a seamlessly functional kitchen experience.
Key Takeaways:
- Keep your Lazy Susan functioning flawlessly by regularly cleaning, lubricating, and distributing weight evenly. Address misalignment and loose fasteners promptly to maintain stability and prevent wobbling during rotation.
- Master the art of Lazy Susan maintenance to optimize your kitchen’s storage and accessibility. With the right tools and techniques, you can ensure a well-organized and efficient culinary space for years to come.
Read more: How To Childproof A Lazy Susan
Understanding Lazy Susans
Before diving into the process of adjusting a Lazy Susan, it’s essential to grasp the fundamental principles behind this innovative storage solution. Named after the popular American slang term “lazy Susan,” which refers to a rotating serving tray, the Lazy Susan brings a similar rotational functionality to kitchen cabinets and corner spaces.
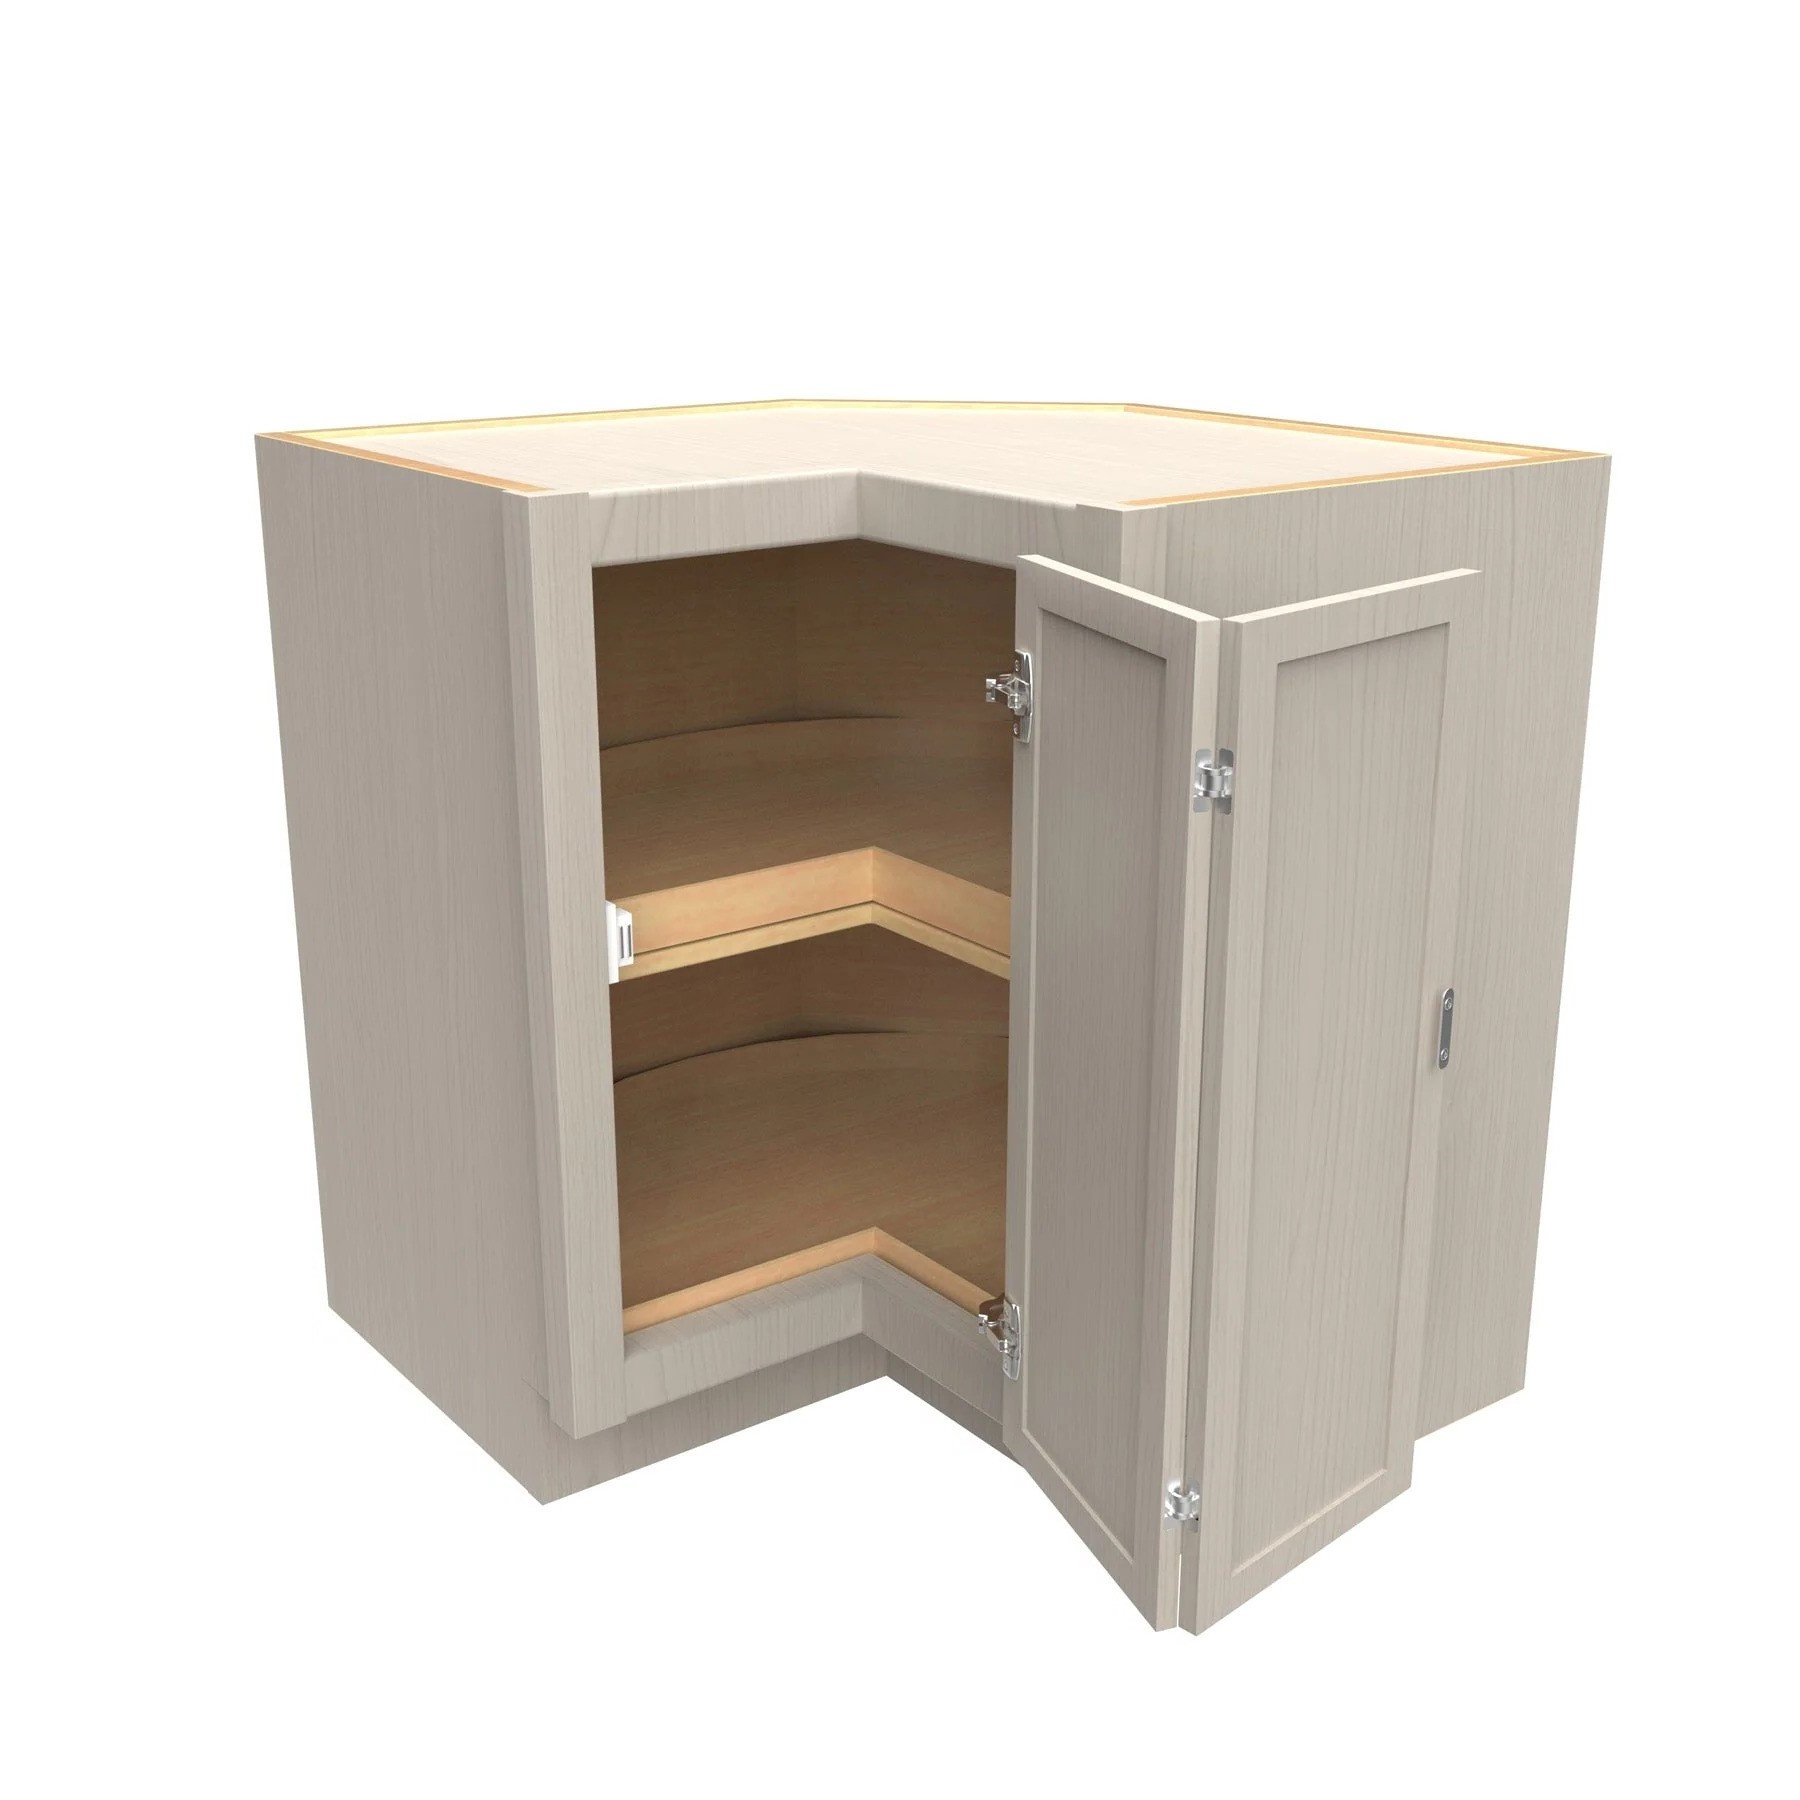
A standard Lazy Susan consists of a circular or semicircular shelf that rotates on a central axis, allowing for easy access to items stored on its surface. This design maximizes storage space in otherwise hard-to-reach areas, such as corner cabinets, by eliminating the need to rummage through deep, dark corners to find the desired items.
There are two primary types of Lazy Susans: the full-round Lazy Susan, which is a complete circle, and the half-moon Lazy Susan, which is a semicircle. These configurations cater to different cabinet shapes and sizes, offering versatile solutions for various kitchen layouts.
Lazy Susans are typically constructed with a combination of metal or plastic components, including a central pivot mechanism and shelf support brackets. The pivot mechanism enables smooth rotation, while the shelf support brackets secure the shelves in place, preventing items from sliding off during movement.
Understanding the anatomy of a Lazy Susan is crucial for effectively adjusting and maintaining its functionality. By familiarizing yourself with the components and mechanisms that drive its rotation, you’ll be better equipped to troubleshoot any issues that may arise and ensure seamless operation.
Now that we’ve gained insight into the inner workings of Lazy Susans, it’s time to explore the essential tools and materials required for adjusting these ingenious kitchen fixtures.
Tools and Materials Needed
Adjusting a Lazy Susan requires a few basic tools and materials to facilitate the process effectively. Before embarking on this endeavor, it’s essential to gather the following items:
- Adjustable Wrench: This versatile tool is crucial for loosening and tightening nuts and bolts, allowing for precise adjustments to the Lazy Susan’s pivot mechanism.
- Screwdriver Set: A set of Phillips and flathead screwdrivers will prove invaluable for removing and reattaching screws and adjusting the shelf support brackets.
- Lubricating Oil: A high-quality lubricant, such as silicone or Teflon-based oil, is essential for ensuring smooth rotation of the Lazy Susan’s pivot mechanism.
- Clean Cloth: Having a clean cloth or rag on hand is useful for wiping down the components and removing any accumulated debris or grime.
- Level: A small carpenter’s level will aid in ensuring that the Lazy Susan is properly aligned and balanced after adjustments are made.
- Optional: Replacement Hardware: In some cases, it may be necessary to replace worn or damaged nuts, bolts, or shelf support brackets, so having replacement hardware on hand can expedite the adjustment process.
By assembling these tools and materials, you’ll be well-prepared to tackle the task of adjusting a Lazy Susan with confidence and precision. With the essentials in hand, let’s proceed to the step-by-step process of fine-tuning the functionality of your Lazy Susan.
When adjusting a lazy susan, make sure to evenly distribute the weight of items on each shelf to prevent it from becoming unbalanced. This will help it rotate smoothly and efficiently.
Steps to Adjust a Lazy Susan
Adjusting a Lazy Susan involves a systematic approach to ensure that each component is properly aligned and functioning optimally. Follow these step-by-step instructions to adjust your Lazy Susan with ease:
- Clear the Cabinet: Begin by removing all items from the Lazy Susan cabinet to access the shelves and components without obstruction.
- Inspect the Pivot Mechanism: Examine the central pivot mechanism for any signs of wear, debris accumulation, or misalignment. Use a clean cloth to wipe away any dirt or grime, and apply lubricating oil to the pivot points for smooth rotation.
- Tighten Loose Fasteners: Use an adjustable wrench to tighten any loose nuts or bolts securing the pivot mechanism and shelf support brackets. Ensure that all fasteners are snug to prevent wobbling or instability during rotation.
- Adjust Shelf Support Brackets: If the shelves are misaligned or wobbly, use a screwdriver to adjust the shelf support brackets. Ensure that the shelves are level and securely supported to prevent items from sliding or tipping during rotation.
- Test Rotation and Alignment: Rotate the Lazy Susan to test its smoothness and alignment. Ensure that it moves freely without any binding or resistance. Use a level to confirm that the shelves are horizontally aligned within the cabinet.
- Reorganize and Restock: Once the adjustments are complete, carefully reorganize and restock the items in the Lazy Susan cabinet, taking advantage of the optimized storage and accessibility provided by the rotating shelves.
By following these steps, you can effectively adjust a Lazy Susan to restore its functionality and enhance the accessibility of your kitchen essentials. With the proper maintenance and occasional adjustments, your Lazy Susan will continue to serve as a valuable asset in keeping your kitchen organized and efficient.
Now that we’ve covered the essential steps for adjusting a Lazy Susan, let’s explore valuable tips for maintaining and caring for this indispensable kitchen feature.
Tips for Maintenance and Care
Proper maintenance is key to ensuring the longevity and optimal performance of your Lazy Susan. By implementing the following tips, you can preserve the functionality and appearance of this essential kitchen fixture:
- Regular Cleaning: Periodically remove items from the Lazy Susan and wipe down the shelves, pivot mechanism, and support brackets with a damp cloth to remove dust and spills. Keeping the components clean prevents the accumulation of debris that can impede rotation and cause premature wear.
- Lubrication: Apply a small amount of lubricating oil to the pivot points of the Lazy Susan’s central mechanism to maintain smooth rotation. Avoid using excessive oil, as it can attract dust and grime, leading to potential operational issues.
- Weight Distribution: Distribute weight evenly across the shelves to prevent excessive strain on the pivot mechanism and support brackets. Avoid overloading the Lazy Susan with heavy items, as this can lead to premature wear and compromised functionality.
- Check for Loose Fasteners: Regularly inspect the nuts, bolts, and screws securing the pivot mechanism and shelf support brackets. Tighten any loose fasteners to maintain stability and prevent wobbling during rotation.
- Address Misalignment Promptly: If you notice any misalignment or wobbling during rotation, address the issue promptly by adjusting the shelf support brackets and ensuring that the shelves are level and securely positioned.
- Monitor for Wear and Damage: Keep an eye out for signs of wear, such as excessive wobbling, grinding noises, or visible damage to the components. Address any issues promptly to prevent further damage and maintain the efficient operation of the Lazy Susan.
By incorporating these maintenance practices into your routine, you can extend the lifespan of your Lazy Susan and enjoy uninterrupted access to your kitchen essentials. Whether you’re a homeowner seeking to optimize your kitchen’s functionality or a design professional aiming to elevate the user experience for your clients, proactive maintenance is essential for preserving the value of this innovative storage solution.
With these maintenance tips in mind, you’re well-equipped to uphold the performance and longevity of your Lazy Susan, ensuring that it remains a reliable and convenient asset in your kitchen for years to come.
Read more: What Is A Lazy Susan
Conclusion
Congratulations! You’ve now gained a comprehensive understanding of the inner workings of Lazy Susans and the essential techniques for adjusting and maintaining these invaluable kitchen fixtures. By mastering the art of Lazy Susan maintenance, you’re empowered to optimize your kitchen’s storage and accessibility, enhancing the functionality and organization of this vital space in your home.
Remember, regular maintenance and occasional adjustments are the keys to preserving the smooth operation and longevity of your Lazy Susan. By following the step-by-step process for adjustment and implementing the recommended maintenance tips, you can ensure that your Lazy Susan continues to serve as a reliable and efficient storage solution for your kitchen essentials.
Whether you’re a homeowner looking to streamline your kitchen organization or a design professional seeking to enhance the functionality of your clients’ spaces, the knowledge and skills you’ve acquired in this guide will undoubtedly elevate your expertise in kitchen furniture and design.
As you embark on your journey to maintain and care for your Lazy Susan, remember that a well-maintained kitchen is a harmonious and functional space that enhances the overall culinary experience. By upholding the integrity of your Lazy Susan, you’re contributing to the seamless operation of your kitchen and creating an environment that fosters creativity and efficiency in meal preparation and entertaining.
Armed with the insights and techniques provided in this guide, you’re now prepared to tackle any adjustments and maintenance tasks related to your Lazy Susan with confidence and expertise. Embrace the opportunity to optimize your kitchen’s storage and accessibility, and revel in the convenience and efficiency that a well-maintained Lazy Susan brings to your culinary domain.
Here’s to a kitchen that’s not only aesthetically pleasing but also impeccably organized and effortlessly functional, thanks to the timeless innovation of the Lazy Susan!
Frequently Asked Questions about How To Adjust A Lazy Susan
Was this page helpful?
At Storables.com, we guarantee accurate and reliable information. Our content, validated by Expert Board Contributors, is crafted following stringent Editorial Policies. We're committed to providing you with well-researched, expert-backed insights for all your informational needs.


0 thoughts on “How To Adjust A Lazy Susan”