Home>Furniture & Design>Kitchen Furniture>How To Make A Lazy Susan
Kitchen Furniture
How To Make A Lazy Susan
Modified: August 17, 2024
Learn how to make a Lazy Susan for your kitchen furniture and design. Find step-by-step instructions and helpful tips for creating this practical addition to your home.
(Many of the links in this article redirect to a specific reviewed product. Your purchase of these products through affiliate links helps to generate commission for Storables.com, at no extra cost. Learn more)
Introduction
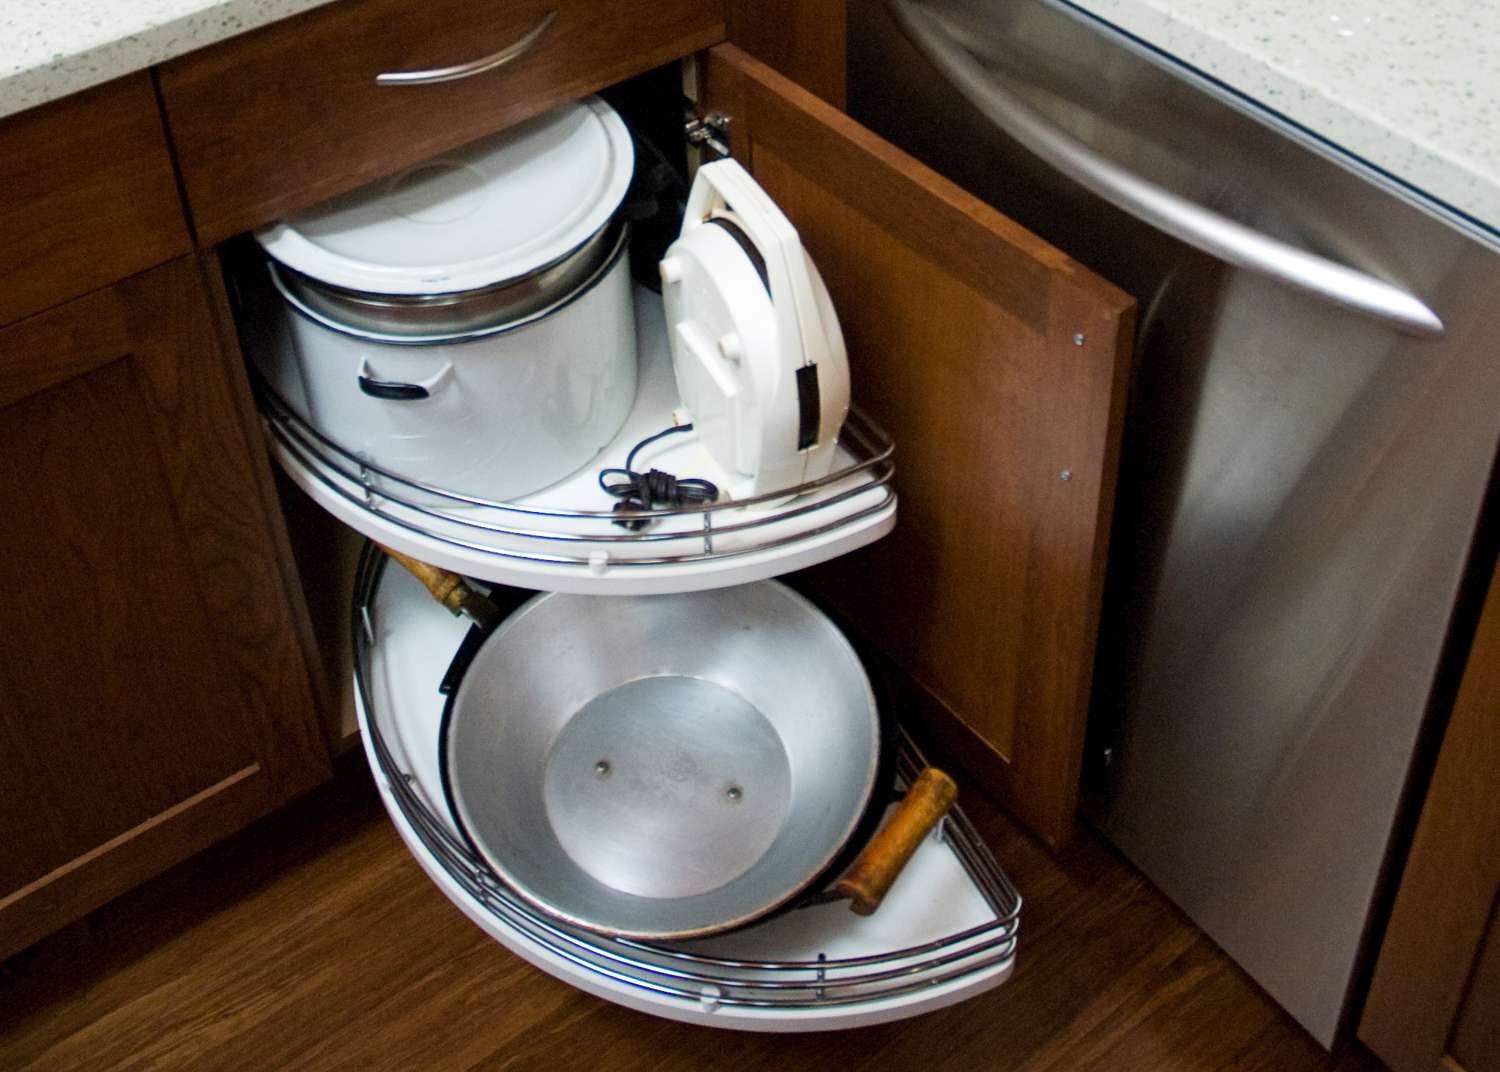
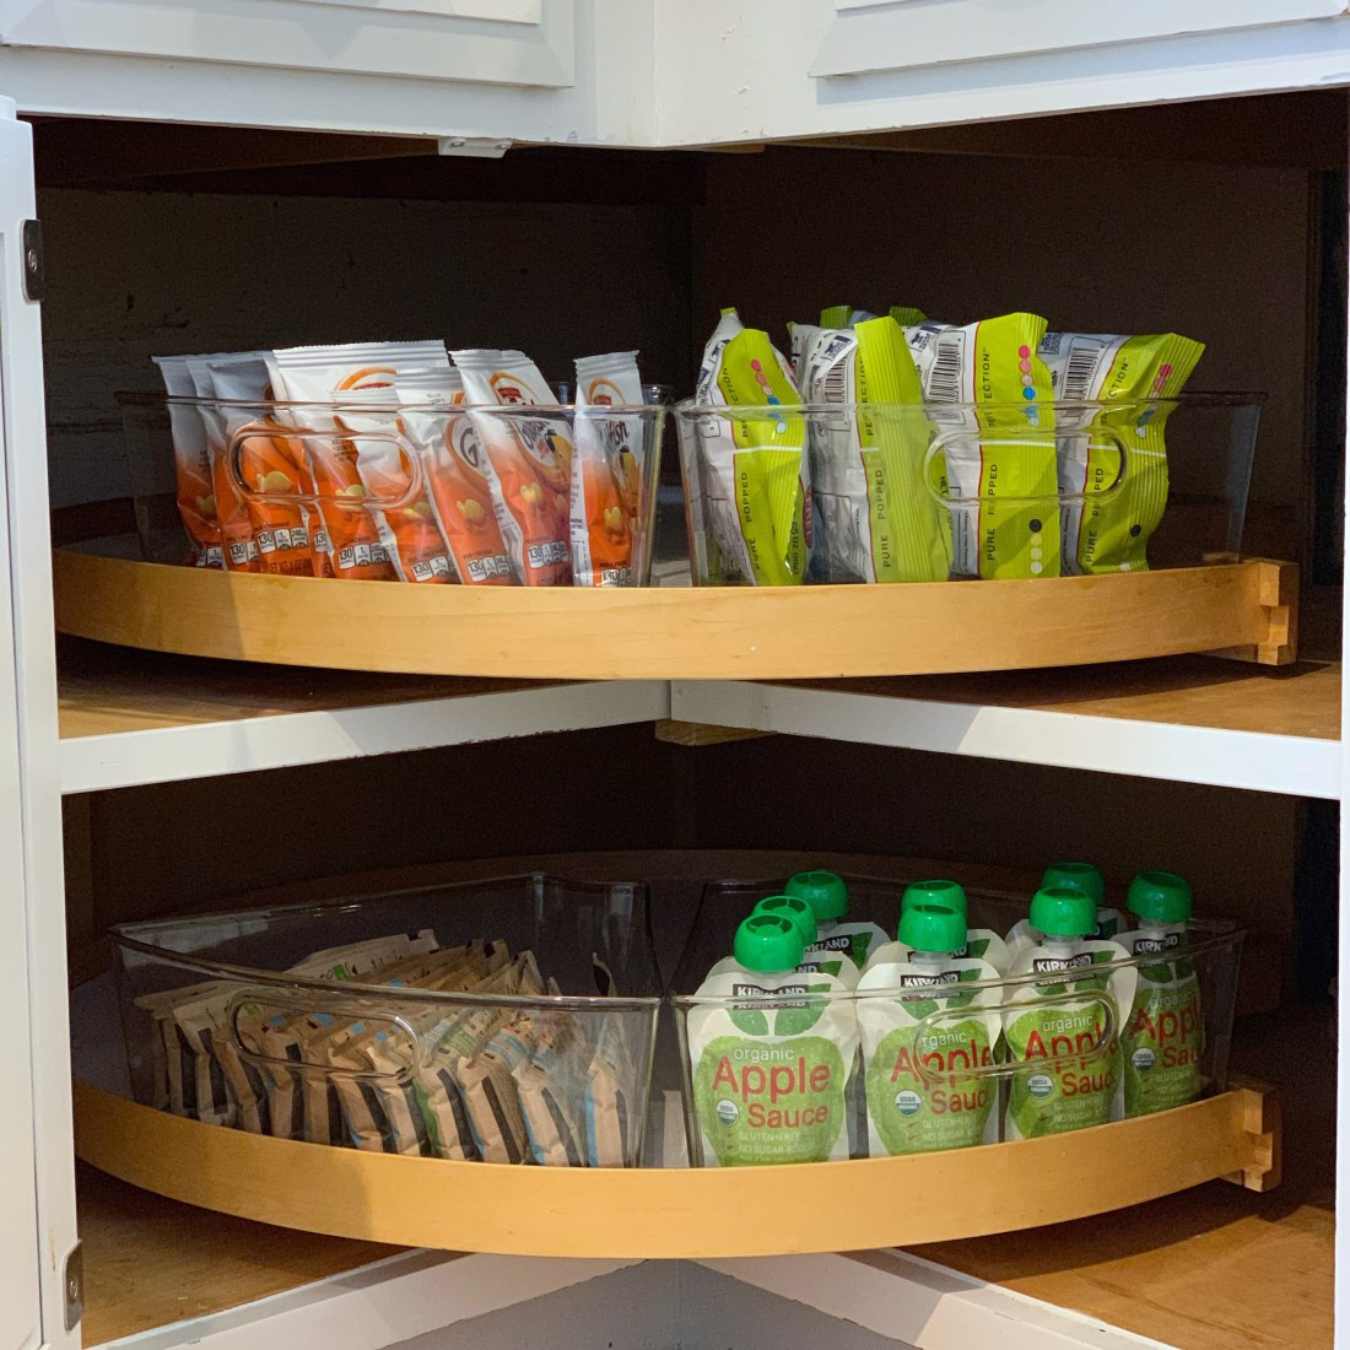
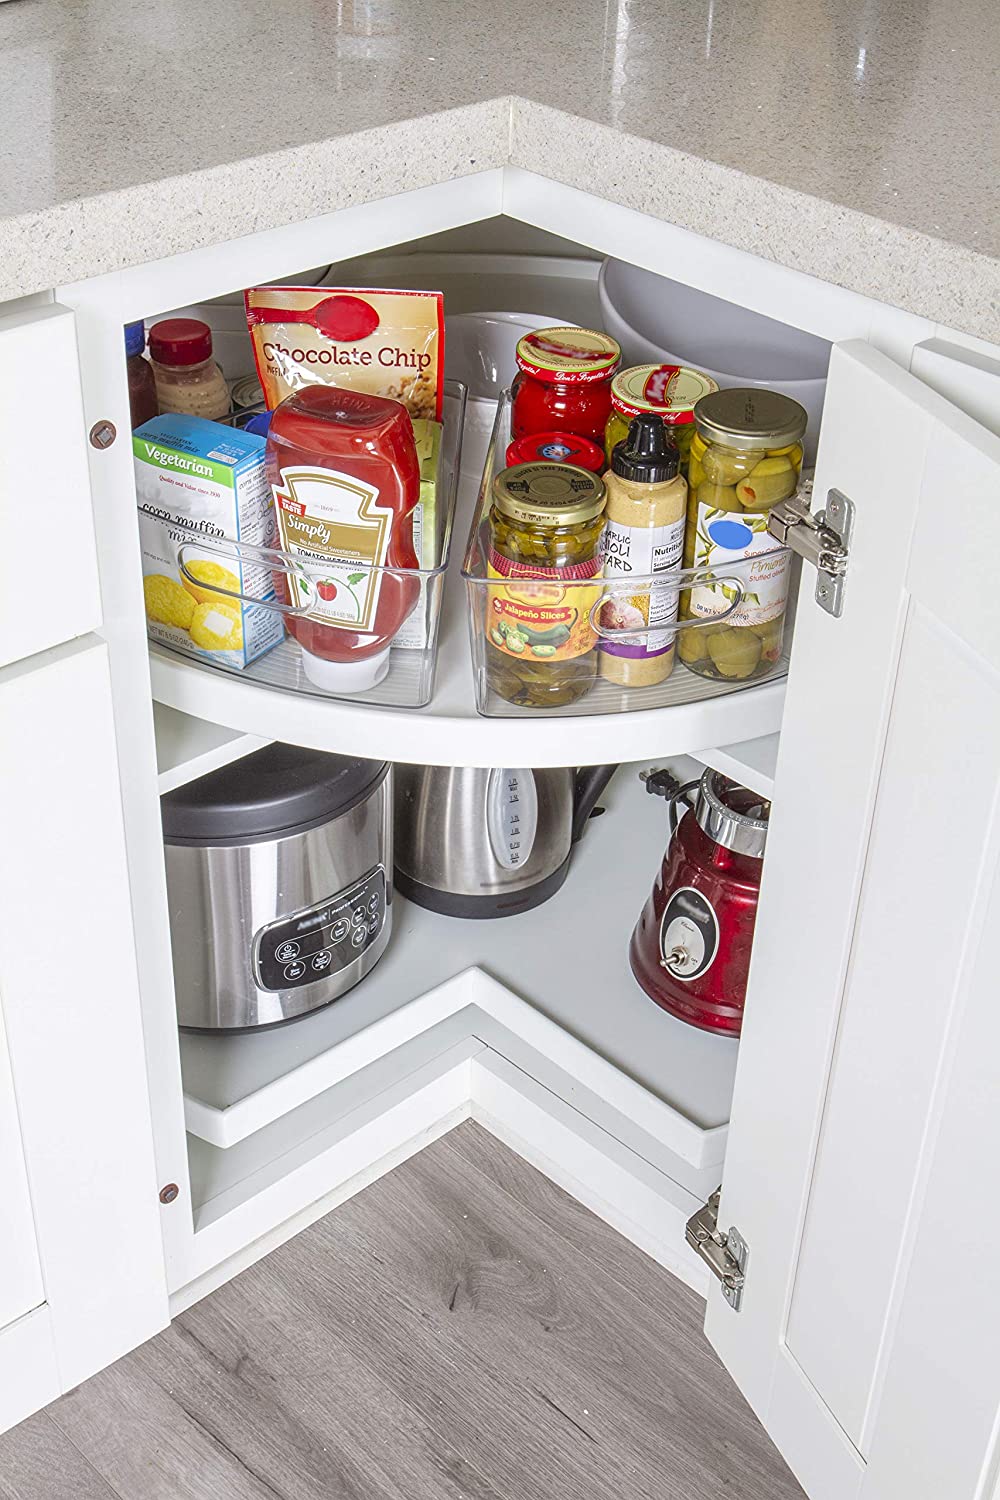
Welcome to the world of DIY kitchen furniture! If you're looking to add convenience and functionality to your kitchen, creating your very own lazy Susan is a fantastic project to undertake. A lazy Susan is a rotating platform that can be placed in kitchen cabinets or on tabletops, allowing for easy access to items without the need for reaching or rummaging. Whether you're a seasoned DIY enthusiast or just dipping your toes into the world of woodworking, this project is both rewarding and practical.
As you embark on this journey, you'll discover that building a lazy Susan is not only a fun and engaging task but also a great way to enhance the organization and accessibility of your kitchen space. With a few simple materials and a bit of creativity, you can craft a custom lazy Susan that perfectly complements your kitchen decor and meets your specific storage needs.
In this comprehensive guide, we'll walk you through the step-by-step process of creating your own lazy Susan, from measuring and cutting the base to adding the finishing touches. By the end of this tutorial, you'll have a beautiful and functional lazy Susan ready to streamline your kitchen storage and simplify your daily cooking routines. So, roll up your sleeves, gather your tools, and let's dive into the wonderful world of DIY kitchen furniture!
Key Takeaways:
- Create a practical and visually appealing lazy Susan for your kitchen using simple materials and tools, adding convenience and organization to your culinary space with a touch of DIY creativity.
- Transform basic plywood and a lazy Susan bearing into a functional and stylish rotating platform, infusing your kitchen with personalized charm and practical elegance.
Read more: How To Measure A Lazy Susan
Materials Needed
Before diving into the construction of your lazy Susan, it’s essential to gather all the necessary materials and tools. Here’s a comprehensive list of what you’ll need to bring your project to life:
- 3/4-inch thick plywood or MDF (Medium-Density Fiberboard) for the base and top platform
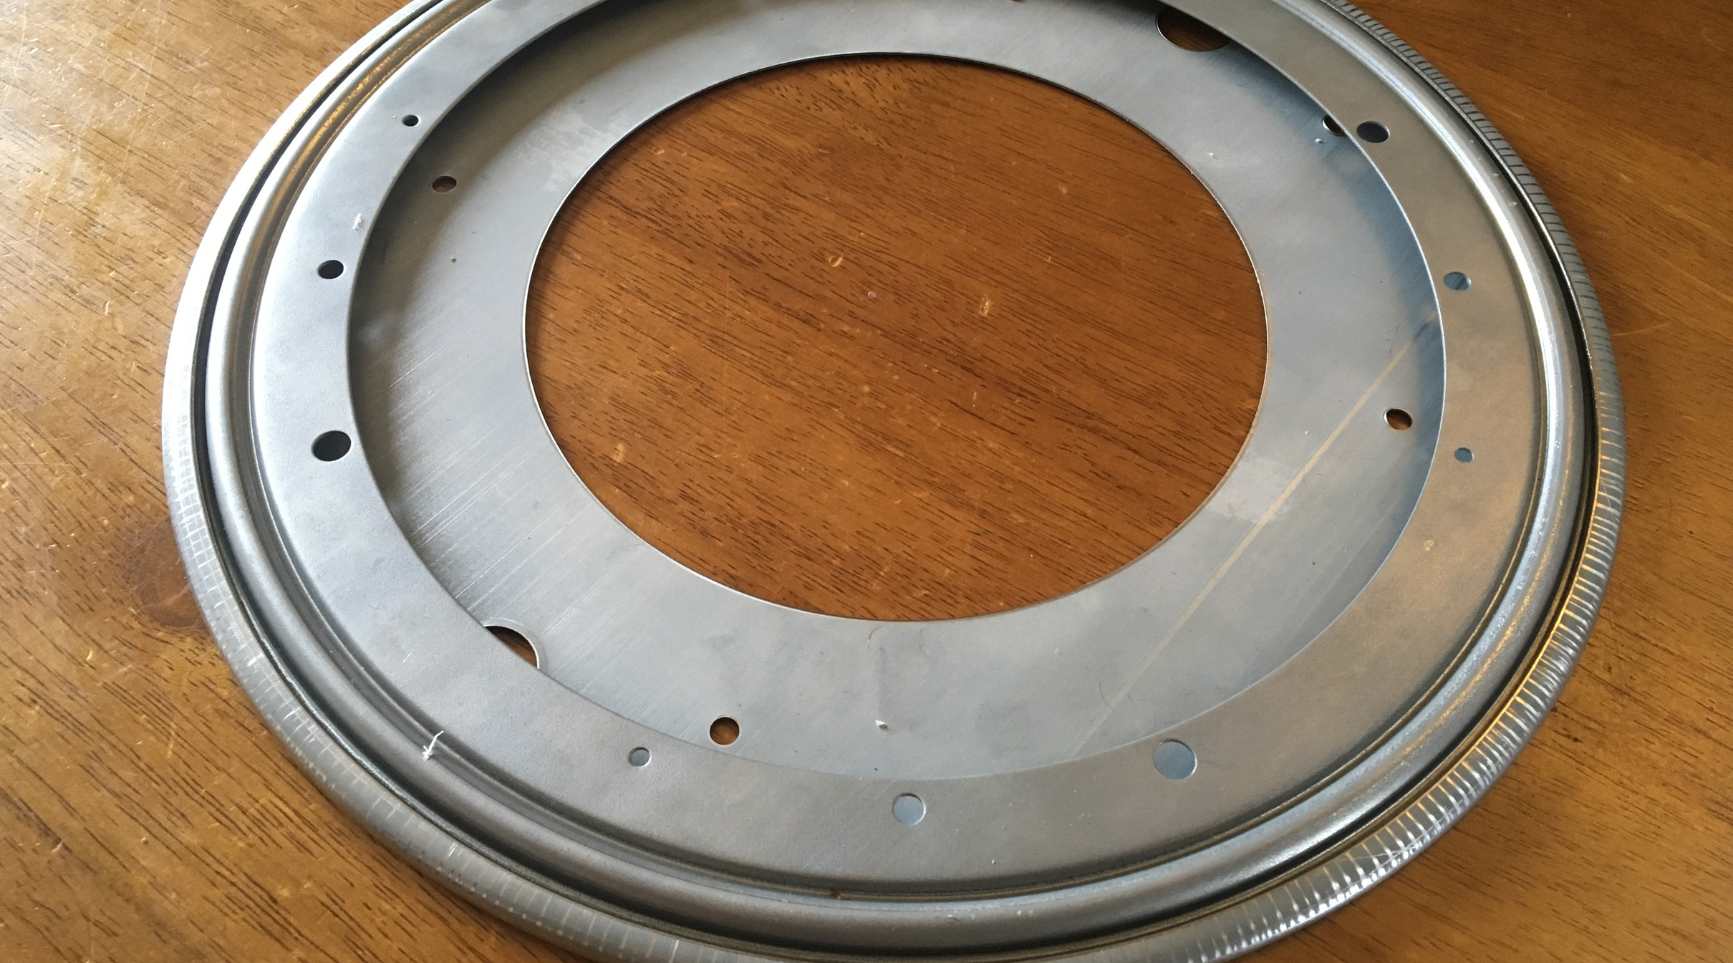
- Lay Susan bearing (available at hardware stores or online) – this will serve as the rotating mechanism
- Measuring tape and pencil for accurate measurements
- Circular saw or jigsaw for cutting the plywood or MDF
- Drill with a suitable drill bit for creating holes
- Screwdriver for attaching the lazy Susan bearing
- Sandpaper for smoothing the edges
- Wood glue for securing the components
- Decorative laminate or paint (optional) for adding a personalized touch
- Protective gear such as safety goggles and gloves
By ensuring you have all these materials on hand, you’ll be well-prepared to embark on your DIY lazy Susan project. With everything in place, you can proceed with confidence, knowing that you have everything you need to create a practical and visually appealing addition to your kitchen.
Step 1: Measure and Cut the Base
The first step in creating your own lazy Susan is to measure and cut the base, which will serve as the foundation for the rotating platform. Begin by selecting a high-quality 3/4-inch thick plywood or MDF board that is both sturdy and smooth, ensuring durability and a seamless finish for your lazy Susan.
Using a measuring tape and pencil, carefully mark the dimensions for the base according to your desired size. A common diameter for a lazy Susan base is between 12 to 24 inches, depending on the available space and intended use. Once you have marked the dimensions, use a circular saw or jigsaw to precisely cut out the circular base. It’s crucial to maintain accuracy during this step to ensure that the base is perfectly round and uniform.
After cutting the base, use sandpaper to smooth the edges and surface, creating a flawless foundation for the lazy Susan. This step is essential for achieving a professional-looking result and ensuring that the rotating platform operates smoothly without any rough edges.
By meticulously measuring and cutting the base, you set the stage for the construction of a sturdy and reliable lazy Susan that will effortlessly enhance the functionality of your kitchen. With the base prepared, you’re ready to move on to the next step and bring the rotating mechanism to life.
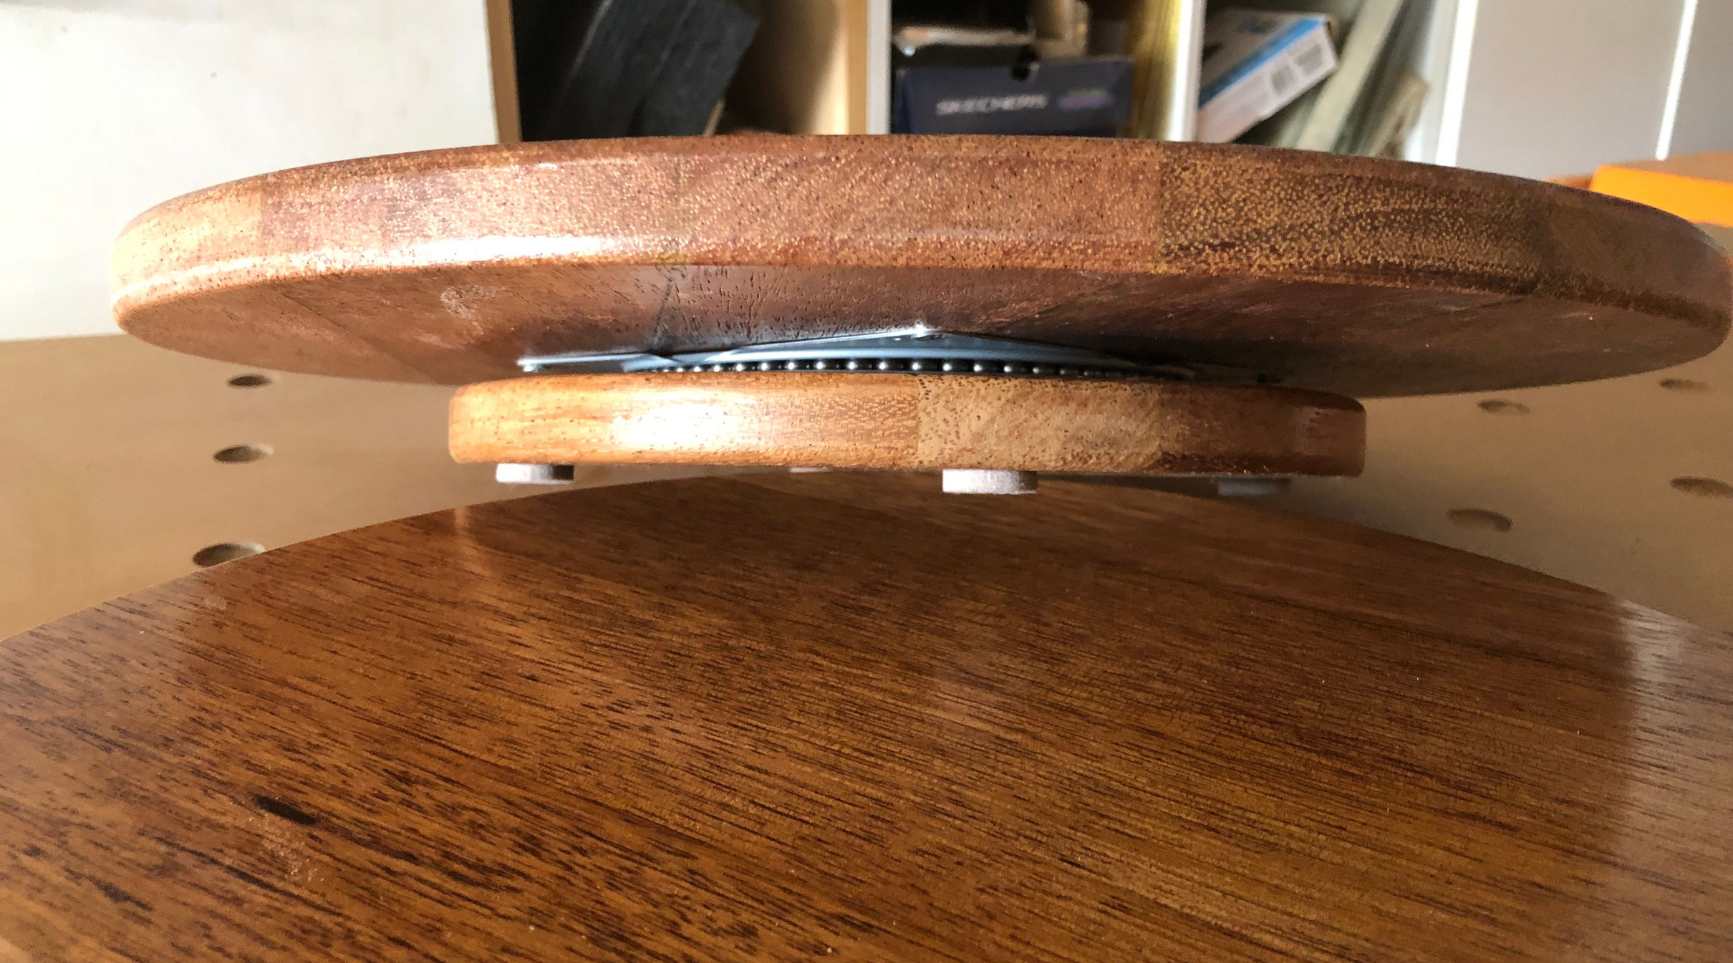
Step 2: Attach the Lazy Susan Bearing
With the base of your lazy Susan expertly crafted, it’s time to incorporate the pivotal component that will enable smooth rotation: the lazy Susan bearing. This crucial element will allow your finished project to effortlessly swivel, providing easy access to items stored on the platform.
Begin by positioning the lazy Susan bearing at the center of the base. Use a pencil to mark the locations of the screw holes on the base, ensuring that they align with the pre-drilled holes in the bearing. Next, carefully drill pilot holes at the marked locations to accommodate the screws that will secure the bearing to the base.
Once the pilot holes are in place, it’s time to attach the lazy Susan bearing to the base using screws. Ensure that the bearing is securely fastened, as this will guarantee the stability and smooth operation of the rotating platform. A screwdriver is the ideal tool for this task, allowing you to tighten the screws firmly without damaging the bearing or the base.
As you complete this step, take a moment to test the rotation of the bearing to ensure that it moves freely and without impediment. This simple yet crucial check will confirm that the bearing is properly installed and ready to support the top platform of your lazy Susan.
By successfully attaching the lazy Susan bearing to the base, you’re one step closer to bringing your DIY project to fruition. The smooth rotation enabled by the bearing will soon provide effortless access to your kitchen essentials, transforming the functionality of your space with a touch of ingenuity and craftsmanship.
When making a Lazy Susan, make sure to use a sturdy base and a smooth rotating mechanism to ensure it spins easily. Also, consider using non-slip material on the bottom to prevent sliding.
Step 3: Attach the Top Platform
With the base and bearing in place, it’s time to add the top platform to your lazy Susan, completing the essential structure that will hold and display your kitchen items with ease. This platform will seamlessly rotate on the bearing, providing convenient access to stored items and enhancing the functionality of your kitchen space.
Begin by selecting another piece of 3/4-inch thick plywood or MDF to serve as the top platform. Similar to the base, it’s important to measure and cut the top platform to the desired size, ensuring that it aligns perfectly with the base and provides ample space for your kitchen essentials. Use a circular saw or jigsaw to achieve precise and uniform dimensions, maintaining the same diameter as the base for a harmonious finish.
Once the top platform is cut to size, carefully place it on top of the lazy Susan bearing, ensuring that it rests securely and centrally on the base. With the platform in position, use wood glue to firmly attach it to the bearing, creating a stable and seamless connection. Apply the glue evenly to guarantee a strong bond between the platform and the bearing, ultimately ensuring the smooth and reliable rotation of your lazy Susan.
After attaching the top platform, allow the wood glue to set and cure according to the manufacturer’s instructions. This crucial step will ensure that the platform is securely bonded to the bearing, providing the necessary stability for the rotating mechanism to function optimally.
By successfully attaching the top platform to the lazy Susan bearing, you’ve reached a significant milestone in the construction of your DIY project. The completed structure now stands ready to revolutionize your kitchen organization, offering effortless access to your cooking essentials and adding a touch of practical elegance to your culinary space.
Read more: How To Attach A Lazy Susan
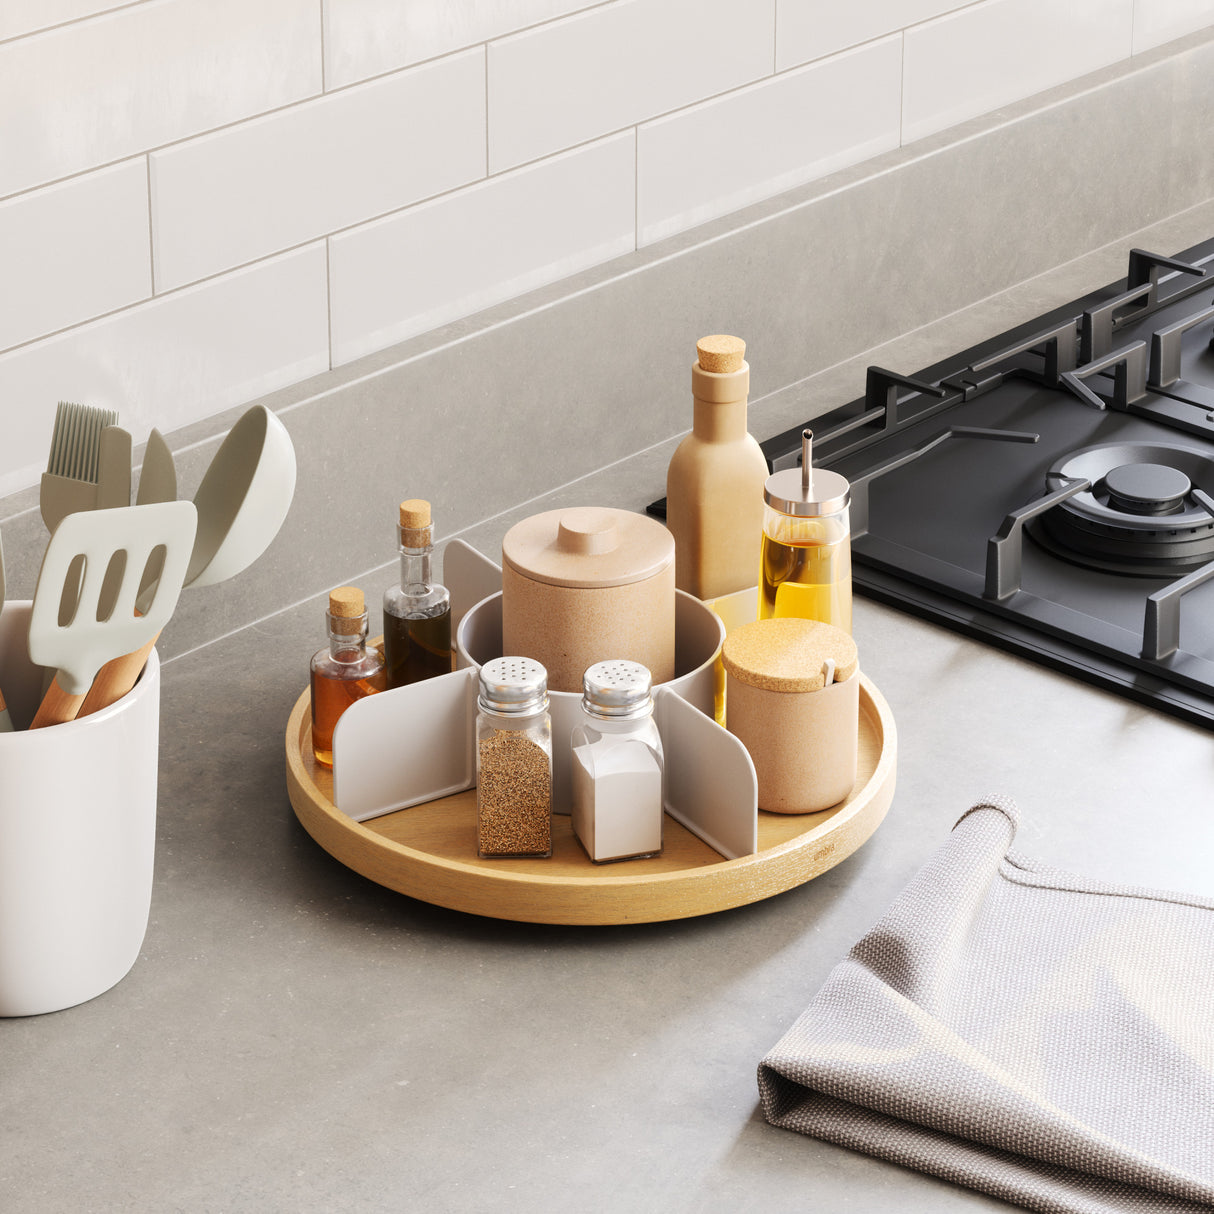
Step 4: Finishing Touches
As your DIY lazy Susan nears completion, it’s time to add the finishing touches that will not only enhance its functionality but also elevate its visual appeal, seamlessly integrating it into your kitchen decor. Whether you opt for a natural wood finish or a personalized touch of color, this step allows you to infuse your project with a touch of individuality and style.
If you prefer a natural wood finish, consider sanding the edges and surfaces of the lazy Susan to achieve a smooth and polished look. This step will not only enhance the tactile appeal of the rotating platform but also ensure that it complements the overall aesthetic of your kitchen. Additionally, applying a coat of clear varnish or wood sealant can protect the surface from moisture and wear, prolonging the lifespan of your creation.
For those inclined towards adding a splash of color or a decorative touch, consider painting the top platform of the lazy Susan in a hue that harmonizes with your kitchen decor. Whether you opt for a vibrant accent or a subtle tone that blends seamlessly with the surroundings, this customization can transform your lazy Susan into a striking focal point while maintaining its practical functionality.
Furthermore, you may choose to apply a decorative laminate to the top platform, introducing patterns or textures that reflect your personal style. This creative addition can infuse your lazy Susan with a unique character, making it a standout feature in your kitchen while serving as a versatile storage solution.
Once you’ve added the desired finishing touches, allow the lazy Susan to dry and cure thoroughly before putting it into use. This patience will ensure that your project retains its pristine appearance and durability, allowing you to enjoy the benefits of your customized creation for years to come.
With the finishing touches complete, your DIY lazy Susan is now a functional and visually appealing addition to your kitchen. Its seamless rotation and personalized aesthetic make it a standout piece that enhances the organization and accessibility of your culinary space, reflecting your creativity and craftsmanship.
Conclusion
Congratulations on successfully crafting your very own lazy Susan! Through meticulous measurements, precise cuts, and creative customization, you’ve transformed basic materials into a practical and visually appealing addition to your kitchen. This DIY project not only enhances the organization and accessibility of your culinary space but also reflects your ingenuity and craftsmanship.
As you admire your completed lazy Susan, take a moment to appreciate the seamless rotation enabled by the carefully attached lazy Susan bearing. This simple yet ingenious mechanism now provides effortless access to your kitchen essentials, streamlining your cooking routines and simplifying your daily tasks.
Moreover, the finishing touches you’ve added, whether a natural wood finish, a personalized coat of paint, or a decorative laminate, have infused your lazy Susan with a touch of individuality and style. This customization not only complements your kitchen decor but also transforms your creation into a striking focal point that seamlessly integrates into your culinary space.
As you place your newly constructed lazy Susan in its designated spot, revel in the knowledge that you’ve not only created a practical piece of kitchen furniture but also embarked on a fulfilling DIY journey. Your project embodies the perfect blend of functionality and creativity, showcasing your ability to transform raw materials into a purposeful and visually captivating addition to your home.
With your DIY lazy Susan now enhancing the functionality and aesthetics of your kitchen, you’ve unlocked the potential to streamline your storage and elevate the organization of your cooking space. As you enjoy the convenience and visual appeal of your creation, take pride in the craftsmanship and innovation that have made this project a resounding success.
So, here’s to the DIY spirit that drives innovation and creativity, transforming everyday materials into extraordinary solutions. Your DIY lazy Susan stands as a testament to your resourcefulness and skill, enriching your kitchen with practical elegance and personalized charm.
Frequently Asked Questions about How To Make A Lazy Susan
Was this page helpful?
At Storables.com, we guarantee accurate and reliable information. Our content, validated by Expert Board Contributors, is crafted following stringent Editorial Policies. We're committed to providing you with well-researched, expert-backed insights for all your informational needs.


0 thoughts on “How To Make A Lazy Susan”