Home>Furniture & Design>Kitchen Furniture>How To Attach A Lazy Susan
Kitchen Furniture
How To Attach A Lazy Susan
Modified: February 27, 2024
Learn how to properly attach a Lazy Susan to your kitchen furniture and design for improved functionality and convenience. Discover step-by-step instructions and expert tips.
(Many of the links in this article redirect to a specific reviewed product. Your purchase of these products through affiliate links helps to generate commission for Storables.com, at no extra cost. Learn more)
Introduction
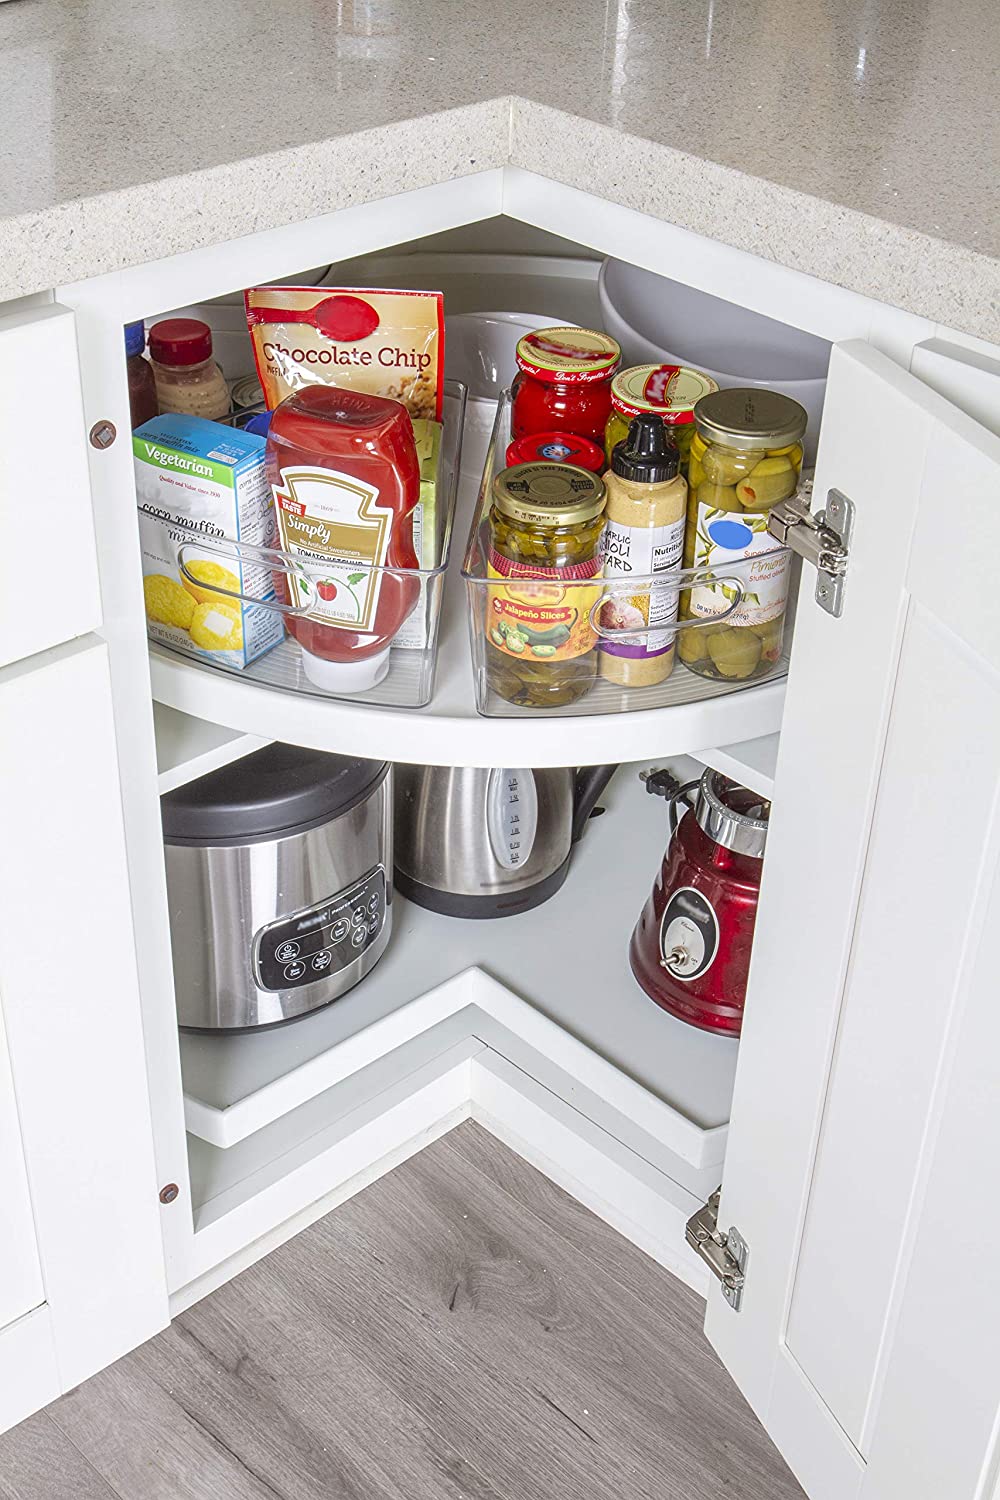
Are you tired of digging through your kitchen cabinets to find the right spice or condiment? Do you wish for a more efficient way to access items in the back of your pantry? If so, installing a Lazy Susan could be the perfect solution to your organizational woes. A Lazy Susan is a rotating tray that allows for easy access to items, making it a popular addition to kitchen cabinets, pantries, and even dining tables. In this comprehensive guide, we will walk you through the process of attaching a Lazy Susan to your cabinet, providing you with the convenience and functionality you desire.
Whether you are a seasoned DIY enthusiast or a novice looking to embark on your first home improvement project, attaching a Lazy Susan is a manageable task that yields impressive results. By following the steps outlined in this guide, you can elevate the functionality of your kitchen space while adding a touch of modern convenience to your home.
So, roll up your sleeves, gather your tools, and let's dive into the process of attaching a Lazy Susan to revolutionize the way you organize and access items in your kitchen.
Key Takeaways:
- Installing a Lazy Susan in your kitchen cabinet or pantry can revolutionize the way you access and organize items, saving time and effort in your daily cooking routine.
- By following the steps in this guide, you can successfully attach a Lazy Susan, enjoy seamless rotation, and maximize storage space, bringing convenience and efficiency to your kitchen.
Read more: How To Measure A Lazy Susan
Tools and Materials
Before beginning the process of attaching a Lazy Susan, it’s essential to gather the necessary tools and materials. Having the right equipment on hand will streamline the installation process and ensure a successful outcome. Here’s what you’ll need:
Tools:
- Measuring tape
- Pencil
- Drill
- Screwdriver
- Level
- Adjustable wrench
- Stud finder (if attaching to a wall)
Materials:
- Lazy Susan turntable
- Screws
- Wood glue
- Painter's tape
- Optional: Cabinet liner or mat
These tools and materials will serve as the foundation for a smooth and efficient installation process. Additionally, ensure that the Lazy Susan turntable you select is suitable for the size and weight requirements of your cabinet or pantry. With these items at your disposal, you’ll be well-equipped to proceed with confidence and precision as you transform your storage space with the addition of a Lazy Susan.
Preparing the Base
Before attaching the Lazy Susan, it’s crucial to prepare the base where the turntable will be installed. Whether you’re mounting the Lazy Susan in a cabinet or a pantry, the following steps will guide you through the preparation process:
Read more: How Big Is A Lazy Susan Cabinet
1. Clear Out the Space:
Begin by removing all items from the cabinet or pantry where the Lazy Susan will be installed. This will provide you with ample space to work and ensure that no items obstruct the installation process.
2. Measure and Mark:
Use a measuring tape and pencil to mark the center point of the cabinet floor or shelf where the Lazy Susan will be positioned. This step is crucial for ensuring that the turntable is installed in the precise location, allowing for smooth and balanced rotation.
3. Align and Level:
Place the Lazy Susan turntable in the marked position and use a level to ensure that it sits perfectly flat. This step is essential for guaranteeing smooth and balanced rotation once the installation is complete.
4. Secure the Base:
If the cabinet or pantry has a wooden base, apply wood glue to the bottom of the Lazy Susan turntable to secure it in place. For added stability, use screws to fasten the turntable to the base, ensuring a firm and durable attachment.
Read more: How To Decorate A Lazy Susan
5. Optional: Add a Liner or Mat:
Consider placing a cabinet liner or mat on the base before installing the Lazy Susan. This additional layer can protect the cabinet surface and provide a cushioned foundation for the turntable, reducing noise and minimizing wear and tear over time.
By meticulously preparing the base for the Lazy Susan installation, you’ll set the stage for a seamless and reliable rotation mechanism that enhances the functionality of your storage space. With the base ready, you’re now primed to proceed with attaching the Lazy Susan and enjoying the convenience it brings to your kitchen organization.
Attaching the Lazy Susan
With the base prepared, it’s time to proceed with attaching the Lazy Susan turntable to your cabinet or pantry. This step is pivotal in ensuring that the turntable is securely installed and functions optimally. Follow these steps to seamlessly attach the Lazy Susan:
1. Mark Screw Holes:
Position the Lazy Susan turntable on the prepared base and use a pencil to mark the screw holes on the cabinet floor or shelf. This step will guide the placement of screws for a secure attachment.
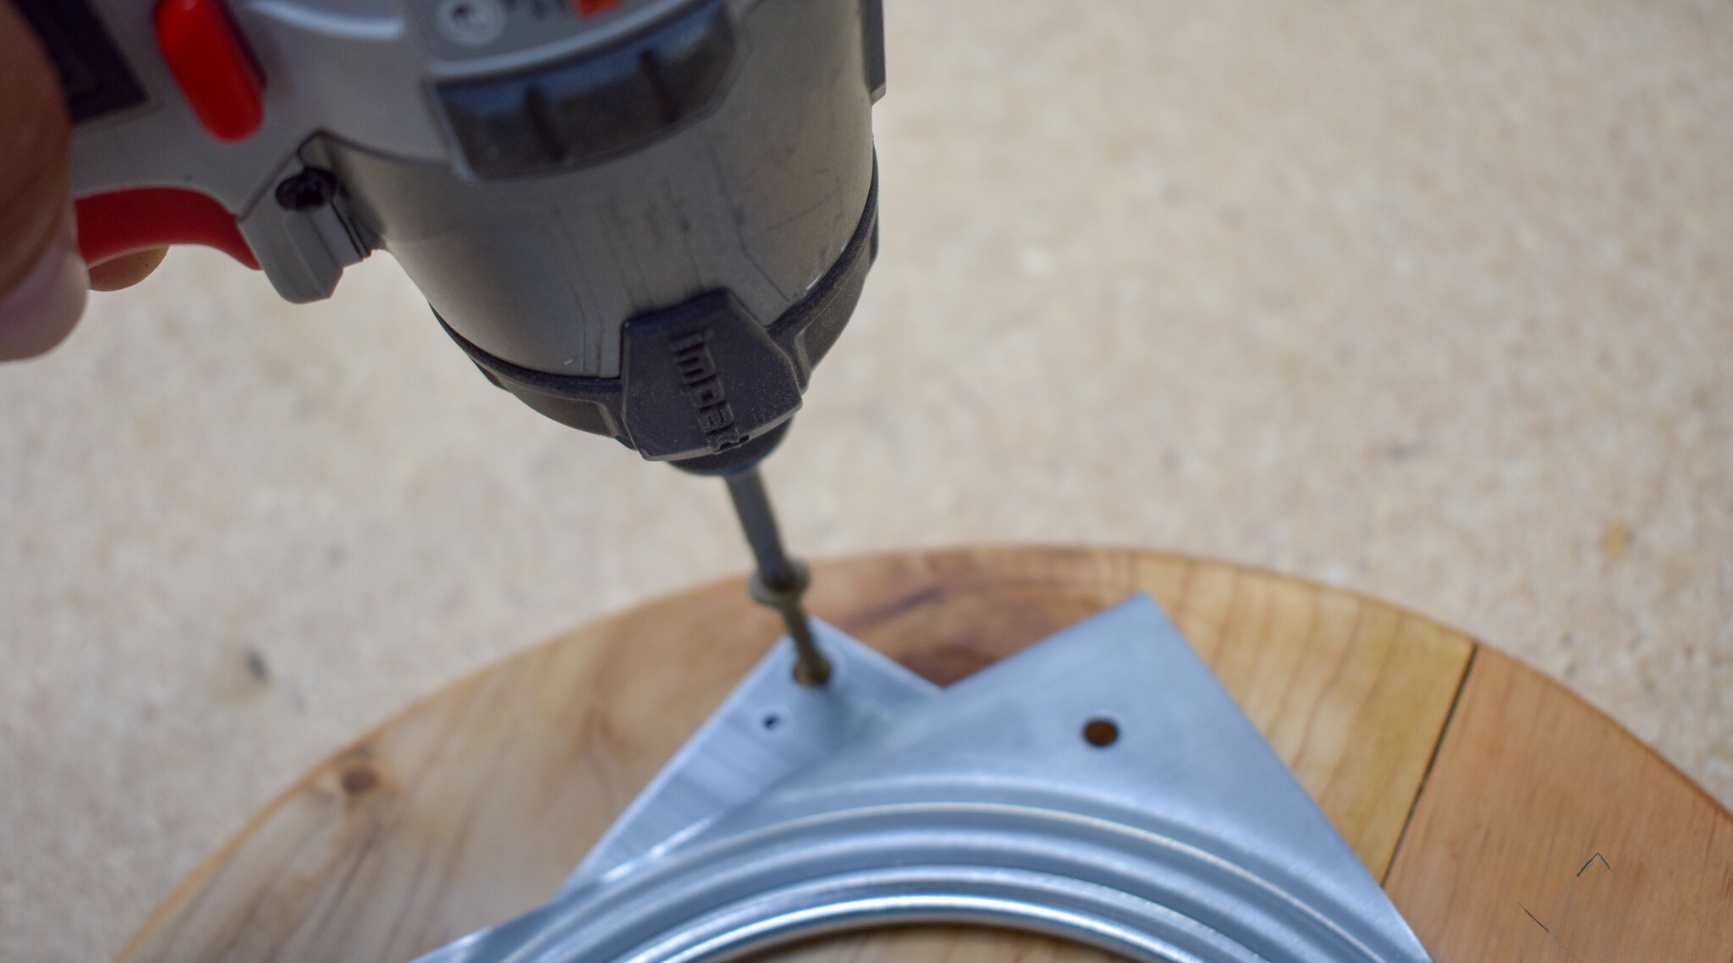
2. Drill Pilot Holes:
Using a drill, create pilot holes at the marked screw locations. Pilot holes prevent wood from splitting and make it easier to drive screws into the base, ensuring a strong and reliable connection.
Read more: How To Remove A Lazy Susan
3. Secure the Turntable:
Place the Lazy Susan turntable back onto the base and align it with the drilled pilot holes. Using screws, securely attach the turntable to the base, ensuring that it is firmly anchored and able to rotate smoothly without wobbling or instability.
4. Test Rotation:
After attaching the Lazy Susan, test its rotation to ensure that it moves smoothly and without resistance. This step allows you to identify any potential issues and make adjustments before fully securing the turntable in place.
5. Optional: Conceal Screw Heads:
If desired, use wood putty to fill the screw holes and create a seamless, polished appearance. Once the putty dries, sand the surface to achieve a smooth finish that complements the overall aesthetic of the cabinet or pantry.
By following these steps, you’ll successfully attach the Lazy Susan to your cabinet or pantry, unlocking the convenience of a rotating storage solution that simplifies access to items and maximizes organizational efficiency. With the turntable securely in place, you’re one step closer to enjoying a more functional and accessible storage space in your kitchen.
Testing and Adjusting
After attaching the Lazy Susan, it’s important to conduct thorough testing to ensure that the rotation mechanism functions flawlessly and meets your expectations. This phase allows you to make any necessary adjustments for optimal performance. Here’s how to test and fine-tune your newly installed Lazy Susan:
Read more: How To Make A Lazy Susan
1. Load the Shelves:
Place items on the Lazy Susan shelves to simulate real-life usage. Distribute the weight evenly to gauge how the turntable handles the load, ensuring that it rotates smoothly without any strain or imbalance.
2. Check for Clearance:
Rotate the Lazy Susan to confirm that it clears the surrounding cabinet walls or pantry shelves without any obstructions. This step is crucial for preventing collisions and ensuring unobstructed access to items stored on the turntable.
3. Adjust Shelf Height:
If necessary, adjust the height of the shelves to accommodate taller items or optimize the use of vertical space within the cabinet or pantry. This customization ensures that the Lazy Susan maximizes storage capacity while accommodating items of various sizes.
4. Fine-Tune Rotation:
If you notice any resistance or uneven rotation during testing, make adjustments as needed. This may involve tightening screws, realigning the turntable, or applying lubrication to the rotating mechanism to promote smooth and effortless movement.
Read more: How To Clean A Lazy Susan
5. Evaluate Accessibility:
Assess how easily you can access items on the Lazy Susan. The rotation should provide convenient access to stored items, eliminating the need to rummage through the cabinet or pantry to locate specific products.
By diligently testing and adjusting the newly installed Lazy Susan, you can fine-tune its functionality to align with your unique storage needs and usage patterns. This phase ensures that the turntable operates seamlessly, enhancing the accessibility and organization of your kitchen essentials.
Conclusion
Congratulations! By following this guide, you have successfully attached a Lazy Susan to your cabinet or pantry, revolutionizing the way you organize and access items in your kitchen. The addition of a Lazy Susan brings a new level of convenience and efficiency to your storage space, making it easier than ever to locate and retrieve essential items.
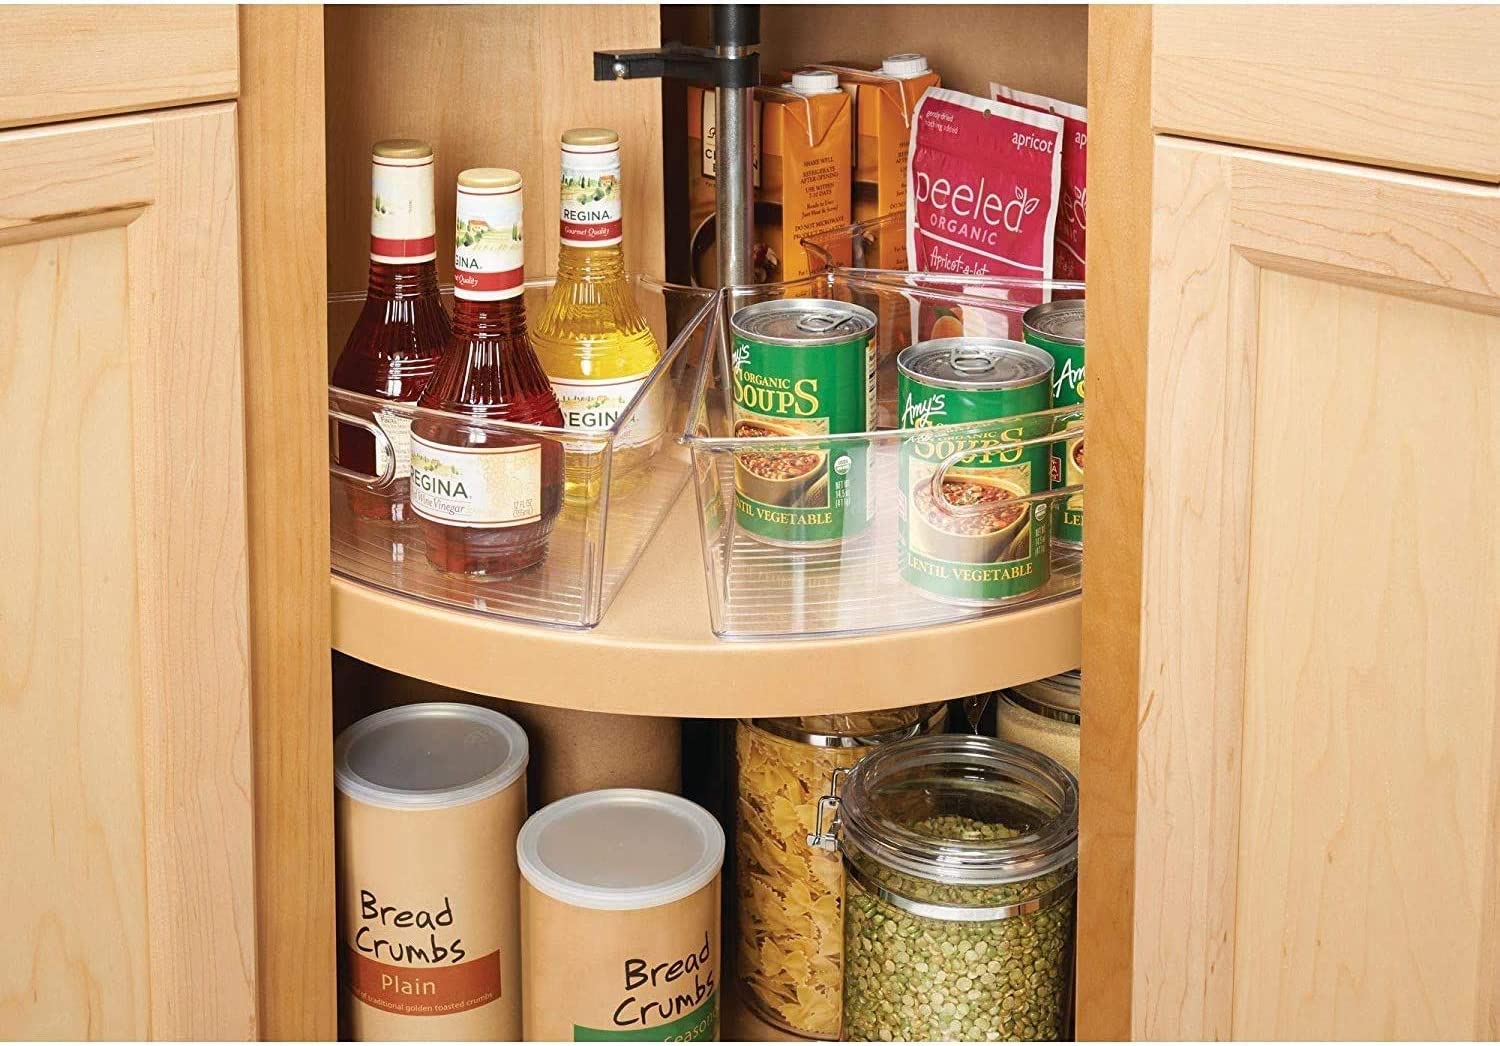
With the Lazy Susan in place, you can say goodbye to the frustration of reaching into the depths of your cabinets or pantry, as the rotating turntable provides effortless access to all stored items. From spices and condiments to canned goods and kitchen essentials, the Lazy Susan streamlines your kitchen organization, saving you time and effort in your daily culinary endeavors.
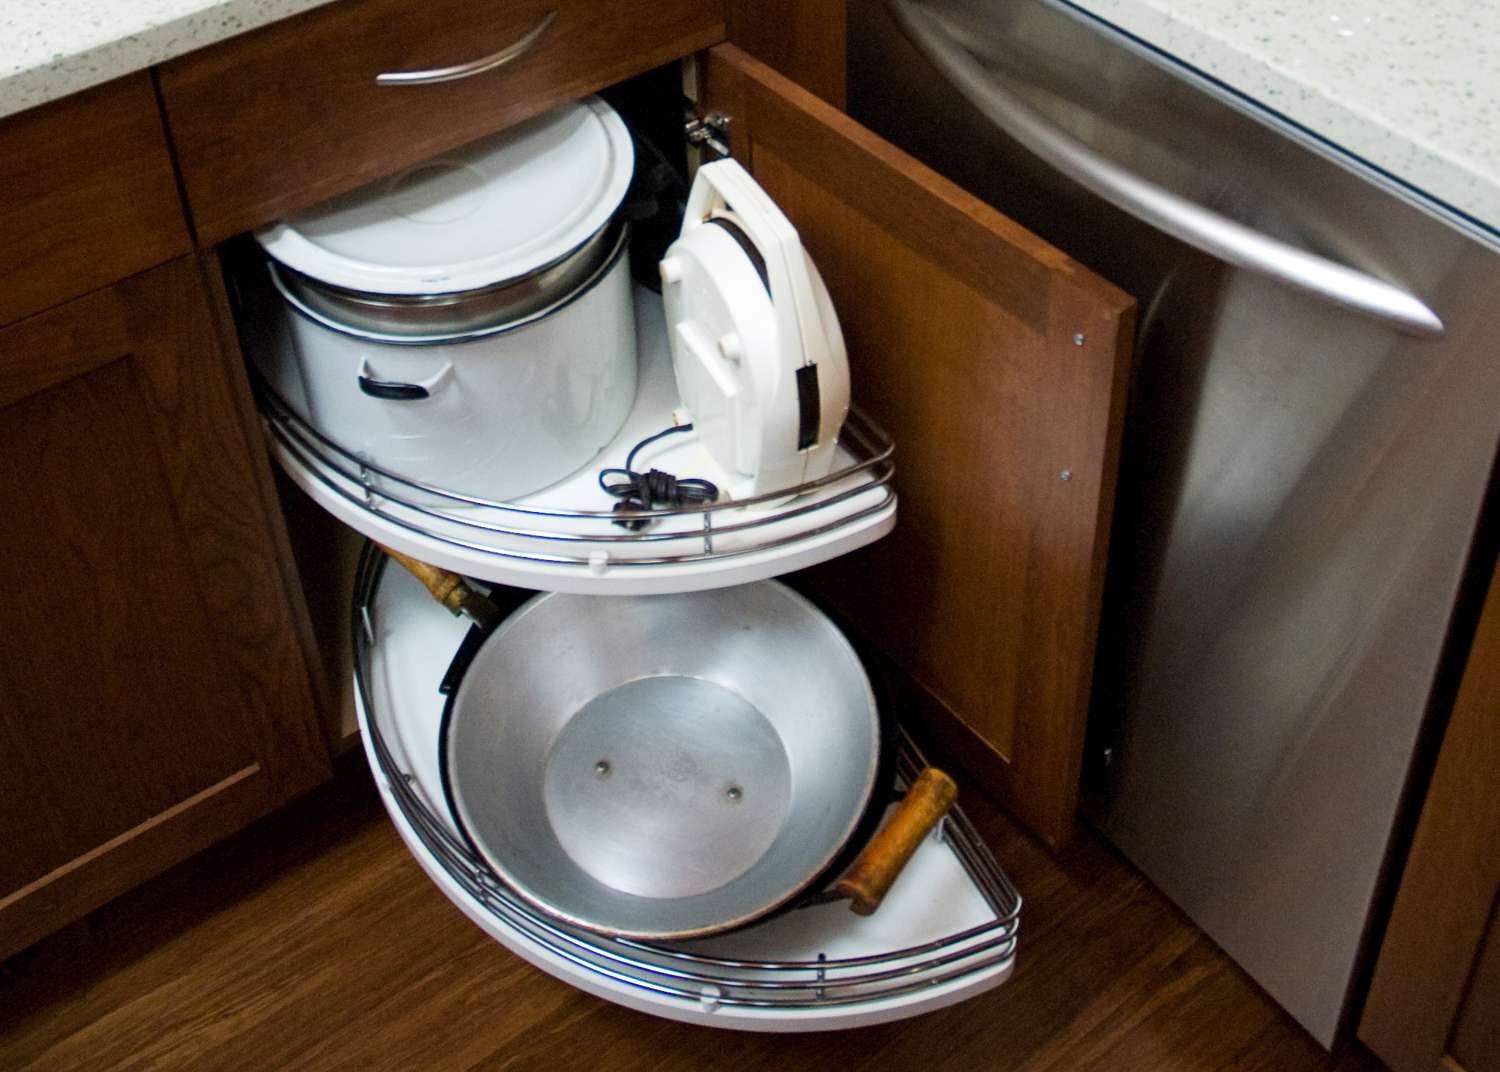
Furthermore, the versatility of the Lazy Susan makes it a valuable addition to various areas of the home. Whether installed in a kitchen cabinet, pantry, or even on a dining table, the turntable offers a practical solution for maximizing storage and accessibility.
As you revel in the enhanced functionality of your storage space, take pride in the accomplishment of a successful DIY project. Your attention to detail in preparing the base, attaching the turntable, and fine-tuning its performance has resulted in a seamless and reliable rotation mechanism that complements your lifestyle and organizational preferences.
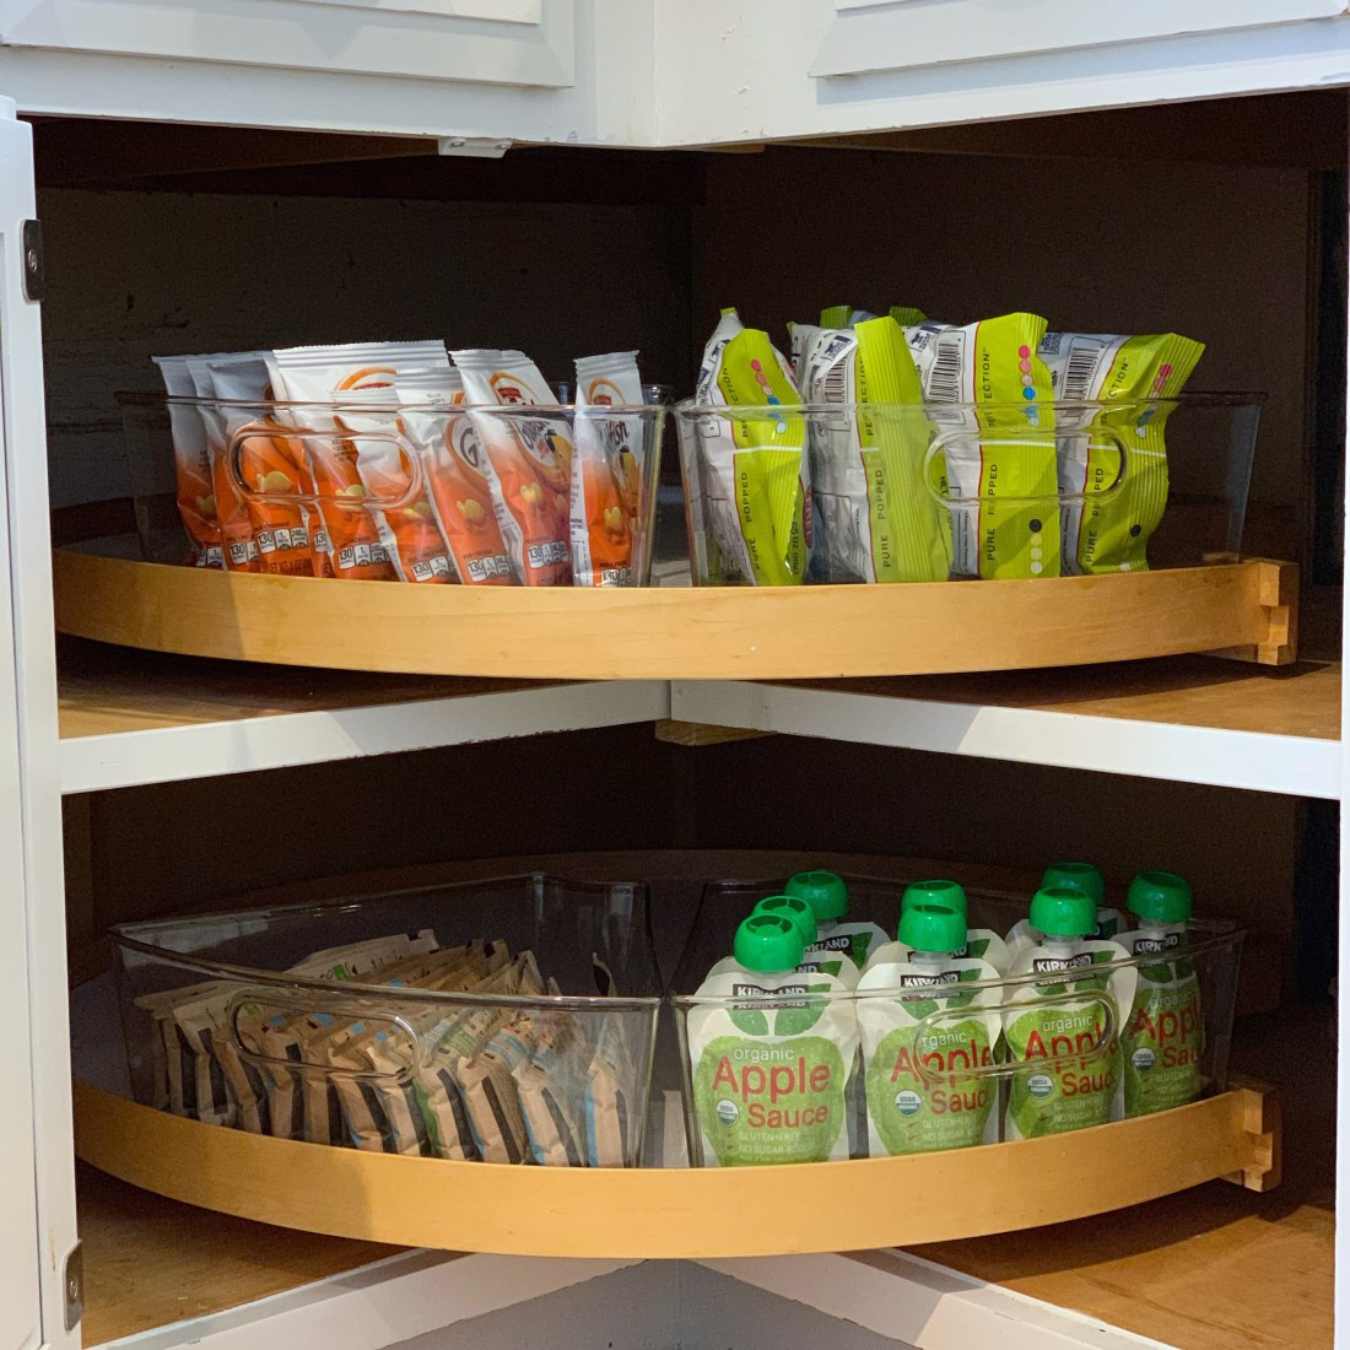
Embrace the newfound convenience and organization that the Lazy Susan brings to your kitchen, and savor the ease of locating and retrieving items with a simple spin. With your storage space optimized and your essentials readily accessible, you can embark on your culinary adventures with renewed efficiency and enjoyment.
Thank you for joining us on this journey to enhance your kitchen organization with the installation of a Lazy Susan. We hope this guide has empowered you to embark on future DIY projects with confidence and enthusiasm, as you continue to elevate the functionality and aesthetics of your living spaces.
Frequently Asked Questions about How To Attach A Lazy Susan
Was this page helpful?
At Storables.com, we guarantee accurate and reliable information. Our content, validated by Expert Board Contributors, is crafted following stringent Editorial Policies. We're committed to providing you with well-researched, expert-backed insights for all your informational needs.


0 thoughts on “How To Attach A Lazy Susan”