Home>Furniture & Design>Kitchen Furniture>How To Remove A Lazy Susan
Kitchen Furniture
How To Remove A Lazy Susan
Modified: August 20, 2024
Learn how to remove a Lazy Susan from your kitchen furniture with our expert tips and step-by-step guide. Upgrade your kitchen design effortlessly.
(Many of the links in this article redirect to a specific reviewed product. Your purchase of these products through affiliate links helps to generate commission for Storables.com, at no extra cost. Learn more)
Introduction
Removing a Lazy Susan from your kitchen cabinet may seem like a daunting task, but with the right guidance, it can be a straightforward and rewarding project. Whether you're looking to replace the unit, clean hard-to-reach areas, or reconfigure your cabinet space, understanding the process is crucial. By following a few simple steps, you can efficiently dismantle the Lazy Susan without damaging your cabinet or the unit itself.
In this guide, we'll walk through the step-by-step process of removing a Lazy Susan, providing valuable insights and practical tips to make the task seamless and stress-free. From clearing the space to detaching the base, each stage will be thoroughly explained, ensuring that you have the knowledge and confidence to tackle this project with ease.
So, roll up your sleeves, gather your tools, and let's embark on this journey to liberate your cabinet from the confines of the Lazy Susan. With our expert guidance, you'll soon have a clear, open space ready for your desired kitchen organization and storage solutions. Let's dive in!
Key Takeaways:
- Say goodbye to the clutter! Removing a Lazy Susan is a manageable project that involves clearing the space, dismantling the shelves, detaching the base, and envisioning new storage possibilities.
- Tidy up and plan ahead! After removing a Lazy Susan, organize tools, assess the cabinet, and consider future storage solutions. Repurpose or dispose of the unit responsibly for a clutter-free kitchen.
Read more: How To Measure A Lazy Susan
Step 1: Clearing the Space
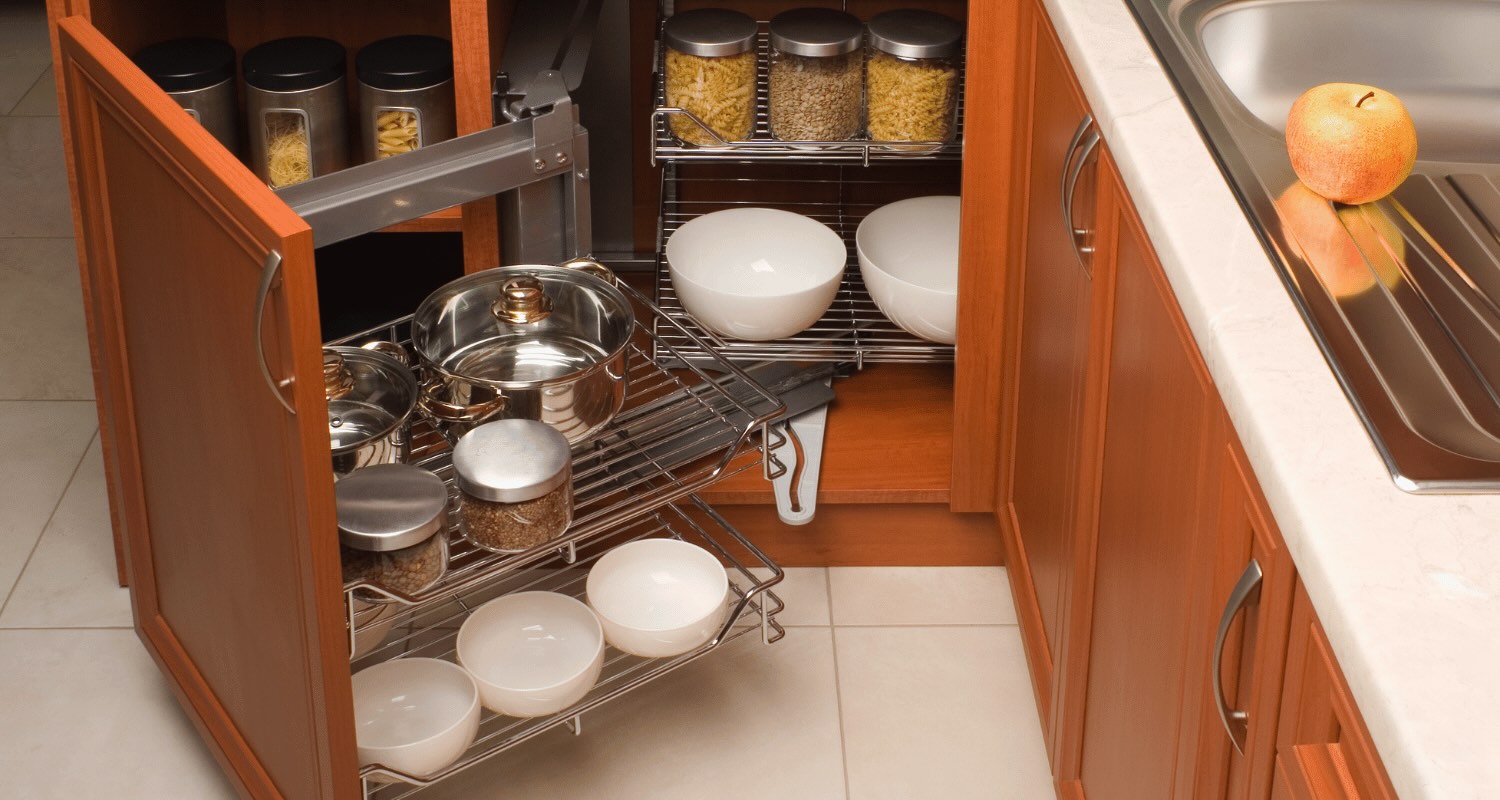
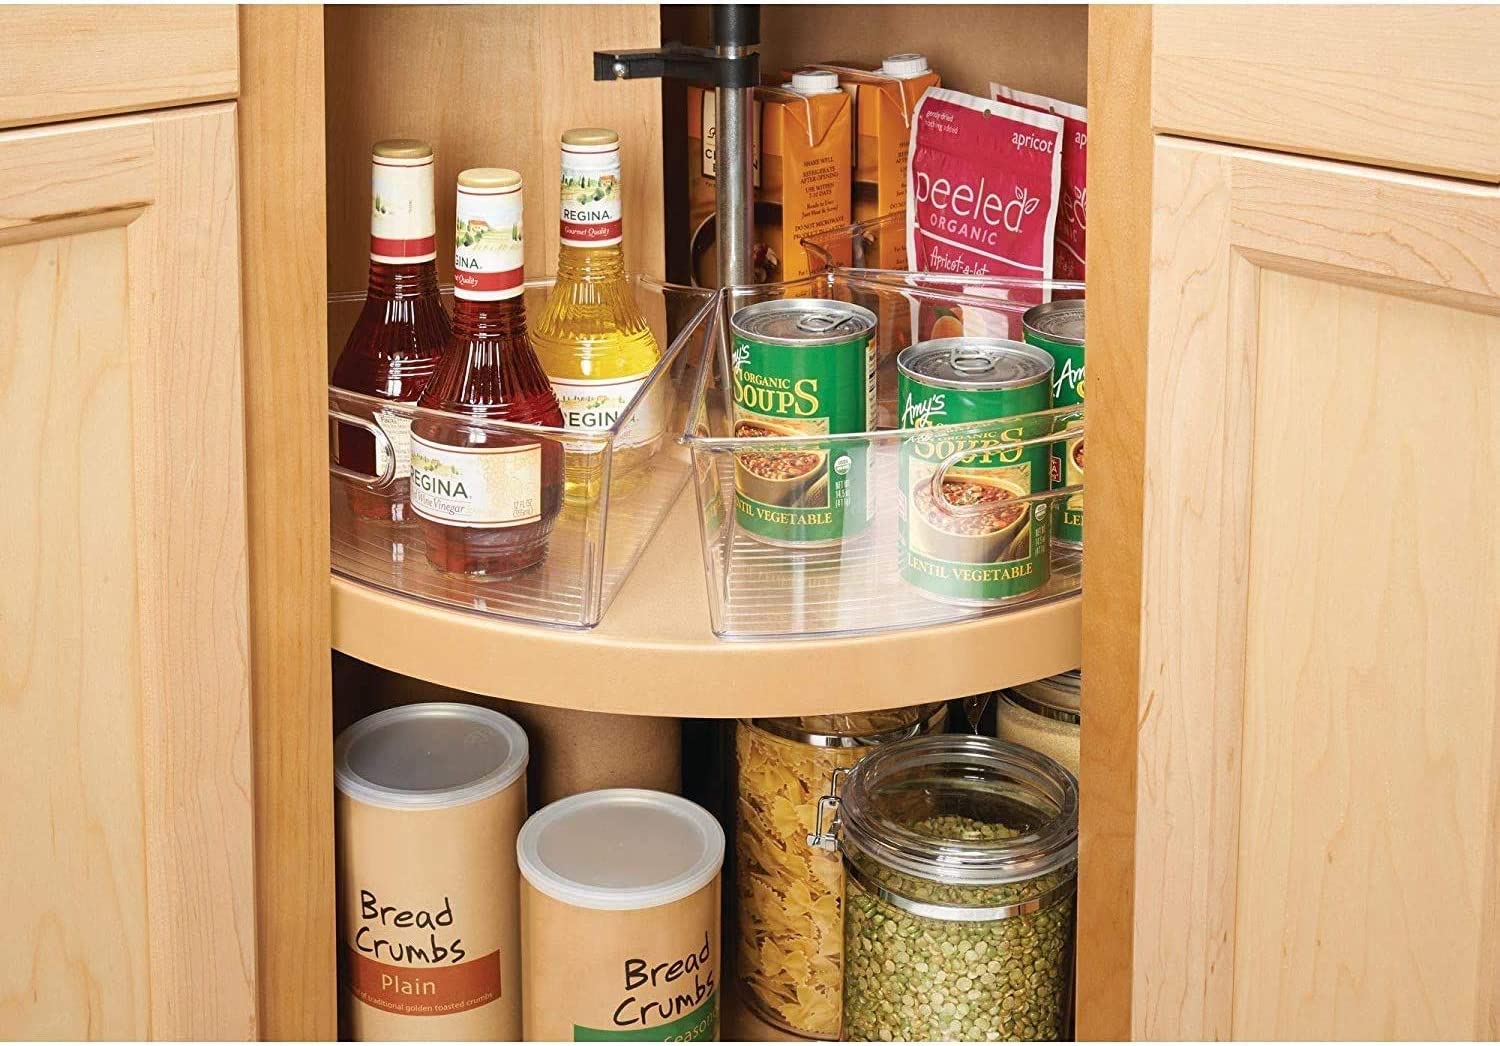
Before you begin the process of removing the Lazy Susan, it’s essential to clear the surrounding space to ensure a safe and unobstructed working environment. Start by emptying the contents of the cabinet where the Lazy Susan is installed. This includes pots, pans, dishes, and any other items stored within the unit. Clearing the cabinet will provide ample space to maneuver and access the components of the Lazy Susan without any obstructions.
Once the cabinet is empty, remove any shelves or accessories that may be attached to the Lazy Susan. These could include dividers, racks, or additional storage units. By clearing out these accessories, you’ll have a clearer view of the Lazy Susan mechanism and an easier time removing it from the cabinet.
After removing the shelves and accessories, take the time to clean the interior of the cabinet. Use a vacuum or a damp cloth to remove any dust, debris, or food particles that may have accumulated over time. This step is crucial, as it ensures that the area is clean and ready for the next phase of the removal process.
With the space cleared, you’re now ready to move on to the next step of removing the Lazy Susan. By taking the time to prepare the area, you’ll streamline the removal process and minimize any potential obstacles along the way.
Step 2: Removing the Lazy Susan Shelves
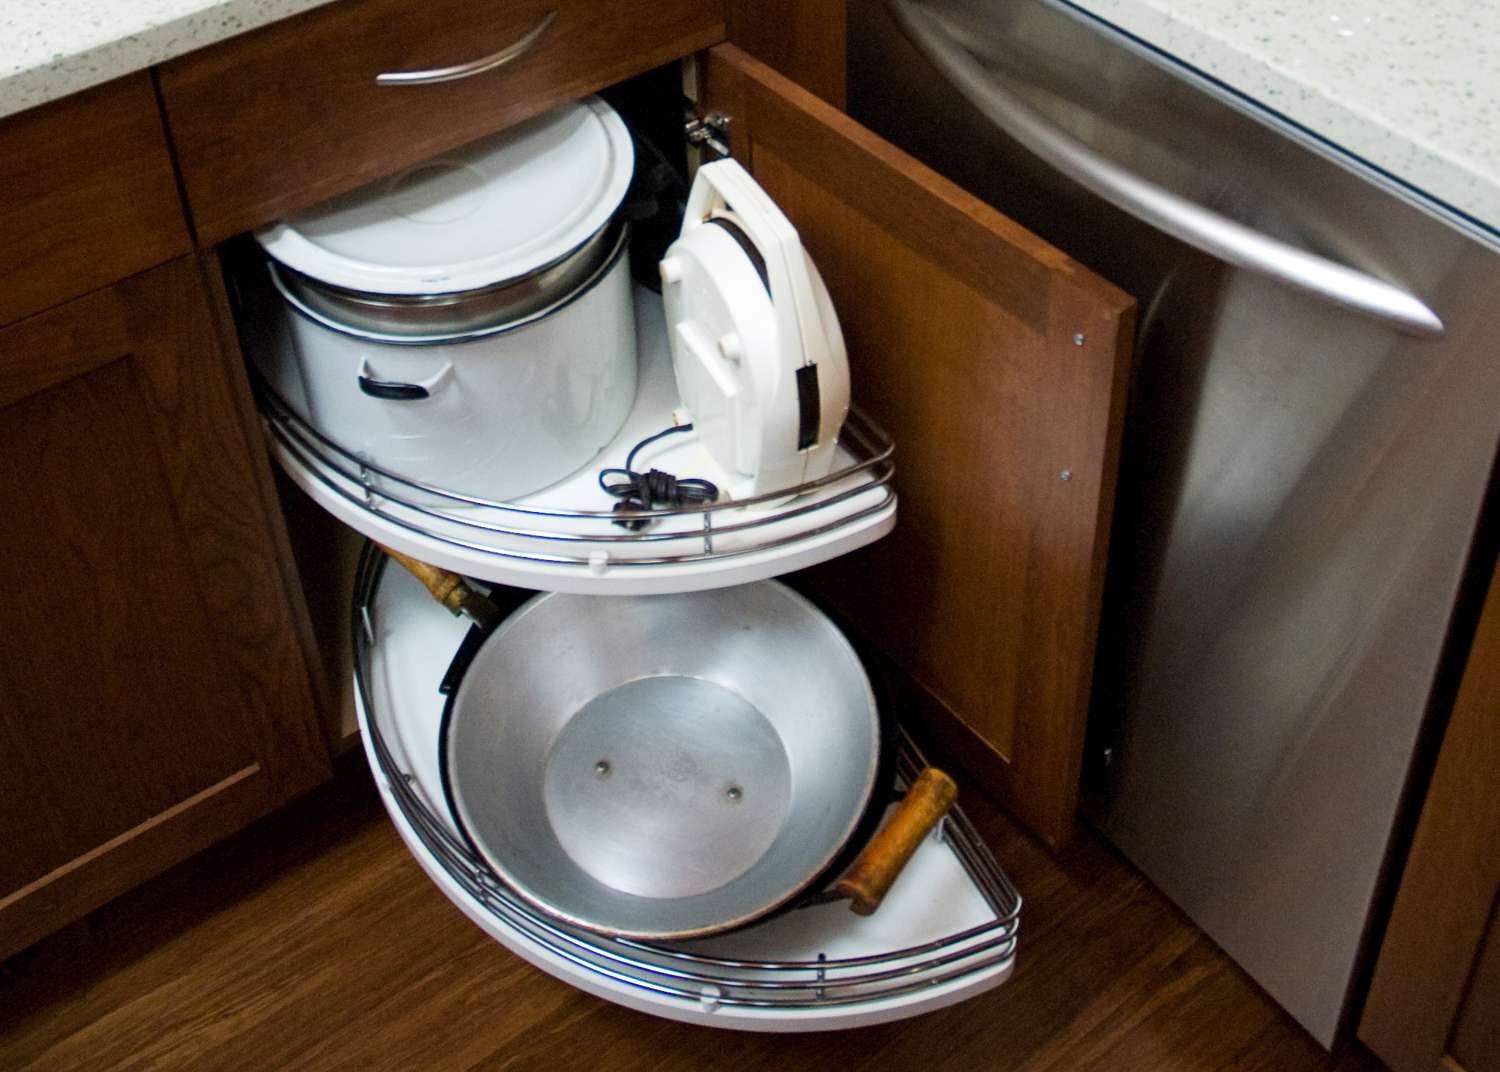
With the space cleared, the next step in removing a Lazy Susan is to focus on dismantling the shelves. Depending on the type of Lazy Susan unit you have, the shelves may be attached in different ways. In most cases, the shelves are either secured with clips, screws, or are simply placed on top of the support mechanism.
Start by identifying how the shelves are attached. If there are clips or screws holding the shelves in place, use a screwdriver or a drill to remove them. Keep the screws and clips in a safe place, as you may need them when reassembling the unit or installing a new storage solution.
If the shelves are simply resting on the support mechanism without any fasteners, carefully lift them out of the cabinet one by one. It’s important to handle the shelves with care to avoid any damage or injuries during the removal process. Place the shelves in a safe location outside of the work area to prevent any potential accidents.
Once the shelves have been removed, take a moment to inspect them for any signs of wear or damage. This is an opportune time to clean the shelves thoroughly, especially if they have accumulated grime or residue over time. A gentle cleaning solution and a soft cloth can help restore the shelves to their original condition.
With the shelves safely removed and the cleaning complete, you’re now ready to proceed to the next phase of removing the Lazy Susan. By systematically dismantling the components, you’re making steady progress toward achieving a clutter-free and organized cabinet space.
Before removing a lazy susan, make sure to empty it of any items. Then, use a screwdriver to remove the screws holding it in place. Finally, lift the lazy susan out of the cabinet and set it aside.
Step 3: Detaching the Lazy Susan Base
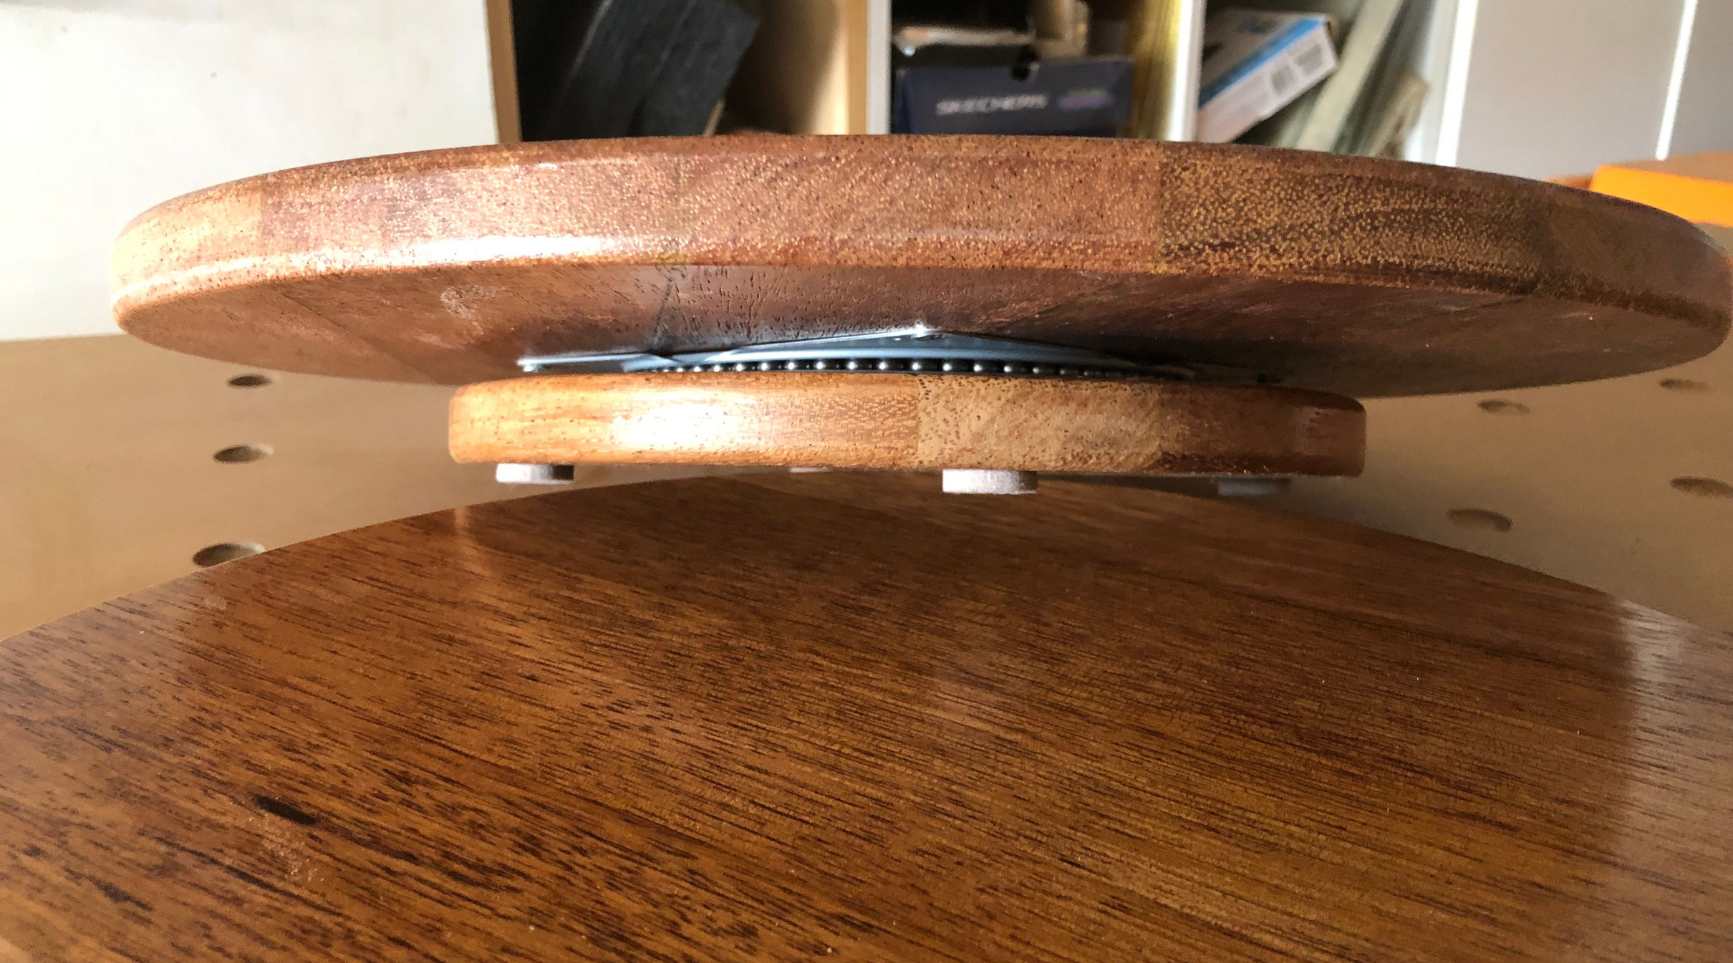
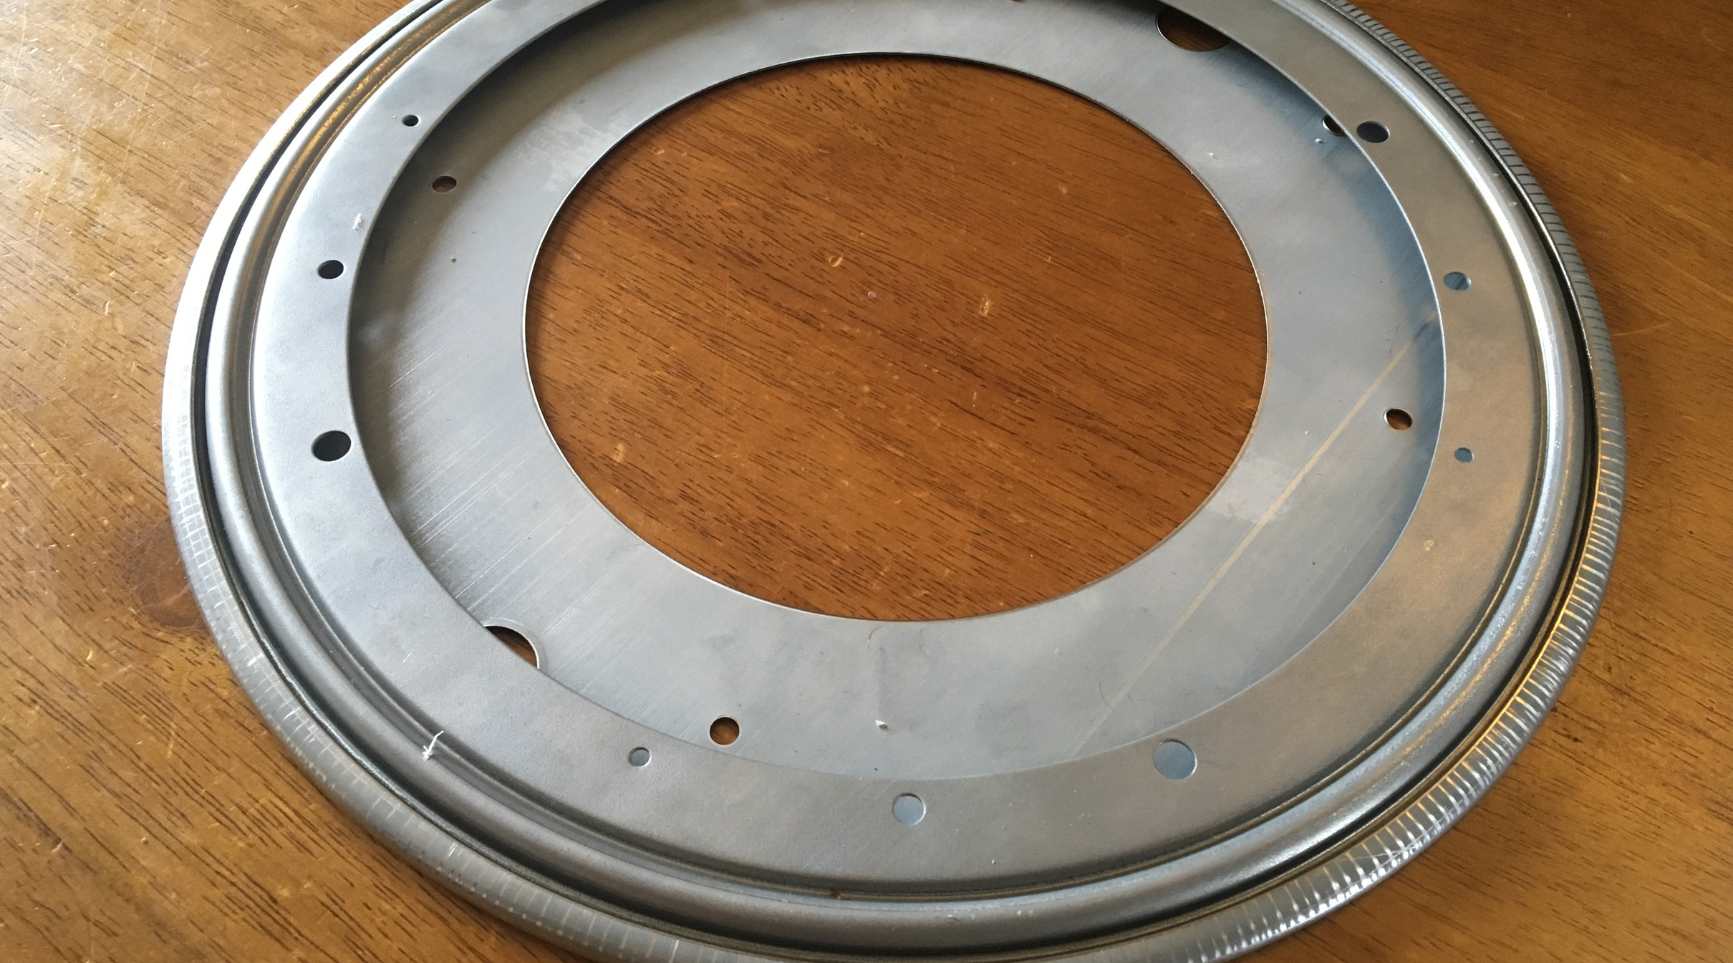
After removing the shelves, the next crucial step in the process of removing a Lazy Susan is detaching the base from the cabinet. The base is the central component that allows the Lazy Susan to rotate and provides stability to the entire unit. Depending on the installation method, the base may be secured with screws, brackets, or may simply rest on a support platform.
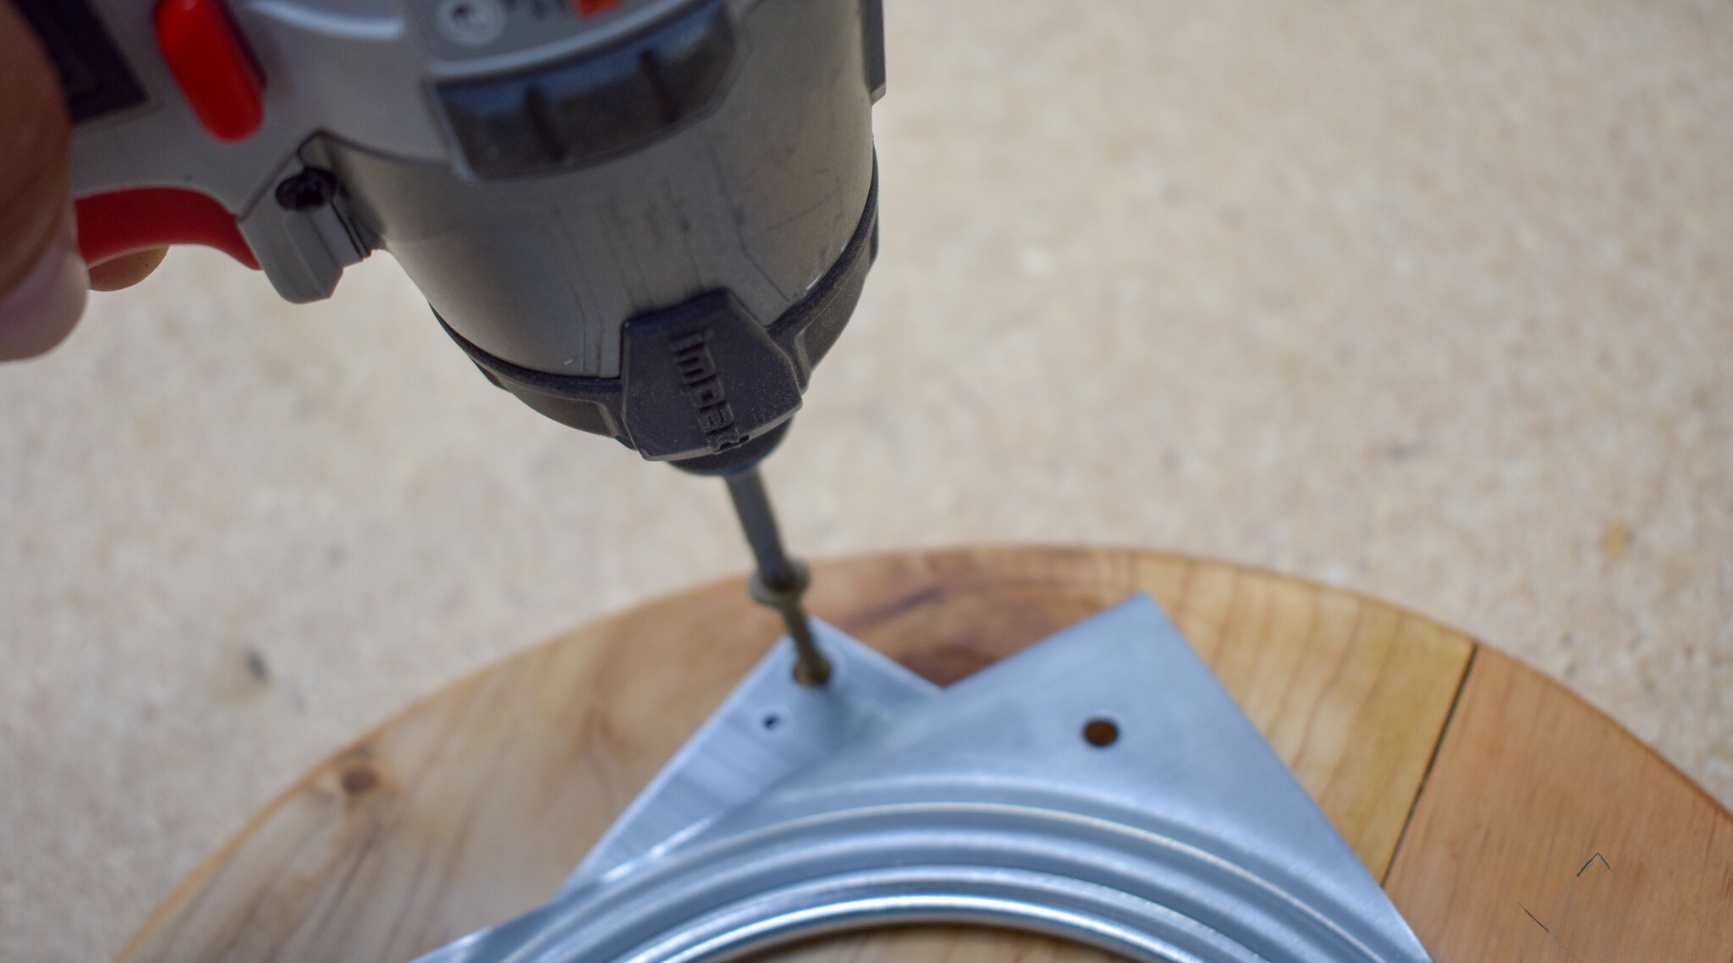
Start by inspecting the base to identify how it is attached to the cabinet. If there are screws or brackets securing the base, use a screwdriver or a drill to remove them. It’s important to exercise caution and ensure that the base is adequately supported as you loosen the fasteners. If the base is simply resting on a platform, carefully lift it out of the cabinet and place it in a secure location.
As you detach the base, be mindful of any electrical connections if your Lazy Susan unit is motorized. If there are electrical wires or cables connected to the base, carefully disconnect them according to the manufacturer’s instructions. It’s crucial to handle electrical components with care and, if necessary, seek professional assistance to ensure safe disconnection.
Once the base has been removed, take a moment to inspect the area within the cabinet. This is an excellent opportunity to clean and organize the space, ensuring that it’s free of any debris or accumulated dirt. A quick wipe-down with a damp cloth can help prepare the cabinet for potential reconfiguration or the installation of a new storage solution.
With the base successfully detached and the cabinet space cleared, you’ve completed a significant phase in the removal of the Lazy Susan. By methodically disassembling the components, you’re one step closer to achieving your desired kitchen organization and storage goals.
Step 4: Finishing Up
With the Lazy Susan base removed and the cabinet space cleared, you’re now in the final phase of the removal process. This step involves tidying up the work area, evaluating the cabinet for any necessary adjustments, and considering future storage solutions for the space previously occupied by the Lazy Susan.
Begin by organizing the tools and materials used during the removal process. Safely store any screws, brackets, or electrical components in labeled containers for future use. Keeping the items organized will streamline the reassembly process if you plan to install a new storage unit or reconfigure the cabinet space.
Next, take a moment to assess the cabinet itself. This is an opportune time to inspect the interior for any signs of wear, damage, or accumulated debris. If necessary, consider making any repairs or adjustments to the cabinet, such as realigning shelves or addressing any structural issues.
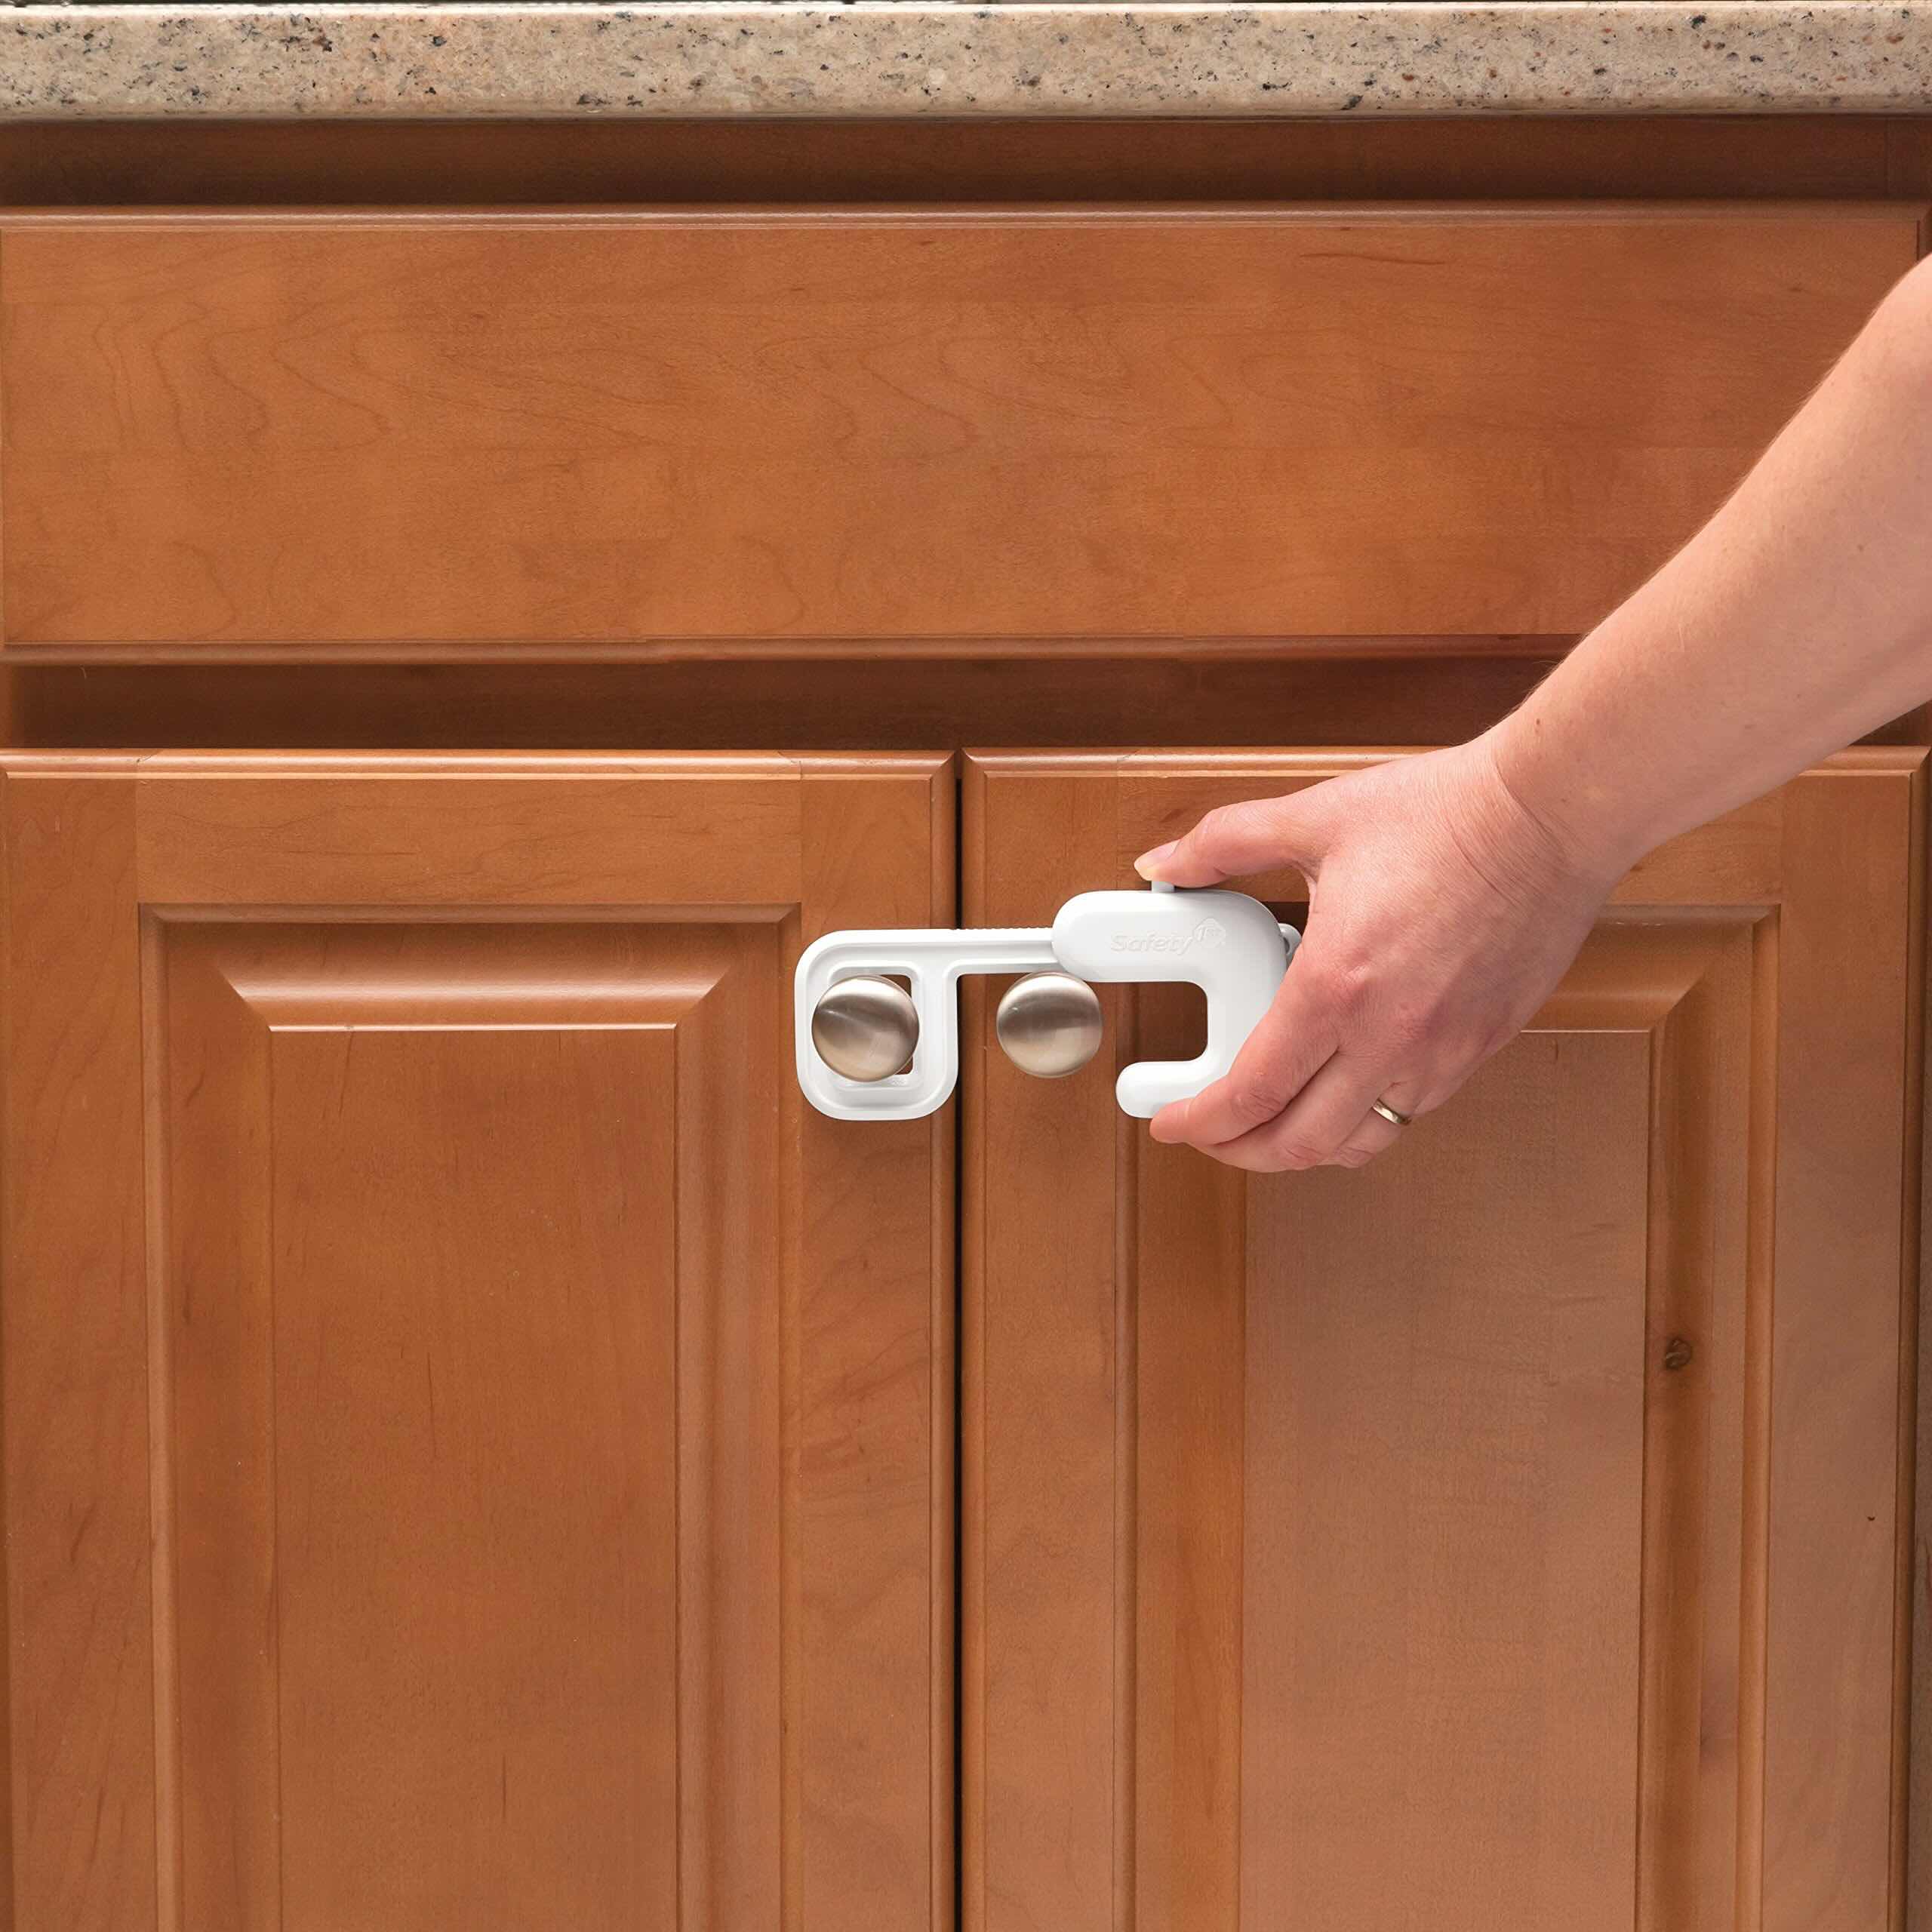
As you evaluate the cabinet, contemplate the future use of the space previously occupied by the Lazy Susan. Whether you intend to install a different storage solution, reconfigure the cabinet layout, or simply leave the space open, this is a chance to envision the possibilities and plan accordingly.
Finally, consider the disposal or repurposing of the removed Lazy Susan unit. If the unit is in good condition, you may opt to repurpose it in another area of your home or donate it to someone in need. If the unit is no longer functional, ensure that it is properly disposed of in accordance with local regulations and environmental guidelines.
With the work area tidied, the cabinet assessed, and future plans considered, you’ve successfully completed the process of removing a Lazy Susan. By taking the time to wrap up the project thoughtfully, you’re poised to move forward with confidence and a clear vision for the future of your kitchen cabinet space.
Now that you've mastered removing a Lazy Susan, why stop there? Transform your space further by tackling unwanted furnishings. Our guide on how to get rid of furniture simplifies the process, ensuring you reclaim your home's comfort and style without any fuss. Whether you're decluttering or renovating, these insights will prove invaluable. Ready to clear out and freshen up? Check out our comprehensive advice on furniture removal.
Frequently Asked Questions about How To Remove A Lazy Susan
Was this page helpful?
At Storables.com, we guarantee accurate and reliable information. Our content, validated by Expert Board Contributors, is crafted following stringent Editorial Policies. We're committed to providing you with well-researched, expert-backed insights for all your informational needs.


0 thoughts on “How To Remove A Lazy Susan”