Home>Maintenance & Safety>Safety Equipment & Products>How To Childproof A Lazy Susan
Safety Equipment & Products
How To Childproof A Lazy Susan
Modified: March 19, 2024
Learn how to childproof a lazy susan with the right safety equipment and products. Keep your home safe for little ones with these essential tips. Protect your children today!
(Many of the links in this article redirect to a specific reviewed product. Your purchase of these products through affiliate links helps to generate commission for Storables.com, at no extra cost. Learn more)
Introduction
Welcome to the world of parenting, where childproofing your home becomes a top priority. As your little one begins to explore their surroundings, it’s essential to create a safe environment that minimizes potential hazards. One often-overlooked area that requires childproofing is the ubiquitous Lazy Susan. This clever rotating storage solution, found in many kitchens and dining areas, presents unique challenges when it comes to ensuring your child’s safety.
In this comprehensive guide, we’ll delve into the intricacies of childproofing a Lazy Susan, exploring the potential hazards it poses and providing practical steps to safeguard your curious child. By understanding the nature of the Lazy Susan and implementing the right childproofing measures, you can create a secure space for your little one to thrive without constant worry.
So, let’s roll up our sleeves and embark on this childproofing journey, ensuring that your home remains a safe and nurturing haven for your child’s exploration and growth.
Key Takeaways:
- Childproofing a Lazy Susan involves installing locks, safety straps, latches, and guards to prevent accidents and access to hazardous items, creating a safe space for kids to explore.
- Supervision, organization, and communication are key in complementing childproofing efforts, ensuring a holistic approach to kitchen safety for children.
Read more: How To Organize A Lazy Susan Cabinet
Understanding the Lazy Susan
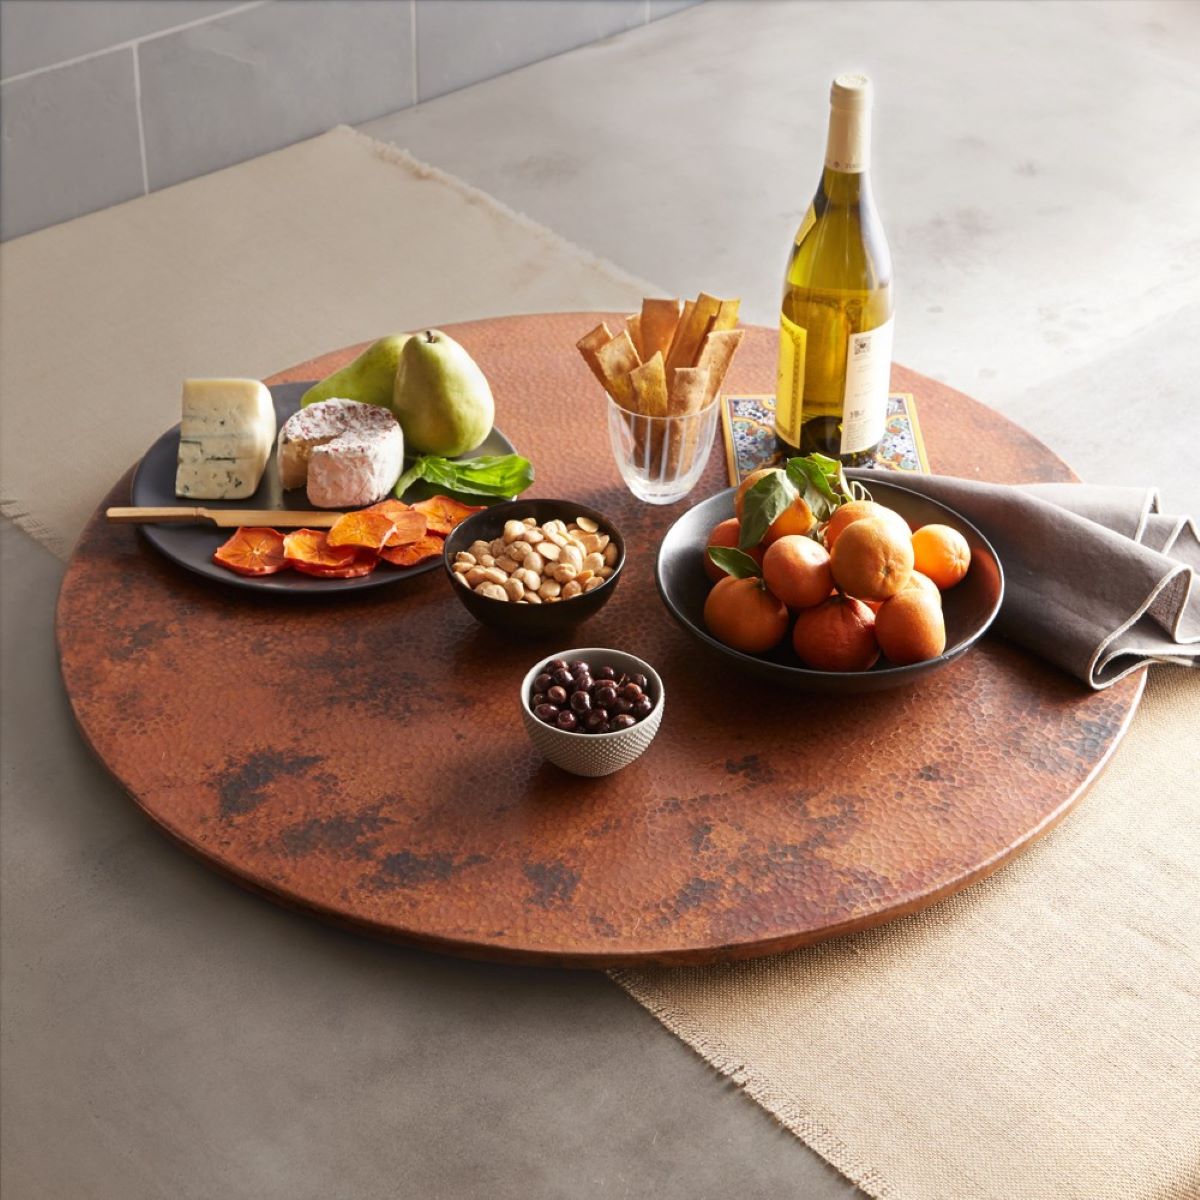
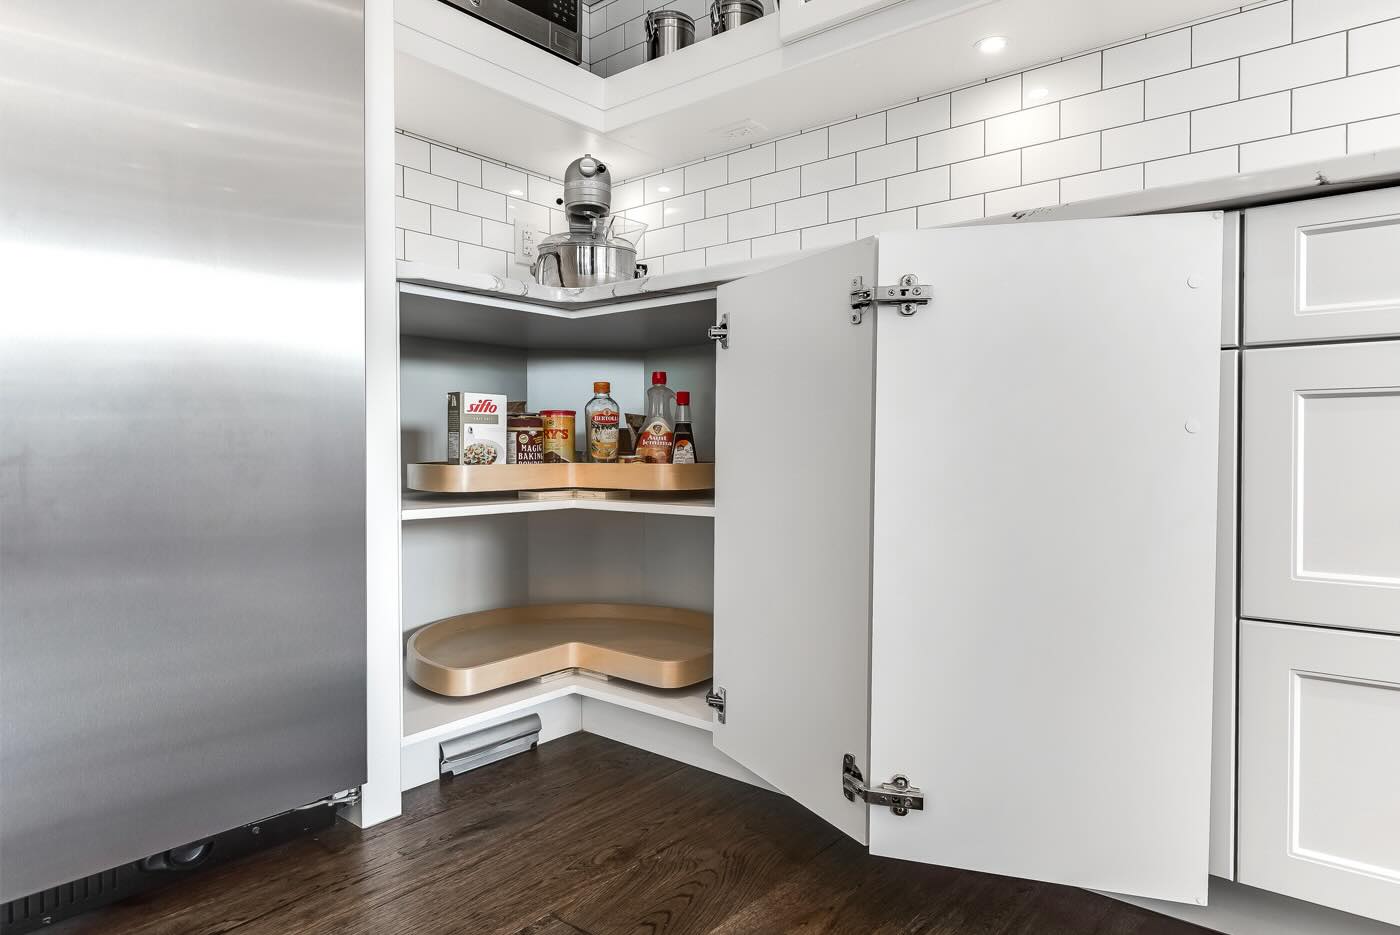
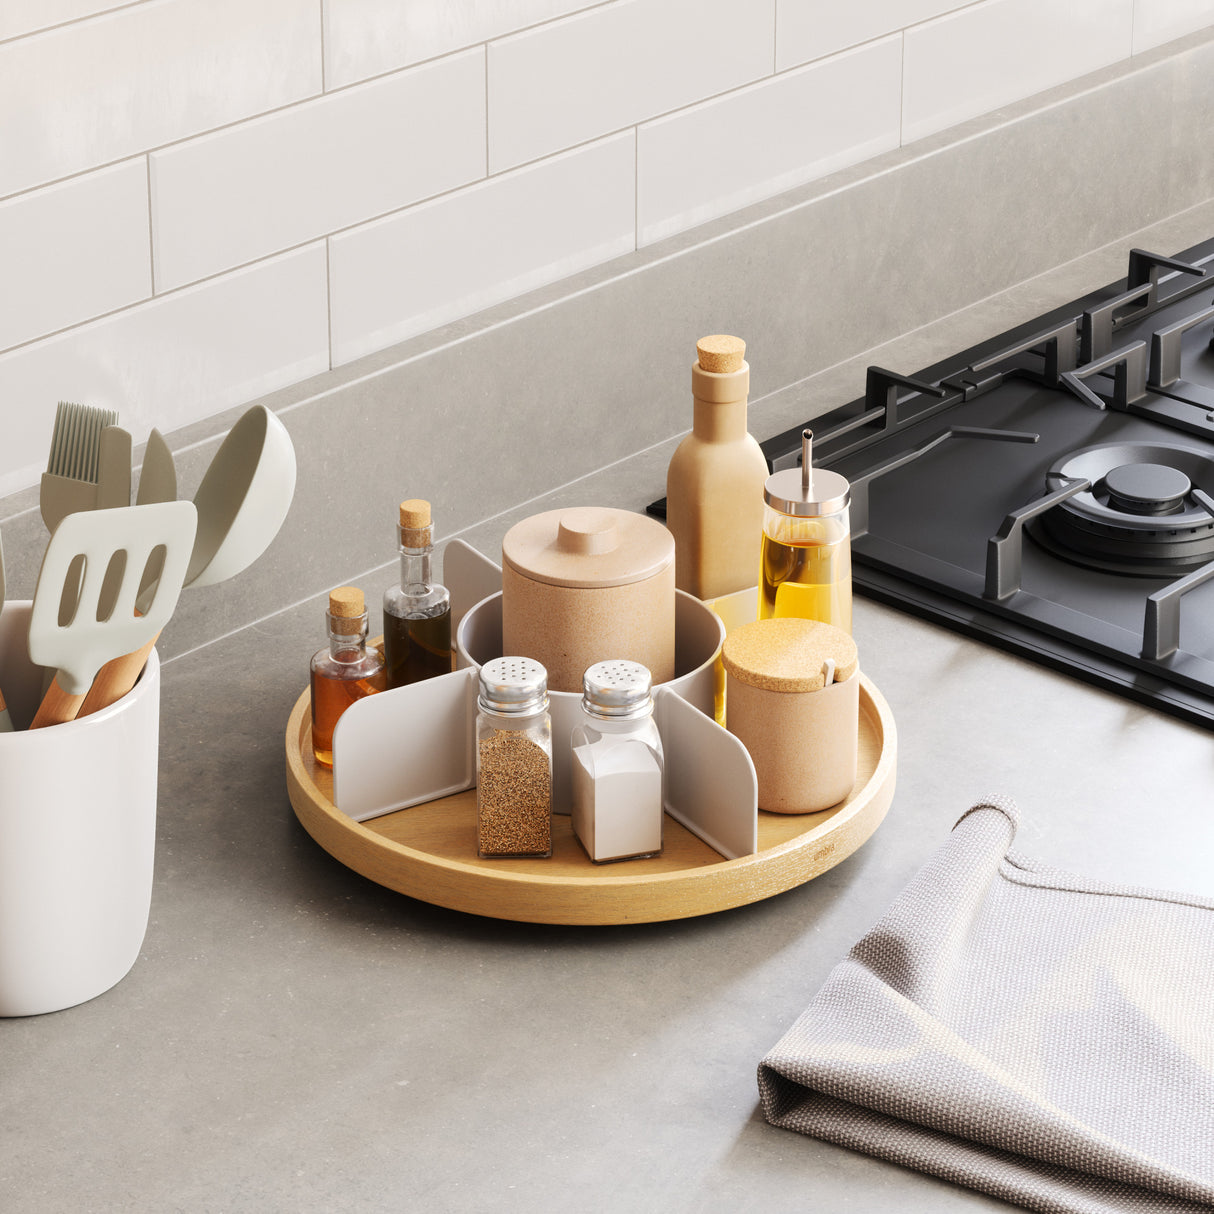
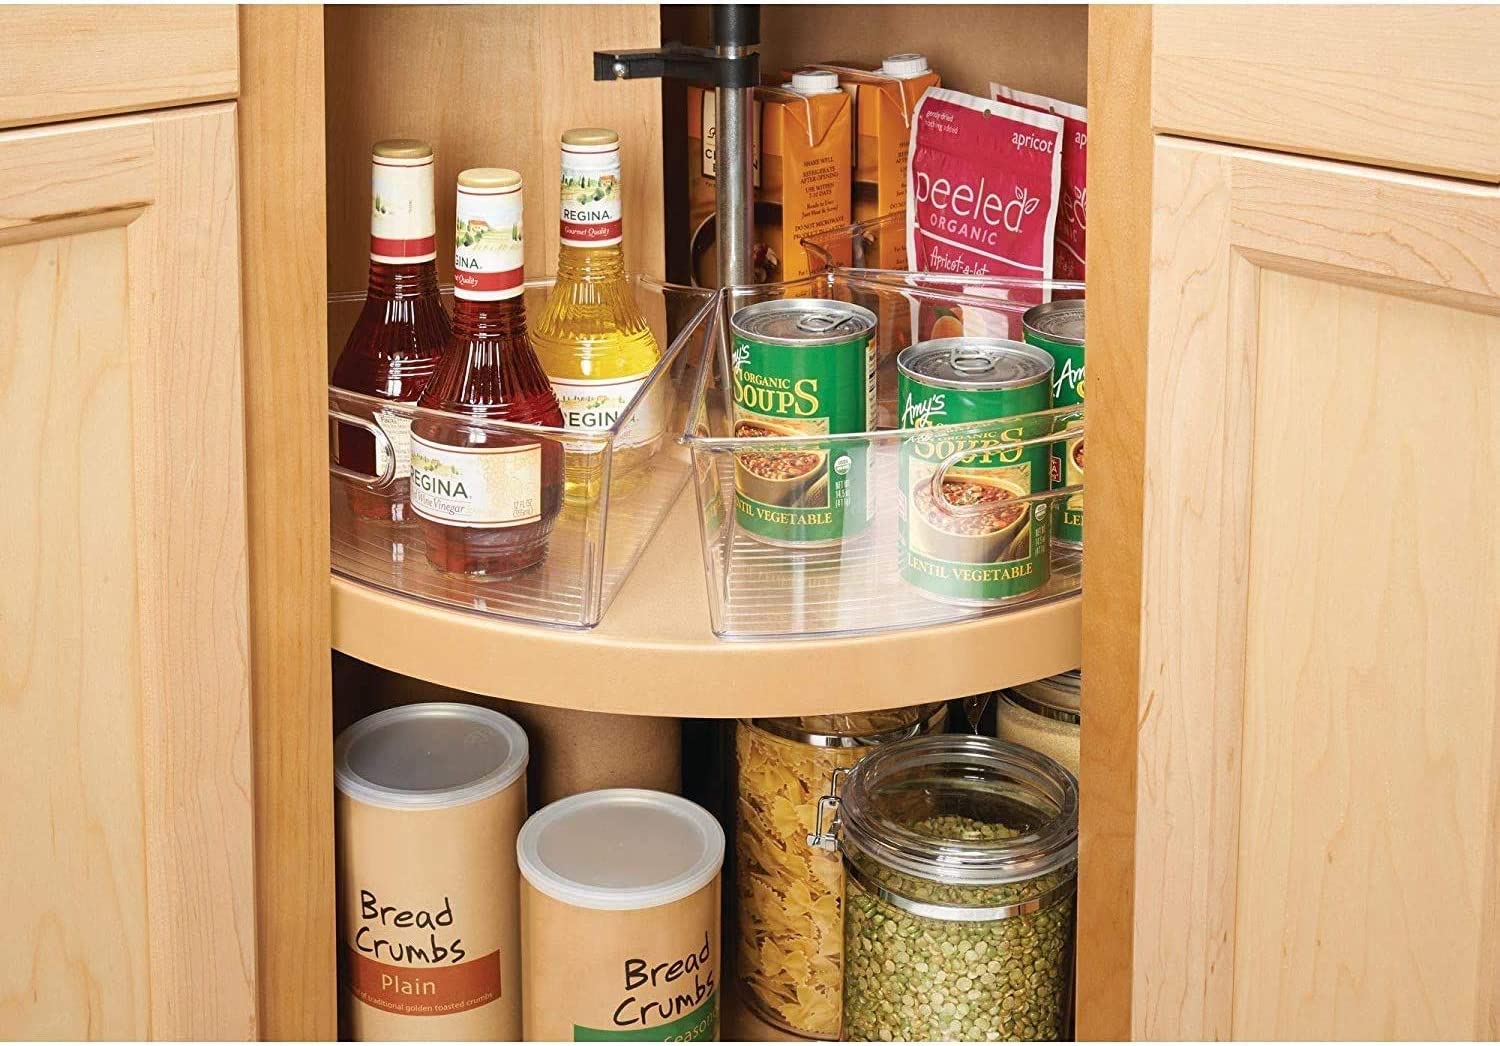
The Lazy Susan, a rotating shelf unit typically found in kitchen cabinets or dining room tables, is a convenient storage solution that maximizes space and accessibility. Its design allows for easy access to items stored in the back of a cabinet without the need to rummage or remove other items. While this feature is incredibly practical for adults, it can pose potential hazards when it comes to child safety.
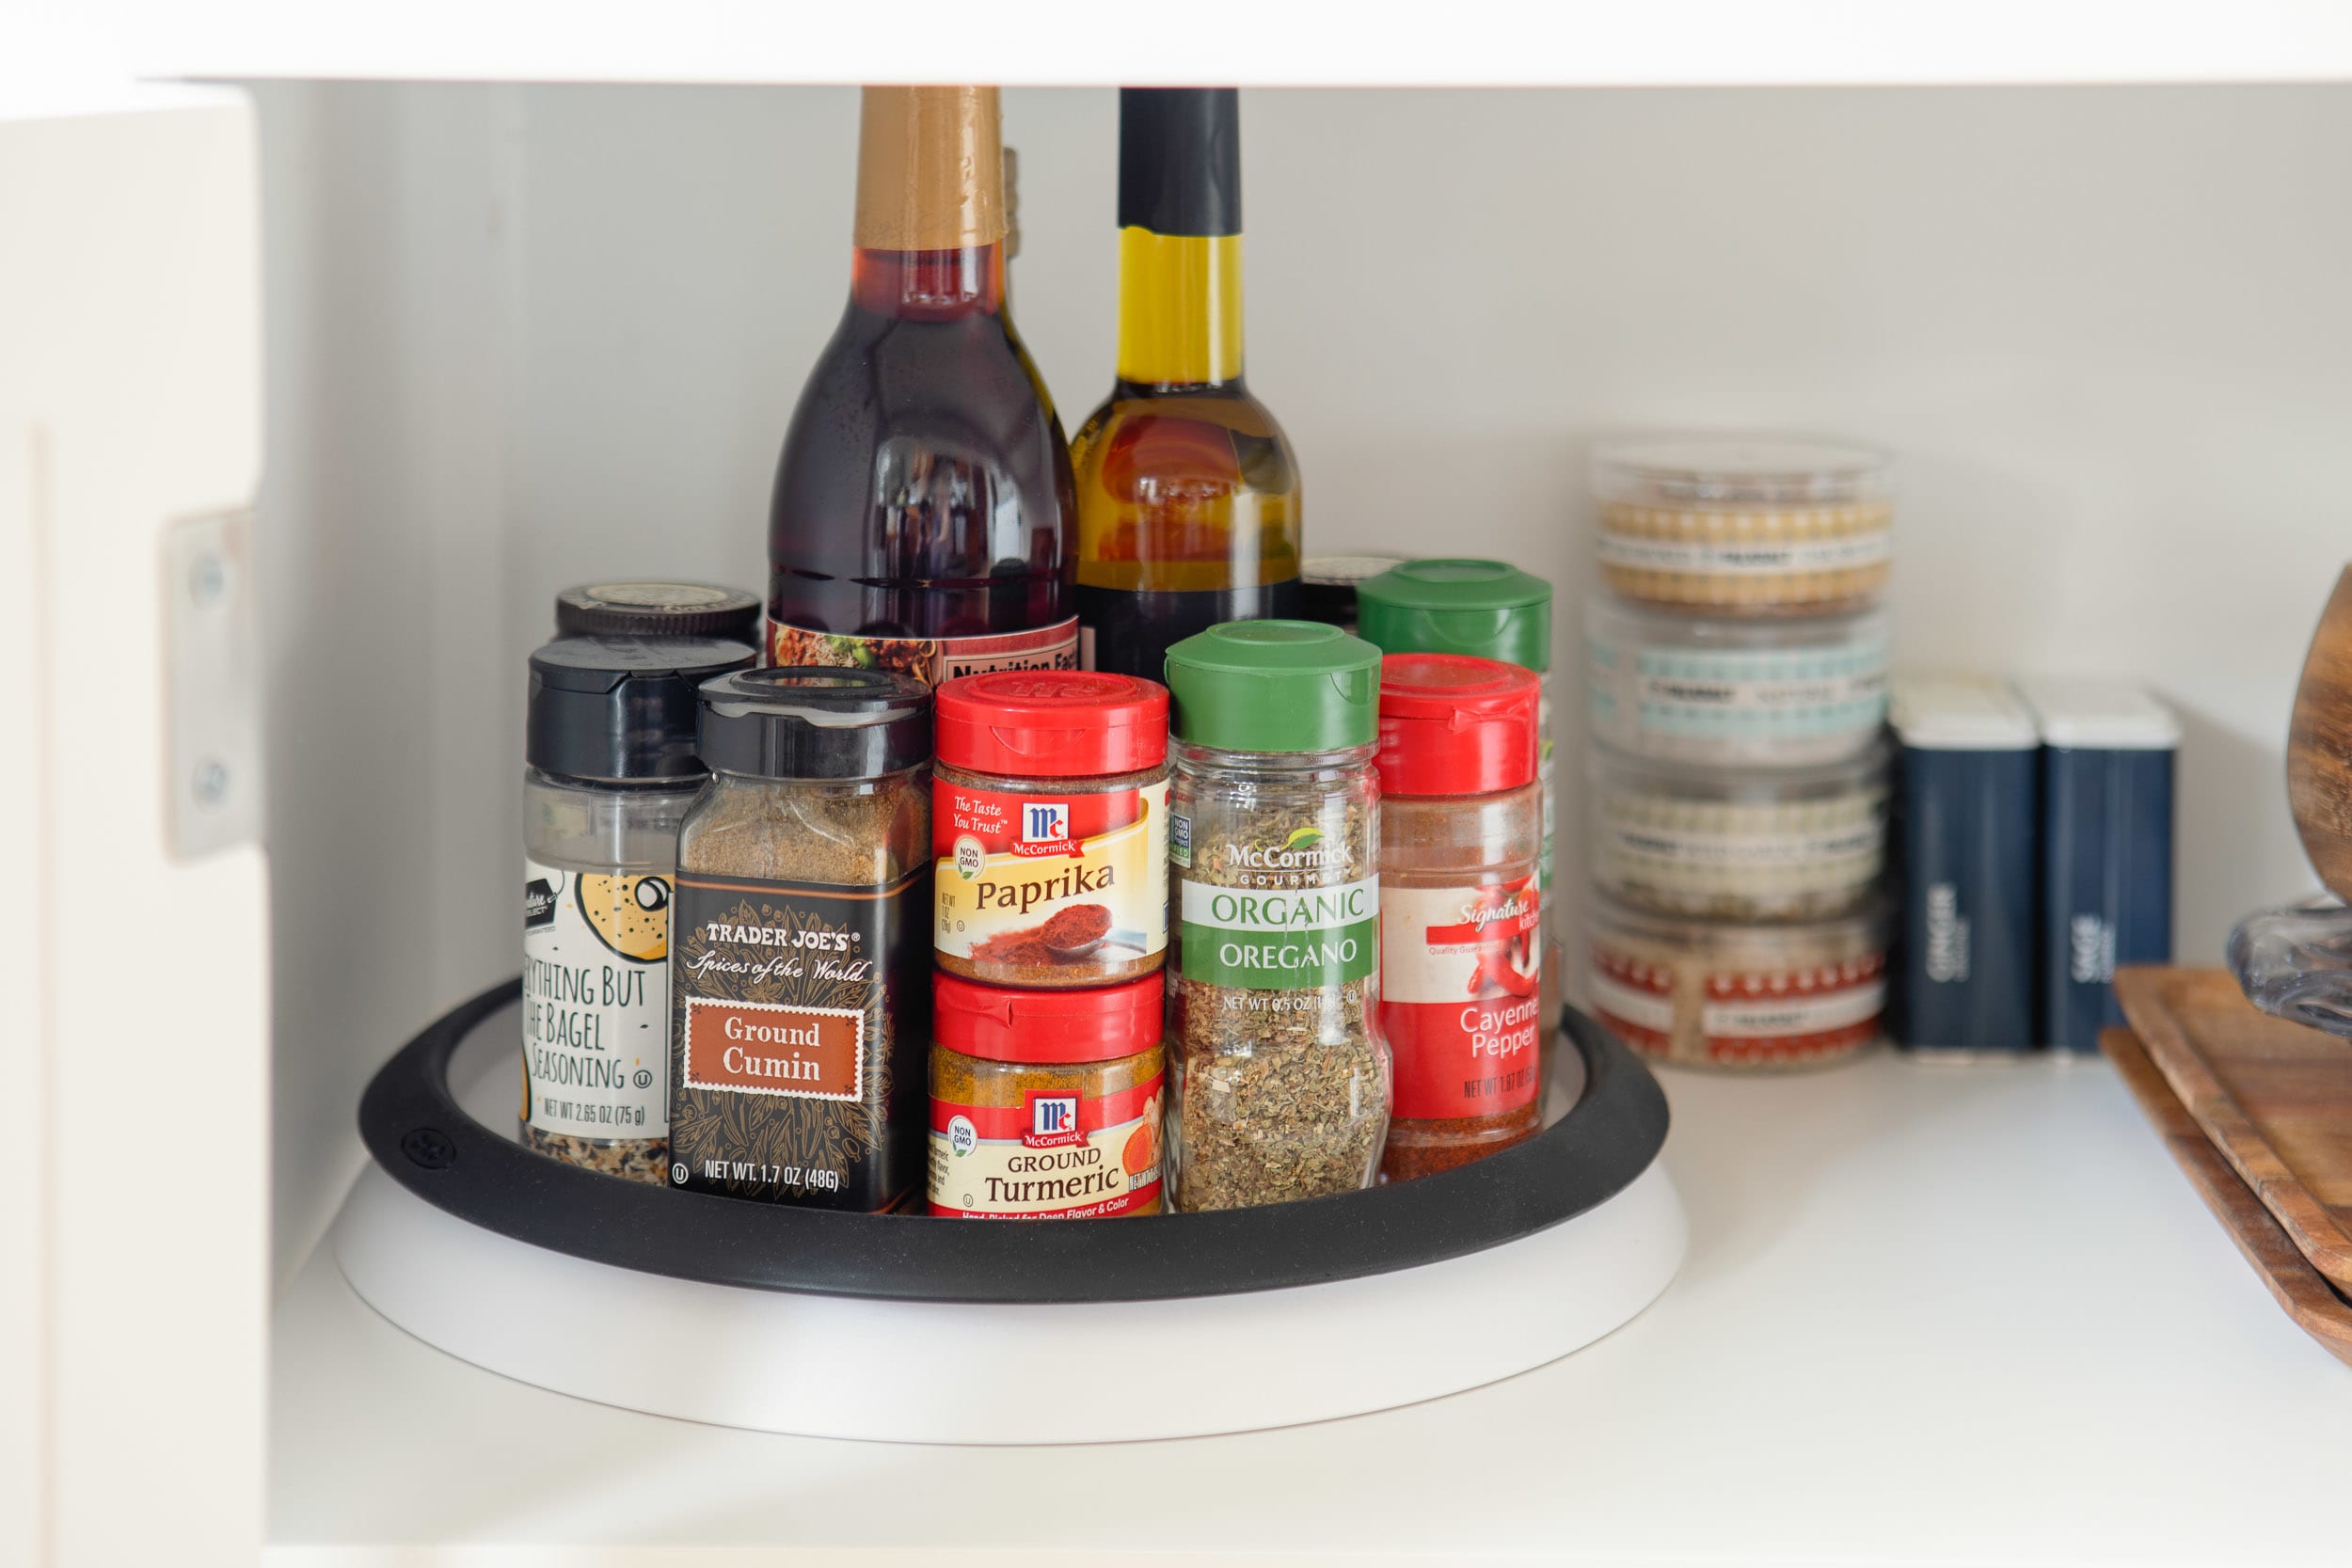
Most Lazy Susans consist of circular shelves that rotate independently, often without any form of locking mechanism. This unrestricted rotation can be enticing to a curious child who may attempt to climb or pull on the shelves, leading to potential accidents or items falling onto them. Additionally, the items stored on a Lazy Susan, such as cleaning products, glassware, or small appliances, may not be child-friendly and could pose a risk if accessed without supervision.
Understanding the mechanics and purpose of the Lazy Susan is crucial in identifying the specific areas that require childproofing. By recognizing the unique features and potential hazards associated with this storage solution, you can effectively implement measures to mitigate risks and create a secure environment for your child.
Now that we’ve gained insight into the nature of the Lazy Susan, let’s explore the potential hazards it presents and delve into the essential steps for childproofing this rotating storage unit.
Identifying Potential Hazards
Before diving into the childproofing process, it’s essential to identify the potential hazards associated with a Lazy Susan. By recognizing these risks, you can tailor your childproofing efforts to address specific concerns, ensuring a comprehensive approach to safety.
1. Unrestricted Rotation: The primary hazard of a Lazy Susan lies in its unrestricted rotation. A child may be tempted to spin the shelves, potentially causing items to shift or fall, leading to injuries or accidents. Additionally, the rotating motion itself can pose a risk if a child’s fingers get caught between the shelves.
2. Access to Hazardous Items: The items stored on a Lazy Susan can range from cleaning supplies and chemicals to fragile glassware and sharp utensils. Without proper childproofing, a child could gain access to these potentially harmful items, resulting in accidental ingestion, spills, or injuries.
3. Climbing and Entanglement: The design of a Lazy Susan, with its accessible shelves and rotating mechanism, may entice a child to climb or reach into the unit. This behavior can lead to falls, entrapment, or the toppling of items, posing significant risks to the child’s safety.
4. Unsecured Contents: As the shelves rotate, the contents within the Lazy Susan may shift or become dislodged, increasing the likelihood of items falling out and potentially causing harm to a child in the vicinity.
By understanding these potential hazards, you can proactively address each concern through effective childproofing strategies. In the subsequent sections, we’ll explore the various options and step-by-step measures to mitigate these risks and ensure a secure environment for your child.
Childproofing Options
When it comes to childproofing a Lazy Susan, several effective options are available to mitigate potential hazards and create a secure environment for your child. These childproofing solutions are designed to address the unique challenges posed by the rotating storage unit, ensuring that both the contents and the mechanism of the Lazy Susan are safeguarded against accidental access or manipulation by a curious child.
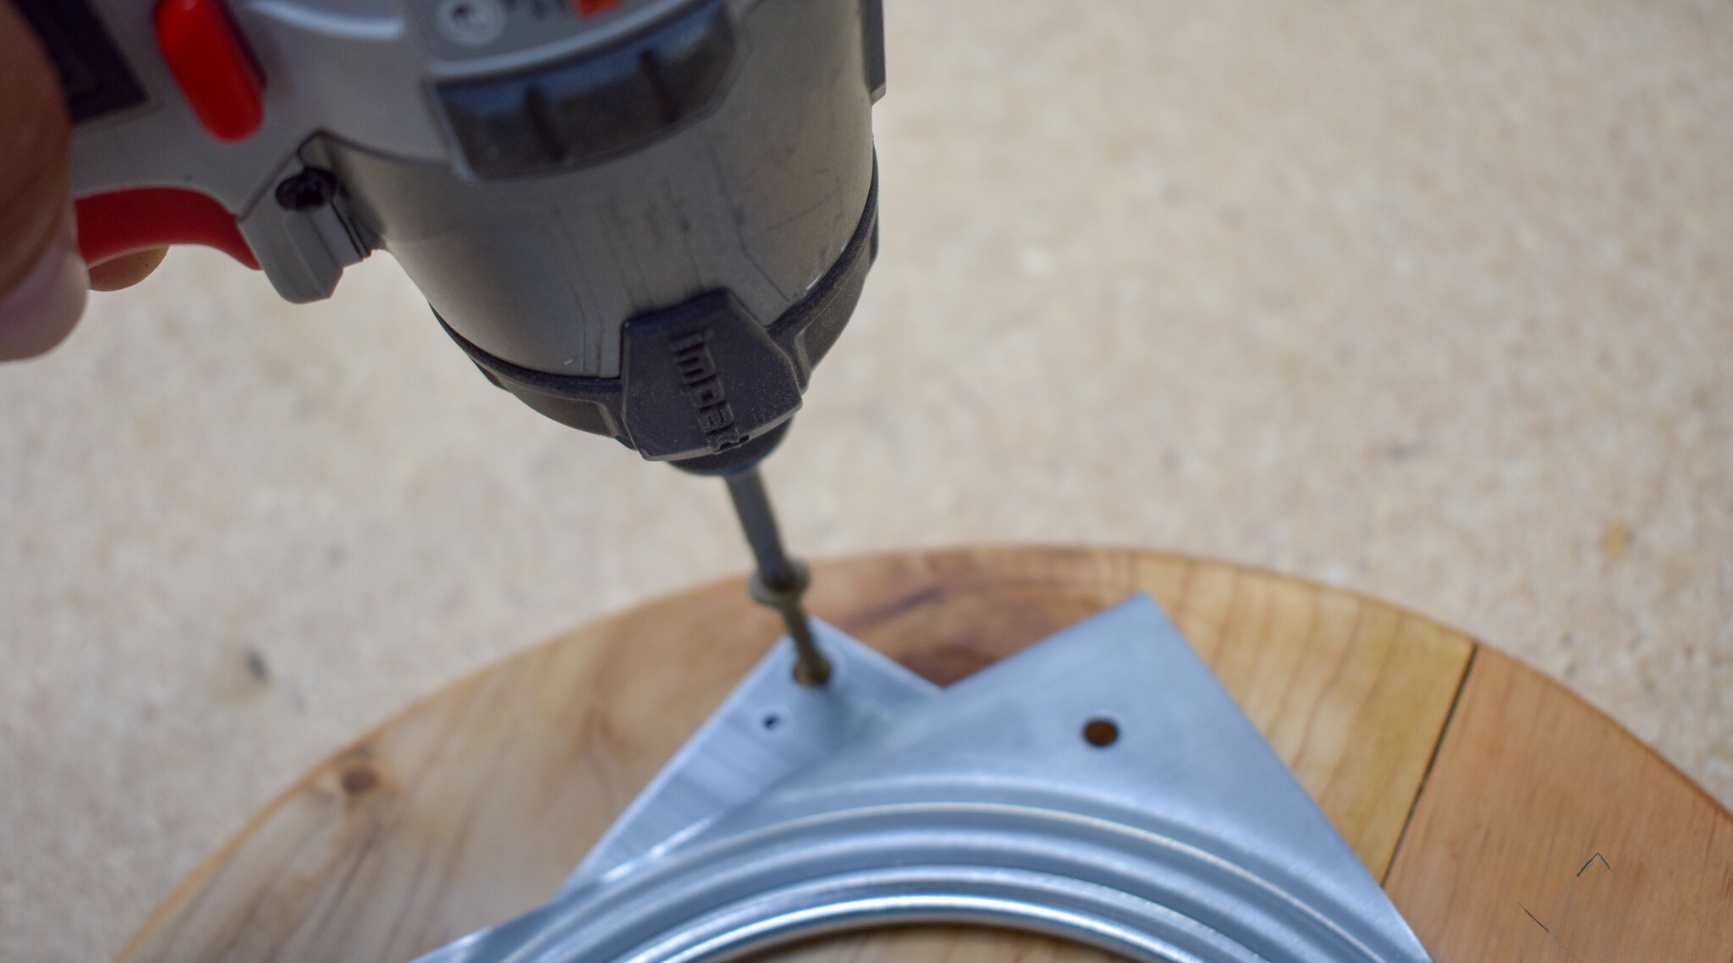
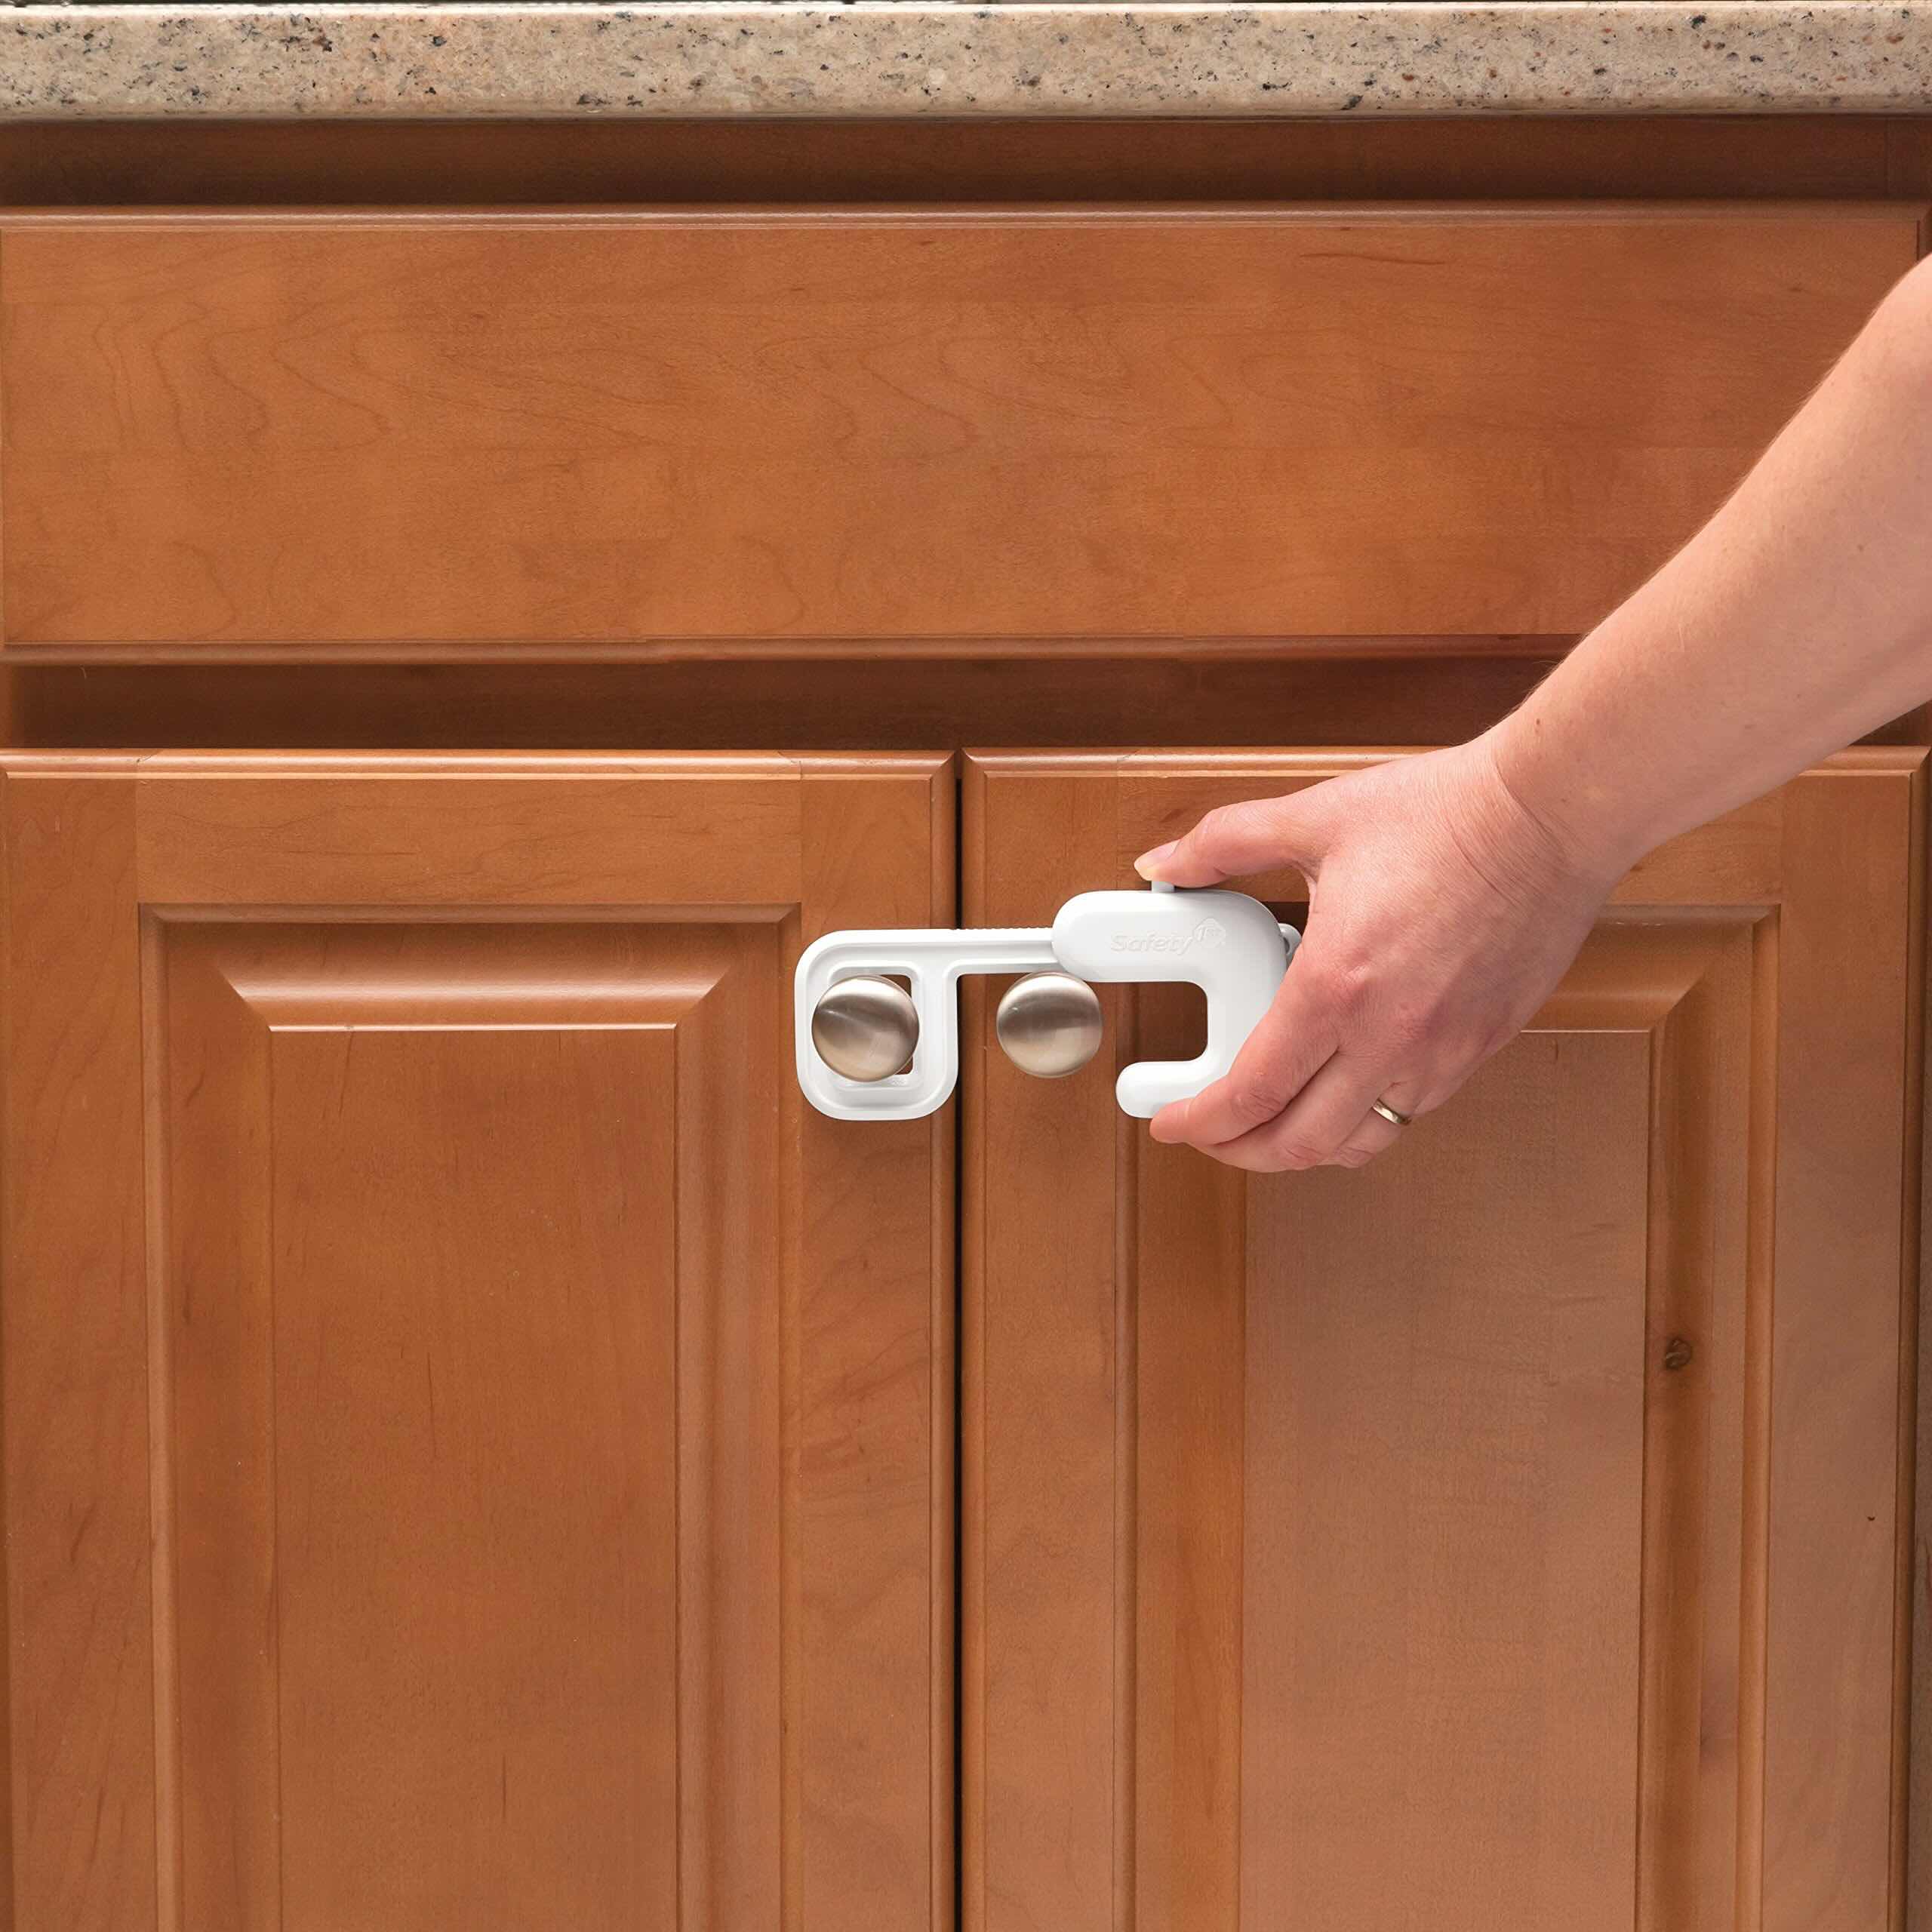
1. Locking Mechanisms: Installing locking mechanisms on the doors of the cabinet housing the Lazy Susan can prevent unauthorized access to the rotating shelves. These locks are designed to secure the cabinet doors, restricting a child’s ability to open them and reach inside. Additionally, specialized locks can be utilized to immobilize the rotating mechanism of the Lazy Susan, preventing unsupervised rotation.
2. Adjustable Safety Straps: Utilizing adjustable safety straps within the cabinet can further enhance childproofing efforts. These straps are designed to secure the contents of the Lazy Susan, preventing items from shifting or falling when the shelves are rotated. Additionally, they can deter a child from attempting to climb or reach into the unit, minimizing the risk of accidents or entanglement.
3. Child-Resistant Latches: Child-resistant latches specifically designed for Lazy Susans can be installed to prevent the rotation of the shelves unless intentionally disengaged by an adult. These latches provide an additional layer of security, ensuring that the contents remain inaccessible to young children while allowing convenient access for adults.
4. Protective Guards: Implementing protective guards around the perimeter of the Lazy Susan shelves can create a physical barrier, reducing the risk of items falling off or a child’s fingers getting caught during rotation. These guards can be custom-fitted to the dimensions of the shelves, enhancing the safety of the unit without compromising its functionality.
By considering these childproofing options, you can tailor your approach to best suit your specific needs and the layout of your kitchen or dining area. These solutions are designed to work in harmony with the functionality of the Lazy Susan while prioritizing the safety of your child. In the following sections, we’ll delve into the essential tools and materials required for effective childproofing, equipping you with the necessary resources to implement these strategies seamlessly.
Install a childproof lock on the lazy susan to prevent children from accessing potentially dangerous items. Make sure the lock is strong and secure.
Tools and Materials
Equipping yourself with the right tools and materials is essential for effectively childproofing a Lazy Susan. By ensuring that you have the necessary items at your disposal, you can streamline the childproofing process and address potential hazards with confidence. Here’s a comprehensive list of tools and materials you may need:
1. Locking Mechanisms: Depending on the type of cabinet housing your Lazy Susan, you may require cabinet door locks or specialized locks designed for Lazy Susans. These locks are typically accompanied by installation hardware and instructions for easy setup.
2. Adjustable Safety Straps: Look for adjustable safety straps specifically designed for securing the contents of rotating storage units. These may include adhesive mounts or screw-in anchors for versatile installation options.
3. Child-Resistant Latches: Child-resistant latches tailored for Lazy Susans are available in various designs. Ensure that the latches are compatible with the dimensions and structure of your Lazy Susan for seamless installation.
4. Protective Guards: Measure the dimensions of your Lazy Susan shelves to determine the appropriate protective guards. These guards may be made of durable plastic or metal and can be customized to fit the curvature of the shelves.
5. Basic Tools: Depending on the specific childproofing options you choose, basic tools such as a screwdriver, measuring tape, and a level may be required for installation and adjustments.
6. Cleaning Supplies: Before installing childproofing measures, ensure that the surfaces of the Lazy Susan and the surrounding cabinet are clean and dry for optimal adhesion and functionality of the childproofing products.
7. Childproofing Kits: Consider purchasing a childproofing kit tailored for kitchen safety, which may include a combination of locks, latches, and straps designed to secure various areas, including Lazy Susans.
By gathering these tools and materials, you can prepare yourself for a seamless childproofing process, addressing the unique challenges posed by the rotating storage unit. With these resources at hand, you’ll be ready to embark on the step-by-step childproofing guide, ensuring that your child’s safety remains a top priority in your home.
Read more: How Big Is A Lazy Susan Cabinet
Step-by-Step Childproofing Guide
Embarking on the childproofing journey for your Lazy Susan involves a systematic approach to ensure comprehensive safety measures. By following this step-by-step guide, you can effectively childproof the rotating storage unit, mitigating potential hazards and creating a secure environment for your child.
- Assess the Cabinet: Begin by assessing the cabinet housing the Lazy Susan. Check the dimensions, structure, and accessibility of the cabinet to determine the most suitable childproofing options.
- Choose Childproofing Solutions: Based on your assessment, select the appropriate childproofing solutions, such as locking mechanisms, adjustable safety straps, child-resistant latches, and protective guards, to address the specific hazards associated with the Lazy Susan.
- Gather Tools and Materials: Collect the necessary tools and materials, including the chosen childproofing products, basic tools, cleaning supplies, and any specialized childproofing kits that align with your selected solutions.
- Clean and Prepare Surfaces: Thoroughly clean and dry the surfaces of the Lazy Susan and the surrounding cabinet to ensure optimal adhesion and functionality of the childproofing products.
- Install Locking Mechanisms: If utilizing locking mechanisms, follow the provided instructions to install them on the cabinet doors, ensuring that they effectively restrict access to the Lazy Susan.
- Secure Contents with Straps: Install adjustable safety straps within the cabinet to secure the contents of the Lazy Susan, preventing items from shifting or falling during rotation.
- Implement Child-Resistant Latches: If child-resistant latches are part of your childproofing strategy, install them to prevent the rotation of the shelves unless intentionally disengaged by an adult.
- Apply Protective Guards: Customize and install protective guards around the perimeter of the Lazy Susan shelves to create a physical barrier, reducing the risk of items falling off or a child’s fingers getting caught during rotation.
- Test and Adjust: Once the childproofing measures are in place, thoroughly test the functionality of the Lazy Susan, ensuring that the childproofing products are secure and effectively mitigate potential hazards.
By following these steps, you can systematically childproof your Lazy Susan, addressing each potential hazard with precision and care. With the childproofing measures in place, you can enjoy peace of mind knowing that your child can safely navigate the kitchen or dining area without encountering risks associated with the rotating storage unit.
Additional Tips for Childproofing
While implementing specific childproofing measures for your Lazy Susan is crucial, considering additional tips and strategies can further enhance the safety of your child within the kitchen or dining space. These supplementary tips aim to complement the childproofing efforts for the rotating storage unit, ensuring a comprehensive approach to creating a secure environment for your child.
- Supervision and Education: Maintain vigilant supervision of your child, especially in the kitchen area. Educate your child about potential hazards and the importance of seeking adult assistance when accessing items stored in cabinets or on countertops.
- Secure Other Cabinets: Extend your childproofing efforts to other cabinets and drawers in the kitchen, especially those containing hazardous items. Consistent application of childproofing measures throughout the space can minimize overall risks.
- Organize and Declutter: Regularly organize and declutter the contents of your Lazy Susan, keeping potentially hazardous items out of reach and ensuring that heavy or fragile items are securely positioned to prevent accidental falls.
- Establish Safety Zones: Designate specific areas within the kitchen as safety zones for your child, where they can engage in age-appropriate activities under your supervision while minimizing exposure to potential hazards.
- Model Safe Behavior: Demonstrate safe and responsible behavior in the kitchen, emphasizing the proper handling and storage of items. Children often emulate adult actions, making positive role modeling an effective safety strategy.
- Regular Maintenance: Routinely inspect the childproofing mechanisms on your Lazy Susan and other kitchen cabinets, ensuring that they remain secure and functional. Replace any worn or damaged childproofing products promptly.
- Communicate with Caregivers: If your child is under the care of others, communicate the specific childproofing measures in place and the importance of maintaining a safe environment. Consistent safety practices across caregiving settings are vital.
- Encourage Open Communication: Foster open communication with your child, encouraging them to express any concerns or questions about kitchen safety. Addressing their curiosity and providing age-appropriate explanations can promote a proactive approach to safety.
By integrating these additional tips into your childproofing strategy, you can create a comprehensive safety framework within the kitchen or dining area, ensuring that your child can explore and engage in the space with minimized risks. These tips complement the specific childproofing measures for your Lazy Susan, promoting a holistic approach to safeguarding your child’s well-being.
Conclusion
As we conclude this comprehensive guide to childproofing a Lazy Susan, it’s evident that creating a safe and secure environment for your child requires careful consideration of potential hazards and proactive measures to mitigate risks. By understanding the nature of the Lazy Susan and implementing tailored childproofing solutions, you can effectively safeguard your child from the unique challenges posed by this rotating storage unit.
Throughout this journey, we’ve explored the intricacies of the Lazy Susan, identifying potential hazards such as unrestricted rotation, access to hazardous items, and climbing risks. By recognizing these dangers, you’ve gained valuable insight into the specific areas that require attention when childproofing the rotating storage unit.
From locking mechanisms and adjustable safety straps to child-resistant latches and protective guards, you’ve discovered a range of childproofing options designed to address the distinct challenges presented by the Lazy Susan. Equipped with the essential tools and materials, you’re ready to embark on the step-by-step childproofing guide, systematically securing the rotating storage unit to create a safe space for your child to thrive.
Furthermore, by considering additional tips such as supervision and education, organizing and decluttering, and modeling safe behavior, you’ve embraced a holistic approach to kitchen safety, ensuring that your child can navigate the space with confidence and minimal exposure to potential hazards.
As you implement these childproofing measures and integrate safety practices into your daily routines, you’re fostering an environment where your child can explore, learn, and grow without unnecessary risks. By prioritizing their well-being and instilling a culture of safety, you’re nurturing a space where both curiosity and security coexist harmoniously.
With the knowledge and strategies acquired in this guide, you’re well-equipped to create a kitchen or dining area where your child’s safety remains paramount. By embracing a proactive and comprehensive approach to childproofing, you’re cultivating a nurturing environment that reflects your unwavering commitment to your child’s welfare.
As you continue on this journey of parenthood, may the safety measures you’ve implemented serve as a steadfast shield, allowing your child to embrace their surroundings with joy and curiosity, knowing that they are protected and cherished within the heart of your home.
Frequently Asked Questions about How To Childproof A Lazy Susan
Was this page helpful?
At Storables.com, we guarantee accurate and reliable information. Our content, validated by Expert Board Contributors, is crafted following stringent Editorial Policies. We're committed to providing you with well-researched, expert-backed insights for all your informational needs.


0 thoughts on “How To Childproof A Lazy Susan”