Home>Furniture & Design>Outdoor Furniture>How To Install Outdoor Receptacle
Outdoor Furniture
How To Install Outdoor Receptacle
Modified: September 2, 2024
Learn how to install outdoor receptacles for your outdoor furniture and design projects. Follow our step-by-step guide to ensure a safe and functional setup.
(Many of the links in this article redirect to a specific reviewed product. Your purchase of these products through affiliate links helps to generate commission for Storables.com, at no extra cost. Learn more)
Introduction
When it comes to enjoying the great outdoors, having the convenience of electrical outlets can greatly enhance the experience. Whether you're looking to power up some outdoor lighting, run a sound system for a lively gathering, or simply charge your electronic devices, installing an outdoor receptacle can make all this possible. This comprehensive guide will walk you through the process of installing an outdoor receptacle, providing you with the necessary steps and insights to ensure a successful and safe installation.
By following these instructions, you will be able to create a functional and reliable outdoor power source that seamlessly integrates with your outdoor living space. So, grab your tools and let's get started on this exciting project that will elevate your outdoor environment to a whole new level of convenience and enjoyment.
Key Takeaways:
- Installing an outdoor receptacle involves careful planning, precise wiring, and thorough testing to ensure a safe and reliable power source for outdoor activities. Prioritize safety, compliance, and functionality throughout the installation process.
- By following the steps outlined in this guide, you can bring the convenience of electricity to your outdoor space, enhancing your outdoor experience with lighting, sound systems, and electronic devices. Embrace the project with safety in mind and enjoy the benefits of outdoor electricity.
Read more: How To Install A 240-Volt Receptacle
Tools and Materials
Before embarking on the installation of an outdoor receptacle, it’s crucial to gather the necessary tools and materials to ensure a smooth and efficient process. Here’s a list of items you’ll need:
Tools:
- Flathead and Phillips screwdrivers
- Wire cutters/strippers
- Voltage tester
- Drill and bits
- Adjustable wrench
- Hammer
- Utility knife
- Tape measure
- Wire nuts
- Silicone sealant
- Electrical tape
Materials:
- Outdoor-rated electrical box
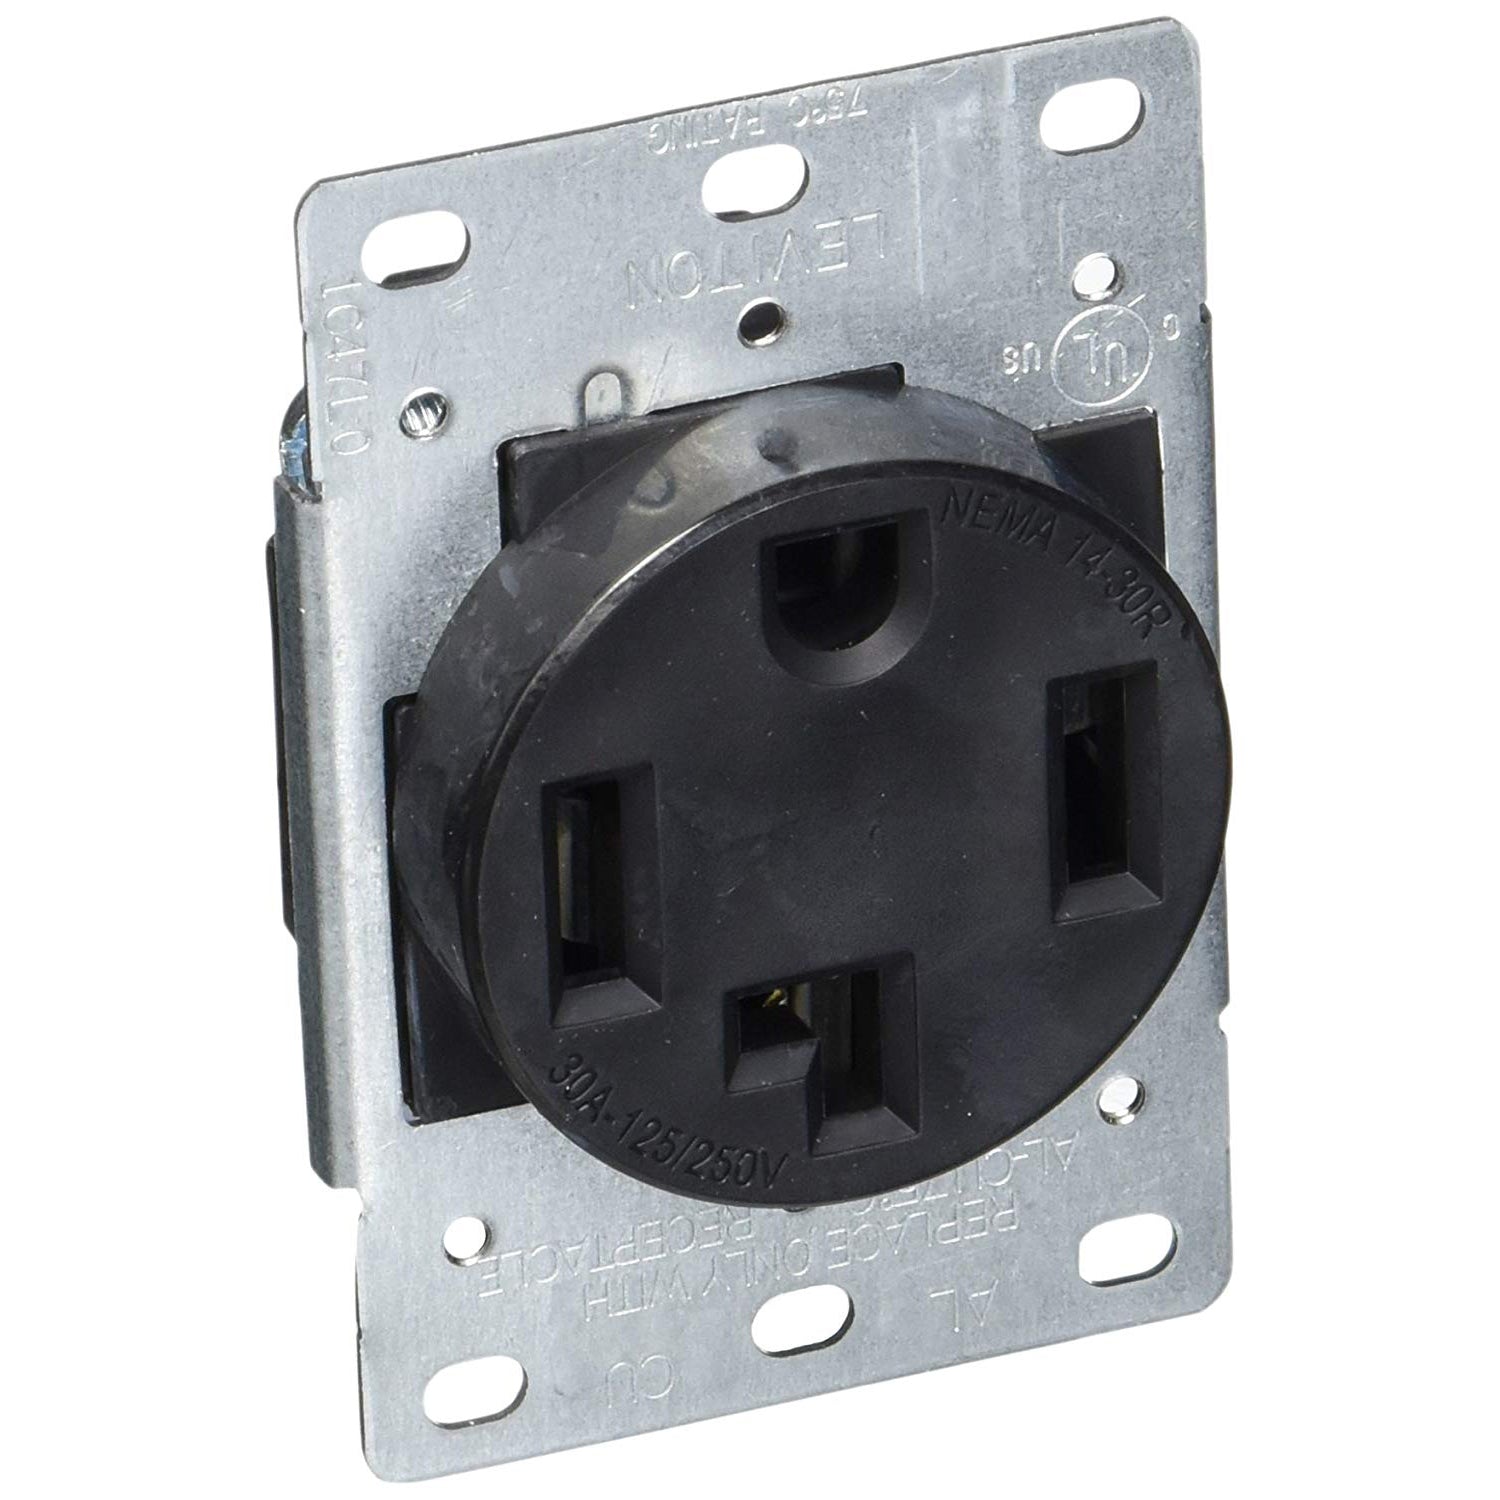
- GFCI (Ground Fault Circuit Interrupter) receptacle
- Weatherproof outlet cover
- Outdoor-rated electrical cable (UF-B)
- Weatherproof junction box (if needed)
- Concrete mix (if mounting in concrete)
- Outdoor-rated extension cord (for testing)
Having these tools and materials at hand will streamline the installation process and ensure that you have everything you need to complete the project successfully. Remember to prioritize safety throughout the installation, and if you’re unsure about any aspect of the process, don’t hesitate to seek professional assistance.
Choosing the Location
When selecting the location for your outdoor receptacle, several factors need to be taken into consideration to ensure both convenience and safety. Here are some key points to keep in mind:
Accessibility: Choose a location that is easily accessible and convenient for your intended outdoor activities. Whether it’s for powering a grill, operating garden tools, or plugging in decorative lighting, the receptacle should be strategically positioned to serve its purpose without creating inconvenience.
Distance from Water Sources: It’s crucial to place the receptacle a safe distance away from any water sources to prevent the risk of electrical hazards. Be mindful of sprinkler systems, pools, fountains, and any other water features in the vicinity.
Protection from the Elements: Opt for a location that offers some degree of protection from the elements. While weatherproof covers and enclosures provide essential protection, situating the receptacle in a sheltered area, such as under an eave or on a covered patio, can further enhance its longevity and safety.
Code Compliance: Familiarize yourself with local building codes and regulations regarding outdoor electrical installations. Ensure that the chosen location and installation method comply with these standards to guarantee the safety and legality of the setup.
By carefully considering these factors, you can pinpoint the ideal location for your outdoor receptacle, maximizing its utility while prioritizing safety and compliance. Once you’ve identified the perfect spot, you can proceed to prepare the installation site for the next phase of the process.
Preparing the Installation Site
Before commencing the installation of the outdoor receptacle, it’s essential to prepare the site to ensure a secure and stable foundation for the electrical components. Follow these steps to get the site ready for the installation:
Turn Off Power: Begin by turning off the power supply to the area where you’ll be installing the receptacle. Locate the appropriate circuit breaker in your electrical panel and switch it off to cut off the power flow. Use a voltage tester to confirm that the power has been successfully disconnected before proceeding.
Determine Mounting Surface: Identify the surface on which the receptacle will be mounted. Whether it’s a wall, post, or other structure, ensure that the chosen surface is sturdy and suitable for supporting the electrical box and outlet cover.
Prepare the Mounting Surface: If the receptacle will be mounted on a wall, use a drill and appropriate bits to create the necessary holes for securing the electrical box. For mounting on other surfaces, ensure that you have the required hardware and tools to facilitate a secure attachment.
Plan Cable Route: Determine the route for the outdoor-rated electrical cable (UF-B) from the electrical panel to the installation site. Consider factors such as avoiding obstructions, maintaining a safe distance from potential hazards, and ensuring that the cable is protected from damage.
Weatherproofing: If the installation site is exposed to the elements, take measures to weatherproof the area. This may involve using a weatherproof junction box, sealing penetrations with silicone, or employing other protective measures to safeguard the electrical connections and components.
By diligently preparing the installation site, you’ll establish a solid foundation for the outdoor receptacle, setting the stage for a safe and effective installation process. With the site ready, you can proceed to wire the receptacle and bring the electrical components together to power up your outdoor space.
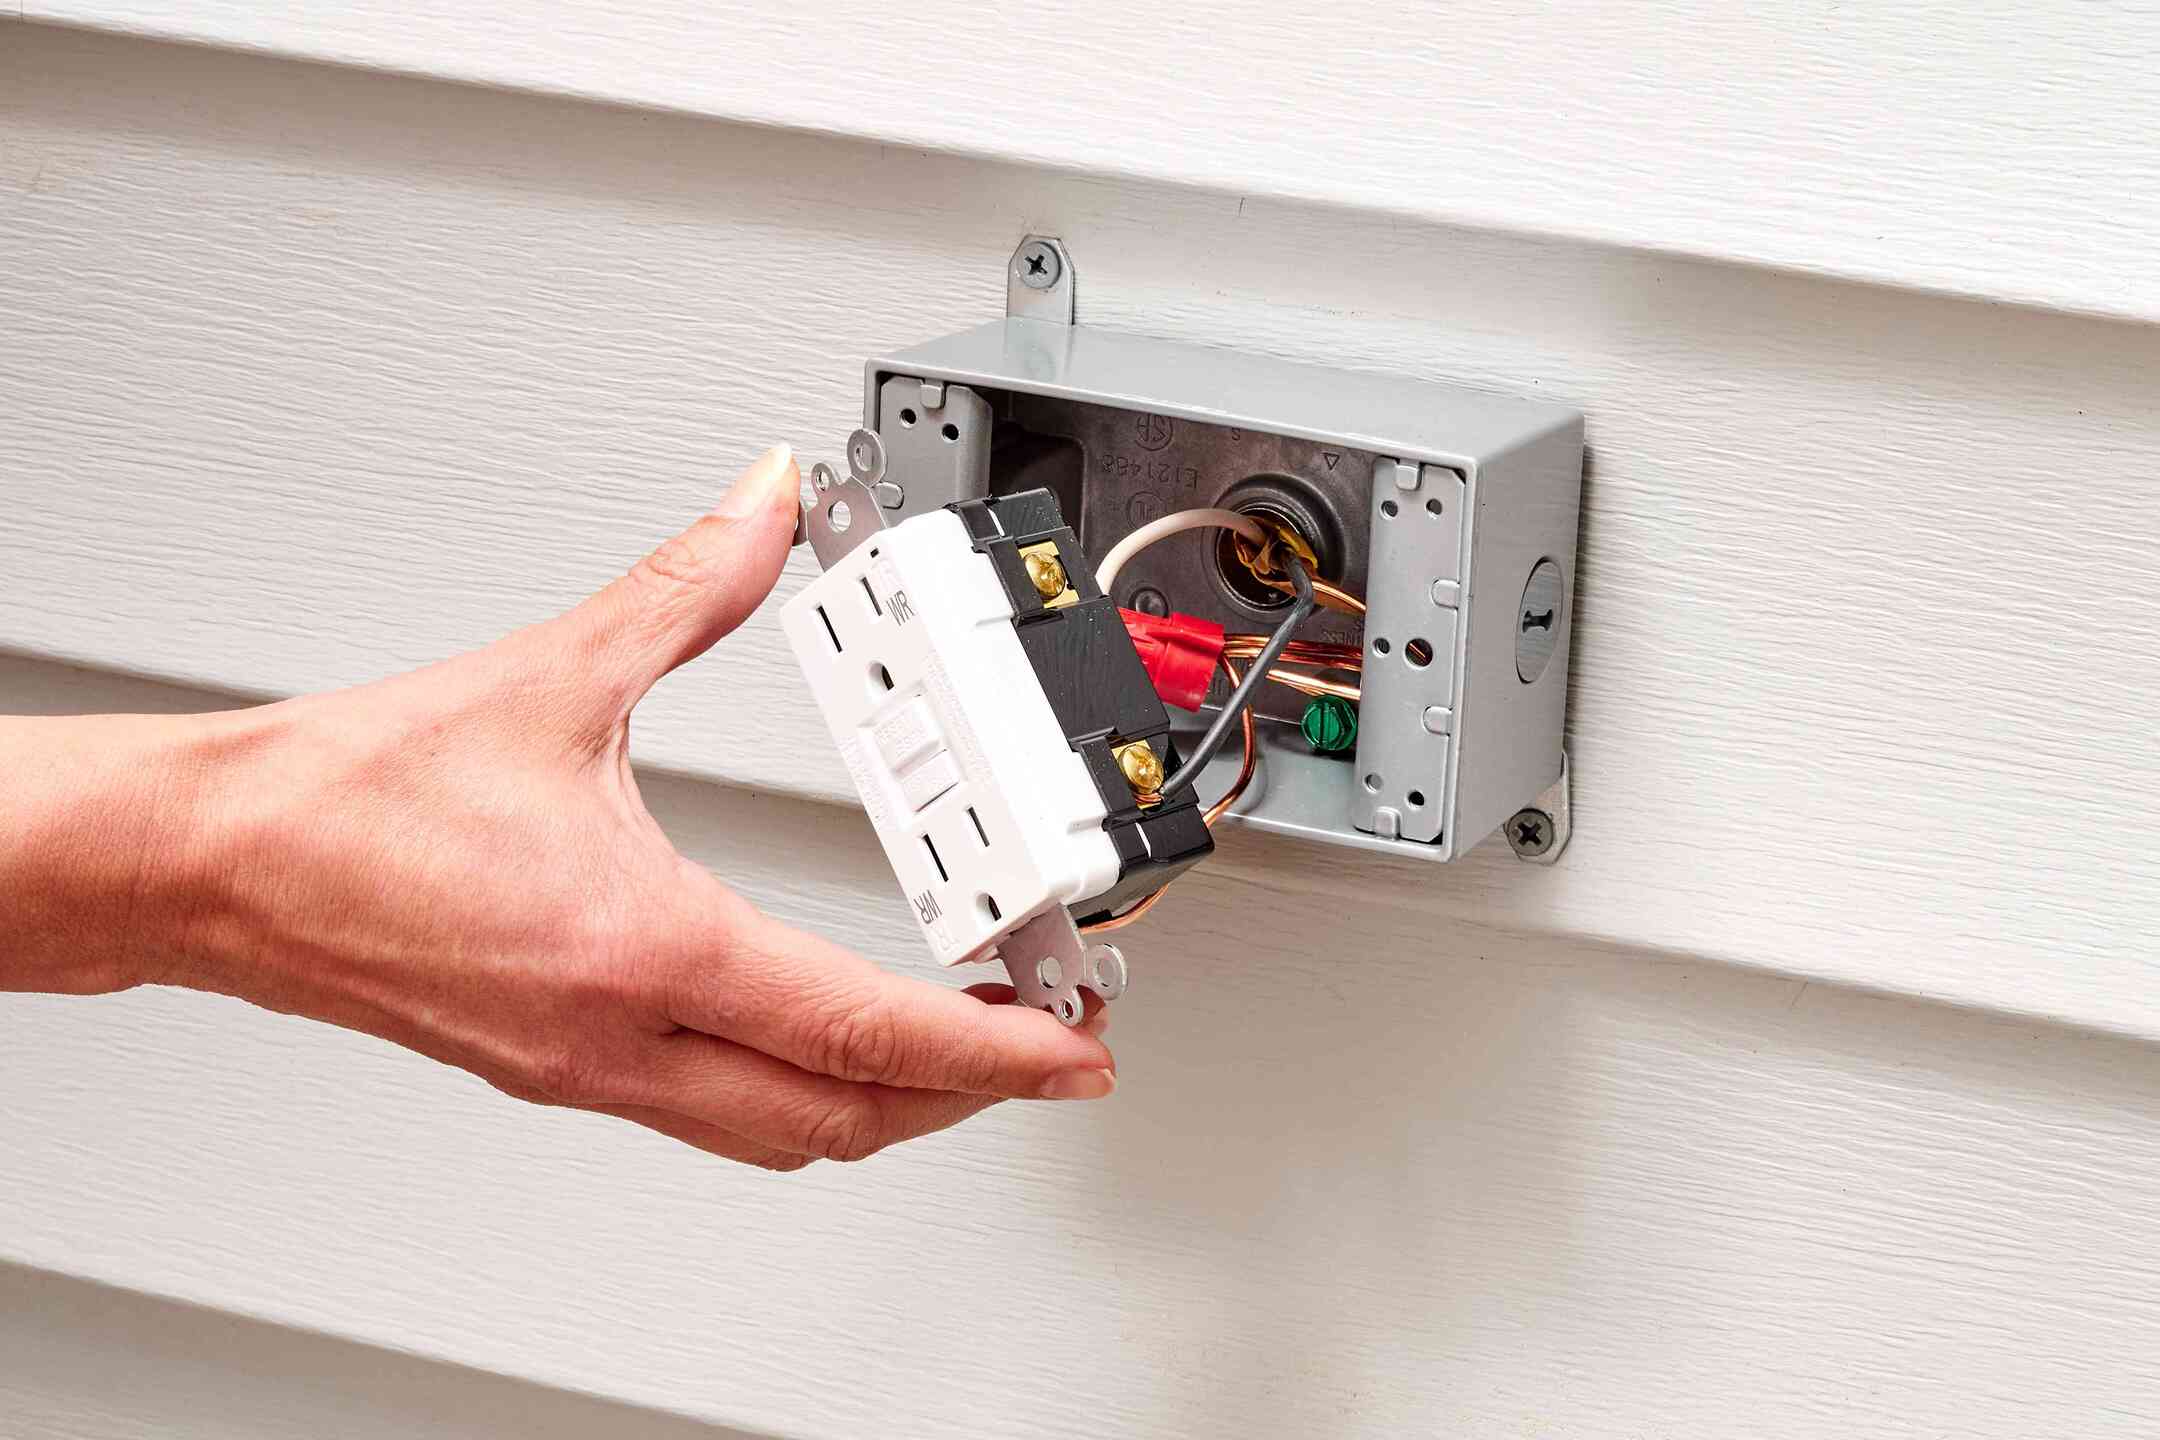
Wiring the Receptacle
Wiring the outdoor receptacle is a critical step that requires precision and attention to detail to ensure a safe and reliable electrical connection. Follow these steps to wire the receptacle effectively:
Prepare the Electrical Cable: Begin by preparing the outdoor-rated electrical cable (UF-B) for installation. Strip the outer sheathing to expose the insulated wires, ensuring that an adequate length of cable is available to reach the receptacle from the electrical panel.
Connect the Cable to the Electrical Panel: Carefully route the cable from the installation site to the electrical panel, securing it in place along the designated route. Once at the panel, strip the cable’s sheathing and connect the insulated wires to the appropriate terminals in the panel, following the color-coded conventions for hot (black), neutral (white), and ground (bare or green) wires.
Install the GFCI Receptacle: Mount the GFCI (Ground Fault Circuit Interrupter) receptacle in the outdoor-rated electrical box, following the manufacturer’s instructions. Connect the hot (black), neutral (white), and ground (bare or green) wires to the corresponding terminals on the receptacle, ensuring a secure and proper connection.
Test the Wiring: Before proceeding further, perform a comprehensive test of the wiring to confirm that all connections are secure and that the wiring has been executed correctly. Use a voltage tester to verify that the wiring is properly energized and that there are no faults or inconsistencies.
Secure and Protect the Wiring: Once the wiring has been tested and verified, carefully tuck the connected wires into the electrical box, ensuring that they are neatly arranged and free from any strain or tension. Secure the receptacle in place within the box, making sure that it is firmly anchored and positioned correctly.
By methodically wiring the receptacle, you’ll establish a reliable electrical connection that forms the backbone of your outdoor power source. With the receptacle wired and secured, the next step involves mounting the receptacle to complete the installation process.
Make sure to turn off the power before installing the outdoor receptacle. Use weatherproof materials and follow local building codes for proper installation.
Mounting the Receptacle
Mounting the outdoor receptacle is a crucial step that ensures the secure installation and proper positioning of the electrical components. Follow these steps to effectively mount the receptacle:
Attach the Weatherproof Outlet Cover: Prior to mounting the receptacle, attach the weatherproof outlet cover to the outdoor-rated electrical box. This cover provides essential protection for the receptacle, safeguarding it from the elements and enhancing its durability.
Position the Receptacle: Carefully position the wired receptacle within the electrical box, ensuring that it aligns correctly with the cover and that the wiring is neatly arranged and free from any obstructions. Take care to position the receptacle securely, allowing for easy access while maintaining a weatherproof seal.
Secure the Receptacle: Using the provided screws or mounting hardware, securely fasten the receptacle within the electrical box. Ensure that the receptacle is firmly anchored and that the weatherproof cover fits snugly over the receptacle, providing complete protection from moisture and debris.
Test the Receptacle: Once the receptacle is mounted, perform a comprehensive test to verify its functionality and safety. Use an outdoor-rated extension cord to connect a suitable electrical device to the receptacle, and test its operation to confirm that power is being supplied reliably.
Final Inspection: Conduct a final inspection of the mounted receptacle, ensuring that all components are securely fastened, the wiring is properly contained within the electrical box, and the weatherproof cover is fully sealed. Verify that the receptacle is positioned at a convenient and accessible height, suitable for its intended use.
By diligently mounting the receptacle, you’ll complete the physical installation of the outdoor power source, bringing together the electrical components in a secure and functional configuration. With the receptacle mounted and tested, the final step involves ensuring that the installation meets safety and operational standards.
Testing the Receptacle
Testing the newly installed outdoor receptacle is a crucial final step to ensure that it functions reliably and safely. By performing a comprehensive test, you can verify that the receptacle is properly wired, securely mounted, and capable of supplying power to your outdoor devices. Follow these steps to effectively test the receptacle:
Verify Power Supply: Begin by turning on the power supply to the outdoor receptacle at the electrical panel. Once the power is restored, use a voltage tester to confirm that the receptacle is receiving electrical power and that the wiring has been executed correctly.
Perform GFCI Test: If the receptacle is equipped with a GFCI (Ground Fault Circuit Interrupter), press the “Test” button on the receptacle to simulate a ground fault. The GFCI should trip, cutting off power to the receptacle and indicating that the safety feature is operational. Press the “Reset” button to restore power to the receptacle after the test.
Connect Test Devices: Use an outdoor-rated extension cord to connect a suitable electrical device, such as a lamp or power tool, to the receptacle. Ensure that the device’s power cord and the extension cord are in good condition and free from damage.
Verify Power Output: Turn on the connected electrical device and verify that it operates as expected, indicating that the receptacle is supplying power reliably. Test the receptacle with multiple devices to ensure that it can handle the intended electrical load without issues.
Inspect for Safety and Functionality: While the test device is connected, visually inspect the receptacle, outlet cover, and surrounding area for any signs of overheating, arcing, or other abnormalities. Ensure that the weatherproof cover is fully sealed and that the receptacle remains stable and secure during operation.
By meticulously testing the receptacle, you can confirm that the installation has been executed accurately and that the outdoor power source is ready for regular use. With the receptacle successfully tested, you can enjoy the convenience of a reliable outdoor power supply, enhancing your outdoor living space with electrical functionality.
Read more: How To Install Outdoor Pavers
Conclusion
Installing an outdoor receptacle is a rewarding endeavor that empowers you to bring electrical convenience and functionality to your outdoor living space. By following the comprehensive steps outlined in this guide, you’ve embarked on a journey to enhance your outdoor environment with a reliable power source that seamlessly integrates with your outdoor activities and lifestyle.
Throughout the installation process, you’ve learned to carefully select the location for the receptacle, ensuring accessibility, safety, and compliance with local regulations. By preparing the installation site and meticulously wiring the receptacle, you’ve established a solid foundation for a safe and reliable electrical connection.
Mounting and testing the receptacle were critical steps that ensured the secure installation and operational functionality of the outdoor power source. By performing a thorough test, you’ve verified that the receptacle is capable of supplying power reliably, meeting safety standards, and enhancing the usability of your outdoor space.
With the outdoor receptacle successfully installed and tested, you can now enjoy the convenience of powering outdoor lighting, sound systems, electronic devices, and various other electrical appliances, elevating your outdoor experience to a new level of comfort and enjoyment.
Remember, safety should always be a top priority when working with electrical installations. If you encounter any uncertainties or complexities during the installation process, it’s advisable to seek professional assistance to ensure the safety and integrity of the outdoor power supply.
By embracing this exciting project and harnessing the power of outdoor electricity, you’ve enriched your outdoor living space, creating a versatile and inviting environment that caters to your electrical needs. Whether it’s hosting gatherings, working on outdoor projects, or simply relaxing in the beauty of your outdoor oasis, the addition of an outdoor receptacle opens up a world of possibilities for you to explore and enjoy.
Frequently Asked Questions about How To Install Outdoor Receptacle
Was this page helpful?
At Storables.com, we guarantee accurate and reliable information. Our content, validated by Expert Board Contributors, is crafted following stringent Editorial Policies. We're committed to providing you with well-researched, expert-backed insights for all your informational needs.


0 thoughts on “How To Install Outdoor Receptacle”