Home>Furniture & Design>Outdoor Furniture>How To Install Outdoor Pavers
Outdoor Furniture
How To Install Outdoor Pavers
Modified: January 19, 2024
Learn how to install outdoor pavers and enhance your outdoor space with our comprehensive guide. Discover the best outdoor furniture and design ideas to create a stunning outdoor living area.
(Many of the links in this article redirect to a specific reviewed product. Your purchase of these products through affiliate links helps to generate commission for Storables.com, at no extra cost. Learn more)
Introduction
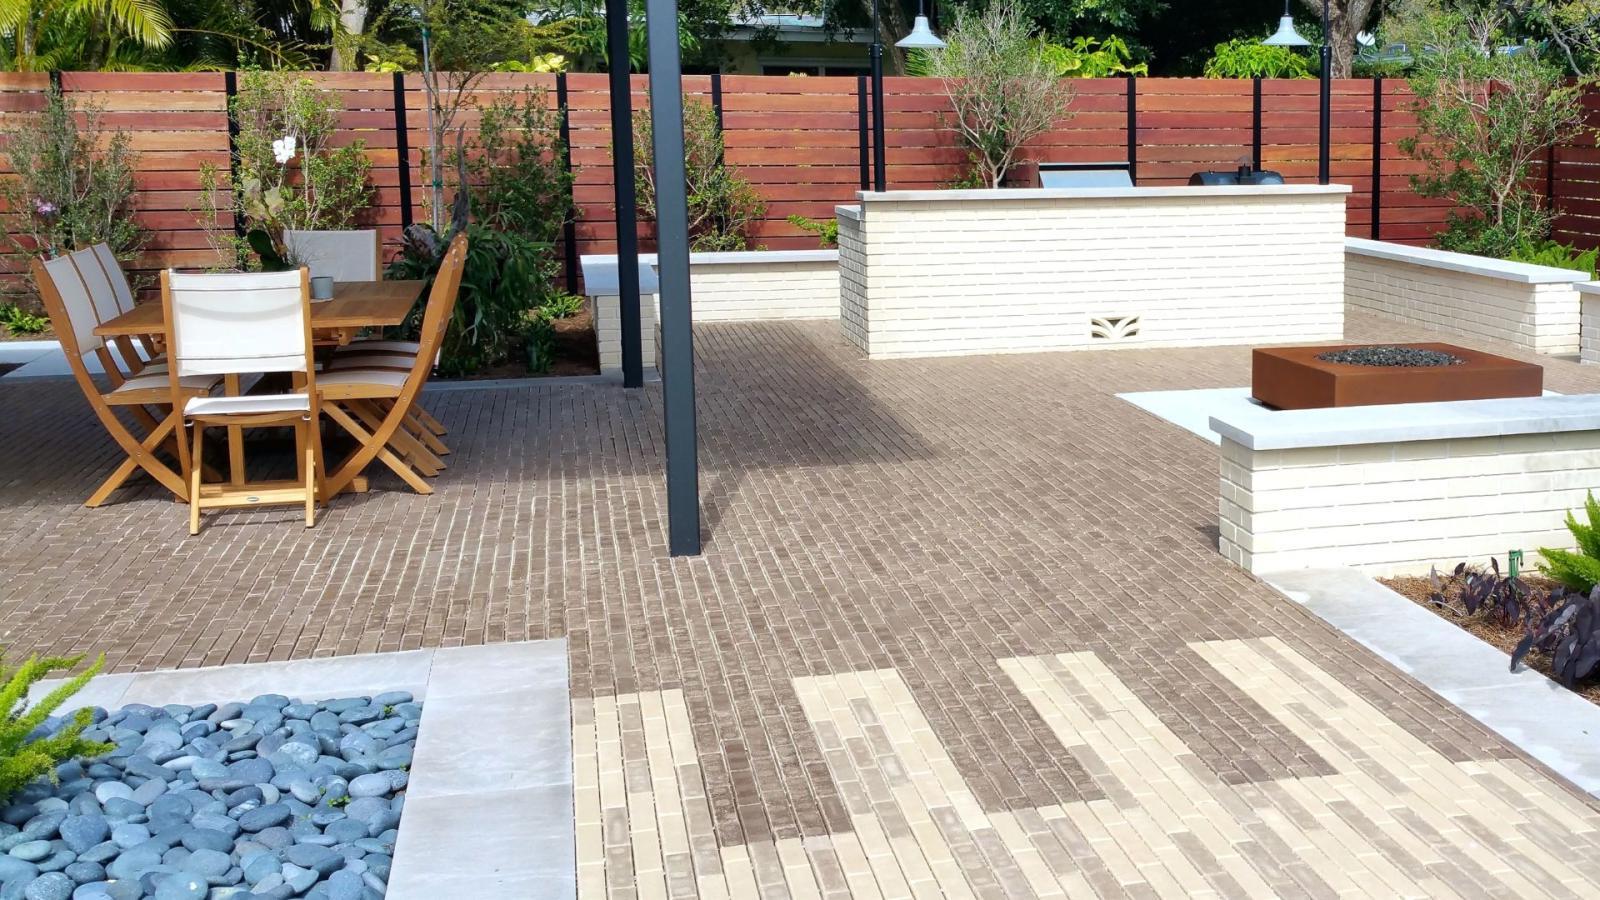
Welcome to the world of outdoor design and furniture! If you're looking to elevate the aesthetic and functionality of your outdoor space, installing outdoor pavers is a fantastic way to achieve this. Whether you're envisioning a charming patio for al fresco dining, a meandering pathway through your garden, or a sturdy surface for your outdoor furniture, pavers offer versatility, durability, and timeless appeal.
In this guide, we'll walk through the step-by-step process of installing outdoor pavers, from meticulous planning and preparation to the finishing touches that bring your vision to life. By the end, you'll have the knowledge and confidence to embark on this rewarding DIY project or effectively communicate with professionals to achieve your outdoor design goals.
So, grab your enthusiasm and let's dive into the wonderful world of outdoor pavers!
Key Takeaways:
- Planning and preparation are crucial for a successful outdoor paver installation. Consider design vision, material selection, site assessment, measurement, and local regulations to ensure a visually appealing and structurally sound outcome.
- Attention to detail and precision are essential when installing outdoor pavers. From setting the initial pavers to finishing touches and sealing, meticulous execution creates a captivating and enduring outdoor space.
Read more: How To Install Driveway Pavers
Step 1: Planning and Preparation
Before diving into the physical labor of installing outdoor pavers, it's crucial to start with a well-thought-out plan. This phase sets the foundation for a successful and visually appealing outcome. Here are the key considerations:
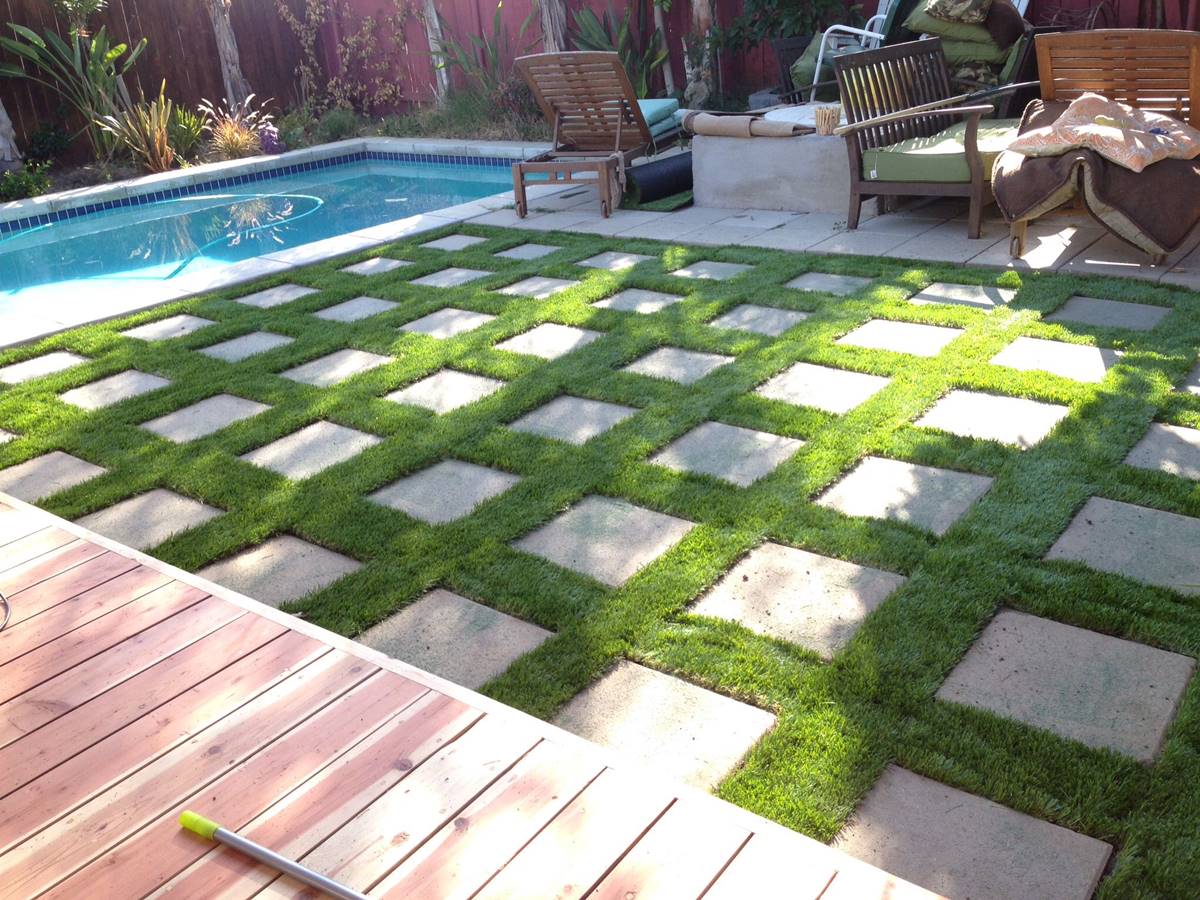
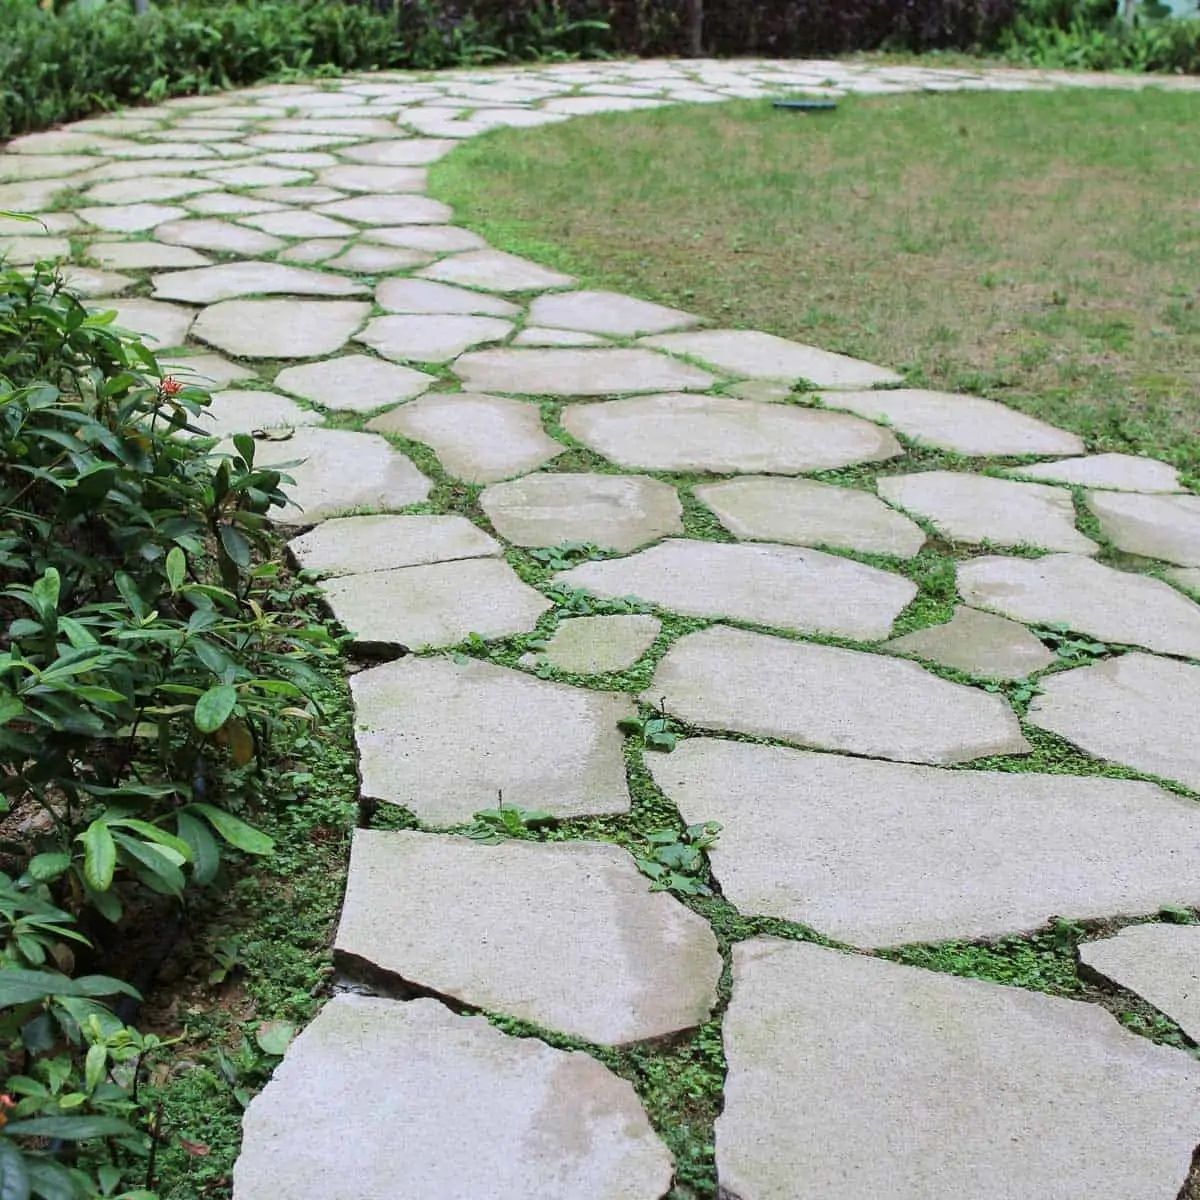
- Design Vision: Begin by envisioning the end result. Are you aiming for a sleek and modern patio, a rustic and inviting pathway, or a combination of different paver styles? Consider the overall theme and how it complements your outdoor space.
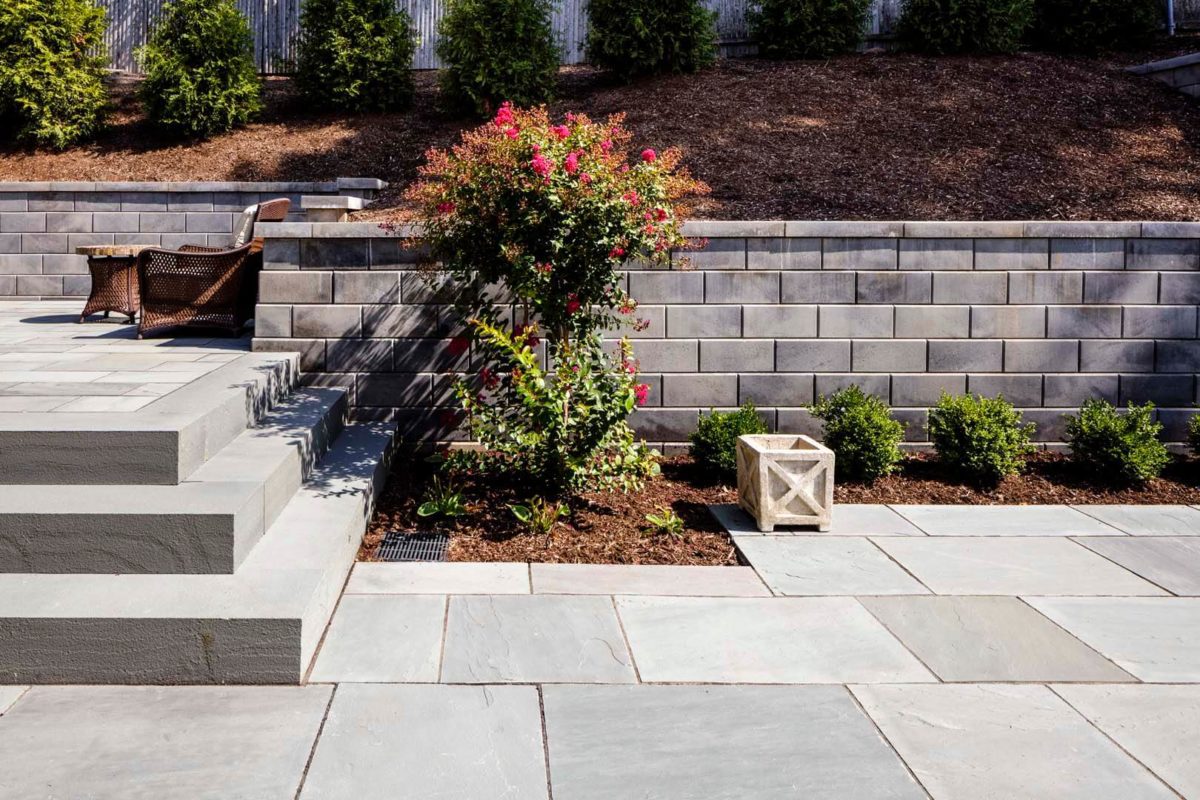
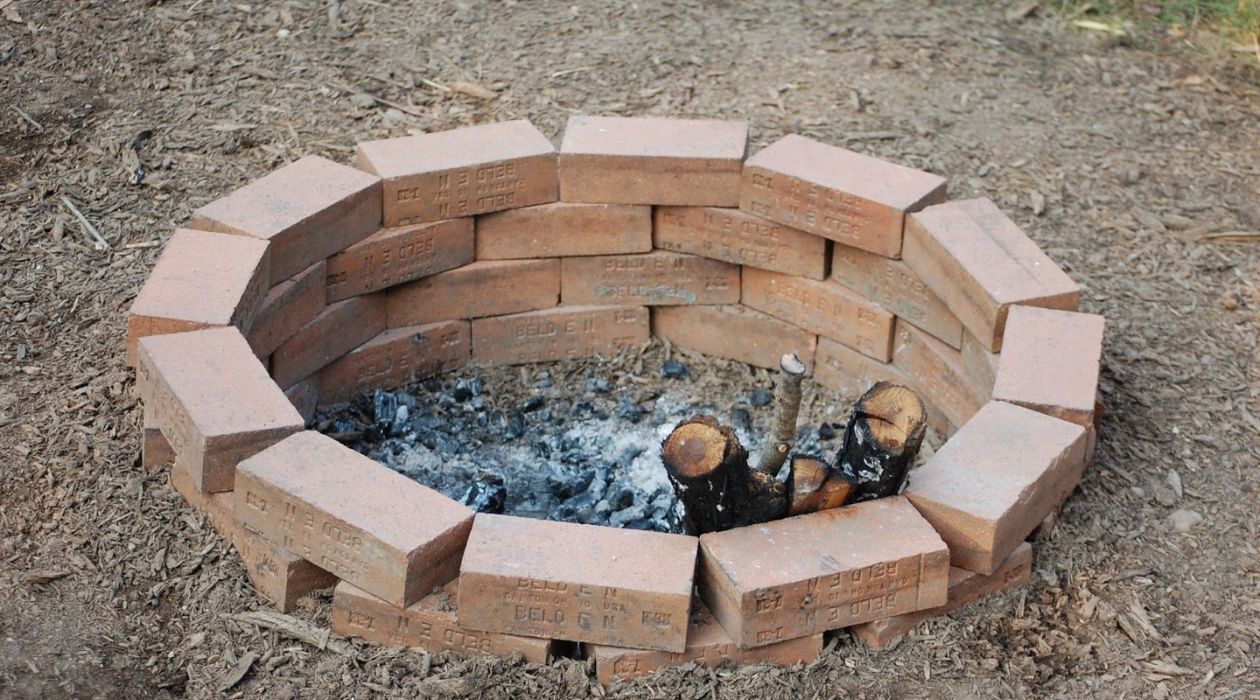
- Material Selection: Explore the wide array of paver materials available, such as natural stone, concrete, brick, or porcelain. Each material offers unique textures, colors, and durability, so choose one that aligns with your design vision and maintenance preferences.
- Site Assessment: Evaluate the area where the pavers will be installed. Take note of any slopes, drainage patterns, and existing landscaping features. Understanding the site's characteristics will inform the necessary adjustments and enhancements during the installation process.
- Measurement and Layout: Accurately measure the installation area and create a layout plan. This involves determining the paver pattern, calculating the quantity needed, and marking the boundaries. A well-planned layout ensures a balanced and visually appealing result.
- Permit and Regulations: Check local building codes and regulations regarding outdoor paving projects. Some areas may require permits or have specific guidelines related to excavation depth, drainage, or materials used. Ensuring compliance with regulations avoids potential setbacks and ensures a safe and structurally sound installation.
Once the planning phase is complete, gather the necessary tools and materials, including safety equipment, and prepare the installation site by clearing any obstructions and ensuring a stable foundation. With a clear plan in place, you're ready to embark on the exciting journey of transforming your outdoor space with stunning pavers.
Step 2: Excavation and Base Preparation
Now that the planning stage is complete, it's time to roll up your sleeves and prepare the groundwork for your outdoor paver installation. This step involves meticulous excavation and the establishment of a stable base to ensure the longevity and integrity of the pavers. Here's a detailed breakdown of the process:
- Marking and Excavation: Using the layout plan created during the planning phase, mark the boundaries of the installation area with stakes and string. Excavate the marked area to the required depth, accounting for the paver thickness, base materials, and any necessary slope for proper drainage.
- Subsoil Evaluation: Inspect the exposed subsoil to ensure it is stable and free from organic matter, debris, and potential sources of future settlement. Compacted subsoil provides a solid foundation for the base layers.
- Base Layer Installation: Add a layer of geotextile fabric over the excavated area to prevent the mixing of subsoil and base materials. Next, add a base material, such as crushed stone or gravel, and compact it thoroughly to create a stable and uniform foundation. The base layer should be carefully graded to achieve the desired slope for efficient water runoff.
- Adjustments and Compaction: Use a plate compactor to compact the base material, ensuring it is level and free from any voids or soft spots. Make necessary adjustments to achieve the desired slope and verify the evenness of the surface using a straight edge or level.
- Edge Restraints: Install edge restraints, such as plastic, metal, or concrete edging, along the perimeter of the excavation to contain the pavers and prevent shifting over time. Secure the edge restraints firmly in place to maintain the integrity of the installation.
By meticulously executing the excavation and base preparation phase, you establish a robust foundation that promotes the stability and longevity of your outdoor paver installation. With the groundwork in place, you're ready to progress to the exciting stage of laying the pavers and witnessing your design vision come to life.
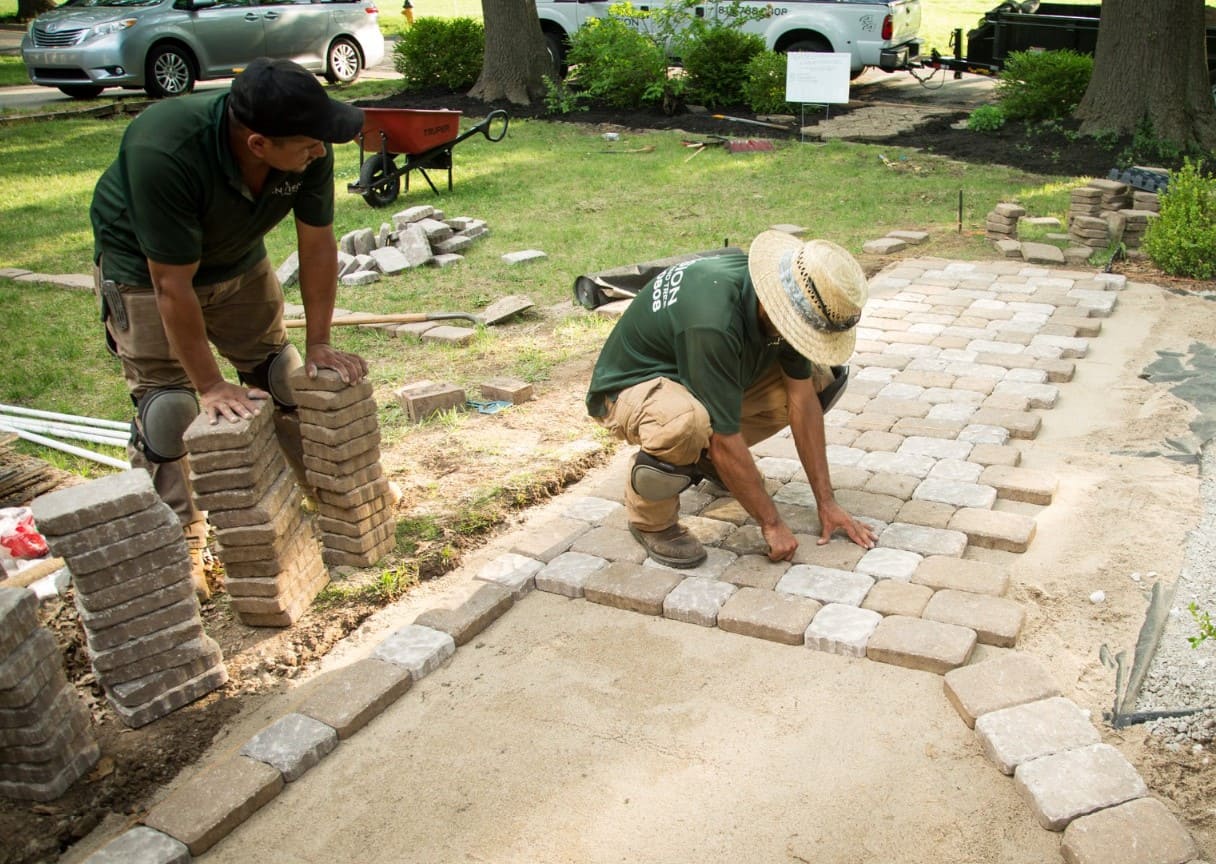
Step 3: Installing the Pavers
With the groundwork meticulously prepared, it’s time to embark on the transformative stage of installing the outdoor pavers. This step involves precision, creativity, and attention to detail to bring your design vision to fruition. Here’s a comprehensive guide to the paver installation process:
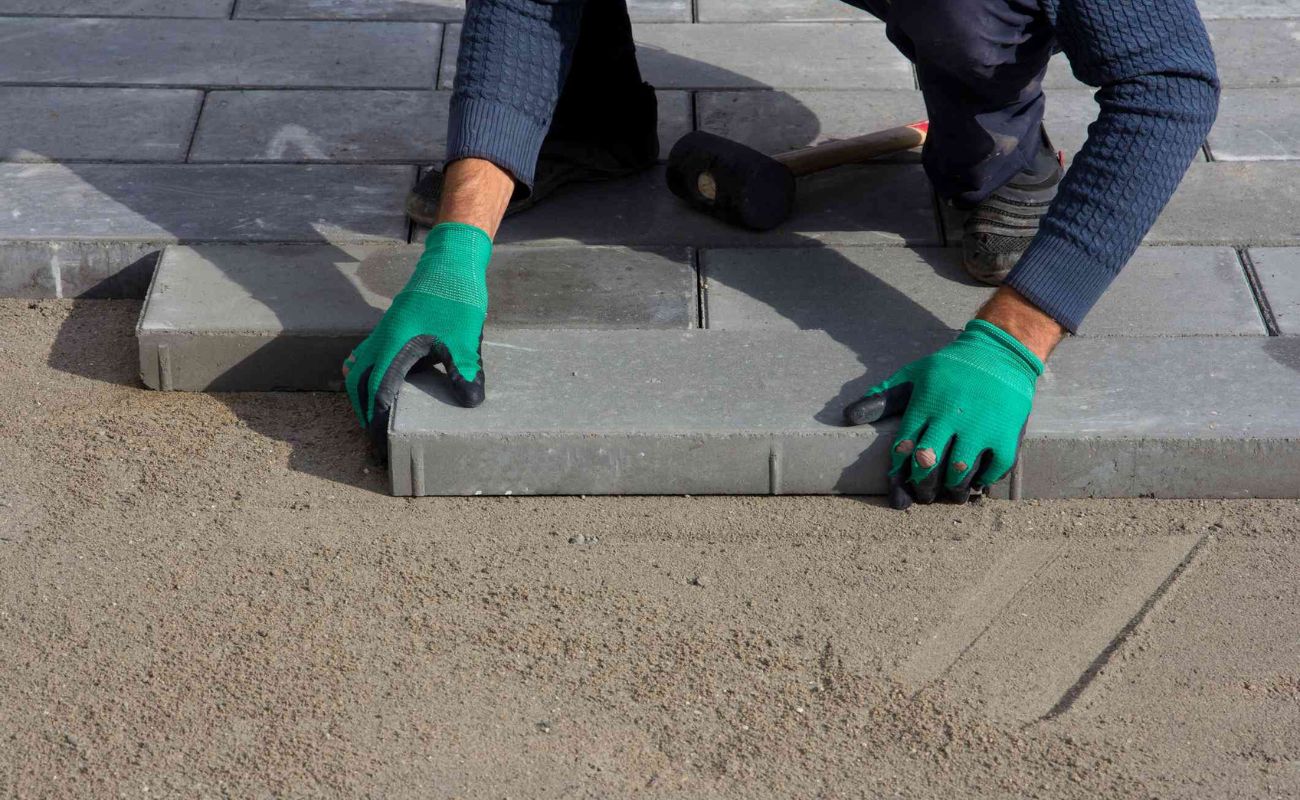
- Setting the Initial Pavers: Begin at one corner of the installation area and lay the first pavers according to the predetermined layout plan. Ensure a consistent gap, known as a joint, between each paver to accommodate sand or jointing material later in the process.
- Pattern and Alignment: Adhere to the chosen pattern, whether it’s a classic running bond, herringbone, or custom design. Pay close attention to the alignment and spacing of the pavers to maintain a visually appealing and structurally sound layout.
- Cutting and Trimming: As the installation progresses, you may need to cut pavers to fit the edges, curves, or intricate sections of the design. Utilize a paver saw or chisel to achieve precise cuts, ensuring a seamless integration of the pavers within the layout.
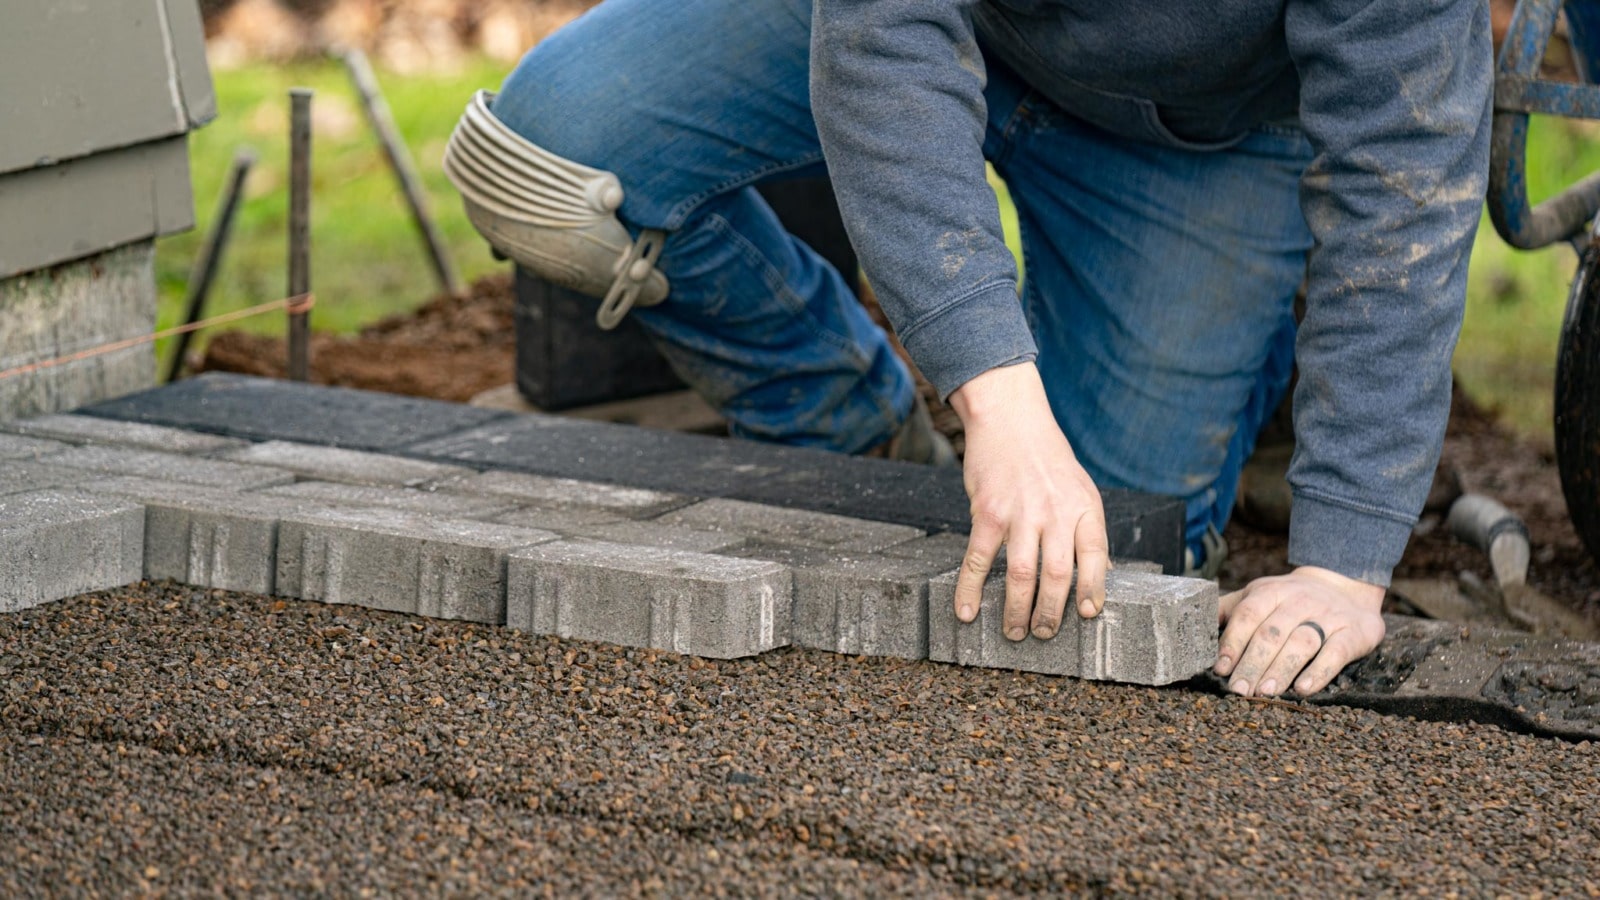
- Sand Bed and Compaction: Once the pavers are in place, spread a layer of fine sand over the surface and sweep it into the joints using a broom. This creates interlocking and enhances the stability of the pavers. Proceed to compact the pavers and sand using a plate compactor, ensuring a secure and level surface.
- Edge Detailing: Pay attention to the perimeter and edge details, ensuring a cohesive and polished appearance. Install edge restraints or edging courses to secure the outer pavers and maintain the integrity of the installation.
Throughout the paver installation process, maintain a keen eye for detail and precision. By following the layout plan, adhering to the chosen pattern, and executing meticulous cuts and adjustments, you’ll witness the gradual transformation of your outdoor space into a stunning and functional area.
With the pavers securely in place, you’re one step closer to enjoying a captivating outdoor environment that reflects your design vision and enhances the overall appeal of your property.
Before installing outdoor pavers, make sure the ground is level and compacted. Use a layer of sand or gravel as a base to prevent shifting and settling.
Step 4: Cutting and Edging
As you progress through the installation of outdoor pavers, the cutting and edging phase plays a pivotal role in refining the visual appeal and structural integrity of the project. This step involves precise adjustments, attention to detail, and the incorporation of edge restraints to achieve a polished and cohesive result. Here’s a comprehensive overview of the cutting and edging process:
- Precision Cuts: As the paver installation nears completion, you may encounter areas that require custom cuts to fit the layout seamlessly. Utilize a paver saw or chisel to achieve precise cuts, ensuring that the pavers align harmoniously with the design and any existing features.
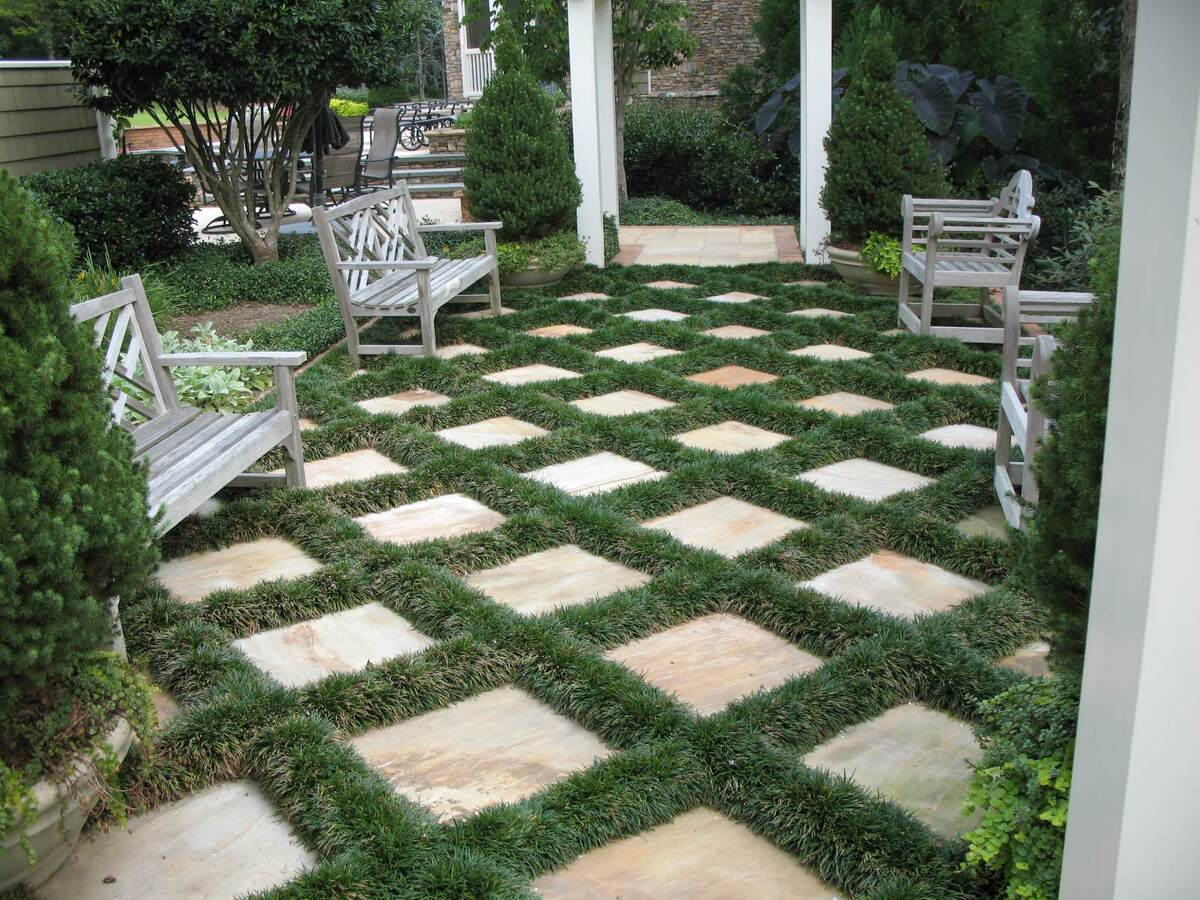
- Curves and Intricate Patterns: For curved sections or intricate patterns within the design, carefully cut the pavers to maintain the desired flow and visual continuity. This meticulous approach ensures that the pavers complement the natural contours of the outdoor space and create a captivating aesthetic.
- Edge Restraints: Install and secure edge restraints along the perimeter of the installation, ensuring that they align with the outer edge of the pavers. Edge restraints provide structural support, prevent shifting, and contribute to the overall stability of the paved surface.
- Edging Details: Pay close attention to the edging details, ensuring that the outermost pavers are aligned uniformly and securely held in place by the edge restraints. This step enhances the visual appeal of the installation and creates a seamless transition between the paved area and the surrounding landscape.
- Clean and Final Inspection: Once the cutting and edging process is complete, thoroughly clean the paved surface, removing any excess debris or sand. Conduct a final inspection to verify the alignment, stability, and overall quality of the installation.
By meticulously executing the cutting and edging phase, you refine the visual impact of the outdoor paver installation while reinforcing its structural integrity. The careful attention to detail and precision cuts contribute to a cohesive and visually stunning result that enhances the overall appeal of your outdoor space.
With the cutting and edging process completed, you’re one step closer to enjoying a captivating outdoor environment that reflects your design vision and elevates the aesthetic charm of your property.
Read more: How To Install A Walkway With Pavers
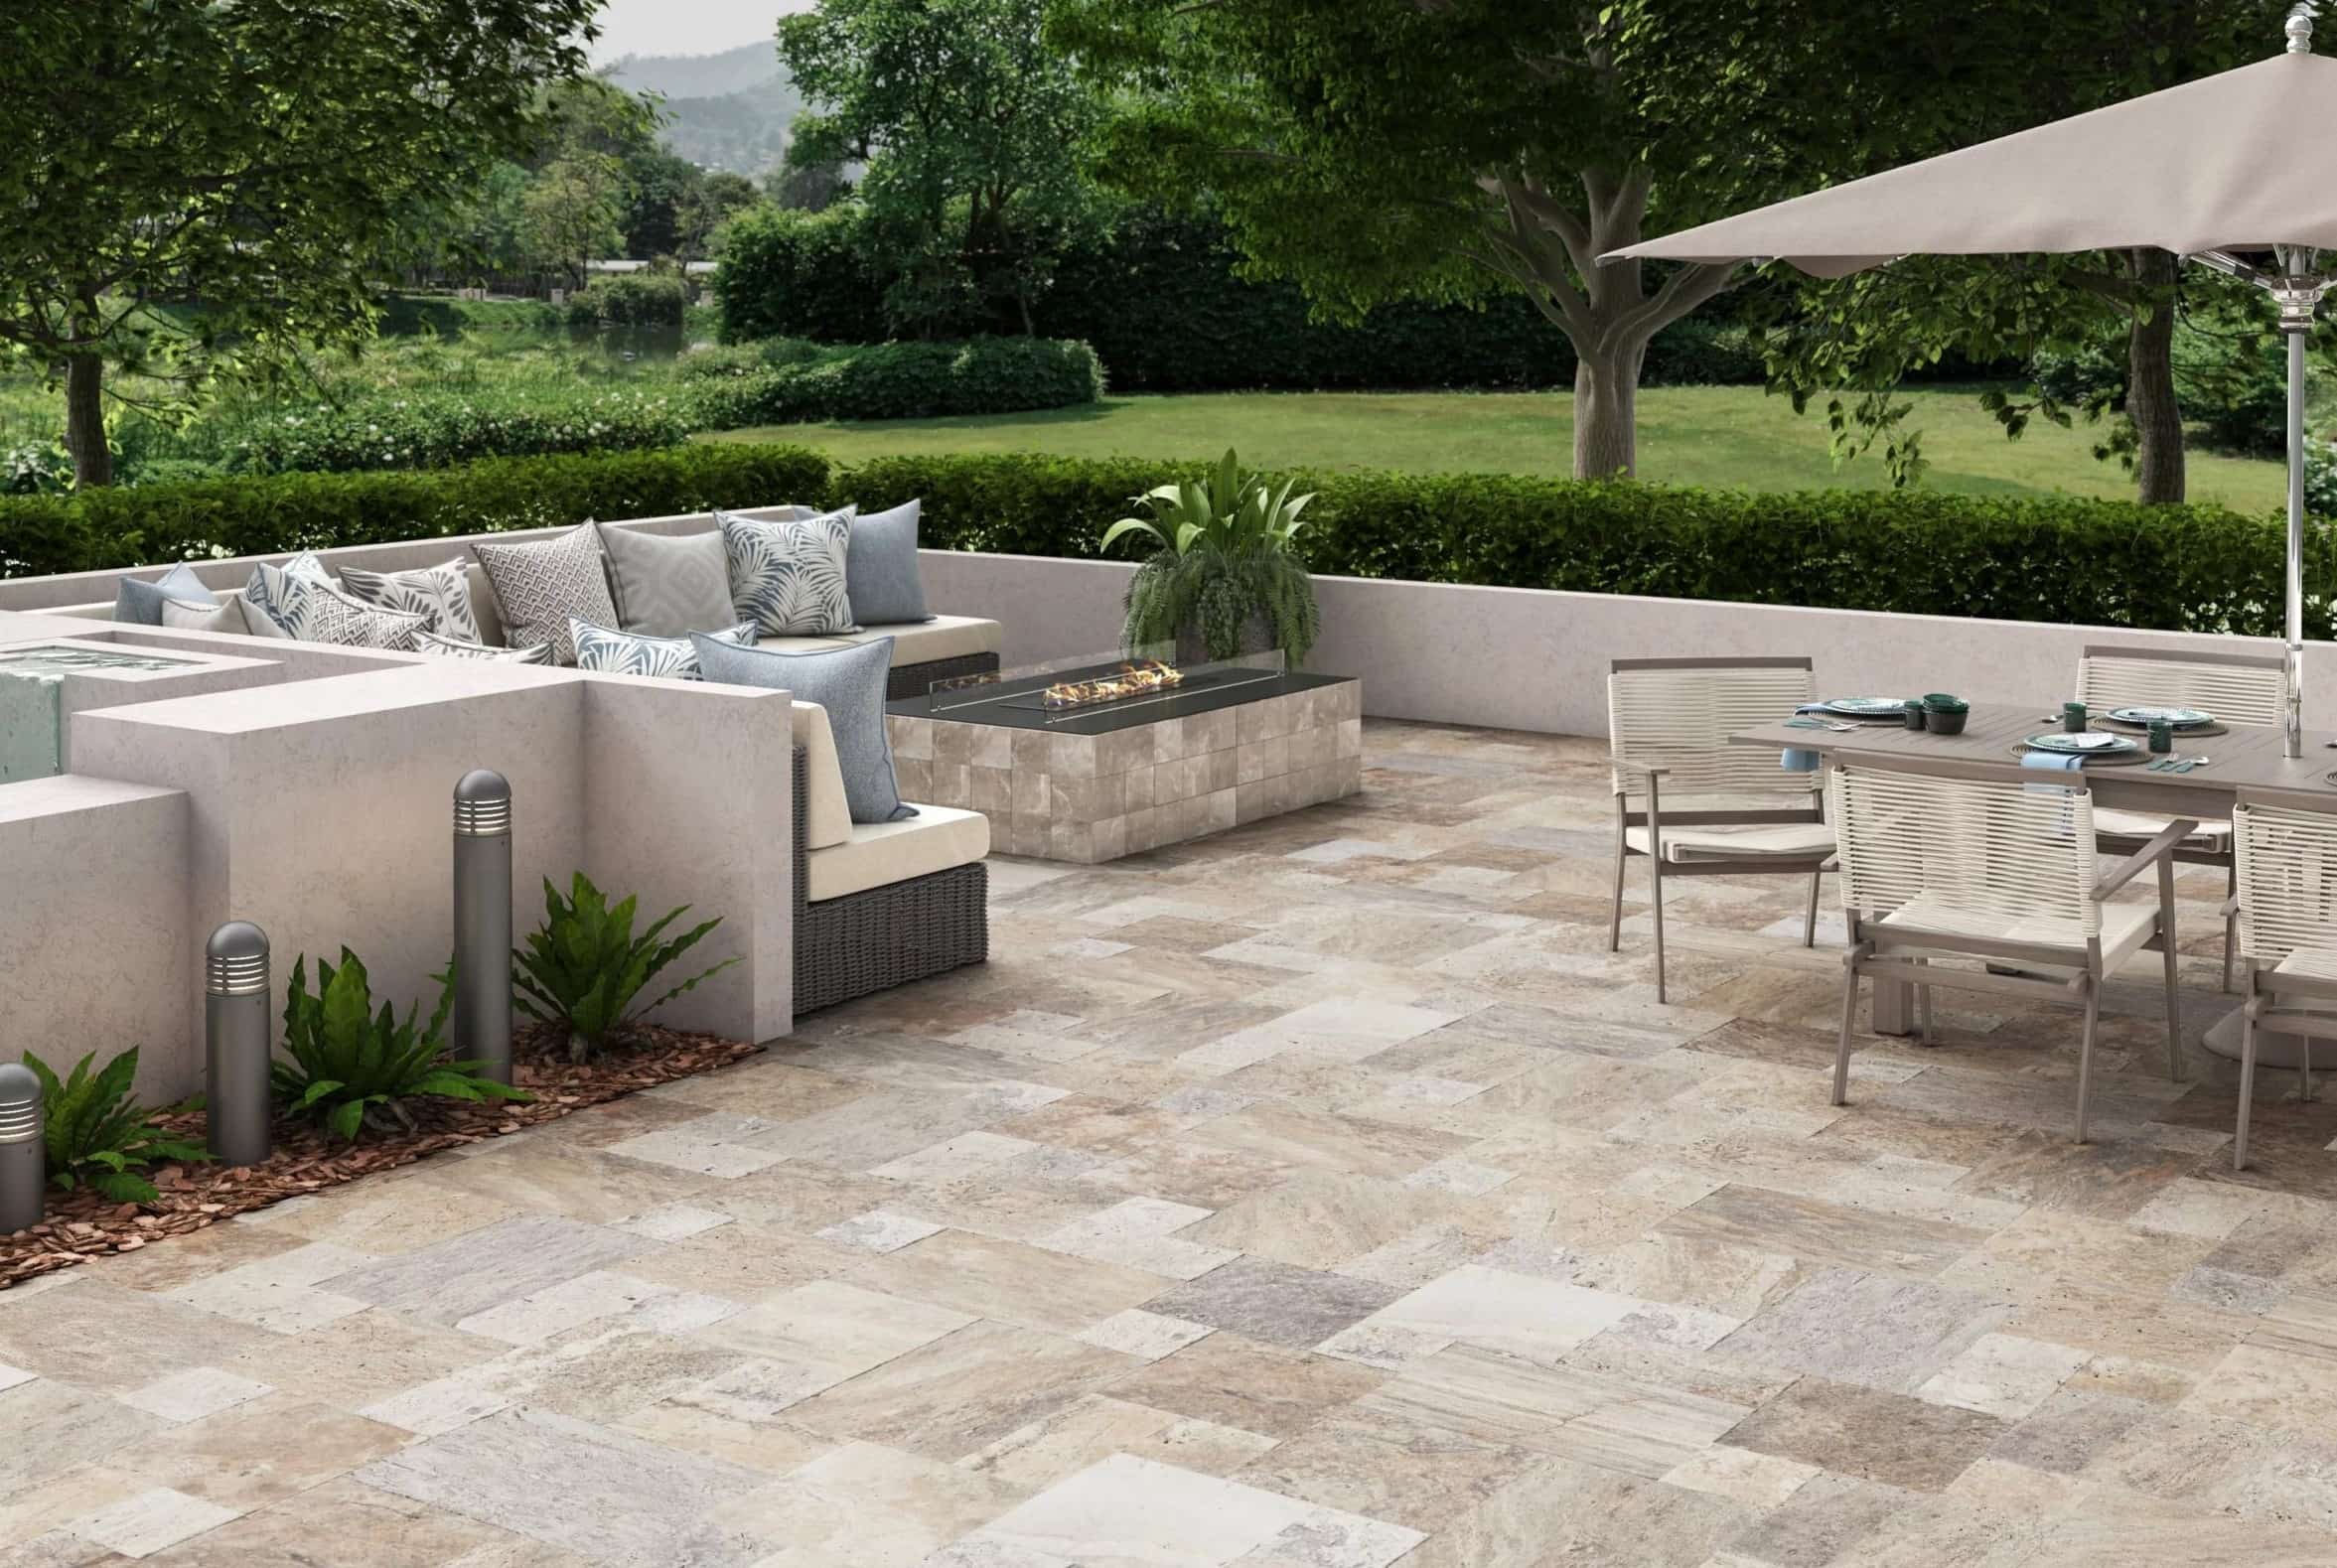
Step 5: Finishing Touches and Sealing
As the outdoor paver installation nears completion, the final touches and sealing phase bring the project to its crowning moment. This step involves meticulous cleaning, joint stabilization, and the application of a protective sealant to enhance the longevity and visual appeal of the paved surface. Here’s a comprehensive guide to the finishing touches and sealing process:
- Thorough Cleaning: Begin by thoroughly cleaning the paved surface, removing any residual sand, dust, or debris. Utilize a broom, leaf blower, or gentle pressure washing to achieve a clean and pristine appearance.
- Joint Stabilization: Inspect the joints between the pavers and ensure they are uniformly filled with sand or jointing material. This stabilizes the pavers, minimizes weed growth, and enhances the overall integrity of the installation.
- Sealant Application: Apply a high-quality sealant designed for outdoor pavers to protect the surface from stains, moisture penetration, and color fading. The sealant enhances the natural hues of the pavers and provides a durable barrier against environmental elements.
- Brushing and Curing: After applying the sealant, use a brush or roller to ensure even coverage and eliminate any excess sealant. Allow the sealant to cure according to the manufacturer’s instructions, ensuring optimal bonding and protection.
- Final Inspection and Enjoyment: Conduct a final inspection of the sealed surface, verifying the uniformity of the sealant application and the overall cleanliness of the installation. With the finishing touches complete, step back and admire the captivating transformation of your outdoor space.
By meticulously executing the finishing touches and sealing process, you elevate the visual allure and longevity of the outdoor paver installation. The protective sealant not only enhances the aesthetic appeal but also safeguards the pavers against the effects of weather and daily use, ensuring a lasting and beautiful outdoor environment.
With the finishing touches and sealing phase concluded, you’re now ready to revel in the enchanting ambiance of your revitalized outdoor space. Whether it’s a charming patio, a picturesque pathway, or a captivating outdoor retreat, your meticulously installed pavers stand as a testament to your design vision and dedication to enhancing your property’s allure.
Conclusion
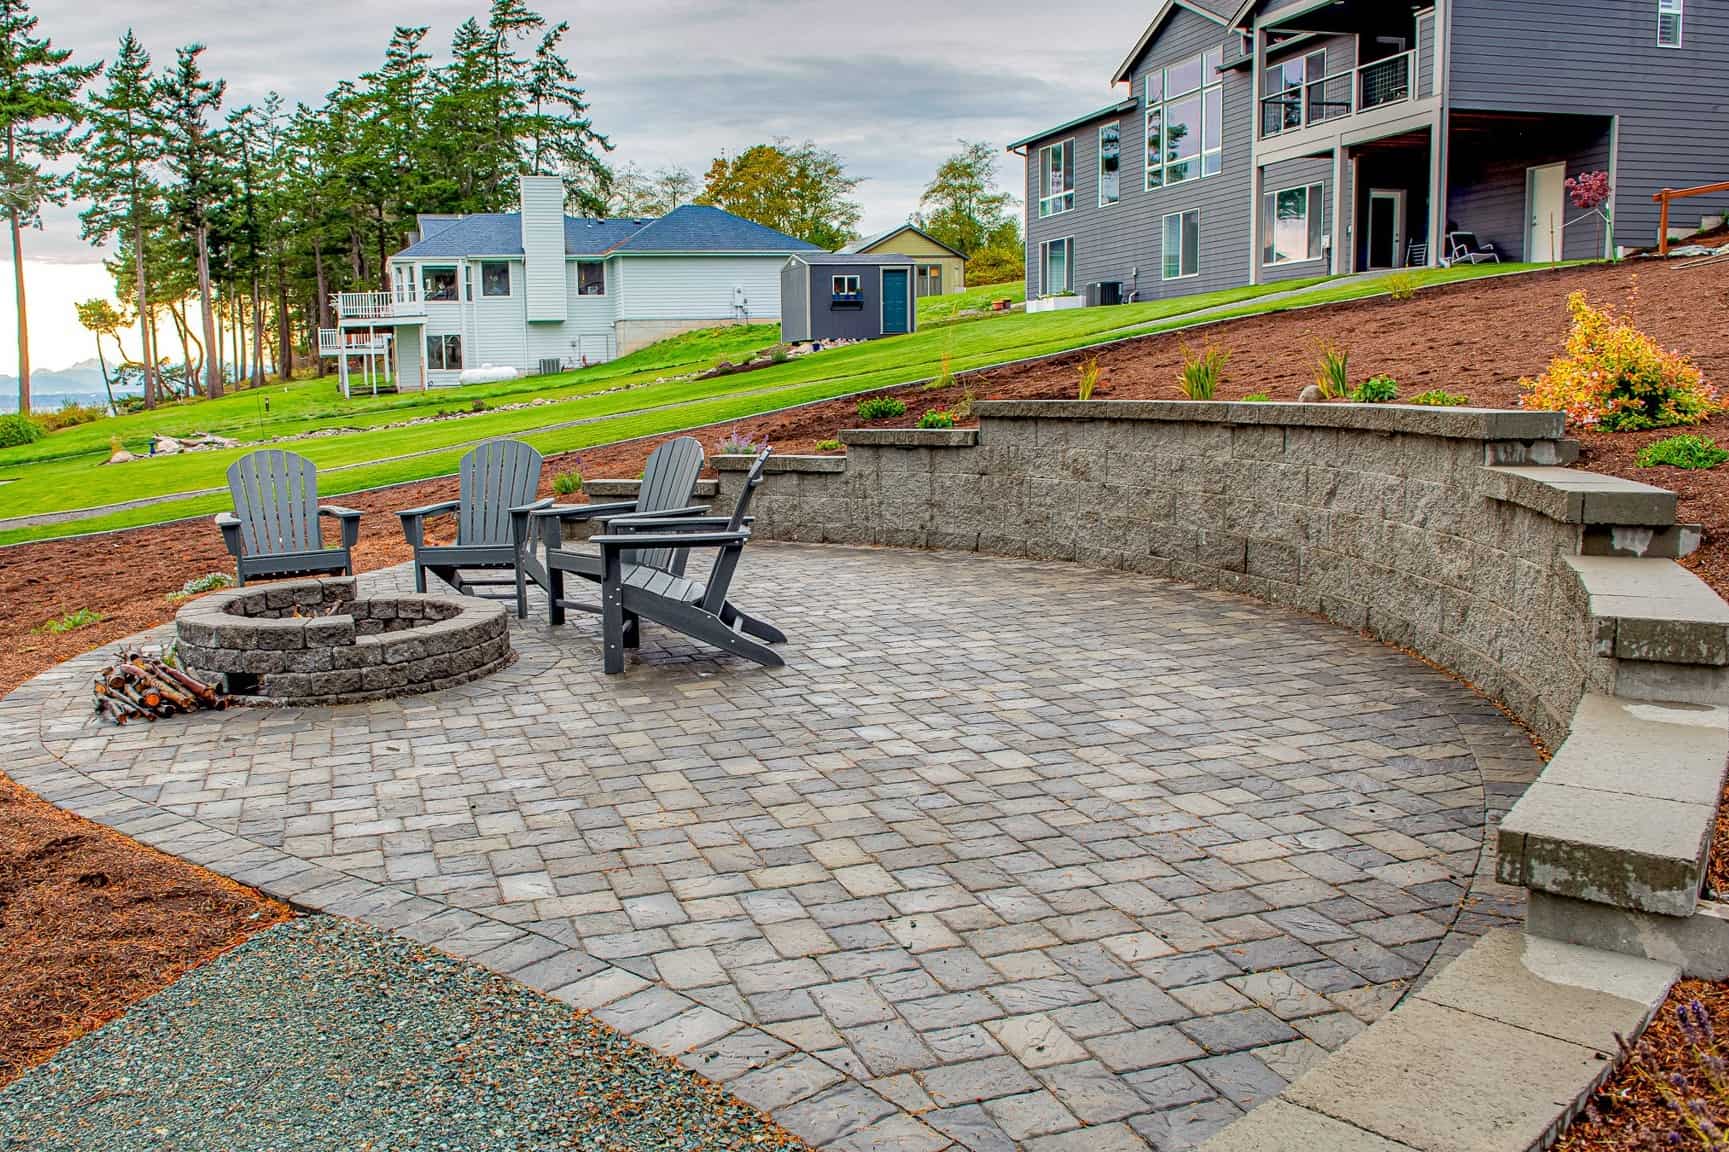
Congratulations on completing the transformative journey of installing outdoor pavers! Through meticulous planning, precise execution, and attention to detail, you’ve elevated your outdoor space with enduring beauty and functionality. As you reflect on the rewarding process, consider the enduring benefits and the sense of pride that accompanies this remarkable enhancement to your property.
By embracing the artistry of outdoor paver installation, you’ve not only created a visually captivating environment but also established a durable and versatile surface that enriches your outdoor lifestyle. Whether you’re savoring moments of relaxation on a newly paved patio, strolling along an inviting pathway, or hosting gatherings in an enchanting outdoor setting, the impact of your paver installation resonates with every enjoyable moment.
Furthermore, the skills and knowledge acquired during this endeavor empower you to infuse your outdoor space with personalized charm and functionality. The ability to plan, prepare, and execute an outdoor paver installation equips you with a valuable tool for future enhancements and creative endeavors within your property.
As you bask in the allure of your revitalized outdoor space, take pride in the enduring craftsmanship and attention to detail that define your outdoor paver installation. The seamless integration of form and function, coupled with the timeless appeal of the pavers, embodies the artistry of outdoor design and the transformative power of dedicated craftsmanship.
Whether you embarked on this journey as a DIY enthusiast, a homeowner with a vision, or a design professional, the impact of your outdoor paver installation extends far beyond the physical surface. It encapsulates the spirit of innovation, the joy of creation, and the enduring legacy of a beautifully enhanced outdoor environment.
As you embrace the enchanting ambiance of your revitalized outdoor space, may it serve as a testament to your creativity, dedication, and unwavering commitment to transforming your property into a captivating retreat that reflects your unique style and vision.
Frequently Asked Questions about How To Install Outdoor Pavers
Was this page helpful?
At Storables.com, we guarantee accurate and reliable information. Our content, validated by Expert Board Contributors, is crafted following stringent Editorial Policies. We're committed to providing you with well-researched, expert-backed insights for all your informational needs.
0 thoughts on “How To Install Outdoor Pavers”