Home>Furniture & Design>Outdoor Furniture>How To Install Outdoor Home Security Camera
Outdoor Furniture
How To Install Outdoor Home Security Camera
Modified: February 17, 2024
Learn how to install outdoor home security cameras to protect your outdoor furniture and design. Follow our step-by-step guide for a secure and stylish setup.
(Many of the links in this article redirect to a specific reviewed product. Your purchase of these products through affiliate links helps to generate commission for Storables.com, at no extra cost. Learn more)
Introduction
When it comes to safeguarding your home and loved ones, an outdoor home security camera is an invaluable asset. With the advancement of technology, these cameras have become more accessible, affordable, and user-friendly than ever before. Whether you're aiming to deter potential intruders, monitor your property remotely, or simply keep an eye on your surroundings, a well-installed outdoor home security camera can provide peace of mind and enhance the overall safety of your household.
In this comprehensive guide, we will walk you through the step-by-step process of installing an outdoor home security camera. From selecting the right camera for your specific needs to mounting, connecting, and testing it, we've got you covered. By the end of this journey, you will be equipped with the knowledge and confidence to set up your outdoor home security camera seamlessly.
Let's delve into the world of outdoor home security cameras, where technology meets tranquility, and take the first step toward fortifying your home with a vigilant electronic eye.
Key Takeaways:
- Choose the right outdoor home security camera by considering weather resistance, night vision, resolution, power source, and additional features to ensure it meets your specific surveillance needs.
- Plan and execute the installation of your outdoor home security camera meticulously, from selecting optimal locations and mounting heights to connecting to power and Wi-Fi, to create a reliable and effective surveillance system for your home.
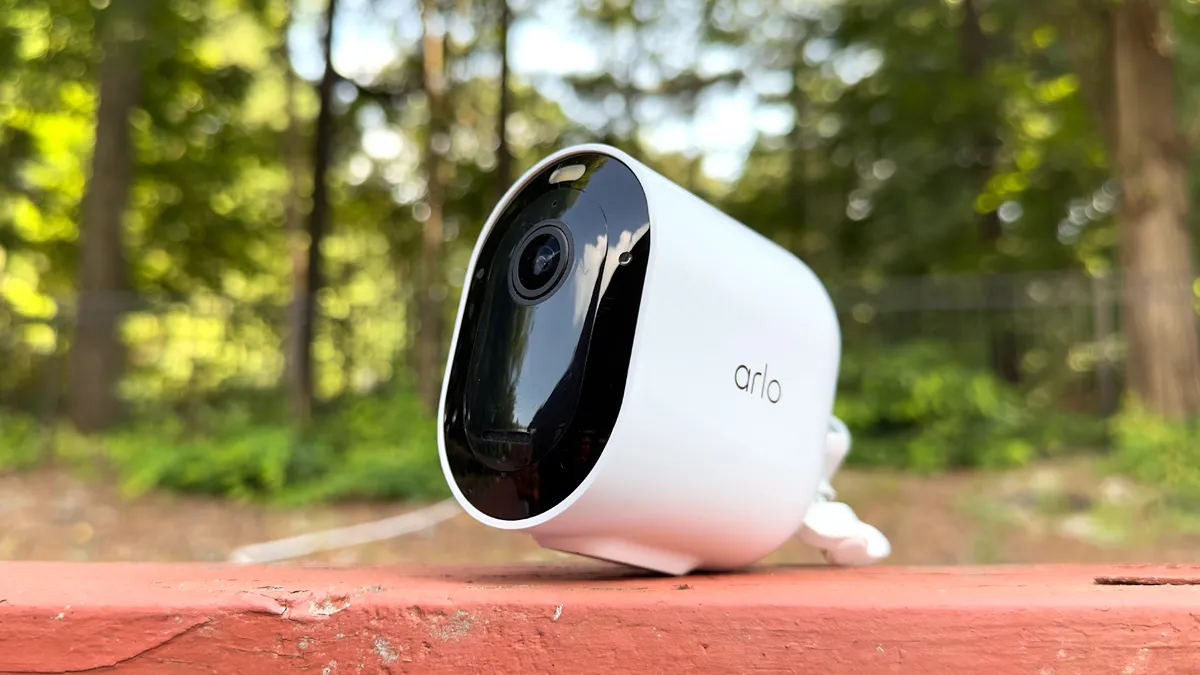
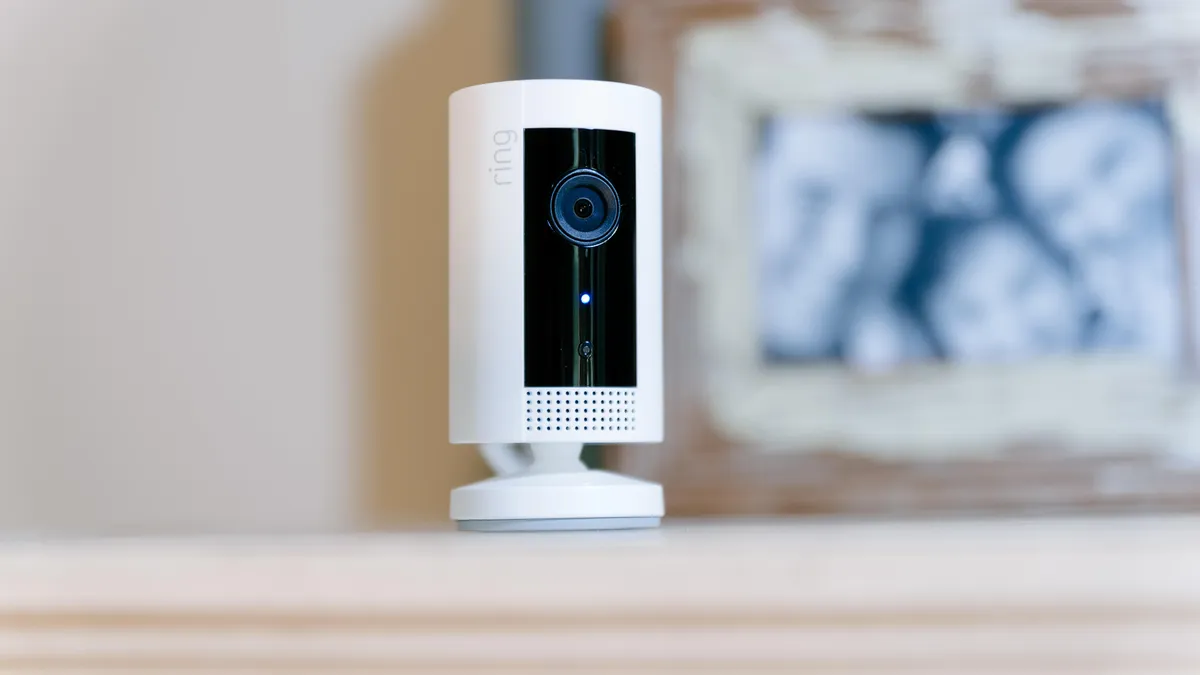
Choosing the Right Outdoor Home Security Camera
Before embarking on the installation process, it’s crucial to select the most suitable outdoor home security camera for your specific requirements. With a plethora of options available in the market, understanding the key features and functionalities can help you make an informed decision.
Here are some essential factors to consider when choosing an outdoor home security camera:
- Weather Resistance: Given that the camera will be exposed to the elements, opt for a weatherproof model that can withstand varying climatic conditions, such as rain, snow, and extreme temperatures.
- Night Vision: For round-the-clock surveillance, prioritize a camera equipped with infrared night vision capabilities, ensuring clear and detailed footage even in low-light or pitch-dark settings.
- Resolution and Clarity: Look for a camera with high-definition resolution, as this directly impacts the quality of the footage captured. A higher resolution enables sharper and more discernible images, enhancing the overall effectiveness of the camera.
- Field of View: Consider the camera’s field of view, which dictates the area it can cover. Whether you require a wide-angle perspective or a more focused view, selecting the appropriate field of view is essential for fulfilling your surveillance needs.
- Power Source: Decide between wired and wireless options based on your preferences and the availability of power sources near the intended installation area. Wireless cameras offer flexibility, while wired ones ensure continuous power without the need for battery replacements.
- Additional Features: Explore additional features such as motion detection, two-way audio, and cloud storage capabilities, as these can further enhance the functionality and utility of the camera.
By carefully evaluating these factors and aligning them with your specific requirements, you can narrow down the options and choose an outdoor home security camera that best suits your needs. Once you’ve selected the ideal camera, you’re ready to move on to the next crucial step: planning the installation.
Planning the Installation
Effective planning is the cornerstone of a successful outdoor home security camera installation. Before diving into the physical setup, take the time to strategize and prepare, ensuring a seamless and efficient installation process.
Here are the key steps to consider when planning the installation of your outdoor home security camera:
- Location Selection: Identify the optimal locations for camera placement to maximize coverage and surveillance effectiveness. Consider areas such as entry points, driveways, and backyard spaces that require monitoring.
- Mounting Height and Angle: Determine the ideal height and angle for mounting the camera, ensuring that it captures the desired field of view while remaining out of reach from potential tampering or vandalism.
- Power Source Accessibility: Assess the proximity of power sources to the chosen mounting locations, especially if you opt for a wired camera that requires a constant power supply.
- Wi-Fi Signal Strength: Verify the strength of the Wi-Fi signal in the intended installation areas to guarantee a stable and reliable connection for wireless cameras.
- Cable Concealment: If opting for a wired camera, plan for cable concealment to maintain a neat and uncluttered appearance while safeguarding the cables from damage and exposure.
- Regulatory Considerations: Familiarize yourself with any local regulations or guidelines pertaining to outdoor surveillance cameras, ensuring compliance with privacy laws and neighborhood regulations.
By meticulously planning these crucial aspects, you can streamline the installation process and address potential challenges proactively. This thoughtful approach sets the stage for a well-executed installation, laying the groundwork for a reliable and effective outdoor home security camera system.
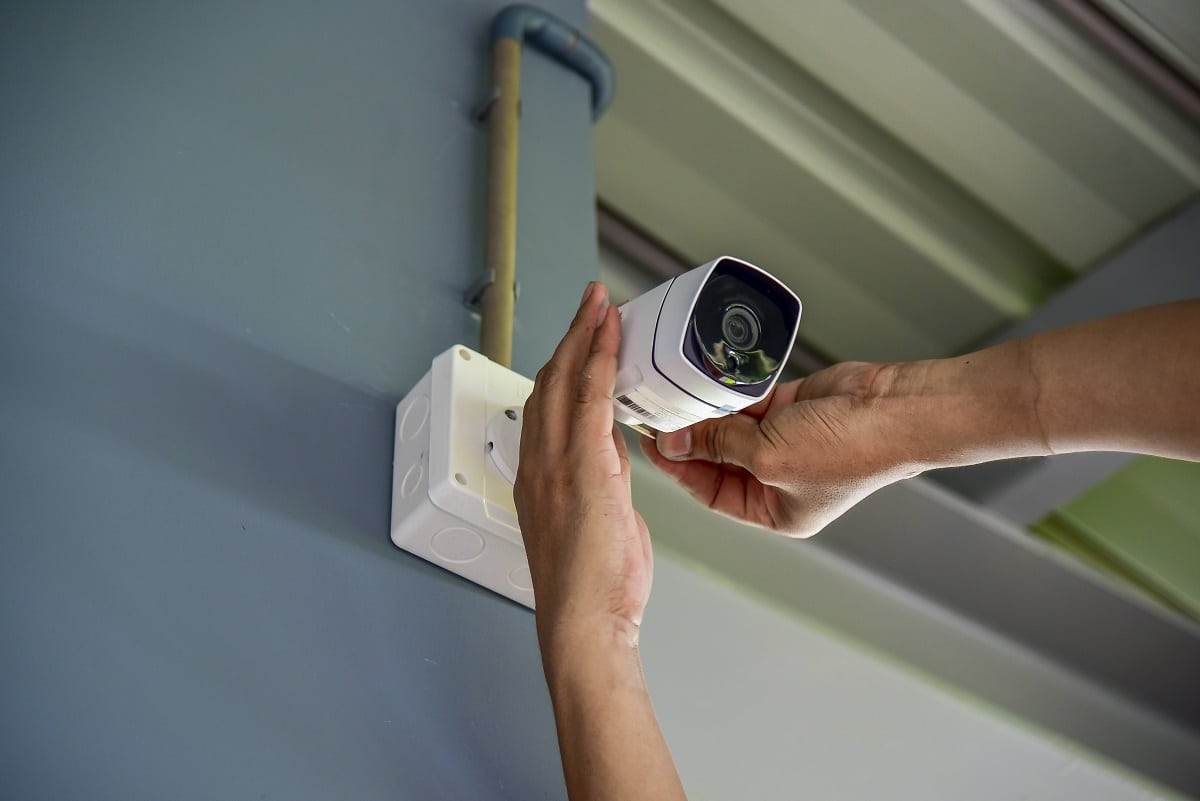
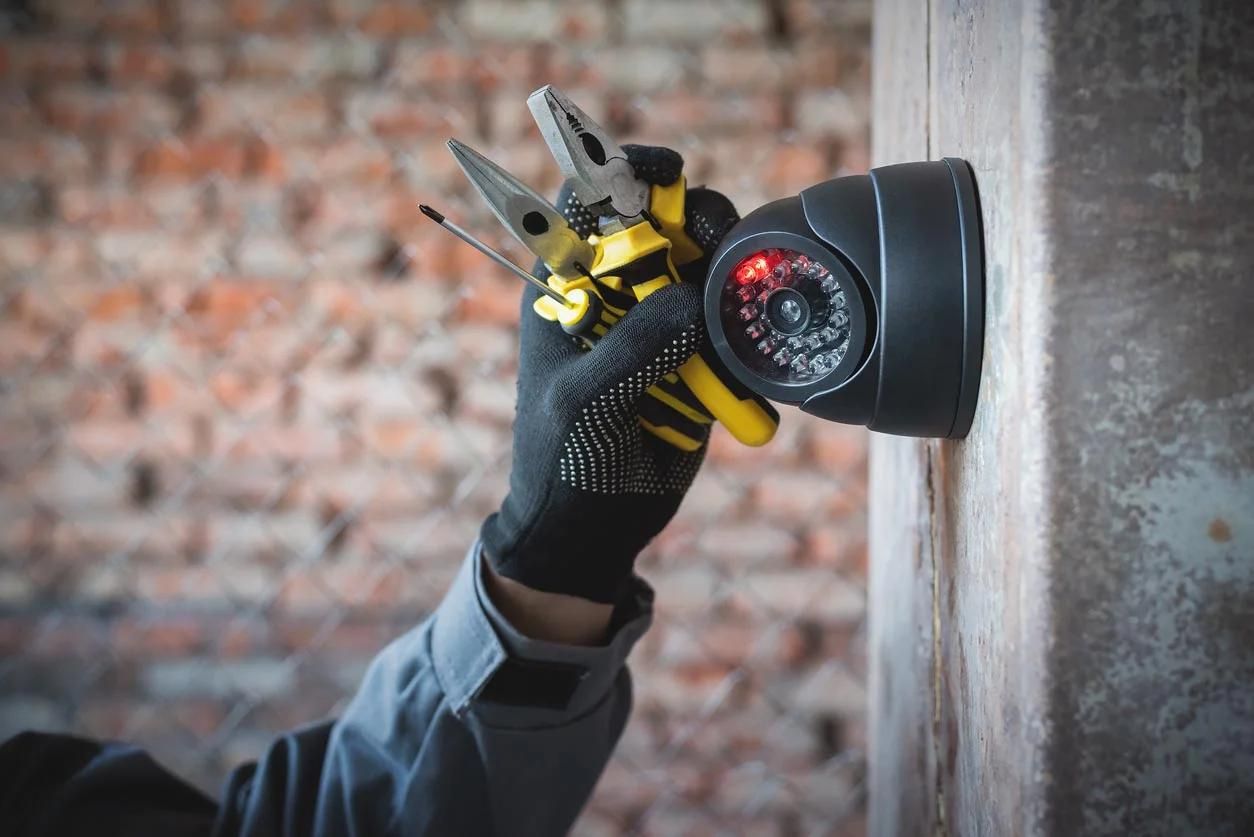
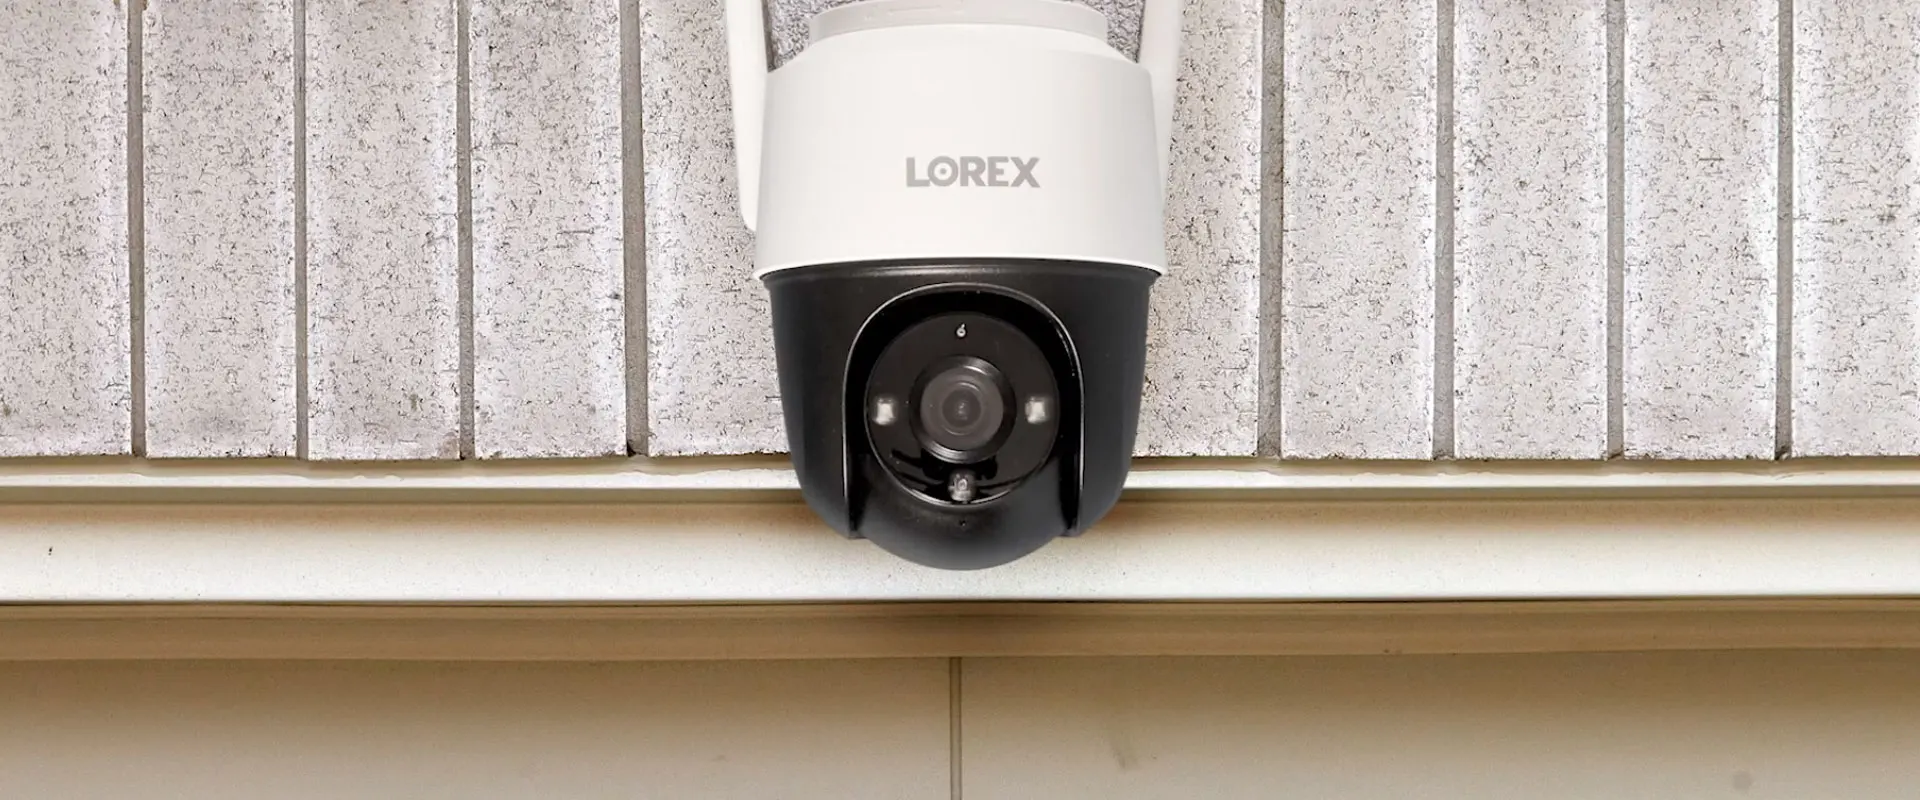
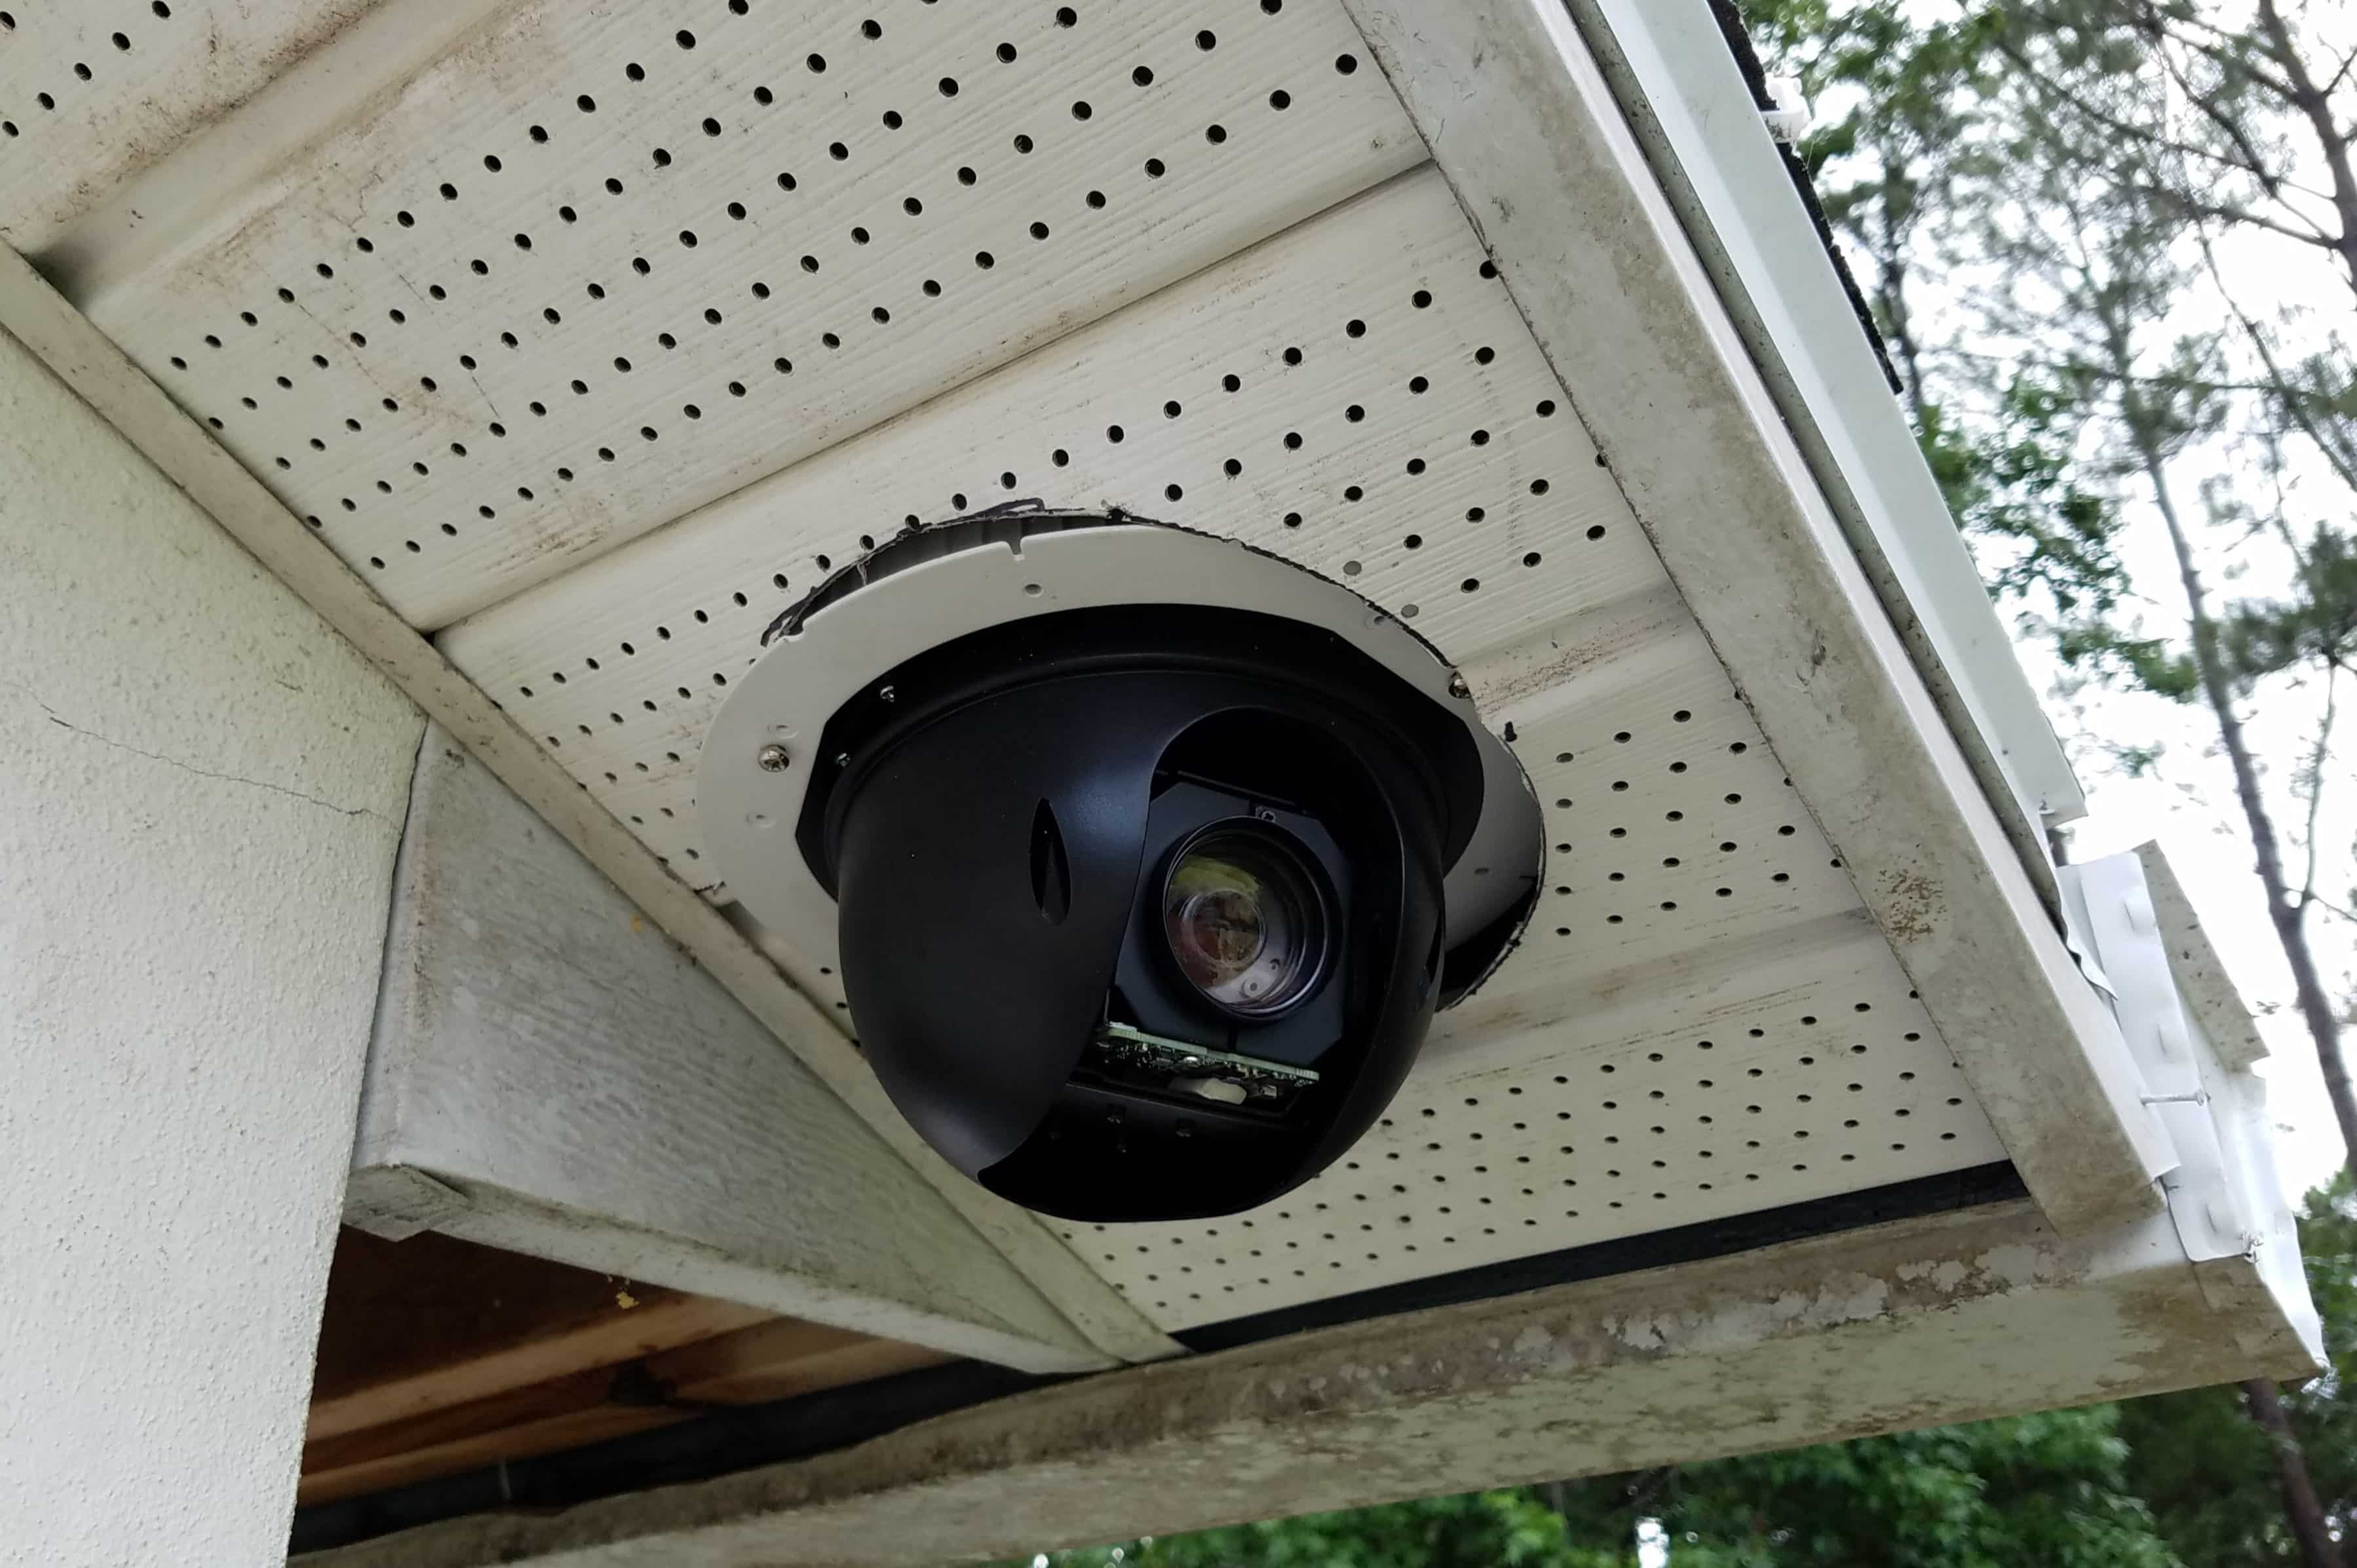
Mounting the Camera
With careful planning in place, it’s time to embark on the physical installation of your outdoor home security camera. Proper mounting is essential to ensure optimal performance and longevity of the camera, providing a clear and unobstructed view of the designated surveillance area.
Follow these steps to mount your outdoor home security camera effectively:
- Gather Essential Tools: Before commencing the mounting process, gather the necessary tools, including a power drill, screws, wall anchors (if needed), a screwdriver, and a ladder to access elevated mounting locations.
- Positioning and Marking: Based on your pre-planned locations, position the camera mount against the surface and mark the spots for drilling screw holes. Ensure that the chosen position offers an optimal view while remaining securely affixed.
- Drilling and Securing: Using the power drill and appropriate drill bit, carefully create the designated screw holes. If necessary, insert wall anchors to fortify the mounting. Secure the camera mount in place using the provided screws, ensuring a stable and immovable attachment.
- Camera Attachment: Once the mount is securely in place, affix the outdoor home security camera to the mount according to the manufacturer’s instructions. Ensure that the camera is positioned at the desired angle and orientation for optimal surveillance coverage.
- Cable Management: If installing a wired camera, manage the cables carefully, concealing them along walls, ceilings, or conduits to protect them from environmental hazards and maintain a tidy appearance.
- Adjustment and Testing: After mounting the camera, perform a preliminary adjustment to fine-tune its position and angle. This step ensures that the camera captures the intended field of view and delivers clear, comprehensive footage.
By meticulously following these steps and exercising precision during the mounting process, you can establish a sturdy and reliable foundation for your outdoor home security camera. With the camera securely in place, the next vital step involves connecting it to a power source to enable uninterrupted functionality.
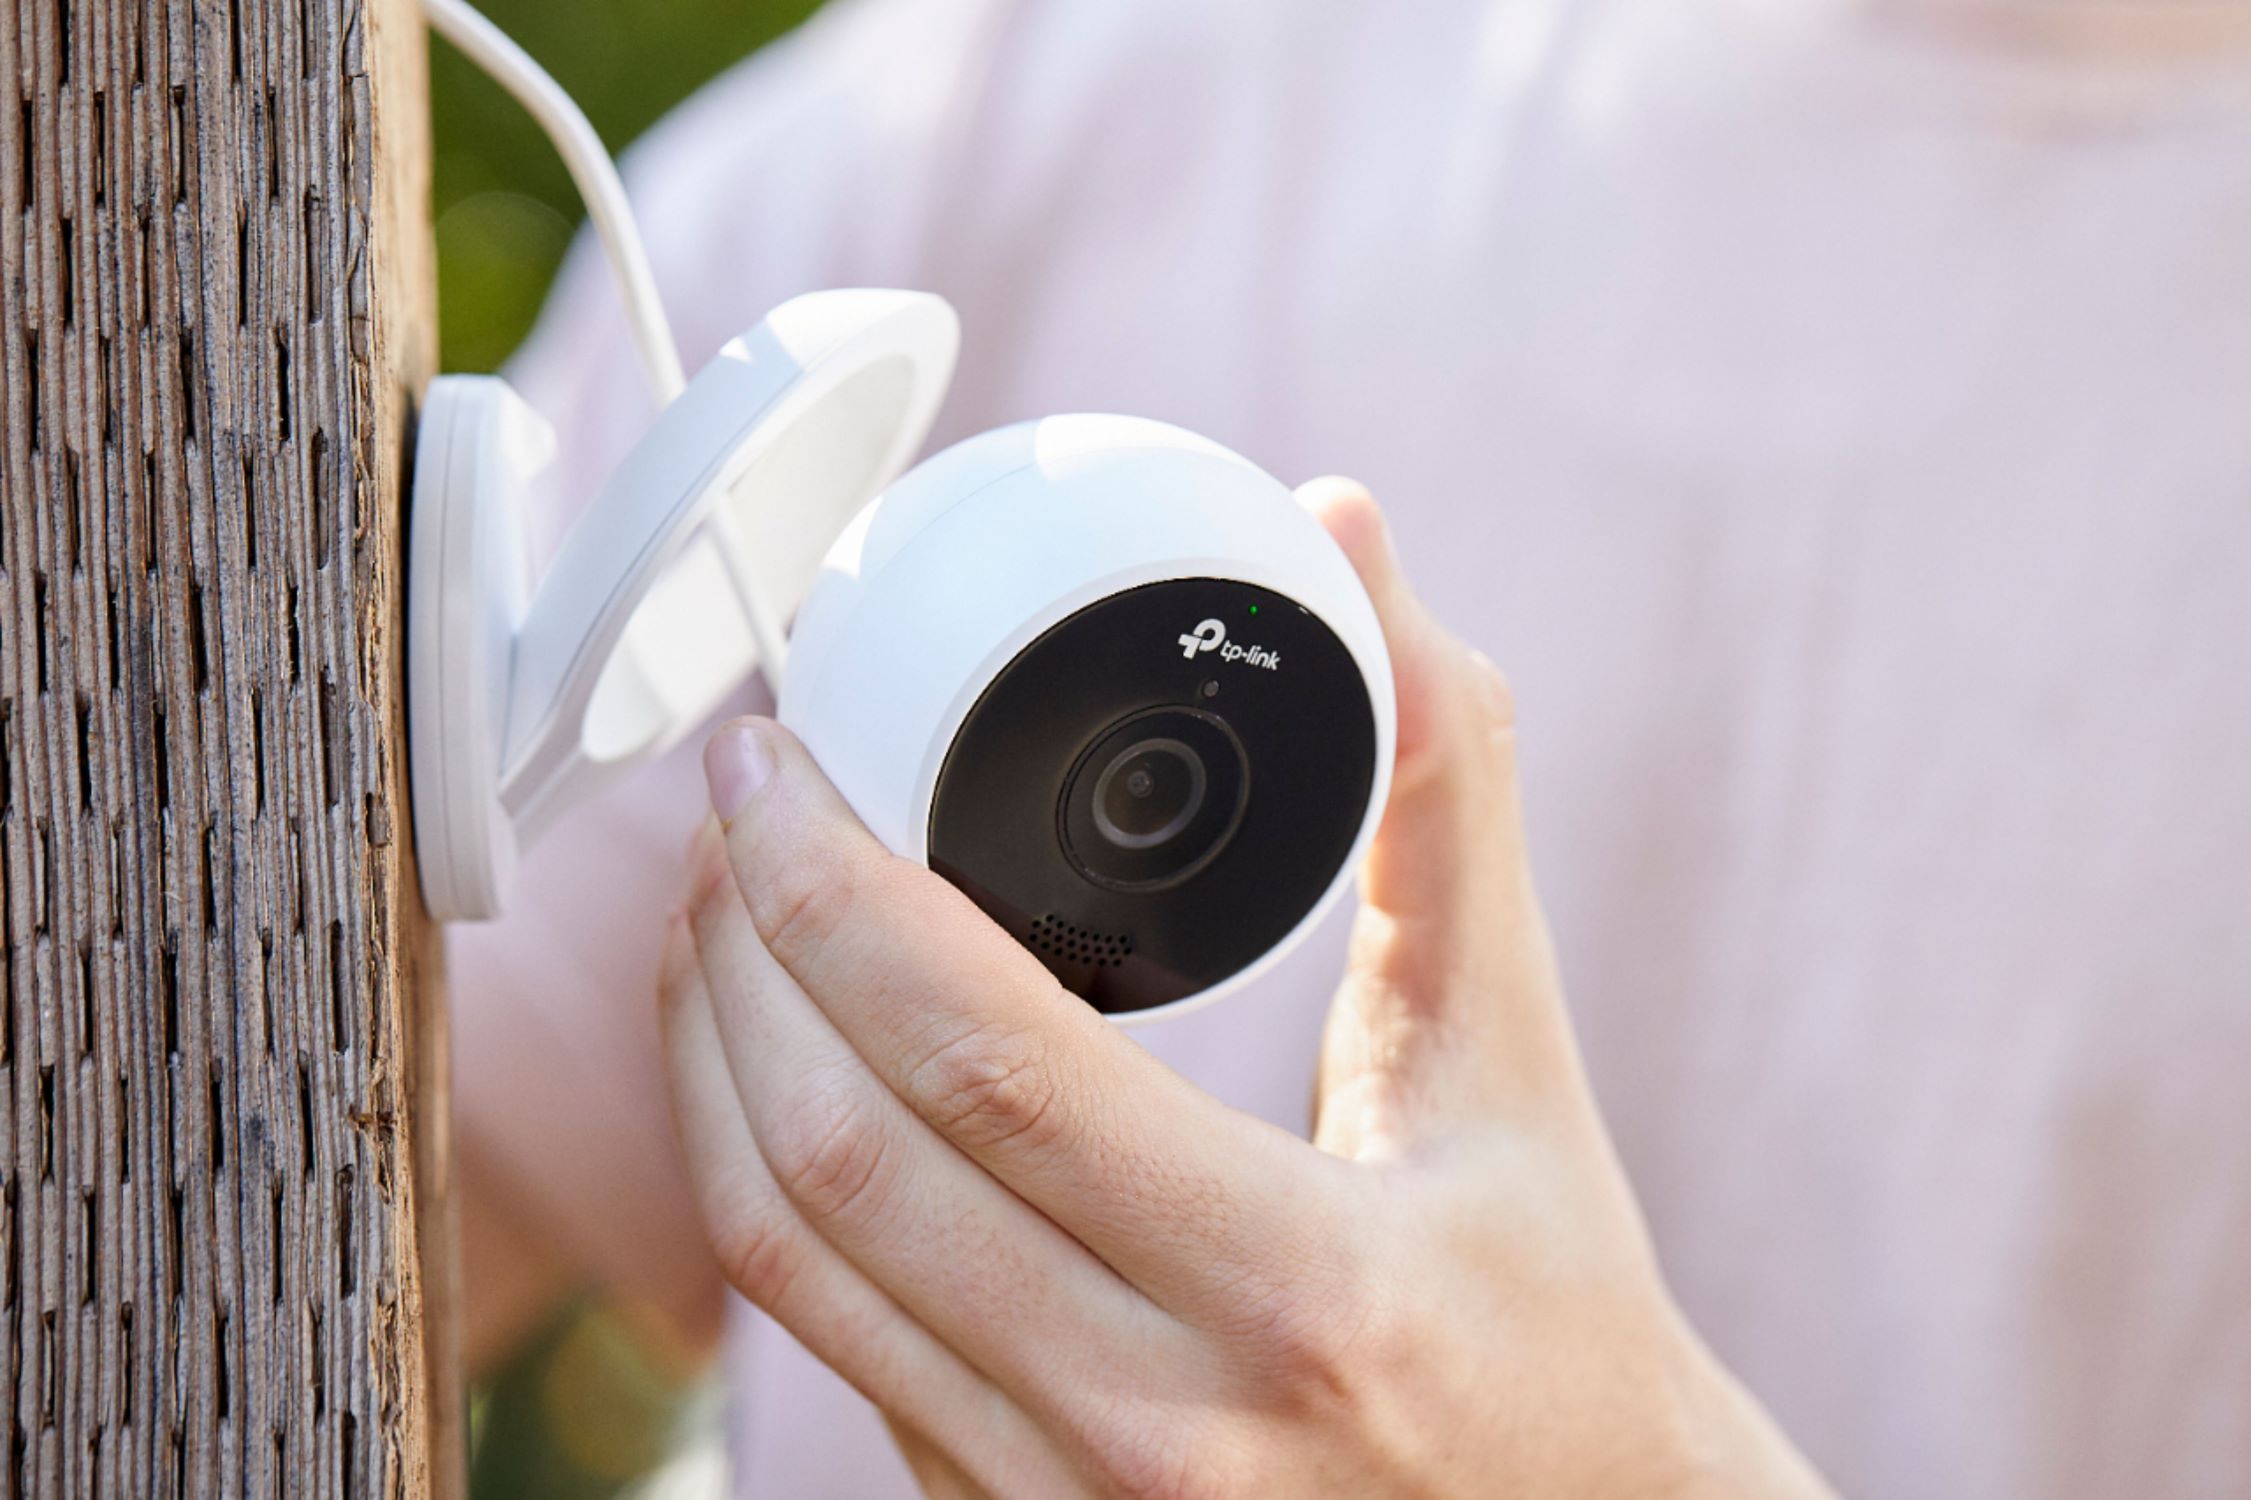
Connecting the Camera to Power
Once the outdoor home security camera is securely mounted in its designated location, the next critical step involves connecting it to a reliable power source. Depending on the camera type and your preferences, this may involve wiring it directly to a power outlet or utilizing a battery or solar-powered setup for wireless cameras.
Here’s a detailed guide on connecting your outdoor home security camera to power:
- Wired Cameras: If your camera requires a direct power source, carefully route the power cable from the camera to the nearest electrical outlet. Use cable clips or conduits to secure and conceal the wiring, minimizing exposure and maintaining a neat installation appearance.
- Wireless Cameras – Battery-Powered: For wireless cameras powered by batteries, follow the manufacturer’s instructions to install or replace the batteries. Ensure that the batteries are fully charged to sustain continuous camera operation.
- Wireless Cameras – Solar-Powered: If opting for a solar-powered camera, position the solar panel in a location that receives ample sunlight throughout the day. Connect the solar panel to the camera, allowing it to harness solar energy for sustainable and eco-friendly power.
- Power Verification: Once the camera is connected to the power source, verify that it receives adequate power and is operational. Check for any indicator lights or display screens that confirm the camera’s power status.
- Power Backup (If Applicable): Consider implementing a power backup solution, such as uninterruptible power supply (UPS) units or secondary battery packs, to ensure continuous camera operation during power outages or disruptions.
By meticulously attending to the power connection process and ensuring a reliable power supply, you can guarantee uninterrupted functionality of your outdoor home security camera. With the camera powered up, the subsequent step involves establishing a stable connection to your home’s Wi-Fi network for seamless remote monitoring and access.
When installing an outdoor home security camera, make sure to place it high enough to avoid tampering, angle it to cover the desired area, and ensure it’s within reach of a power source or has a reliable battery.
Connecting the Camera to Wi-Fi
Enabling your outdoor home security camera to connect to your home’s Wi-Fi network is a pivotal step that empowers remote access, live monitoring, and seamless integration with smart home systems. This wireless connectivity elevates the camera’s functionality, allowing you to stay informed and vigilant regardless of your physical location.
Follow these steps to establish a stable Wi-Fi connection for your outdoor home security camera:
- Camera Preparation: Access the camera’s settings interface through the manufacturer’s designated app or web portal. Ensure that the camera is in setup mode and ready to initiate the Wi-Fi pairing process.
- Network Selection: Within the camera’s settings, locate the option to connect to a Wi-Fi network. Choose your home network from the available list and input the network password as prompted.
- Signal Strength Verification: Confirm that the camera receives a strong and stable Wi-Fi signal in its designated mounting location. If the signal strength is inadequate, consider installing a Wi-Fi range extender to enhance connectivity.
- Connection Confirmation: Once the camera is successfully connected to the Wi-Fi network, verify the connection status through the app or web interface. Ensure that the camera appears as online and accessible for remote monitoring.
- Network Security Measures: Implement robust security measures for your home Wi-Fi network, including encryption, strong passwords, and regular firmware updates for the camera to fortify its resilience against potential cyber threats.
By meticulously following these steps and ensuring a secure and stable Wi-Fi connection, you can harness the full potential of your outdoor home security camera, enabling seamless remote access and real-time monitoring capabilities. With the camera securely connected to your home network, the subsequent phase involves configuring and fine-tuning its settings to align with your specific surveillance preferences.
Adjusting Camera Settings
Configuring the settings of your outdoor home security camera is a pivotal phase that tailors its functionality to align with your unique surveillance requirements. By fine-tuning the camera settings, you can optimize its performance, enhance security features, and customize the monitoring experience to suit your preferences.
Here’s a comprehensive guide to adjusting the settings of your outdoor home security camera:
- Resolution and Quality: Set the camera’s resolution and video quality to the desired levels, balancing file size and clarity based on your storage capacity and monitoring objectives.
- Motion Detection Sensitivity: Customize the motion detection sensitivity to minimize false alerts while ensuring that relevant motion triggers prompt the camera to record and notify you of potential activity.
- Night Vision Mode: Configure the night vision mode settings, such as activating infrared LEDs or adjusting night vision range, to optimize the camera’s performance in low-light or nighttime conditions.
- Recording and Storage Options: Select the preferred recording mode, whether continuous, scheduled, or triggered by motion, and determine the storage options, including local SD card storage or cloud-based solutions.
- Two-Way Audio (If Applicable): If your camera supports two-way audio, adjust the audio settings and volume levels to enable seamless communication and monitoring capabilities.
- Privacy Masking (If Applicable): Utilize privacy masking features to restrict specific areas from being captured by the camera, respecting privacy boundaries and focusing surveillance on critical zones.
- Smart Alerts and Notifications: Configure smart alert features, such as person detection or facial recognition, and customize notification settings to receive timely alerts for relevant events.
- Remote Access and Sharing: Set up remote access to the camera feed through the manufacturer’s app or web portal, and configure sharing permissions for authorized users or family members.
By meticulously adjusting these settings and tailoring the camera’s configurations to your specific preferences, you can harness the full potential of your outdoor home security camera, optimizing its surveillance capabilities and ensuring a personalized monitoring experience. With the settings fine-tuned, the subsequent step involves testing the camera to validate its performance and functionality.
Testing the Camera
As you near the completion of the installation process for your outdoor home security camera, thorough testing is essential to validate its performance, functionality, and integration with your surveillance ecosystem. By conducting comprehensive tests, you can identify and address any potential issues, fine-tune settings, and ensure that the camera operates seamlessly, providing reliable security and monitoring capabilities.
Here’s a detailed overview of the testing process for your outdoor home security camera:
- Live Feed Verification: Access the live camera feed through the designated app or web interface to confirm that the camera streams clear and high-quality footage in real time.
- Motion Detection Testing: Trigger motion events within the camera’s field of view to verify the accuracy and responsiveness of the motion detection feature. Ensure that the camera promptly records and notifies you of detected motion.
- Night Vision Assessment: Test the camera’s night vision capabilities by simulating low-light or nighttime conditions. Verify that the night vision mode activates effectively, delivering clear and detailed footage in varying lighting environments.
- Remote Access and Control: Access the camera remotely from a different location, such as using a smartphone or computer outside your home network, to confirm seamless remote access and monitoring capabilities.
- Audio Functionality (If Applicable): If your camera features two-way audio, conduct tests to ensure that the audio communication functions effectively, providing clear and reliable sound transmission.
- Storage and Playback Verification: Record sample footage and verify the storage and playback functionality, ensuring that recorded footage is accessible, and playback is smooth and reliable.
- Alerts and Notifications: Trigger test events to verify the accuracy and timeliness of alerts and notifications, such as motion alerts or smart detections, ensuring that you receive prompt and relevant notifications.
- Integration with Smart Home Systems: If your camera integrates with smart home systems, such as voice assistants or home automation platforms, test the integration to ensure seamless functionality and compatibility.
By meticulously conducting these comprehensive tests and addressing any identified issues or adjustments, you can instill confidence in the performance and reliability of your outdoor home security camera. With successful testing, you can rest assured that your surveillance system is primed to safeguard your home and provide peace of mind.
Conclusion
Embarking on the journey of installing an outdoor home security camera is a proactive step toward fortifying the safety and security of your household. By following the comprehensive guide outlined in this article, you have gained valuable insights into the meticulous process of selecting, planning, and installing an outdoor home security camera, ensuring a seamless and effective setup.
From choosing the right camera that aligns with your specific surveillance needs to meticulously planning the installation and executing the mounting process with precision, each step contributes to the establishment of a reliable and robust surveillance system. Connecting the camera to a stable power source and integrating it with your home’s Wi-Fi network further enhances its functionality, enabling seamless remote access and monitoring capabilities.
By adjusting the camera settings to tailor its performance and conducting thorough testing to validate its functionality, you have ensured that your outdoor home security camera operates at its full potential, providing vigilant surveillance and reliable security for your home and loved ones.
As you conclude this installation journey, take pride in the proactive measures you’ve taken to bolster your home’s security. With a vigilant electronic eye in place, you can enjoy enhanced peace of mind, remote monitoring capabilities, and the assurance that your home is safeguarded against potential intruders and unforeseen events.
Remember to stay informed about the latest advancements in outdoor home security technology and periodically review and update your camera’s settings and firmware to maintain optimal performance. By staying proactive and vigilant, you can continue to benefit from the enhanced security and surveillance capabilities provided by your outdoor home security camera.
With your outdoor home security camera seamlessly installed and operational, you’ve taken a significant step toward creating a safer and more secure living environment for you and your family.
Frequently Asked Questions about How To Install Outdoor Home Security Camera
Was this page helpful?
At Storables.com, we guarantee accurate and reliable information. Our content, validated by Expert Board Contributors, is crafted following stringent Editorial Policies. We're committed to providing you with well-researched, expert-backed insights for all your informational needs.


0 thoughts on “How To Install Outdoor Home Security Camera”