Home>Home Security and Surveillance>How To Install An Outdoor Home Security Camera
Home Security and Surveillance
How To Install An Outdoor Home Security Camera
Modified: September 1, 2024
Learn how to install an outdoor home security camera to enhance your home security and surveillance. Step-by-step guide for a secure and protected property.
(Many of the links in this article redirect to a specific reviewed product. Your purchase of these products through affiliate links helps to generate commission for Storables.com, at no extra cost. Learn more)
Introduction
Welcome to our comprehensive guide on how to install an outdoor home security camera. In today’s world, ensuring the safety and security of our homes has become a top priority. With the advancement in technology, installing a home security camera has become more accessible and affordable than ever before. Outdoor security cameras play a crucial role in deterring crime, monitoring activities, and providing peace of mind.
In this article, we will walk you through the step-by-step process of selecting the right camera, planning camera placement, mounting the camera, setting up power and connectivity, adjusting camera settings, and testing and troubleshooting. By the end of this guide, you will have all the information you need to successfully install an outdoor home security camera and protect your property.
Key Takeaways:
- Choosing the right outdoor security camera with high resolution, weatherproofing, and night vision is crucial. Plan camera placement carefully to cover vulnerable areas and avoid backlighting for effective surveillance.
- Properly mounting the camera, setting up power and connectivity, and adjusting camera settings are essential for a reliable surveillance system. Thorough testing and troubleshooting ensure the camera functions effectively for added security and peace of mind.
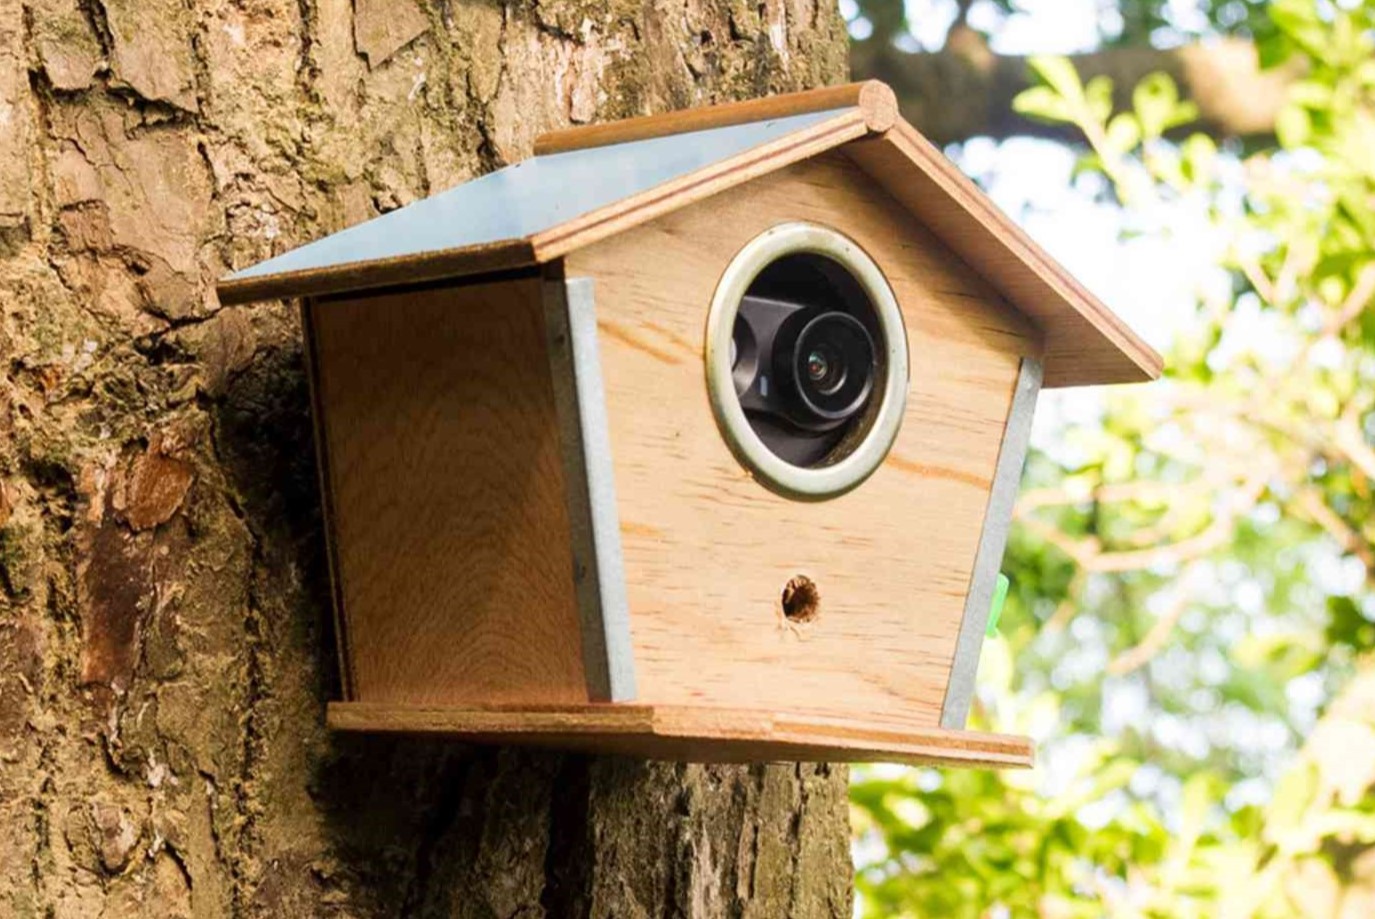
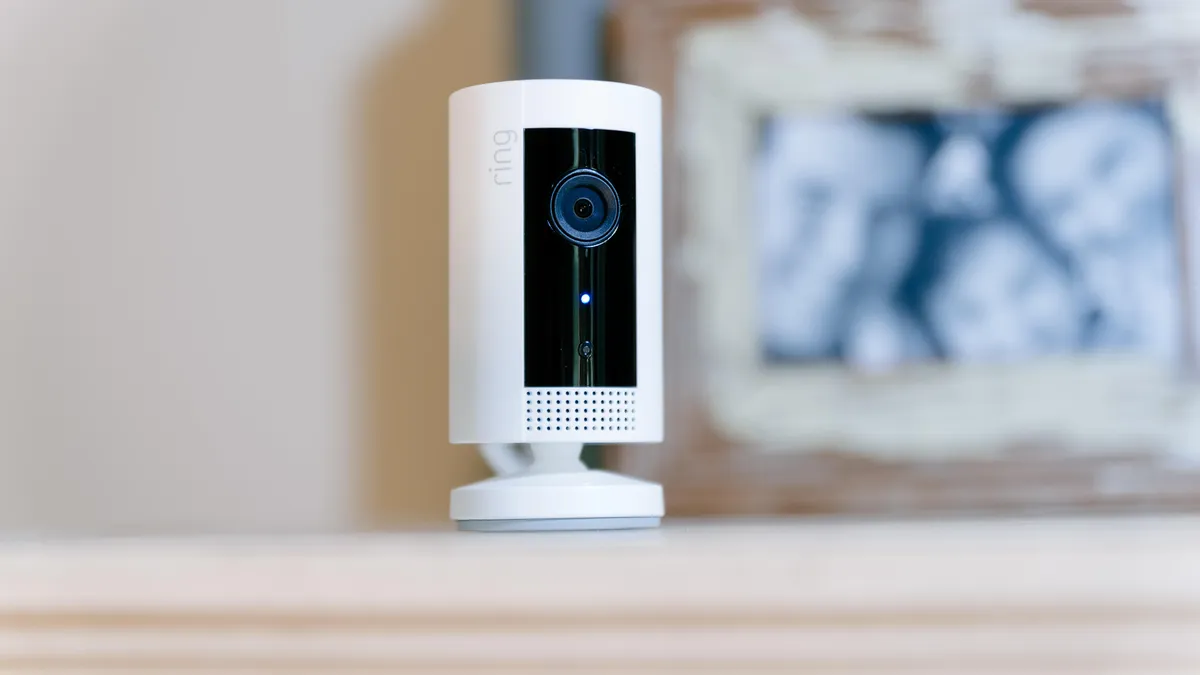
Step 1: Choose the right camera
Selecting the right outdoor home security camera is essential for maximizing the effectiveness of your surveillance system. With a wide variety of cameras available in the market, it can be overwhelming to make the right choice. Here are some important factors to consider:
- Resolution: The resolution determines the quality of the video footage captured by the camera. It is recommended to choose a camera with at least 1080p or higher resolution for clear and detailed images.
- Field of View: Consider the field of view offered by the camera. A wider field of view allows you to monitor a broader area, reducing the number of cameras required. Look for cameras with a wide-angle lens or a pan-and-tilt feature.
- Weatherproofing: Since the camera will be installed outdoors, it is important to choose a camera that is designed to withstand various weather conditions. Look for cameras with an IP65 or higher rating to ensure durability.
- Night vision: If you need surveillance around the clock, opt for a camera with infrared LEDs for clear night vision. The range of the night vision capability is an important consideration.
- Power options: Decide whether you want a wired or wireless camera. Wired cameras require a power source nearby, while wireless cameras are powered by batteries or solar panels. Determine which option is more suitable for your installation.
- Additional features: Some cameras offer advanced features such as motion detection, two-way audio, and mobile app integration. Consider if these features are necessary for your surveillance needs.
Take your time to research and compare different camera models and brands. Read reviews and check the specifications to ensure that the camera meets your specific requirements. Once you have chosen the right camera, you can proceed to the next step of planning camera placement.
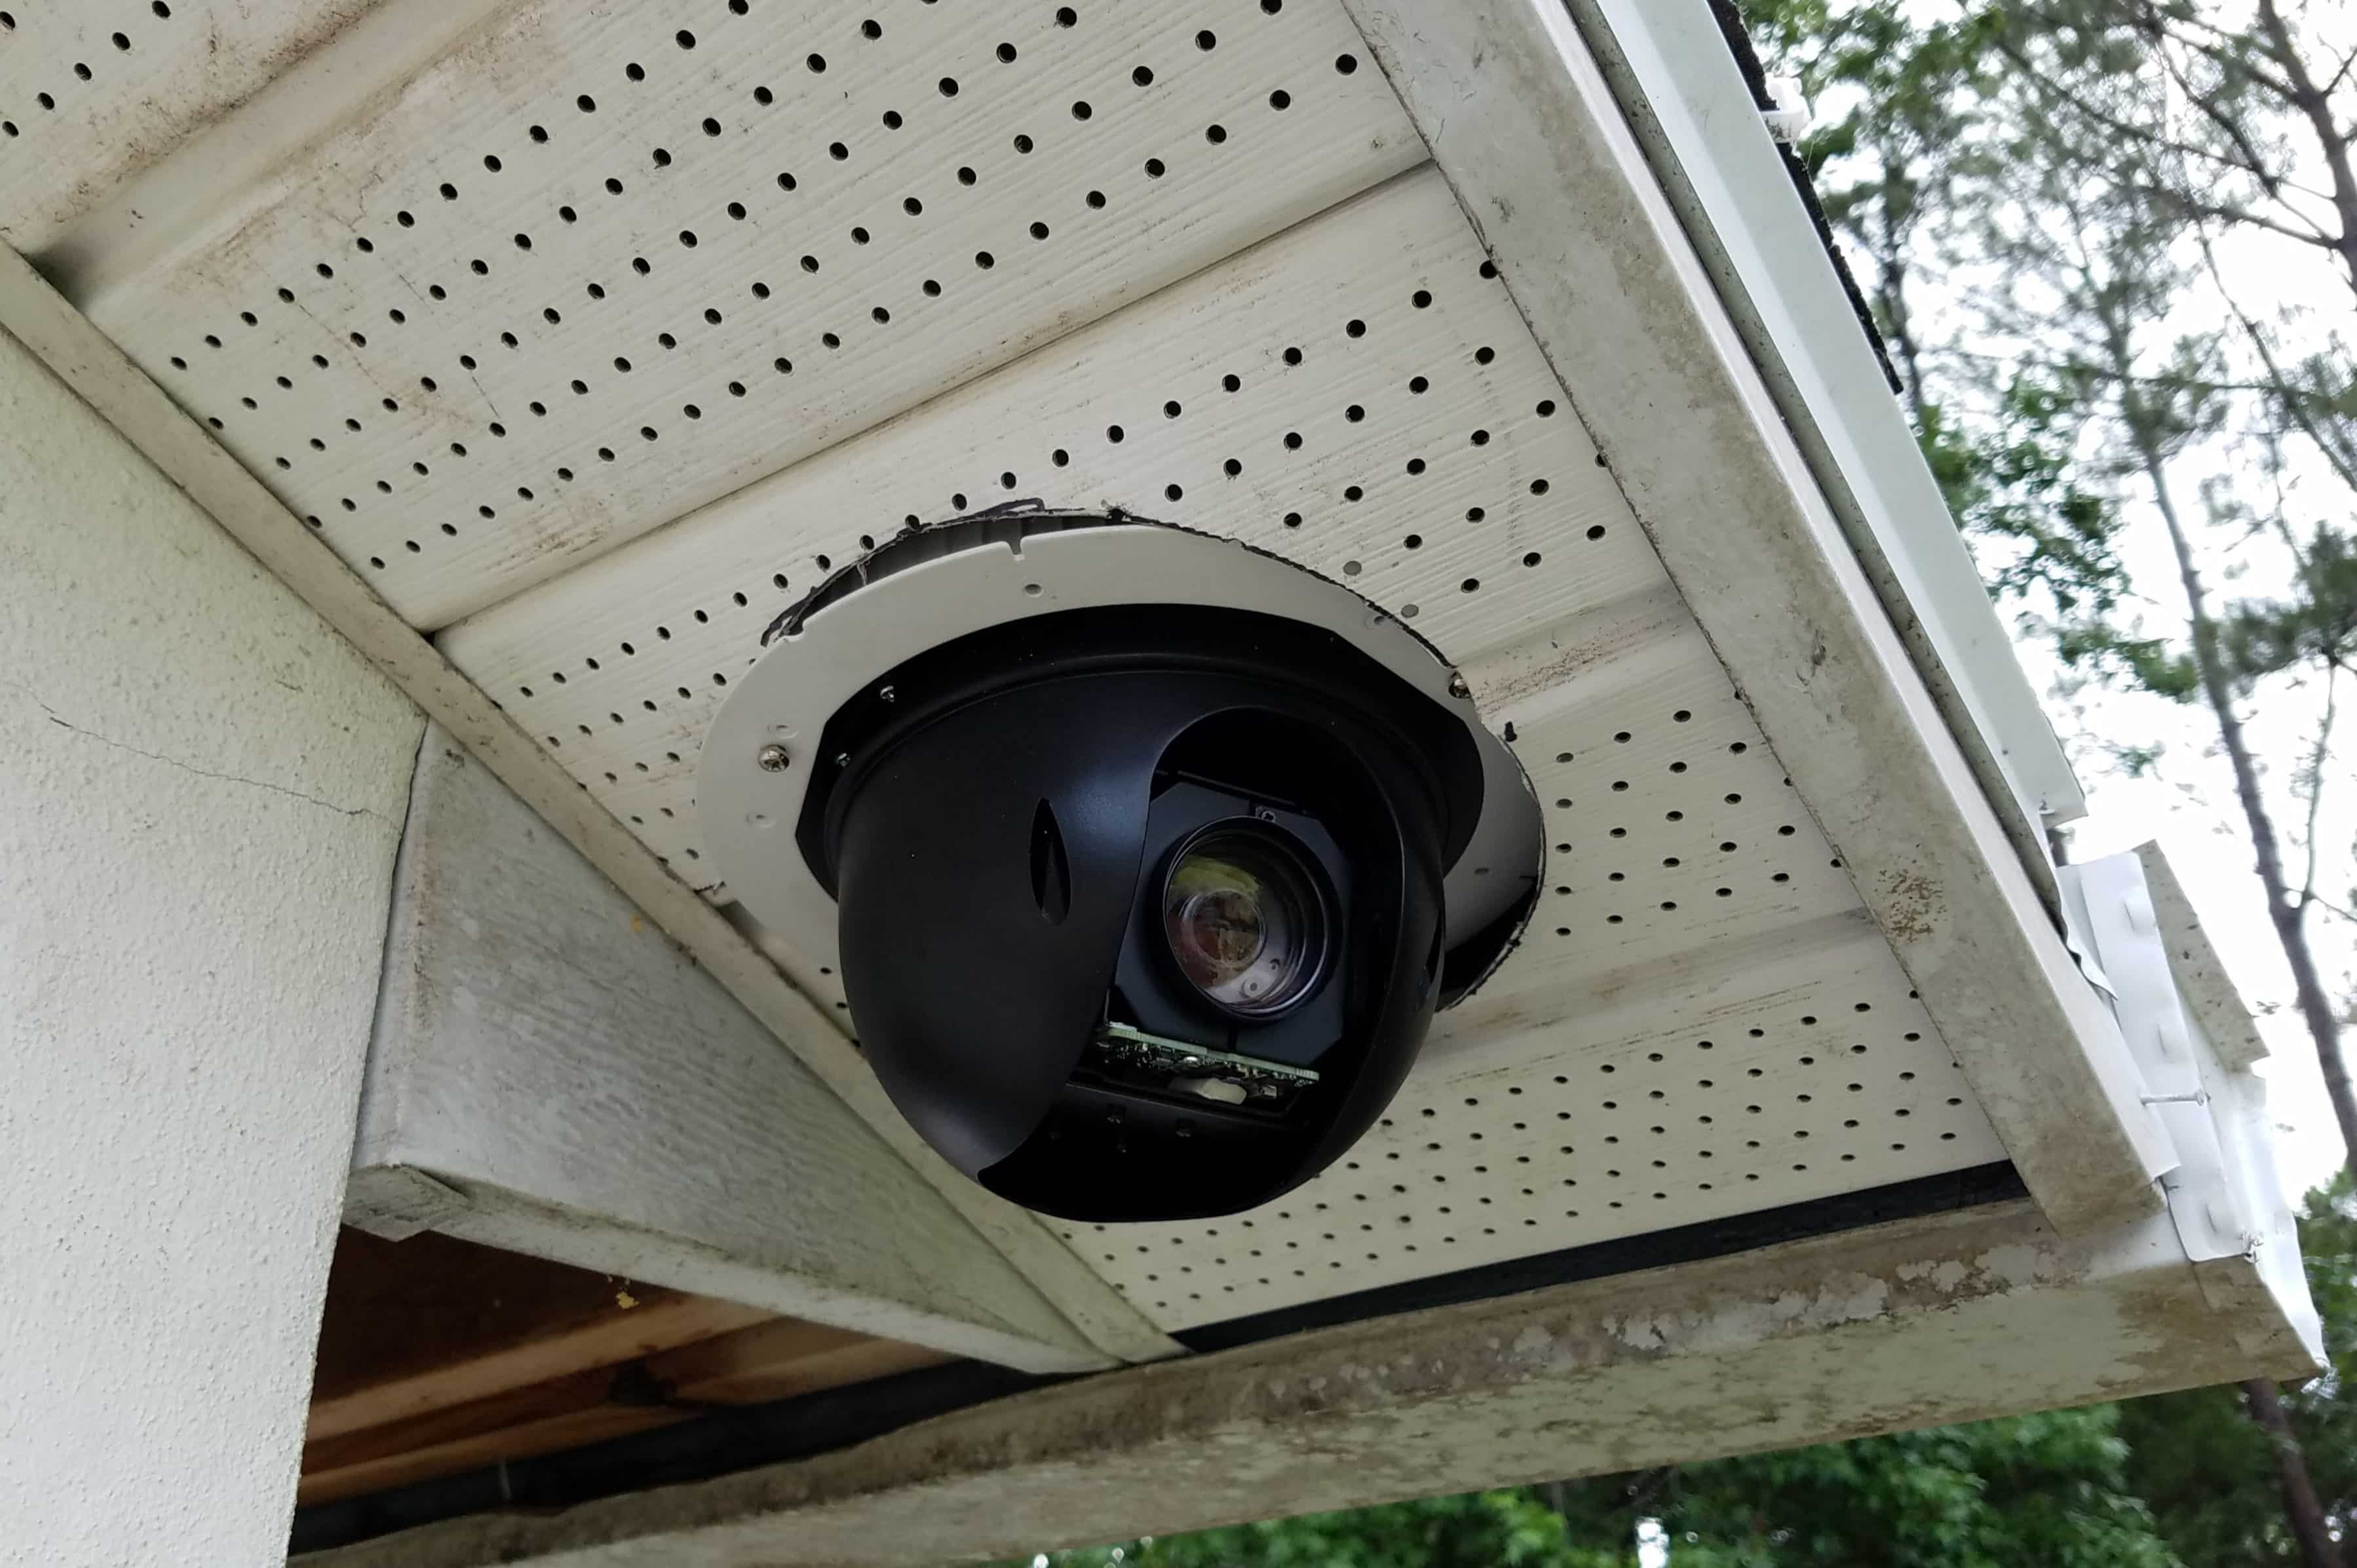
Step 2: Plan camera placement
Proper camera placement is crucial for effective surveillance coverage. Before installing your outdoor home security camera, take some time to plan where to position it. Here are some tips to help you with camera placement:
- Identify vulnerable areas: Survey your property and identify the areas that are most vulnerable to break-ins or unauthorized access. These could include entry points such as doors, windows, and gates, as well as blind spots where intruders could hide.
- Consider the camera’s field of view: Take into account the camera’s field of view and angle of coverage when determining the placement. Ensure that the camera can capture the desired area without any obstructions.
- Height and angle: Install the camera at a height that provides a clear view of the area while keeping it out of reach. Angle the camera slightly downward to capture facial features and maximize detection.
- Avoid backlighting: Be mindful of strong light sources, such as direct sunlight or bright streetlights, which can cause backlighting and affect the clarity of the footage. Position the camera in a way that minimizes these sources of light.
- Coverage overlap: If you have multiple cameras, consider their overlapping coverage areas. This ensures seamless surveillance with no blind spots. Adjust the positioning of the cameras accordingly to achieve optimal coverage.
- Secure mounting: Choose a mounting location that provides stability and security for the camera. Avoid easily accessible areas where the camera can be tampered with or damaged.
- Follow legal regulations: Before installing a security camera, familiarize yourself with the local laws and regulations regarding surveillance. Ensure that your camera placement complies with the privacy laws specific to your jurisdiction.
By carefully planning the camera placement, you can maximize the effectiveness of your surveillance system and have a better chance of capturing any suspicious activities. Once you have determined the ideal locations for your cameras, it’s time to proceed to the next step: mounting the camera.
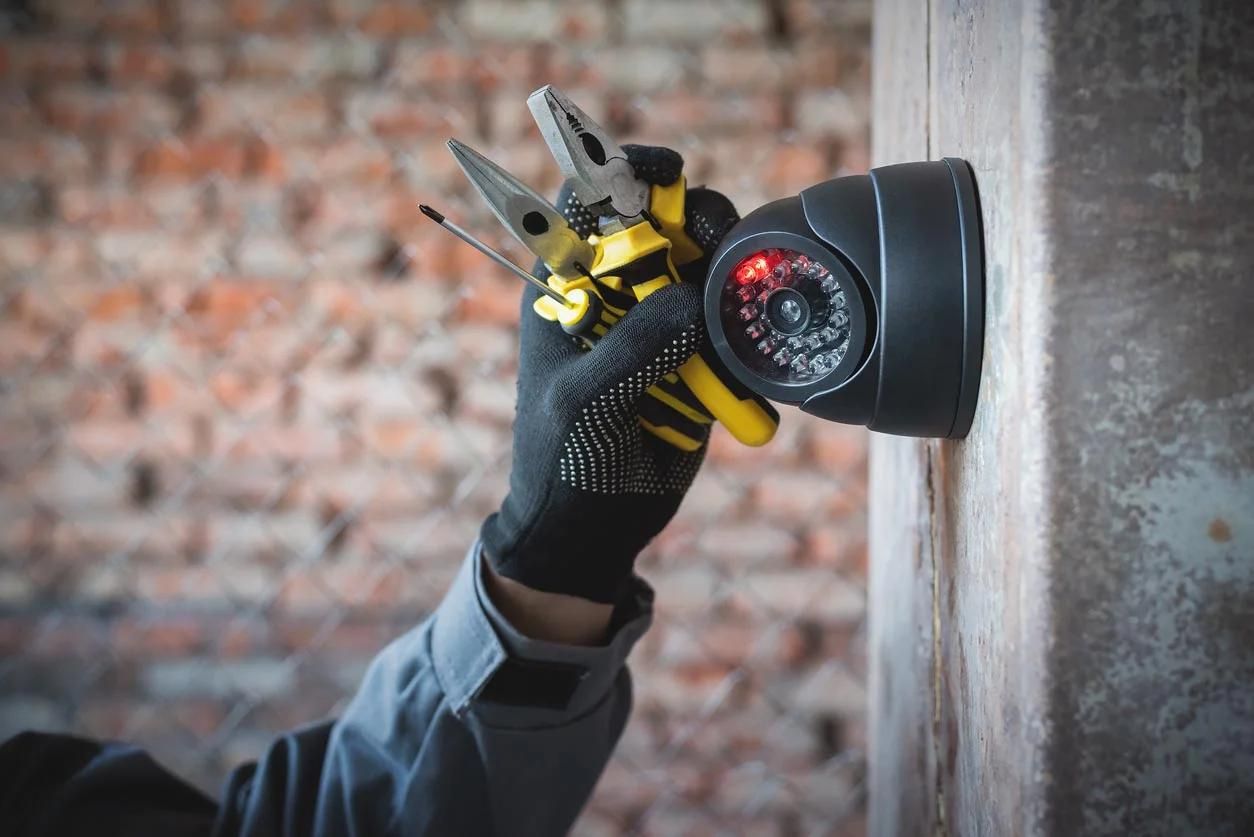
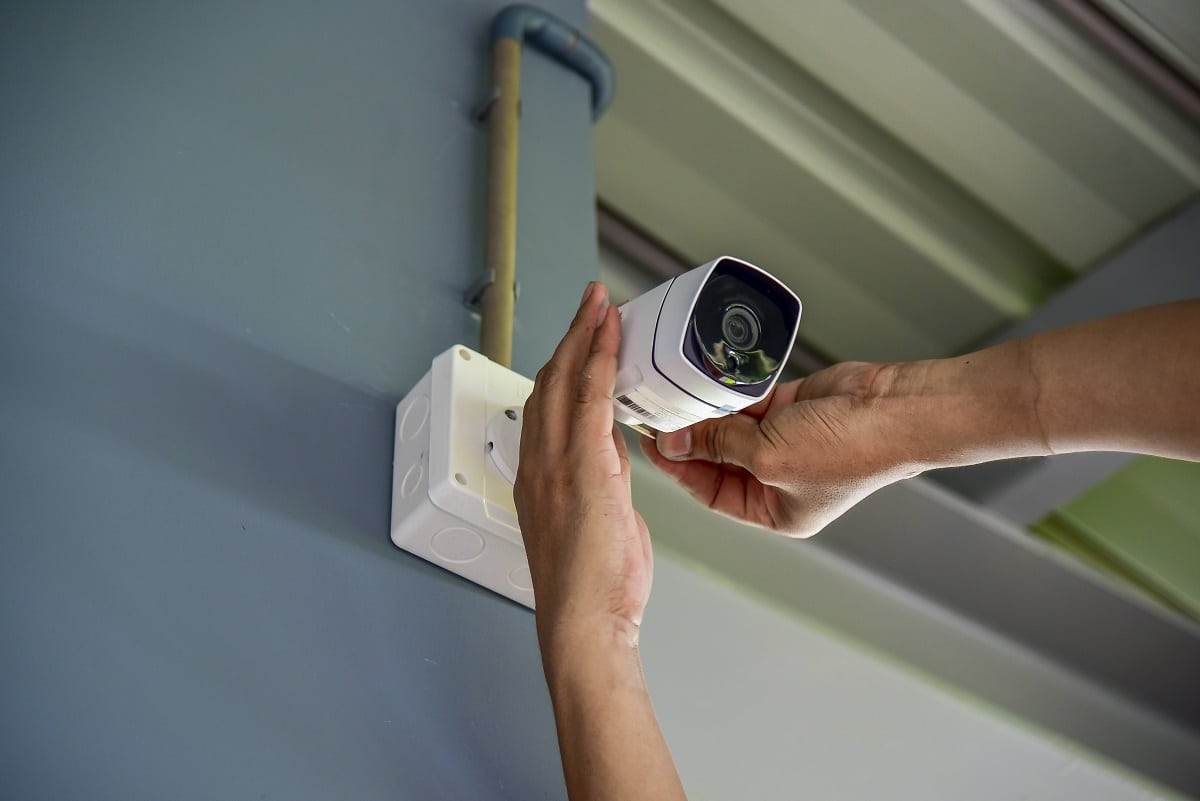
Step 3: Mounting the camera
Mounting the outdoor home security camera properly is essential to ensure stability, optimal viewing angles, and protection from tampering. Follow these steps to securely mount your camera:
- Collect the necessary tools: Gather all the tools you will need for mounting the camera, such as a drill, screws, screwdriver, and a mounting bracket or base that comes with the camera.
- Position the mounting bracket: Hold the mounting bracket against the desired location where you want to install the camera. Use a pencil to mark the mounting holes on the wall or surface. Make sure the bracket is level and aligned properly.
- Drill pilot holes: With the help of the marked spots, use a drill bit that matches the size of the screws to drill pilot holes into the wall or surface. This will make it easier to insert the screws during mounting.
- Attach the mounting bracket: Place the mounting bracket back against the wall and line up the pilot holes with the holes on the bracket. Insert the screws through the bracket and into the pilot holes, and then tighten them using a screwdriver.
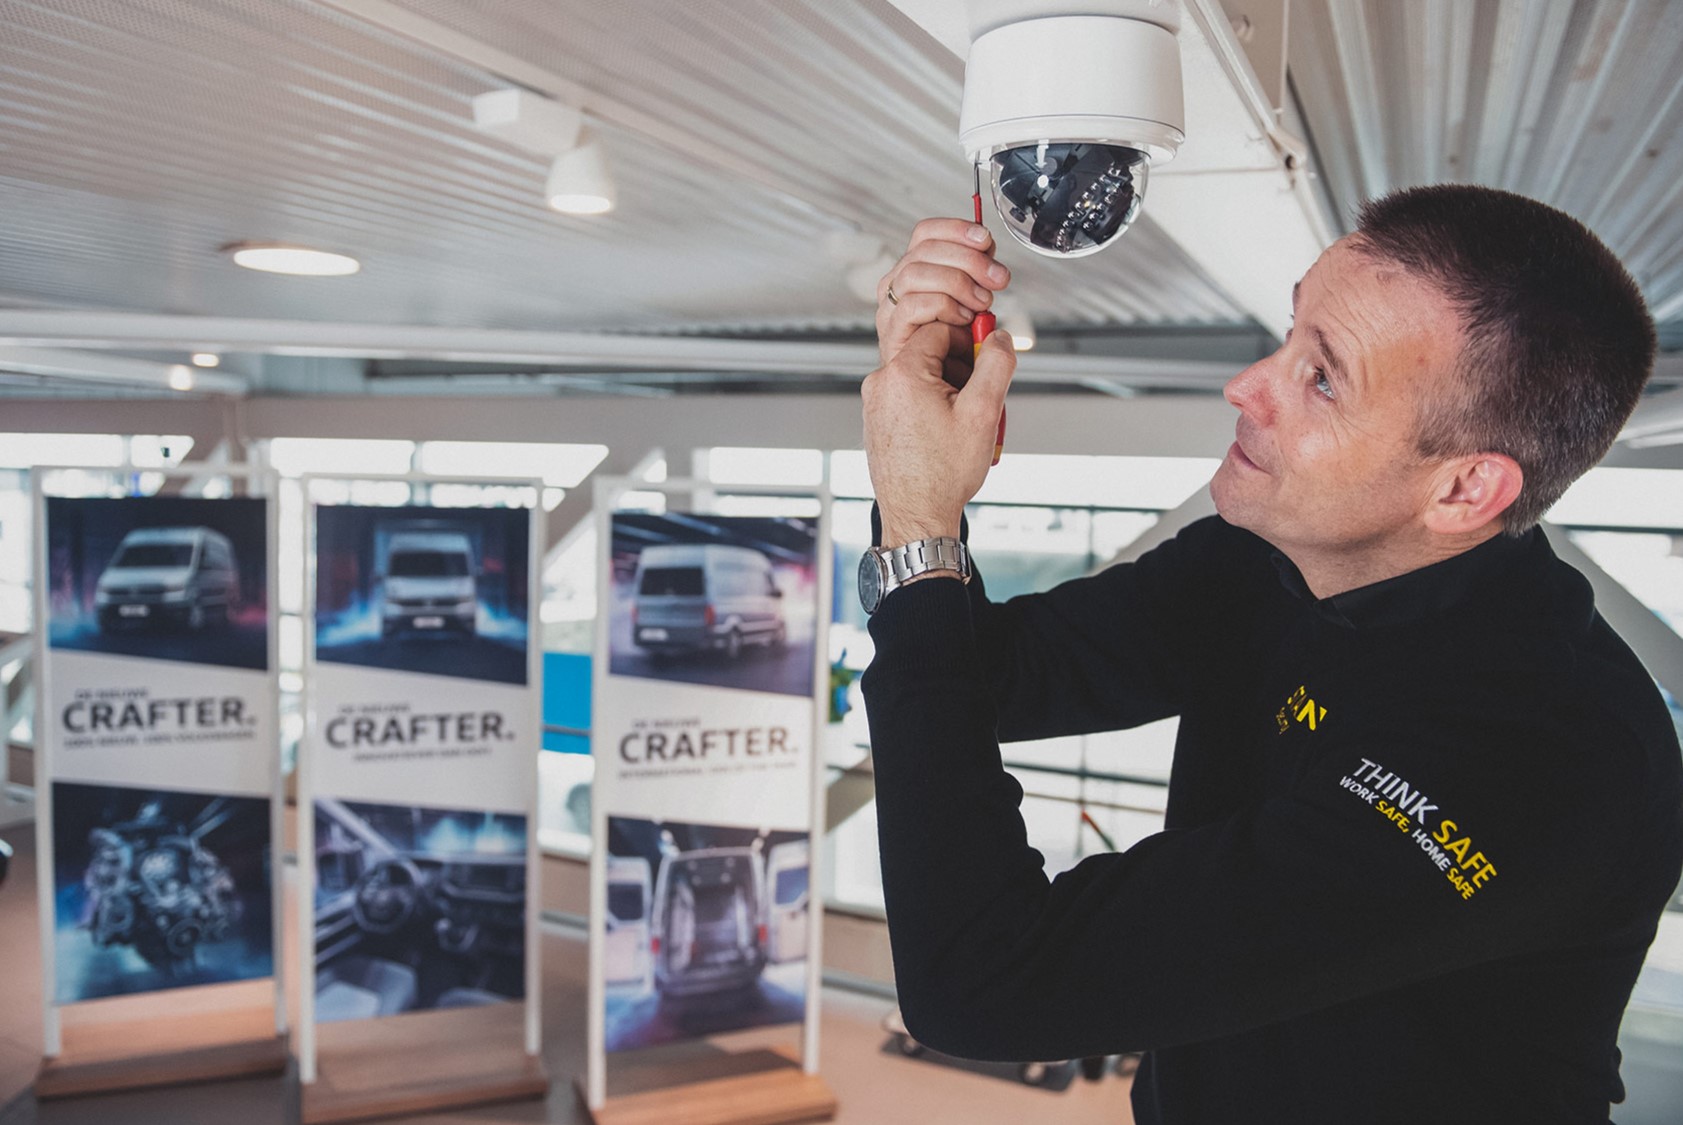
- Connect the camera: Depending on the camera model, carefully attach the camera to the mounting bracket or base. Follow the manufacturer’s instructions for the specific camera model to ensure proper attachment.
- Adjust the camera position: Once the camera is securely mounted, adjust its position to achieve the desired viewing angle. Tighten any necessary screws or brackets to lock the camera in place.
- Test the camera: Before finalizing the installation, test the camera to ensure it is functioning properly. Connect it to the power source and check the video feed on the connected device or monitor. Make any necessary adjustments to the camera settings.
Remember to refer to the manufacturer’s instructions for any specific guidelines or recommendations regarding camera mounting. Each camera model may have slightly different mounting procedures, so it is important to follow the instructions provided.
Once you have successfully mounted the camera, you can move on to the next step, which involves setting up the power and connectivity.
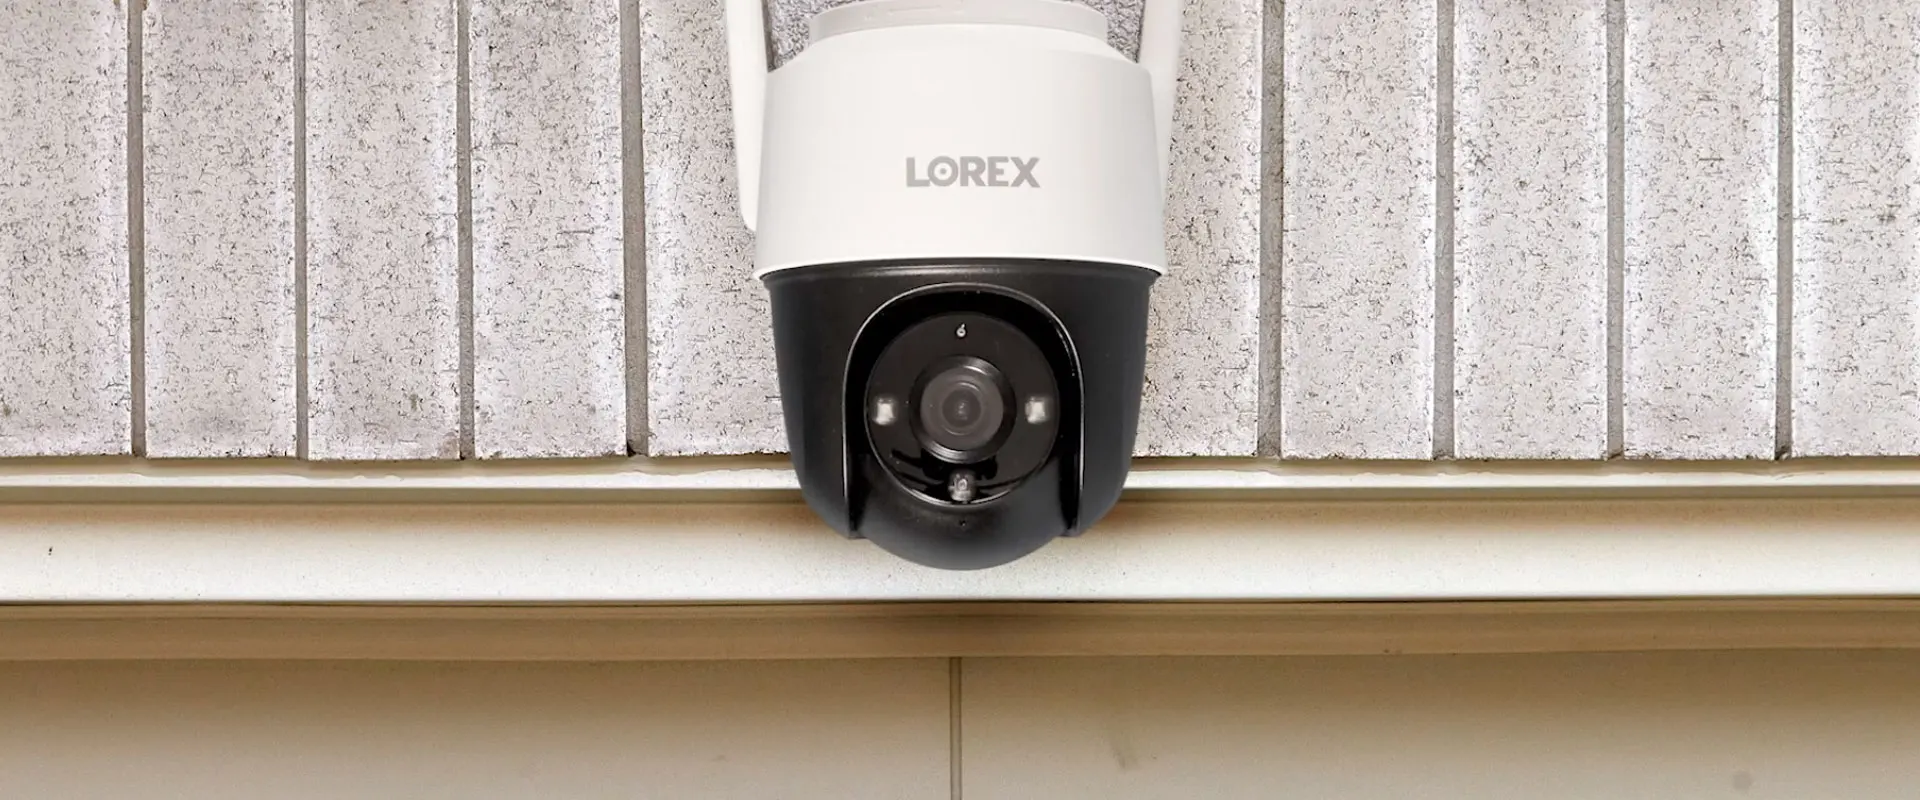
When installing an outdoor home security camera, make sure to place it high enough to avoid tampering, angle it to cover the desired area, and ensure it is within reach of a power source or has a reliable battery.
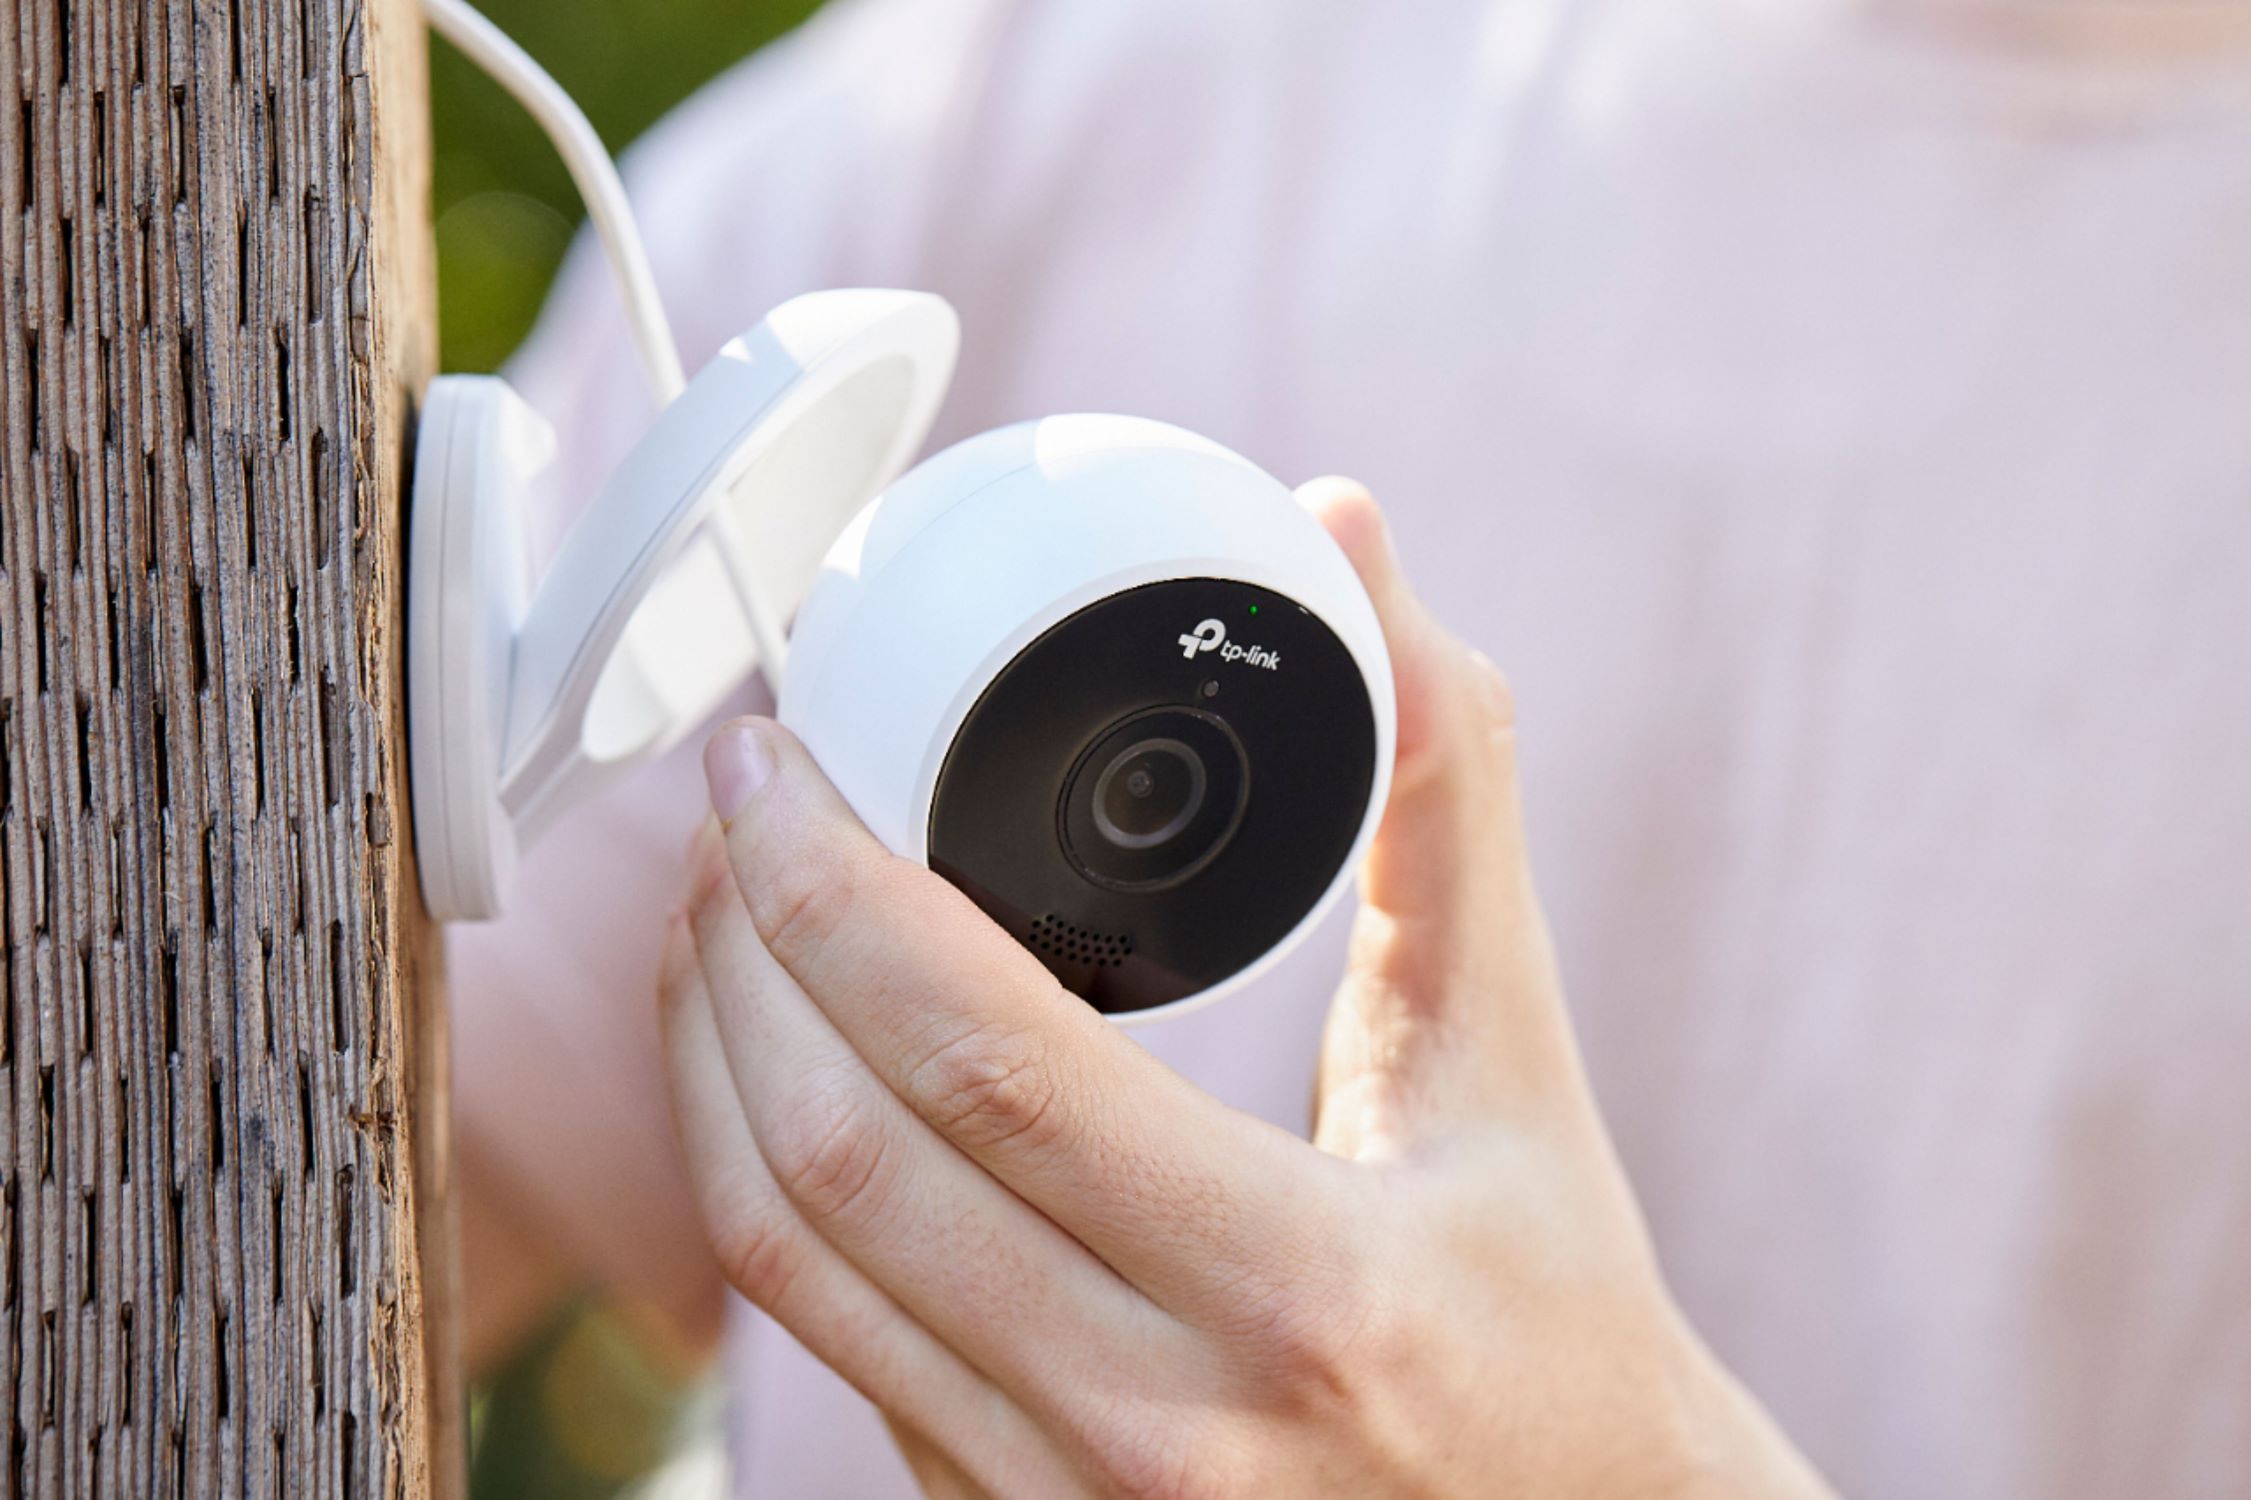
Step 4: Power and connectivity setup
After mounting the outdoor home security camera, the next step is to set up the power and connectivity. The power source and the method of connecting the camera to your home network will depend on the specific camera model you have.
Here are some general steps to guide you through the power and connectivity setup:
- Power source: Determine the power source for your camera. If you have opted for a wired camera, you will need to locate a power outlet nearby and use the provided power cable or adapter to connect the camera to the power source. Wireless cameras typically operate on batteries or solar panels, so ensure that they are sufficiently charged or positioned to receive sunlight.
- Connectivity: Most modern outdoor security cameras offer wireless connectivity, allowing you to access the camera feed remotely through your smartphone or computer. To establish the connection, follow these steps:
- Wi-Fi setup: Depending on your camera, either use a mobile app or the camera’s interface to connect it to your home Wi-Fi network. Follow the instructions provided by the manufacturer to enter the network name and password.
- Ethernet connection: If your camera supports an Ethernet connection, you can use an Ethernet cable to directly connect it to your home router. This method ensures a stable and uninterrupted connection.
- Camera configuration: Once the camera is connected to power and the network, access the camera’s interface or mobile app to configure the settings. This may include adjusting the motion detection sensitivity, setting up alerts or notifications, and specifying the storage options for recorded footage.
- Test the camera: After completing the power and connectivity setup, test the camera to ensure that it is functioning correctly. Use the mobile app or access the camera’s interface on your computer to view the live feed and check if the settings are working as intended.
It is essential to follow the manufacturer’s instructions and guidelines for your specific camera model during the power and connectivity setup process. This will ensure a smooth and efficient setup without any compatibility issues.
Once you have completed the power and connectivity setup, you are ready to move on to the next step: adjusting the camera settings.
Step 5: Adjusting camera settings
After setting up the power and connectivity for your outdoor home security camera, it’s time to adjust the camera settings to fine-tune its performance and customize it according to your surveillance needs. The exact settings and options will vary depending on your camera model and manufacturer, but here are some common adjustments you may need to make:
- Video quality: Determine the desired video quality and resolution for your camera. Higher resolution will provide clearer and more detailed footage, but it may consume more storage space. Adjust this setting based on your specific requirements and storage capacity.
- Motion detection: Enable the motion detection feature if your camera supports it. Adjust the sensitivity level to avoid false alarms while ensuring that any significant motion triggers recording or alerts.
- Alerts and notifications: Configure the camera to send alerts or notifications to your smartphone or email when it detects motion or any other specified event. Customize the settings to receive alerts only when necessary to avoid unnecessary notifications.
- Recording options: Decide how you want the camera to handle recording. You can choose continuous recording or set up scheduled recording based on specific time frames or motion-triggered recording. Additionally, choose whether you want the footage to be stored locally on an SD card or uploaded to a cloud storage service.
- Camera positioning: If your camera supports pan, tilt, or zoom functionalities, adjust the camera’s position to cover the desired areas. Experiment with different angles and zoom levels to achieve the best viewing coverage.
- Privacy settings: Ensure that you have properly configured the privacy settings to comply with local laws and regulations. If there are certain areas where you do not want the camera to record, use privacy masking or set up virtual boundaries to exclude those areas.
Refer to the camera’s user manual or the manufacturer’s guidelines for detailed instructions on how to adjust specific settings and options. Take some time to explore the camera’s interface or mobile app to familiarize yourself with the available settings and make the necessary adjustments.
Remember to periodically review and update the camera settings as needed, especially if your surveillance needs or environmental conditions change. Regularly check for firmware updates from the manufacturer to ensure that your camera is running the latest software version with enhanced features and security patches.
Once you have adjusted the camera settings to your satisfaction, you can move on to the final step: testing and troubleshooting.
Step 6: Testing and troubleshooting
After installing and configuring your outdoor home security camera, it is crucial to thoroughly test it to ensure that it is functioning properly and capturing the desired footage. Additionally, understanding common troubleshooting techniques can help you address any issues that may arise. Here are some steps to follow:
- Test the camera feed: Use the camera’s interface or mobile app to check the live feed and verify that the camera is capturing the intended area. Monitor the video quality, clarity, and field of view to ensure that the camera is providing the desired coverage.
- Trigger motion detection: Walk around the monitored area to trigger the motion detection feature. Verify that the camera properly records and alerts you when motion is detected. Adjust the sensitivity settings if needed to avoid false alarms or ensure that all necessary movements are captured.
- Check for connectivity: Ensure that the camera is properly connected to your home network and that you can access the camera feed remotely. Test the remote viewing feature on your smartphone or computer to verify a stable and reliable connection.
- Review recorded footage: Take some time to review the recorded footage to confirm that the camera is capturing all the necessary details. Pay attention to the video quality, timestamp accuracy, and any specific events or incidents you were monitoring for.
- Troubleshooting: If you encounter any issues or problems with the camera, refer to the troubleshooting section of the camera’s user manual or the manufacturer’s support documentation. Common troubleshooting steps include power cycling the camera, checking network connections, ensuring proper firmware updates, and contacting customer support if necessary.
- Maintenance and upkeep: Regularly clean the camera lens to maintain clear image quality, and check for any physical damage or loose connections. Keep the camera firmware up to date to benefit from the latest features and security enhancements.
By thoroughly testing your camera and addressing any troubleshooting needs, you can ensure that your outdoor home security surveillance system operates smoothly and reliably. Regular maintenance and periodic testing will help maintain the effectiveness of your camera and provide continued peace of mind.
With these steps completed, you have successfully installed and set up your outdoor home security camera. Your property is now equipped with an efficient surveillance system to deter intruders, monitor activities, and enhance the safety of your home.
Remember to familiarize yourself with the local laws and regulations regarding the use of surveillance cameras to respect privacy rights and ensure legal compliance. Enjoy the added security and peace of mind that comes with your new outdoor home security camera!
Please let me know if there’s anything else I can assist you with.
Conclusion
Installing an outdoor home security camera is an effective way to enhance the security of your property and gain peace of mind. By following the step-by-step process outlined in this guide, you can successfully select, install, and set up a surveillance camera that meets your specific needs.
Choosing the right camera involves considering factors such as resolution, field of view, weatherproofing, night vision, power options, and additional features. Planning camera placement is crucial for optimal coverage, taking into account vulnerable areas, field of view, height and angle, and coverage overlap.
Mounting the camera securely ensures stability and protection against tampering. Power and connectivity setup involves determining the power source, such as wired or wireless options, and connecting the camera to your home network for remote access and monitoring.
Adjusting camera settings allows you to customize video quality, motion detection, alerts and notifications, recording options, and privacy settings. Thorough testing and troubleshooting help verify functionality, address any issues, and ensure reliable and effective surveillance.
Remember to regularly review and update camera settings, perform maintenance, and adhere to local laws and regulations regarding surveillance. By following these steps and taking proper care of your outdoor home security camera, you can create a robust surveillance system that deters intruders, monitors activities, and provides you with peace of mind.
Thank you for reading this comprehensive guide on how to install an outdoor home security camera. We hope that it has provided you with valuable insights and information to successfully set up your own surveillance system. Stay safe and secure!
Please let me know if there’s anything else I can assist you with.
Frequently Asked Questions about How To Install An Outdoor Home Security Camera
Was this page helpful?
At Storables.com, we guarantee accurate and reliable information. Our content, validated by Expert Board Contributors, is crafted following stringent Editorial Policies. We're committed to providing you with well-researched, expert-backed insights for all your informational needs.