Home>Home Security and Surveillance>How To Install Hard Wired Security Cameras From Ring
Home Security and Surveillance
How To Install Hard Wired Security Cameras From Ring
Modified: September 1, 2024
Learn how to install hard wired security cameras from Ring for your home security and surveillance needs. Ensure peace of mind with our step-by-step guide!
(Many of the links in this article redirect to a specific reviewed product. Your purchase of these products through affiliate links helps to generate commission for Storables.com, at no extra cost. Learn more)
Introduction
Home security has become a top priority for many homeowners, and one of the most effective ways to protect your property is by installing hardwired security cameras. Whether you want to keep an eye on your home while you’re away or simply enhance your overall security measures, hardwired security cameras offer superior reliability and performance compared to their wireless counterparts.
In this article, we will guide you through the process of installing hardwired security cameras from Ring, one of the leading brands in the home security industry. By following these step-by-step instructions, you’ll be able to set up your camera system easily and efficiently, providing you with peace of mind and added protection for your home.
Before we dive into the installation process, it’s important to note that hardwired security cameras require some technical expertise and basic knowledge of electrical systems. If you’re not comfortable with DIY installations, it’s always a good idea to hire a professional to ensure the job is done properly.
Now, let’s get started on installing your hardwired security cameras from Ring!
Key Takeaways:
- Installing hardwired security cameras from Ring involves gathering tools, planning camera placement, running cables, and connecting to the DVR. Proper installation and testing ensure a reliable and effective surveillance system for your home.
- Regular maintenance, testing, and additional security measures are essential for optimizing the performance and longevity of your hardwired security camera system. Stay proactive and enjoy the peace of mind that comes with a well-protected property.
Step 1: Gathering the necessary tools and equipment
Before you begin the installation process, it’s essential to gather all the tools and equipment you’ll need. Being prepared with the right tools will make the installation smoother and more efficient. Here’s a list of the items you’ll need:
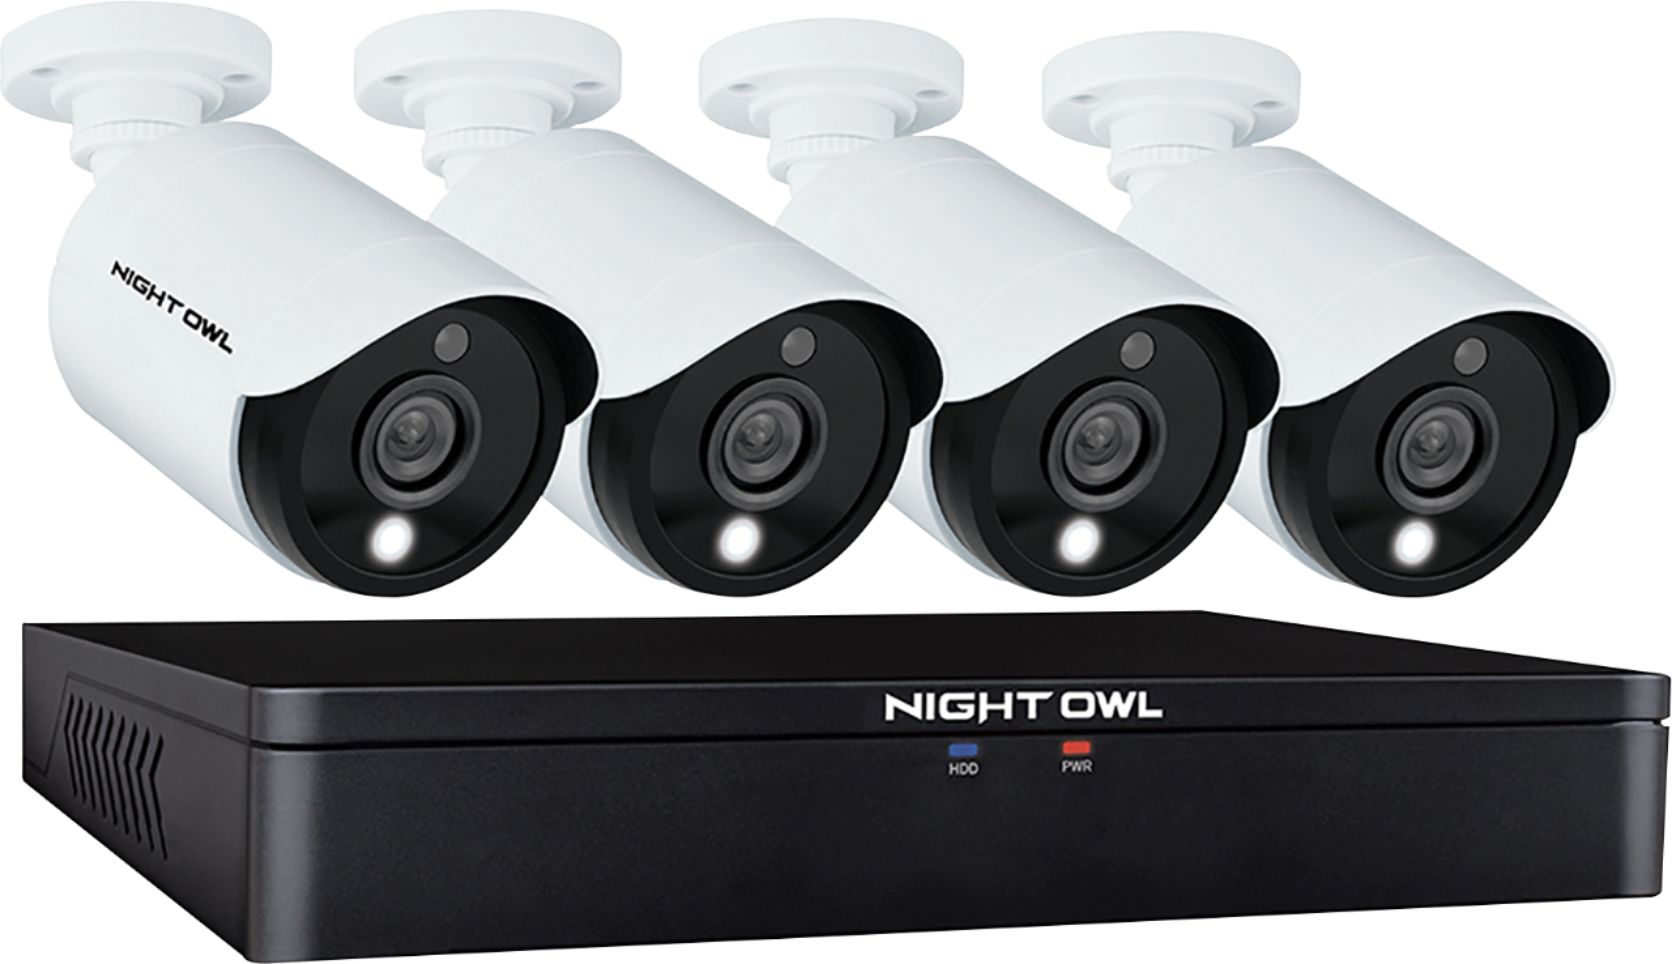
- – Hardwired security cameras from Ring
- – DVR (Digital Video Recorder)
- – BNC cables (one for each camera)
- – Power supply for the cameras
- – Coaxial cables (if needed for longer distances)
- – Screwdriver
- – Power drill
- – Level
- – Cable clips or cable management kit
- – Ethernet cables (if connecting to the internet)
- – Monitor or TV for viewing the camera feed
- – Network cables (if connecting the DVR to the internet)
Make sure to double-check the number of cameras you have and ensure that you have enough cables and accessories to complete the installation. It’s always better to have some extra cables and connectors on hand in case you need them.
Once you have all the necessary tools and equipment, you’re ready to move on to the next step: planning the camera placement.
Step 2: Planning the camera placement
Proper camera placement is crucial for maximizing the effectiveness of your hardwired security camera system. Before you start drilling holes and mounting the cameras, take some time to strategically plan where each camera should be positioned.
Here are some factors to consider when planning the camera placement:
- – Coverage area: Identify the areas of your property that require surveillance. Assess vulnerable entry points, such as doors, windows, and garages, as well as areas with high foot traffic.
- – Camera angles: Determine the optimal angles for each camera to capture the desired field of view. Consider obstructions like trees, walls, or fences that may affect the camera’s line of sight.
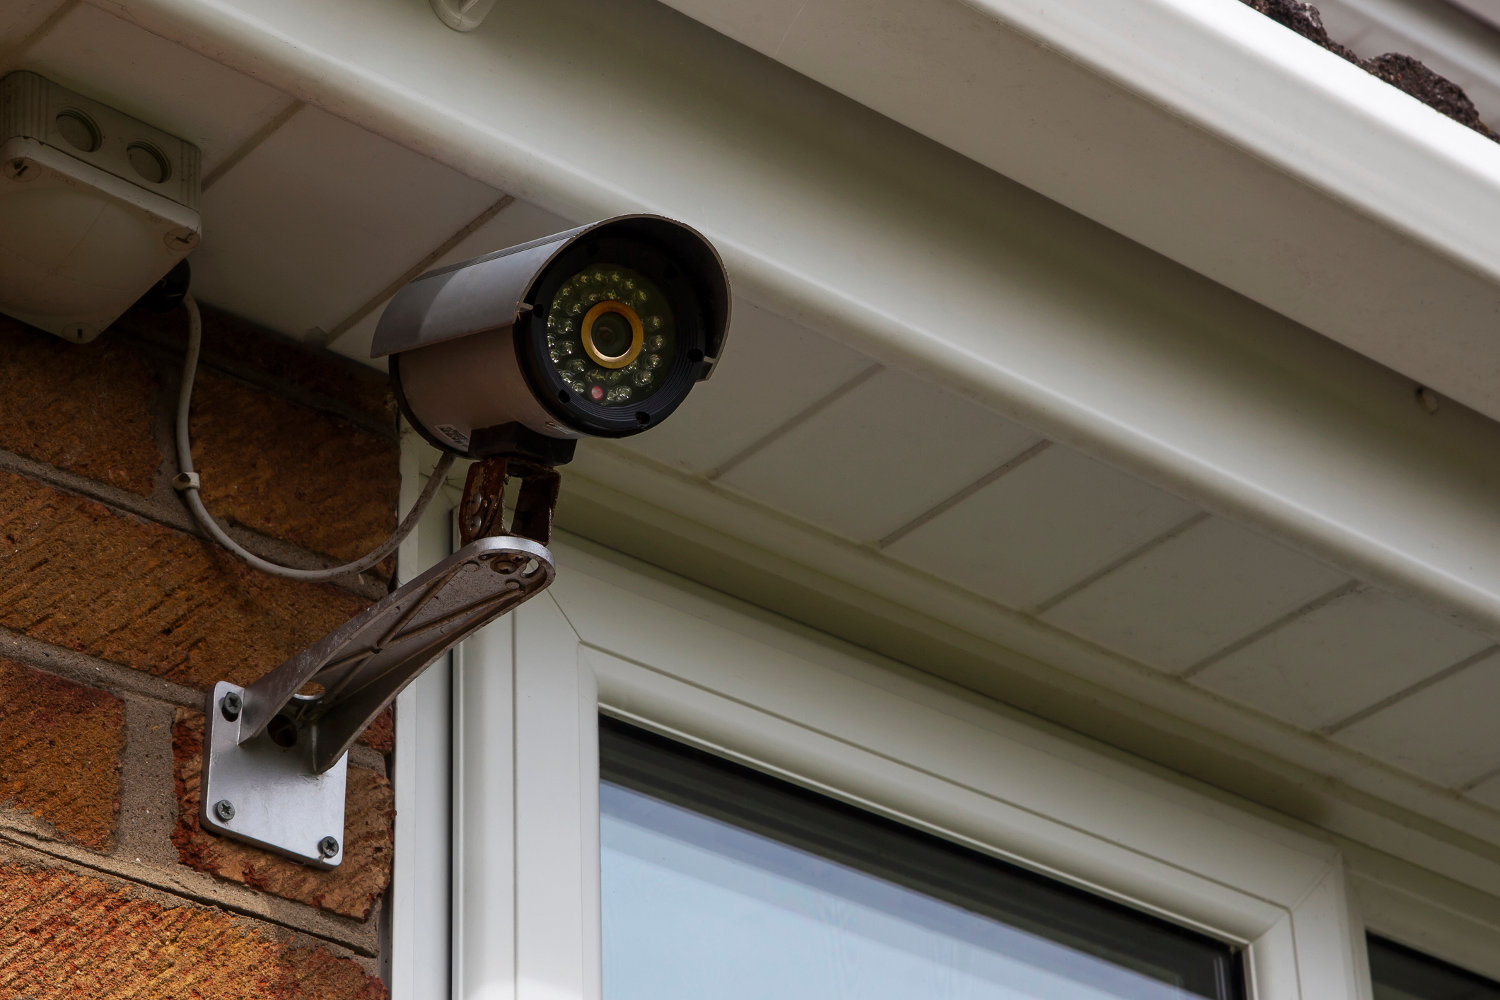
- – Height and positioning: Mount the cameras at a height that provides a clear and unobstructed view. Aim for a height of around 8-10 feet, avoiding excessive tilt or rotation.
- – IP rating: If you plan to install cameras outdoors, ensure that they have the necessary Ingress Protection (IP) rating to withstand different weather conditions.
- – Connectivity: Consider the proximity to power outlets and the availability of network connections if you plan to connect the system to the internet.
It’s also a good idea to consult the user manual or documentation provided with your Ring cameras for specific placement guidelines and recommendations.
Once you have planned the camera placement, mark the spots where you will mount each camera. This will make the installation process easier and ensure that all cameras are positioned correctly.
With the camera placement planned out, you’re now ready to move on to the next step: preparing the installation area.
Step 3: Preparing the installation area
Before you begin mounting the cameras, it’s essential to prepare the installation area to ensure a secure and stable installation. Here are the steps to follow when preparing the area:
- Clear the area: Remove any obstacles or debris that may interfere with the installation process. Trim any bushes or plants that could obstruct the camera’s view.
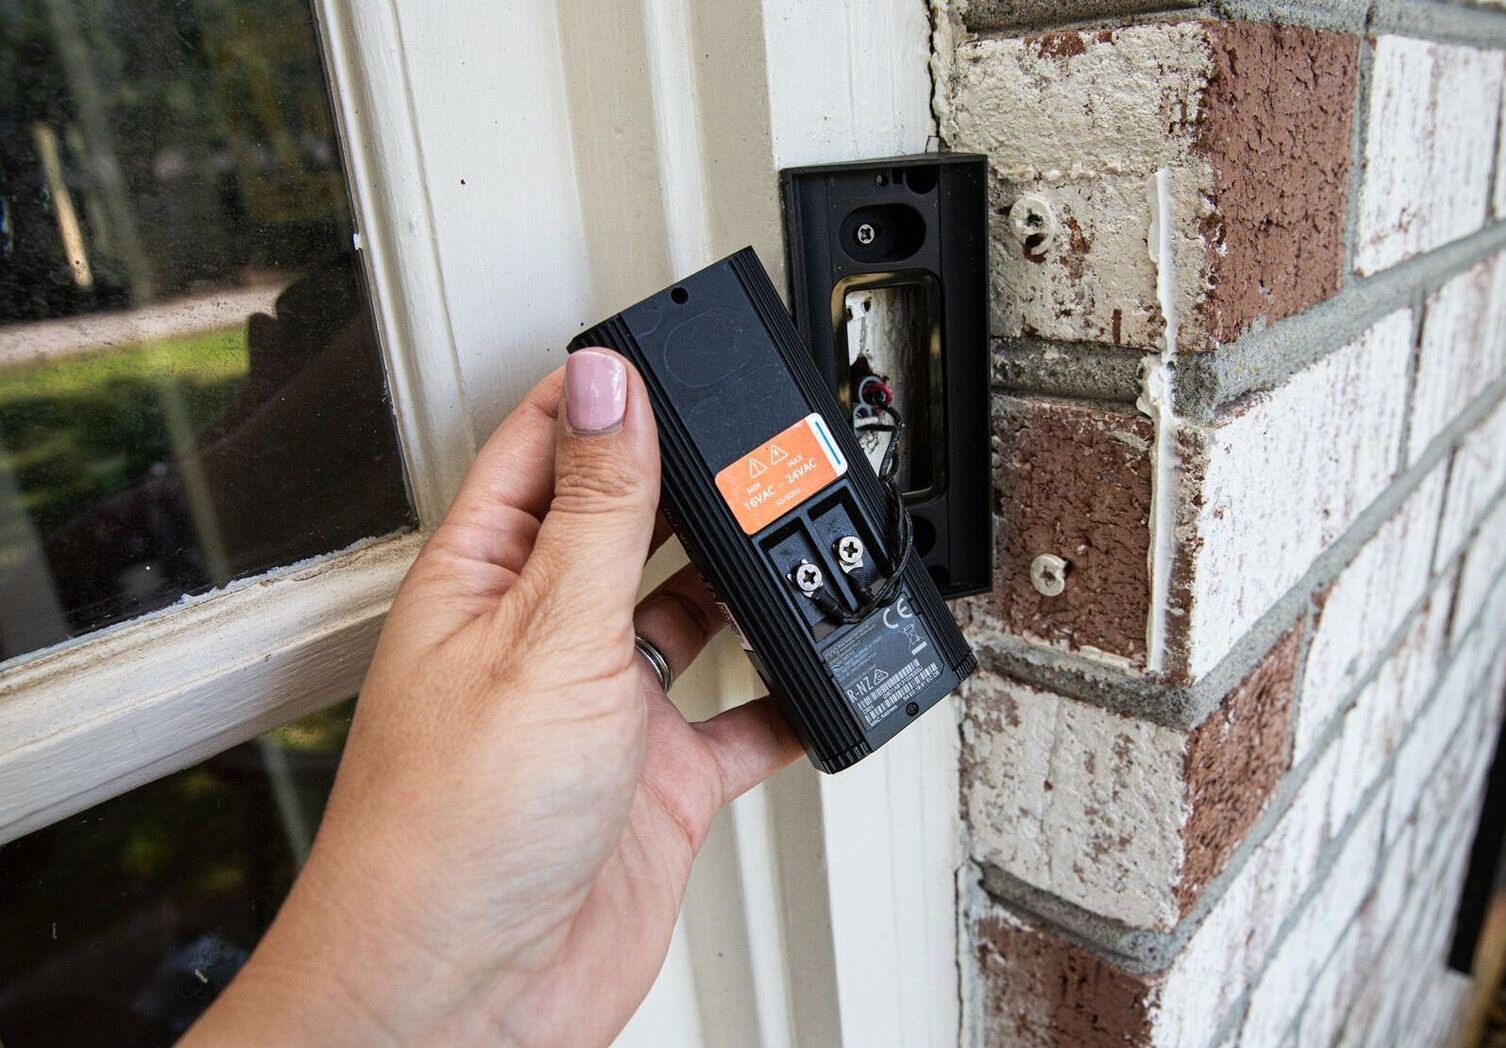
- Locate the power source: Identify the nearest power outlet for each camera. Ensure that the power outlets are in good working condition and have a stable power supply.
- Check the mounting surface: Ensure that the surface where you will mount the cameras is sturdy and can support the weight of the camera. If you plan to mount the cameras on walls, make sure they are structurally sound.
- Prep the cables: If needed, measure and cut the BNC cables to the desired length. Keep in mind that you may need to account for extra cable length to ensure a clean and neat installation.
- Route the cables: Determine the route the cables will take from the cameras to the DVR. Consider using cable clips or a cable management kit to secure and conceal the cables along the way.
- Make room for the DVR: Identify a suitable location for the DVR near a power outlet and internet connection if applicable. Ensure there is enough space for proper ventilation to prevent overheating.
By preparing the installation area in advance, you’ll be able to streamline the installation process and minimize any setbacks or delays.
Once the installation area is ready, move on to the next step: mounting the camera brackets.
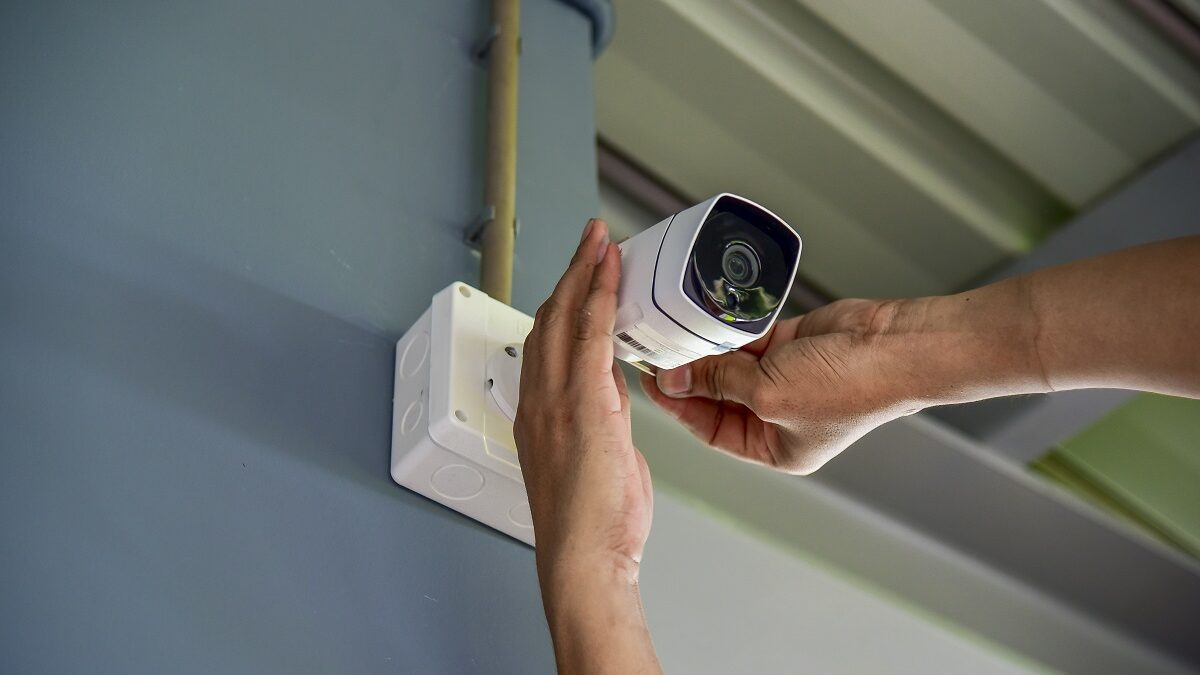
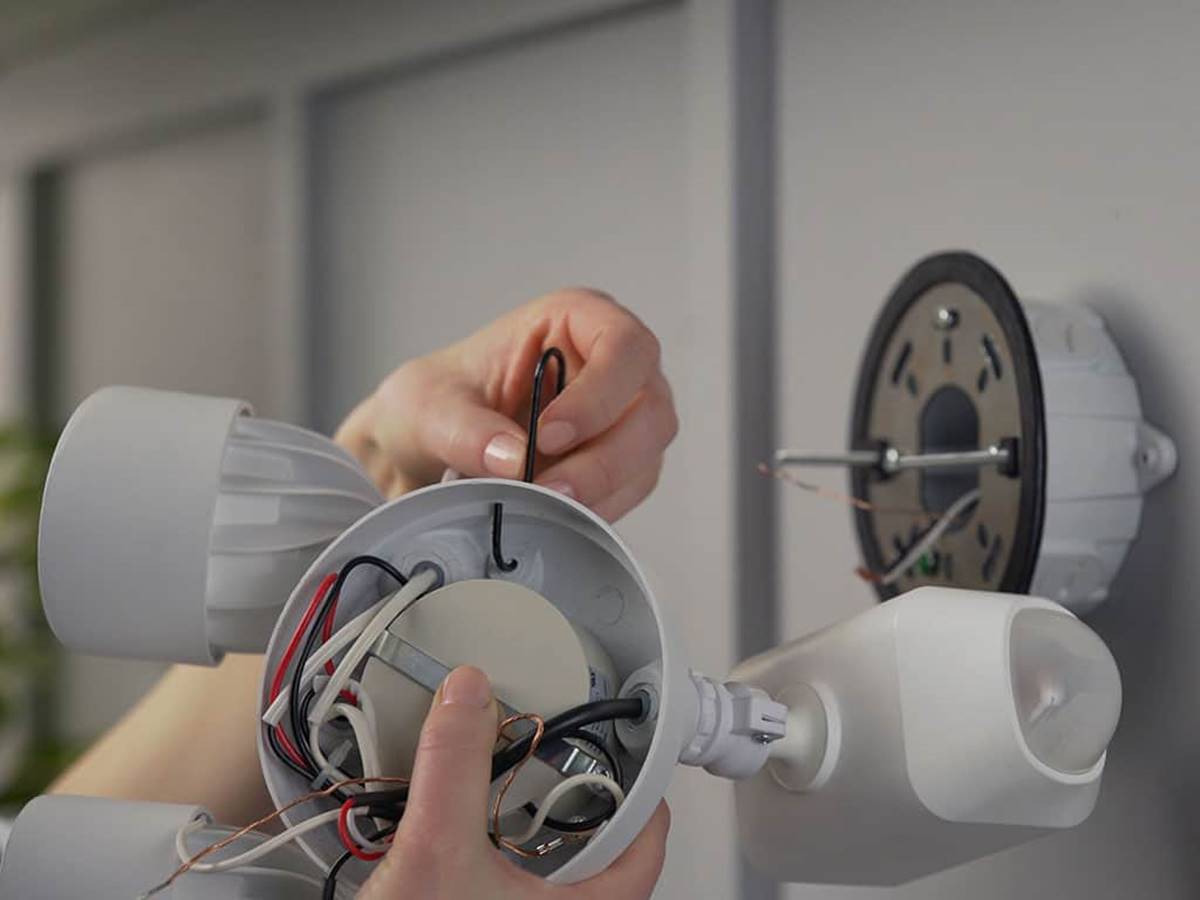
Step 4: Mounting the camera brackets
Mounting the camera brackets is a crucial step in the installation process as it provides a secure foundation for your hardwired security cameras. Follow these steps to mount the camera brackets:
- Position the brackets: Take one camera bracket and position it at the marked spot on the wall or ceiling. Ensure that the bracket is level and aligned with the desired camera angle.
- Mark the mounting holes: Using a pencil, mark the locations for the mounting holes through the bracket screw holes. Double-check the alignment and make any necessary adjustments.
- Drill pilot holes: Using a power drill and an appropriate drill bit, carefully drill pilot holes at the marked locations. Take caution to not damage any electrical wiring or plumbing behind the wall.
- Attach the brackets: Insert wall anchors into the pilot holes and secure the camera brackets using screws. Ensure the brackets are tightly fastened to provide stability.
- Adjust the bracket angle: Adjust the camera bracket to the desired angle by loosening the adjustment screws and rotating the bracket. Once positioned correctly, tighten the screws to lock the bracket in place.
- Repeat for remaining cameras: Repeat the process for each camera, making sure to position and mount the brackets according to your planned camera placement.
It’s important to take your time during this step to ensure the camera brackets are securely mounted. Properly mounted brackets will provide a stable base for your cameras, allowing them to capture clear and steady footage.
Once the camera brackets are mounted, you’re ready to move on to the next step: running the cables.
When installing hard-wired security cameras from Ring, make sure to carefully plan the placement and wiring to ensure optimal coverage and functionality. Use proper tools and follow the manufacturer’s instructions for a successful installation.
Read more: How To Install A Ring Security Camera
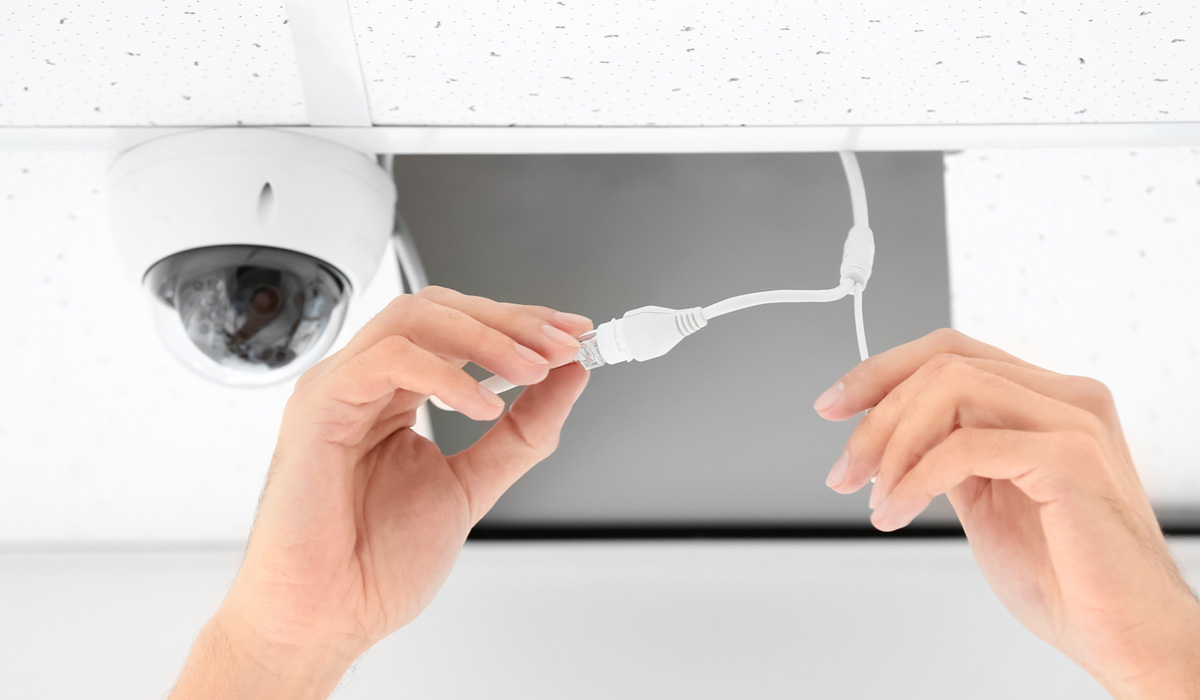
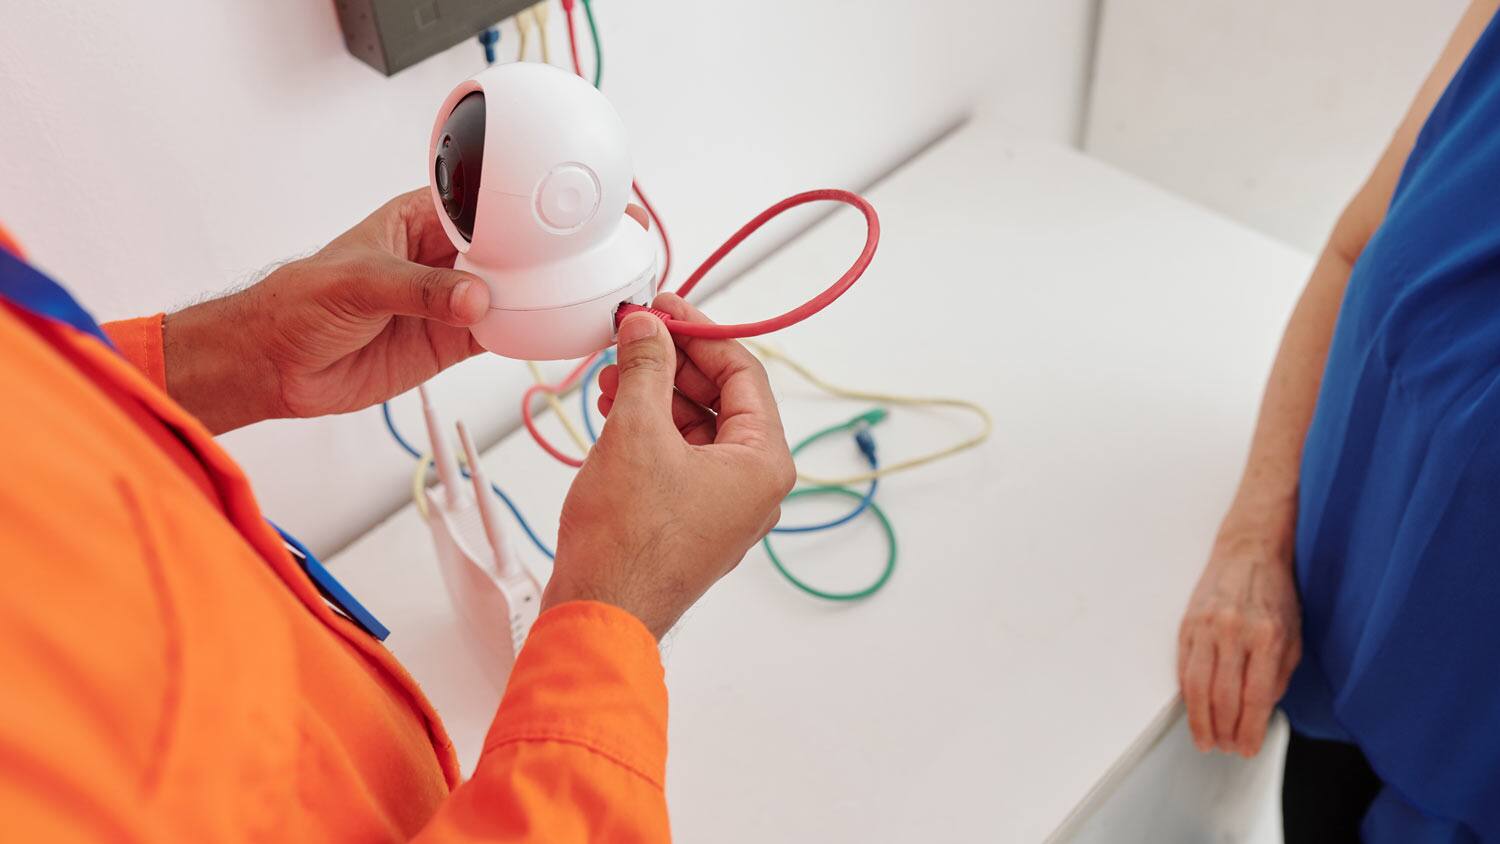
Step 5: Running the cables
Running the cables is a crucial step in the installation process as it allows you to connect the hardwired security cameras to the DVR and power source. Follow these steps to run the cables effectively:
- Plan the cable routes: Determine the most efficient paths for running the cables from the cameras to the DVR. Consider using walls or ceilings to conceal the cables and minimize their visibility.
- Measure and cut the cables: Measure the required length for each cable and cut them to size. Allow for some slack to make it easier to connect the cables to the cameras and DVR.
- Secure the cables: Use cable clips or a cable management kit to secure the cables along the planned routes. This will help keep them organized and prevent any accidental damage or tripping hazards.
- Connect the BNC cables: Attach one end of each BNC cable to the camera output on the camera bracket. Check the connectors to ensure they are securely fastened.
- Route the cables to the DVR: Run the other end of the BNC cables along the planned routes until they reach the location of the DVR. Be mindful of any obstacles or obstructions that may hinder the cable installation.
- Connect the cables to the DVR: Plug the other end of each BNC cable into the corresponding input port on the DVR. Ensure a snug connection to guarantee a stable and reliable signal transmission.
- Connect the power supply: Depending on your camera model, either connect the power supply directly to the camera bracket or use a separate power cable and connect it to the power source.
Take your time during this step to ensure the cables are properly connected and routed. A well-organized cable installation will not only improve the aesthetics of your camera system but also make future maintenance and troubleshooting easier.
Once the cables are successfully run, you’re ready to move on to the next step: connecting the cameras to the DVR.
Step 6: Connecting the cameras to the DVR
Connecting the cameras to the DVR is a crucial step in setting up your hardwired security camera system. Follow these steps to ensure a proper and reliable connection:
- Locate the camera inputs: On the back of the DVR, identify the camera inputs labeled with the corresponding camera numbers or channels.
- Connect the BNC cables: Take the BNC cables that are running from each camera and plug them into the corresponding camera inputs on the DVR. Make sure each connection is secure and snug.
- Connect the power supply: If your cameras require separate power supplies, connect them to the power source. Ensure that the power supply is compatible with your cameras and that the voltage and polarity are correct.
- Power on the DVR: Plug in the power cable of the DVR and turn it on. Allow the DVR to boot up completely before proceeding to the next step.
- Access the DVR settings: Using the monitor or TV connected to the DVR, access the settings menu to configure the camera inputs and adjust any necessary settings such as resolution, recording modes, and motion detection.
- Check camera feeds: Verify that each camera feed is displaying properly on the monitor or TV. Adjust the camera angles or settings if needed to ensure optimal coverage and visibility.
- Test camera functionality: Perform a test to ensure that all cameras are capturing footage correctly. This can include checking the live view, recording a test video, and testing any additional features of your camera system.
It’s crucial to double-check all connections and settings during this step to ensure that your cameras are properly connected to the DVR. This will guarantee the smooth and effective operation of your hardwired security camera system.
Once the cameras are successfully connected to the DVR, you’re ready to move on to the next step: testing the camera system.
Step 7: Testing the camera system
After successfully connecting the cameras to the DVR, it’s important to test the camera system to ensure that everything is functioning correctly. Follow these steps to properly test your hardwired security camera system:
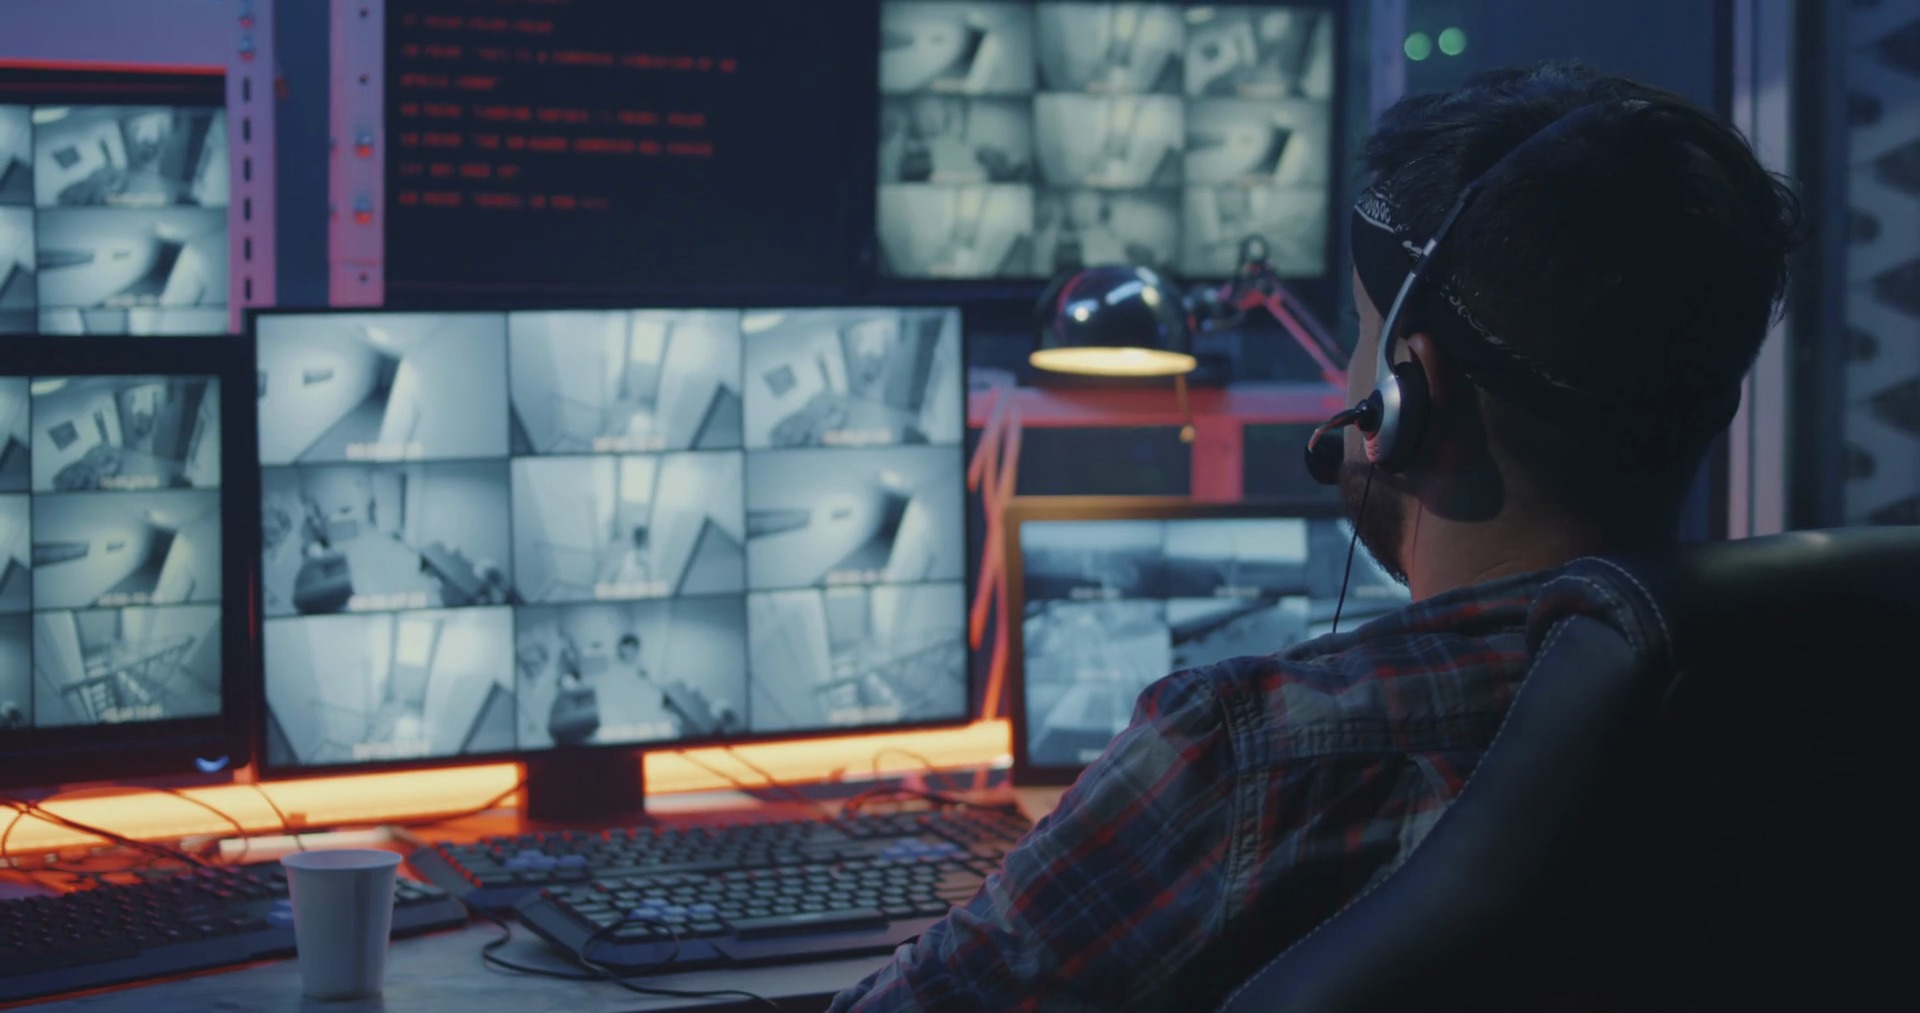
- Check camera feeds: Verify that the camera feeds are displaying properly on the monitor or TV connected to the DVR. Make sure each camera is capturing the desired field of view and that the images are clear and of high quality.
- Test recording and playback: Initiate a test recording on the DVR to ensure that it captures footage from all connected cameras. Once the recording is done, test the playback feature to review the recorded footage and ensure it is being stored properly.
- Enable motion detection: If your camera system has motion detection capabilities, enable this feature and test its functionality. Walk in front of each camera and verify that motion is being detected, triggering the recording or alert system if applicable.
- Check remote viewing: If your DVR is capable of remote viewing, configure the necessary network settings and test accessing the camera system remotely using a computer, smartphone, or tablet. Ensure that you can view the camera feeds and access the system’s features and settings remotely.
- Test notifications and alerts: If your camera system supports notifications and alerts, enable this feature and test its functionality. Trigger events that should generate alerts, such as motion detection or tampering, and verify that you receive the appropriate notifications through the designated channels, such as email or mobile app notifications.
- Perform regular system checks: After the initial testing, make it a habit to periodically perform system checks to ensure that all cameras are functioning properly, the DVR is recording correctly, and all other features and settings are operational.
By thoroughly testing the camera system, you can identify any issues or limitations early on and take the necessary steps to address them. Regular testing and maintenance will help ensure the continuous and reliable operation of your hardwired security camera system.
Once you have completed the testing phase and are satisfied with the results, you’re ready to finalize the installation of your hardwired security camera system.
Step 8: Finalizing the installation
After successfully testing your hardwired security camera system and ensuring that everything is functioning properly, it’s time to finalize the installation. Follow these steps to complete the installation process:
- Secure the cables: Use cable clips or a cable management kit to neatly secure and organize the cables along their routes. This will help prevent any accidental damage and keep the installation looking tidy.
- Seal any holes: If you drilled holes for cable routing, seal them properly to prevent moisture or pests from entering your property. Use silicone caulk or weatherproof sealants to seal the holes effectively.
- Label the cables: It’s a good practice to label the cables running from each camera to the DVR. This will make future maintenance or troubleshooting much easier as you can easily identify which cables belong to each camera.
- Secure the DVR: Ensure that the DVR is placed in a secure location to prevent unauthorized access. If necessary, consider using a lockbox or mounting it in an enclosed cabinet.
- Configure the system settings: Access the DVR settings menu and configure any additional settings, such as video quality, recording schedules, motion detection sensitivity, or remote access preferences, according to your specific needs.
- Consider additional security measures: Explore other security measures to enhance your overall home security, such as adding extra lighting, installing security signs or stickers, or integrating your camera system with other security devices.
- Regular maintenance: Create a schedule for regular maintenance and check-ups for your hardwired security camera system. This can include cleaning camera lenses, testing cables and connections, and updating firmware or software as needed.
- Document the installation: Take photos or create a diagram of the camera placement and cable routes as a reference for future reference or troubleshooting. Keep a record of any passwords, access codes, or account information associated with your camera system.
By finalizing the installation and implementing these additional steps, you can ensure that your hardwired security camera system is optimized for optimal performance and longevity.
Congratulations! You have successfully installed and configured your hardwired security camera system from Ring. You can now enjoy the peace of mind knowing that your property is protected and under constant surveillance. Remember to regularly check and maintain your camera system to keep it functioning at its best.
Conclusion
Installing a hardwired security camera system from Ring is a proactive and effective measure to enhance the security of your home. By following the step-by-step instructions outlined in this article, you have successfully set up a reliable and comprehensive surveillance system that provides peace of mind and protection for your property and loved ones.
Throughout the installation process, you learned how to gather the necessary tools and equipment, plan the camera placement, prepare the installation area, mount the camera brackets, run the cables, connect the cameras to the DVR, test the camera system, and finalize the installation. By taking the time to carefully execute each step and performing comprehensive testing, you have ensured that your camera system will function optimally and provide accurate and high-quality surveillance footage.
Remember, home security is an ongoing process. While your hardwired security camera system is a significant step in safeguarding your property, it’s always a good idea to explore additional security measures and stay informed about the latest advancements in home security technology.
Regular maintenance and periodic inspections of your security camera system are essential to detect any potential issues and ensure uninterrupted functionality. Consider setting up a schedule to clean camera lenses, test cables and connections, and update firmware or software as needed. It’s also important to stay vigilant and review any recorded footage or alerts promptly to address any potential security concerns.
By installing a hardwired security camera system and staying proactive in your home security efforts, you are taking an important step towards creating a safe and protected environment. Enjoy the peace of mind that comes with having your property monitored and protected, whether you’re at home or away.
Remember, if you ever need assistance or encounter any difficulties, don’t hesitate to consult the user manual or seek professional help. With the right tools, knowledge, and dedication, you can ensure the effective operation of your hardwired security camera system for years to come.
Frequently Asked Questions about How To Install Hard Wired Security Cameras From Ring
Was this page helpful?
At Storables.com, we guarantee accurate and reliable information. Our content, validated by Expert Board Contributors, is crafted following stringent Editorial Policies. We're committed to providing you with well-researched, expert-backed insights for all your informational needs.