Home>Furniture>Living Room Furniture>How To Build A Glass Top Coffee Table
Living Room Furniture
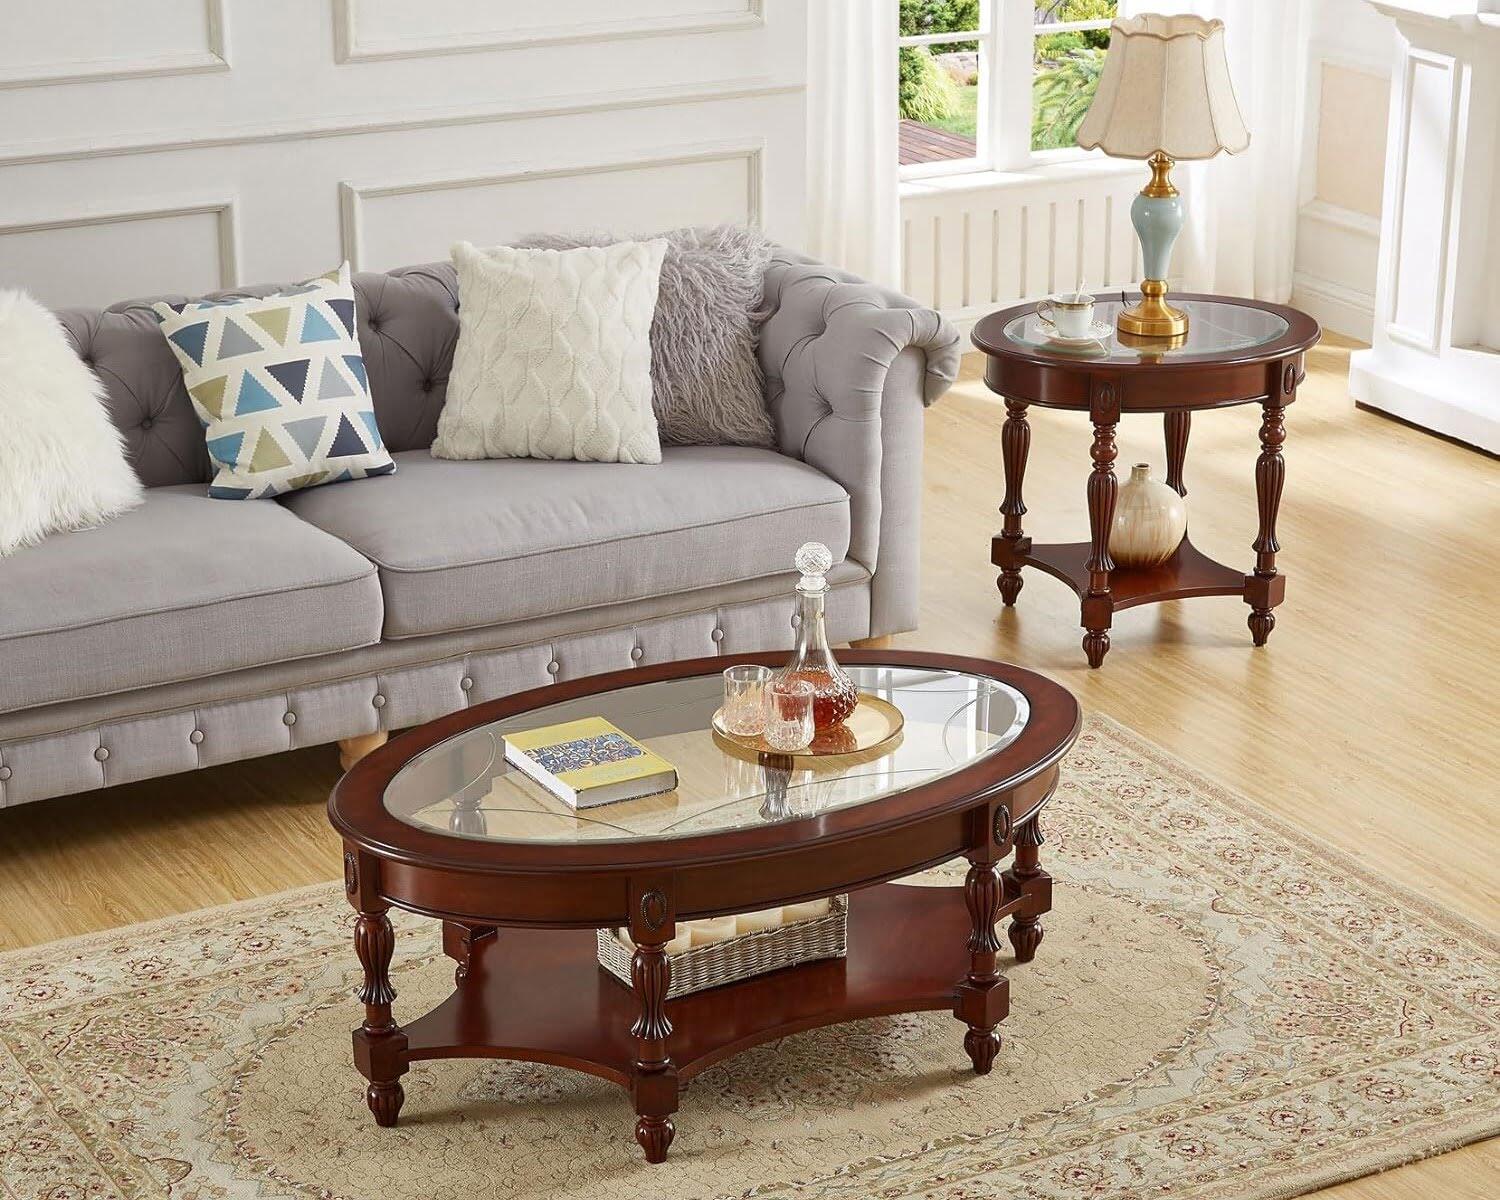
How To Build A Glass Top Coffee Table
Modified: March 16, 2024
Learn how to build a stylish glass top coffee table for your living room with our step-by-step guide. Upgrade your living room furniture with this DIY project!
(Many of the links in this article redirect to a specific reviewed product. Your purchase of these products through affiliate links helps to generate commission for Storables.com, at no extra cost. Learn more)
Introduction
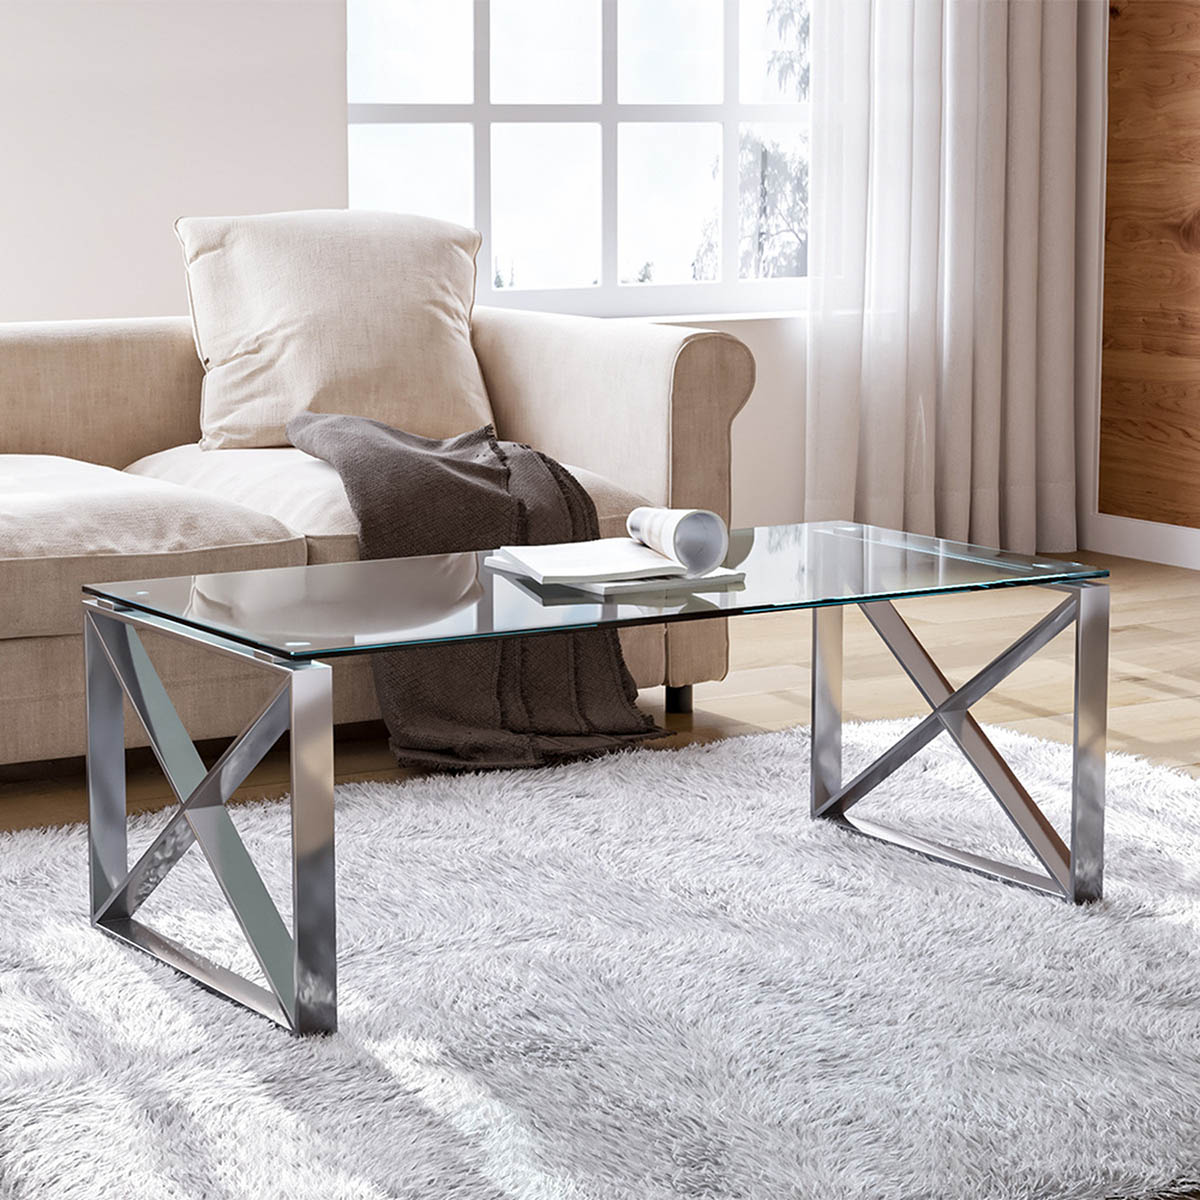
Having a stylish and functional coffee table is an essential piece of furniture for any living room. A glass top coffee table can add a touch of elegance and contemporary charm to your space. Imagine sipping on your morning coffee while watching the sunlight filter through the transparent glass, or gathering around with friends and family for a game night, all while showcasing your tasteful taste in furniture.
In this article, we will guide you through the process of building your own glass top coffee table. From designing and planning to assembling and finishing touches, we’ve got you covered. So, roll up your sleeves, gather your tools, and let’s get started on creating a centerpiece for your living room that will surely impress everyone who lays eyes on it.
Key Takeaways:
- Building a glass top coffee table involves careful planning, precise measurements, and assembling the base with sturdy materials. It’s a rewarding DIY project that adds a personal touch to your living room.
- Adding the finishing touches, such as sanding, painting, and accessorizing, completes the unique and stylish glass top coffee table. Regular maintenance ensures its longevity and beauty.
Read more: How To Build A Lift Top Coffee Table
Materials Needed
Before you embark on building your glass top coffee table, it’s important to gather all the necessary materials. Here’s a list of items you will need:
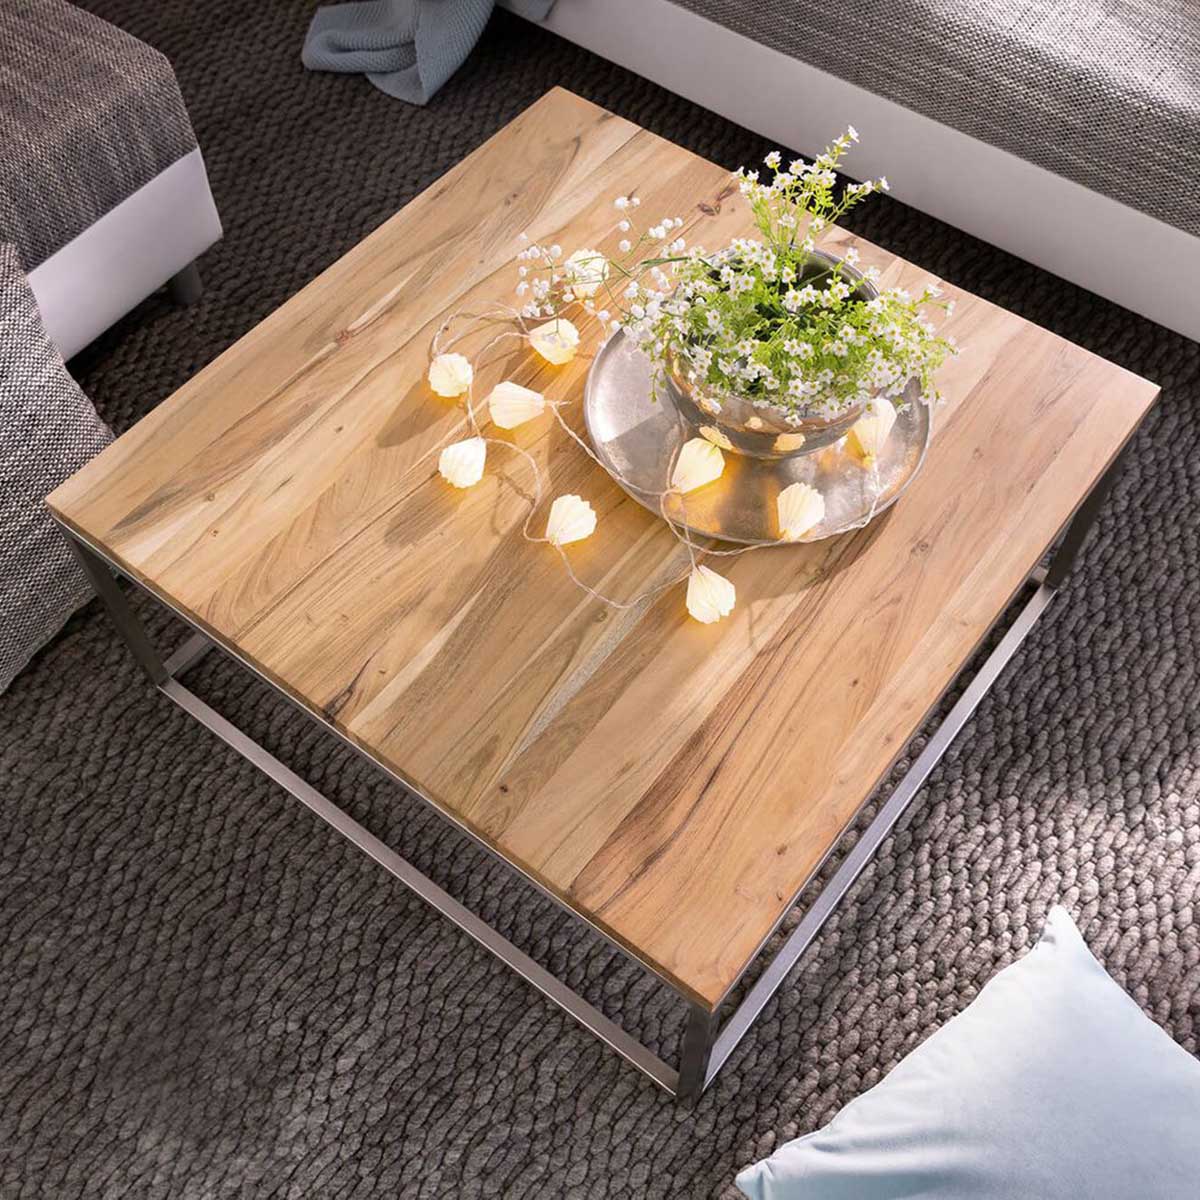
- Wood: Select a sturdy and appealing type of wood for the base of your coffee table. Make sure to measure the dimensions based on your desired table size.
- Glass: Choose a tempered glass top that fits the dimensions of your base. Tempered glass is durable and safe, as it is less likely to shatter into sharp pieces if broken.
- Screws: Get a variety of screws in different sizes to ensure that you have the right ones for different parts of the assembly.
- Drill: A power drill will make the assembly process much easier. Make sure to have the appropriate drill bits for pilot holes and screw holes.
- Screwdriver: Have a screwdriver handy to tighten the screws that secure the components of your coffee table.
- Measuring Tape: Accurate measurements are crucial, so having a measuring tape will ensure that everything fits together perfectly.
- Sandpaper: Smooth out any rough edges and prepare the wood surfaces for painting or staining.
- Paint or Stain: Choose a paint color or wood stain that matches your aesthetic preferences and complements your existing furniture.
- Brushes and rags: Have paintbrushes and rags on hand for applying the paint or stain and wiping away any excess.
- Protective Gear: Wear safety goggles and gloves to protect yourself from any potential accidents during the construction process.
Once you have gathered all these materials, you are ready to proceed with the next steps of designing and planning your glass top coffee table.
Step 1: Design and Planning
Before you start building your glass top coffee table, it’s essential to have a clear design and plan in mind. Consider the dimensions, style, and functionality that you want your table to have.
First, decide on the size of your table. Measure the available space in your living room to determine the ideal dimensions. Consider the height, length, and width of the coffee table, ensuring that it will fit seamlessly into your living room layout.
Next, choose a design that suits your personal taste and complements your existing furniture. You can opt for a modern, minimalist design with clean lines, or a more rustic and distressed look for a cozy feel. There are various styles to choose from, so take your time to find the one that resonates with your aesthetic preferences.
Once you have a design in mind, create a detailed plan. Sketch out the dimensions and layout of each component, including the base and any additional features or storage compartments. This will serve as a blueprint for the construction process, ensuring that you have a clear vision of how each piece will fit together.
Take into account the thickness of the glass top when planning the dimensions of the base. You’ll want to ensure that the base is sturdy enough to support the weight of the glass without any sagging or instability.
Lastly, consider any additional features you may want to add, such as shelves, drawers, or decorative elements. These can enhance the functionality and visual appeal of your coffee table.
By carefully designing and planning your glass top coffee table, you can ensure that the end result aligns with your vision and meets your specific needs. Once you have a solid plan in place, you can move on to the next step of gathering the required tools.
Step 2: Gather the Required Tools
Now that you have a clear design and plan for your glass top coffee table, it’s time to gather the necessary tools to bring your vision to life. Here are the essential tools you’ll need:
- Power Drill: A power drill will make the assembly process much easier and faster. Make sure to have a variety of drill bits available for pilot holes and screw holes.
- Screwdriver: Have a screwdriver with different head sizes to tighten screws securely.
- Measuring Tape: Accurate measurements are key to ensure that all the components fit together properly. A measuring tape will be your best friend during this project.
- Circular Saw or Miter Saw: A saw is required to cut the wood into the desired dimensions and angles. A circular saw is great for straight cuts, while a miter saw is ideal for angled cuts.
- Sanding Block or Sandpaper: Smooth out any rough edges on the wood surfaces with a sanding block or sandpaper. This will provide a clean and polished look.
- Clamps: Clamps are useful for holding the wood pieces together firmly while you drill and attach screws.
- Paintbrushes or Foam Brushes: If you plan on painting or staining the wood, you’ll need brushes to apply the paint or stain evenly.
- Safety Gear: Safety goggles and work gloves are essential to protect your eyes and hands throughout the construction process.
Make sure to have all the required tools readily available before you start building your coffee table. This will help streamline the construction process, prevent delays, and ensure that you have everything you need within reach.
Once you have gathered all the tools, you are ready to move on to the next step of measuring and cutting the wood for your coffee table.
Step 3: Measure and Cut the Wood
Now that you have your design, plan, and tools ready, it’s time to start measuring and cutting the wood for your coffee table. Follow these steps to ensure accurate cuts:
- Measurements: Use a measuring tape to determine the dimensions of each component. Measure twice to ensure precision and write down the measurements for reference.
- Mark the Wood: Use a pencil to mark the measurements on the wood. Double-check the markings before proceeding.
- Cut the Pieces: Using a circular saw or miter saw, carefully cut the wood according to the marked measurements. Take your time to ensure precise cuts.
- Smooth the Edges: After cutting, use a sanding block or sandpaper to smooth out any rough edges or splinters.
- Label the Pieces: To keep track of the different components, label each piece with a pencil or masking tape. This will make the assembly process much easier later on.
Remember to follow safety precautions when using power tools. Wear safety goggles, gloves, and other protective gear to prevent any accidents.
Once you have successfully measured and cut all the wood pieces, you are ready to move on to the next step, which is assembling the base of your glass top coffee table.
When building a glass top coffee table, make sure to use tempered glass for safety. Measure the table frame accurately to ensure the glass fits properly. Use clear silicone adhesive to secure the glass to the frame for a sleek finish.
Read more: How To Build A Round Coffee Table
Step 4: Assemble the Base
With the wood pieces cut and prepared, it’s time to assemble the base of your glass top coffee table. Follow these steps for a sturdy and secure base:
- Arrange the Pieces: Lay out the wood pieces according to your design plan. This will help you visualize how they fit together.
- Drill Pilot Holes: Using a power drill and the appropriate drill bit, create pilot holes in the wood where the screws will go. This will prevent the wood from splitting when the screws are inserted.
- Attach the Legs: Start by attaching the legs to the base. Position them along the edges and use clamps to hold them in place. Then, drill screws into each pilot hole to secure the legs to the base.
- Connect the Supports: Next, connect the support pieces between the legs. Again, use clamps to hold them in place and drill screws into the pilot holes to secure them.
- Check for Stability: After each piece is attached, check the stability of the base. Wiggle it gently to ensure that it’s sturdy and level. Make any necessary adjustments or tighten screws if needed.
It’s important to pay attention to the alignment and symmetry of the base as you assemble it. Measure and double-check the placement of each component to ensure accuracy.
Once the base is successfully assembled and stable, you’re ready to move on to the next step of preparing the glass top for your coffee table.
Step 5: Prepare the Glass Top
Now that the base of your coffee table is complete, it”s time to prepare the glass top. Follow these steps to ensure a clean and polished finish:
- Inspect the Glass: Before proceeding, carefully inspect the glass for any scratches, chips, or imperfections. If you notice any defects, consider contacting the supplier for a replacement.
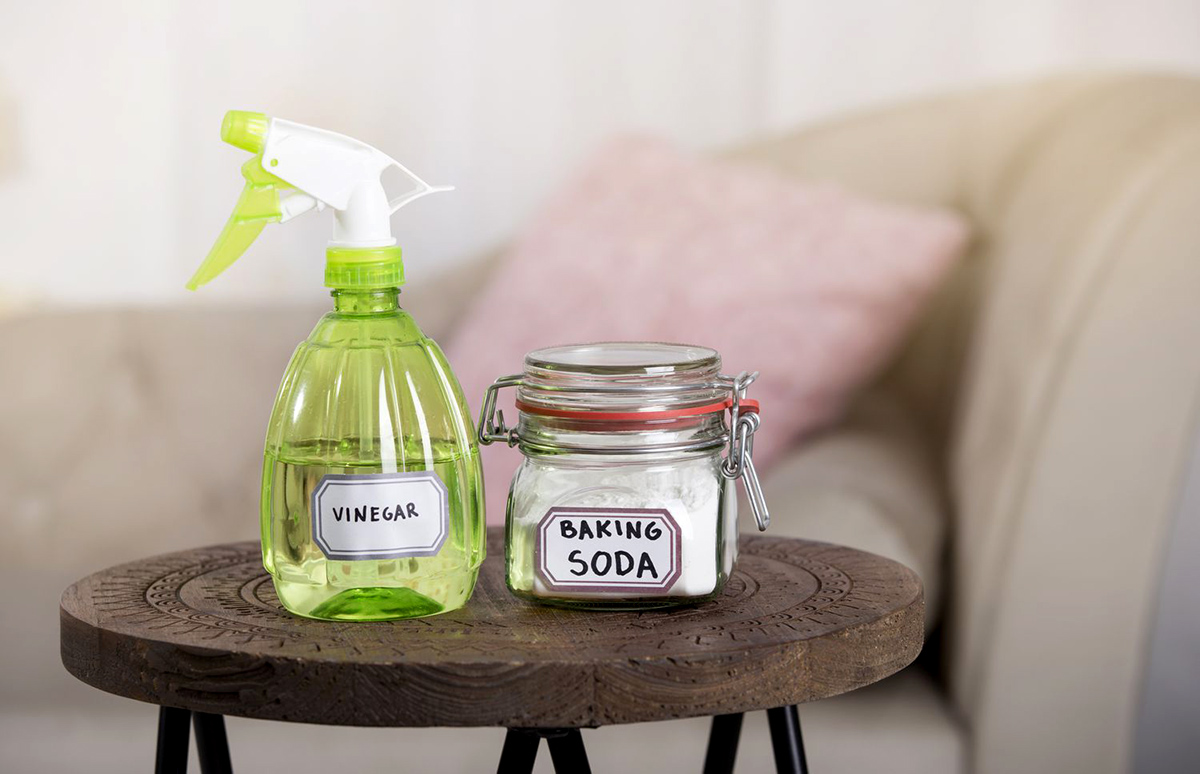
- Clean the Glass: Start by cleaning the glass top thoroughly. Use a glass cleaner and a soft, lint-free cloth to remove any dust, fingerprints, or smudges. Ensure that the glass is completely dry before proceeding.
- Protective Padding: To prevent the glass from directly contacting the wooden base, apply adhesive felt pads or clear rubber bumpers to the bottom corners of the glass. This will provide cushioning and avoid any potential scratching or damage.
- Secure the Glass: Carefully place the glass top onto the assembled base. Ensure that it aligns properly and sits securely. If desired, you can use clear silicone adhesive along the edges of the base to provide extra stability and prevent accidental movement.
It’s important to handle the glass with care throughout this process. Avoid placing excessive weight on the glass and be cautious when moving it to prevent any accidental breakage.
With the glass top securely in place, your coffee table is taking shape. Next, we’ll move on to the step of attaching the glass top to the base.
Step 6: Attach the Glass Top to the Base
With the glass top securely placed on the base of your coffee table, it’s time to attach it. Follow these steps to ensure a stable and secure attachment:
- Mark the Positions: Before drilling any holes, carefully mark the positions where the screws will go. Ensure that they are evenly spaced out along the edges of the base to provide balanced support.
- Drill Pilot Holes: Use a power drill and the appropriate drill bit to create pilot holes on the marked positions. Take caution to drill the holes to the appropriate depth, ensuring that they will not go through the table top.
- Attach the Clips: Place metal or plastic table clips along the edges of the base, lining them up with the pilot holes. These clips will hold the glass securely in place.
- Secure the Clips: Use screws to secure the clips to the base through the pilot holes. Make sure to tighten them firmly without overtightening, as this could damage the glass.
- Double-Check Stability: Once all the clips are securely attached, give the table a gentle shake to ensure that the glass is stable and does not wobble. Make any necessary adjustments to ensure a sturdy attachment.
It’s important to handle the glass with care throughout this process. Avoid placing excessive weight or pressure on the glass and be cautious when tightening the screws to prevent any potential breakage.
With the glass top securely attached to the base, your coffee table is nearly complete. All that’s left is to add the finishing touches.
Step 7: Finishing Touches
With your glass top coffee table taking shape, it’s time to add the final touches to enhance its appearance and functionality. Follow these steps to complete your project:
- Sanding and Smoothing: Take a closer look at the wooden base and any exposed surfaces. If there are any rough spots or uneven areas, use sandpaper to smooth them out. This will ensure a polished and professional-looking finish.
- Paint or Stain: If desired, you can apply a coat of paint or stain to the wooden base. Choose a color or finish that complements your overall decor. Apply the paint or stain evenly with a brush or foam brush, following the manufacturer’s instructions. Allow it to dry completely before moving on to the next step.
- Sealant (Optional): You may choose to apply a clear sealant to protect the wood and enhance its durability. This step is particularly recommended if you anticipate heavy use or exposure to liquids on your coffee table. Apply the sealant according to the manufacturer’s instructions and allow it to cure thoroughly.
- Clean and Polish: Give the glass top a final wipe with a glass cleaner and a lint-free cloth to remove any smudges or fingerprints. This will ensure that your coffee table looks pristine and inviting.
- Accessorize: Now that your coffee table is ready, you can add some personal touches and accessories to make it truly yours. Consider adding a centerpiece, books, candles, or other decorative items that reflect your taste and style.
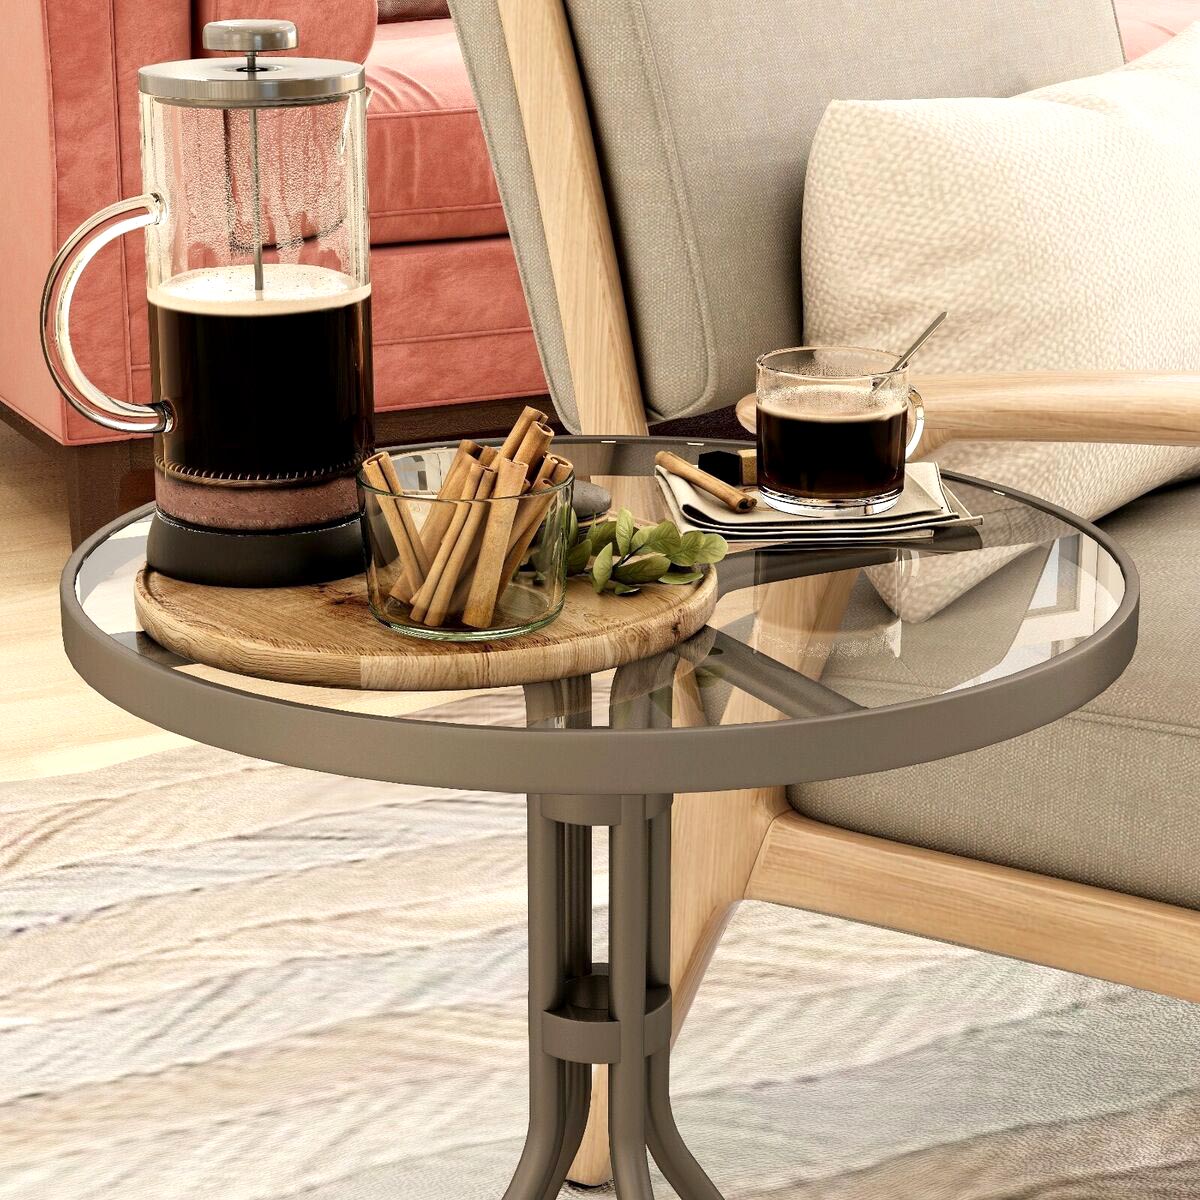
Once you’ve completed these finishing touches, step back and admire your creation. You’ve successfully built a beautiful and functional glass-top coffee table that will be the centerpiece of your living room.
Remember to clean and maintain your coffee table regularly to preserve its beauty and longevity. Ensure that any spills are promptly cleaned up and avoid placing heavy or sharp objects directly on the glass top.
Congratulations on your DIY project and enjoy the satisfaction of having a unique and stylish piece of furniture in your home!
Read more: How To Build A Modern Coffee Table
Conclusion
Building your own glass top coffee table can be a rewarding and fulfilling experience. Not only does it allow you to showcase your creativity and craftsmanship, but it also gives you the opportunity to have a custom-made piece of furniture that perfectly suits your style and needs.
Throughout the process, we covered important steps such as design and planning, gathering the necessary tools, measuring and cutting the wood, assembling the base, preparing the glass top, attaching the glass top to the base, and adding the finishing touches. Following these steps will help you create a sturdy, stylish, and functional coffee table that will be a standout piece in your living room.
Remember to prioritize safety and handle materials and tools with care throughout the construction process. It’s important to pay attention to details and take your time to ensure accurate measurements and precise cuts.
Once your glass top coffee table is complete, take a moment to appreciate your hard work and craftsmanship. Add personal touches and decorative items to make it truly your own. With proper care and maintenance, your coffee table will continue to be a beloved piece of furniture in your home for years to come.
Now it’s time to sit back, relax, and enjoy the beauty and functionality of your handmade glass top coffee table. Cheers to your DIY success!
Frequently Asked Questions about How To Build A Glass Top Coffee Table
Was this page helpful?
At Storables.com, we guarantee accurate and reliable information. Our content, validated by Expert Board Contributors, is crafted following stringent Editorial Policies. We're committed to providing you with well-researched, expert-backed insights for all your informational needs.


0 thoughts on “How To Build A Glass Top Coffee Table”