Home>Furniture & Design>Outdoor Furniture>How To Make An Outdoor Planter Box
Outdoor Furniture
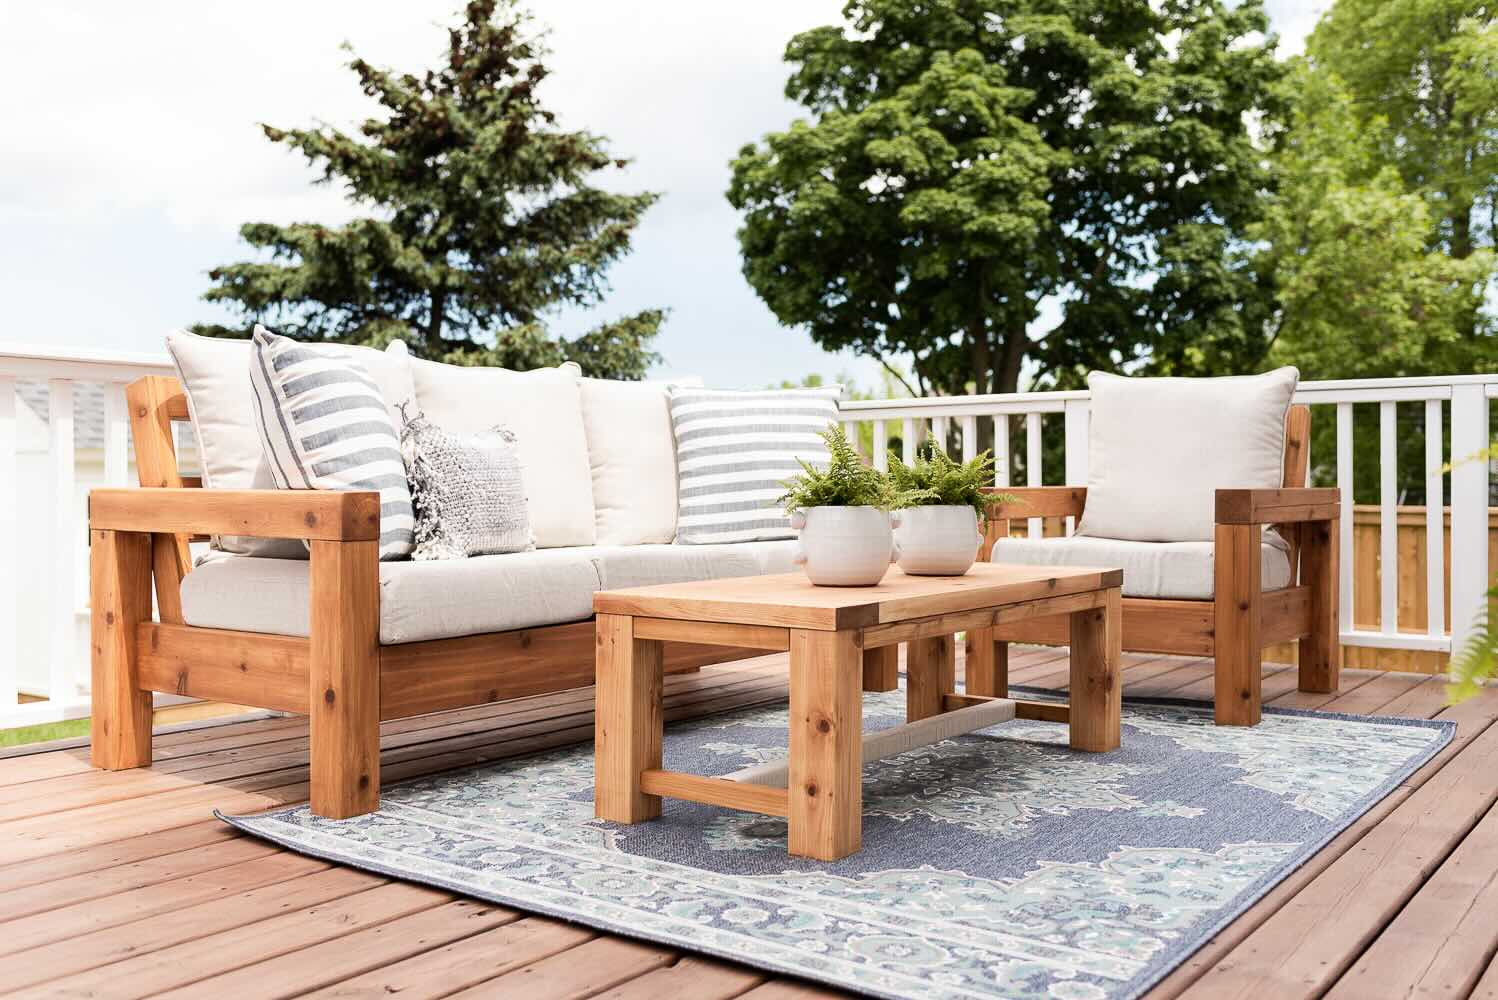
How To Make An Outdoor Planter Box
Modified: February 16, 2024
Learn how to create a beautiful outdoor planter box with our expert guide. Elevate your outdoor space with our stylish and functional outdoor furniture and design ideas.
(Many of the links in this article redirect to a specific reviewed product. Your purchase of these products through affiliate links helps to generate commission for Storables.com, at no extra cost. Learn more)
Introduction
Welcome to the world of outdoor furniture and design! Whether you're a seasoned DIY enthusiast or a novice looking to spruce up your outdoor space, building an outdoor planter box can be a rewarding and enjoyable project. Not only does it add a touch of natural beauty to your surroundings, but it also provides a practical and aesthetically pleasing way to showcase your favorite plants, flowers, or herbs.
The process of creating an outdoor planter box is not only a fun and creative endeavor but also an opportunity to personalize your outdoor living area. By customizing the size, shape, and design, you can tailor the planter box to complement your existing outdoor furniture and overall décor. Additionally, building your own planter box allows you to select the materials that best suit your style and the surrounding environment.
In this comprehensive guide, we'll walk you through the step-by-step process of constructing an outdoor planter box. From choosing the right materials to maintaining your finished creation, you'll gain valuable insights and practical tips to ensure the success of your project. So, roll up your sleeves, gather your tools, and let's embark on this fulfilling journey of creating a beautiful and functional outdoor planter box that will enhance the charm of your outdoor space for years to come.
Key Takeaways:
- Building an outdoor planter box is a fun and creative project that allows you to personalize your outdoor space while showcasing your favorite plants, flowers, or herbs. Choose durable materials and follow the step-by-step process for a rewarding DIY experience.
- Once your outdoor planter box is built, maintaining it is key to preserving its beauty and supporting the health of the plants. Regular watering, weeding, and seasonal care will ensure that your planter box remains a vibrant and integral part of your outdoor living space.
Read more: How To Make A Patio Planter Box
Choosing the Right Materials
When it comes to building an outdoor planter box, selecting the right materials is crucial for ensuring both durability and visual appeal. The choice of materials will not only determine the box’s longevity but also contribute to its overall aesthetic and ability to withstand outdoor elements. Here are some essential considerations when choosing the materials for your outdoor planter box:
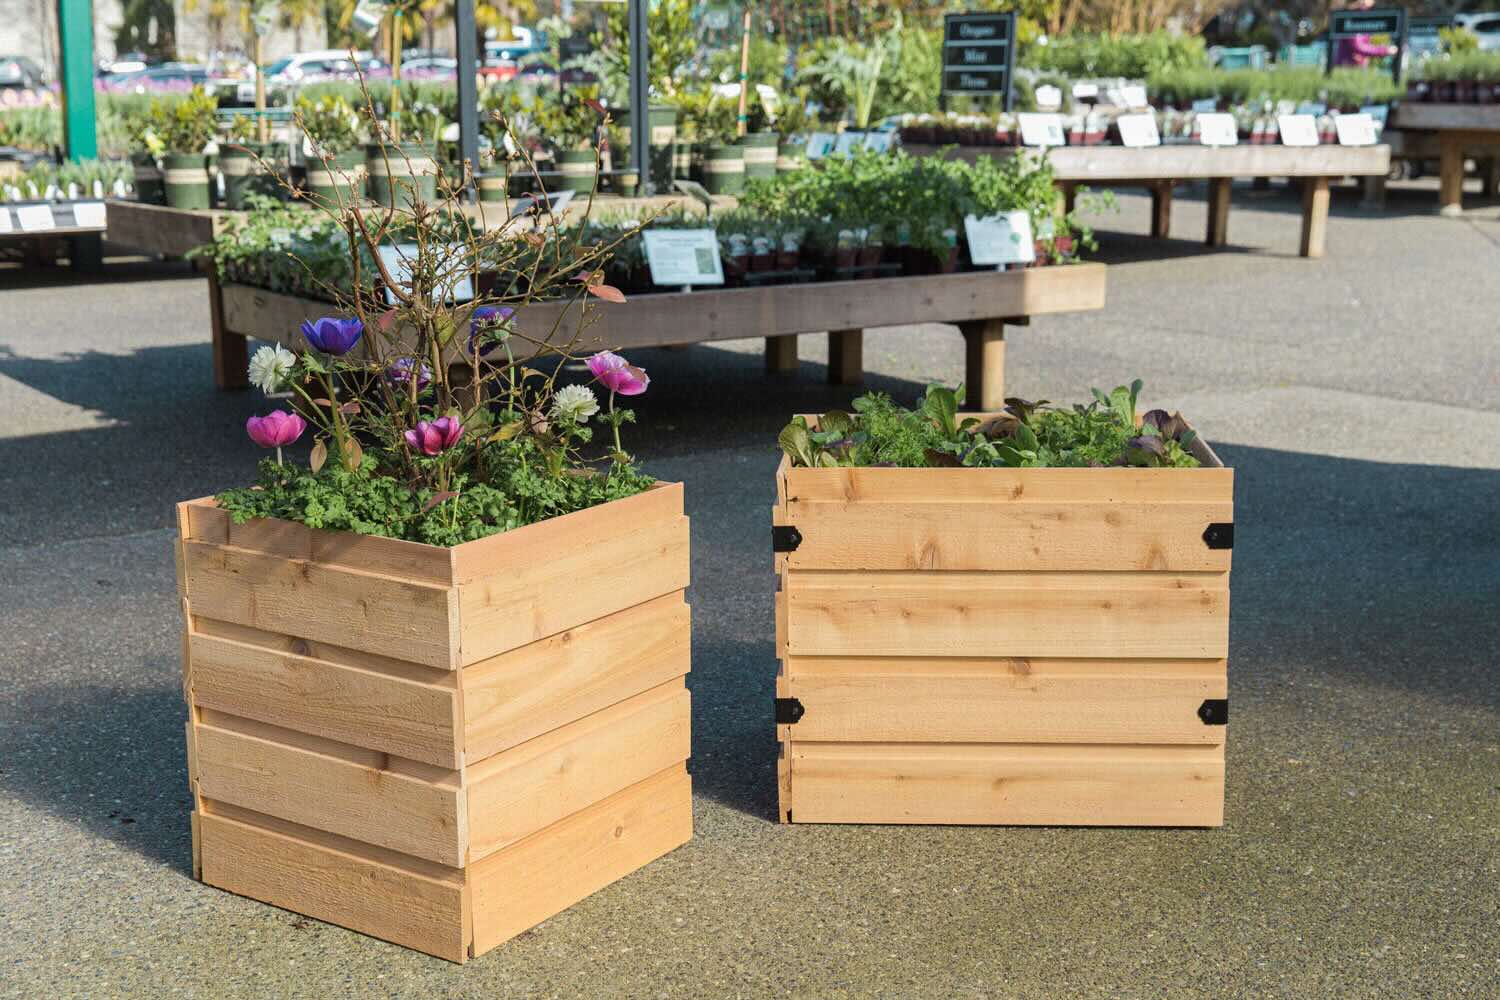
- Wood: Opt for durable, weather-resistant wood species such as cedar, redwood, or teak. These woods are naturally resistant to decay and insects, making them ideal for outdoor applications. Alternatively, pressure-treated lumber can be used, but it’s important to line the planter box with a protective barrier to prevent direct contact between the soil and the treated wood.
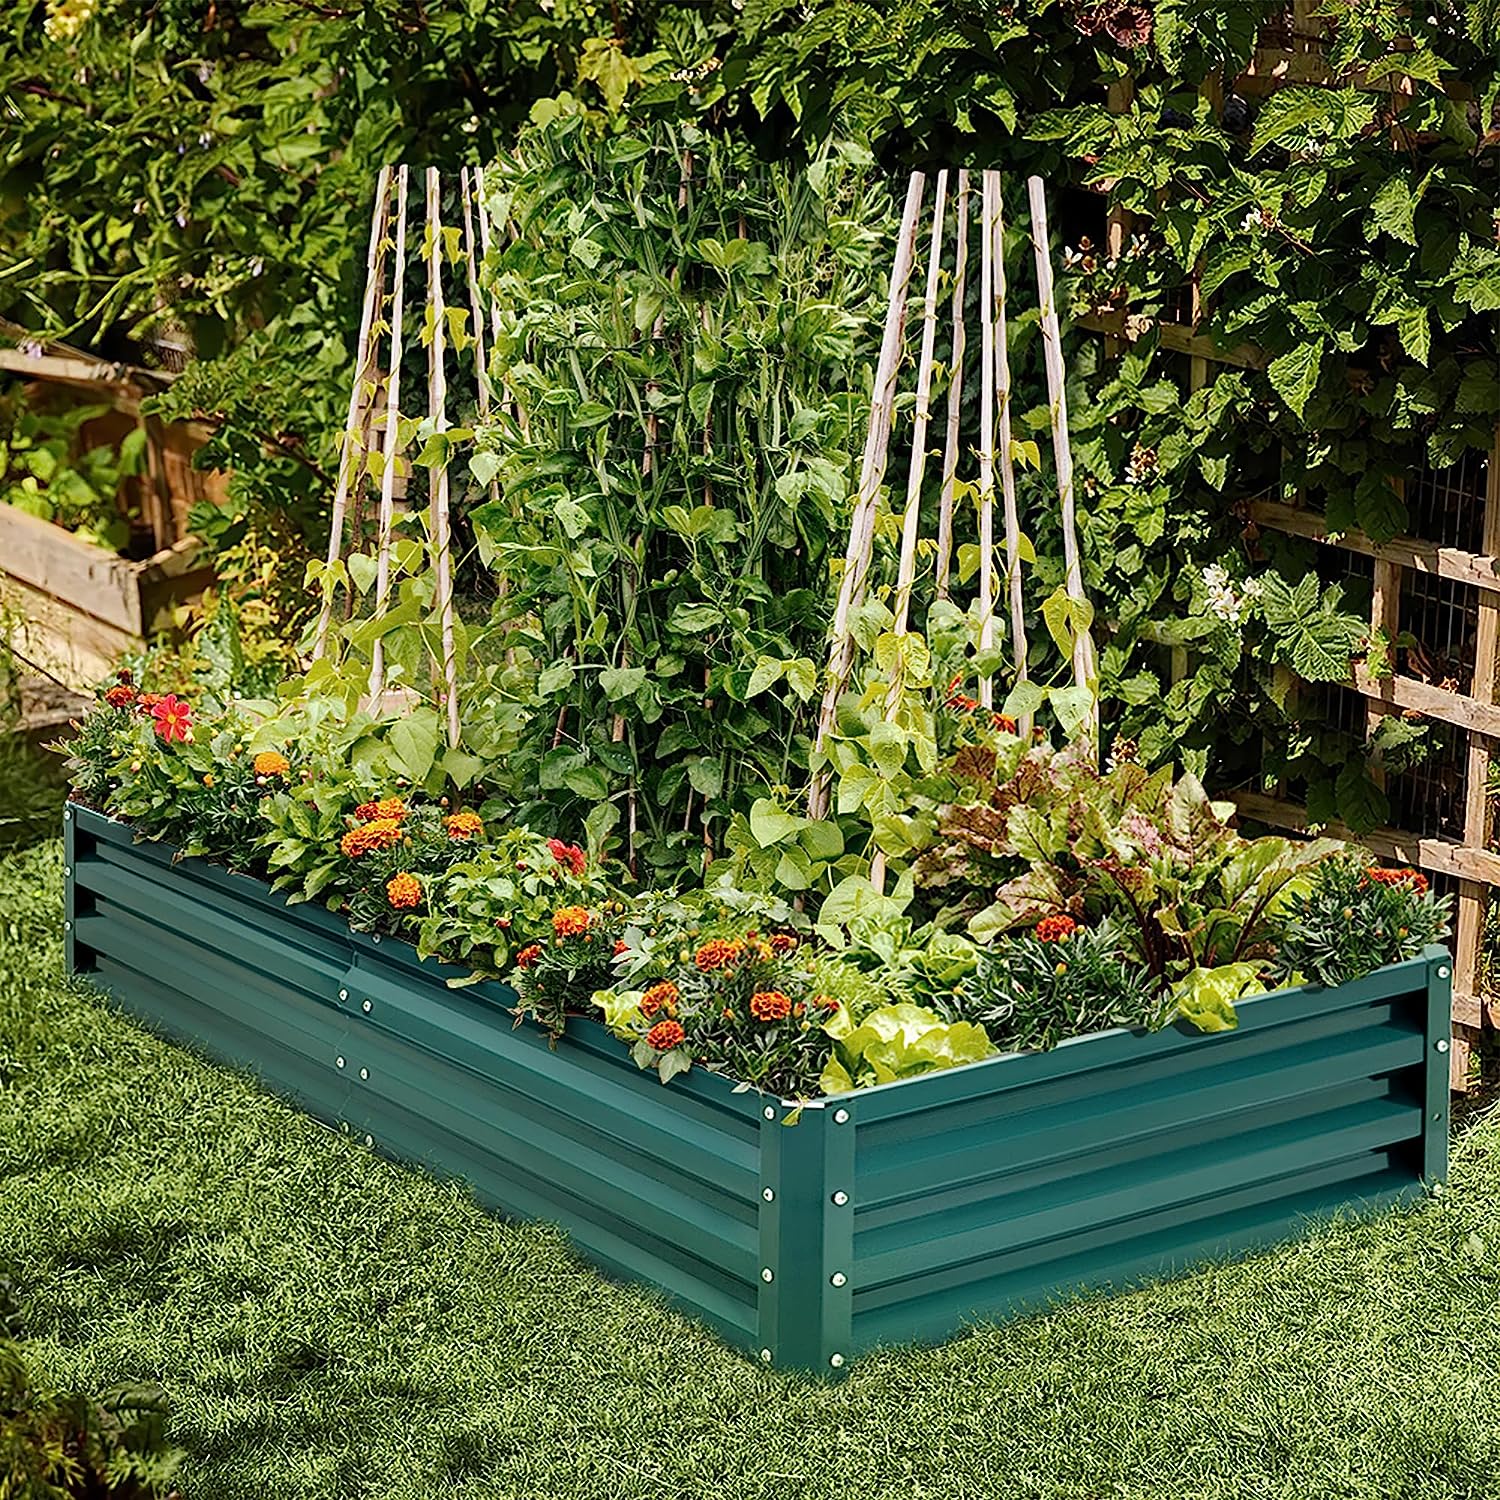
- Composite Materials: For a low-maintenance option, consider using composite lumber or PVC boards. These materials offer excellent durability and require minimal upkeep, making them suitable for long-term outdoor use.
- Hardware: Use corrosion-resistant screws, nails, or fasteners to assemble the planter box. Stainless steel or galvanized hardware is recommended to prevent rust and corrosion, ensuring the structural integrity of the box over time.
- Liner: To protect the wood from moisture and extend the planter box’s lifespan, consider lining the interior with a waterproof membrane or a geotextile fabric. This will help prevent water damage and decay, particularly at the base and inner walls of the box.
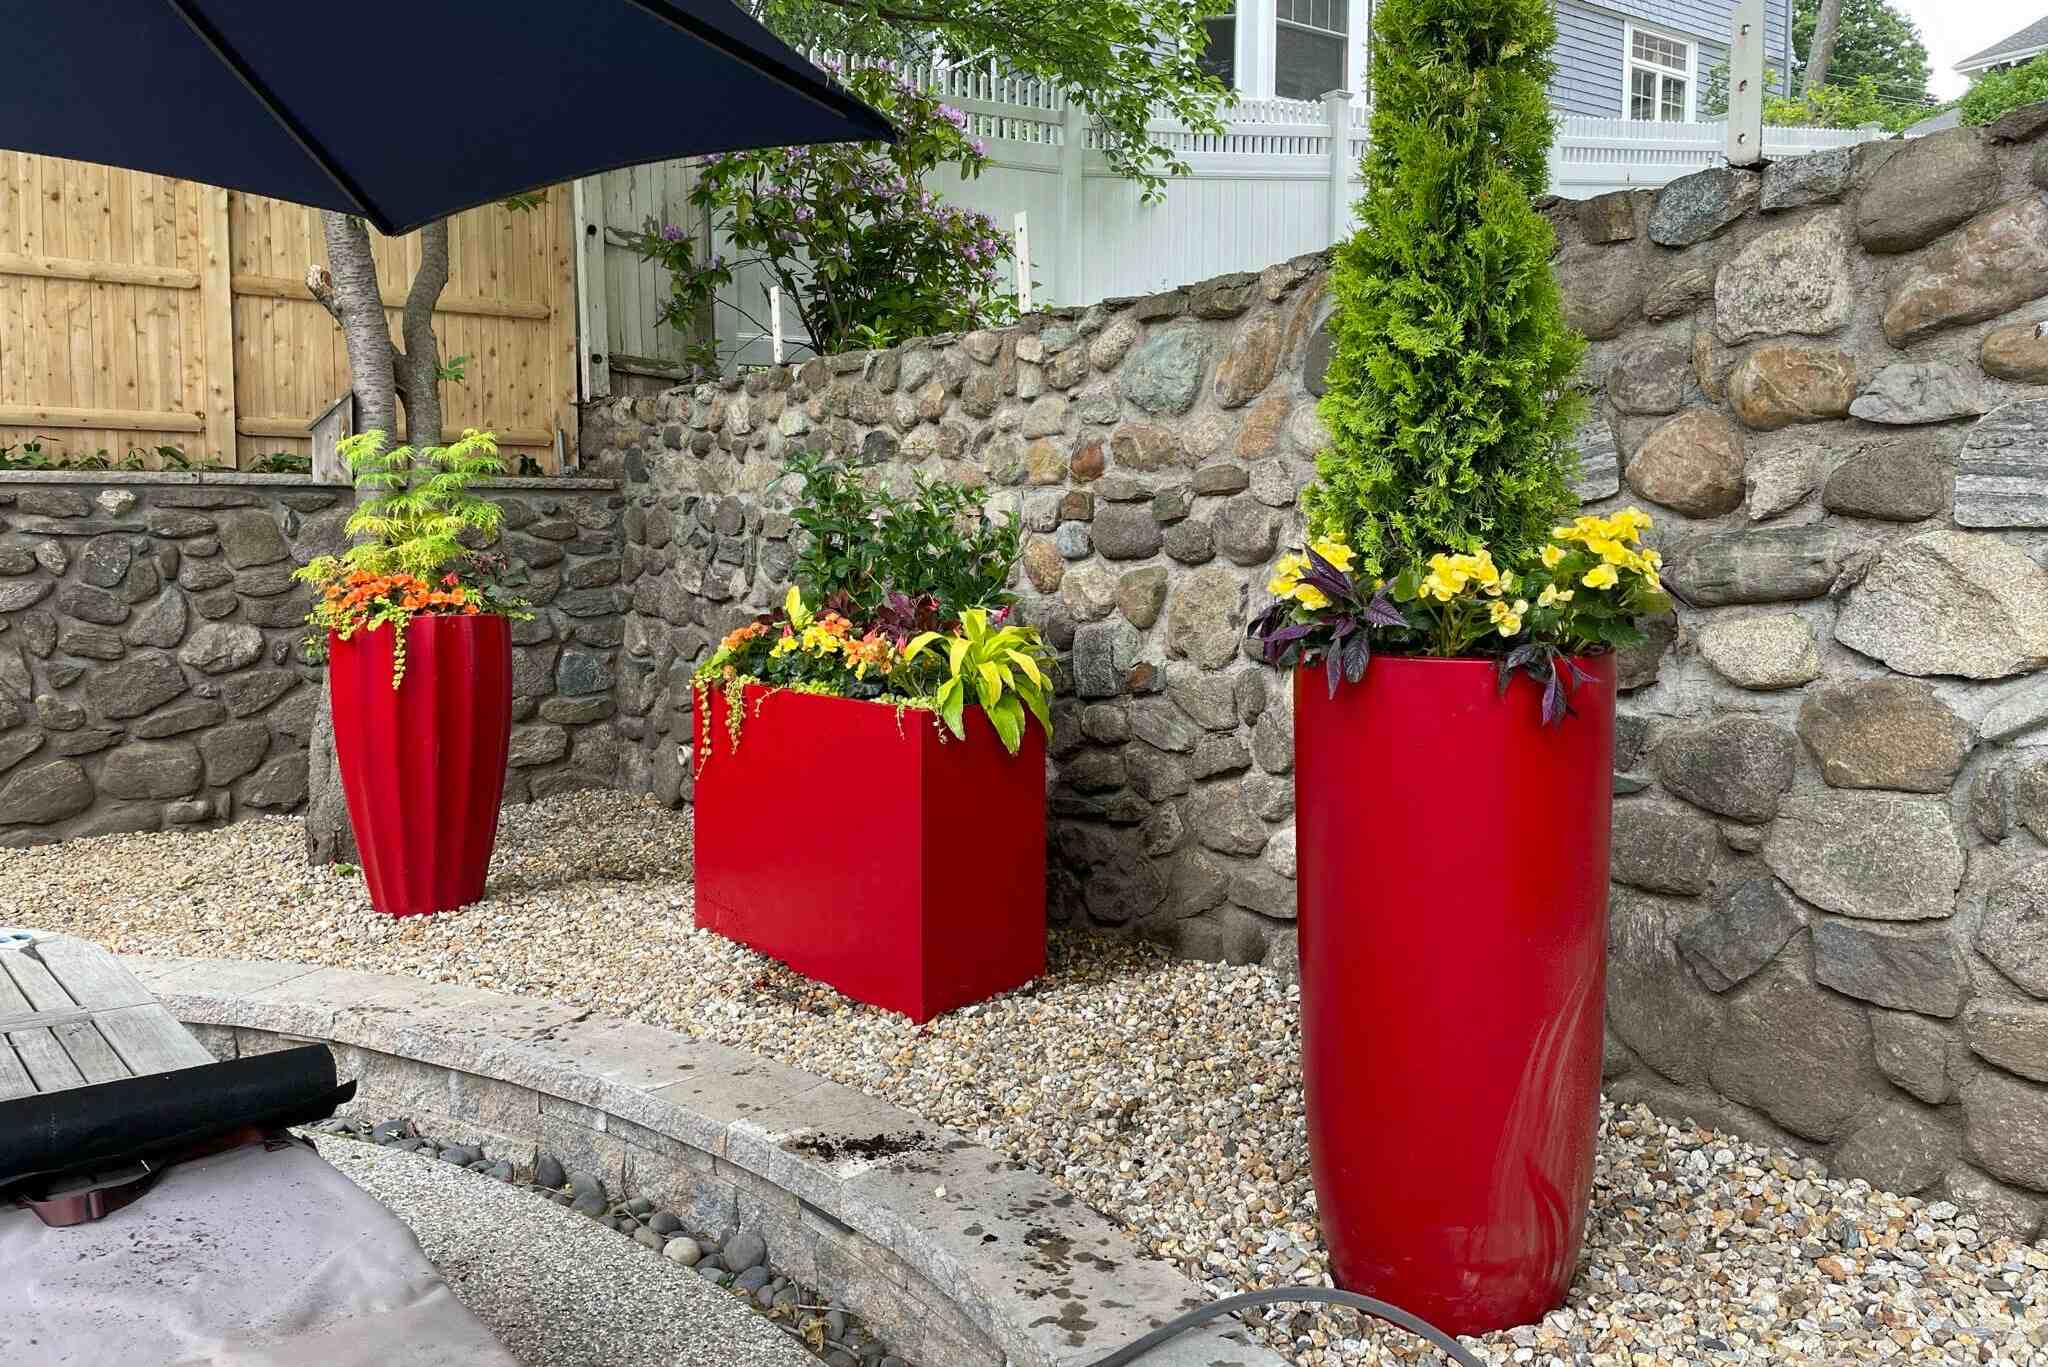
- Finish: If you opt for natural wood, choose a high-quality exterior finish or stain that provides UV protection and water resistance. This will help maintain the wood’s appearance and protect it from the effects of sun exposure and moisture.
By carefully considering these factors and selecting the appropriate materials, you can ensure that your outdoor planter box not only complements your outdoor space but also withstands the test of time, allowing you to enjoy its beauty and functionality for years to come.
Measuring and Cutting the Wood
Once you have chosen the ideal materials for your outdoor planter box, the next crucial step is to accurately measure and cut the wood to construct the box’s frame. Precision in this phase is essential to ensure that the components fit together seamlessly and the final product is structurally sound. Here’s a step-by-step guide to measuring and cutting the wood for your outdoor planter box:
- Prepare Your Workspace: Set up a spacious and well-lit work area, ideally outdoors or in a well-ventilated space, to facilitate the cutting and assembly process. Ensure that you have a stable work surface and the necessary safety equipment, including protective eyewear and ear protection.
- Take Accurate Measurements: Using a reliable tape measure, determine the dimensions of the planter box, accounting for the length, width, and height you desire. It’s essential to measure twice and mark the wood accurately before cutting to avoid errors.
- Choose the Right Saw: Depending on the thickness of the wood and your comfort level with different tools, select a suitable saw for cutting the lumber. A circular saw, miter saw, or table saw can be used to achieve precise and clean cuts.
- Cut the Wood to Size: With the measurements and markings in place, carefully cut the wood according to the specified dimensions. Take your time to ensure straight cuts, and use a guide or clamps to maintain accuracy and safety during the cutting process.
- Label and Organize the Components: After cutting the wood, label each piece to indicate its intended location within the planter box. This will streamline the assembly process and minimize confusion when it’s time to put the components together.
By meticulously measuring and cutting the wood with precision, you’ll lay the foundation for a well-constructed and visually appealing outdoor planter box. This attention to detail at the outset will significantly contribute to the success of the project and the overall satisfaction with the finished product. With the components ready, it’s time to move on to the exciting phase of assembling the planter box.
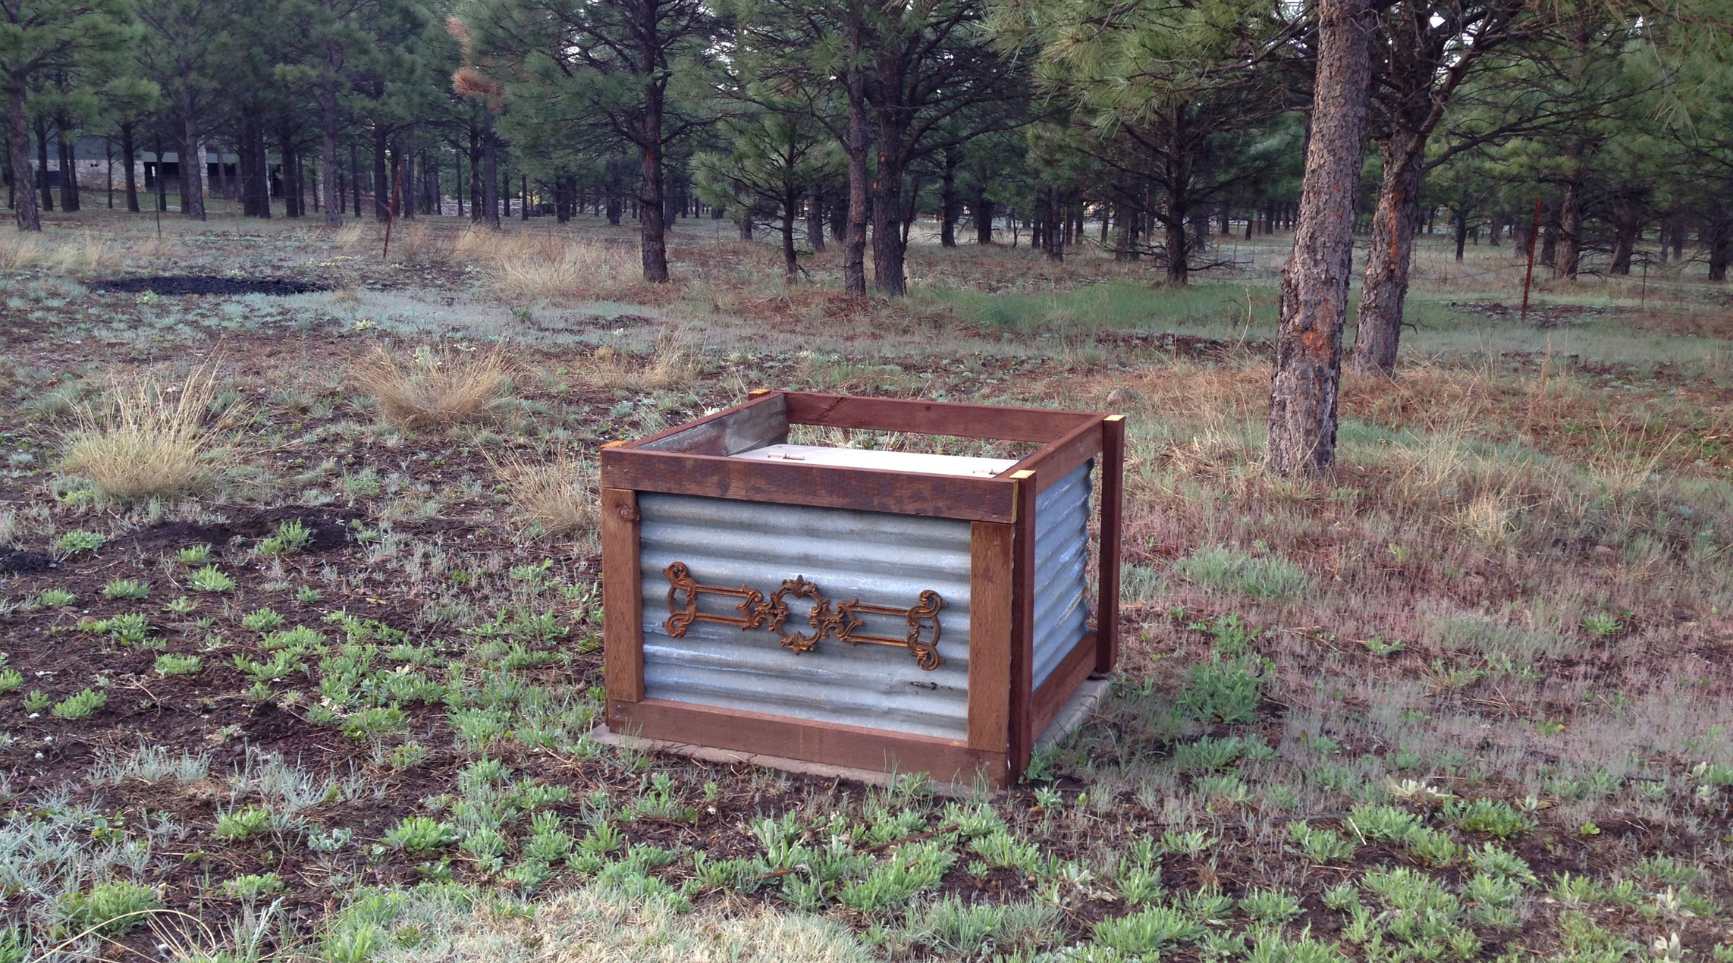
Assembling the Planter Box
With the wood cut to the precise dimensions and the components organized, it’s time to bring your outdoor planter box to life through the assembly process. This phase is where individual pieces come together to form the structure, and attention to detail is crucial to ensure a sturdy and visually appealing result. Here’s a step-by-step guide to assembling your outdoor planter box:
- Arrange the Components: Lay out the cut wood pieces in the designated work area, ensuring that all the labeled components are readily accessible. This will streamline the assembly process and allow you to visualize how the planter box will come together.
- Pre-Drill and Fasten: To prevent splitting and ensure secure connections, pre-drill pilot holes in the wood before fastening the pieces together. Use corrosion-resistant screws or nails to join the components, following the predetermined assembly plan and ensuring that the box remains square and level as you progress.
- Construct the Frame: Begin by assembling the frame of the planter box, connecting the sides, ends, and bottom according to the predetermined measurements. Check for squareness and alignment at each stage to maintain the box’s structural integrity.
- Add Reinforcements: Depending on the size of the planter box, consider adding corner braces or additional supports to enhance the box’s stability and longevity. This is particularly important for larger or taller planter boxes that may experience greater stress from the weight of the soil and plants.
- Inspect and Adjust: Once the assembly is complete, inspect the planter box for any gaps, misalignments, or loose connections. Make any necessary adjustments and ensure that the box is solid and well-constructed before proceeding to the next phase.
By following these steps and taking care to assemble the planter box with precision and attention to detail, you’ll create a durable and visually appealing outdoor feature that will enhance your outdoor space. With the frame assembled, the next stage involves adding a protective finish to safeguard the wood and enhance its natural beauty.
When building an outdoor planter box, make sure to use weather-resistant materials such as cedar or redwood to prevent rot and decay.
Adding a Protective Finish
Once the frame of your outdoor planter box is assembled, applying a protective finish is essential to safeguard the wood from outdoor elements and enhance its longevity. The right finish not only protects the wood from moisture, UV rays, and general wear and tear but also adds a touch of visual appeal to the planter box. Here’s a guide to adding a protective finish to your outdoor planter box:
- Sand the Surface: Before applying the finish, lightly sand the entire exterior and interior surfaces of the planter box. This will smooth out any rough spots, remove splinters, and prepare the wood to absorb the finish evenly.
- Select the Appropriate Finish: Choose a high-quality exterior wood finish or stain that is specifically formulated for outdoor applications. Look for products that offer UV protection, water resistance, and durability to ensure long-lasting results.
- Apply the Finish: Using a brush, roller, or sprayer, apply the chosen finish to the planter box, following the manufacturer’s instructions. Ensure even coverage and pay particular attention to the end grains and joints, where moisture can penetrate the wood more easily.
- Allow for Proper Drying: Once the finish is applied, allow the planter box to dry thoroughly in a well-ventilated area. Multiple coats may be necessary to achieve the desired level of protection and aesthetic appeal, so follow the recommended drying times between coats.
- Reapply as Needed: To maintain the protective qualities of the finish, periodically inspect the planter box and reapply the finish as needed. This will help preserve the wood’s integrity and appearance over time, ensuring that your outdoor planter box remains a beautiful and functional addition to your outdoor space.
By taking the time to apply a protective finish to your outdoor planter box, you’ll enhance its resilience and beauty, allowing it to withstand the rigors of the outdoors while maintaining its visual appeal. With the finish applied, the next step involves filling the planter box with soil and plants to bring it to life with vibrant greenery and blooms.
Read more: What To Plant In Planter Boxes
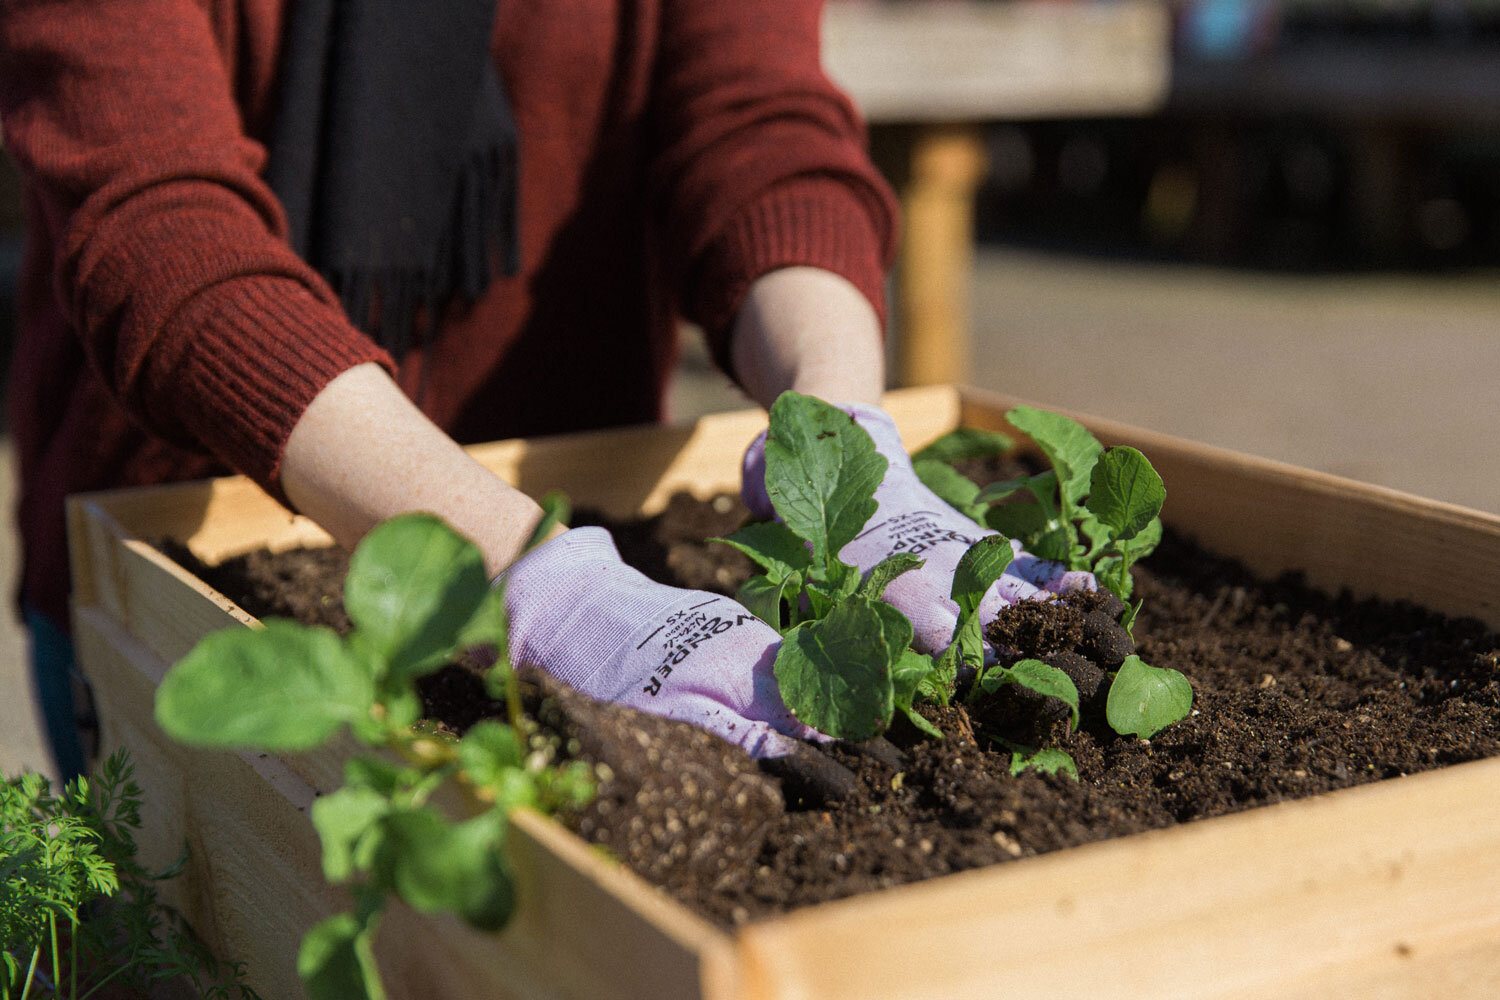
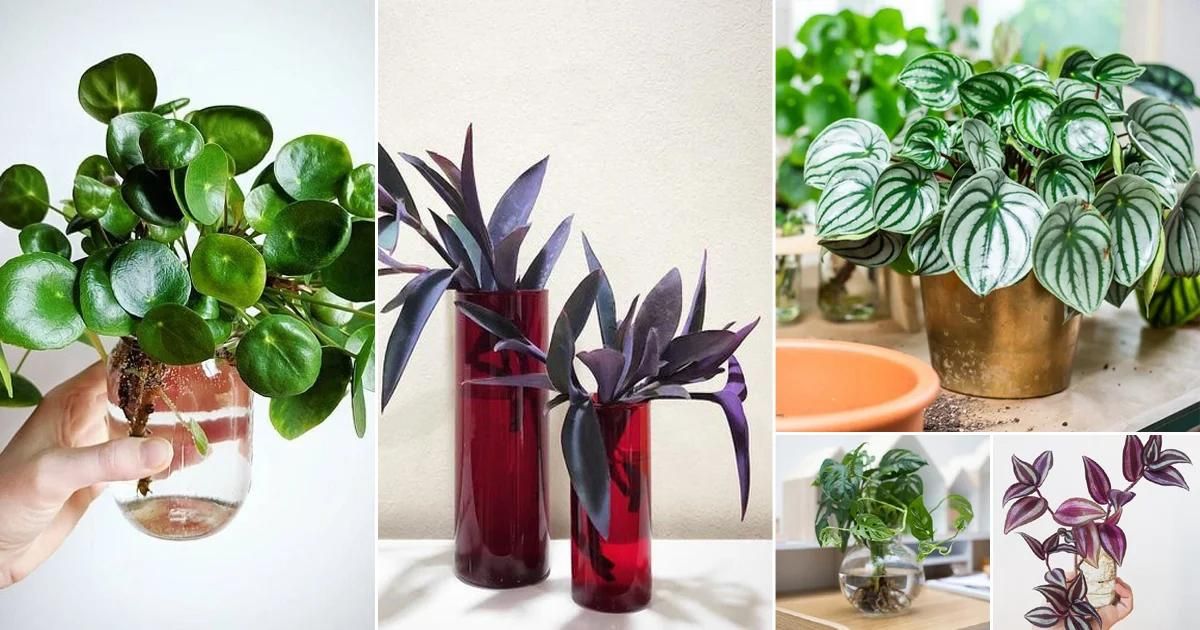
Filling the Planter Box
With the frame assembled and protected by a durable finish, it’s time to breathe life into your outdoor planter box by filling it with the essential components that will support the growth of your chosen plants. From selecting the right soil to arranging the plants strategically, each step contributes to the vibrancy and health of your planter box garden. Here’s a comprehensive guide to filling your planter box:
- Choose Quality Potting Mix: Select a high-quality potting mix that is well-draining and nutrient-rich. Avoid using regular garden soil, as it may compact and hinder proper drainage within the planter box.
- Add Drainage Material: Place a layer of coarse gravel or horticultural charcoal at the bottom of the planter box to facilitate drainage and prevent waterlogged soil, which can lead to root rot and other issues.
- Fill with Potting Mix: Fill the planter box with the potting mix, leaving enough space to accommodate the root balls of the plants you intend to include. Level the surface of the soil evenly, ensuring that it reaches the appropriate height within the box.
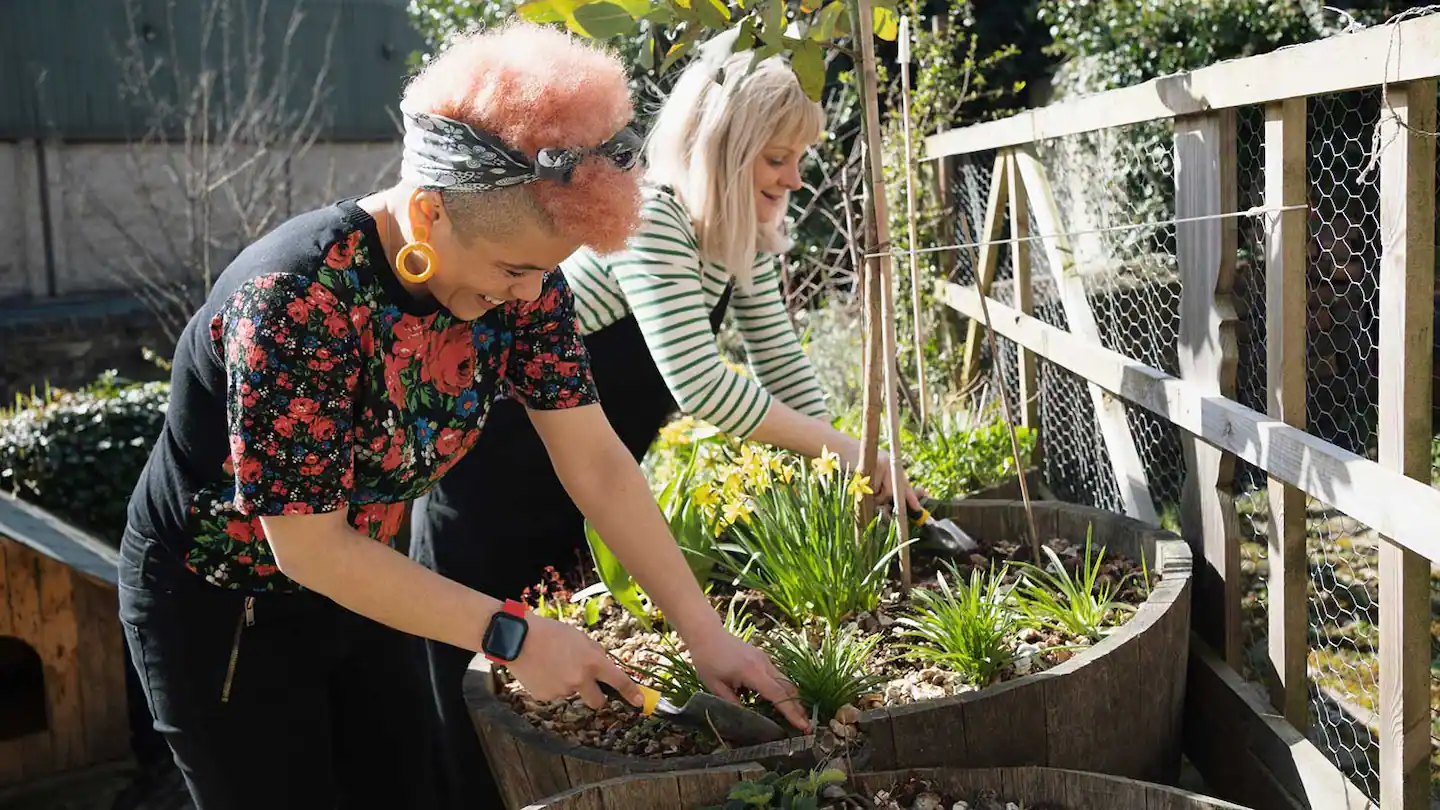
- Arrange Your Plants: Carefully arrange your chosen plants within the planter box, considering their growth habits, mature sizes, and aesthetic appeal. Position taller plants towards the back or center and cascading or trailing varieties towards the edges to create visual interest.
- Water and Mulch: After planting, water the soil thoroughly to settle it around the roots, and apply a layer of organic mulch to conserve moisture, suppress weeds, and regulate soil temperature within the planter box.
By following these steps and filling your planter box thoughtfully and strategically, you’ll create an inviting and flourishing display of greenery that enhances your outdoor space. With the planter box filled and the plants thriving, the final phase involves maintaining your creation to ensure its long-term health and beauty.
Maintaining Your Outdoor Planter Box
After the successful completion of your outdoor planter box, ongoing maintenance is essential to preserve its beauty and functionality while supporting the health of the plants it houses. By incorporating regular care and preventive measures, you can ensure that your planter box continues to enhance your outdoor space for years to come. Here’s a comprehensive guide to maintaining your outdoor planter box:
- Watering: Monitor the moisture levels in the planter box and water the plants as needed, considering factors such as weather conditions, plant types, and soil moisture. Avoid overwatering, as it can lead to root rot, and ensure that the planter box has adequate drainage to prevent waterlogging.
- Weeding and Pruning: Routinely inspect the planter box for weeds and remove them promptly to prevent competition for nutrients and space. Additionally, prune and deadhead the plants as necessary to maintain their shape and encourage healthy growth.
- Fertilization: Depending on the types of plants in the planter box, consider fertilizing them periodically with a balanced, slow-release fertilizer to promote robust growth and vibrant blooms. Follow the specific fertilization requirements of each plant species for optimal results.
- Inspect for Pests and Diseases: Regularly check the plants for signs of pests or diseases, such as discoloration, wilting, or unusual spots. Address any issues promptly to prevent the spread of infestations and maintain the overall health of the planter box garden.
- Seasonal Care: Adjust the care regimen of the planter box according to seasonal changes, such as protecting sensitive plants from frost in colder months and providing adequate shade and hydration during hot summers.
- Inspect the Planter Box: Periodically assess the structural integrity of the planter box, checking for signs of wear, loose components, or damage. Address any maintenance or repair needs promptly to prolong the box’s lifespan and functionality.
By incorporating these maintenance practices into your routine, you’ll ensure that your outdoor planter box remains a vibrant and integral part of your outdoor living space. With consistent care and attention, your planter box will continue to thrive, providing a captivating display of nature’s beauty while enhancing the ambiance of your outdoor environment.
Frequently Asked Questions about How To Make An Outdoor Planter Box
Was this page helpful?
At Storables.com, we guarantee accurate and reliable information. Our content, validated by Expert Board Contributors, is crafted following stringent Editorial Policies. We're committed to providing you with well-researched, expert-backed insights for all your informational needs.


0 thoughts on “How To Make An Outdoor Planter Box”