Home>Furniture>Outdoor Furniture>How To Make A Patio Planter Box
Outdoor Furniture
How To Make A Patio Planter Box
Modified: October 18, 2024
Learn how to make a stylish and functional patio planter box for your outdoor furniture. Enhance your outdoor space with this DIY project and add a touch of greenery.
(Many of the links in this article redirect to a specific reviewed product. Your purchase of these products through affiliate links helps to generate commission for Storables.com, at no extra cost. Learn more)
Introduction
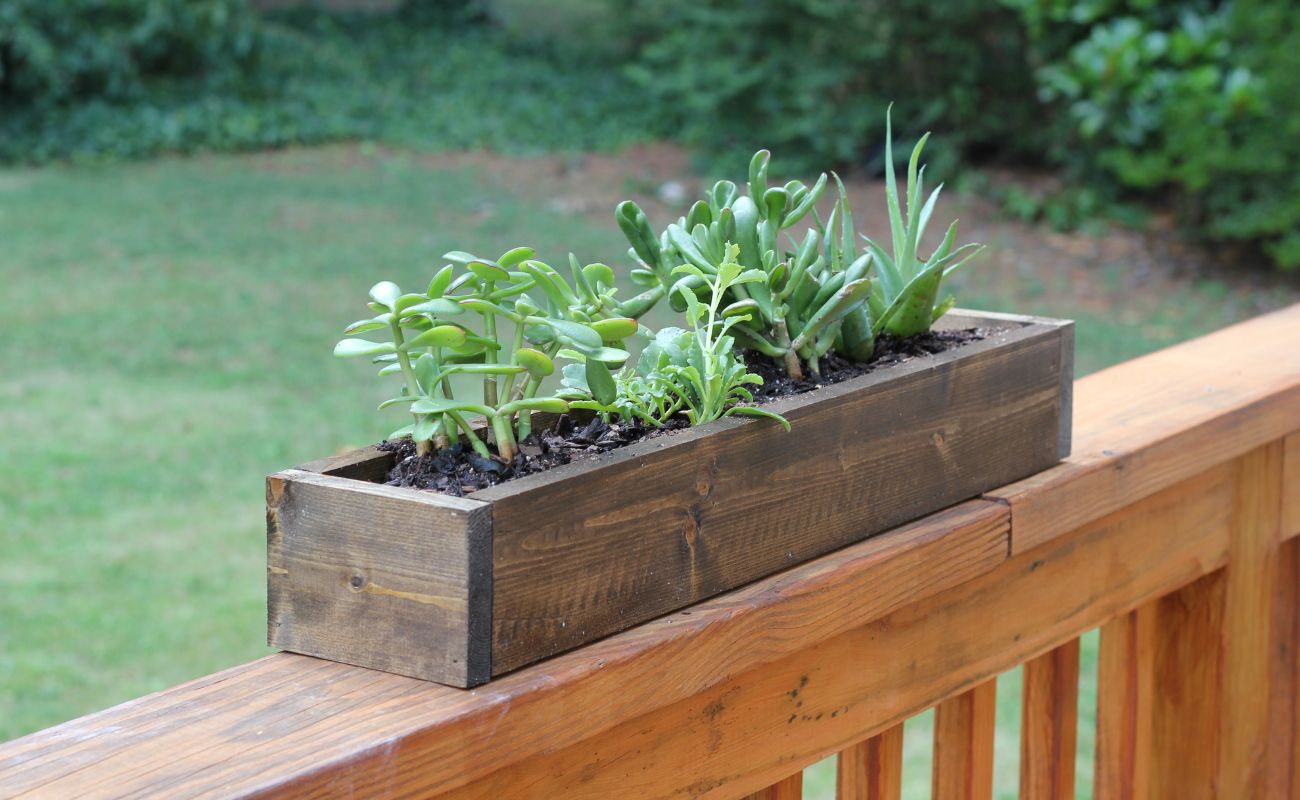
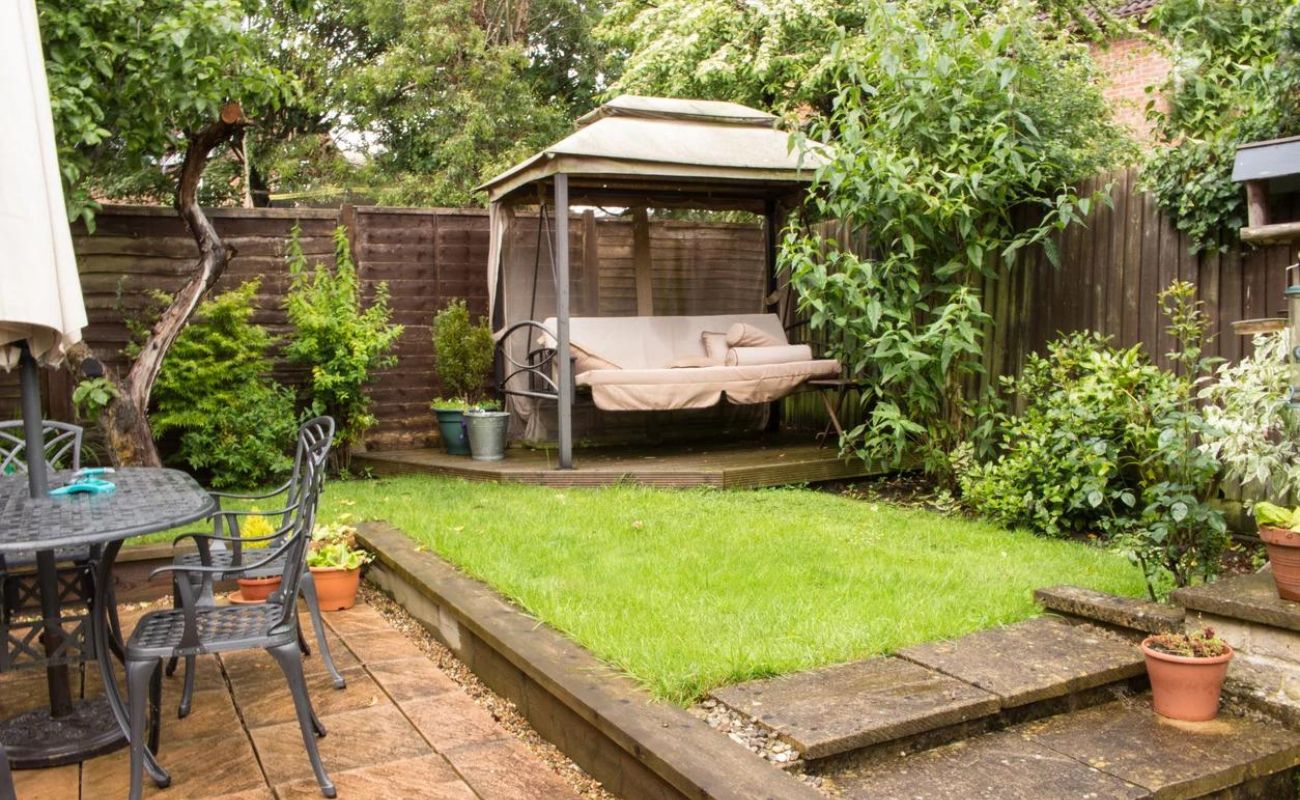
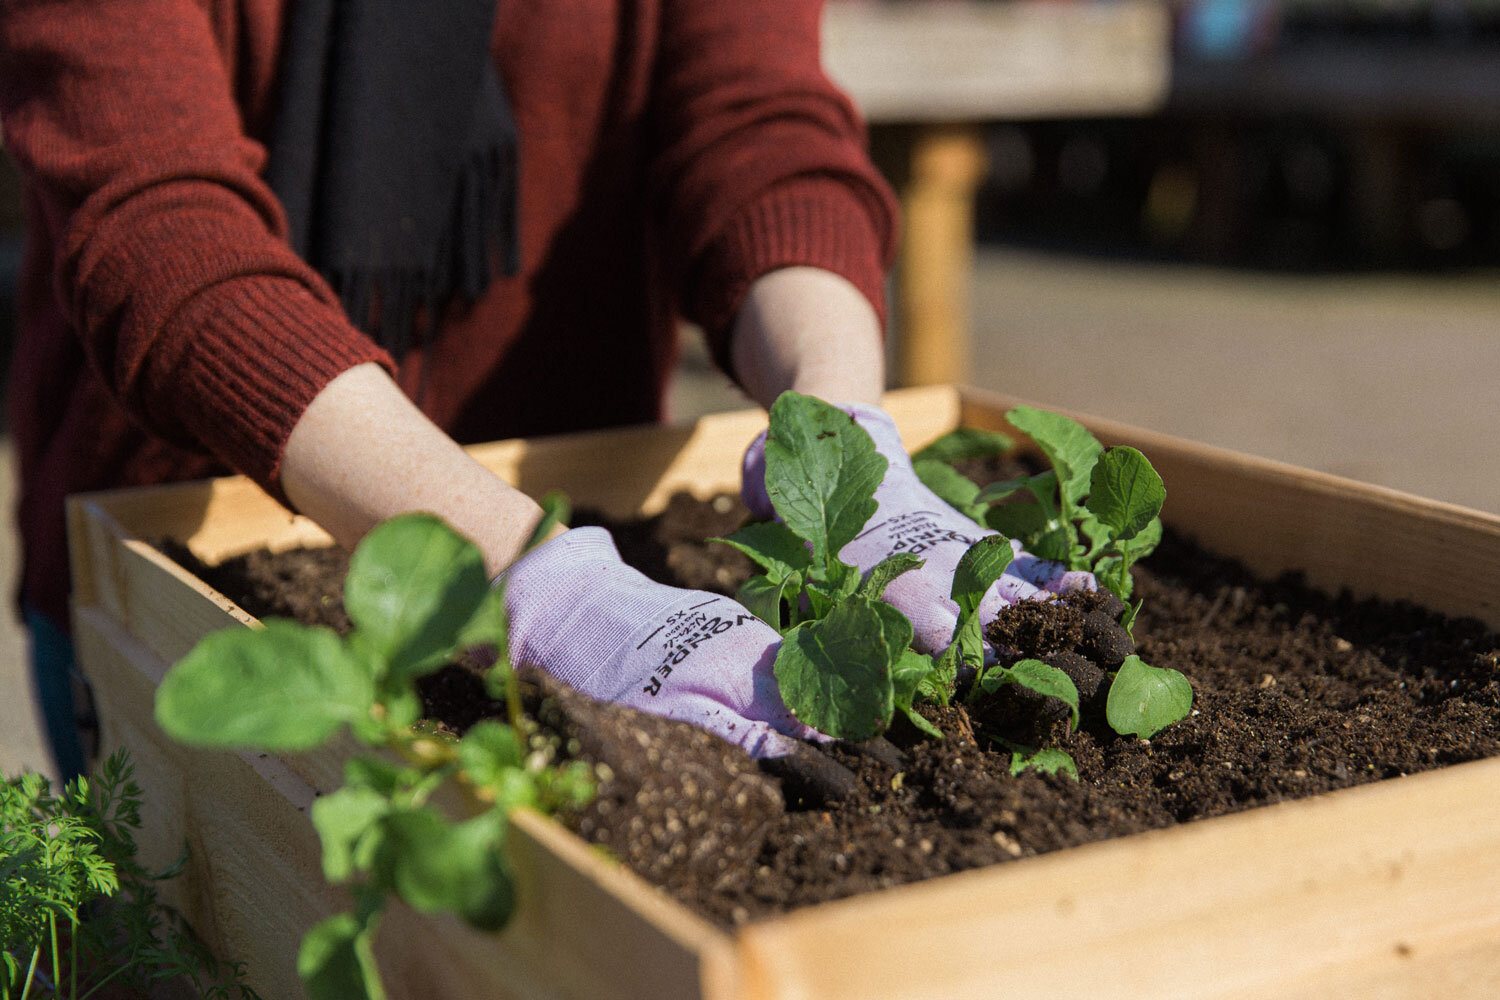
Welcome to our guide on how to make a patio planter box. If you’re looking to add a touch of nature and beauty to your outdoor space, a planter box is the perfect solution. Whether you have a spacious patio or a small balcony, a planter box can transform any area into a vibrant garden.
A patio planter box not only adds aesthetic appeal to your outdoor area but also provides a practical way to grow your favorite plants, herbs, or vegetables right at home. It offers you the flexibility to choose the types of plants you want to grow, control the soil conditions, and easily move the planter box as needed.
In this comprehensive guide, we will walk you through the step-by-step process of making a patio planter box. Whether you’re a seasoned DIY enthusiast or a beginner, you’ll find the instructions easy to follow and the materials readily available for purchase at hardware stores or online.
Before we dive into the details, let’s take a look at the materials you’ll need to get started.
Key Takeaways:
- You can easily make a patio planter box to add beauty and grow your favorite plants. Just follow the steps to measure, cut, assemble, and add finishing touches for a personalized garden oasis.
- After creating your planter box, enjoy planting and maintaining your plants. With proper care, your planter box will bring joy and tranquility to your outdoor space for years to come.
Read more: How To Make An Outdoor Planter Box
Materials Needed
To make a patio planter box, you’ll need the following materials:
- Wood boards (cedar or redwood recommended) – These will serve as the main structure of the planter box. The size and quantity of the boards will depend on the dimensions of the planter box you want to build.
- Screws – Use rust-resistant screws that are long enough to securely attach the boards together.
- Drill – A drill will be used to create pilot holes and screw in the screws.
- Saw – You’ll need a saw to cut the wood boards to the desired lengths.
- Measuring tape – Use a measuring tape to accurately measure the dimensions of the planter box.
- Sandpaper – Sandpaper will help smooth the edges and surfaces of the wood boards.
- Liner – Depending on your preference, you can use a plastic liner or burlap to line the inside of the planter box to protect the wood and retain moisture.
- Soil and plants – Choose a high-quality potting soil and select the plants, herbs, or vegetables you want to grow in your planter box.
- Optional: Stain or paint – If you want to add a splash of color or protect the wood, you can opt to stain or paint the planter box.
Now that you have gathered the necessary materials, let’s move on to the first step: measuring and cutting the wood.
Step 1: Measure and Cut the Wood
The first step in making a patio planter box is to measure and cut the wood boards to the appropriate lengths. This will depend on the size of the planter box you want to build and the available space on your patio or balcony.
Start by measuring the desired length, width, and height of the planter box. This will determine the dimensions of the wood boards you need to cut. It’s important to have precise measurements to ensure that the planter box is sturdy and fits your space perfectly.
Once you have the measurements, use a saw to cut the wood boards accordingly. Make sure to wear safety goggles and take caution while cutting the boards. It’s a good idea to double-check the measurements before making any cuts to avoid any mistakes.
If you prefer, you can also ask for assistance and have the wood boards pre-cut at the hardware store to save time and ensure accuracy.
After cutting the boards, use sandpaper to smooth any rough edges or surfaces. This will give the planter box a polished and professional look.
Now that your wood boards are measured and cut to the appropriate sizes, it’s time to move on to the next step: assembling the sides of the planter box.
Step 2: Assemble the Sides of the Planter Box
Now that you have your cut wood boards, it’s time to start assembling the sides of the planter box. This is where you’ll begin to see your planter box take shape.
Begin by laying out the wood boards on a flat surface, making sure they are aligned properly. Use clamps to hold the boards together securely, creating the sides of the planter box.
Next, using a drill, create pilot holes along the edges where the boards will be joined. This will prevent the wood from splitting when you insert the screws.
Once the pilot holes are ready, you can start attaching the boards together with screws. Make sure to position the boards at right angles to each other to form a sturdy structure. Tighten the screws until they are snug but be careful not to overtighten and strip the wood.
Continue this process until all four sides of the planter box are assembled, ensuring that the boards are securely joined together. Take your time and check for any gaps or misalignments, adjusting as necessary.
With the sides of the planter box complete, it’s time to move on to the next step: attaching the bottom of the planter box.
Step 3: Attach the Bottom of the Planter Box
Now that the sides of the planter box are assembled, it’s time to attach the bottom. This step will provide stability and create the base for your plants to thrive.
First, measure the dimensions of the inside of the planter box. This will determine the size of the bottom board that you’ll need to cut. Ensure that the bottom board fits snugly within the assembled sides of the planter box.
Once you have the correct measurements, cut the bottom board using a saw. Remember to wear safety goggles and follow proper safety procedures.
With the bottom board cut, place it inside the assembled sides of the planter box. Ensure that it sits evenly and is aligned with the edges of the box.
Now, use a drill to create pilot holes along the edges of the bottom board. This will prevent the wood from splitting when you attach it to the sides of the planter box.
Next, secure the bottom board to the sides of the planter box by inserting screws through the pilot holes. Be careful not to overtighten, as this may damage the wood or cause misalignment.
Once the bottom is securely attached, check for any gaps or unevenness. Make any necessary adjustments to ensure a solid and level base for your planter box. Sand the edges if needed for a smooth finish.
Great job! With the bottom of the planter box in place, it’s time to move on to the next step: adding finishing touches to enhance the appearance and durability of the planter box.
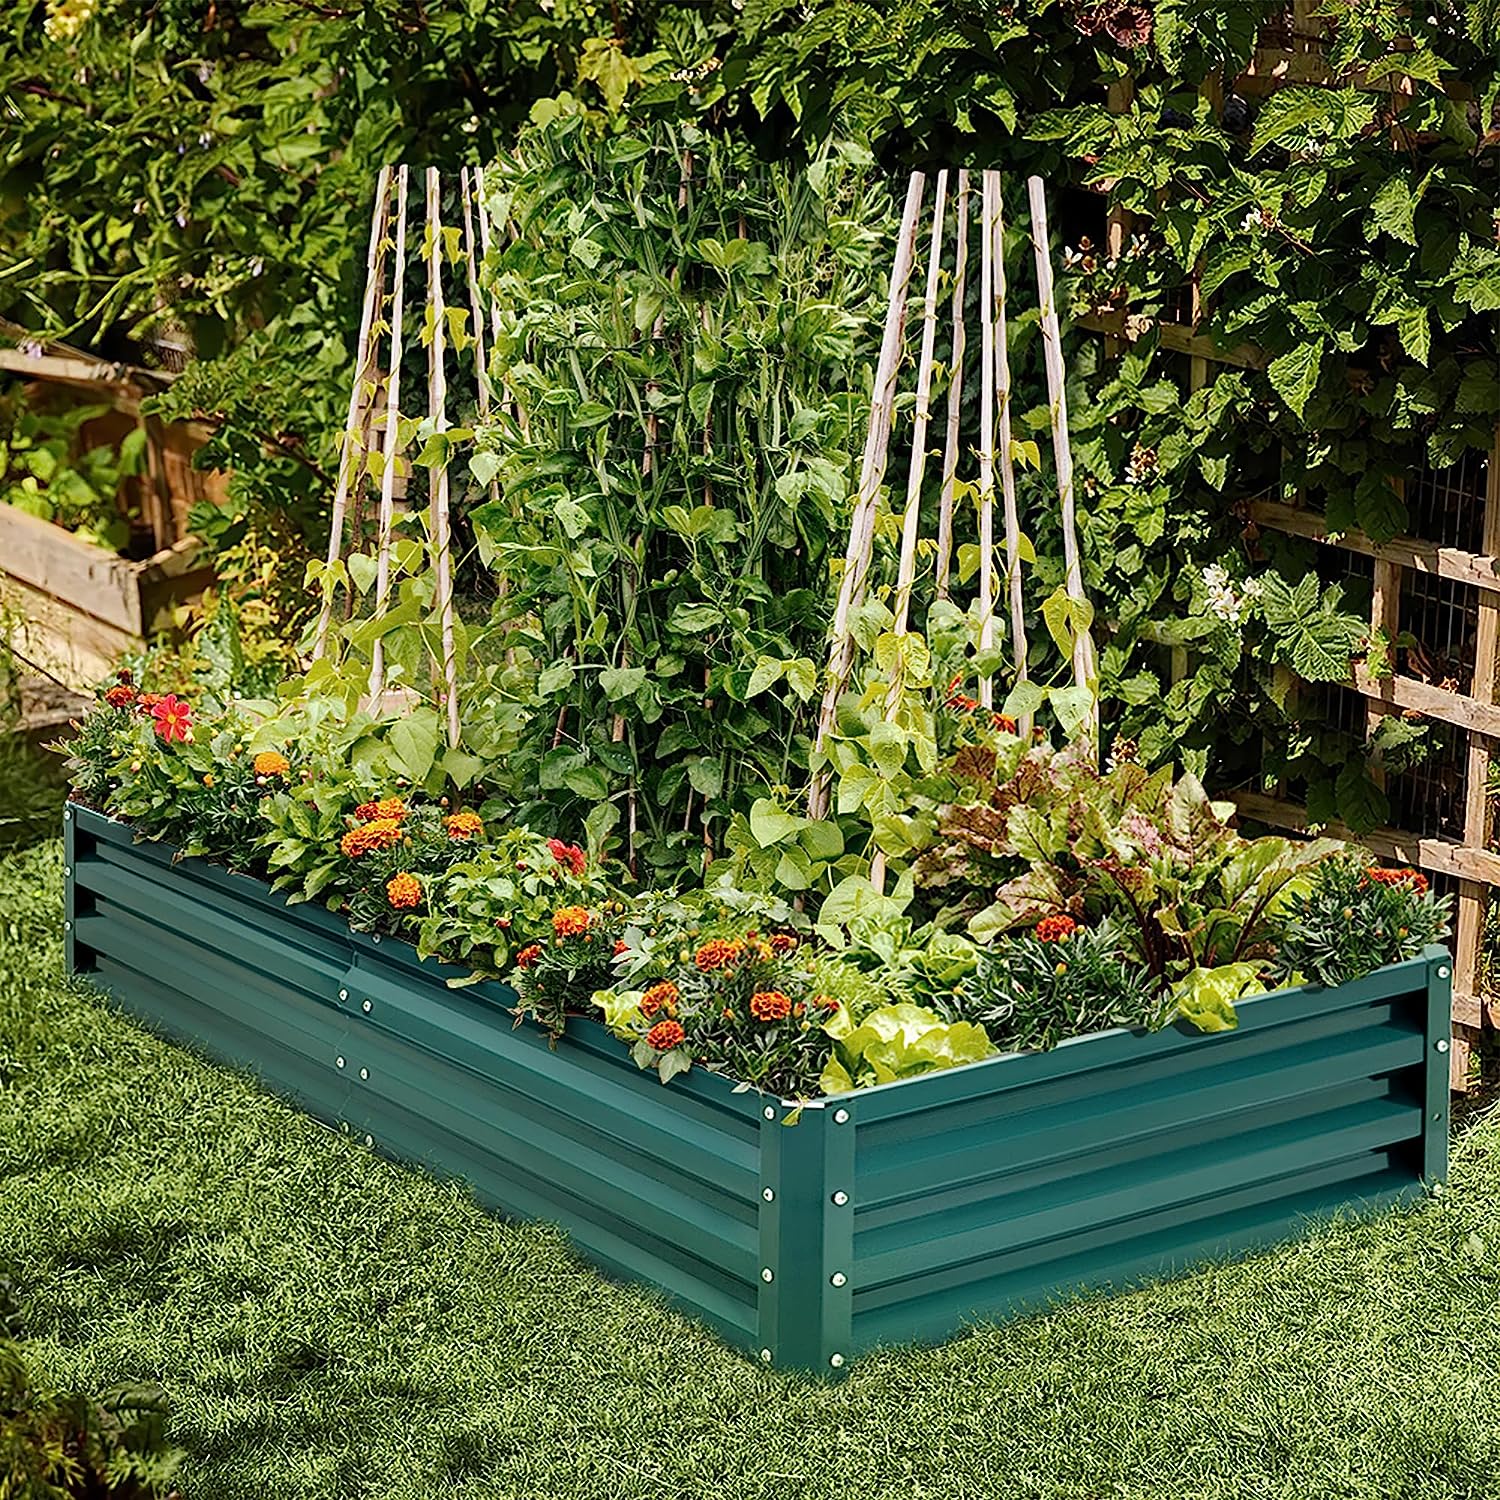
When building a patio planter box, make sure to use weather-resistant materials such as cedar or redwood to ensure durability and longevity.
Read more: What To Plant In Planter Boxes
Step 4: Add Finishing Touches
Now that the structure of your planter box is complete, it’s time to add some finishing touches to enhance its appearance and durability. These steps will give your planter box a polished and professional look.
Start by sanding the entire planter box, including the sides and bottom, to ensure a smooth surface. This will help remove any rough edges or splinters. Pay special attention to the corners and edges to achieve a clean finish.
If you desire, you can choose to stain, paint, or seal the wood to protect it from the elements and add a pop of color. Select a stain or paint that is suitable for outdoor use and matches your personal style. Apply the stain or paint following the manufacturer’s instructions, and allow it to dry completely before proceeding.
After the stain or paint has dried, consider adding a waterproof liner to the inside of the planter box. This will help protect the wood from moisture and extend its lifespan. You can use a plastic liner or burlap to line the inside, cutting it to fit neatly within the box. Make sure to poke drainage holes if you’re using a plastic liner to prevent waterlogging.
Additionally, you may choose to install feet or casters on the bottom of the planter box. This will allow for better drainage, prevent the wood from sitting directly on damp surfaces, and make it easier to move the planter box if needed.
With these finishing touches complete, your planter box is now ready for the next step: preparing the area where it will be placed.
Step 5: Prepare the Area for the Planter Box
Before placing your newly constructed planter box in its designated spot, it’s important to properly prepare the area. This will ensure the longevity and success of your plants and provide a stable foundation for the planter box.
First, choose a location that receives the appropriate amount of sunlight for the types of plants you plan to grow. Consider factors such as shade, direct sunlight, and exposure to the elements. Different plants have varying sunlight requirements, so choose a spot that caters to their needs.
Once you have selected a suitable location, prepare the surface by removing any debris, weeds, or existing plants. Clear the area of any obstructions that may hinder the placement and stability of the planter box.
If placing the planter box directly on the ground, it’s beneficial to lay down a layer of landscape fabric or weed barrier. This will help prevent weed growth and allow for better drainage from the planter box.
If you plan to place the planter box on a patio or balcony, ensure that the surface is clean and level. This will provide stability and prevent any accidental tipping or movement of the planter box.
Consider placing a tray or saucer underneath the planter box to catch excess water, preventing it from staining or damaging the surface below. This is especially important for indoor or balcony use to protect your flooring or decking.
With the area properly prepared, you’re now ready for the final step: planting and maintaining your new planter box.
Step 6: Planting and Maintaining the Planter Box
Congratulations on reaching the final step of creating your patio planter box! Now it’s time to bring it to life by planting your favorite flowers, herbs, or vegetables. Follow these steps for successful planting and ongoing maintenance.
Start by filling the planter box with a high-quality potting soil, leaving about an inch of space below the rim. This will provide ample room for watering and prevent soil overflow.
Once the soil is in place, dig holes of appropriate depth and spacing based on the needs of your chosen plants. Gently loosen the root balls and place each plant into its respective hole, ensuring they are centered and upright.
Add more potting soil around the plants, gently firming it with your hands to secure them in place. Leave a small gap between the soil surface and the rim of the planter box to allow for easy watering.
After planting, thoroughly water the planter box until the soil is moist but not waterlogged. This will help settle the soil and provide a good start for the plants. Make sure to monitor the moisture levels and water accordingly, keeping in mind the specific watering requirements of your plants.
Regular maintenance is crucial for the health and longevity of your planter box. Here are some essential maintenance tips:
- Monitor watering: Check the moisture level of the soil regularly and adjust your watering routine based on the needs of your plants. Avoid overwatering, as it can lead to root rot or other moisture-related issues.
- Fertilize: Consider adding a slow-release fertilizer or organic compost to provide necessary nutrients for your plants. Follow the fertilizer instructions and apply as needed.
- Prune and trim: Regularly inspect your plants for any dead or dying foliage and remove them. This will encourage healthy growth and prevent the spread of pests or diseases.
- Protect from pests: Keep an eye out for common pests such as aphids or snails. Use organic pest control methods or consult a gardening expert for appropriate solutions.
- Monitor sunlight: Ensure that your plants receive the appropriate amount of sunlight according to their requirements. If necessary, move the planter box to a different location to optimize sunlight exposure.
By following these maintenance practices, your planter box will flourish and provide you with a beautiful garden space to enjoy.
Now that you have completed all the steps, take a step back and admire your patio planter box. You’ve successfully created a stunning addition to your outdoor space that will bring joy and beauty for years to come.
Enjoy the process of planting, caring for, and watching your plants thrive in your very own handmade planter box!
Go ahead and share your creation with friends and family, and inspire them to embark on their own DIY journey in creating a patio planter box. Happy gardening!
Conclusion
Congratulations on completing your journey to make a patio planter box! By following the steps outlined in this guide, you have successfully created a beautiful and functional addition to your outdoor space.
A patio planter box not only adds aesthetic appeal to your patio or balcony but also provides a space to nurture and grow your favorite plants. It allows you to bring a touch of nature and greenery into your everyday life, regardless of the space limitations you may have.
Throughout this guide, you have learned how to measure and cut the wood, assemble the sides, attach the bottom, add finishing touches, prepare the placement area, and plant and maintain your planter box. With each step, you have gained valuable knowledge and practical skills that will serve you well in future DIY gardening projects.
Remember, your planter box is a canvas for creativity. Feel free to experiment with different plant combinations, colors, and textures to create a unique and personalized display. Adapt the design to suit your preferences and match the aesthetics of your outdoor space.
As you care for your plants, watching them flourish and thrive in their new home, take a moment to appreciate the joy and tranquility they bring. Gardening can be both a rewarding and therapeutic experience, connecting us with nature and allowing us to unwind from the daily hustle and bustle.
Now that you have completed your patio planter box, don’t forget to share your accomplishment with others. Invite friends and family to enjoy the beauty of your garden oasis, and inspire them to create their own planter box creations.
Remember to continue maintaining your planter box by watering, fertilizing, pruning, and protecting your plants. With proper care and attention, your planter box will continue to flourish and provide you with the joy of gardening for years to come.
Thank you for joining us on this DIY adventure. We hope you have learned valuable skills and gained inspiration for your future gardening endeavors. Happy planting!
Frequently Asked Questions about How To Make A Patio Planter Box
Was this page helpful?
At Storables.com, we guarantee accurate and reliable information. Our content, validated by Expert Board Contributors, is crafted following stringent Editorial Policies. We're committed to providing you with well-researched, expert-backed insights for all your informational needs.


0 thoughts on “How To Make A Patio Planter Box”